Naturally, waking in a spotless home will definitely prompt amazement, but also a slight feeling of inadequacy. After all, surfaces gleam, windows sparkle and fresh smells fills the air around you. You might even ask yourself…how did they pull that off? remembering the crusty stove top and sink loaded with dishes waiting for you at home.
Do they pay a housekeeper? What’s their secret? But here’s the good news: there are a number of easy tips to help you clean your home, and maintain it that way. In all fairness, it takes a little know-how, planning a top tips from the bros, but it’s also very doable.
So where do we really start? You can get a cleaning schedule together, and make sure you stick to it. Having a proper routine is definitely more important than reacting to soiling events. We’ve gathered more than 40 cleaning tips from experts in house cleaning, upholstery, disinfection, plumbing, and appliance care.
And don’t worry, they know how to clean everything. Below, we’ll make a list of things you need to keep in mind and the good news: these tips are coming from real professionals! Whether you’re looking for a few shortcuts, preparing your house for guests, or simply getting ready for spring cleaning, there’s a bit of everything for anyone.

Gather supplies before you start
Cleaning is already hard as it is. Don’t try to make it even harder, or prolong it, by deciding to fumble for the right tools and cleaners. If you’re not sure which materials you need, just take the time to make a rapid inventory of the surfaces that might need to be cleaned.
This is the best guide you can ask for. For example, if you are dusting, sweeping, disinfecting, or all of the above, just gather what you need before the cleaning starts.
Expert advice: Have you ever considered buying a portable cleaning caddy? You can always keep one on each floor, which will help eliminate walking back and forth to your basement or utility room balancing cleaners, sponges, other scrub brushes, and microfiber cloths. All that walking adds a lot of time.
Give the product time to work
Cleaners are designed for cleaning, but this doesn’t mean they hold magic powers. They need some time to dissolve grime or even cut through hard water stains. Some cleaners, specifically disinfectants, have specific “contact times” which means the cleaner needs to stay on the surface for that amount of time to work as it should. Make sure you always check the label.
By applying your cleaners and giving them the right time to do the work, you will be able to save a lot of time and effort, and even get better cleaning results.
Start when you’re standing
Task initiation, also known as getting started, can be much easier when you’re already standing up and moving. This can be particularly true for neurodiverse people, especially those who have ADHD and generally find some cleaning tasks overwhelming and unmotivating. According to the organization Children and Adults with Attention-Deficit/Hyperactivity Disorder (CHADD), it’s highly essential not to get stuck on a minutia.
Do as much as you can while you’re standing up and moving, as rapidly as possible until the job is completely done. If you did a load of laundry, or you are simply waiting for a cleaning product to do its thing, try to be effective with your time. After all, if you’re already on your feet, why not?
Pick a side (and stick to it)
Yes, there’s actually a right order when it comes to cleaning a room. The rule is to clean from the top down and try to work clockwise or counterclockwise consistently. It doesn’t even matter which direction you choose to take.
You should pick one, and keep at it. You’re less likely to forget something and leave germs and grime behind, as long as you stick to the same routine. As Leslie Reichert recalled, the author of “The Joy of Green Cleaning”, “When I owned my own service, we trained our team to clean top to bottom, back to front – in a circle around the room.”
Reichert also added that they did this in every single room, every time, whether they were cleaning the kitchen or just a small powder bathroom. It was quite effective and efficient.
Use microfiber cloths
For specific dusting challenges, a feather duster will do the trick. Also, if you have delicate artwork or a shelf of knickknacks, good luck dusting those off! But for everyday surfaces, like tabletops, or TVs, try to embrace the microfiber cloth.
And it’s much nicer to dust with a big and puffy microfiber cloth. You might have used feather dusters in the past, and maybe you agree with me when I say that they basically just push the dust around. Rathey also said that microfibers work well because they have an astounding surface area to tackle.
To be more specific, 40 times more surface area than cotton fibers, and each and every microfiber holds around six times its weight in water. Another great perk is that microfiber cloths are positively charged, which means they attract negatively charged dirt and microorganisms.
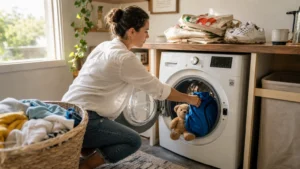
Expert advice: Make sure you wash microfiber cloths as you should. To efficiently preserve their cleaning power, make sure you separate the microfiber cloths from all the other laundry. Since they attract hair, dirt, dust, and lint, you don’t want to wash them with other items. Machine-wash in hot water with a mild detergent or vinegar on a delicate setting, then air-dry.

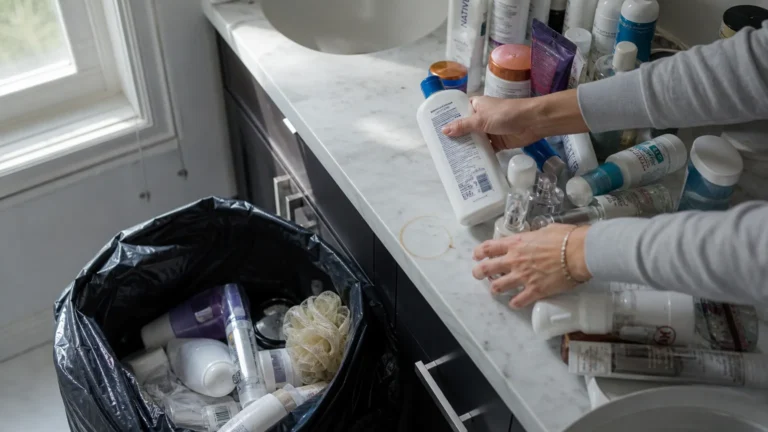
Pick up clutter consistently
Probably one of the most efficient cleaning tips is to declutter as much as you can. Before spraying a surface or even lifting your duster, microfiber, or otherwise, make sure you pick up the stuff. Cleaning around clutter is nothing but a waste of time.
You can scan the room, and take everything that’s not where it should be and put it aside. Declutter surfaces just as thoroughly as you’d do with the floors, and don’t forget to look under the bed. Also, don’t wait for cleaning day to declutter your home.
Try to pick up the clutter as you go, if you can. It’s also an amazing way to involve the little ones in the cleaning process! Every six months or so, remember to take a load of infrequently used household items to your local donation center.
Clean first, disinfect second
Cleaning and disinfecting are two separate things, and Rathey mentioned that they should be handled separately. For instance, if you’re cleaning a bathroom, and you choose to spray a sanitizing solution on a surface without removing physical dirt, not only will the sanitizer won’t reach the entire surface, but the organic materials on the surface might actually go against the disinfectant.
Cleaning before disinfecting also removes organic soils, like skin oils, dirt, and grease, “which would further deactivate the active ingredient of your sanitizer or disinfectant.” So yes, as a rule of thumb, clean first, and disinfect second.
Dust, then vacuum
Another essential order worth taking into consideration is this one: “When you’re cleaning, you should dust first, then vacuum.” This way, if anything falls on the floor, you can rapidly vacuum it up. As a matter of fact, vacuuming should be the last thing you do in every room.
Make sure you pick up the clutter, dust the surfaces, and wipe down mirrors and countertops, and make the beds. Then, just vacuum yourself out. Now, if you want to gift yourself something truly useful and precious, we will definitely advise you to get a Dyson. Who wouldn’t want it?
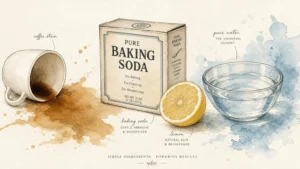
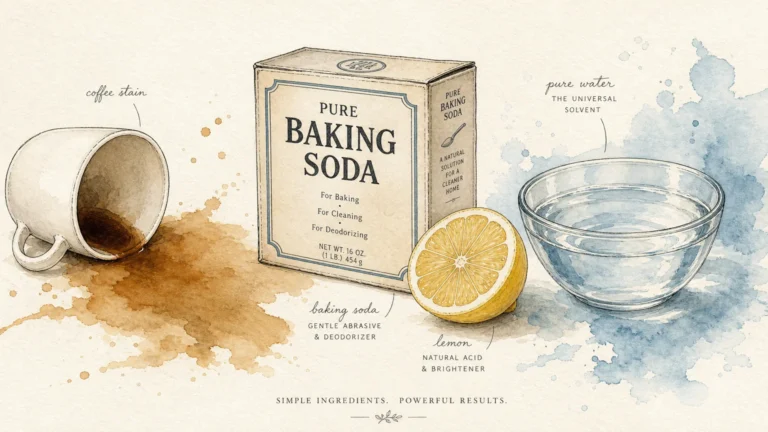
Raid the pantry for cleaning supplies
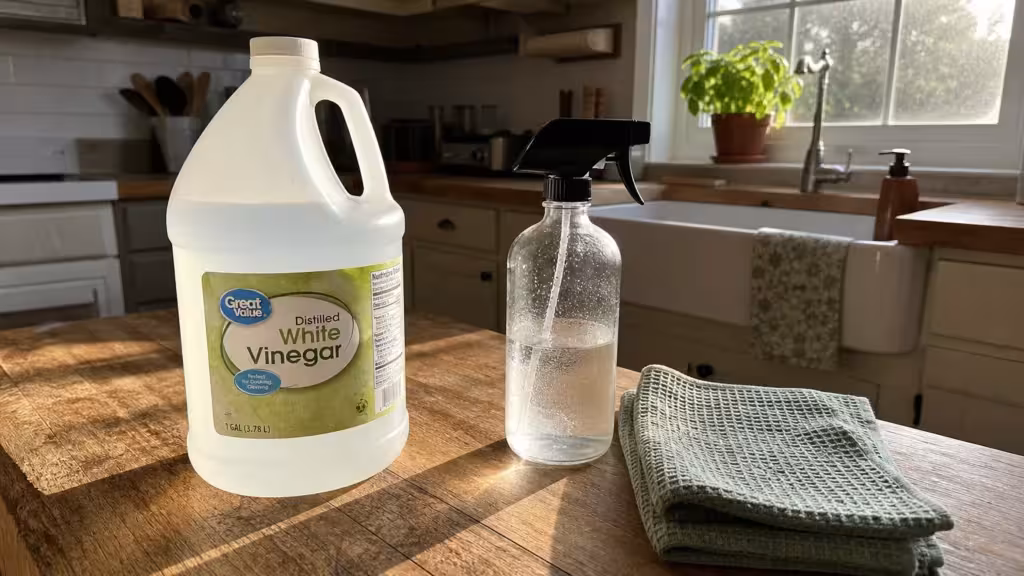
Commercial products definitely have their purpose. But in some cases, a natural, and inexpensive pantry item does the trick. Mix baking soda, vinegar, salt, and lemons to make your way through grease and grime. Also, it’s worth noting that plain white vinegar is extremely versatile, inexpensive, and 100% nontoxic, which makes it safer for the majority of surfaces.
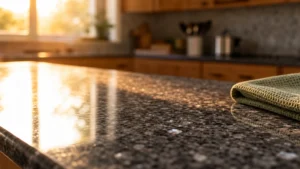
In fact, it’s one of the ideal cleaning agents. It’s a bit acidic, but overall great for cleaning almost anything, including your dishwasher, shower, drain, stove, sinks, cutting boards, and so on. The only exception refers to stone countertops, especially marble.
Don’t mix vinegar with baking soda
Cleaning recipes might require mixing vinegar and baking soda. But if you ask us, we wouldn’t recommend it. It’s not that it might be dangerous, it’s just not that effective. You should stick to using the main two ingredients on their own.
Vinegar, a weak acid, and some baking soda might react in the wrong way when mixed. All that bubbling leaves the impression that they might be working hard, but not in the way you’d think. The chemical reaction is making water, carbon dioxide, and salt, but mixing them together will only diminish each other’s standalone effectiveness.
Vinegar is known to decrease baking soda’s capacity to cut through grease, and baking soda decreases vinegar’s ability to break down mineral deposits.
Change solutions as often as you can
Wiping the kitchen or bathroom counter with an old dirty rag won’t do any better, trust me. That’s exactly why it’s so important to change the tools and cleaning solutions when you move from dirty to cleaner areas. We advise buying microfiber cloths in bulk. As they get dirtier, you just toss them in a pile for washing. Every time you move to a new room, you switch to a fresh microfiber cloth.
Clean up the spills right away
Look at it this way: today’s spill is tomorrow’s stain, so you might as well jump on those stray globs of spaghetti sauce in the microwave or on the counter immediately. Kitchen cleaning is much easier when you clean after each meal preparation.
Wipe up the fresh spills with a bit of dish soap and warm water, using a soft sponge or microfiber cloth to avoid scratching those countertops. In fact, if you’re keeping score, here’s another important thing about vinegar.
White vinegar is a wonderful aid when it comes to removing food and ingredients-based stains on any given surface. Just use a 50-50 vinegar-and-water mixture on your appliances, cabinets, and counters.
Use a squeegee
No, we don’t mean to use it on your windows, even if that’s one of the best cleaning advice you can take on. We recommend you use a squeegee on your countertops. According to an expert focused on cleaning for health, window-washing pros have a wonderful technique: they clean and scrub first, then squeege away all that dirty water into a bucket.
This way, it doesn’t leave any streaks or wiping germs. Nothing was left behind but clean, squicky glass. A squeegee does wonders on large kitchen islands, or even on long, unbroken counter expanses, especially if you can direct the water into the sink.
Wipe down your cabinets
Have you ever noticed little greasy drips finding their way down cabinets that are barely ever cleaned? It’s quite gross, to be honest. If you don’t want to let it happen, wipe down the outside of your cabinets on a weekly basis, to make sure you keep the grease and cooking odors away from your clean kitchen.
Water and dish soap will make the process faster, but make sure you test it beforehand on inconspicuous areas before you scrub solid wood or any other potentially sensitive materials.
Expert advice: We recommend scrubbing with a toothbrush. If you ever come across dried-on goo, just grab an old toothbrush. The gentle scouring action should be able to cut through the worst grease and grime. If you also need a boost, just add some baking soda paste, but make sure you test it beforehand.
Clean out the cabinets
And since we’re talking about cabinets, an organized kitchen also calls for a clean kitchen. We highly advise you to prioritize periodic unpacking and general cleaning of cabinet interiors. And if you’re at it, just do it the old-fashioned way: separate the cabinets into three sections, and do one section every month.
Or, consider cleaning out all your cabinets once a quarter. Take everything out and thoroughly scrub the shelves with water and dish soap or vinegar. You can also use a baking soda paste on more stubborn, stuck-on food leftovers. Get rid of everything you’re not using.
Be smart about mopping
Floor mopping can sometimes turn out to be more of a soil-spreading tool than just a cleaning tool. Unfortunately, the way the professionals prefer clearing their floors involves applying a cleaning solution and then vacuuming off the dirt in suspension.
Instead, try to sweep or vacuum to get as much debris off the floor as you can before you start mopping, and change that mopping solution as often as you can. Rinse and air-dry your mop after each use. If you use a disposable system, like a Swiffer, change the pad frequently.
De-gunk the garbage disposal
When you can’t seem to find the origin of that nasty kitchen smell, go to your garbage disposal. Food, foul-smelling bacteria, and sometimes mold might collect in the disposal and on the rubber splash guard.
One of the best cleaning tips out there is to run ice chips through the disposal as often as you can. You can also do this by cleaning the impeller and the sides of the disposal. The ice chips scrub and scour all those hard-to-clean areas inside the disposal.
Don’t ignore the appliance’s exterior
Nothing really draws the eye in the kitchen as efficiently as a refrigerator covered in fingerprints. At least once a week, clean the outside of the fridge, stainless steel dishwasher, and oven with a mixture of dish soap and water.
Or, you can try a 50-50 mixture of vinegar and water to make sure you keep the grease and fingerprints away. You can find stainless steel cleaners in most stores, so you shouldn’t have any issues getting everything you need.
Clean appliance interiors as well
At least once a month, try to clean inside your fridge with a clean dish soap and vinegar. Scrub stains and stuck-on food with baking soda pastes, and then remove the drawers to clean them in the sink. Rinse everything well with some clean water.
Then, clean the oven interior once or twice a year. You can clean it more if you cook most of your meals at home. You can also use the self-cleaning oven function for some of the best results. One place that’s oftentimes overlooked is the ceiling of the microwave, which generally gets covered in food splatters that are quite difficult to spot.
When you clean your microwave, you can wipe the ceiling with lemon for extra freshness.
If you found this article insightful, we also recommend checking: Easy Solutions for the 5 Most Dreaded Cleaning Chores