
Did you know you can follow some steps for an organized fridge?
While it may not sound revolutionary to have some steps for an organized fridge, it is something that organizing professionals hold near and dear to their hearts!
Not only are they adhering to these organizing rules to a T, but they are also making sure they apply and teach them to their clients.
Let’s be candid for a moment! After we clean our fridges, it does not take long for them to reach the same state of clutter that they had before.
It is very easy to forget about certain items, end up having to cram everything in, and even have expired food and condiments.
This happens because you are not aware of these steps for an organized fridge that pros use often!
They are easy to follow, and if you try them out, you will see how easy it is to keep your family both clean and organized!
Keep on reading to discover the best strategy for an organized fridge!
Which one is your favorite? Let us know in the comments below!
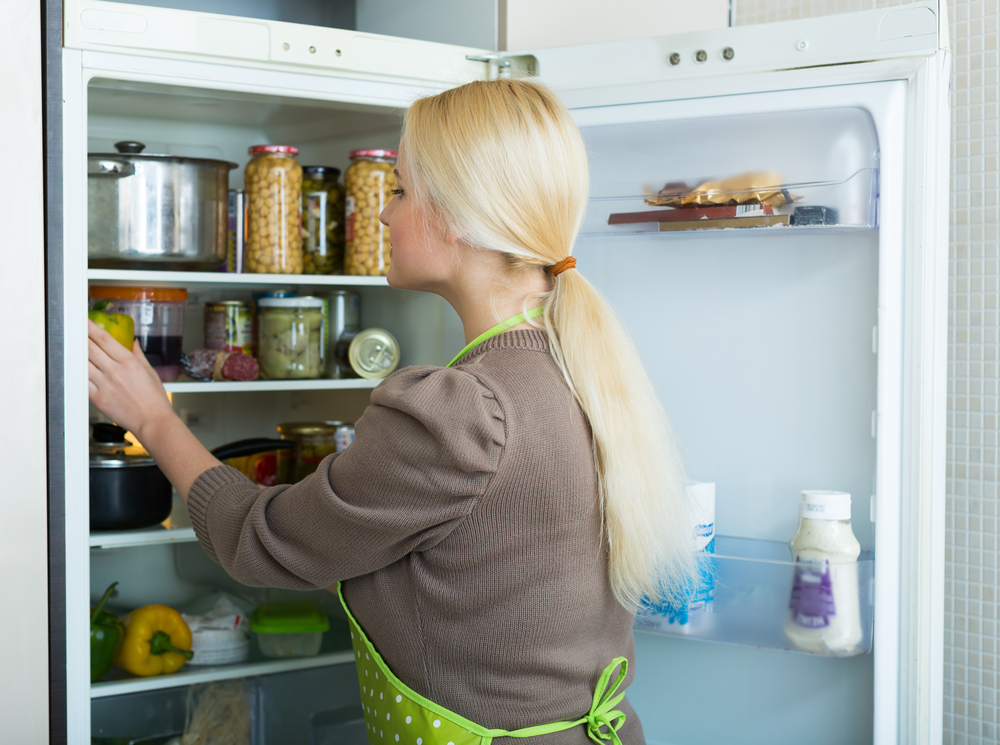
Step 1: Declutter your fridge.
You cannot tackle organizing your fridge if you do not know what you are working with. Sure, you may have had the refrigerator for a while, but you do not know what you truly have to put in and organize until you sift through everything.
In the end, cleaning and organizing a clean fridge is a lot easier than a big one.
This is why all fridge organizations should start with a clean slate, which means decluttering, getting rid of everything that went bad or passed its expiration date, and then a quick clean of the fridge.
You can easily do that: clean your work surface, and then make sure you only organize the items that you need and that you do not end up taking up space with expired items.
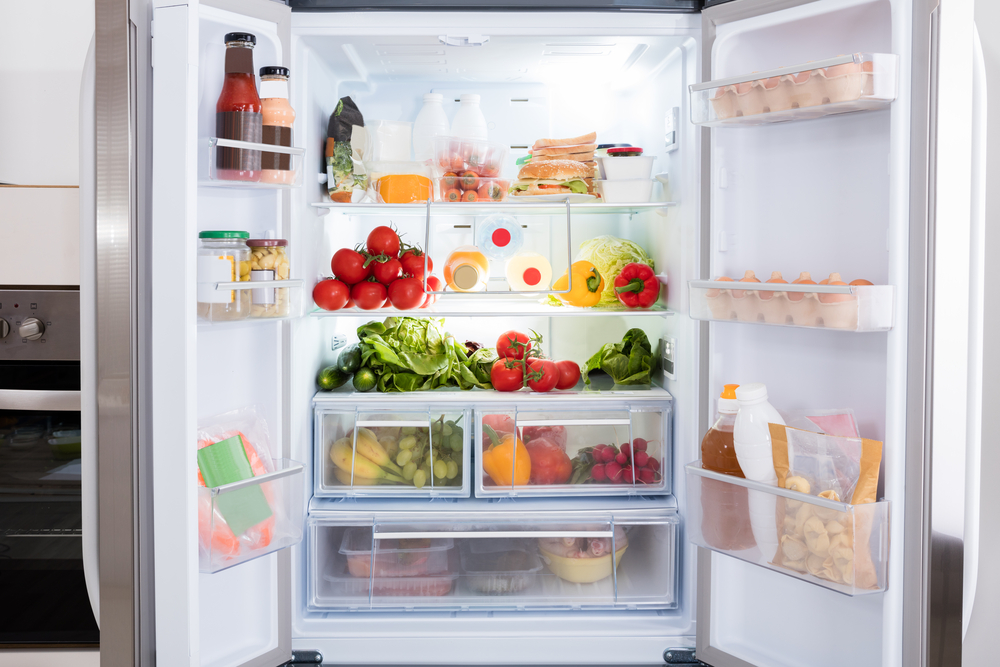
Step 2: Settle food categories and their spots in the fridge.
One of the easiest ways to organize a fridge is to make sure you have it sectioned into categories.
This does not mean literally sectioning off your fridge into consideration, but rather that you make a mental note of where each category of items could go.
You can already map out the fridge with the big categories of produce and items, like setting a space for veggies, another for fruits, and another set for condiments, just to name a few.
Due to this division, you can easily see what your most used items are, know where they are, and know when you need to stock up on things.
It is easier to have set spaces for items rather than haphazardly throw them in the fridge where there is space.
That way, you will not end up buying too much of one thing and too little of another, or end up with surprise items in the fridge because you forgot about them.
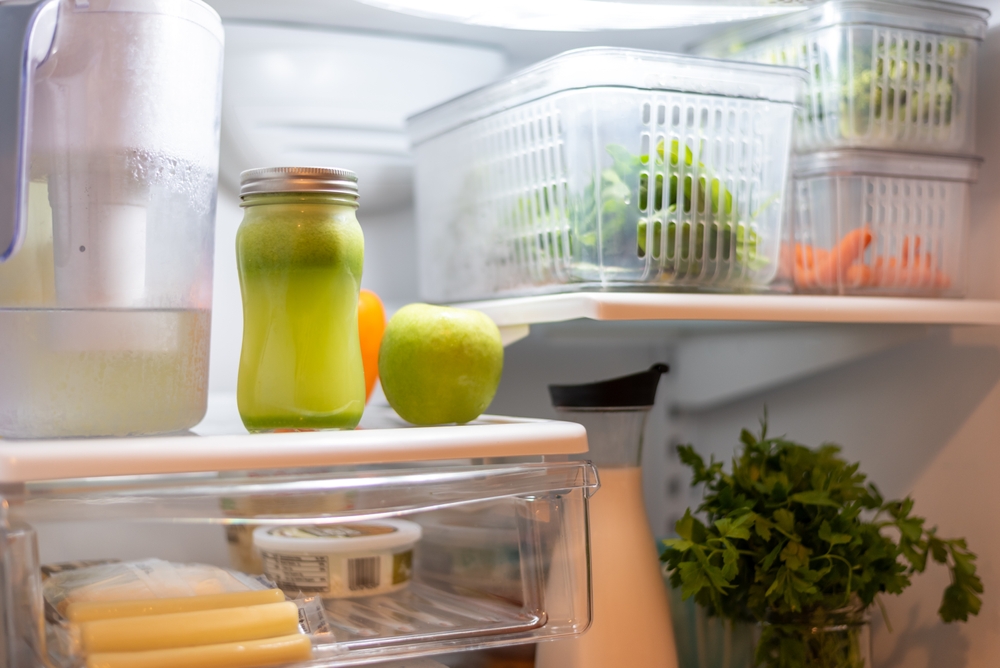
Step 3: Never underestimate the power of storage containers.
One of the best steps you can take towards organizing your fridge is to make the most of the storage containers.
Whether you use them for leftovers, fresh produce, or just to group similar types of items, they can make your fridge way better in terms of organization, cleanliness, and managing to keep the fridge organized.
What’s more, it can also help you lose that cluttered look and improve your ability to keep the space tidy and neat.
A lot of people reuse containers from yogurt, take-out boxes, and other random containers, which are great to be reused and then recycled, but in the long run, they will not last too long.
It is good to look for the same type of containers for items you know are going to be stored in them for a long time.
Not only will it give a cohesive look, but it will also help you not have to spend much on storage if you get a good set from the start.
Step 4: Always have an “Eat First” section.
Since we have talked about the categories, make sure you save some space for this special section.
Pro organizers suggest you always have this part of your fridge ready to go and that you move items to your “eat first” when you know they will go back.
This will help you cut down on wasting food and save you money in the long run, as you will have to be resourceful and use all the time-sensitive items first.
There are many ways to create this section, be it by dedicating a shelf or using another storage solution.
Even more effective storage organization tips are coming right up! Keep on reading to discover them.
Step 5: Adjust your shelves to your needs.
A great thing about most fridges is that you are not stuck with the shelving as it originally came.
With most of them, you will be able to move them around. Sure, you may like the way the fridge is set up in the beginning, but with time, you may find that your needs are changing.
If you are in the habit of making a big pot of soup or need space for other big pots and containers, you may have to change the shelving around.
And this is a tip that you should not miss out on. Maybe you need smaller and bigger shelves; maybe you need them all to be equal; maybe you do not need the bottle attachment since it just eats away at your space.
The needs that you have may change, and you should not be afraid to move around the shelves.
You may have bought a tall beverage, but your shelves are not tall enough, and there is no space on the door.
You should not panic, nor should you remain restricted by your fridge shelves; adjust the height and make space for them.
You can always change them around and even leave a taller space somewhere for when you need it.
Step 6: Do not underuse the door.
Since we have already mentioned the fridge door, it is good to mention that pro organizers make a point to say that you should never underuse the space there.
Sure, it may seem like it can end up being a catch-all for any random item, but there are actually certain items you should not store there, while others are definite yes.
The door is one part of the fridge that is the least consistent when it comes to temperature.
This means that there are items that would end up spoiling faster since they are exposed to warmer air whenever the fridge is open. As such, you should avoid storing milk and milk-related products whenever you can.
Instead, the fridge door is the best place for the likes of dressings, jams and spreads, condiments, and most sauces. They are often used, and it is easy to just grab them from the fridge door.
Step 7: Make your own drawers if your fridge lacks them.
Most fridges come with one or two drawers, but there have been some new models that end up getting rid of them completely.
Which, when you think about it, is not the best choice.
While more shelving areas may seem like the best bet, drawers are a good way of separating produce, and they can help you stay organized and keep your fridge neater than it would be when you could just use the space freely.
If you do not have any drawers or find that your family would need more, pros recommend you make them yourself.
Some stacking acrylic containers or even drawer-like inserts could solve your issue easily.
Not to mention there are stackable containers that can double as makeshift drawers, so you are hitting two birds with one stone! These from Amazon have been the best choice for us, so why not give them a chance?
These are just some of the most basic steps for an organized fridge that can help you make the most of your refrigerator! However, you also have to make sure that you do not end up doing all the work only to have the appliance break on you! To ensure this does not happen to you, check out all the items you should NEVER store on top of the fridge!


4 Responses
You have a large metal pan on the top shelf. For safety, it should be on a lower shelf. Think about the pan slipping and hitting you in the face. Breaking a tooth or your nose. It has happened.
I have two plastic drawers that have no lids. I keep all the little bottles of things that otherwise get lost or in the way, tip over and make a mess, etc. These include pickle relish, hoisin sauce, soy sauce, tamari sauce, ketchup, horseradish, Siracha sauce, maple syrup, etc. I know where they are, and, if any of them tips over, the mess is contained and can be cleaned in the sink.
I notice that you have food in containers in the ‘crispers’ on the bottom, and completely uncovered veg and fruit on a middle shelf. These unwrapped items would be completely ruined within a couple of hours in my fridge. Perhaps this article hails from a country where the norm is to shop everyday for fresh produce. Not they way we do it in the US! 🙂
I noticed a space full of tomatoes…shame,shame, shame! Fresh raw tomatoes should never go in the frig. They lose their taste faster!