Transforming your outdoor space into a relaxing retreat requires less effort than you might think. By focusing on a few strategic updates, you can turn a neglected concrete slab or tired wooden deck into a functional, inviting extension of your home. A well-designed patio gives you a comfortable place to host friends, enjoy your morning coffee, and unwind after a long day without requiring hours of exhausting maintenance. You do not need a massive landscaping budget or professional contractors to see immediate results. Small shifts in lighting, shade, and organization completely change how an area looks and feels. Apply these targeted, manageable improvements to create a beautiful, low-maintenance outdoor sanctuary that fits perfectly into your everyday routine.
1. Declutter and Define the Space With a Polypropylene Rug
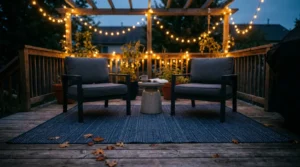
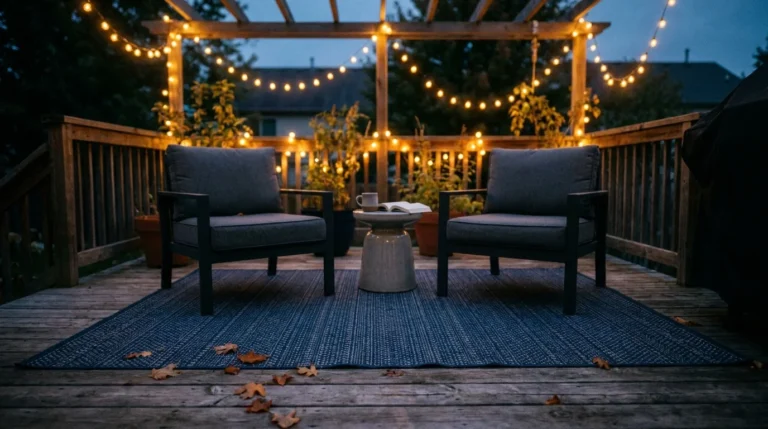
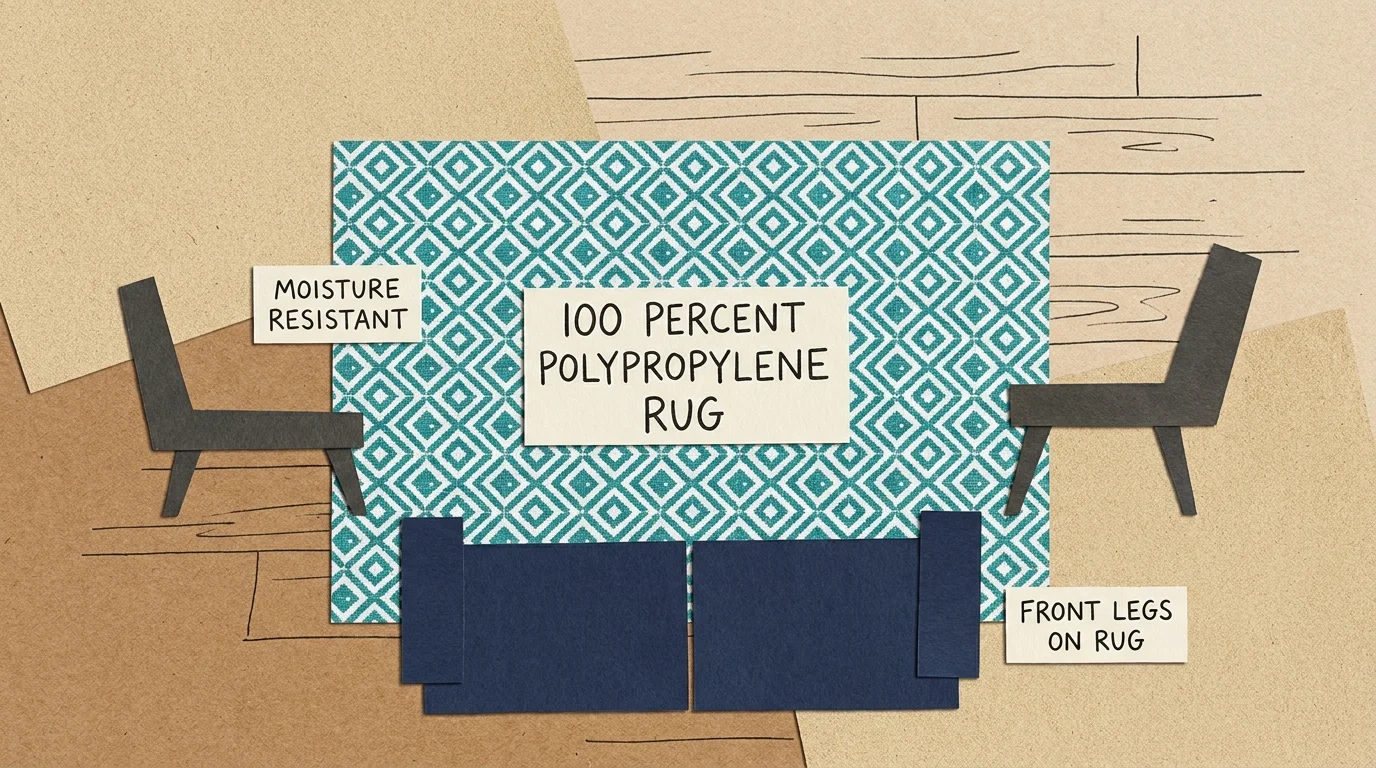
An outdoor rug acts as the foundational anchor for your patio. It visually groups your furniture together into a cohesive seating area and immediately covers up stained or worn decking without the steep cost of a full hardscaping replacement. When shopping for an outdoor rug, prioritize materials engineered to withstand the elements. Polypropylene is the premier choice for outdoor textiles because it is highly durable, affordable, and easy to clean.
Unlike natural fibers such as jute or cotton, a 100 percent polypropylene rug naturally resists moisture, mold, and mildew. The synthetic fibers are solution-dyed, meaning they hold their color against harsh sun exposure so your rug will not quickly fade from vibrant navy to a dull gray.
To maximize the visual impact, select the correct size. The rug should be large enough that the front legs of your main furniture pieces rest comfortably on its surface. This layout trick makes the patio feel instantly larger and more deliberate. Additionally, always place a breathable, outdoor-rated rug pad underneath. A good pad prevents the rug from slipping, adds cushioning underfoot, and creates a small air gap that helps the fibers dry out faster after a heavy rainstorm.
2. Install Safe and Inviting Ambient Lighting
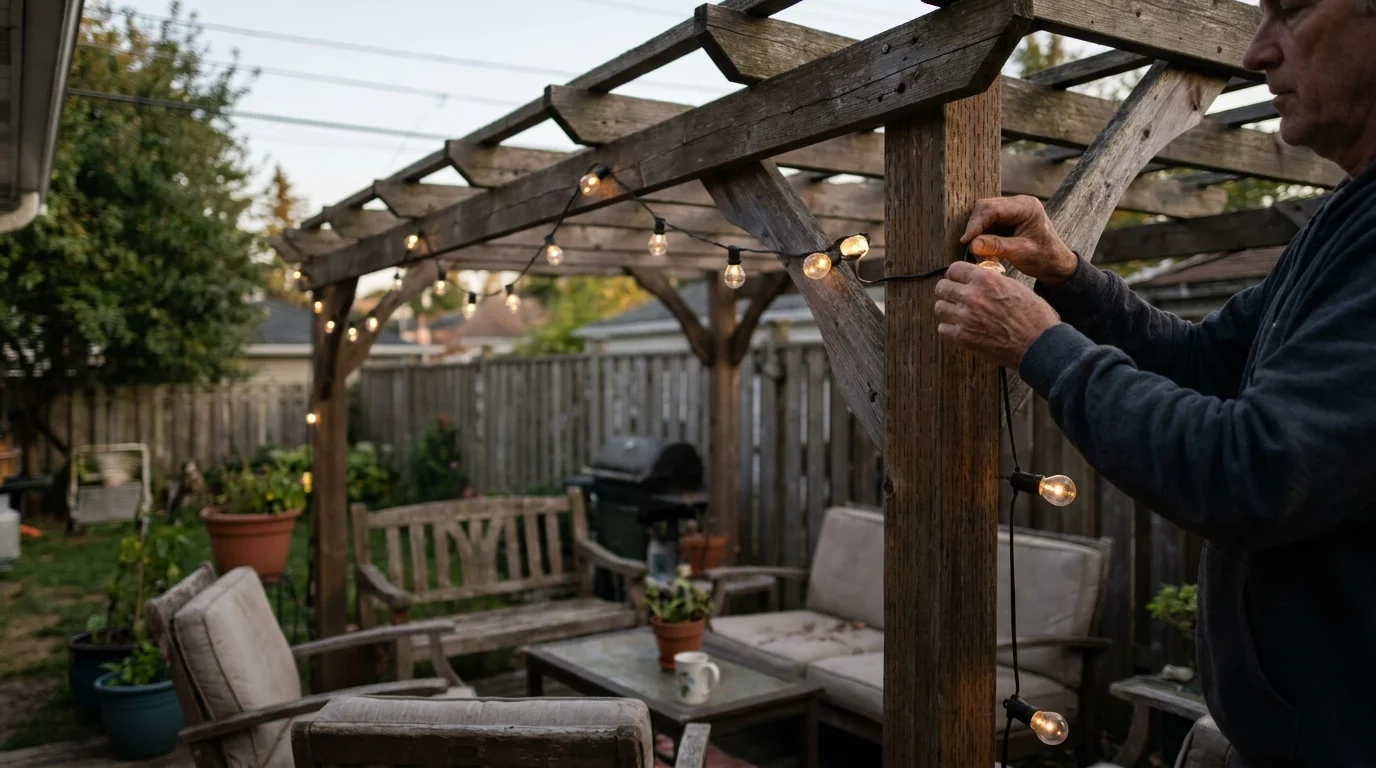
Harsh overhead floodlights make a patio feel like a commercial parking lot, while a pitch-black yard feels uninviting. To create a relaxing, welcoming atmosphere, switch to warm, layered ambient lighting. String lights draped elegantly above a seating area or solar path lights lining the edge of your deck completely transform the evening ambiance.
However, outdoor electrical safety requires strict attention to detail to prevent fires and injuries. Always verify that any lighting product you buy features a UL listing for wet locations. This essential certification guarantees the internal wiring can safely handle direct exposure to rain, snow, and morning dew. When running extension cords across your patio, use only heavy-duty, three-prong cords specifically rated for outdoor use.
You must plug all outdoor electronics directly into a Ground Fault Circuit Interrupter (GFCI) outlet. A GFCI outlet actively monitors the electrical current and immediately cuts power if it detects moisture or a short circuit, preventing dangerous electrical shocks. For longevity and safety, select LED bulbs. LED lights consume significantly less energy than incandescent bulbs, remain cool to the touch, and drastically reduce the risk of the fixture overheating. Finally, use a steel wire suspension kit when hanging string lights over long distances. The support wire absorbs the tension and prevents the electrical cord from snapping during high winds.

3. Introduce a Fire Feature the Safe Way
A fire pit extends patio season well into the crisp days of autumn and early spring. It provides a natural focal point for gathering, roasting marshmallows, and unwinding. Before you purchase a fire pit, you must plan your layout around strict safety parameters to protect your home. The National Fire Protection Association (NFPA) advises keeping any fire pit at least 10 feet away from structures, combustible materials, and overhanging tree branches.
If you have a wooden or composite deck, choosing the right fuel source is the key to preventing permanent scorch marks or structural fires. Wood-burning fire pits generate intense downward heat and unpredictable flying sparks, making them a significant hazard on combustible surfaces. Propane or natural gas fire tables offer a much safer alternative for patio decks. They produce zero embers and direct their heat upward, drastically reducing the risk of accidental fires.
| Feature | Propane / Gas Fire Tables | Wood-Burning Fire Pits |
|---|---|---|
| Embers and Sparks | None | High risk of flying sparks igniting nearby items |
| Heat Direction | Projects heat upward and outward safely | Radiates extreme heat downward onto the deck |
| Smoke Generation | Smokeless | High, often blowing into the seating area |
| Deck Safety Rating | Safer; requires an approved base | High risk; requires extensive fireproof barrier |
Regardless of the fuel type you select, always place a protective, heat-resistant mat directly underneath the fire pit. This physical barrier shields your deck from radiant heat and stray sparks. Furthermore, always check your local city codes and homeowner association rules, as many municipalities restrict wood-burning fires but allow controlled propane features.
4. Block Harmful UV Rays With UPF-Rated Shade
Enjoying your patio during the peak hours of the day requires reliable, safe shade. While standard canvas umbrellas cast a dark shadow, they do not necessarily protect your skin from harmful ultraviolet radiation. A standard, unrated garden umbrella might block as little as 20 percent of incoming UV rays, leaving you unknowingly exposed to skin damage.
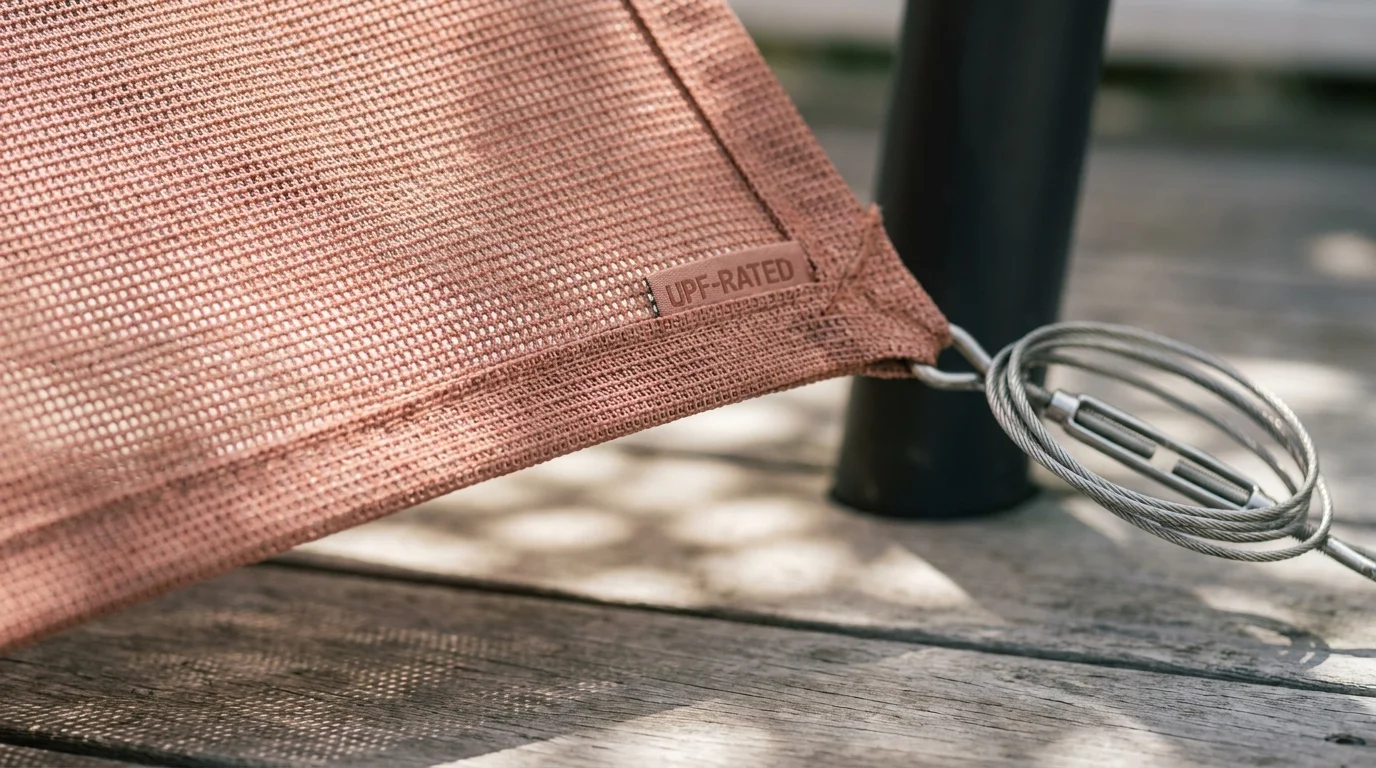
To safely block the sun, upgrade to a high-quality patio umbrella or permanent shade sail made with UPF 50+ rated fabric. A UPF 50+ rating means the material effectively blocks 98 to 99 percent of both UVA and UVB rays. Look for products that carry the Skin Cancer Foundation Seal of Recommendation, which verifies the fabric meets their rigorous standards for safe and effective sun protection.
The color of your umbrella also plays a surprising role in its effectiveness. Darker colors like navy blue, deep green, or black naturally absorb more UV radiation than lighter shades, offering a slight edge in protective power. Positioning a large, freestanding cantilever umbrella over your main seating area provides flexible shade. Because the umbrella rests on an offset base, you can easily adjust the canopy angle as the sun moves across the sky, keeping your family cool and protected all afternoon.
5. Clear the Visual Clutter With Weatherproof Storage
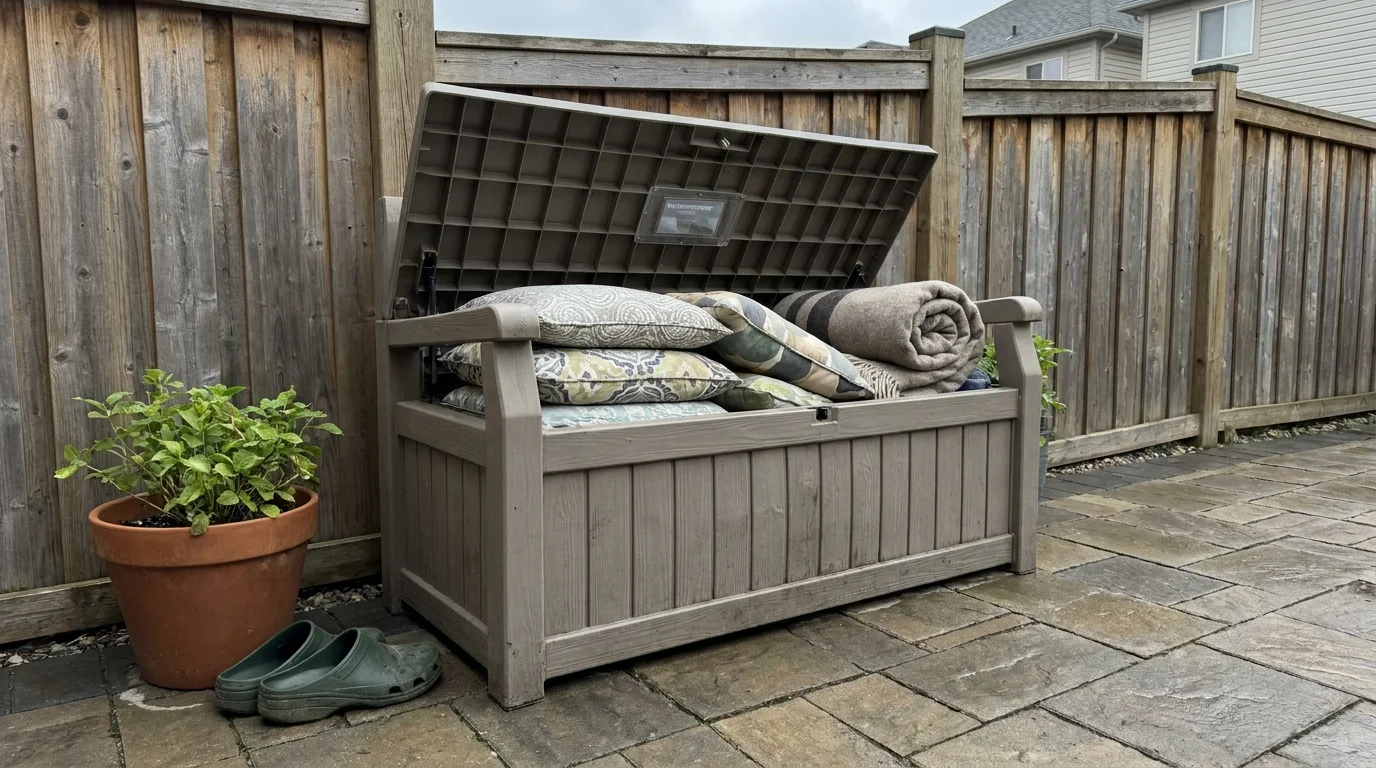
Visual clutter instantly makes a patio feel chaotic, cramped, and stressful. If muddy gardening tools, torn bags of potting soil, bright plastic pool toys, and spare cushions sit scattered across your deck, the space loses its relaxing appeal. Incorporating weatherproof outdoor storage keeps everyday items accessible but completely out of sight.
Invest in a durable resin deck box or a waterproof storage bench. Resin plastics withstand intense sun and heavy rain without rotting, rusting, or peeling like untreated wood often does. A storage bench pulls double duty by hiding your clutter while providing valuable extra seating for guests during summer barbecues. When organizing your storage box, keep the items you use daily near the top. Place off-season items, heavy bags of charcoal, or extra throw pillows at the bottom.
If you have a small patio or balcony, take advantage of vertical space. A tall, narrow outdoor storage cabinet fits perfectly into a tight corner and provides shelving for brooms, pool skimmers, and folding chairs without eating up valuable square footage. This simple organizing habit drastically reduces the visual noise on your patio, making the space easier to sweep, clean, and enjoy.
6. Deep Clean Hardscaping to Remove Mildew
Over the wet winter and early spring, concrete patios and wooden decks accumulate thick layers of dirt, sticky pollen, algae, and dark mildew. A thorough deep cleaning revitalizes the hardscaping, restoring its original color and making the entire area look brand new. While reaching for bleach might seem like the fastest way to kill outdoor mildew, harsh chemical runoff can severely damage your surrounding landscaping, discolor wood fibers, and degrade protective concrete sealants.
The U.S. Environmental Protection Agency (EPA) recommends using a simple solution of water and detergent to scrub mold off hard surfaces safely. For outdoor cleaning, using a power washer combined with a mild, eco-friendly dish soap offers the most effective and efficient approach.
Follow these steps to safely clean your patio surface without causing damage:
- Clear the entire area: Remove all furniture, planters, fire pits, and rugs from the patio. Sweep away loose leaves, dirt, and debris using a stiff-bristled outdoor push broom.
- Protect your landscaping: Thoroughly wet down the grass and flower beds surrounding your patio with a garden hose. Soaking the soil prevents the plants from absorbing any soapy runoff during the cleaning process.
- Apply the detergent: Use a pump sprayer to evenly apply a mixture of water and mild dish soap. Let the solution sit on the surface for ten to fifteen minutes to break down the mildew. Do not let the soap dry.
- Scrub stubborn spots: Use a heavy-duty nylon scrub brush on areas with concentrated mold or deep grease stains. The physical friction lifts the embedded mold spores out of the porous concrete surface.
- Rinse the surface: Use a power washer on a low-pressure setting to rinse away the detergent. Keep the wand moving in broad, sweeping strokes to avoid etching permanent lines into the concrete or splintering the wood.
- Let it completely dry: Allow the surface to dry in the direct sun before returning your furniture and rugs. Proper moisture control is the key to preventing mold and mildew from returning.
7. Revitalize Your Existing Patio Furniture
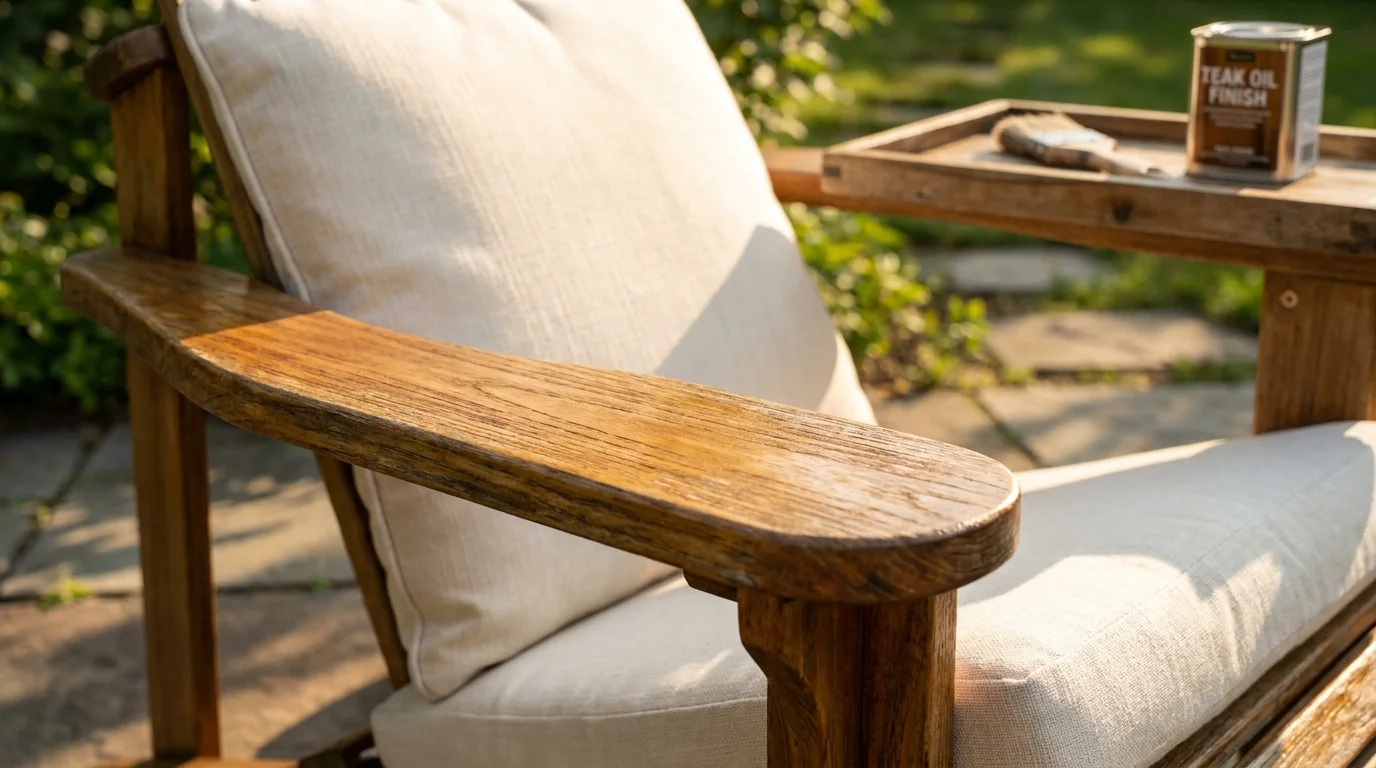
Replacing high-quality patio furniture is incredibly expensive, but a little strategic maintenance makes old, weathered pieces look stunning again. Start by carefully examining your metal, wood, or wicker frames. For metal furniture showing unsightly signs of rust, use a stiff wire brush to gently buff away the flaking oxidation. Wipe the frame clean with a damp microfiber cloth, let it dry entirely, and apply a rust-inhibiting outdoor spray paint to seal the metal and restore its original color. If you own teak or cedar furniture, lightly sand away the gray, weathered patches using fine-grit sandpaper, then apply a rich coat of outdoor teak oil. The oil nourishes the dried wood fibers and immediately brings back its warm, golden tones.
Next, address the fabric elements. Outdoor cushions take a beating from heavy rain, tree sap, and pollen. Remove the cushion covers if they are machine washable, and run them through a gentle cycle with cold water. For non-removable covers, mix one teaspoon of mild dish soap, one quart of warm water, and a tablespoon of Borax in a bucket. Dip a soft sponge into the solution and gently scrub the fabric, paying special attention to water stains. Rinse the cushions thoroughly with a garden hose and stand them upright on their edges in direct sunlight so the internal foam dries completely.

8. Incorporate Low-Maintenance Container Gardens
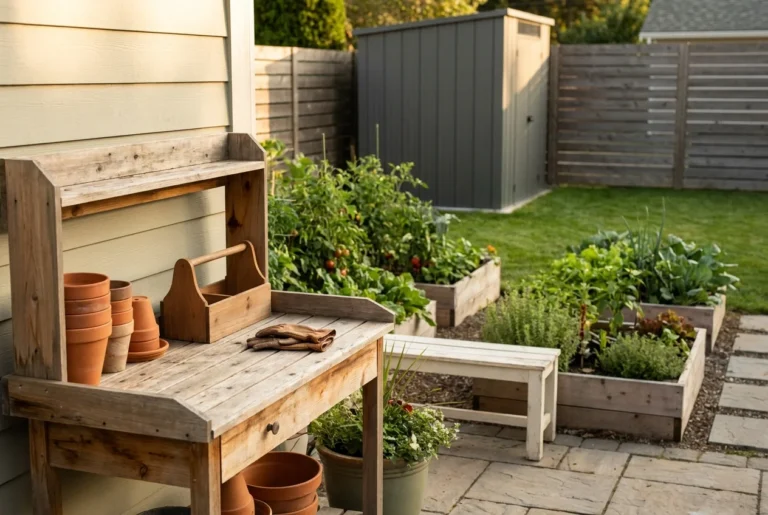
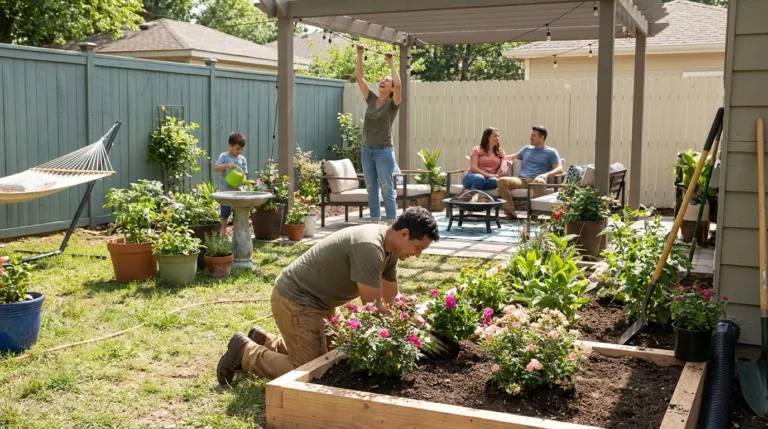
Bringing vibrant plant life onto your patio softens harsh architectural lines and adds natural, calming color. If planting and maintaining a massive garden sounds exhausting, container gardening provides the perfect low-effort alternative. Potted plants require significantly less weeding, and you can easily move them around to chase the sun or redesign your patio layout for different events.
Choose large, self-watering planters to minimize your daily chores. These specialized containers feature a built-in water reservoir at the bottom, allowing the plant root system to draw up moisture exactly as needed. This clever design prevents underwatering during brutal summer heat waves and drastically reduces the frequency of your watering schedule.
To guarantee success, match your plants to your patio sunlight levels. If your patio faces south and receives blinding sun all day, choose drought-tolerant plants like succulents, lantana, or fragrant lavender. If your deck is heavily shaded by trees, opt for lush ferns, broad-leaf hostas, or colorful coleus. Fill your planters with a mix of trailing vines that spill over the edges, upright thrillers that add height, and bright floral fillers. Finally, place heavier pots on wheeled caddies so you can easily shift them out of the way when sweeping the patio surface.
Start Your Patio Transformation Today
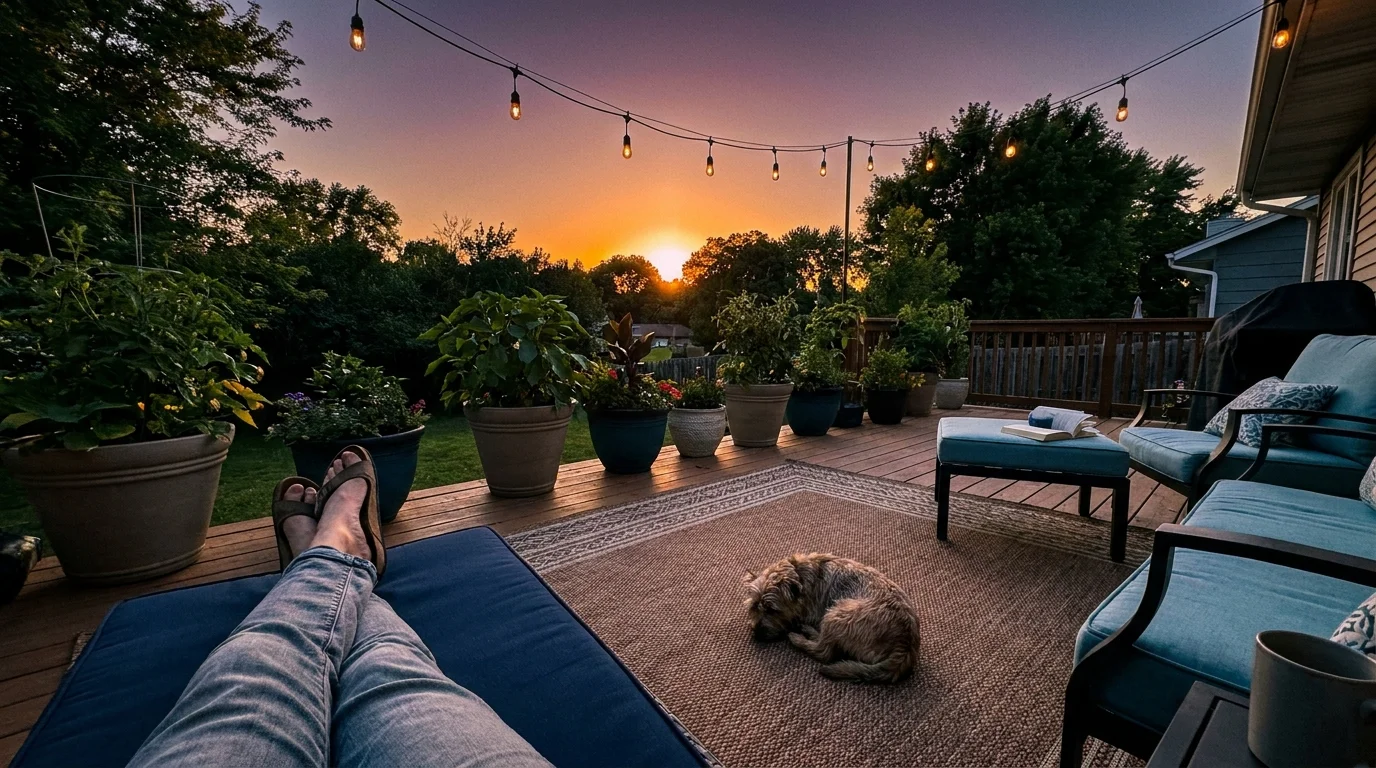
You do not have to tackle every single upgrade on this list at once to see a meaningful difference. Pick just one manageable project to handle this weekend. Whether you decide to power wash the deck surface, swap out your old umbrella for a protective UPF-rated model, or roll out a bold new polypropylene rug, taking action builds momentum. Grab a broom, clear off the winter debris, and take the very first step toward enjoying a beautiful, low-maintenance outdoor living space.