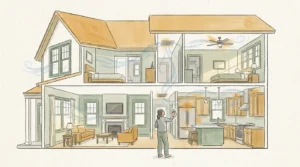
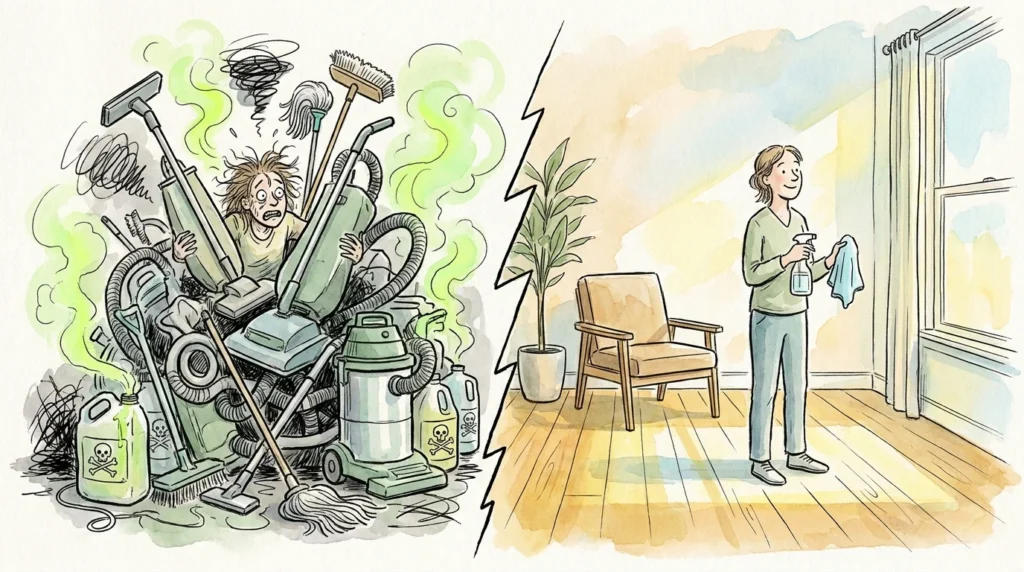
A cramped kitchen leaves you frustrated, constantly shuffling pots and pans just to chop an onion. You can reclaim your counters and turn that chaotic room into a streamlined workspace by rethinking how you store your everyday tools. Maximizing a tight kitchen means looking past the obvious cabinets and utilizing your vertical space, hidden gaps, and clever storage systems. You do not need a major remodel to create a calm, efficient cooking area. By implementing practical adjustments—like utilizing ceiling racks, magnetic strips, and tiered organizers—you will instantly expand your usable space. Take control of your tiny kitchen today, reduce your daily stress, and discover how easy meal prep becomes when every item has a specific, accessible home.
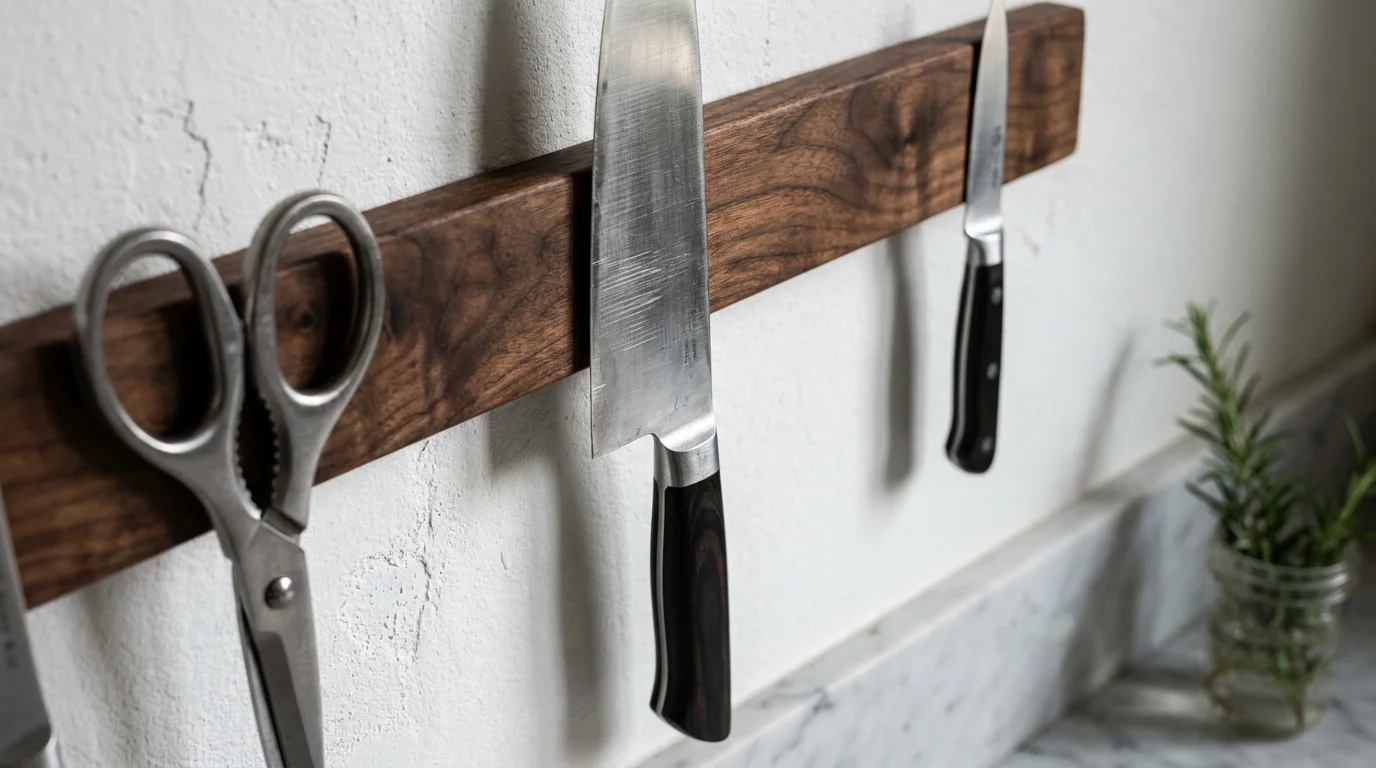
1. Install Magnetic Knife Strips to Free Up Counter Space
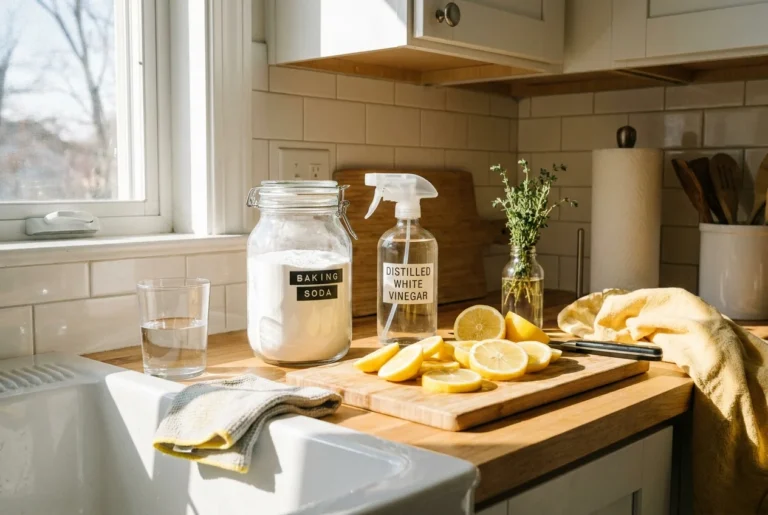
Countertop knife blocks consume prime real estate in a compact kitchen. Removing that bulky wooden block instantly gives you more room to chop, mix, and plate your meals. Magnetic knife strips mount flat against your backsplash, utilizing vertical space that otherwise sits completely empty. You can mount these strips over your sink or adjacent to your main prep area, keeping dangerous blades safely elevated and away from the edges of your counters.
Beyond just knives, strong magnetic strips hold metal kitchen shears, heavy spice tins, and small metal whisk attachments. When selecting a strip, choose a model equipped with neodymium magnets to ensure heavy chef’s knives stay securely fastened without sliding down the wall.
- Clean the wall surface thoroughly with rubbing alcohol before applying adhesive-backed strips to ensure a permanent bond.
- If you must drill into a tile backsplash, purchase a specialized diamond-tipped drill bit and apply masking tape over the drill site to prevent the tile from cracking.
- Space your knives evenly along the rack, keeping the heaviest handles oriented toward the bottom so gravity works in your favor.
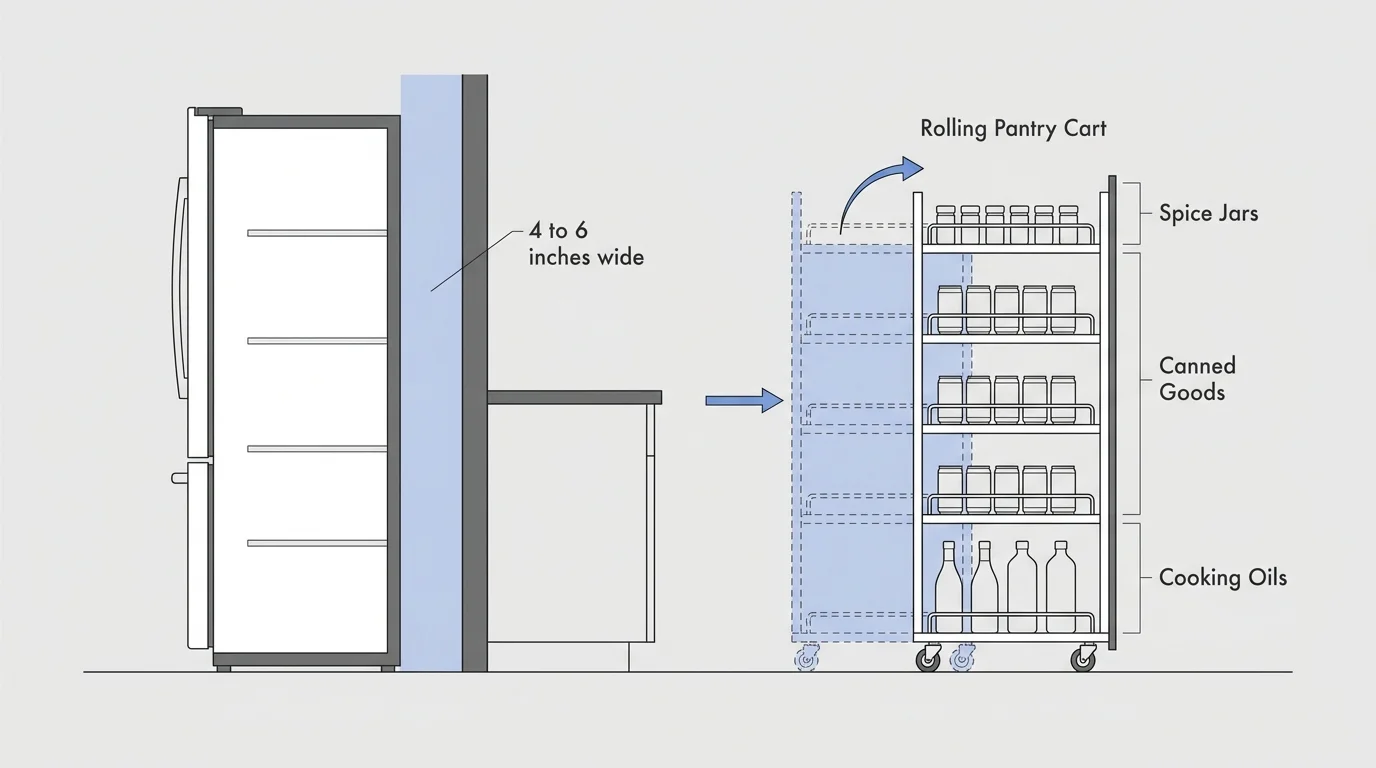
2. Capitalize on the Gap Between Your Fridge and Wall
Take a close look at the area surrounding your major appliances; you likely have a narrow gap between your refrigerator and the adjacent wall or base cabinet. Even if this space measures just four to six inches wide, it represents valuable, untapped storage potential. Slim, rolling pantry carts slide perfectly into these crevices, giving you a hidden, multi-tiered column of shelving for items that usually clutter your main cupboards.
Use this rolling cart to store small spice jars, slender canned goods, cooking oils, and bottles of vinegar. Because the cart pulls out completely into the room, you eliminate the frustrating experience of digging through a deep, dark cabinet to find a single jar of cumin. When you finish cooking, you simply push the cart back into the gap, instantly hiding your pantry staples out of sight.
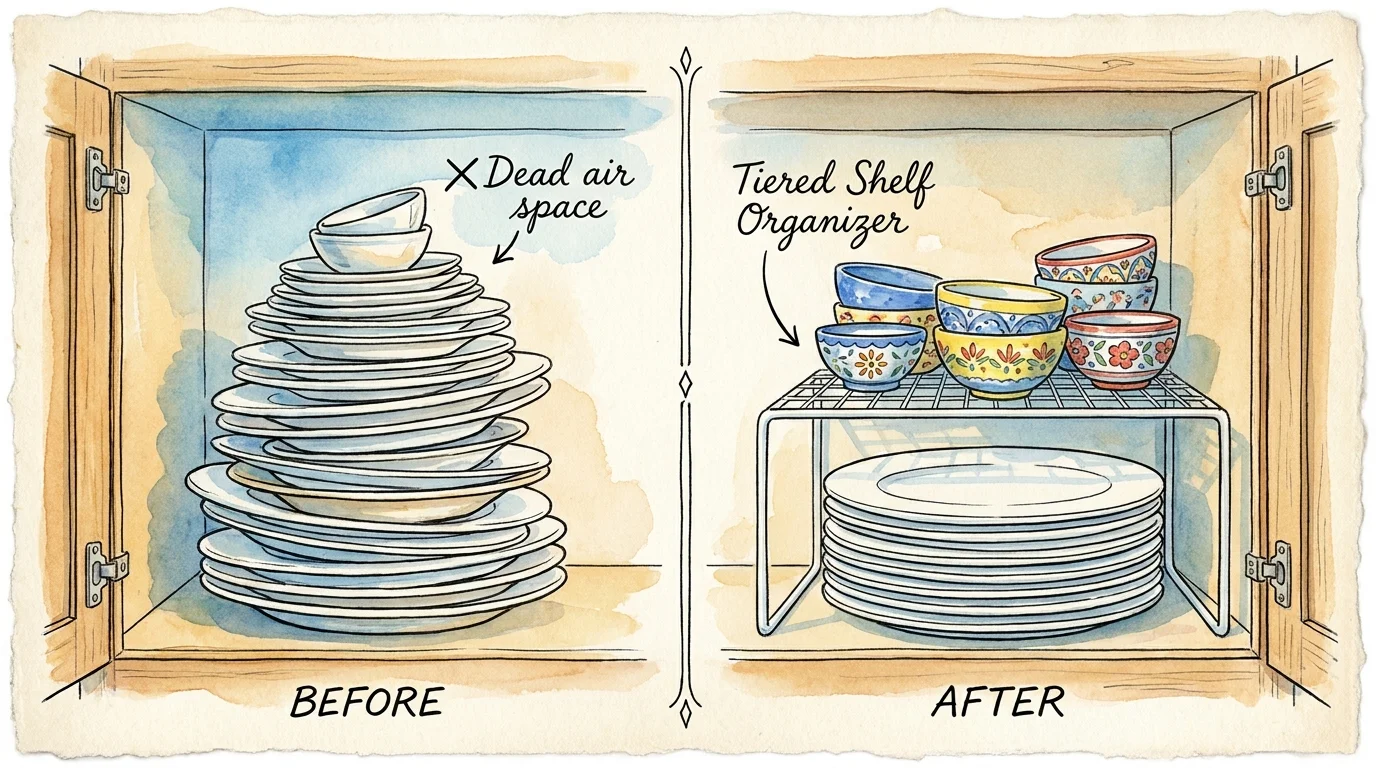
3. Maximize Cabinet Height with Tiered Shelf Organizers
Tight kitchens inherently feature fewer cabinets, meaning you must maximize every cubic inch of the ones you do have. Most standard builder-grade cabinets lack adequate shelving, leaving a large gap of wasted air above your stacks of plates, bowls, and coffee mugs. Instead of piling heavy dishes precariously high, insert tiered wire shelf risers to double your usable horizontal surface area.
Shelf risers act as miniature tables inside your cabinet. You place your large dinner plates underneath the riser and stack your smaller salad plates or dessert bowls on top. This prevents ceramic edges from chipping and makes grabbing a single dish effortless since you no longer have to lift a heavy stack off the top.
| Organizer Type | Best Used For | Space Maximized |
|---|---|---|
| Wire Shelf Risers | Plates, bowls, and coffee mugs | Dead air space in tall cabinets |
| Undershelf Wire Baskets | Cloth napkins, tortillas, and bread | The gap directly beneath a solid wooden shelf |
| Tiered Step Racks | Spices, vanilla extract, and small cans | Visibility and depth in narrow cupboards |

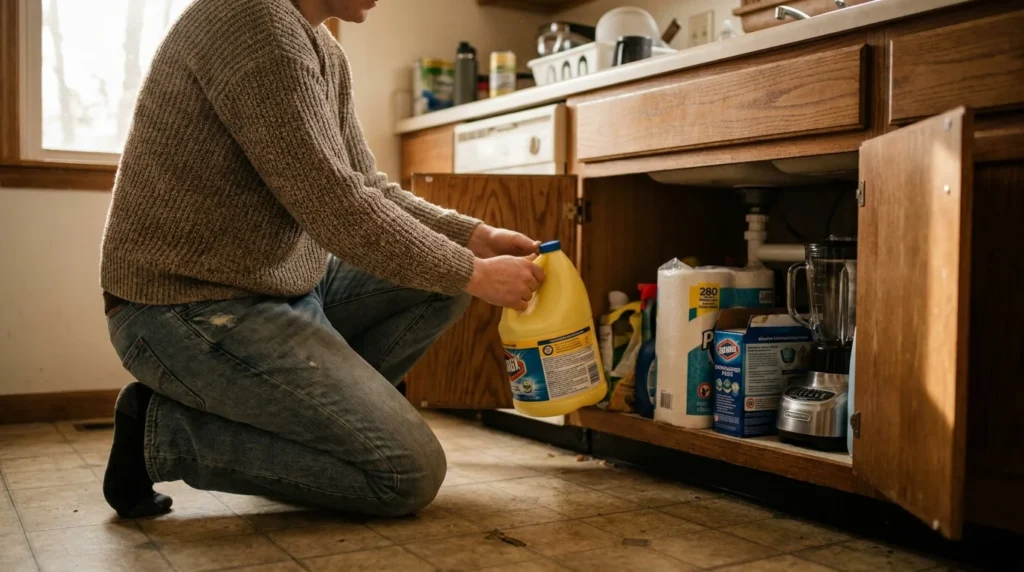
4. Relocate Your Pantry Items to Safer, Cooler Zones
Small kitchens often force you to stash food wherever it happens to fit, which sometimes means keeping fragile spices, expensive olive oils, or boxed dry goods in the cabinets directly above the stove or refrigerator. This common habit ruins your ingredients and wastes your money. The USDA warns that storing food in high temperatures—specifically above 85 degrees Fahrenheit—significantly accelerates spoilage, alters delicate flavors, and destroys nutritional value.
Instead of treating heat-exposed cabinets as functional pantry space, relocate your dry goods to a cooler, darker area of your apartment or home. Aim to keep your food storage in an environment between 50 and 70 degrees Fahrenheit. Reserve those warm, over-the-stove cabinets strictly for heat-resistant hardware like ceramic mixing bowls, metal baking sheets, or glass vases. If your kitchen layout lacks a cool pantry corner, designate a shelf in an adjacent hallway closet or a dining room sideboard to safely hold your dry goods.
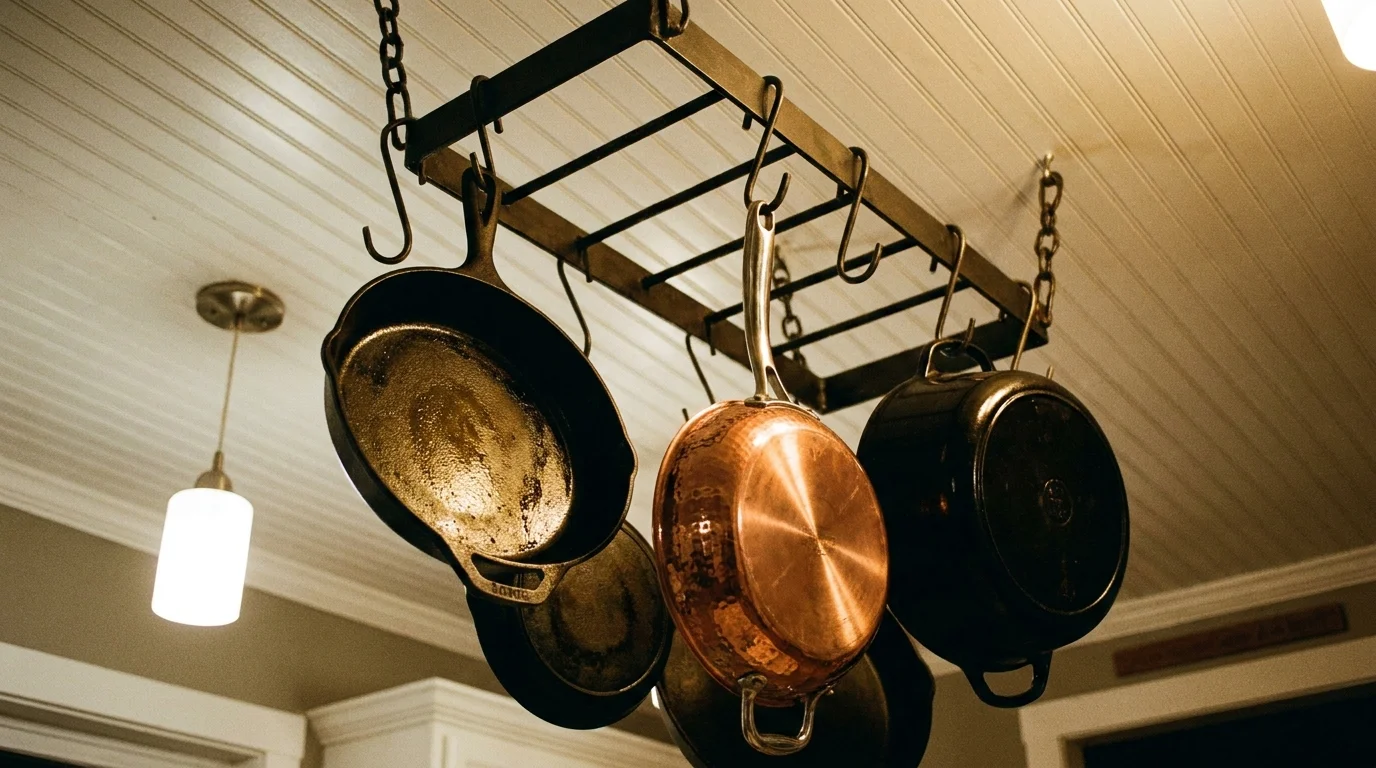
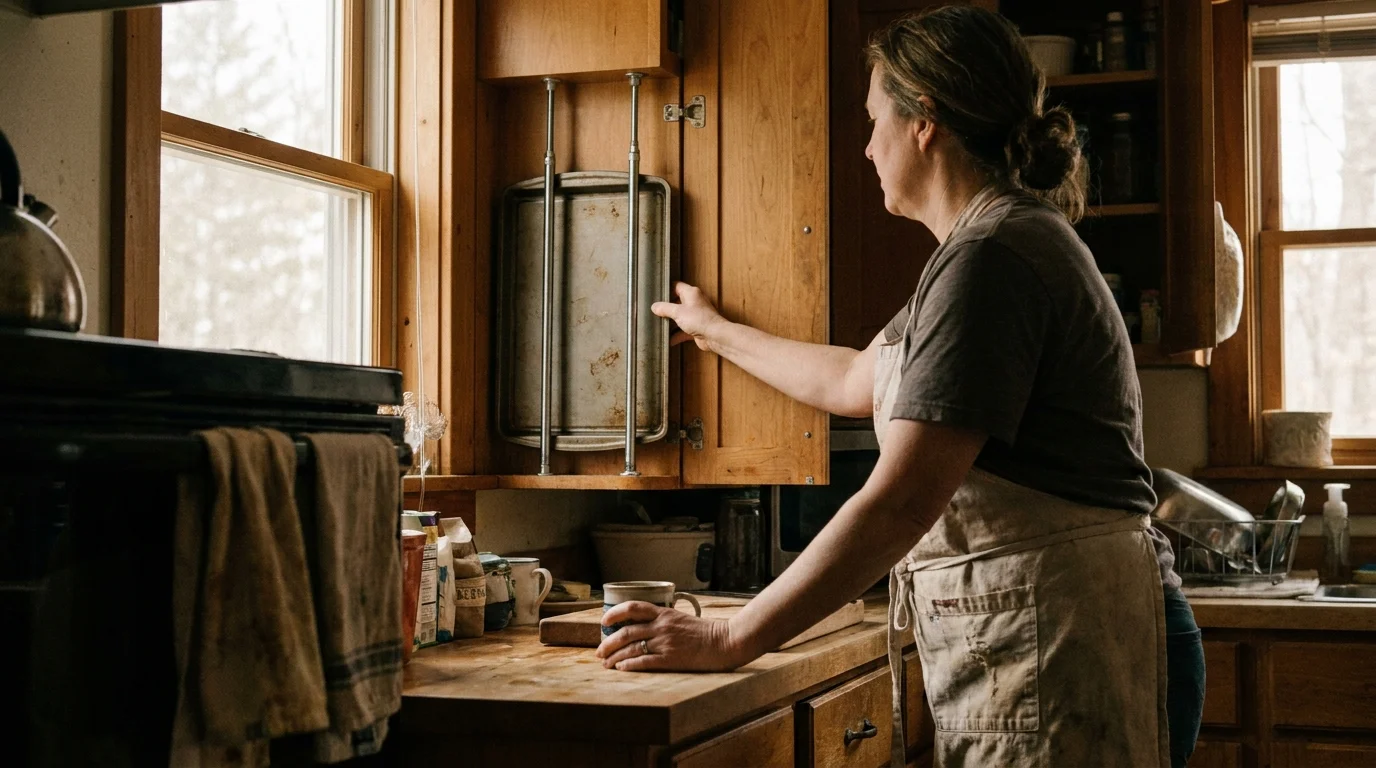
5. Mount a Ceiling or Wall Rack for Heavy Cookware
Pots, pans, and large skillets rank among the most frustrating items to store in a tiny kitchen layout. Their long handles and irregular circular shapes eat up massive amounts of cabinet volume. Hanging your cookware on a heavy-duty ceiling or wall-mounted rack completely removes them from your cupboards, opening up vast amounts of space for your small appliances and mixing bowls.
When installing a hanging rack, you must prioritize structural safety and local fire codes. The National Fire Protection Association (NFPA) Standard 96 dictates safe clearances between combustible materials and cooking equipment; never hang wooden utensils, cloth dish towels, or low-hanging pans directly over an open gas flame.
Furthermore, metal cookware is incredibly heavy. The Consumer Product Safety Commission (CPSC) notes that drywall anchors frequently fail under sustained heavy loads because the drywall itself crumbles before the mounting strap breaks. Always anchor your heavy pot racks directly into wooden ceiling joists or wall studs using a reliable stud finder. If you absolutely must mount a lightweight rack without stud support, skip the basic plastic push-in sleeves and use heavy-duty steel toggle bolts rated to hold at least 80 pounds.
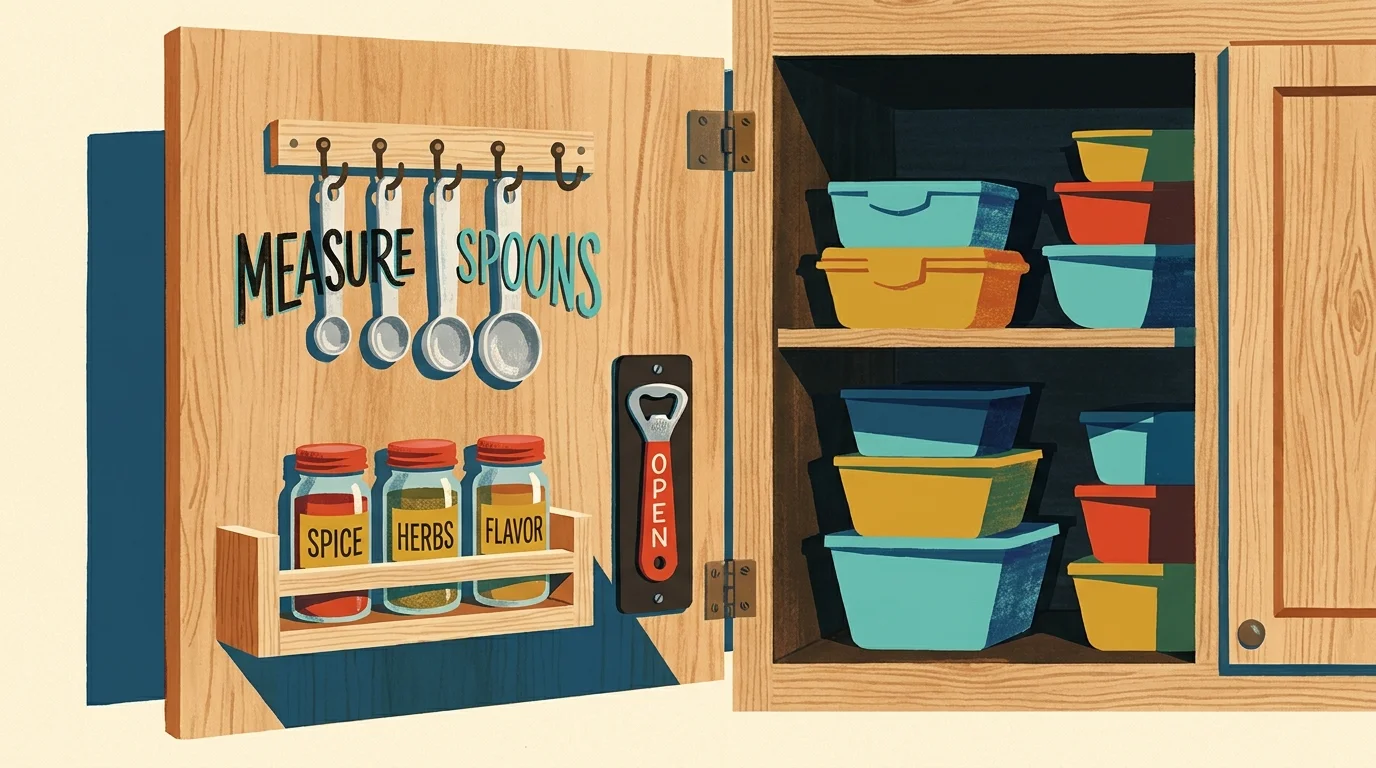
6. Transform the Inside of Your Cabinet Doors
Open the doors under your sink or your main upper cabinets and look at the blank, flat surface on the inside. That smooth expanse offers prime real estate for lightweight kitchen organization. By attaching over-the-door hooks, adhesive plastic caddies, or small magnetic strips directly to the interior of your cabinet doors, you immediately create new storage compartments out of thin air.
Inside the under-sink door, attach a simple wire basket to hold your liquid dish soap, extra sponges, and dishwasher pods. On the inside of your upper cabinet doors, mount a row of lightweight adhesive hooks to hang your measuring cups and spoons. This keeps your essential baking tools highly accessible without cluttering your main cutlery drawer.
You can also purchase specialized wire racks designed specifically to hold awkward pot lids. Glass and metal lids often slide around and block other items from sitting flat, but an over-the-door lid organizer holds them securely against the wood. Ensure you clean the wood surface with rubbing alcohol and let it dry completely before pressing any adhesive hooks into place.
7. Use Tension Rods for Vertical Pan and Board Storage
Heavy cutting boards, metal baking sheets, and muffin tins create a noisy, messy avalanche when you stack them flat on top of each other. Pulling the bottom pan out usually drags the rest of the stack onto the floor. Vertical storage solves this problem entirely by allowing you to slide individual items out just like pulling books off a bookshelf. While buying specialized wooden or metal dividers can get expensive, you can build your own custom system for a few dollars.
You can create highly adjustable vertical dividers using inexpensive spring-loaded tension rods—the exact same short rods you might use to hang a tiny window valance.
- Empty your lower cabinet completely and wipe down both the top and bottom interior surfaces.
- Measure the exact height between the bottom floor of the cabinet and the shelf directly above it to ensure you purchase the correct length tension rods.
- Place a non-slip silicone mat on the bottom of the cabinet to prevent the rods and heavy pans from shifting.
- Twist the first tension rod until it expands and fits snugly between the top and bottom of the cabinet, positioning it about three inches from the left wall.
- Install a second tension rod roughly three inches to the right of the first one.
- Continue placing tension rods at two- to three-inch intervals across the entire width of the cabinet.
- Slide your baking sheets, large platters, and wooden cutting boards upright into the newly created vertical slots.
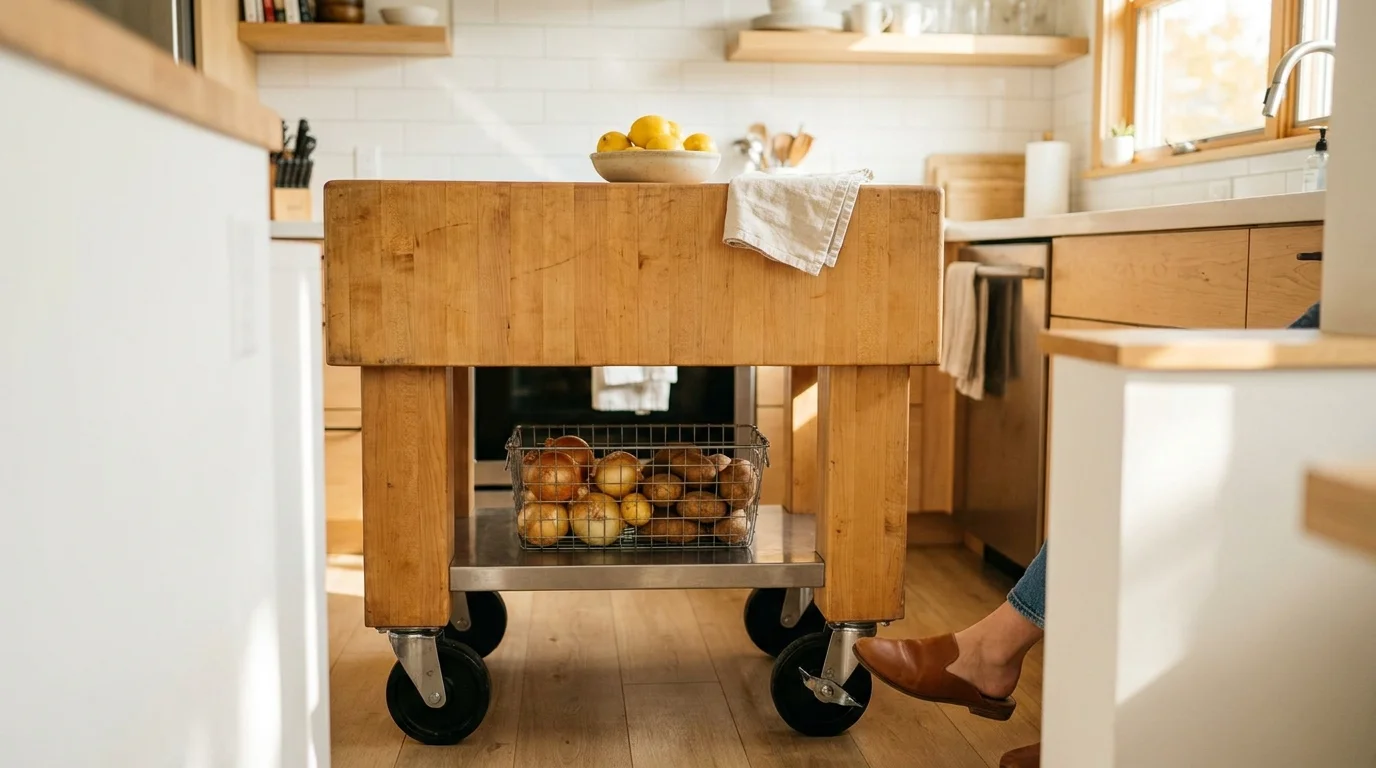
8. Roll Out a Mobile Kitchen Cart or Island
When your kitchen lacks both physical storage space and a usable prep surface, a mobile kitchen cart provides the ultimate dual-purpose solution. A massive, built-in kitchen island remains a pipe dream for most small apartment dwellers, but a rolling utility cart delivers the exact same benefits on a much more practical, adaptable scale.
You gain a solid butcher-block or stainless steel top for chopping fresh vegetables and resting hot pans, while the sturdy shelves below comfortably hold your bulky, awkward appliances like a slow cooker, blender, or heavy stand mixer. The mobility of the cart makes it perfect for tight layouts; you can roll it directly into the center of the kitchen while cooking a large holiday meal, then push it flush against a wall or tuck it into an adjacent room when you finish.
Always look for a utility cart equipped with heavy-duty lockable caster wheels. You need the entire cart to remain completely stationary and rigid while you wield a sharp chef’s knife or vigorously knead a heavy bread dough.
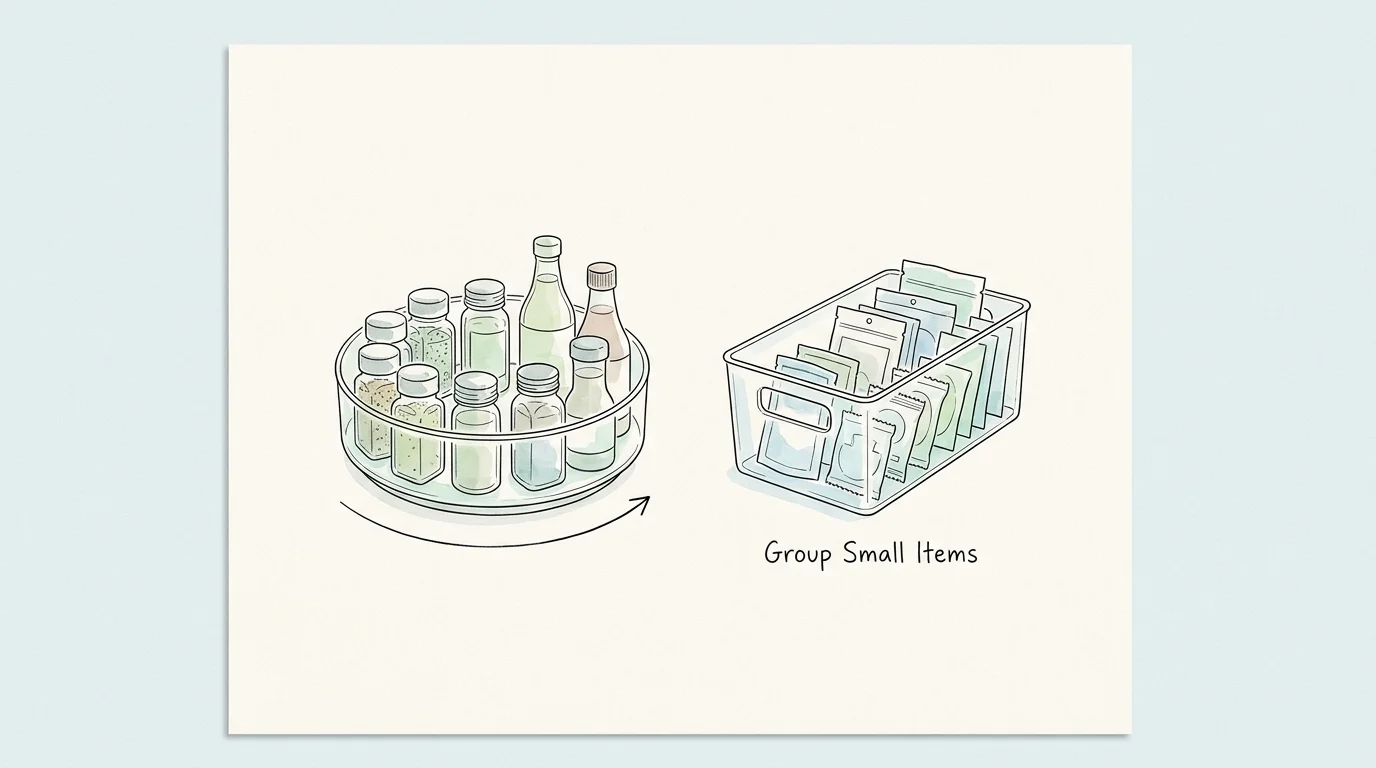
9. Group Small Items in Turntables and Clear Bins
Deep corner cabinets and tall pantry shelves often become a dark graveyard for expired food and forgotten cooking gadgets. When you cannot easily see or physically reach the items hiding in the back, you inevitably stop using them. Turntables, commonly known as Lazy Susans, fix this accessibility problem by bringing the back of the cabinet right to the front with a simple spin.
Place a sturdy turntable on your pantry shelf to wrangle loose condiments, sticky hot sauces, and peanut butter jars. Instead of blindly knocking over five different bottles to reach the soy sauce in the back, you just rotate the platform until the item appears.
For deep lower shelves that do not accommodate a circular turntable, use long, clear acrylic bins to group similar items together. Create one specific bin for your baking supplies, one for bagged snacks, and one for boxed pasta. When you need to find a specific ingredient, you pull the entire bin out like a sliding drawer, retrieve what you need, and push it back. The clear plastic walls ensure you can always verify your grocery inventory at a glance.
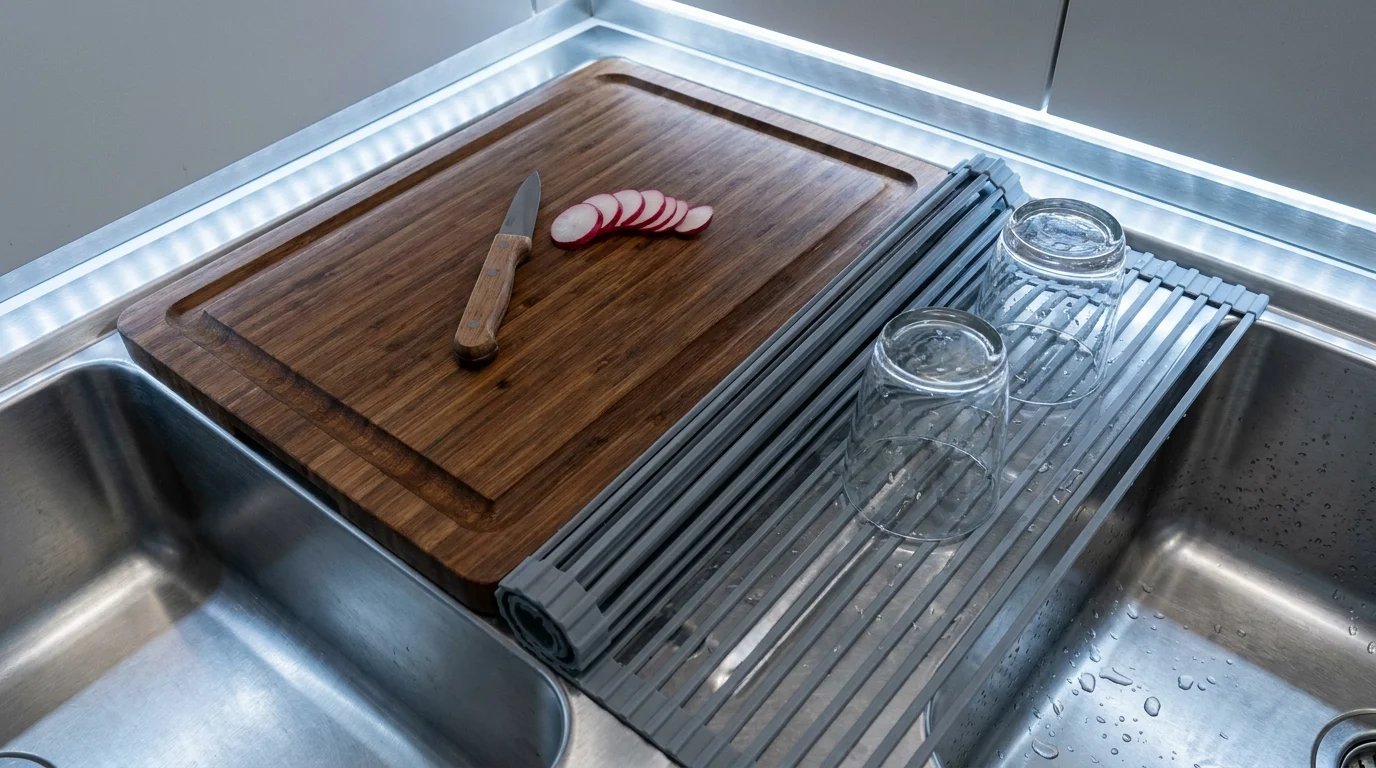
10. Implement Over-the-Sink Cutting Boards and Drying Racks
Your kitchen sink takes up a disproportionately large portion of your limited counter space, but you only use the basin actively when washing dishes, filling pots, or rinsing produce. For the rest of the day, that large open rectangle just sits there unused. You can easily reclaim that physical footprint by investing in smart over-the-sink accessories.
An over-the-sink cutting board spans perfectly across the edges of your basin, instantly extending your flat countertop. Many modern models feature a built-in collapsible colander on one side, allowing you to wash wet vegetables, let them drain directly into the sink, and slide them straight onto the chopping surface without dripping water across the room.
Similarly, a roll-up stainless steel drying rack stretches securely across the sink to hold wet dishes, freshly washed produce, or scorching hot pans. Because the metal bars allow air to circulate freely, your dishes dry faster. When you finish using the rack, you simply roll it into a tight cylinder and tuck it away in a shallow drawer. This completely eliminates the need for a bulky, permanent plastic dish drainer taking up permanent residence on your counter.
Your practical next step: Choose exactly one cabinet or drawer in your kitchen today. Pull every single item out, wipe the interior clean, and put back only the tools you actually use on a weekly basis. Apply just one of the vertical storage or door-mounting techniques listed above to that specific space, and experience the immediate difference an organized zone makes in your daily routine.