If you want to cut your household budget and reclaim cabinet space, the cleaning aisle is the first place you should evaluate. You do not need a massive collection of specialized sprays, tablets, and liquids to maintain a spotless home. In fact, many highly marketed cleaning products perform worse than basic household staples, and some actively damage the surfaces and systems they are supposed to protect. Shedding these unnecessary purchases simplifies your weekly chore routine while eliminating harsh chemicals from your living space. By making a few strategic swaps, you can protect your wallet, extend the lifespan of your home’s plumbing, and achieve a cleaner, fresher environment with a fraction of the effort.
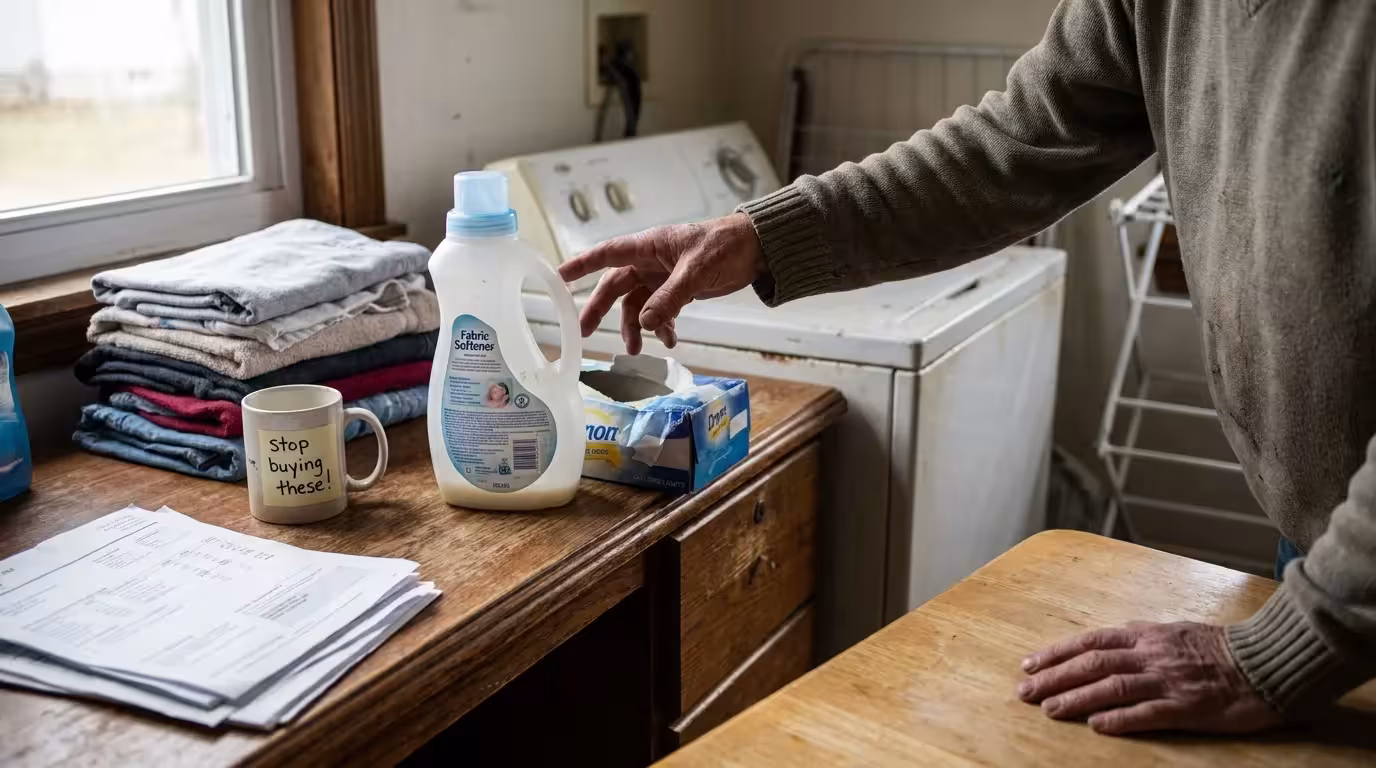
1. Liquid Fabric Softeners and Scented Dryer Sheets
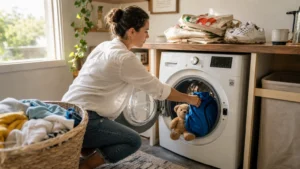
Fabric softeners promise fluffy, fresh-smelling laundry, but they achieve this by coating your clothes in a thin layer of synthetic wax and animal fats. Over time, this residue builds up. It destroys the moisture-wicking properties of your expensive workout gear and renders your bath towels entirely non-absorbent. Furthermore, the waxy barrier actually traps dirt and body oils in the fabric, which causes a permanent musty odor to develop inside your washing machine drum. Medical and dermatological experts note that fabric softeners frequently contain chemical compounds that trigger skin irritation and respiratory issues.
If you have been using fabric softener for years, your clothes and towels are likely holding onto a heavy residue. You can easily strip this waxy buildup using a simple technique:
- Wash your items in hot water with one cup of white vinegar. Do not add any laundry detergent or fabric softener.
- Run a second wash cycle immediately after, this time using half a cup of baking soda and hot water.
- Dry your items as usual using wool dryer balls instead of dryer sheets.
This two-step process breaks down the synthetic waxes and neutralizes trapped odors, leaving your towels incredibly soft, highly absorbent, and genuinely clean without the need for artificial softening agents.
2. Antibacterial Hand and Dish Soaps
Marketing campaigns have convinced many of us that plain soap is insufficient for protecting our families from household germs. You might naturally reach for the brightly colored pump bottle labeled as antibacterial, assuming it offers superior protection. However, the data simply does not support this claim.
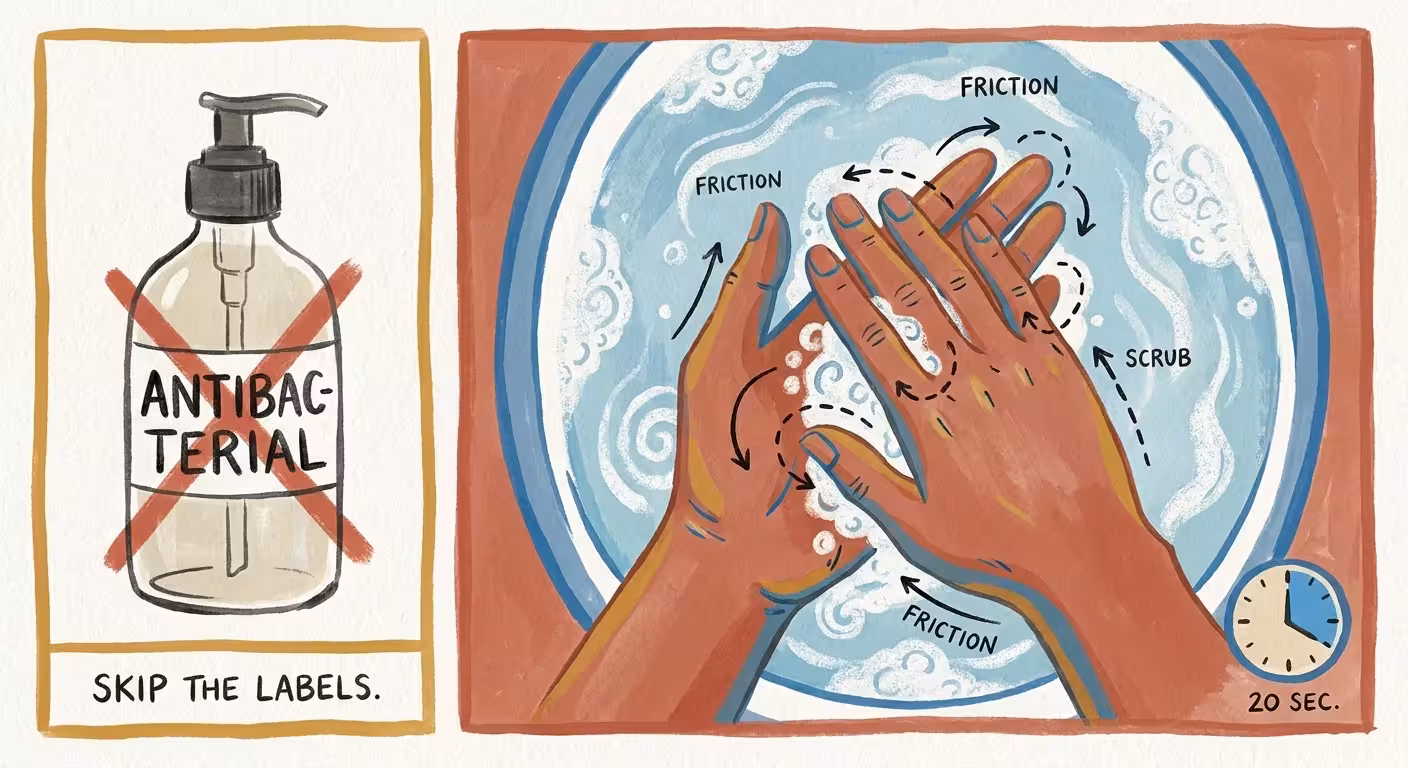
The U.S. Food and Drug Administration (FDA) clearly states that there is no scientific evidence showing over-the-counter antibacterial soaps are any better at preventing illness than washing with plain soap and water. Regular soap works mechanically; its molecules bind to water and oil, actively lifting dirt, grease, and pathogens off your skin so they rinse down the drain. Antibacterial additives only add unnecessary chemicals to your home and the broader environment. Save your money and stick to standard, affordable hand and dish soaps.
Instead of relying on harsh chemicals, focus on the mechanical action of handwashing. The true secret to removing germs is the friction you create. Follow these practical steps for effective hand hygiene:
- Wet your hands with clean, running water.
- Apply a generous pump of basic liquid soap.
- Lather your hands by rubbing them together vigorously. Be sure to scrub the backs of your hands, between your fingers, and under your nails.
- Scrub for at least twenty seconds.
- Rinse thoroughly under clean, running water and dry completely with a clean towel.
3. Harsh Chemical Drain Cleaners
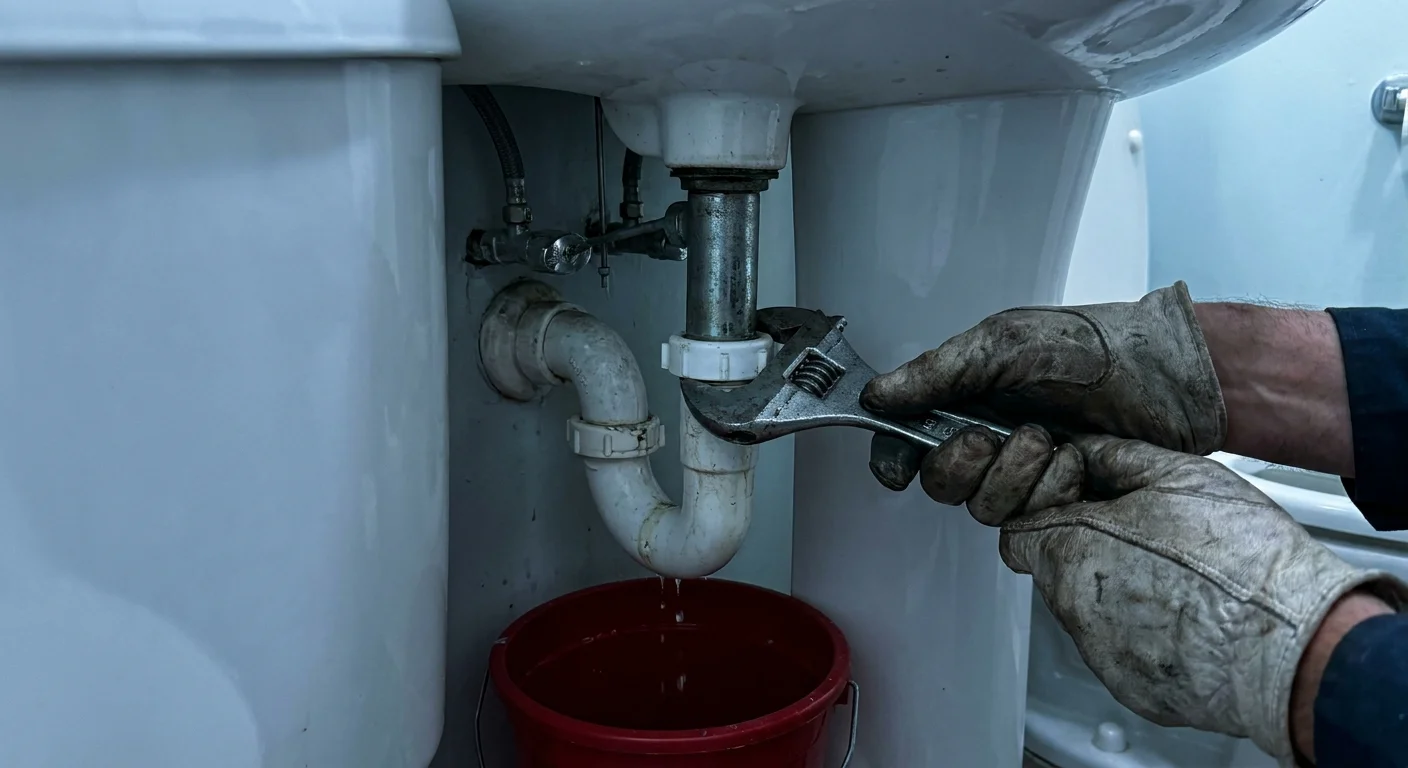
When the bathroom sink backs up, pouring a jug of thick, chemical drain cleaner down the pipes seems like the fastest and cheapest solution. In reality, you are risking thousands of dollars in plumbing damage.
Chemical drain openers rely on caustic substances like sodium hydroxide or sulfuric acid to generate intense heat, which theoretically melts the clog. Unfortunately, this violent chemical reaction does not distinguish between a clump of hair and your home’s plumbing infrastructure. Professional plumbers consistently warn that these intense chemical reactions can soften PVC piping and corrode older metal pipes, leading to expensive structural leaks. Furthermore, if the chemical fails to clear the blockage, you now have a sink full of highly toxic, skin-burning acid that a plumber must safely extract before they can even begin the repair.
To safely clear a slow-draining bathroom sink or shower without resorting to chemicals, follow this simple process:
- Purchase a barbed plastic drain snake. These flexible, inexpensive tools are available at any hardware store.
- Remove the sink stopper. You may need to unscrew the pivot nut located under the sink behind the drainpipe to pull the stopper completely out.
- Push the plastic drain snake directly down into the drain hole until you feel resistance.
- Twist the handle of the snake a few times to snag the hair and soap scum causing the blockage.
- Slowly pull the snake back out. Use a paper towel to wipe the extracted debris off the tool and throw it in the trash.
- Run hot water down the drain for one minute to flush away any remaining loose particles.
4. Drop-In Toilet Tank Bleach Tablets
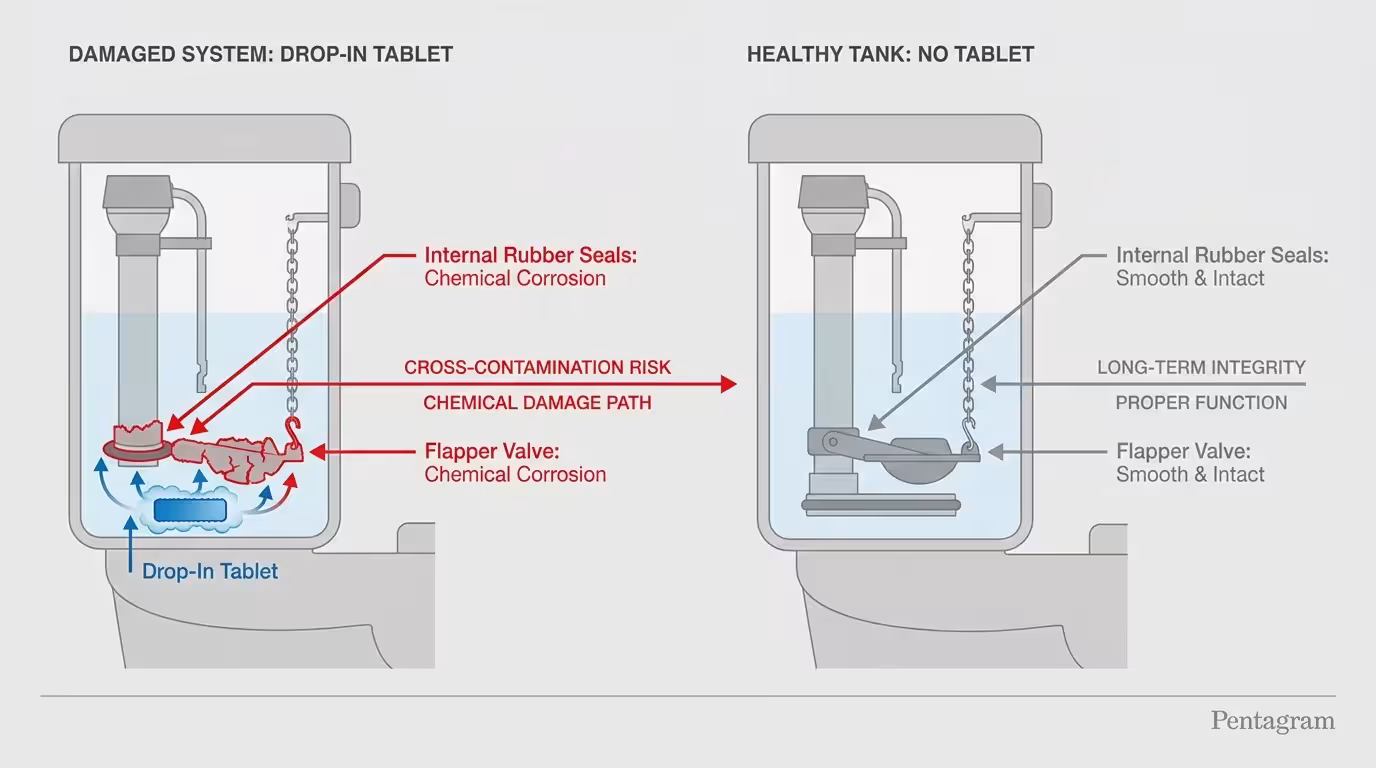
Those puck-sized blue and white tablets promise a self-cleaning toilet with zero scrubbing. You just lift the tank lid, drop one in, and let the chemicals do the heavy lifting. Unfortunately, this convenience comes at a steep cost to your bathroom fixtures.
The concentrated chlorine bleach continually dissolving inside your toilet tank attacks the rubber and plastic components that control your flush mechanism. Over a few months of constant exposure, rubber flappers become brittle, warp, and disintegrate. This degradation causes the flapper to lose its watertight seal, leading to a continuously running toilet that inflates your monthly water bill. Plumbing experts note that continuous exposure to harsh chemicals in the tank eats away at rubber flappers and plastic flush valves, which often leads to constant leaks and even voided manufacturer warranties.
If you want to maintain a clean, odor-free toilet without damaging your tank components, establish a weekly maintenance routine using safer products:
- Apply a liquid toilet bowl cleaner directly under the inner rim of the bowl, allowing it to coat the porcelain walls.
- Let the cleaner sit for ten minutes to break down hard water stains and mineral deposits.
- Use a stiff-bristled toilet brush to thoroughly scrub the bowl, paying special attention to the water line and the rim jets.
- Flush the toilet to rinse the bowl and clean the brush simultaneously. Trap the wet brush head between the toilet seat and the rim to let it drip dry before putting it away.
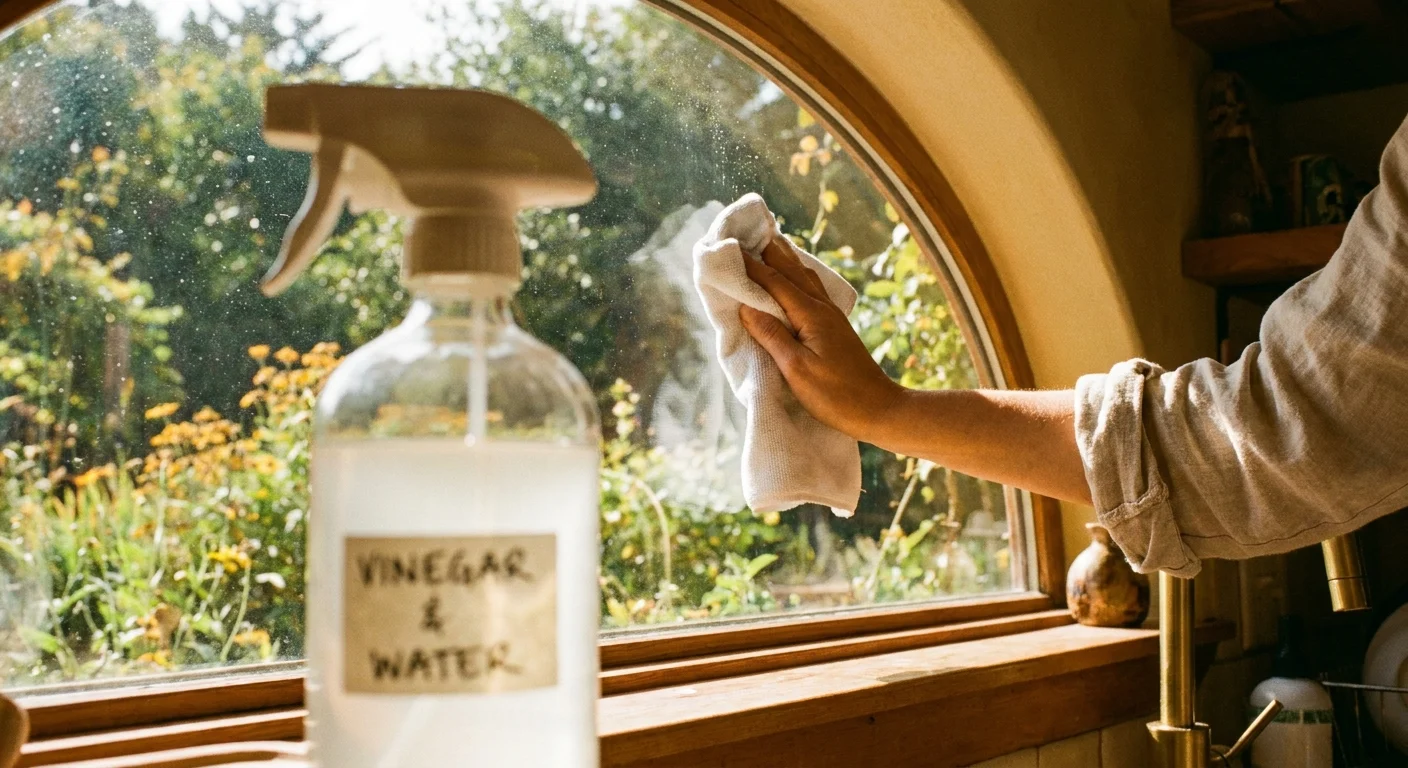
5. Specialized Blue Glass Cleaners
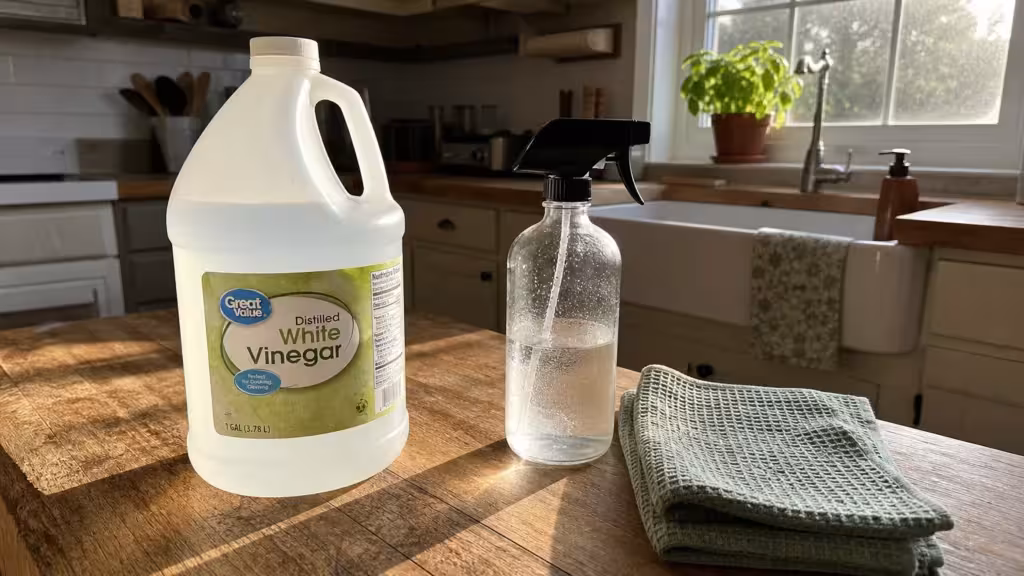
The familiar blue liquid we use to clean windows and mirrors is largely composed of water, a touch of ammonia, and blue dye. While it does cut through light smudges, it evaporates rapidly, which often leaves streaks behind if you do not wipe quickly enough. Buying bottle after bottle of commercial glass cleaner drains your budget for a product you can easily replicate at home for pennies.
You can achieve a flawless, streak-free shine using simple ingredients from your pantry. Creating your own highly effective glass cleaner requires only three basic components and an empty spray bottle. Here is the exact recipe for a streak-free shine:
- One cup of distilled water: Always use distilled water rather than tap water. Tap water contains calcium and magnesium minerals that dry on the glass and cause white streaks.
- One cup of distilled white vinegar: The natural acetic acid powers through oily fingerprints, dog droppings, and toothpaste splatters.
- One drop of liquid dish soap (optional): For exterior windows covered in thick pollen or dirt, a single drop of dish soap breaks the surface tension and lifts the grime.
Shake the mixture gently before each use. Spray the solution onto your windows or mirrors and wipe them down using a clean microfiber cloth folded into quarters. Wipe in a horizontal pattern, starting at the top corner and working your way down to prevent dripping.
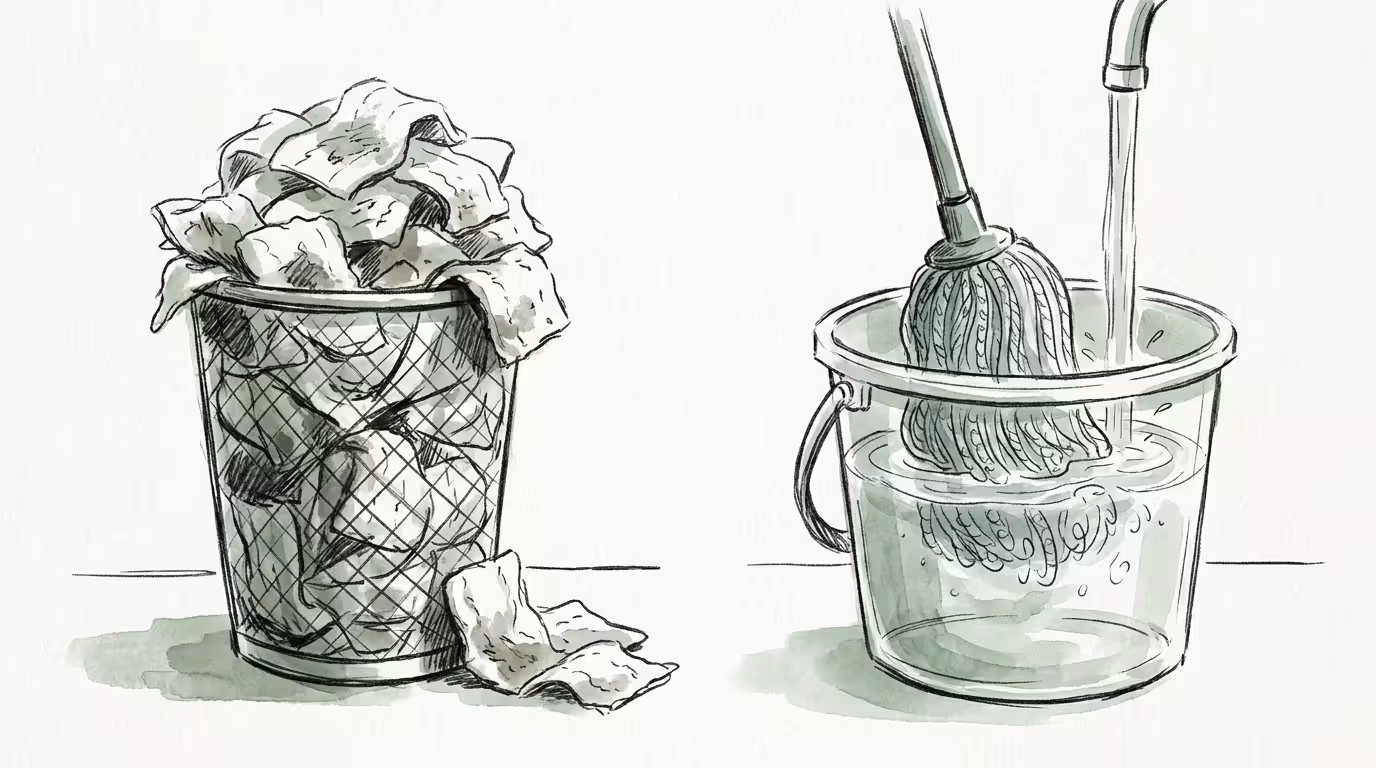
6. Disposable Mopping Pads and Refills
The invention of the lightweight stick mop with disposable wet pads revolutionized floor cleaning by eliminating the heavy bucket. However, the razor-and-blade business model forces you to continually buy expensive boxes of single-use pads and proprietary cleaning solution refills. Over a year, this habit easily costs you over a hundred dollars, while sending massive amounts of non-biodegradable synthetic waste to the landfill.
You can keep the convenience of a quick spray mop without the recurring expense. Upgrade to a mop handle that uses thick, washable microfiber pads and features a refillable reservoir tank. Microfiber features microscopic hooks that physically grab and trap dust, pet hair, and dried dirt far better than smooth disposable papers. You can fill the reservoir with a highly diluted mixture of warm water and a few drops of dish soap or a neutral floor cleaner.
Maintaining a reusable microfiber mop system is incredibly simple, provided you care for the pads correctly. To ensure your pads last for hundreds of washes and retain their dirt-grabbing capabilities, keep these washing rules in mind:
- Always wash microfiber pads separately from cotton towels or clothing. Microfiber acts like a magnet for lint, and washing it with cotton will permanently clog the microscopic hooks.
- Use a mild liquid laundry detergent and wash on a warm or hot water setting.
- Never use fabric softener or bleach. As discussed earlier, fabric softener coats the fibers in wax, completely ruining the pad’s ability to absorb water and pick up dirt.
- Air dry the pads or tumble dry them on the lowest possible heat setting. High heat from a clothes dryer can actually melt the synthetic fibers.
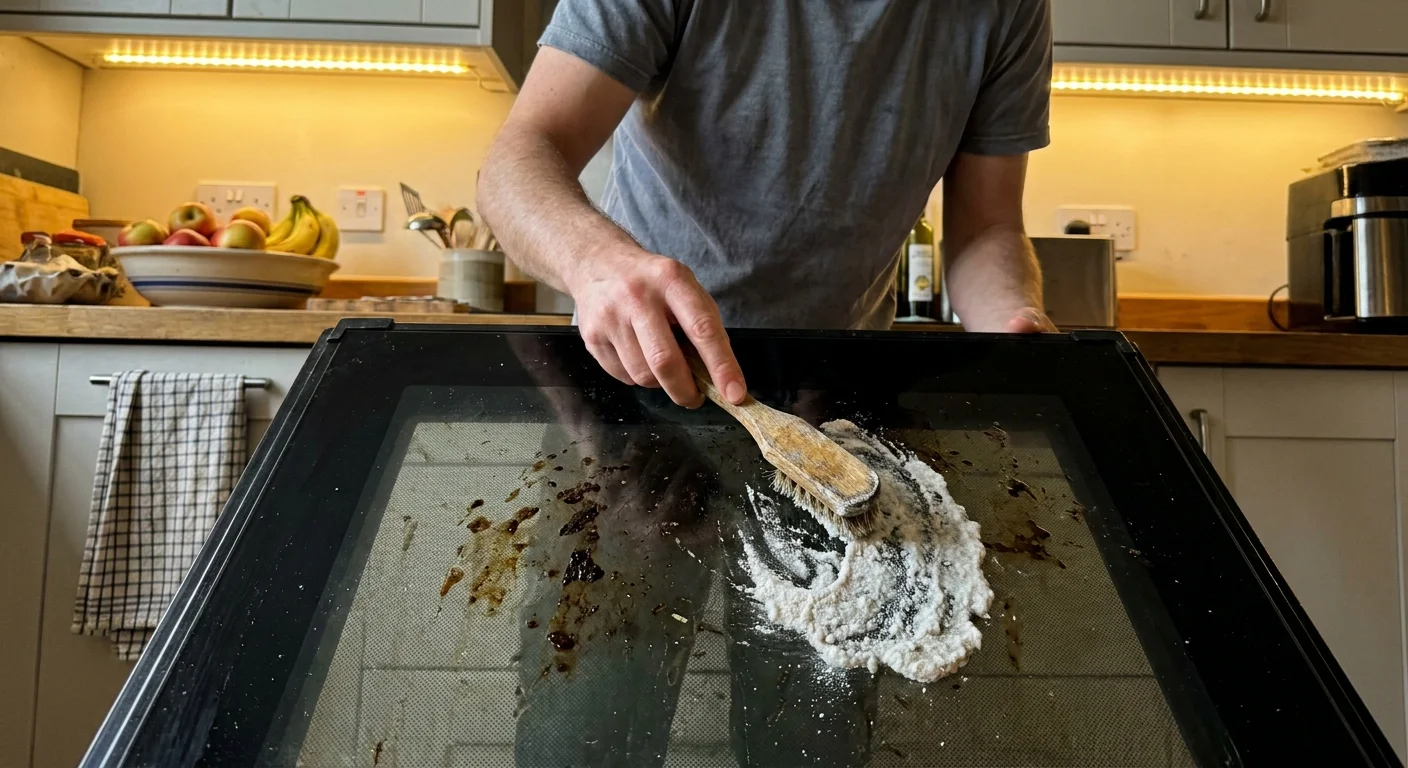
7. Heavy-Duty Chemical Oven Cleaners
Commercial oven cleaning sprays are among the most toxic products sold in the cleaning aisle. They typically contain corrosive alkalis like lye, which emit noxious fumes that burn your eyes, irritate your lungs, and require heavy rubber gloves to handle safely. If you fail to wipe every trace of the chemical away, your oven will bake those toxic fumes directly into your next meal.
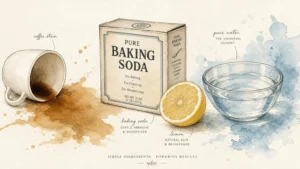
You can break down baked-on carbon and grease using the most basic baking ingredient in your pantry. If you are dealing with severely burnt-on messes, follow this safe, fume-free oven cleaning process:
- Ensure your oven is completely cool. Remove the wire racks and soak them in your kitchen sink with hot water and a squirt of dish soap.
- Mix half a cup of baking soda with just enough water to form a thick, spreadable paste. It should resemble the consistency of pancake batter.
- Using a silicone spatula or your gloved hands, spread the paste heavily over the greasy areas and baked-on carbon on the floor and walls of the oven. Avoid the heating elements entirely.
- Close the oven door and leave the paste to sit for at least twelve hours. During this time, the baking soda will absorb the grease and break down the burnt debris.
- The next morning, wipe out as much dried paste as possible using a damp rag.
- Spray any stubborn, remaining paste with straight white vinegar to trigger a foaming action; this neutralizes the baking soda and loosens the final bits of grime. Give it a final wipe with a clean, wet sponge.
It requires a bit more time to sit—but it requires zero scrubbing and zero hazmat gear.

8. Single-Purpose Hardwood and Tile Floor Cleaners
Manufacturers want you to believe that your laminate floors require one specific bottle, your ceramic tiles require another, and your sealed hardwoods demand a third. This marketing tactic clutters your utility closet and drains your wallet.
Unless your flooring manufacturer explicitly requires a specialized wax or oil, a high-quality, pH-neutral cleaner diluted in warm water is safe and effective for almost every hard surface in your home. In fact, many specialized floor cleaners contain heavy waxes and acrylics that build up over time, leaving your floors looking dull, milky, and permanently sticky. Stick to a simple solution of hot water and a minuscule drop of dish soap. The soap gently lifts the dirt without leaving a heavy film behind.
The key to protecting laminate, hardwood, and tile floors is controlling the amount of moisture you apply. Excess water seeps into the seams of laminate and hardwood, causing the planks to warp and buckle over time. Follow these best practices for mopping any hard floor:
- Vacuum or sweep the floor thoroughly before you begin. Mopping over loose dirt essentially turns your mop into wet sandpaper, scratching the finish of your floor.
- Mix one gallon of hot water with just two or three drops of liquid dish soap in a bucket.
- Dip your mop into the solution and wring it out completely. The mop should be barely damp, not dripping.
- Mop the floor in small sections, following the grain of the wood or the length of the laminate planks to minimize visible streaks.
- Turn on a ceiling fan or open a window to ensure the floor dries within five minutes. If it takes longer to dry, you are using too much water.
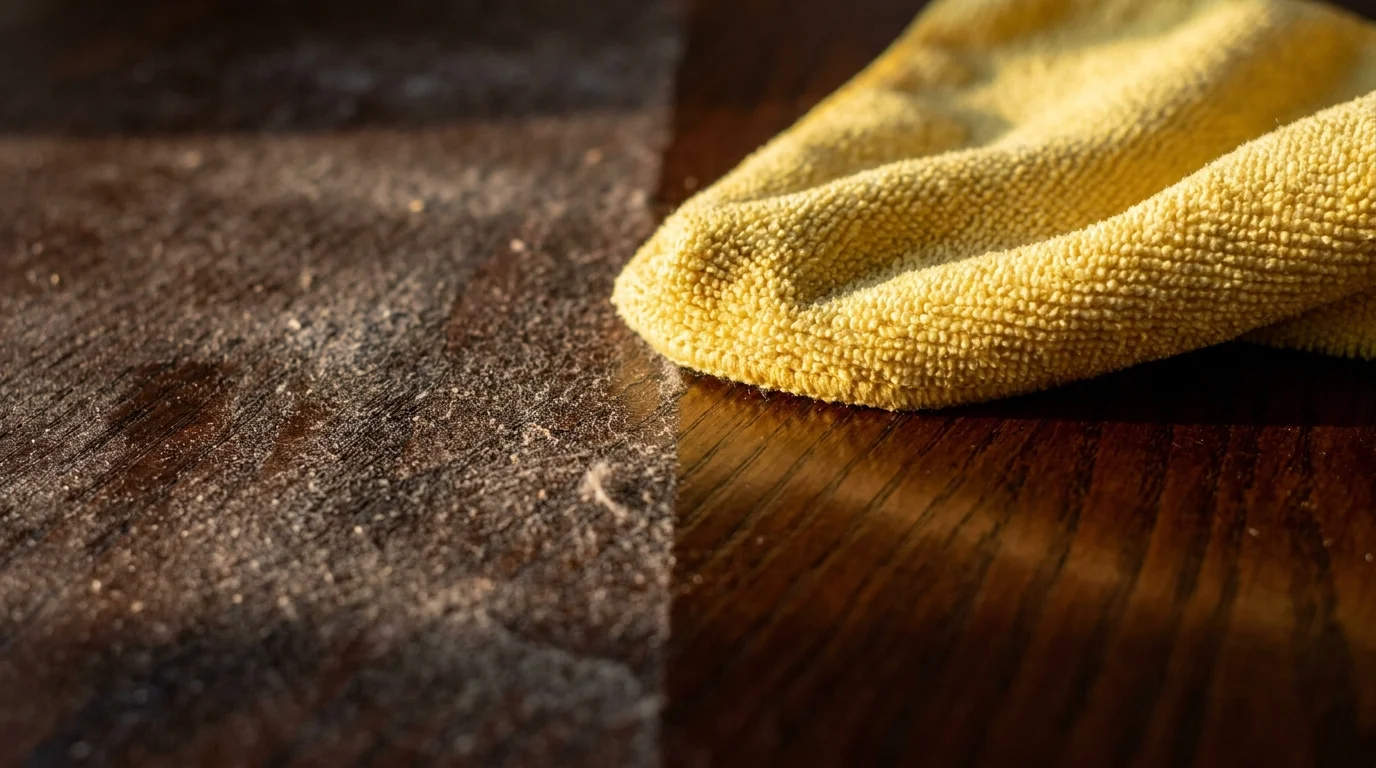
9. Pre-Moistened Dusting and Cleaning Wipes
Grabbing a pre-moistened wipe to wipe down the kitchen counter feels efficient, but these convenience items deliver terrible value. They dry out quickly in the canister, force you to use multiple sheets for a single task, and smear dirt around once the initial moisture evaporates. Furthermore, they are almost entirely made of plastic fibers, meaning they never break down in the environment.
A stack of high-quality microfiber cleaning cloths paired with an all-purpose spray bottle is vastly superior. Microfiber is engineered to attract dust and absorb liquid at a much higher capacity than a thin disposable wipe. To maximize your efficiency when cleaning with microfiber cloths instead of disposable wipes, utilize the professional folding method:
- Take a clean, dry microfiber cloth and lay it flat on a table.
- Fold the cloth in half, and then fold it in half again. You now have a small, hand-sized square with eight distinct cleaning surfaces.
- Lightly mist your all-purpose cleaner directly onto the surface you are cleaning, or spray it onto the first side of your folded cloth.
- Wipe the surface clean. As the first side of the cloth becomes soiled, simply flip the square over to expose a fresh, clean side.
- Once both outward-facing sides are dirty, unfold the cloth and refold it to expose the clean internal surfaces.
This technique prevents you from spreading dirt from the kitchen counter onto the dining table and allows you to clean an entire room using a single cloth. It completely eliminates the recurring cost of disposable wipes.
Household Cleaning Swaps That Save You Money
Use this quick reference guide to swap out expensive commercial items for effective, affordable household staples.
| Commercial Product | The Problem | Your Practical Swap |
|---|---|---|
| Liquid Fabric Softener | Coats clothes in wax, traps odors, ruins towel absorbency. | 1/2 cup white vinegar in the rinse cycle and wool dryer balls. |
| Antibacterial Soap | Unnecessary chemicals; no more effective than plain soap. | Standard liquid hand soap and 20 seconds of friction. |
| Chemical Drain Cleaner | Melts plastic pipes, degrades seals, highly toxic. | A plastic drain snake tool or a standard bathroom plunger. |
| Toilet Tank Bleach Tablets | Rots the rubber flapper, causing continuous water leaks. | Liquid bowl cleaner applied directly to the bowl with a brush. |
| Specialized Glass Cleaner | Evaporates too fast, leaves streaks, costly over time. | Equal parts distilled water and white vinegar. |
| Disposable Mopping Pads | Expensive recurring cost, generates unnecessary plastic waste. | A reusable microfiber mop with a washable pad. |
| Heavy-Duty Oven Cleaner | Emits noxious fumes, requires heavy ventilation and gloves. | Baking soda and water paste left to sit overnight. |
| Single-Purpose Floor Cleaners | Leaves dulling, waxy buildup; clutters your cabinets. | A damp mop with warm water and a tiny drop of dish soap. |
| Pre-Moistened Wipes | Smears dirt, dries out quickly, expensive per use. | A spray bottle of all-purpose cleaner and a microfiber cloth. |
Take ten minutes today to open your cabinets and gather up the highly specific, rarely used bottles you have accumulated. Move the versatile staples like white vinegar, baking soda, and a trusted all-purpose spray to the front of the shelf. By streamlining your supplies, you ensure your next cleaning day will be cheaper, safer, and far less complicated.