Paper clutter is incredibly sneaky. It usually starts as a single, innocent piece of mail tossed onto the kitchen counter. A week later, that single envelope has morphed into an unruly, stress-inducing mountain of credit card offers, confusing medical bills, and expired coupons. If you feel a wave of anxiety every time you need to locate a specific tax form or an insurance policy, you are not alone. Sorting through years of accumulated paper requires physical effort and decision-making energy, but the mental relief you experience once it is done makes the project entirely worthwhile.
Taking control of your paperwork means taking back your time and your physical space. You will no longer have to frantically tear through desk drawers the night before a meeting with your accountant. You also gain immense peace of mind knowing your family can easily locate your health directives and financial assets during an emergency. Implementing practical paper clutter tips will transform your home from a chaotic storage unit into a functional, relaxing environment.
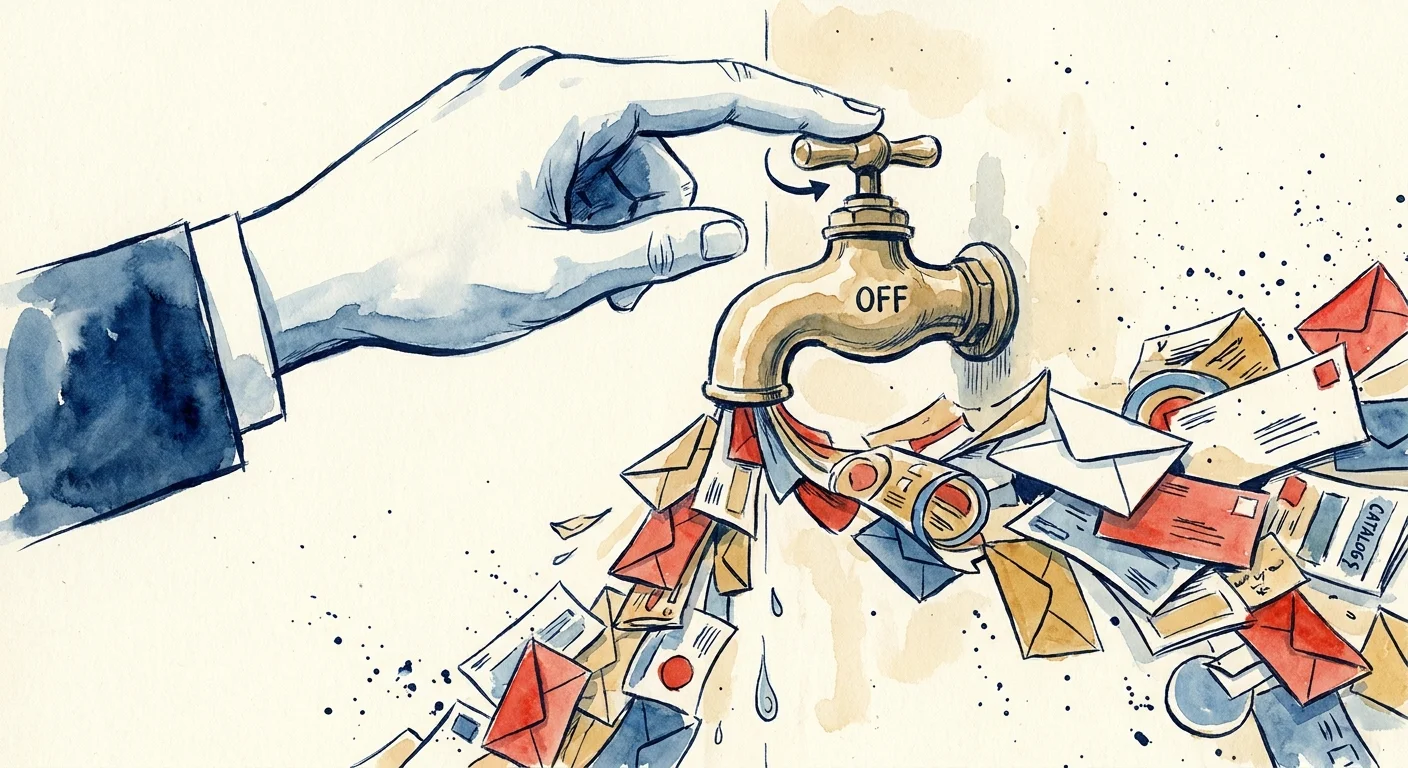
Stop the Incoming Flow of Clutter
You cannot empty a flooding sink without first turning off the faucet. Before you begin sorting the paper already sitting in your home, you must stop the daily influx of new clutter. Most of the mail arriving in your mailbox is entirely unnecessary.
First, tackle the junk mail. Contact the Direct Marketing Association to remove your name from national mailing lists, and actively unsubscribe from specific catalogs as they arrive. Next, contact your bank, utility providers, and credit card companies to opt into paperless billing. You will receive an email notification when your monthly statement is ready, and you can simply log into your account to view or download it. By making these two simple phone calls or online adjustments, you can eliminate more than half of the paper that enters your home each week.
Gathering Your Supplies for the Big Sort
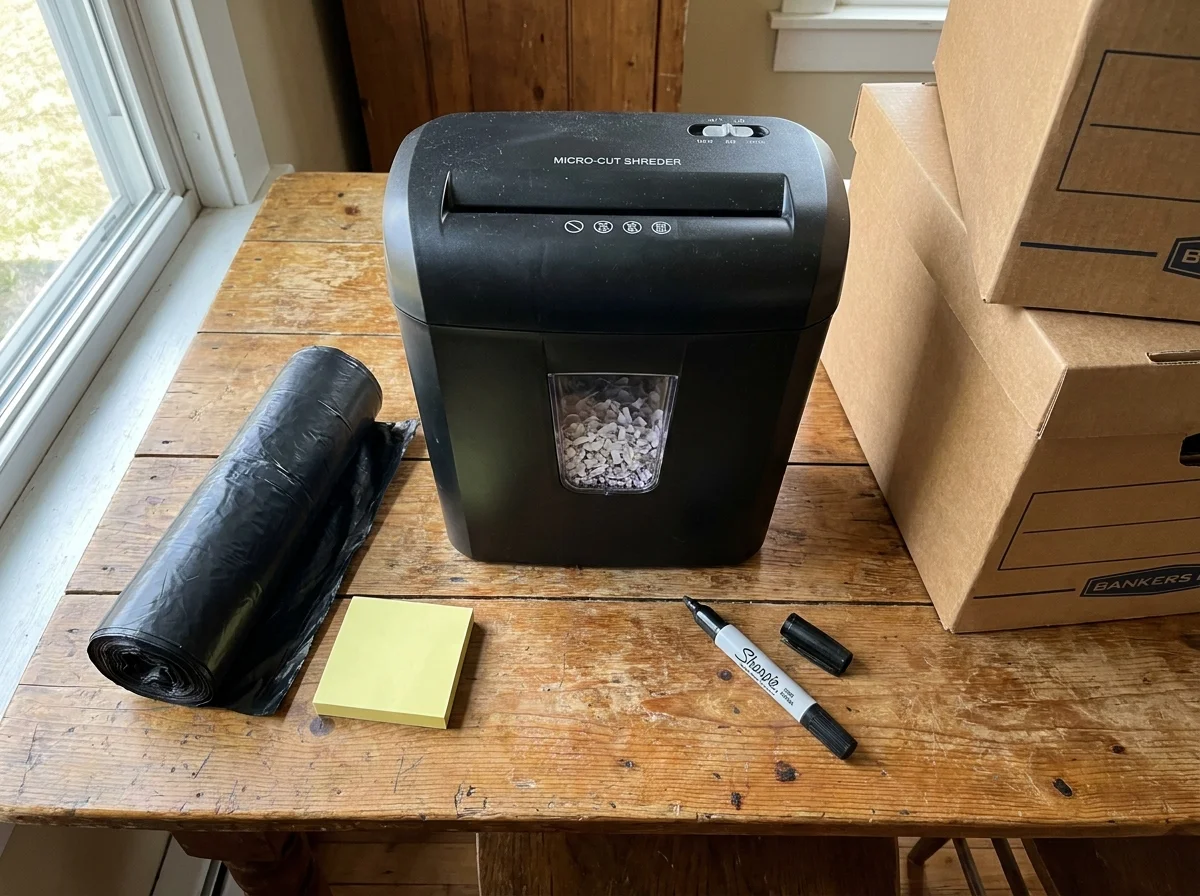
Attempting to organize without a clear staging area will only spread the mess from your kitchen counter to your living room floor. Before you pull a single piece of paper from its current resting place, gather the right tools. You need these supplies ready to go so you do not lose momentum halfway through the project.
- Heavy-duty trash bags: You will throw away and recycle far more paper than you actually keep.
- A micro-cut paper shredder: Standard strip-cut shredders leave enough information intact for dedicated identity thieves to piece together your sensitive data. A micro-cut model turns your financial documents into unreadable, permanent confetti.
- Sticky notes and a thick marker: Use these to clearly label your sorting categories.
- Sturdy bankers boxes or plastic bins: You need temporary holding zones for the files you plan to keep long-term.
- High-quality file folders: Choose reinforced hanging folders if you plan to store heavy documents like property deeds, vehicle titles, or extensive medical histories.
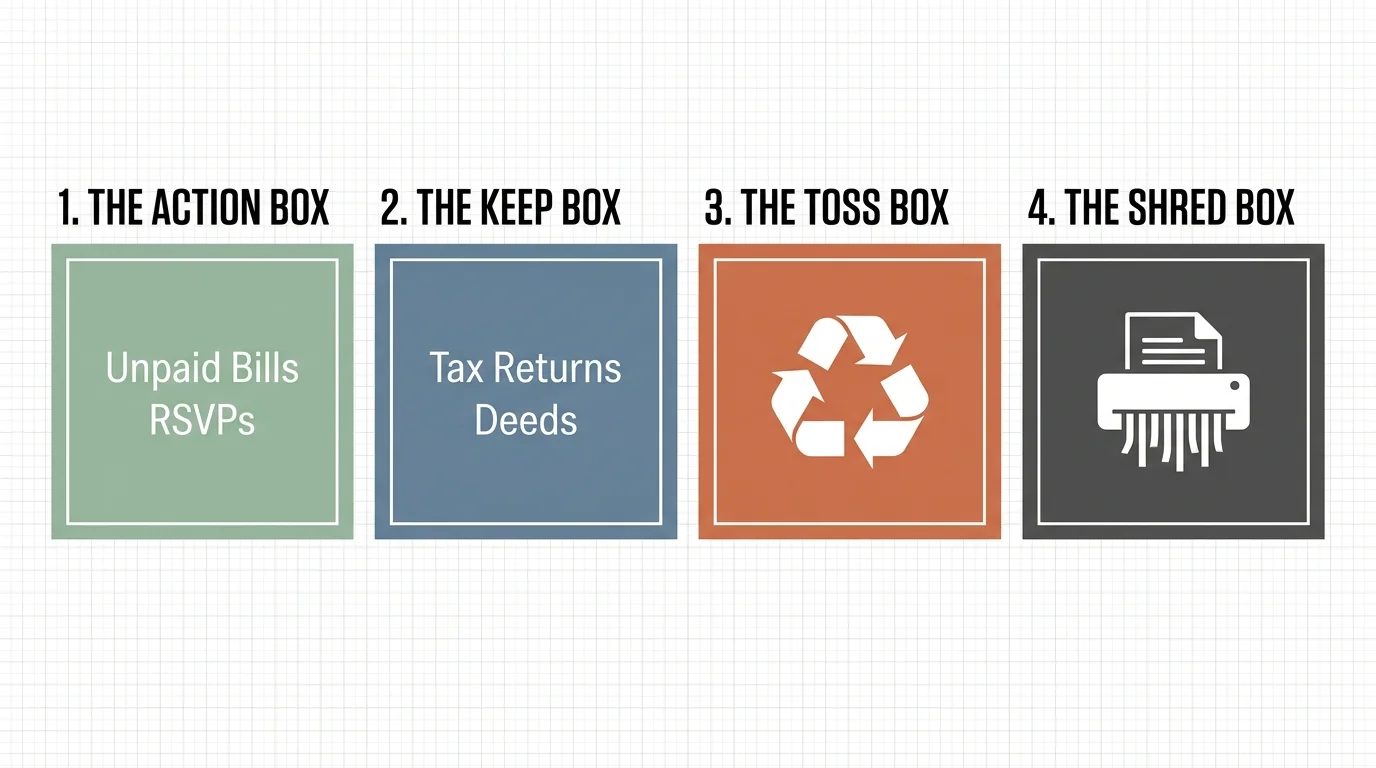
The Four-Box Sorting Method
Clear off your largest table—the dining room table usually works best—and bring every stray piece of paper in the house to this central location. Work in manageable blocks of time, such as 30 to 45 minutes, to prevent decision fatigue. As you pick up each document, assign it immediately to one of four specific categories.
1. The Action Box
These are items requiring your direct attention within the next week. Unpaid bills, invitations you need to RSVP to, and legal forms requiring a signature belong here. Once you finish your sorting session, this box will sit on your desk for active processing.
2. The Keep Box
This box holds the vital records, tax returns, and long-term financial documents you must retain for legal purposes. You will eventually sort these items into your permanent important papers filing system.
3. The Shred Box
Identity theft is a serious threat; simply tearing a bank statement in half is not enough protection. Place anything containing your Social Security number, banking details, medical diagnoses, or signature into this box. If a document features a barcode or a QR code tied to your personal account, shred it.
4. The Recycle Box
Junk mail, generic grocery flyers, expired coupons, and empty envelopes go straight into the recycling bin. Do not waste your valuable time shredding documents that do not contain personal information; doing so only wears out your shredder and creates unnecessary dust.
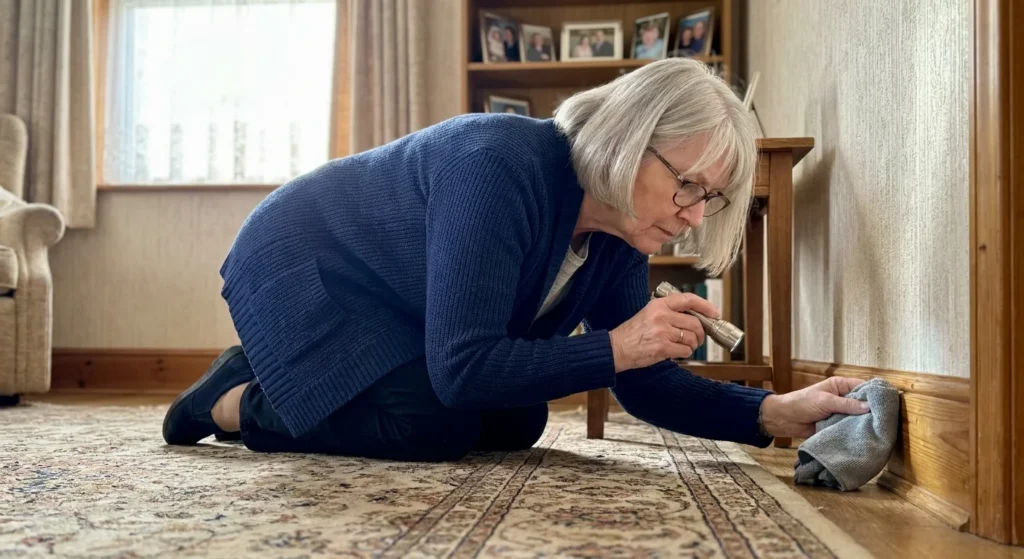
Designing a Senior File System for Easy Access
As we age, complicated and heavily layered organization systems become incredibly burdensome. When you need to organize documents, seniors specifically benefit from a highly visual, physically accessible approach. If you are helping an older adult simplify their paperwork—or if you are setting up your own senior file system—simplicity and visibility are your highest priorities.
Stop using heavy bottom drawers that require uncomfortable bending or kneeling. Move the most frequently accessed folders to eye level or place them in an easily reachable desktop organizer. Use large, high-contrast labels on file tabs; a bold black marker on a crisp white label is far easier to read than small, typed text on a dark colored background.
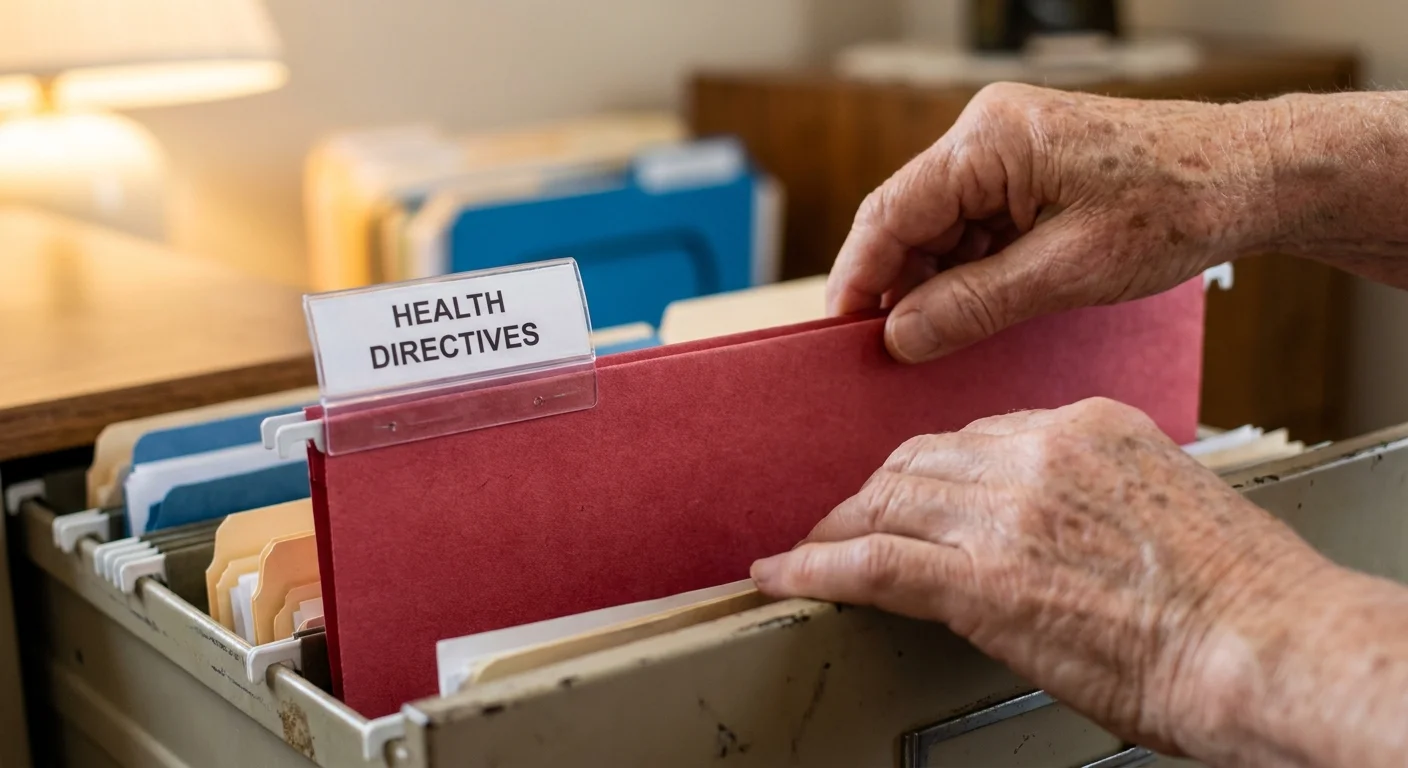
You should also consolidate the most critical information into a single “Life File” or emergency binder. This binder acts as a master key to health and estate management. It should include advanced healthcare directives, a durable power of attorney, current medication lists, and the contact information for primary doctors, lawyers, and financial advisors. Keep this binder in a highly visible, known location so family members or emergency personnel can grab it at a moment’s notice.
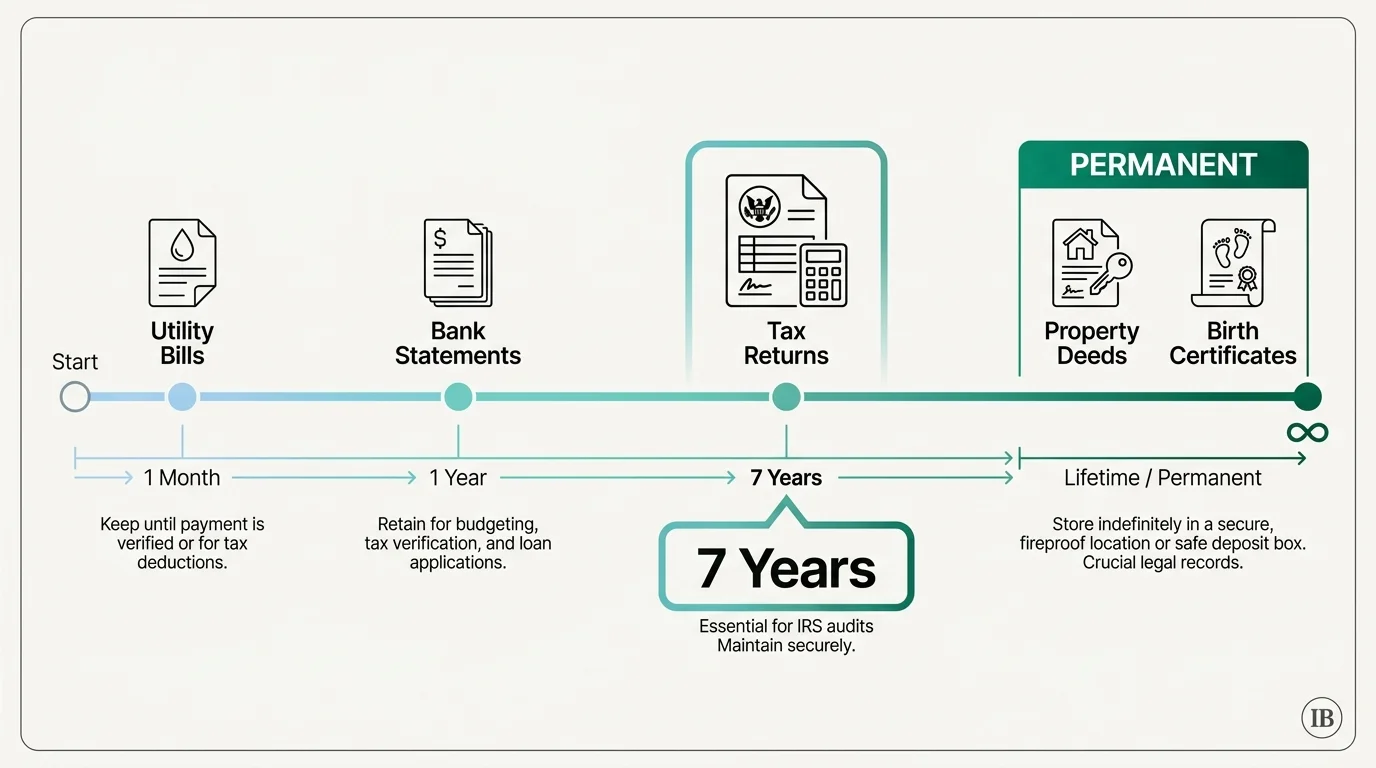
How Long Should You Keep Important Papers?
One of the primary reasons paper clutter accumulates is the fear of throwing away something important. People often hold onto paid utility bills from ten years ago simply because they do not know the actual legal guidelines for document retention. By understanding exactly what you need to keep and for how long, you can confidently shred the excess.
| Document Type | Retention Period | Action and Details |
|---|---|---|
| Tax Returns and Supporting Forms | 3 to 7 years | Keep your returns and supporting forms (W-2s, 1099s, donation receipts) for at least three years from the filing date. Keep them for seven years if you claim a loss from worthless securities or bad debt. |
| Medical Bills and EOBs | 1 to 3 years | Retain bills and Explanations of Benefits for one year to resolve any insurance disputes. Keep them for three years if you claim medical deductions on your tax return. |
| Property and Home Improvement Records | Until sold + 3 years | Keep receipts for major home improvements; you will need them to calculate your taxable gain when you eventually sell the property. |
| Bank and Credit Card Statements | 1 year | Keep physical copies for one year to verify charges. After that, rely on your bank’s digital archives unless a specific statement supports a tax deduction. |
| Vital Records | Forever | Store birth certificates, marriage licenses, death certificates, and Social Security cards in a secure, fireproof safe. |
When in doubt regarding your taxes, always default to the official IRS recordkeeping guidelines for your specific financial situation. Tax requirements can change, and maintaining a solid paper trail protects you in the event of an audit.
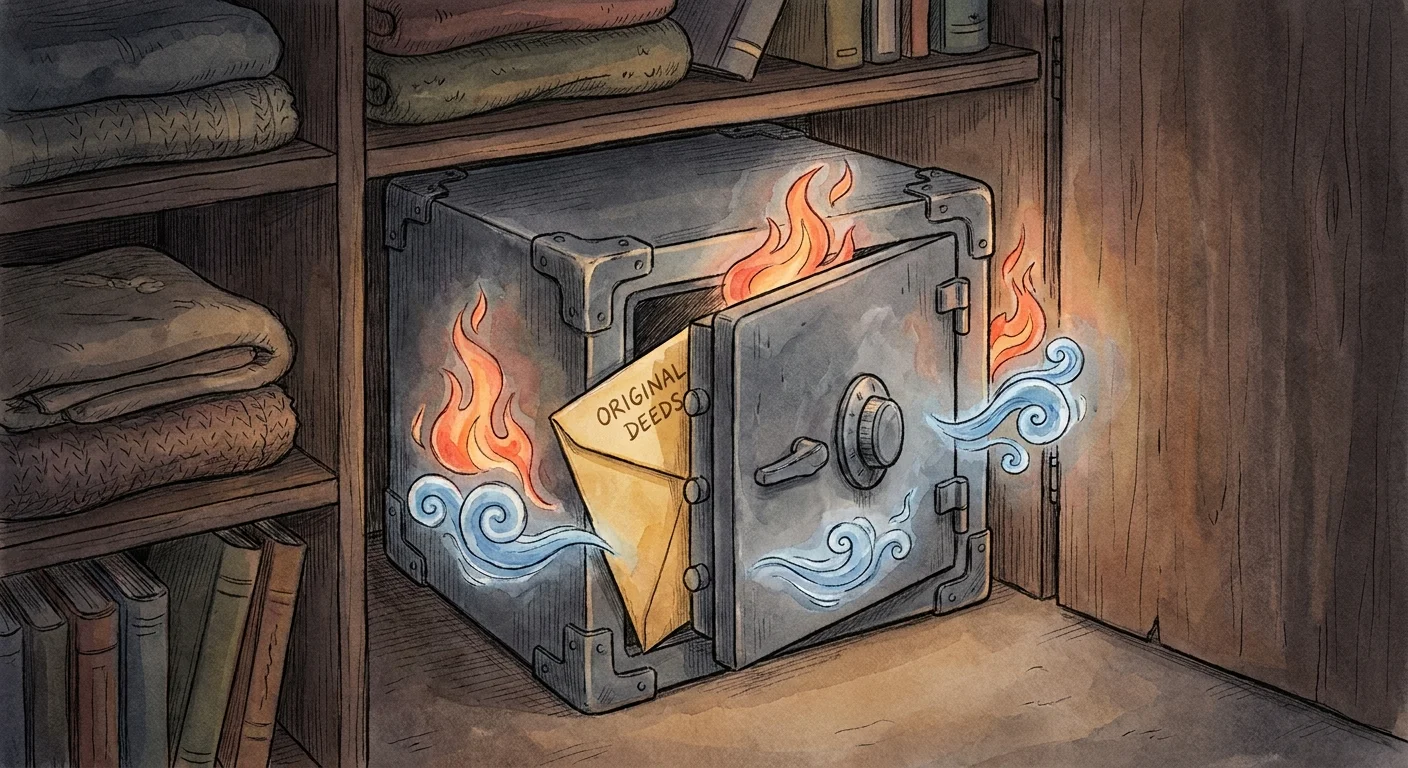
Protecting Your Most Critical Documents from Fire and Water
Your permanent keep pile—which includes birth certificates, property deeds, and estate documents—requires heavy-duty protection. A standard metal filing cabinet will not survive a house fire, and cardboard boxes are highly vulnerable to water damage from burst pipes or flooded basements.
Invest in a high-quality fireproof document safe. When shopping for a safe, ignore generic marketing buzzwords and look specifically for independent testing certifications. The most recognized and rigorous standard is from Underwriters Laboratories (UL). For paper documents, you need a safe with a UL Class 350 rating. During a severe house fire, temperatures can easily reach 1,100 degrees Fahrenheit within a matter of minutes. A UL Class 350 1-hour rating guarantees that the internal temperature of the safe will not exceed 350 degrees Fahrenheit—the precise point at which paper begins to char and brown—for a full hour while exposed to external temperatures up to 1,700 degrees.
It is important to note that a paper-rated safe gets too hot inside for sensitive electronics. If you plan to store digital media like USB backup drives containing family photos or scanned financial records, you will need a safe with a UL Class 125 rating, which keeps the interior much cooler. For a broader overview of disaster-proofing your life and finances, you can review the financial preparedness guidelines provided by Ready.gov.

What to Do If You Have Lost Vital Documents
If you are actively sorting through your paperwork and suddenly realize a crucial document is missing, do not panic. Most vital records can be replaced, though the process requires a bit of patience and careful navigation of government channels.
Birth and death certificates are maintained by the vital records office in the specific state where the event occurred. You can usually request certified copies online, by mail, or in person, provided you can successfully prove your identity with a government-issued ID like a driver’s license or passport. Marriage and divorce records are typically held at the county clerk’s office where the original license was issued or where the divorce decree was legally finalized.
Navigating the different requirements for each state and federal agency can be confusing and overwhelming. To ensure you are following the correct legal procedures and avoiding third-party scam websites that charge unnecessary fees, start your search at USA.gov’s official guide to replacing vital documents. This government portal will direct you straight to the exact state and local offices you need.

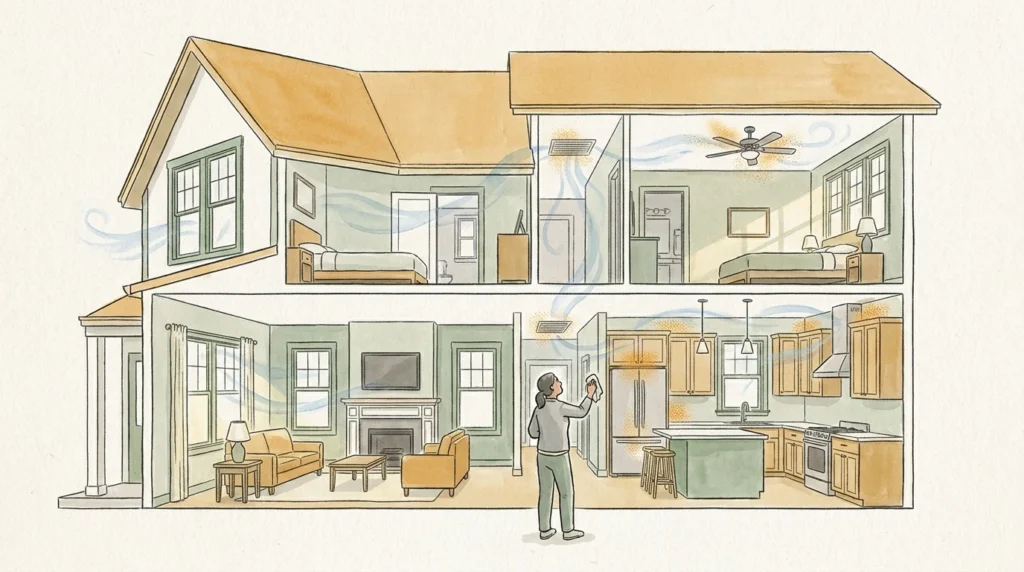
Transitioning to a Digital Home Office
Once your physical papers are finally under control, you can dramatically reduce future clutter by setting up a robust digital system. When you decide to home office organize your physical files electronically, you build a permanent, searchable database that takes up zero physical space in your home.
For the physical paper that still manages to slip through your paperless billing defense, use a dedicated desktop scanner or a high-quality document scanning app on your smartphone. The secret to a successful digital filing system is a strict, consistent naming convention. If you name a scanned file “Scan_001.pdf,” you will never be able to find it again when you actually need it.
Instead, use a highly descriptive, date-first format like “YYYY-MM-DD_DocumentType_Provider.” For example, a recent medical bill would be saved as “2026-04-29_MedicalBill_CityHospital.pdf.” This format ensures your files automatically organize themselves in perfect chronological order within your computer folders.
Always store your digital files securely using a trusted cloud storage provider or a dedicated external hard drive. A 3-2-1 backup strategy is ideal: keep three total copies of your data, on two different types of media, with at least one copy stored offsite or in the cloud. This ensures that even if your primary computer crashes or your home suffers physical damage, your organized records remain completely intact and accessible.

Maintaining Your Paperwork Routine
An organized file system only stays organized if you actively maintain it. Paperwork is not a project you finish once and never think about again; it requires light, ongoing attention to prevent the piles from returning.
Establish a strict daily triage routine. When you bring the mail inside the house, do not set it down on the kitchen counter or the dining room table. Walk directly to your trash can or recycling bin and toss the junk mail immediately. Place the remaining legitimate action items directly into your designated desktop inbox.
Once a week, dedicate exactly 15 minutes to processing that action folder. Pay the pending bills, sign the required forms, and file away the receipts you need to keep for taxes. By handling the paper in small, frequent, highly manageable batches, you completely eliminate the stress of marathon sorting sessions.
At the beginning of each new year, take an hour to clean out your main filing cabinet. Move the past year’s tax documents into long-term storage boxes, shred the expired medical bills and outdated insurance policies, and make ample room for the new year’s incoming paperwork.
Your next practical step: Grab a single trash bag, walk into the room where your mail currently tends to pile up the most, and throw away every piece of obvious junk mail, expired catalog, and empty envelope you can find. You do not need to make any difficult or emotional decisions right now—just clear out the obvious trash to give yourself a clean, motivating slate for the real organizing ahead.