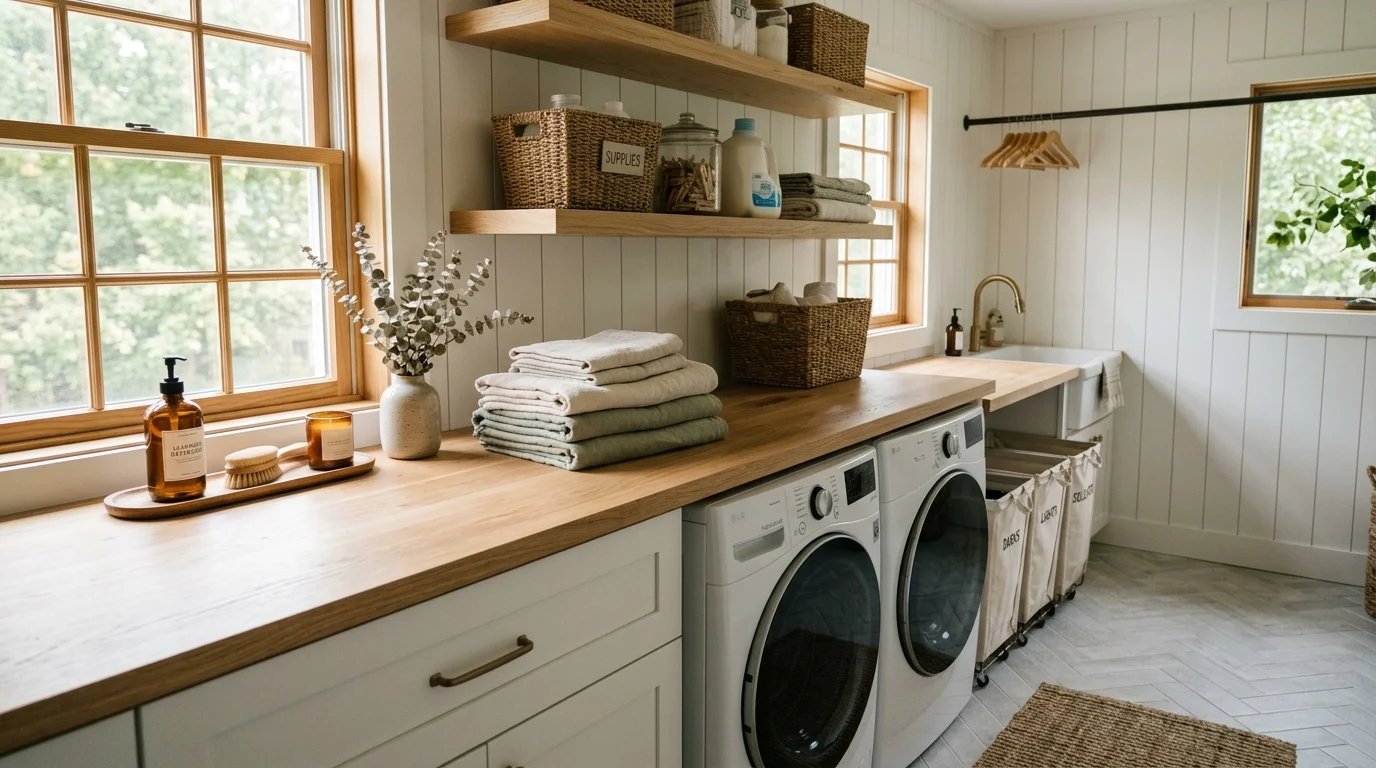
A chaotic laundry room adds unnecessary strain to your weekly routine, turning a basic household task into an exhausting chore. By shifting your approach toward an efficient laundry setup, you can reclaim up to three hours every week while minimizing physical bending, reaching, and searching for lost items. Streamlining your space requires smart sorting zones, clear safety protocols for detergents, and targeted storage solutions tailored to your floor plan. Whether you manage a spacious utility room or need compact small laundry room ideas, these practical adjustments transform your workflow immediately. You will eliminate clutter, protect your garments, and create a calm, highly functional space that works effortlessly for your daily lifestyle.
Designing an Efficient Laundry Setup Around Workflow Zones
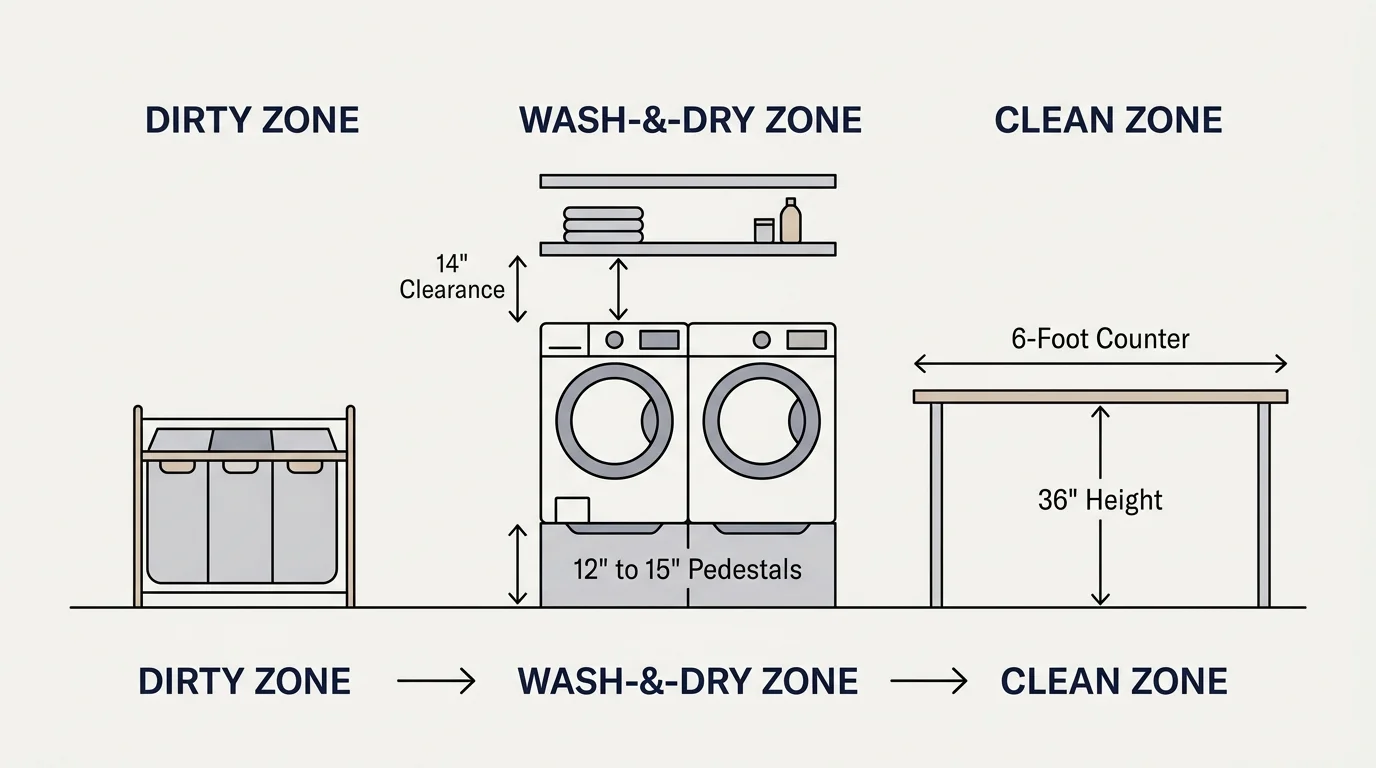
Most people treat their laundry space as a random collection of appliances and cleaning bottles; however, high-efficiency spaces operate like professional assembly lines. To build an efficient laundry setup, you must map your room into three distinct physical zones: the Dirty Zone for sorting and pre-treating, the Wash-and-Dry Zone for appliances and primary supplies, and the Clean Zone for folding, hanging, and staging. Dividing your space this way stops dirty garments from contaminating clean loads and eliminates unnecessary walking back and forth across the room.
Ergonomics play a vital role in preventing physical fatigue, especially if you handle multiple loads of laundry each week or want to simplify daily physical routines. Bending down to reach inside low front-loading washer doors stresses your lumbar spine over time. Elevating your appliances on 12- to 15-inch drawer pedestals brings the drum openings to mid-thigh height—allowing you to load and transfer heavy wet garments without straining your back. If you use top-loading machines, mount wall shelves at least 14 inches above the fully raised lid so you never bump your head while pulling laundry from the bottom of the tub.
Position your primary folding surface directly next to or above your dryer whenever possible. A continuous butcher block or heavy-duty laminate counter installed across side-by-side front loaders creates a 6-foot wide staging area at a standard 36-inch height. This setup allows you to pivot directly from the dryer door to your folding counter, reducing wrist, shoulder, and back movement during long laundry sessions.

Sorting Systems That Eliminate Pre-Wash Bottlenecks
Sorting clothing on the laundry room floor right before running a cycle wastes valuable time and creates visual clutter. You can eliminate this pre-wash bottleneck completely by introducing a multi-bin hamper system where sorting happens automatically as items become dirty. Placing a three-compartment hamper in your laundry space or hallway closet reclaims 15 to 20 minutes of sorting time per load.
Label your sorting hamper bins clearly into three distinct categories:
- Whites and Lights: Dedicated to white socks, undershirts, light gray tees, and light cotton items that tolerate higher water temperatures.
- Darks and Colors: Dedicated to jeans, dark shirts, and colorful synthetic fabrics that require cold water wash cycles to prevent dye bleed.
- Towels and Heavy Linens: Dedicated to bath sheets, washcloths, and heavy denim items that produce excess lint and require longer drying times.
Proper sorting protects your clothing investment while ensuring maximum chemical and thermal cleaning efficiency. Following care label guidelines published by the American Cleaning Institute prevents color bleeding and reduces fabric wear caused by mismatched weight loads. Furthermore, separating heavy towels from delicate synthetic shirts prevents coarse fibers from rubbing against smooth knits during the spin cycle, which extends the lifespan of your wardrobe.
Maximizing Small Laundry Room Ideas and Vertical Storage
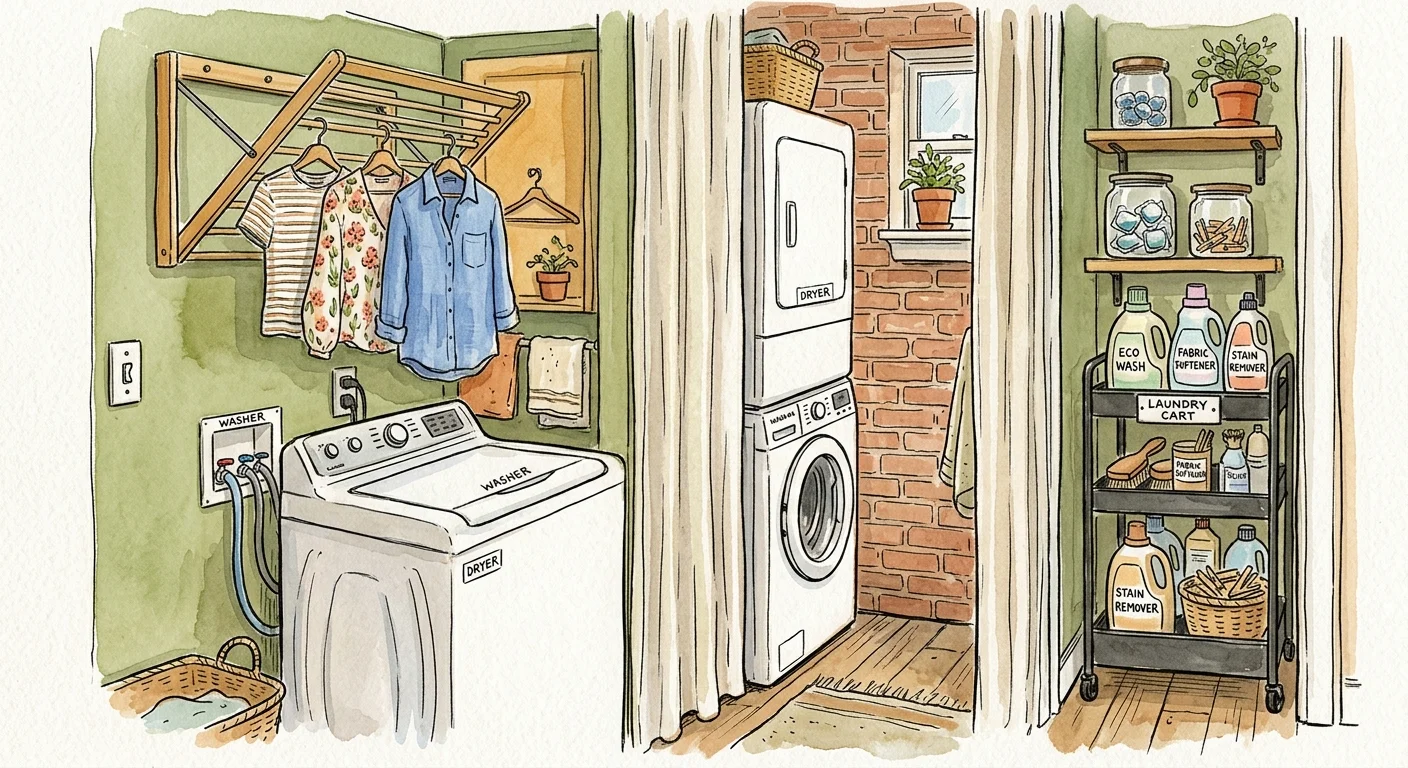
When working with limited floor space, smart laundry room storage ideas rely heavily on vertical elevation. Unused wall space, narrow gaps between appliances, and the backs of utility doors offer prime real estate for storage. By lifting supplies off the floor and counters, you maintain open work surfaces even in compact floor plans.
Utilize these high-impact storage solutions to maximize every inch of your space:
- Slim Slide-Out Carts: The 5 to 8-inch gap between your washer and dryer—or between a machine and the side wall—holds a multi-tier rolling cart perfectly. Use this slim space to store slender detergent jugs, stain-remover sprays, and box refills.
- Wall-Mounted Accordion Racks: Traditional floor-standing drying racks consume up to 6 square feet of floor area. Replace them with wall-mounted accordion racks or fold-down drying frames. Position these racks 6 feet high on an open wall so delicates can air-dry cleanly without blocking walking pathways.
- Over-the-Door Organizers: Mount heavy-duty wire racks on the back of your laundry room door or utility closet door. Use individual wire baskets to hold iron spray, lint rollers, mesh wash bags, and sewing repair kits.
- Floating Utility Shelves: Install heavy-duty floating shelves 12 to 14 inches deep directly above your machines. Keep daily-use items on the lower shelf within arm’s reach (around chest height), and place seasonal items or bulk refills on higher shelves.
Applying these small laundry room ideas prevents room congestion and ensures that every cleaning tool has a clear, easily accessible home. When items return to designated spots after use, clutter never has the opportunity to accumulate on your main work counters.

Organizing Laundry Supplies for Maximum Safety and Efficacy
Streamlining and organizing laundry supplies speeds up your wash routines while protecting your household from chemical hazards. Grouping your products by specific task—pre-treatment, active wash, fabric care, and appliance maintenance—prevents time wasted searching through crowded cabinets for the right bottle.
Safety must remain your top priority when arranging cleaning products. Concentrated liquid laundry packets (pods) present significant health risks if consumed or handled with wet hands by small children or vulnerable adults. Always keep liquid detergent packets sealed in their original opaque packages or locked containers on high shelves at least 5 feet above floor level. Refer to the product safety standards set by the U.S. Consumer Product Safety Commission to maintain a secure environment for your family.
Transferring dry powders like baking soda, oxygen bleach, or bath salts into clear, labeled glass or plastic jars creates a clean visual aesthetic; however, you must handle decanting with caution. Always attach clear labels to decanted containers specifying the exact product name, usage directions, and safety warnings. Never decant concentrated liquid chemicals out of their original containers, as original bottles feature specialized drip-catch spouts and essential chemical safety emergency instructions.
Select eco-conscious cleaning formulas whenever possible. Look for products that carry safety certifications from the U.S. Environmental Protection Agency’s Safer Choice program; these formulas contain human-safe and environmentally gentle ingredients that perform effectively without leaving harsh chemical residues on your clothes. When dealing with illness in your home, consult sanitization procedures from the Centers for Disease Control and Prevention, which recommend laundering contaminated bedding with high-temperature water settings and drying items thoroughly on elevated heat to eliminate pathogens effectively.
Keep chemical safety in mind by never mixing chlorine bleach with ammonia, acidic cleaners, or vinegar. Combining these substances produces toxic chloramine gas, which causes severe respiratory damage. Store liquid bleach separately on lower chemical-resistant plastic trays to capture accidental drips before they damage wood shelves or surrounding supplies.
Step-by-Step: Creating a 30-Minute Wash-and-Fold Station
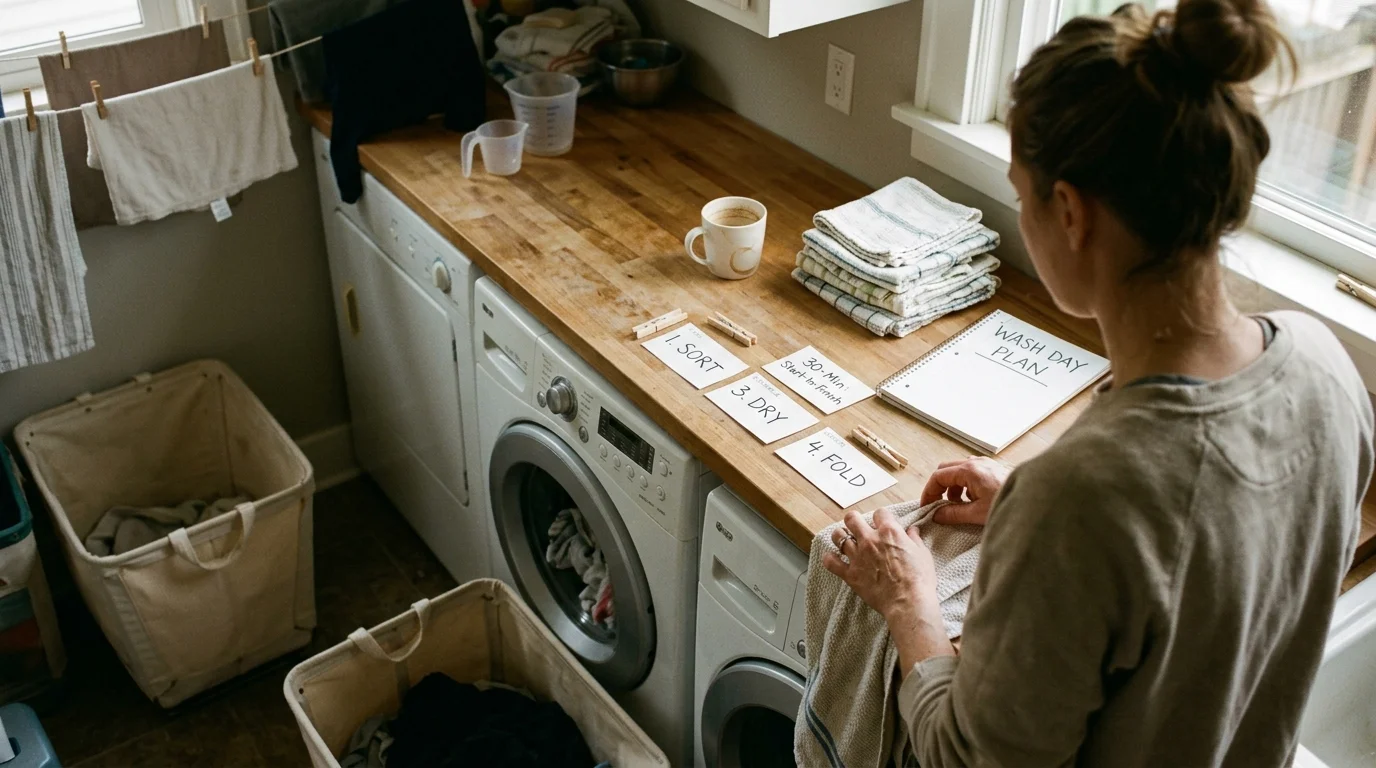
Transforming a chaotic laundry space into an organized workflow does not require a complete renovation. You can establish an ultra-efficient wash-and-fold station in 30 minutes by following this simple, step-by-step implementation process:
- Clear the Primary Work Surface: Remove every single item sitting on top of your washer, dryer, or counter. Wipe down the surfaces with an all-purpose cleaner to create a dust-free work zone.
- Install a Dedicated Hanging Bar: Mount a sturdy metal closet rod or wall-mounted valet bar 30 to 36 inches directly above your folding counter. Hang 15 to 20 matching non-slip hangers on the rod so they are ready for immediate use.
- Assemble a Mobile Stain Caddy: Gather your favorite stain remover sprays, a soft-bristle laundry brush, a small bowl for baking soda paste, and clean white microfiber cloths into a portable plastic caddy. Place this caddy directly beside your washing machine drum for quick pre-wash treatment.
- Establish an Immediate Fold-and-Hang Rule: Process garments immediately as you pull them out of the dryer while fabrics are warm. Warm fabrics fold smoothly without deep creases—eliminating the need for time-consuming ironing later.
- Set Up Personal Drop Baskets: Place labeled, stackable plastic laundry baskets under your main counter—assigning one basket to each household member. Drop folded garments directly into the owner’s designated basket to streamline immediate room-by-room delivery.

Maintaining Your Organized Laundry Room Routine
Maintaining high-level laundry room organization requires quick, consistent reset habits rather than sporadic deep-cleaning sprees. Establishing a predictable routine prevents clutter from regaining a foothold in your room. Use the following maintenance schedule to keep your laundry space functional, safe, and pleasant to use throughout the year:
| Frequency | Target Task | Action Required | Practical Benefit |
|---|---|---|---|
| Daily | Counter Reset | Clear all folded clothing and personal items off work counters after processing loads. | Maintains immediate workspace availability for the next incoming laundry load. |
| Weekly | Lint Trap & Supply Check | Wipe lint screen, clear detergent tray residue, and restock primary supplies in caddies. | Prevents dryer fire risks and stops detergent buildup from clogging machine dispensers. |
| Monthly | Machine Washout Cycle | Run a hot cleaning cycle with washing machine cleaner or washing soda; clean rubber door gaskets. | Eliminates trapped mildew, bad odors, and mineral scale inside appliance drums. |
| Seasonal | Vent & Shelf Audit | Inspect metal dryer duct work for lint blockages; discard expired specialty cleaners. | Optimizes appliance drying efficiency, lowers energy bills, and maintains storage safety. |
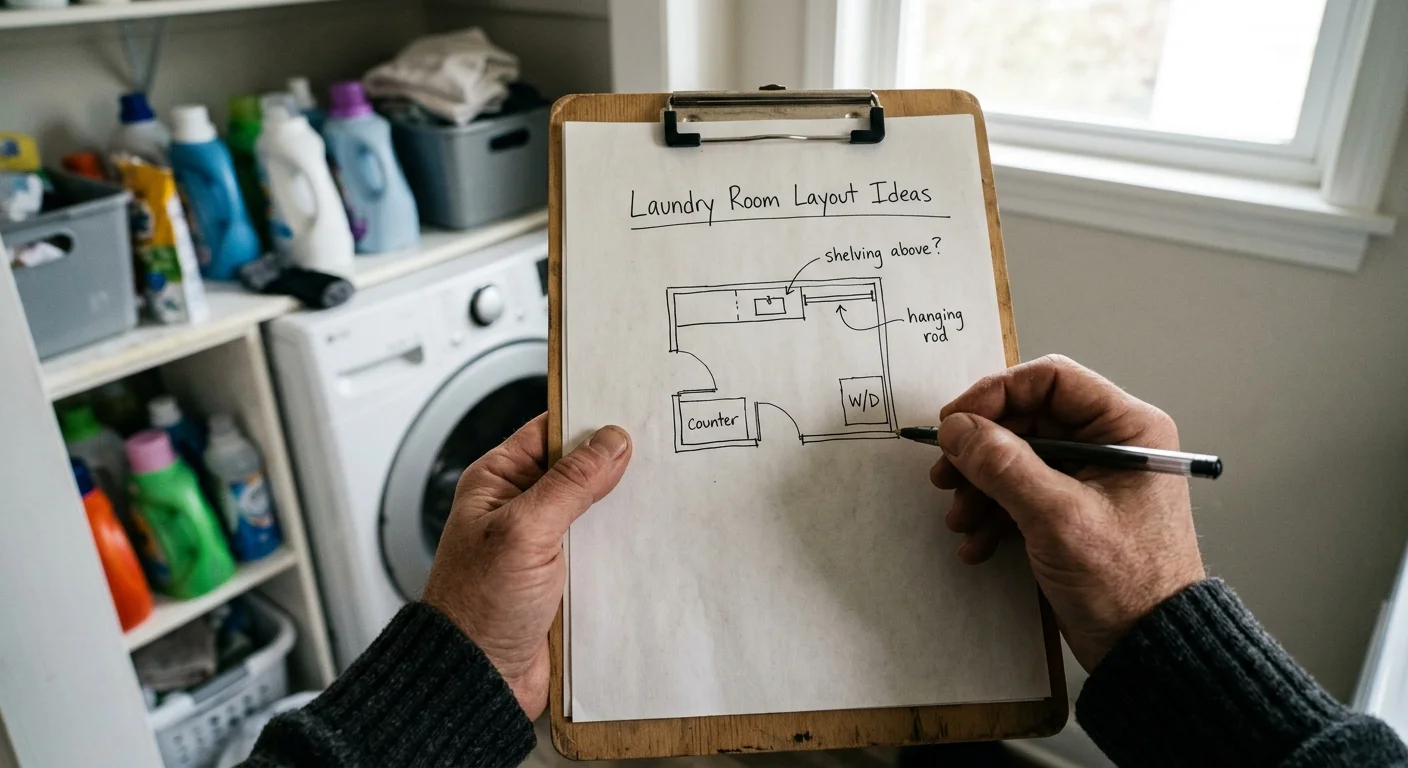
Your Practical Next Step
Take five minutes right now to select one small project in your laundry room. Clear everything off the top of your washer or install an over-the-door organizer rack to get supplies off your counters. Mastering one dedicated zone today builds immediate momentum, giving you a cleaner, calmer home and a streamlined laundry routine that saves you time every single week.