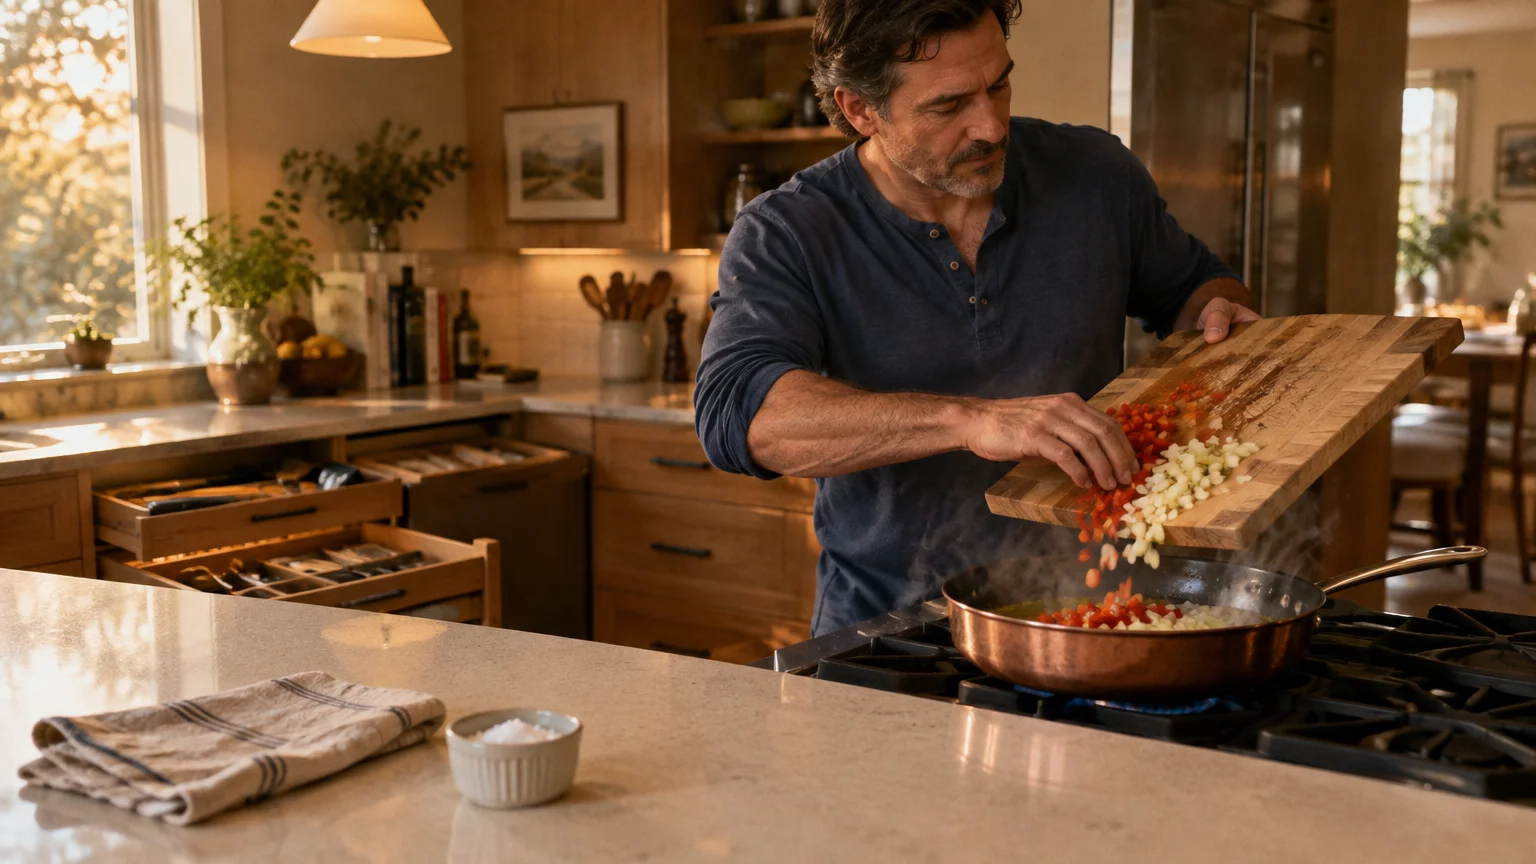
Cooking dinner feels exhausting when you spend half your time hunting for misplaced lids or shifting clutter across your counter. A streamlined kitchen cuts your prep time in half and brings genuine calm back to your evening routine.
When you position your tools intentionally around natural workflow zones, every chop, simmer, and cleanup step flows seamlessly into the next. You conserve physical energy and avoid unnecessary kitchen frustration.
These practical kitchen organizing tips transform cooking into an effortless daily pleasure, whether you prepare quick solo meals or cook for a crowd.
01 Map Your Kitchen Into Three Core Action Zones
Most people store items wherever empty cabinets happen to exist when they first unpack. This random placement forces you to walk back and forth across the room just to make a simple meal.
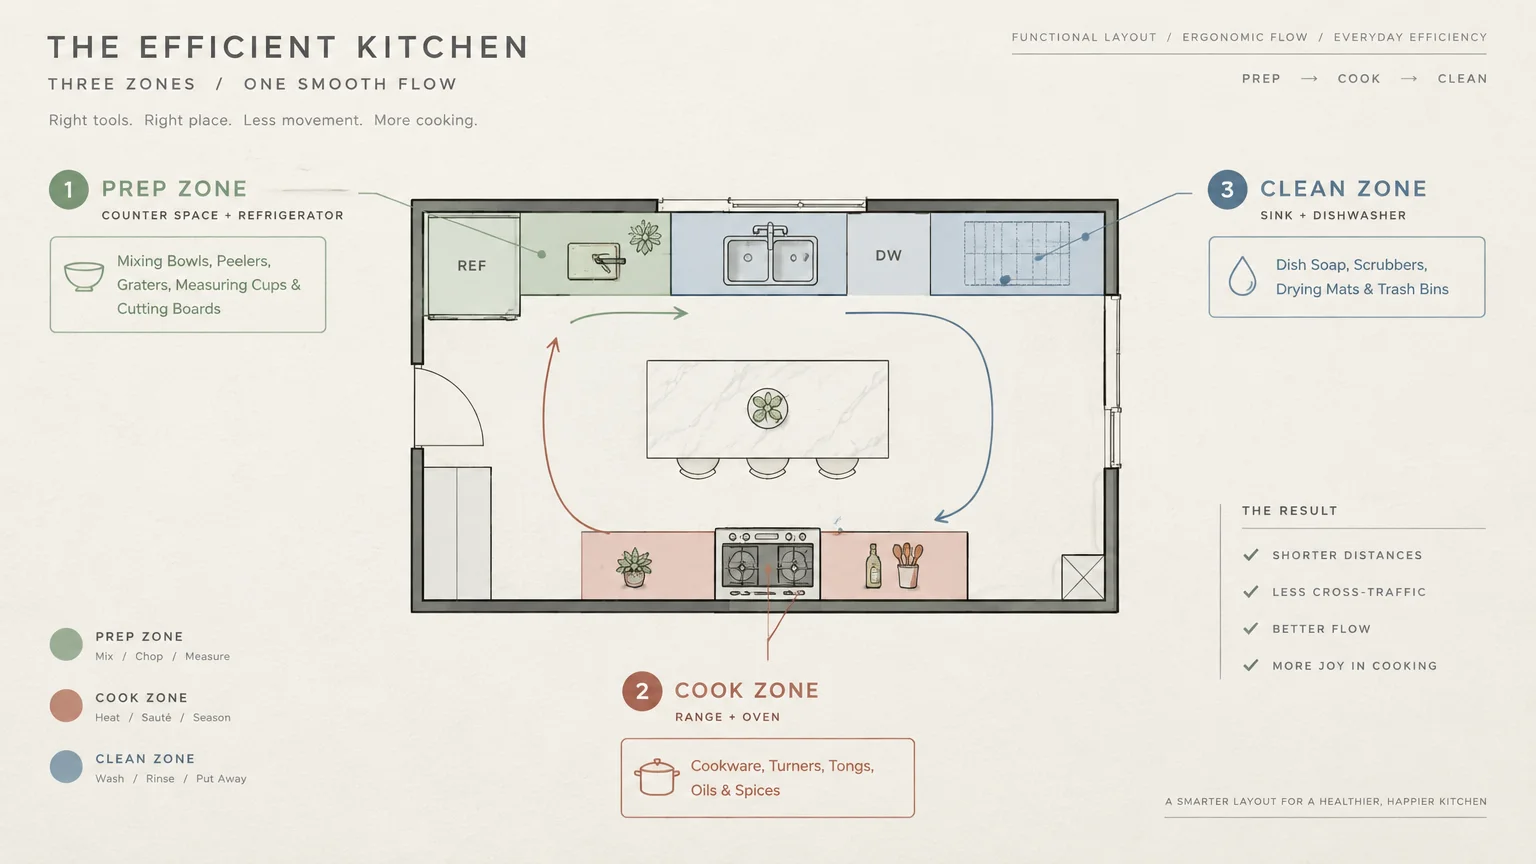
To organize kitchen for cooking, group your space into three distinct zones: Prep, Cook, and Clean. Treating each area as a self-contained station prevents wasted steps and preserves physical stamina.
Your Prep Zone centers around the counter space closest to your refrigerator and sink. Keep mixing bowls, peelers, graters, measuring cups, and cutting boards stationed directly inside this boundary.
Your Cook Zone revolves around the range, oven, and microwave. Reserve nearby drawers and cupboards strictly for cookware, turners, tongs, ladles, cooking oils, and everyday spices.
Your Clean Zone surrounds the sink and dishwasher. Position your dish soap, scrubbers, drying mats, trash bins, and everyday dinnerware within arm’s reach of this cleanup hub.
02 Clear and Protect Your Primary Prep Runway
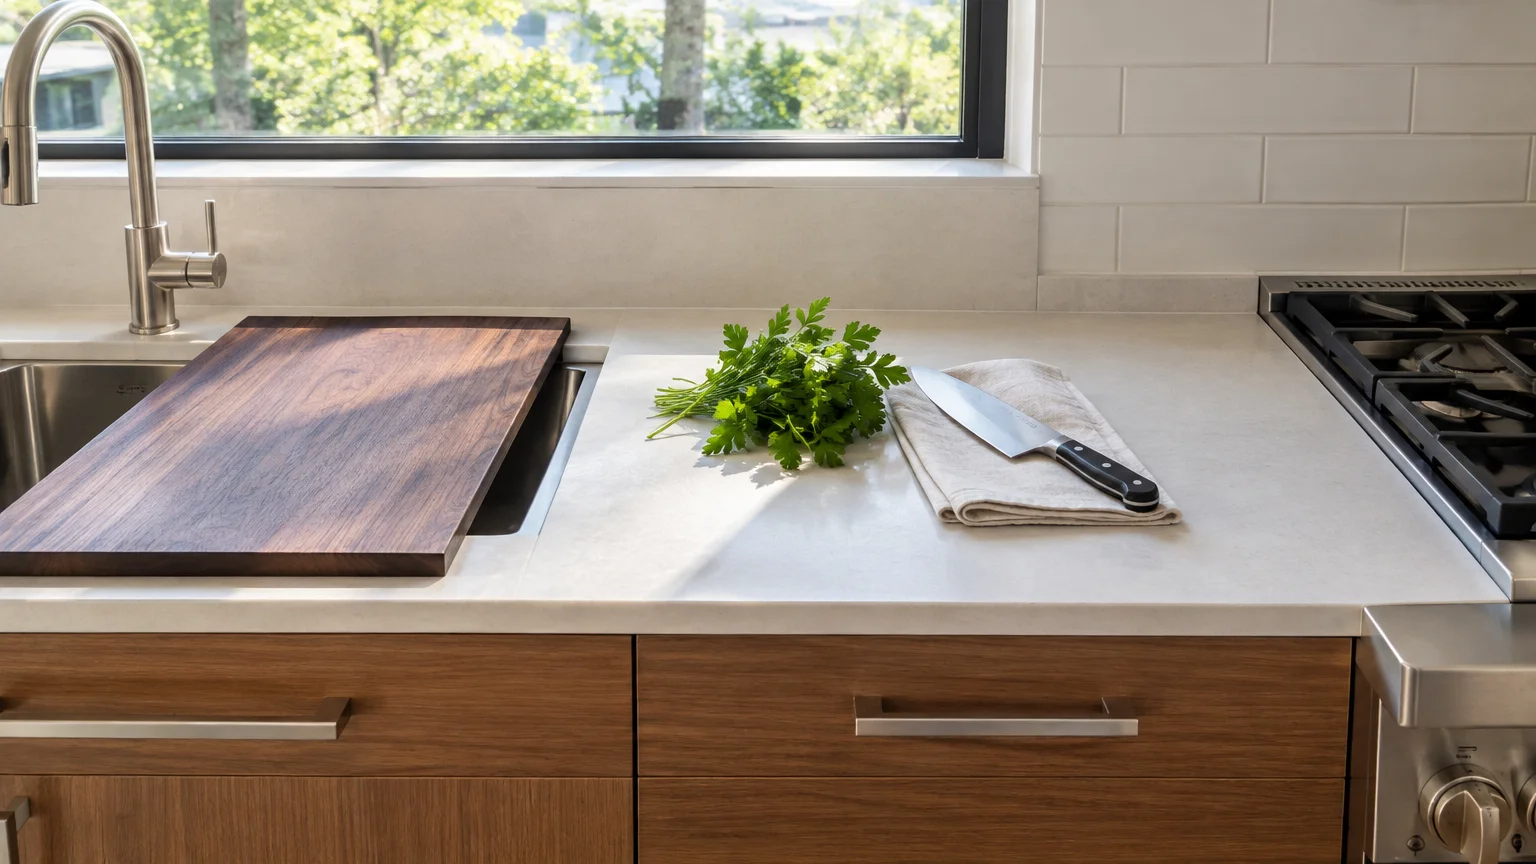
The counter space situated directly between your sink and your stove is the most valuable real estate in your kitchen. We call this your prep runway.
Clutter naturally migrates to this central counter, stealing your workspace and making dinner prep feel chaotic. When mail, small appliances, and drying dishes crowd this zone, meal preparation slows to a frustrating crawl.
Strip this specific stretch of countertop completely bare. Relocate decorative canisters, paper towel holders, and bulky fruit baskets to perimeter walls or unused corners.
Protecting this flat runway unlocks immediate kitchen efficiency. You gain an unobstructed, hygienic area where you can rinse ingredients, chop vegetables, and transfer them straight into a waiting skillet.
If your kitchen has limited counter space, place an oversized cutting board over an unused sink basin. This simple bridge expands your working surface during peak prep hours.
03 Anchor Skillets, Spatulas, and Cooking Fats at the Stove
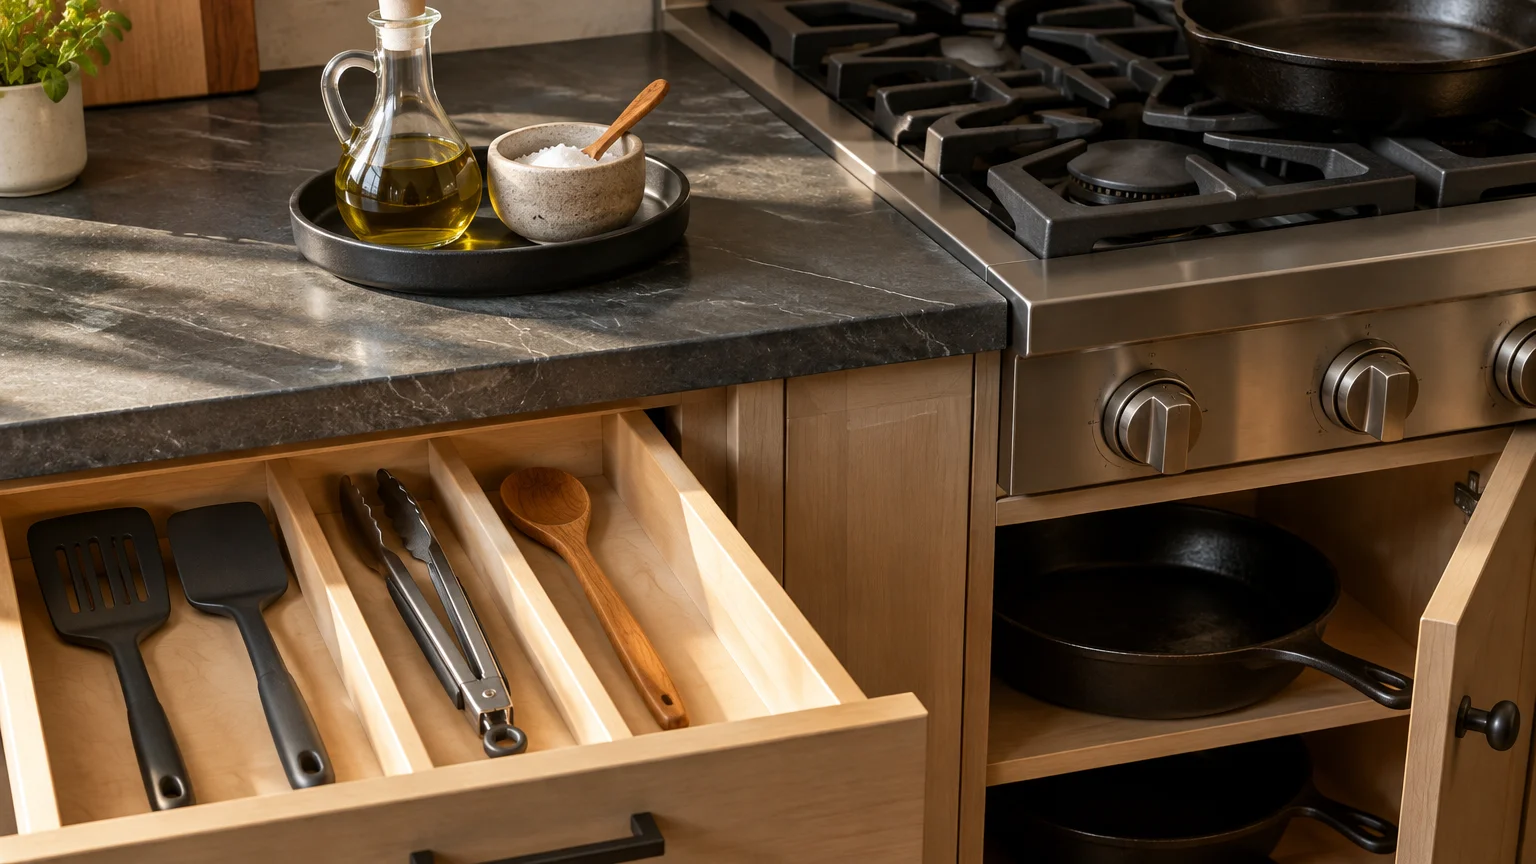
Stepping away from a hot skillet to fetch a forgotten spatula or bottle of olive oil can ruin a delicate sear. You should be able to reach your primary cooking essentials without moving your feet.
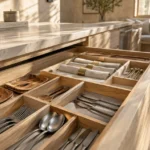
Dedicate the drawer immediately adjacent to your cooktop to high-heat turners, silicone spatulas, tongs, and tasting spoons. Install shallow dividers so you can grab the exact tool you need in a single motion.
Place your daily cooking oil and a salt cellar on a small tray beside the burners. A ceramic or metal tray catches drips and keeps seasonings at your fingertips.
Always maintain safe clearances around your heat sources. The National Fire Protection Association cautions cooks to keep flammable items—including oven mitts, wooden spoons, and food packaging—well away from hot range surfaces.
Store your two most frequently used skillets inside the cabinet directly beneath the stovetop. Reaching downward takes far less effort than walking across the kitchen to retrieve heavy pans from a deep pantry.
04 Switch to a Single-Layer Flat Spice Drawer
Traditional spice cabinets force you to stack bottles three rows deep behind dark doors. You waste precious minutes shuffling jars around, frequently buying duplicates of seasonings you already own.
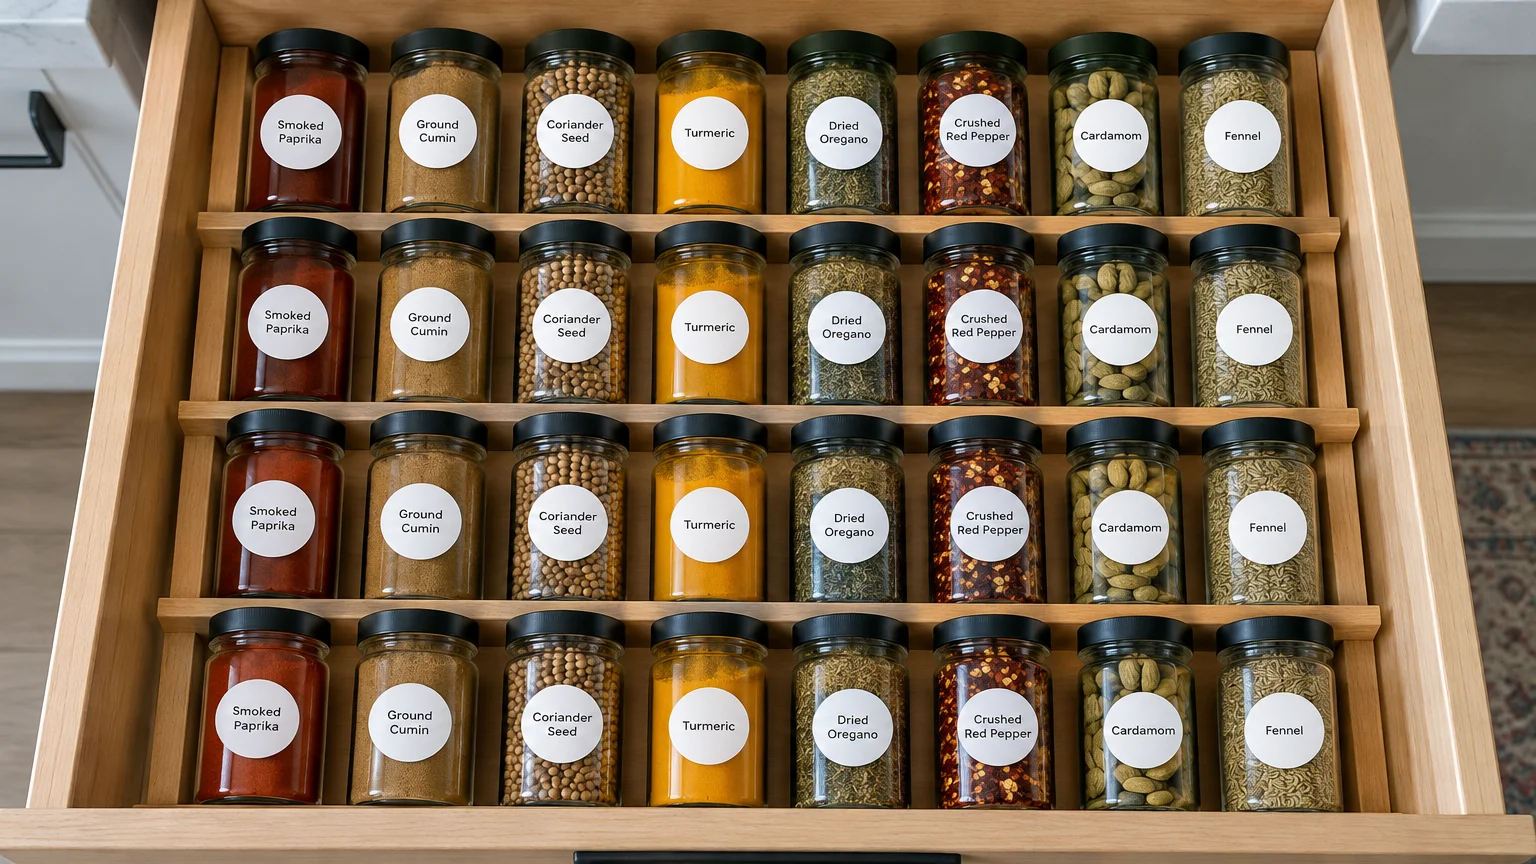
Empty a shallow top drawer near your stove and lay your spice jars flat in angled rows. Angled wire inserts or wooden tier trays tilt labels upward for instant readability.
When you open the drawer, every spice jar presents itself immediately. You grab paprika or cumin in two seconds, monitor low supplies at a glance, and never knock over stray glass bottles.
If you lack drawer space, mount a slim spice rack on the inside of a pantry door. Avoid magnetic racks placed directly above your range; heat and rising steam degrade volatile spice oils rapidly.
Standardize your jars if visual clutter distracts you. Transferring bulk herbs into uniform glass containers creates a tidy, functional system that simplifies inventory checks before grocery shopping.
05 Consolidate Your Knife and Cutting Board Station
Chopping vegetables accounts for the bulk of active meal preparation time. When your cutting boards live in one corner and your chef’s knife rests across the room, you waste continuous motion.
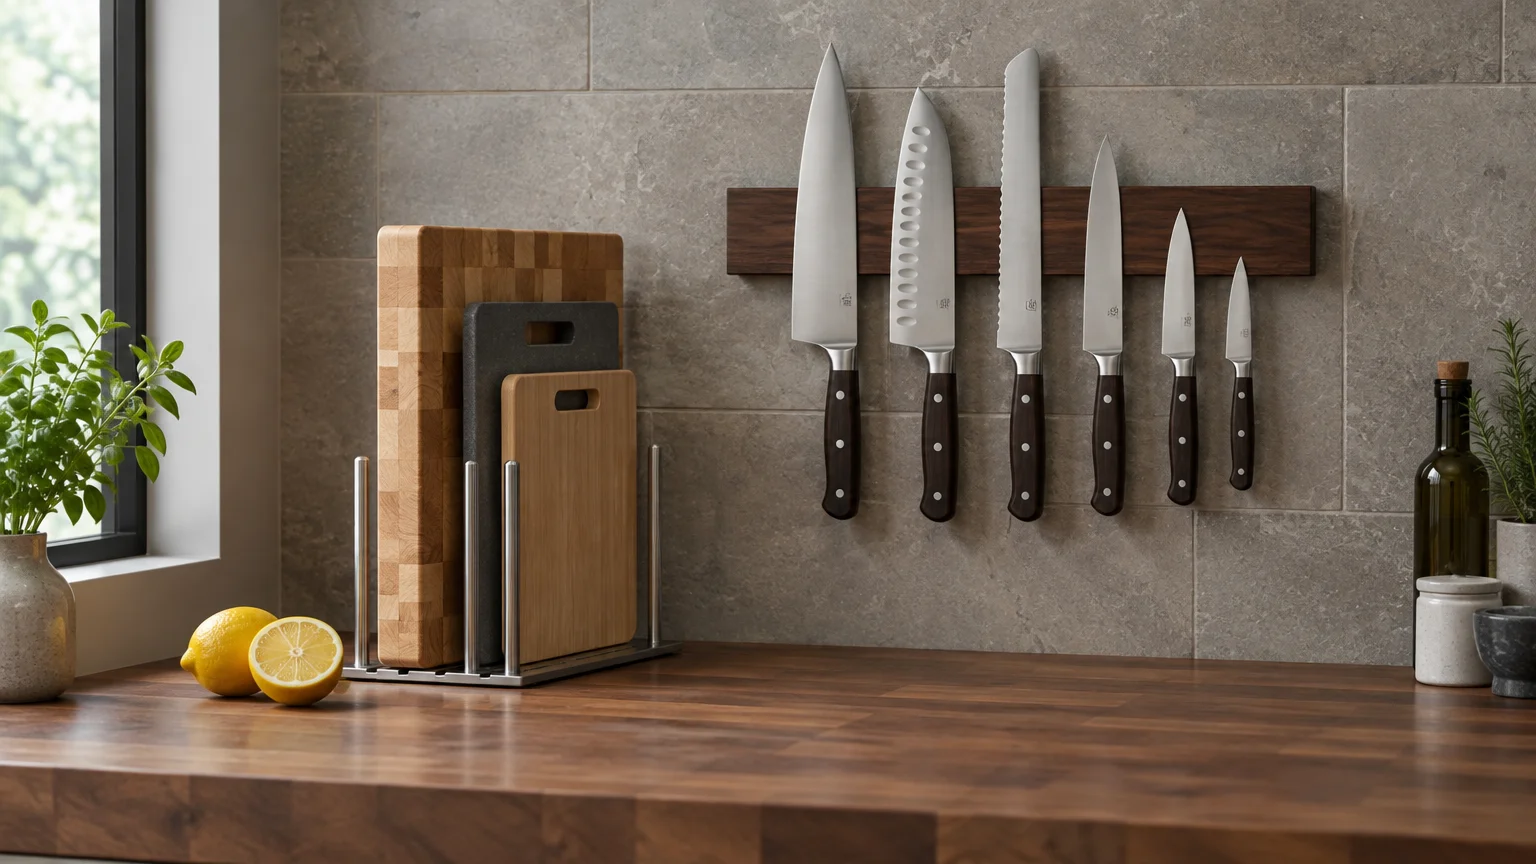
Build an integrated cutting station within your Prep Zone. Mount a heavy-duty magnetic knife strip on the backsplash directly behind your primary chopping board.
Magnetic bars keep blade edges sharp by eliminating friction against wooden slots. They also keep handles visible and sanitary, allowing you to select the right knife without hesitation.
Store your daily cutting boards upright in a wire basket or between vertical dividers beneath that same counter. Keep separate boards designated for produce and raw meats to prevent cross-contamination.
Add a bench scraper to this immediate setup. Scooping diced onions and herbs with a flat metal scraper saves blade edges and speeds food transfer into waiting pans.
06 Group Dry Staples by Culinary Purpose Rather Than Package Size
Organizing pantry shelves by box height or brand name looks tidy, but it ruins cooking speed. You end up opening four different cabinets just to assemble ingredients for a simple weeknight pasta.
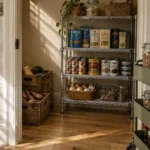
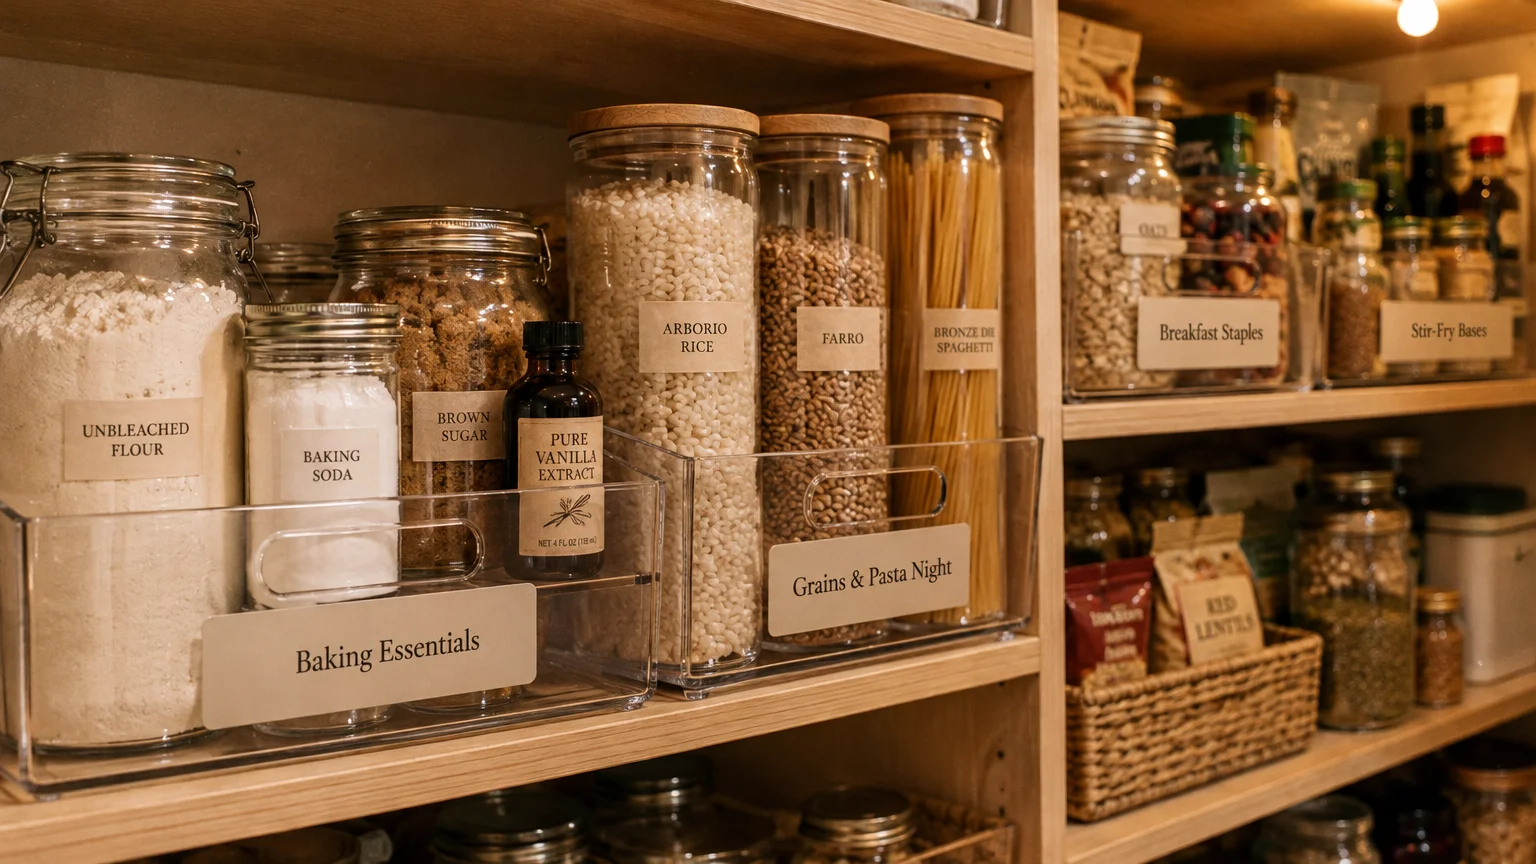
Shift toward task-based grouping using clear, open-top storage bins. Label bins by culinary category, such as “Baking Staples,” “Quick Pastas and Grains,” “Asian Sauces,” or “Breakfast Essentials.”
When a weeknight recipe calls for Mexican flavors, pull out the “Taco Night” bin. It holds black beans, salsa, canned chilies, and taco seasoning all in one portable caddy.
Transfer bulk grains, flours, and dried beans into clear, airtight storage containers. The U.S. Food and Drug Administration highlights proper storage in tightly closed containers as essential for keeping dry pantry foods fresh and pest-free.
Transparent containers reveal remaining quantities instantly so you never run out of rice mid-recipe. Write expiration dates on container bottoms using a dry-erase marker for easy reference.
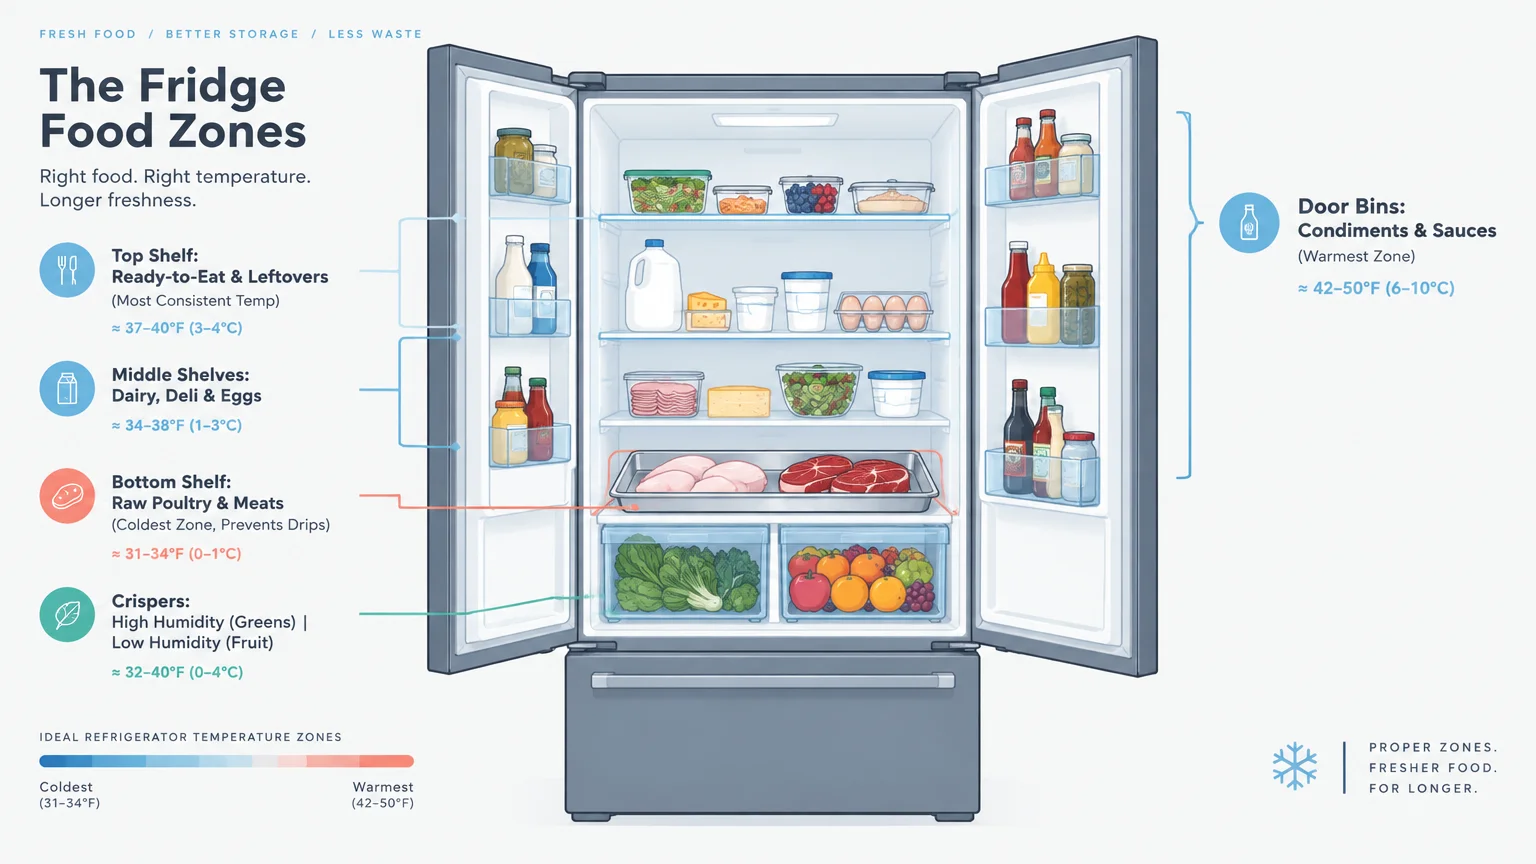
07 Organize the Refrigerator by Temperature and Task
A disorganized refrigerator leads to spoiled groceries, hidden leftovers, and dangerous food safety mistakes. Structuring your shelves according to food safety guidelines and cooking habits resolves all three issues.
Store ready-to-eat foods, prepped produce, and leftovers on the upper shelves where temperatures remain consistent. These items catch your eye first, ensuring you consume them before they spoil.
Place dairy, eggs, and deli meats on middle shelves where cold air circulates freely. Avoid keeping milk in refrigerator door bins, where temperatures fluctuate every time you swing the door open.
Keep raw poultry, seafood, and meats exclusively on the lowest shelf inside a rimmed plastic bin. The USDA Food Safety and Inspection Service recommends this setup to prevent raw meat juices from dripping onto fresh ingredients below.
Reserve door bins strictly for condiments, pickles, and high-acid dressings that tolerate temperature fluctuations. Grouping your dinner condiments in a small caddy lets you carry everything to the table in one trip.
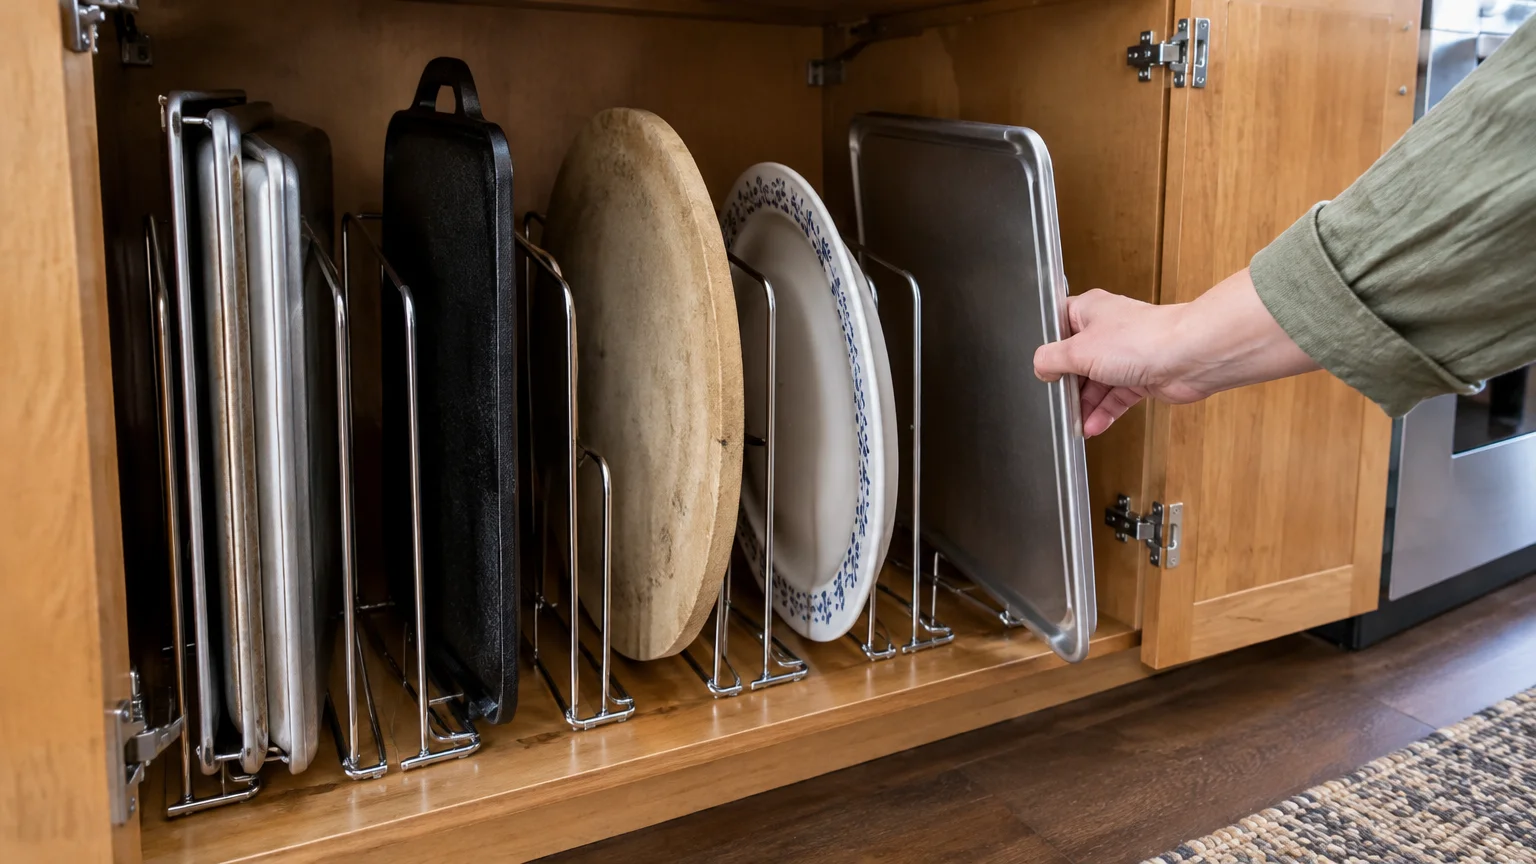
08 File Sheet Pans, Cutting Boards, and Platters Vertically
Flat, nested baking sheets create infuriating clatter whenever you need the roasting pan trapped at the bottom. Stacking flat items horizontally wastes cabinet height and damages nonstick coatings over time.
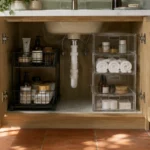
Convert a base cabinet into a vertical filing system using tension rods or wire shelf dividers. You can also install heavy-duty metal baking rack dividers directly into existing cabinetry.
Slide each sheet pan, muffin tin, cooling rack, and cutting board into its own vertical slot. You can withdraw any pan instantly with one hand without disturbing its neighbors.
This setup ranks among the most effective kitchen storage hacks for small spaces. It maximizes narrow, awkward lower cabinets that otherwise end up cluttered with tangled lids or unused pie pans.
Store rimmed sheet pans next to wire cooling racks so they remain paired for roasting and baking tasks. Group pie plates and cake tins in adjacent dividers to preserve order.
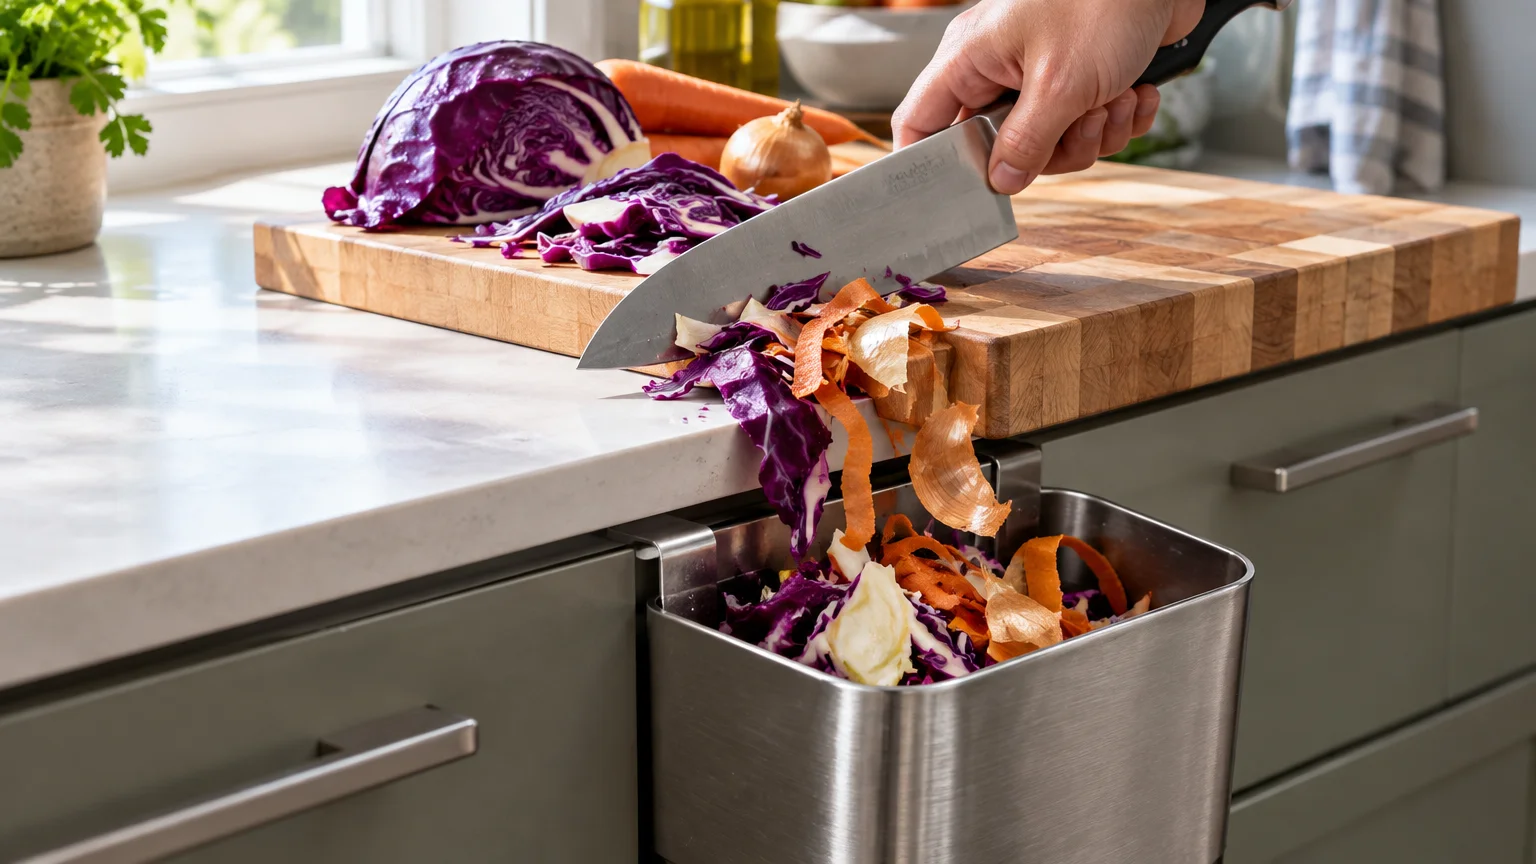
09 Position a Point-of-Prep Waste Catch
Walking across the kitchen to deposit onion skins or pepper seeds into a distant trash can wastes valuable minutes. It also leads to drippy food trails across your clean floors.
Place a wide stainless steel scrap bowl right next to your cutting board while chopping ingredients. Toss trimmings, peels, and food packaging into the bowl as you work.
When prep finishes, empty the scrap bowl into your main trash or compost bin in a single swift trip. Your cutting board stays completely clear and uncluttered throughout the cooking session.
If you have pull-out cabinet trash bins, locate them directly beneath your prep runway counter. You can pull the bin open slightly and scrape vegetable cuttings off the counter straight into the receptacle.
Keep a roll of replacement trash bags in the bottom of each waste can. You can replace full liners immediately without searching through laundry rooms or utility closets mid-cooking.
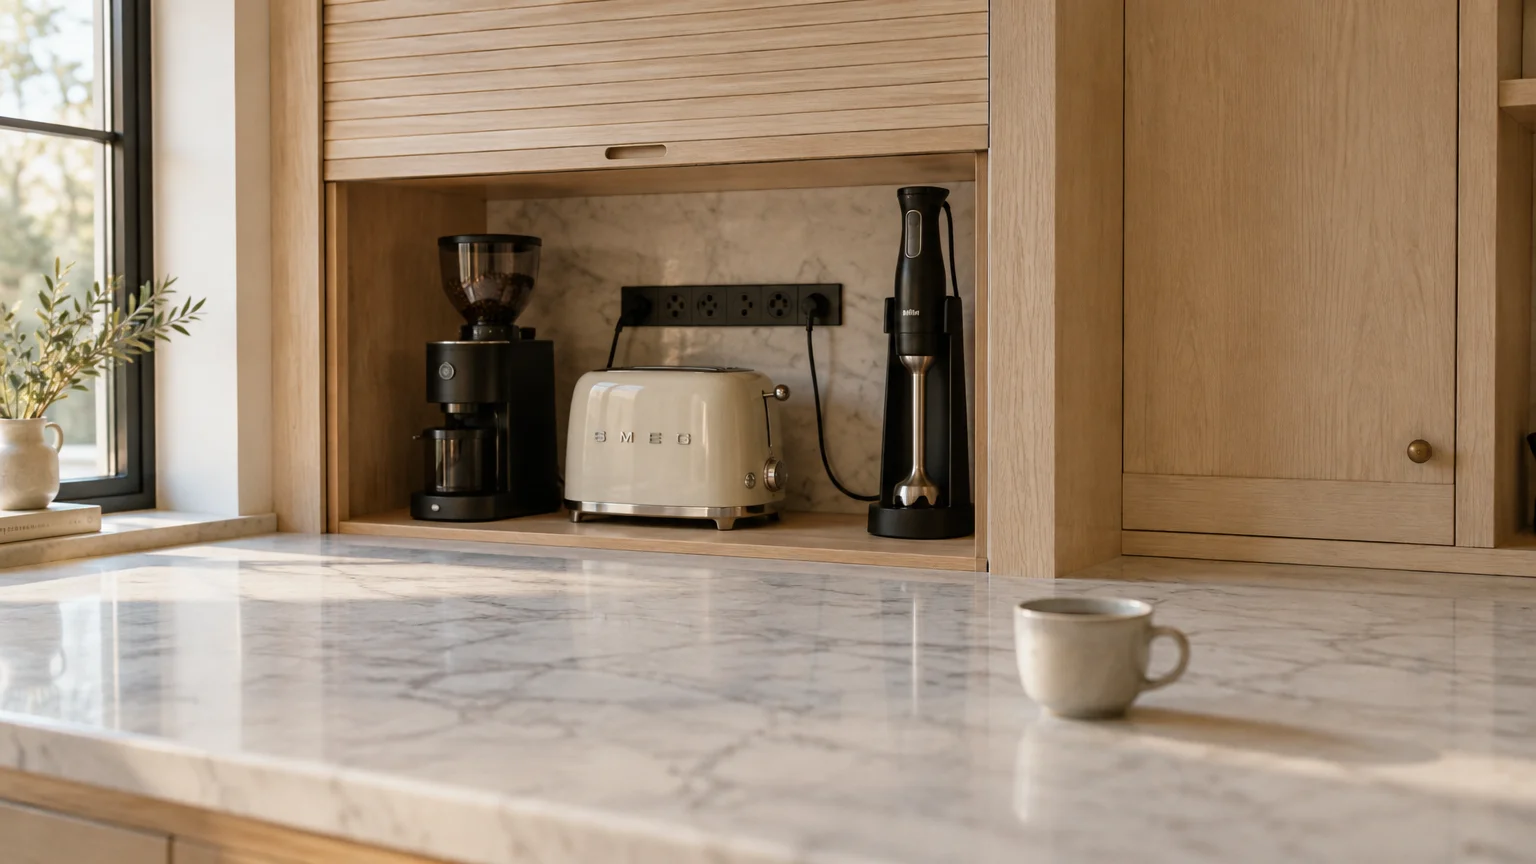
10 Create an Appliance Garage for High-Frequency Tools
Small countertop appliances like blenders, toasters, and food processors simplify cooking, but their cord tangles create visual chaos. Cluttered counters also limit your available elbow room for rolling dough or slicing roasts.
Designate a single perimeter counter zone or an enclosed appliance garage for your primary machines. Keep your daily coffee maker and toaster plugged in and ready for immediate morning duty.
Place heavy appliances on small sliding appliance mats or felt furniture pads. These inexpensive pads let you glide heavy stand mixers forward effortlessly without scratching quartz or granite surfaces.
Store secondary appliances—such as waffle irons, food dehydrators, and pasta rollers—in upper cabinets or pantry shelving. Keep only tools you use at least three times a week on open display.
Wrap loose appliance cords with adhesive silicone cord organizers stuck to the back of each machine. Tidy cords prevent snags and keep your appliance corner looking clean and intentional.
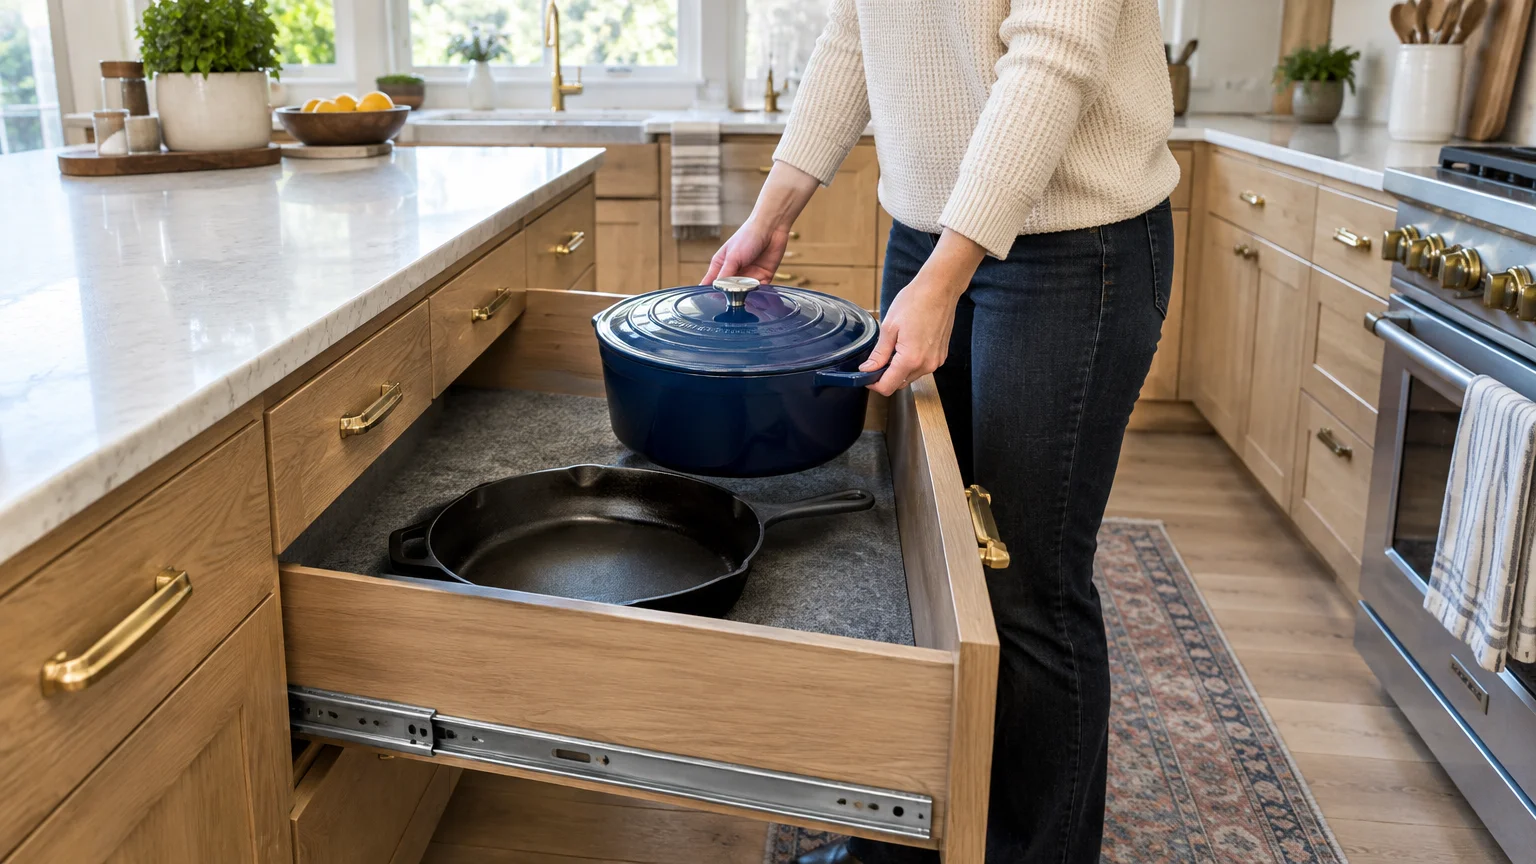
11 Relocate Heavy Cookware to Waist-Height Drawers
Bending low to yank heavy cast-iron skillets or enameled Dutch ovens from dark bottom shelves causes painful lower-back strain. Conversely, reaching above shoulder level for heavy glass bakeware invites dangerous drops.
The National Institute on Aging emphasizes home safety modifications that reduce fall hazards and joint strain as we age. Storing heavy kitchen loads within comfortable reach protects your body during daily tasks.
Convert your lower cabinets to wide, full-extension drawers positioned between your hips and your chest. Deep drawers glide out completely, presenting heavy pots and lids to you without requiring deep knee bends.
Line drawer bottoms with cushioned, non-slip silicone liners to prevent heavy cookware from sliding when you pull the drawer. Store corresponding pot lids directly beside each pot using vertical drawer inserts.
Reserve upper overhead shelves exclusively for featherweight essentials such as paper towels, dry cereal boxes, and lightweight plastic storage containers. Your body will thank you after every meal prep.
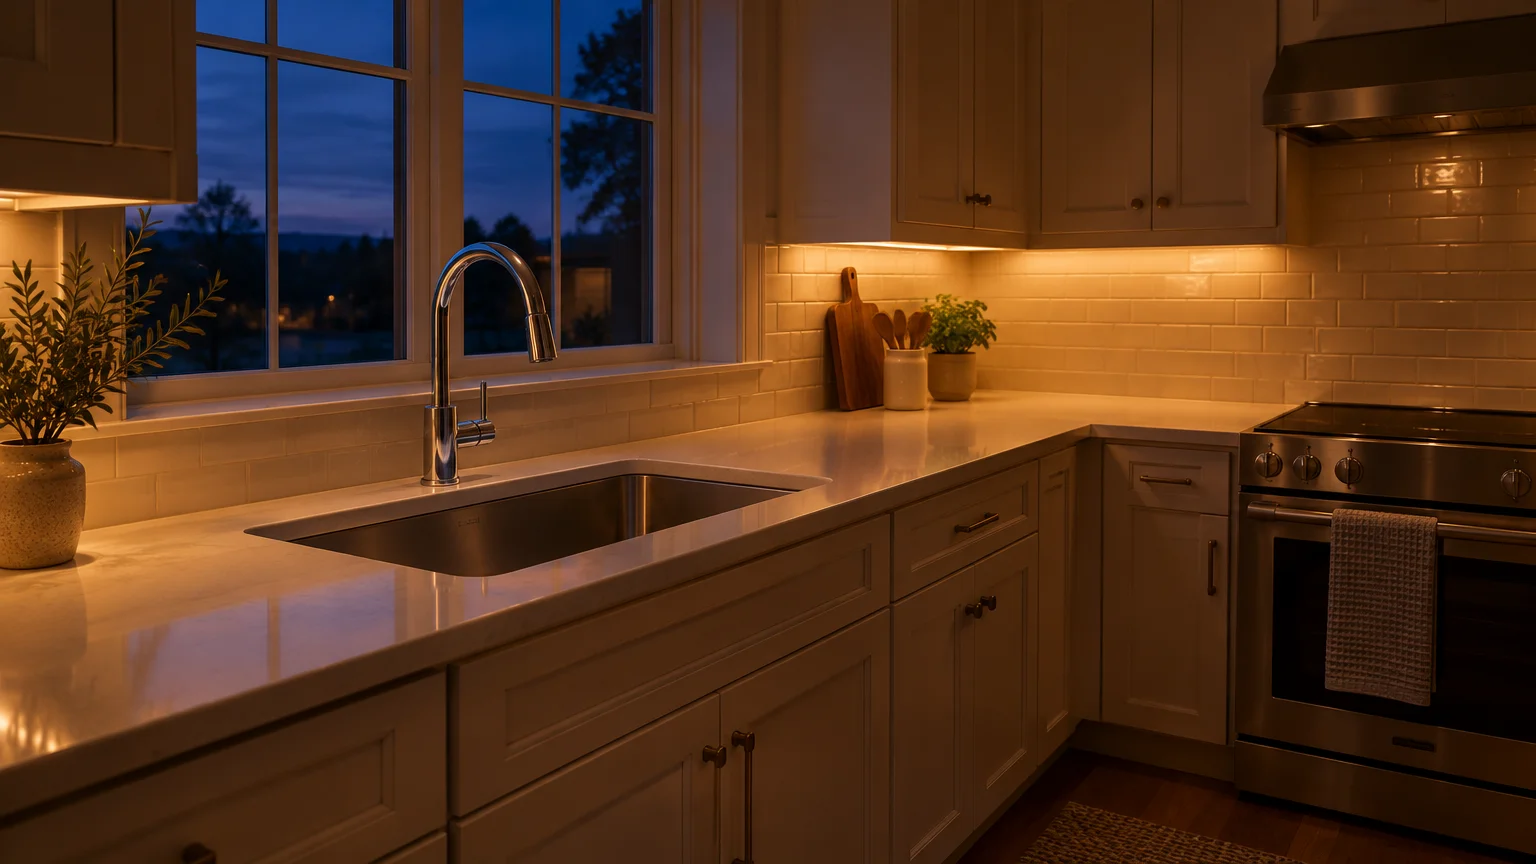
12 Run a Five-Minute Nightly Kitchen Reset
Waking up to greasy frying pans, cluttered cutting boards, and dirty counters drains your cooking enthusiasm before breakfast even starts. A brief nightly reset ensures you start every day with an inviting kitchen.
Set a timer for five minutes each evening after washing your dinner dishes. Wipe down the prep runway counter, clean the sink basin, and run the dishwasher.
Return stray condiments, spices, and cutting boards to their assigned home zones. A quick sweep around the stove clears away crumbs and prevents grease buildup.
Pull out tomorrow morning’s coffee mug, skillet, and cutting board so they sit waiting on your clear counter. Professional chefs call this “mise en place”—preparing your station ahead of demand.
Stepping into a sparkling, organized kitchen the next morning sets a calm tone for your entire day. It turns breakfast preparation into a peaceful ritual rather than a stressful chore.
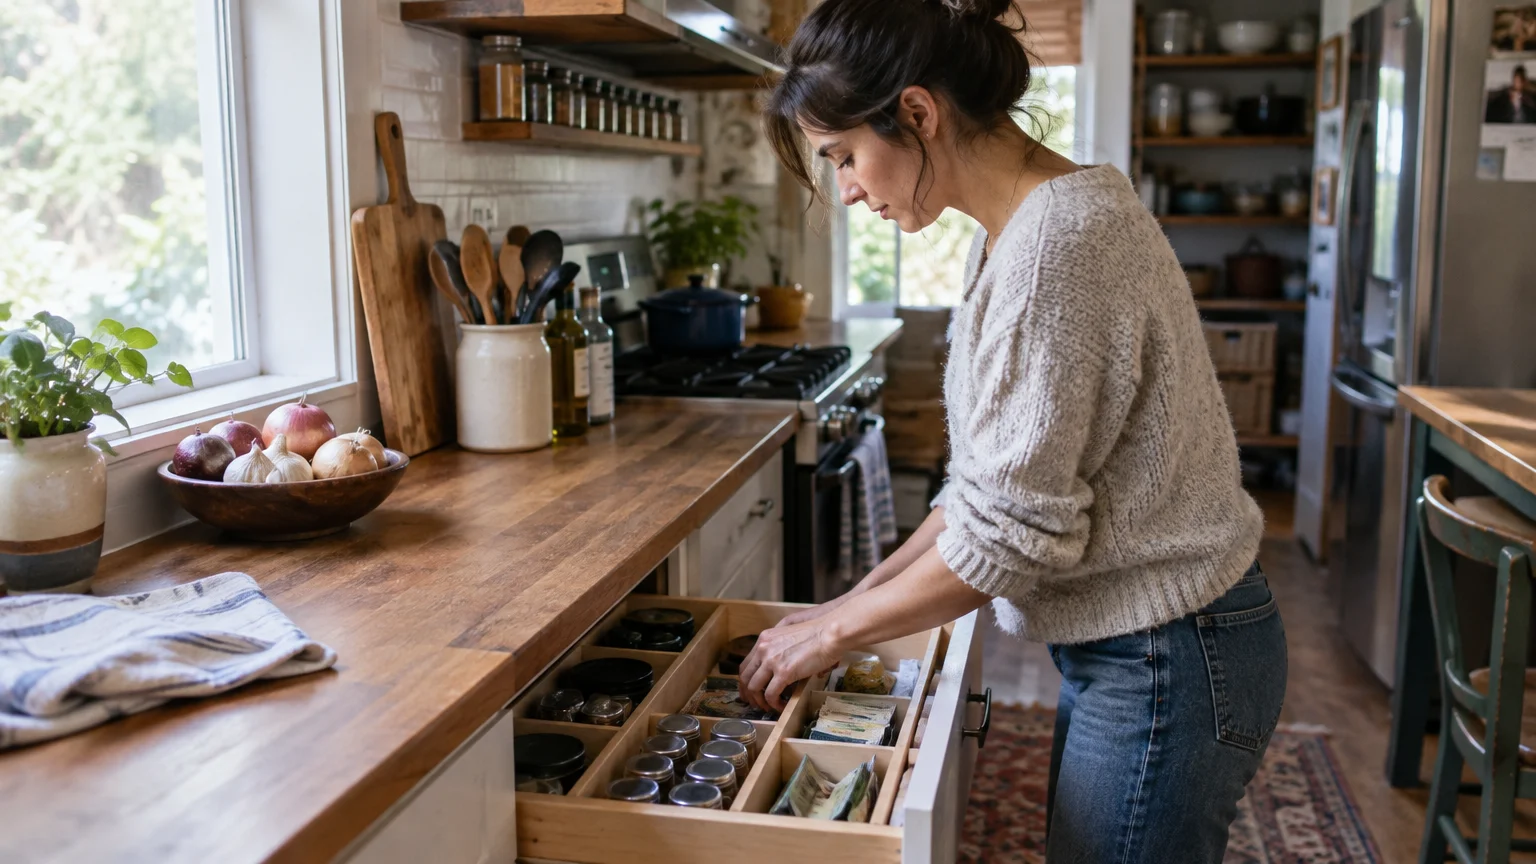
Zone-by-Zone Kitchen Setup Guide
Review this reference table to map your kitchen tools to the correct functional zones. Keeping items within their designated boundaries prevents wasted steps and cluttered surfaces.
| Kitchen Zone | Primary Location | Essential Tools to Store Here | Core Workflow Benefit |
|---|---|---|---|
| Prep Zone | Counter between sink and refrigerator | Chef’s knives, cutting boards, peelers, mixing bowls, bench scraper | Enables rapid chopping and measuring without crossing room traffic. |
| Cook Zone | Range, oven, and surrounding drawers | Skillets, spatulas, tongs, daily cooking oils, salt, spices, pot holders | Puts heat-safe tools and seasonings within reach while monitoring hot pans. |
| Clean Zone | Sink, dishwasher, and adjacent base cabinets | Dish soap, sponges, dish towels, scrap bowl, trash and compost bins | Streamlines post-meal washing and keeps dirty dishes isolated from prep areas. |
| Storage Zone | Pantry shelves and waist-height deep drawers | Airtight dry bins, canned goods, Dutch ovens, sheet pans, food wraps | Protects pantry staples from pests and reduces back strain when lifting heavy pots. |
Use this table to audit one zone each weekend. Moving even two misplaced items back to their home zone yields immediate improvements in your daily cooking rhythm.
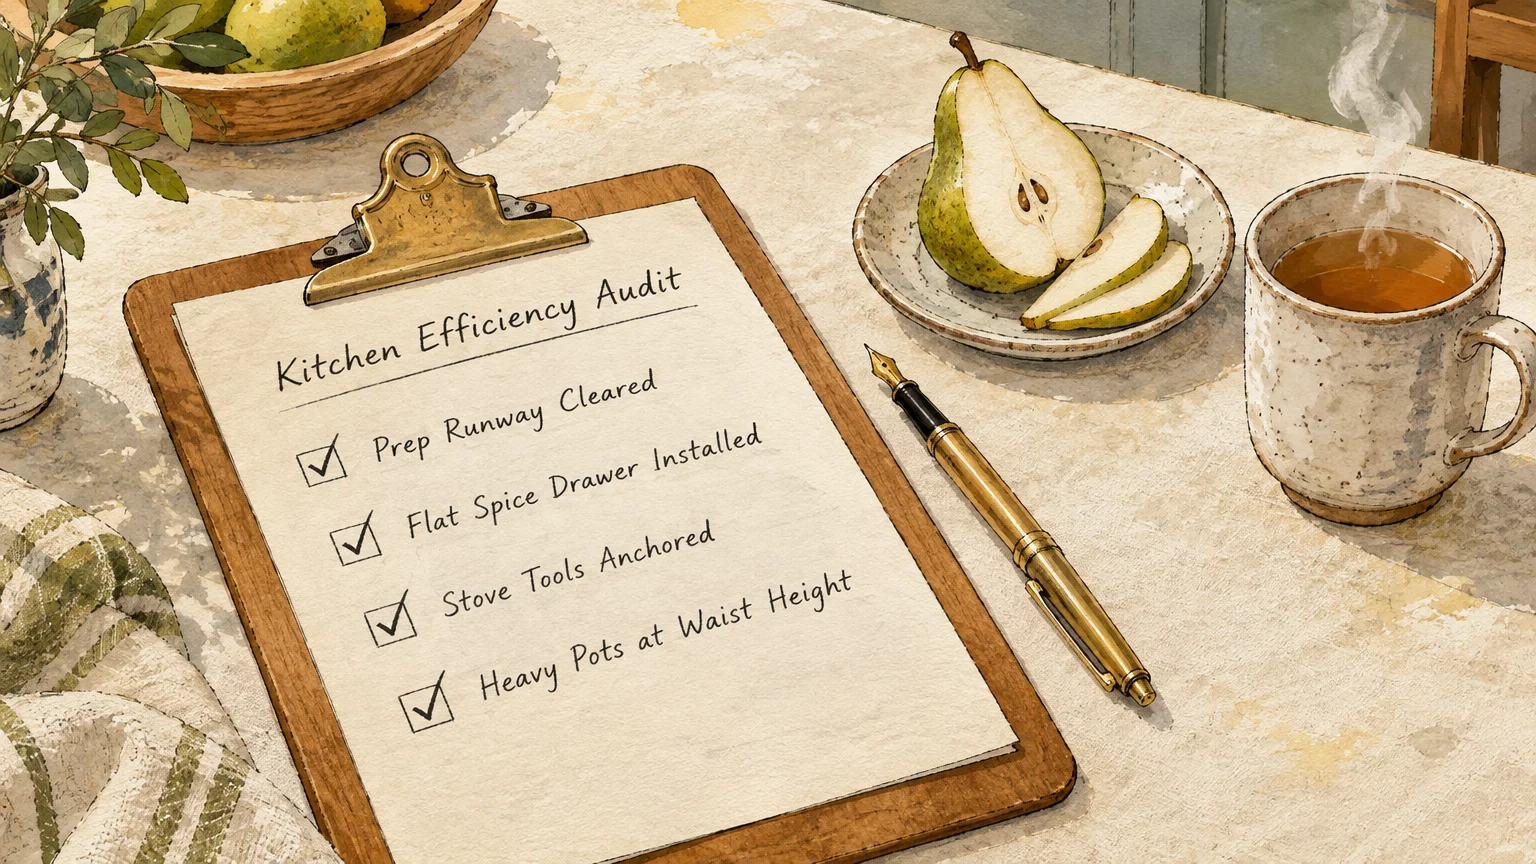
Essential Kitchen Efficiency Audit Checklist
Run through this quick checklist to pinpoint clutter bottlenecks and optimize your cooking environment. Check off each step as you complete it.
- Clear the runway: Remove non-prep items from the counter between the sink and stovetop.
- Check burner clearances: Move wooden utensils, dish towels, and oils away from direct heat sources.
- Establish a flat spice drawer: Lay daily seasonings flat with visible labels near your range.
- Mount knife storage: Hang a magnetic strip or insert a shallow drawer block near your cutting board.
- Verticalize bakeware: Install tension rods or vertical dividers to store sheet pans and platters upright.
- Safety-check the fridge: Shift raw meats to a sealed bin on the lowest shelf to protect other groceries.
- Rehome heavy cast iron: Move heavy Dutch ovens to waist-height pullout drawers to save your back.
Implementing these kitchen organization ideas does not require an expensive remodel. Small, deliberate shifts in tool placement yield dramatic improvements in speed, safety, and everyday comfort.

Your Immediate Next Step
Walk into your kitchen right now with an empty plastic bin. Clear everything off the counter space between your sink and stove that does not belong to active food preparation.
Stash those displaced items in your bin and wipe the counter clean. Enjoy the expansive breathing room tonight when you chop your first onion on a completely clear prep runway.