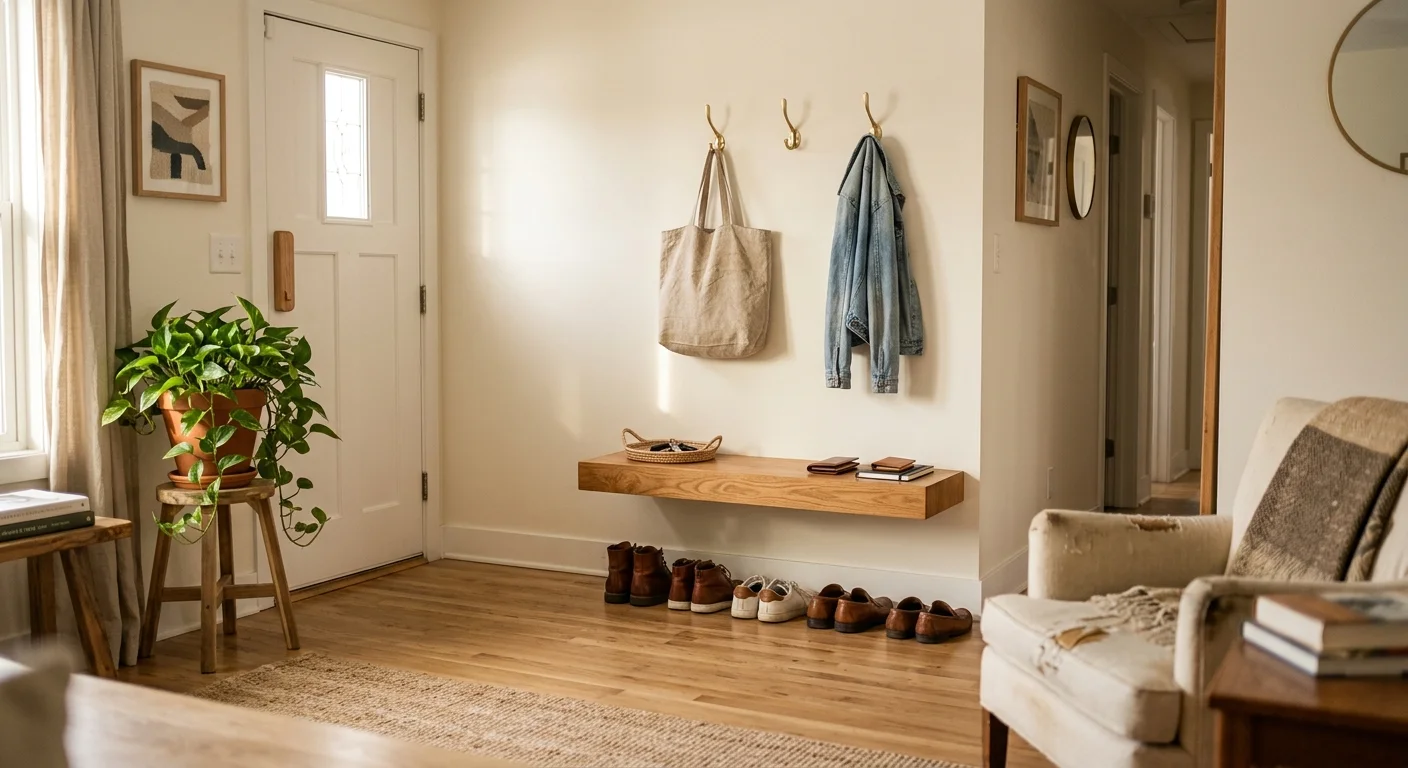
A cluttered front door ruins the calm of coming home and turns your daily departure into a frantic search for missing keys, bags, and shoes. You do not need a sprawling suburban floor plan or custom carpentry to create a hardworking launchpad; smart mudroom organization for small entryways relies on vertical space, slim profiles, and intentional storage habits. By transforming narrow wall gaps, hollow corners, and door backs into high-efficiency drop zones, you can build a streamlined entryway without a mudroom. These nine compact mudroom storage solutions keep your daily essentials accessible, eliminate floor hazards, and bring lasting order to the tightest front halls.
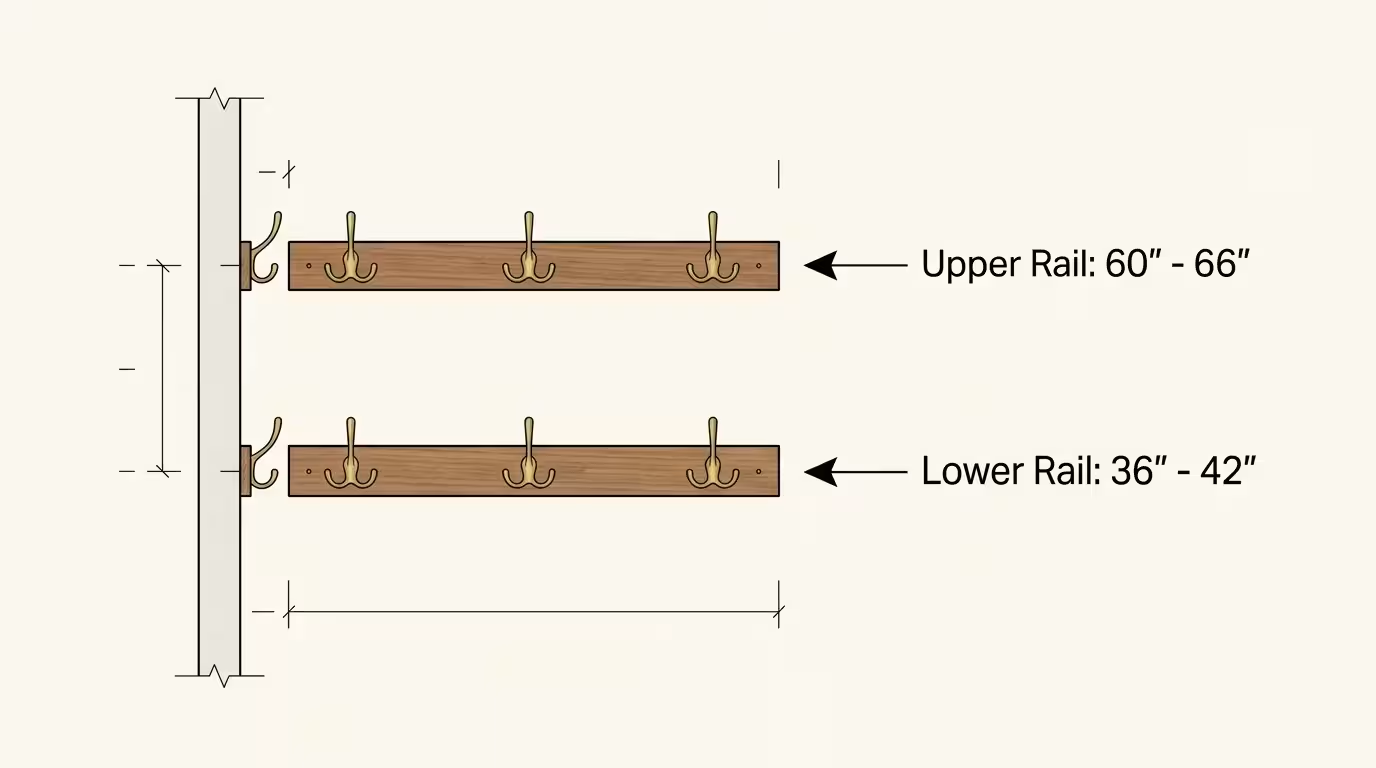
01 Install a Two-Tier Wall-Mounted Coat Rack
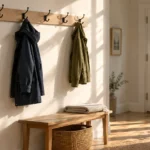
Standard coat racks concentrate every garment at eye level, which creates an unsightly, bulky bulge that crowds narrow hallways. Installing a two-tier hook rail system doubles your hanging capacity while distributing the visual weight across your wall. Place the upper rail between 60 and 66 inches from the floor for adult winter coats, longer rainwear, and large shoulder bags. Mount the second rail directly below it at 36 to 42 inches.
This lower tier serves multiple practical purposes. It provides young children with an accessible place to hang their backpacks and jackets independently; it also gives older adults or seated family members a reachable anchor for everyday walking sticks and tote bags. When selecting hardware, choose cast iron or solid brass triple-pronged hooks. A triple hook lets you hang a hat on top and two garments on the lower prongs, tripling the utility of a single wall anchor.
Before drilling, locate your wall studs using an electronic stud finder. Winter coats and loaded work bags easily exceed 20 to 30 pounds; securing your mounting boards into solid framing prevents drywall anchors from pulling loose under heavy loads. If stud locations do not align with your design, fasten a sturdy 1×4-inch hardwood board across two studs first, then mount your individual hooks directly to the hardwood runner.
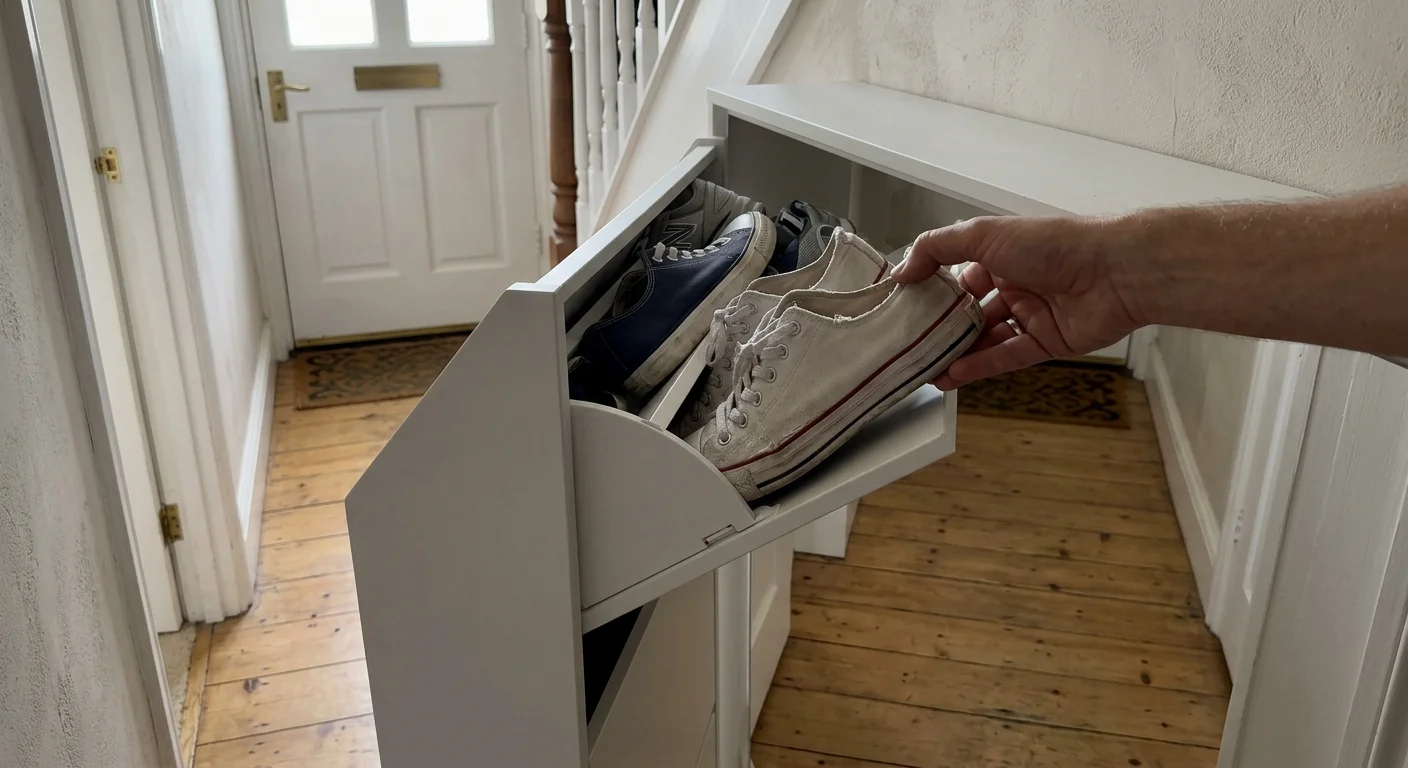
02 Deploy an Ultra-Slim Flip-Down Shoe Cabinet
Traditional shoe benches require 14 to 18 inches of floor depth, which can obstruct pathways in tiny foyers. Flip-down shoe cabinets feature compartments that open outward at an angle, reducing the furniture depth to a mere 7 to 9 inches. This slender footprint keeps footwear neatly concealed while preserving vital walking space.
A single four-compartment slim cabinet holds between 8 and 12 pairs of adult shoes. Store daily sneakers and walking shoes in the top bins where they are easiest to reach, and place less frequently worn footwear in the bottom drawers. Because these units have a high center of gravity and a narrow base, you must secure them firmly to the wall to eliminate tipping hazards. Refer to safety recommendations from the U.S. Consumer Product Safety Commission Anchor It! Campaign to protect children and pets from tip-over incidents.
To maximize interior cabinet space, insert shoes in alternating toe-to-heel arrangements. If you wear tall boots, reserve this cabinet exclusively for low-profile shoes and flats, using vertical boot trees or hanging boot clips inside an adjacent closet to protect your boot shafts from creasing.
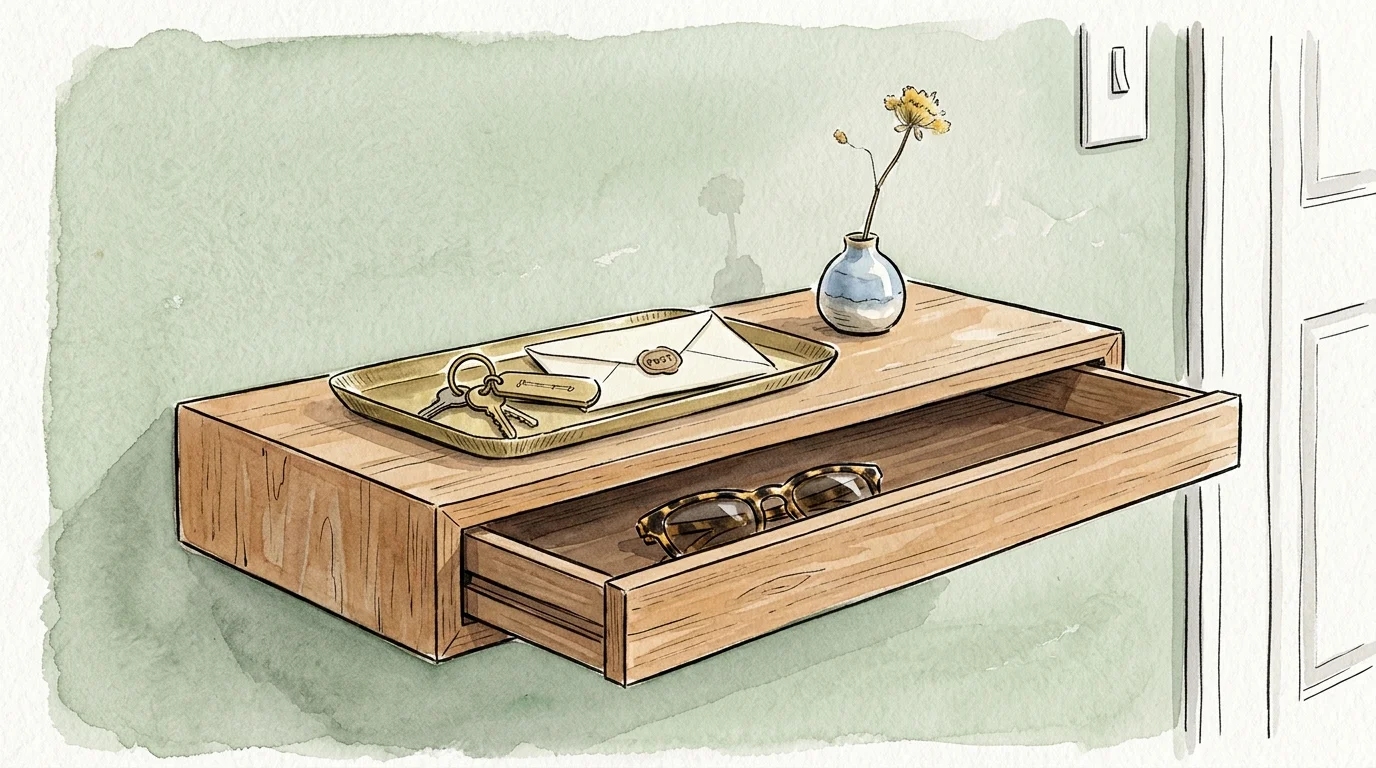
03 Mount a Shallow Floating Console with Concealed Trays
Horizontal surfaces in entryways attract clutter like magnets. Loose mail, spare coins, sunglasses, and receipts quickly accumulate into an unmanageable pile. A wall-mounted floating console with an integrated shallow drawer solves this issue by offering a landing spot for pocket items without sacrificing floor space.
Choose a floating shelf or console that projects no more than 6 to 8 inches from the wall. This depth provides ample room for a small mail sorter and key bowl without bumping into your elbows as you walk past. Inside the console drawer, place modular felt or bamboo organizing trays to designate exact compartments for specific items:
- Front tray: House keys, car fobs, and access cards.
- Middle compartment: Sunglasses, reading glasses, and lens wipes.
- Rear compartment: Spare charging cables, portable power banks, and pocket knives.
- Adjacent upright slot: Incoming mail requiring immediate action and outgoing letters.
Mounting this unit at standard elbow height (roughly 38 to 42 inches) allows you to empty your pockets comfortably the moment you step through the front door. Keeping the floor completely clear underneath the shelf also creates an optical illusion of greater square footage.
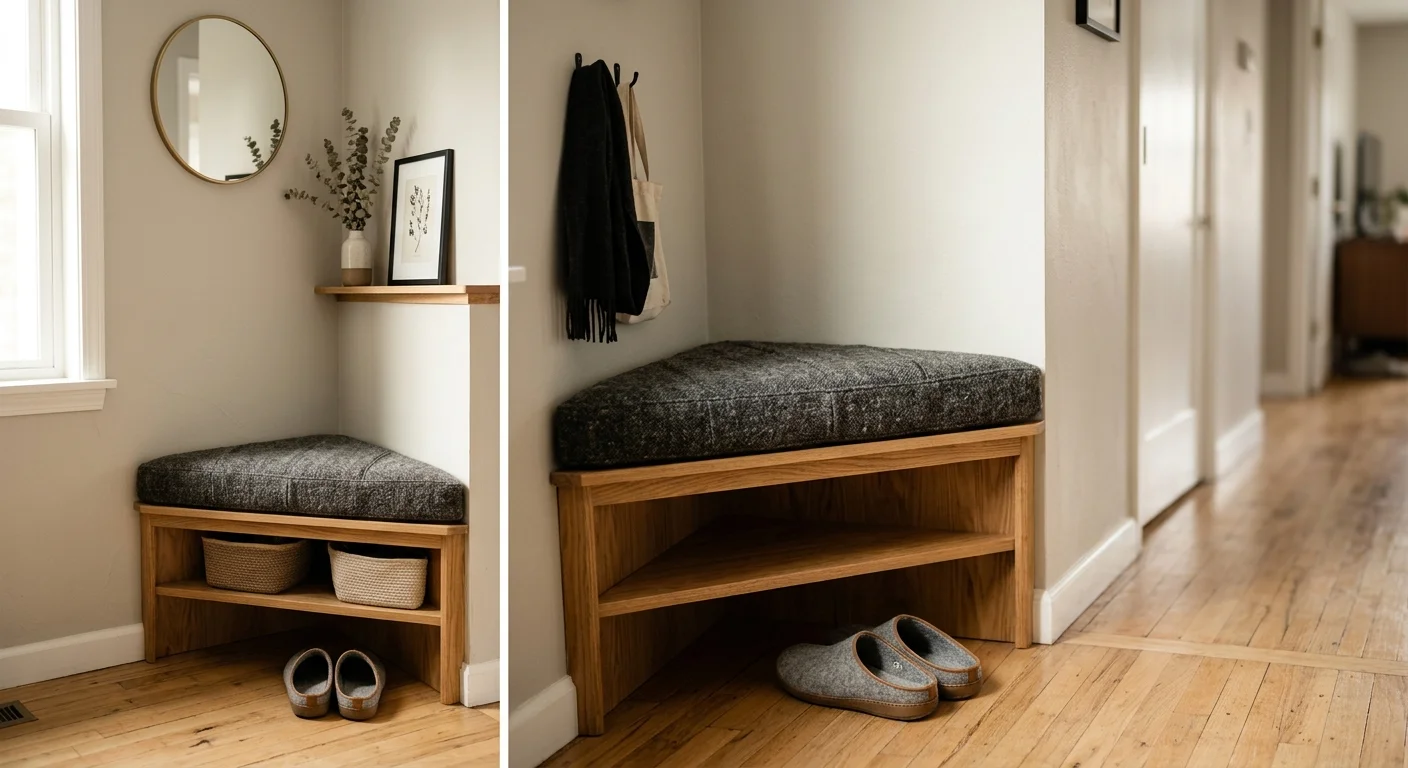
04 Reclaim Dead Space with a Corner Storage Bench
The 90-degree corners next to entry doors often sit empty, gathering dust bunnies while the surrounding walls become overcrowded. Corner mudroom benches transform these unused structural angles into comfortable seating and discrete storage hubs without choking the main corridor.
Select an L-shaped or triangular corner bench equipped with an open cubby base or a hinged top. This gives you a stable place to sit down while putting on or removing shoes—a critical safety and comfort feature for older adults or anyone managing mobility limitations. Look for benches built from solid hardwood or heavy-duty birch plywood to ensure long-term structural integrity.
Pair the corner bench with a matching corner shelf or wrap-around coat hooks mounted directly above it. This vertical alignment stacks your storage footprint into a single, compact zone. Fit the lower cubbies with tight-weave rattan or fabric storage bins to conceal athletic equipment, pet walking gear, or extra scarves out of sight.
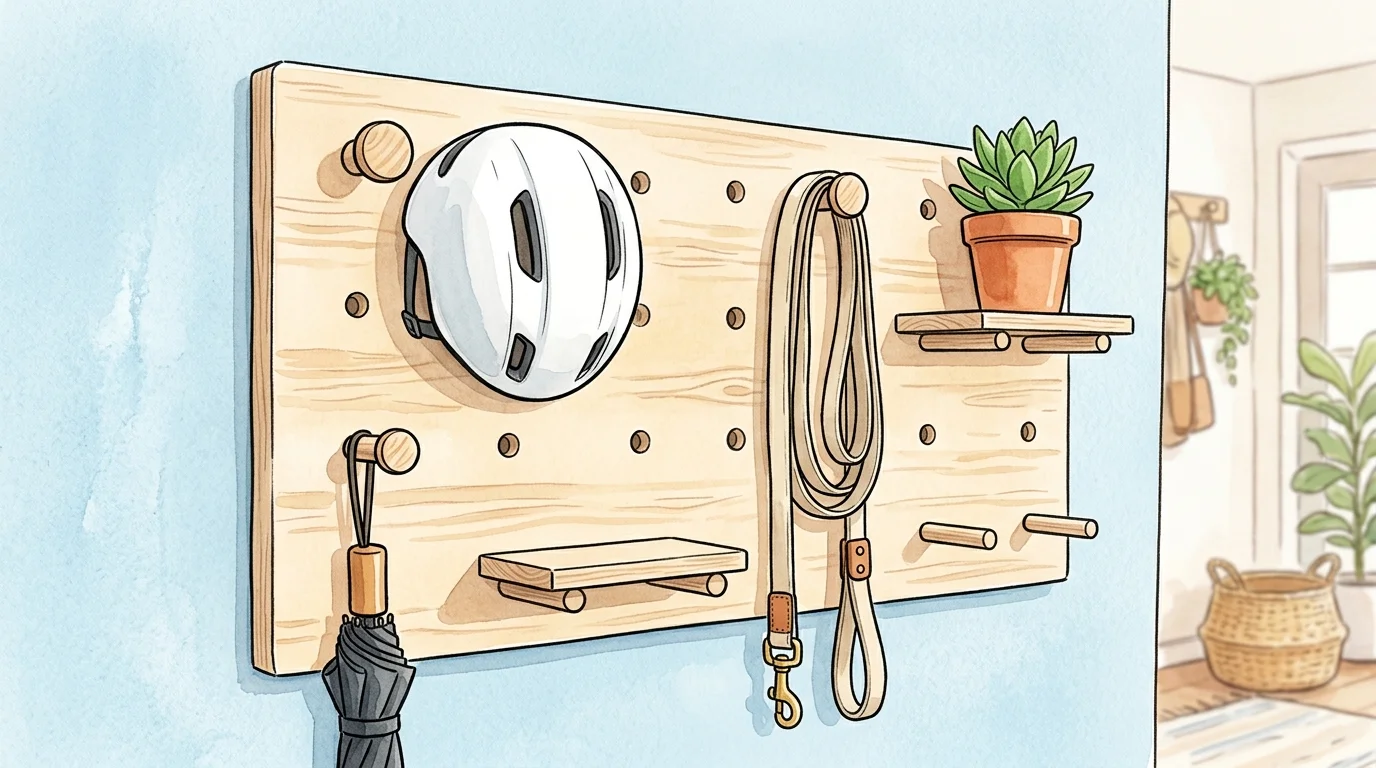
05 Capitalize on Vertical Height with Modular Pegboards
When floor space is scarce, your vertical walls become your greatest organizational asset. Heavy-duty wooden or powder-coated steel pegboards provide an infinitely adaptable grid that evolves alongside your household routines throughout the changing seasons.
Unlike fixed shelving, pegboards allow you to reposition shelves, pegs, dowels, and hanging wire baskets in seconds without drilling new holes into your drywall. Mount a full 24×48-inch pegboard panel securely to wall studs using 1-inch spacers behind the board. These spacers provide the necessary clearance for hook hardware to lock into place behind the panel.
Arrange your pegboard systematically by grouping like items together:
- Top section: Hang wire baskets for seasonal hats, beanies, and rolled-up umbrellas.
- Eye level: Insert heavy wooden dowels for everyday jackets, heavy canvas bags, and backpacks.
- Midsection: Install narrow floating picture ledges or small bins for sunglasses, outgoing mail, and daily lanyards.
- Bottom section: Attach curved hooks to hold dog leashes, flashlights, and children’s sports gear within easy reach.

06 Maintain Clear Walkways with Wall-Mounted Floating Benches
Floor-standing mudroom furniture can make a small entryway feel cramped and difficult to clean. Wall-mounted floating benches create functional seating while keeping the flooring underneath visible, which instantly makes a tight foyer feel larger and more open.
When planning your entryway layout, prioritize clear, unobstructed paths. Maintaining a minimum clear walkway of 36 inches wide aligns with accessibility guidelines established by the Americans with Disabilities Act (ADA) and supports fall prevention principles highlighted by the CDC STEADI Fall Prevention Initiative. Eliminating floor-level furniture legs removes tripping hazards and allows wheelchairs, walkers, or grocery carts to pass through smoothly.
Install heavy-duty structural steel brackets rated for at least 300 to 500 pounds into solid wall studs, topping them with a smooth, sealed butcher block or solid oak slab. Underneath the floating bench, you have open space to slide low-profile boot trays or robot vacuums, making daily sweeping and mopping effortless.
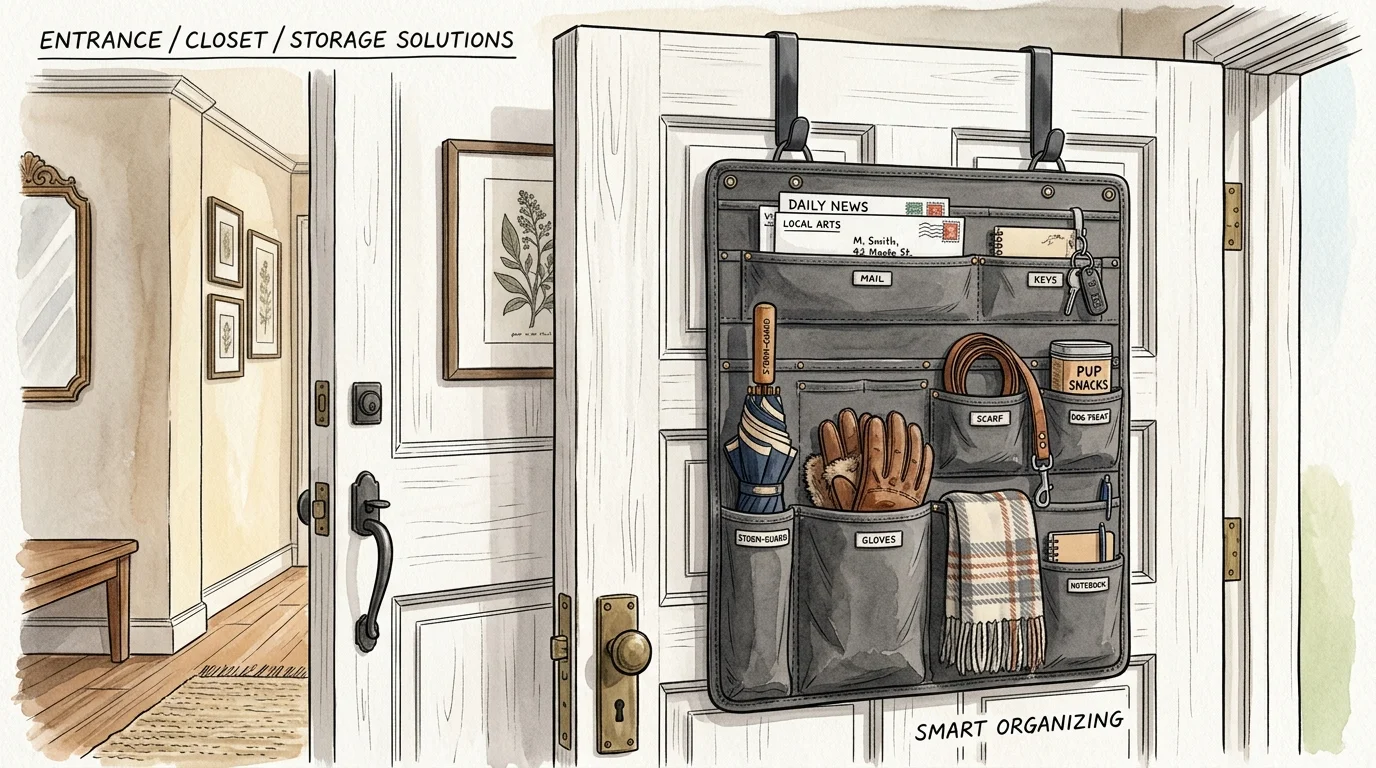
07 Optimize Door Backs with Structured Hanging Organizers
The interior face of your front door or adjacent coat closet door represents valuable storage real estate that frequently goes underutilized. Structured over-the-door organizers turn this empty vertical plane into an efficient micro-pantry for accessories.
Avoid flimsy plastic organizers with saggy pockets that rip under weight. Instead, invest in commercial-grade canvas, heavy nylon, or metal wire pocket racks that stay rigid when loaded. Secure the organizer to the top and bottom edges of the door using low-profile metal brackets and adhesive hook-and-loop strips to prevent the organizer from swinging or banging when opening and closing the door.
Assign specific storage zones to each pocket tier to keep items organized:
- Upper pockets: Cold-weather gear such as gloves, earmuffs, winter headbands, and wool beanies.
- Middle pockets: Reusable canvas shopping bags rolled tightly, travel umbrellas, and rain ponchos.
- Lower pockets: Pet care supplies, including waste bags, reflective collars, paw wipes, and training treats.

08 Implement a Strict Seasonal Wardrobe Rotation
Small-space mudrooms quickly become overwhelmed when packed with a full year’s worth of outer layers. If your family of four keeps heavy winter parkas, spring windbreakers, raincoats, and light summer jackets in the entryway simultaneously, your hooks and cubbies will inevitably collapse into chaos.
Adopt a strict “in-season only” storage rule. Limit the entryway to two coats and two pairs of active shoes per household member at any given time. Store off-season garments in zippered fabric storage bags placed on upper bedroom closet shelves or under bed frames with cedar blocks to deter fabric pests.
Schedule a quick, 20-minute seasonal transition every spring and autumn. Wash or dry-clean heavy coats before packing them away, inspect shoes for necessary repairs or sole cleaning, and wipe down your entryway wall hooks and bins before loading the upcoming season’s wardrobe.

09 Integrate Low-Profile Boot Trays with Natural River Stones
Tracking rainwater, slush, and street salt across your threshold ruins flooring and introduces outdoor contaminants into your living areas. A heavy-duty, low-profile rubber boot tray traps moisture right at the door, but flat trays often leave wet soles sitting in puddles, which slows drying and creates musty smells.
Elevate your boot tray’s performance by lining the basin with a 1-inch layer of smooth, natural river stones. The stones serve both practical and aesthetic purposes: they lift your footwear above pooled water, allowing 360-degree airflow around the soles for faster drying times. The added weight of the river rocks also anchors the rubber tray firmly to the floor, preventing it from sliding when you kick off heavy work boots.
Once a month, rinse the stones in a bucket of warm water mixed with a small amount of mild dish soap to remove accumulated street grit, salt residue, and dust. Let the rocks air-dry thoroughly in the sun before returning them to the rubber tray.
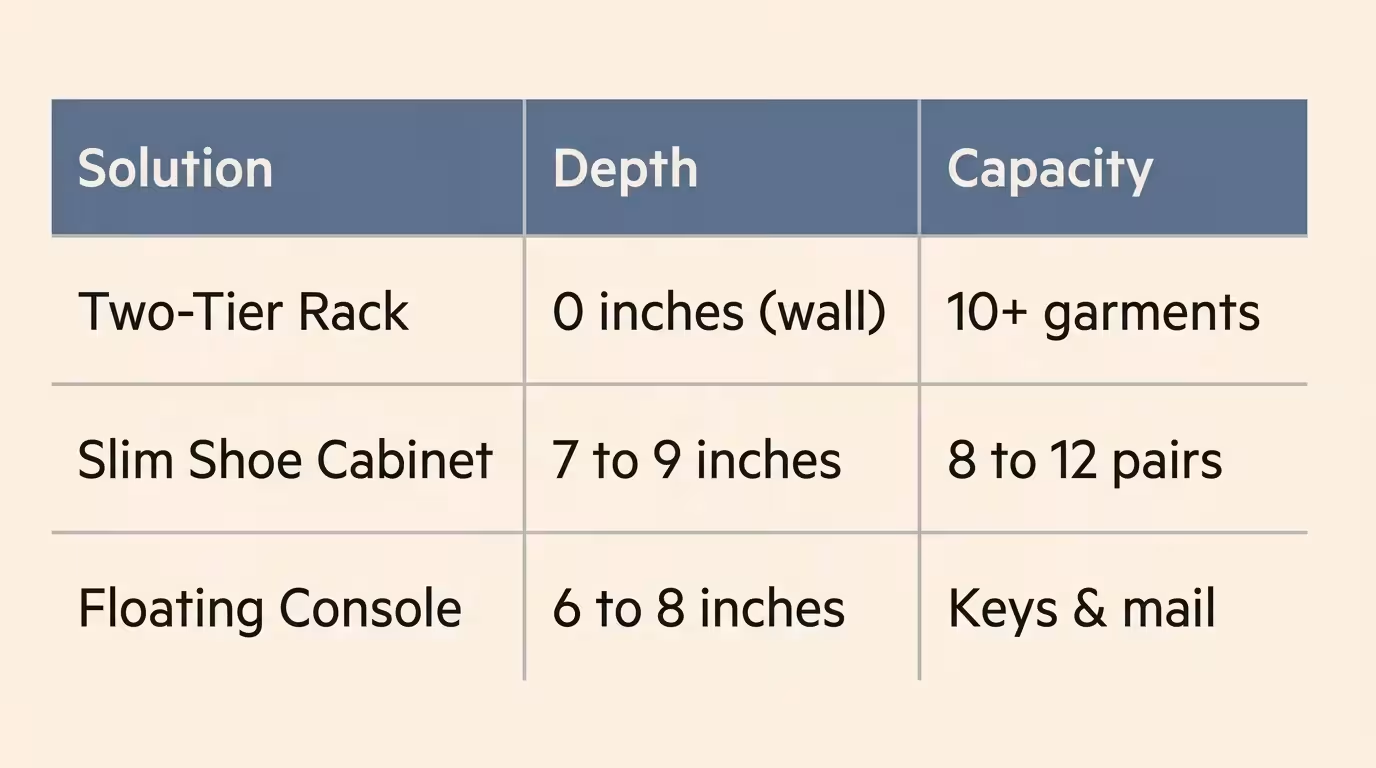
Comparing Small Entryway Mudroom Solutions
Every tiny entryway presents unique architectural constraints, from narrow hallways to swing-door clearances. The table below outlines how these compact solutions compare in footprint, installation demands, and storage focus, helping you select the best match for your space.
| Storage Solution | Depth Required | Best For | Primary Benefit |
|---|---|---|---|
| Two-Tier Wall Hooks | 3–5 inches | Narrow hallways & high-traffic corridors | Doubles hanging capacity across two accessible heights |
| Flip-Down Shoe Cabinet | 7–9 inches | Concealing bulky footwear collections | Hides 8–12 pairs of shoes in half the depth of a bench |
| Floating Console Shelf | 6–8 inches | Keys, mail, wallets, and pocket EDC | Provides a dedicated drop zone without touching the floor |
| Modular Wall Pegboard | 4–6 inches | Multi-item gear and seasonal transitions | Easily reconfigured with movable hooks and bins |
| Floating Wall Bench | 12–15 inches | Safe seating and effortless floor maintenance | Keeps walking paths clear and allows easy sweeping |
| River Stone Boot Tray | 12–14 inches | Wet boots, rain gear, and winter slush | Speeds up shoe drying and protects flooring from water |
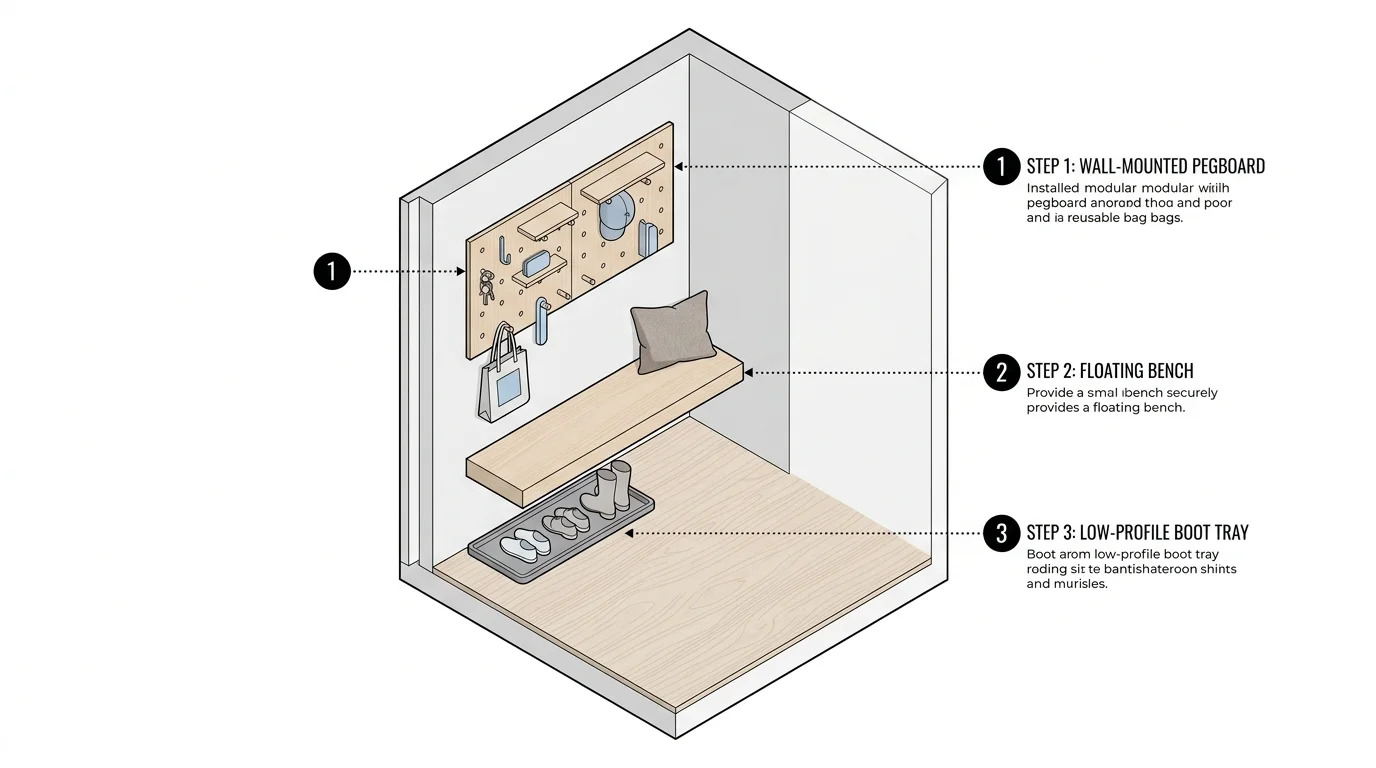
Step-by-Step Micro-Mudroom Setup Plan
Setting up an organized entryway does not require an entire weekend of complex construction. Follow these four practical steps to create an efficient drop zone in an afternoon.
- Measure and Map Clearances: Open your front door completely and mark its swing path on the floor with blue painter’s tape. Measure the remaining wall width and verify that any bench or cabinet leaves at least 36 inches of clear walking space.
- Locate Framing and Anchor Points: Use a stud finder to identify the framing studs along your primary entryway wall. Mark these locations lightly with a pencil; anchoring your heavy hooks and floating furniture directly to studs ensures lasting stability.
- Install Storage Vertically: Mount your upper coat rail at 60 to 66 inches, your lower rail at 36 to 42 inches, and secure your slim shoe cabinet or floating drop shelf beneath them. Use a bubble level across every piece before tightening mounting screws.
- Set Category Boundaries: Place labeled baskets or assigned hooks for every member of the household. Keep accessories grouped by category—such as pet care, winter accessories, and daily keys—so every item has an intuitive home.
Your Practical Next Step
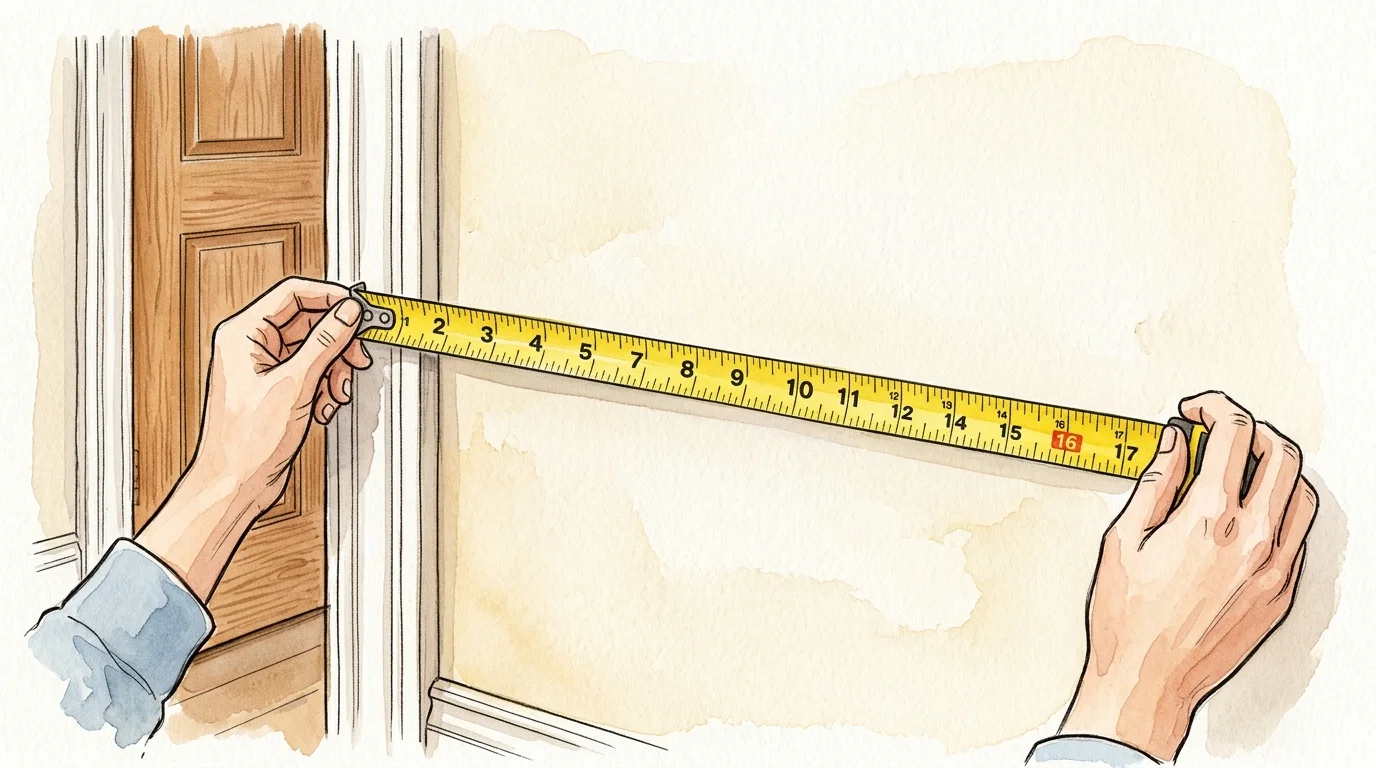
Begin by grabbing a tape measure and an empty laundry basket right now. Measure the open wall space beside your front entry to identify your maximum allowable furniture depth, then collect every coat, shoe, and stray item currently cluttering your doorway into the basket. Sort the items down to your household’s daily essentials, and install your first set of staggered wall hooks this weekend to claim an organized, stress-free entrance.