
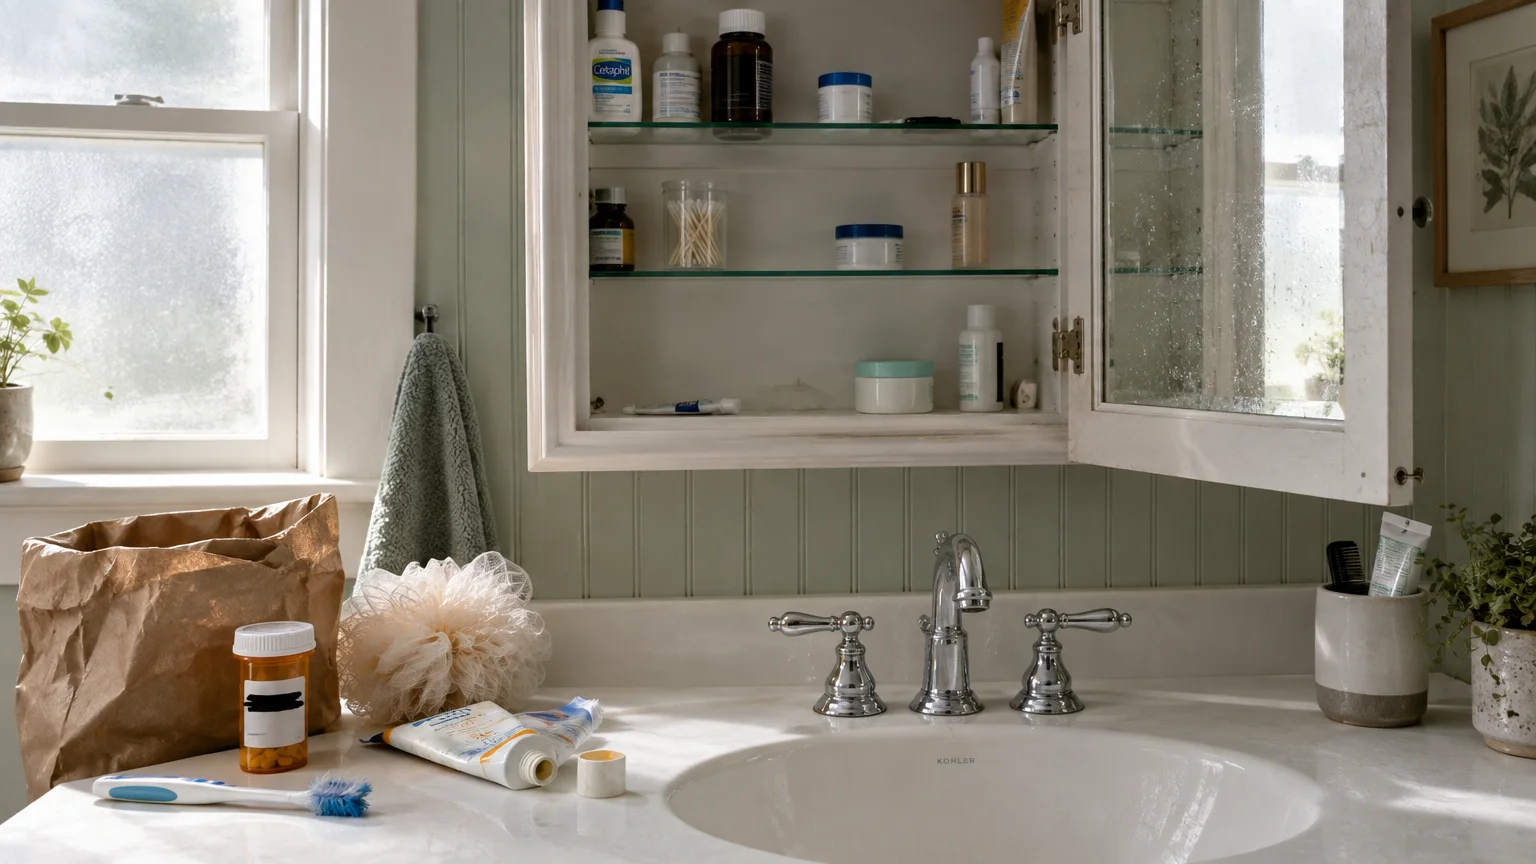
A cluttered bathroom cabinet slows your morning routine and exposes you to expired, ineffective, and bacteria-laden products. Clearing out neglected items instantly creates a cleaner, safer, and more functional space.
Most people hold onto old prescriptions, dried-up creams, and worn tools out of habit or uncertainty. You can easily fix this bottleneck in under thirty minutes with the right disposal guidelines.
Grab a trash bag and use this guide to purge seven everyday bathroom items that compromise your hygiene and crowd your shelves today.
01 Expired Medications and Leftover Prescriptions
Old prescriptions and half-empty over-the-counter pain relievers gather dust in almost every medicine cabinet. Keeping these items creates severe health hazards, including accidental ingestion and reduced chemical potency.
The chemical compounds in pharmaceuticals degrade over time. Using degraded antibiotics, cardiac medications, or pain relievers can lead to serious treatment failure.
Never dump random tablets down the sink or flush them into the public sewer. Wastewater treatment plants cannot reliably filter pharmaceutical chemicals, which pollutes local waterways and harms wildlife.
Instead, follow the FDA safe medication disposal guidelines before discarding any pills. The FDA maintains an official Flush List reserved strictly for high-risk medications—primarily potent opioids like fentanyl, oxycodone, and hydrocodone—when take-back options are unavailable.
For all other non-flush medications, drop them off at community collection kiosks during the biannual DEA National Prescription Drug Take Back Day held each April and October.
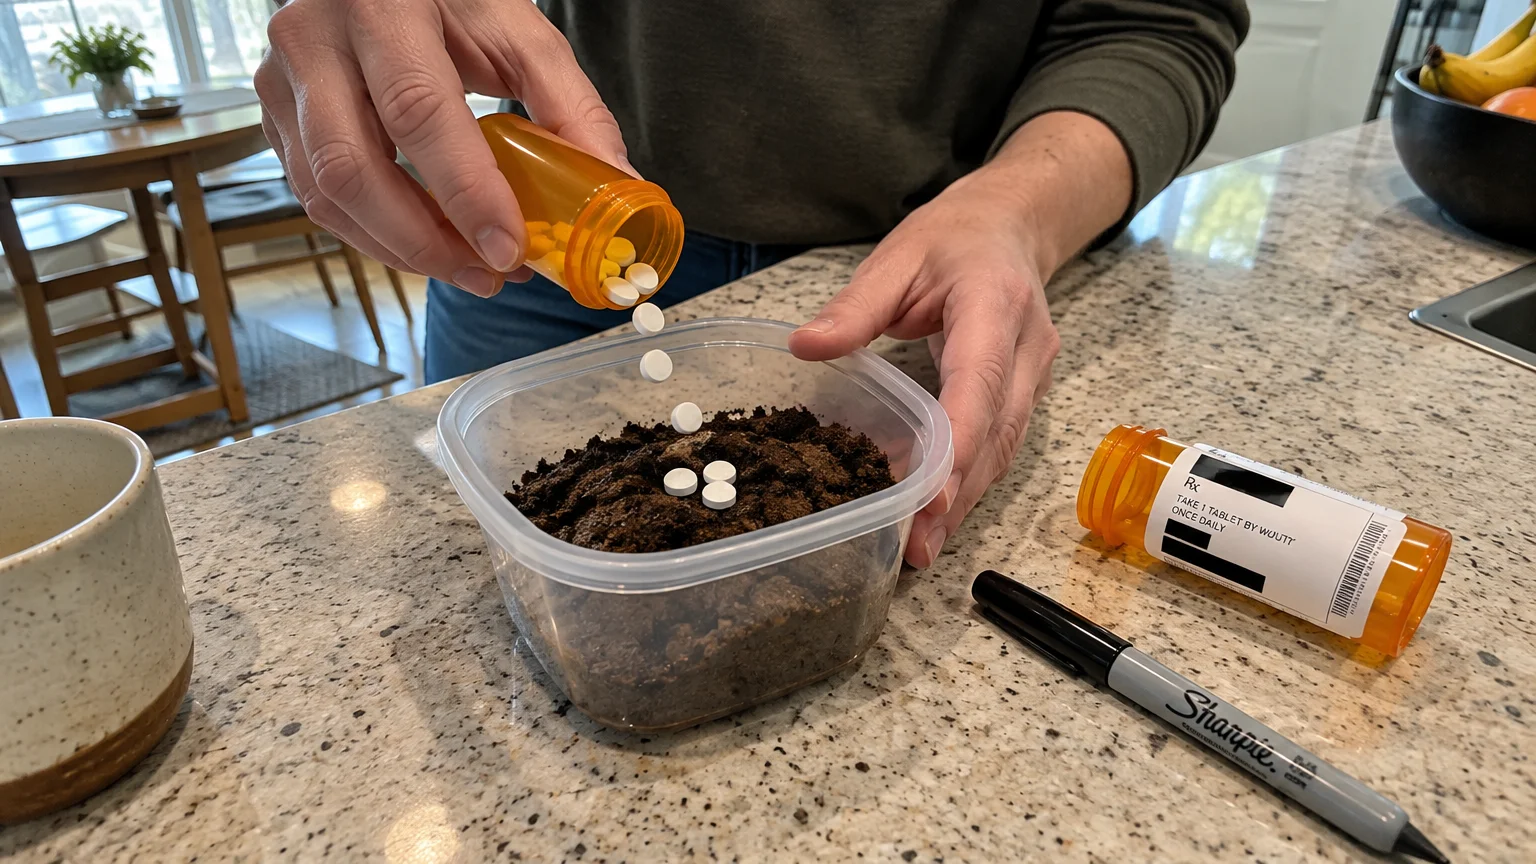
If you must toss non-flush pills at home, mix them uncrushed with unpalatable substances like damp coffee grounds, dirt, or cat litter. Seal this mixture tightly inside a plastic container before placing it into your household trash.
Finally, remove or black out your personal prescription label with a dark marker to safeguard your personal health information.
02 Sunscreen Older Than Three Years
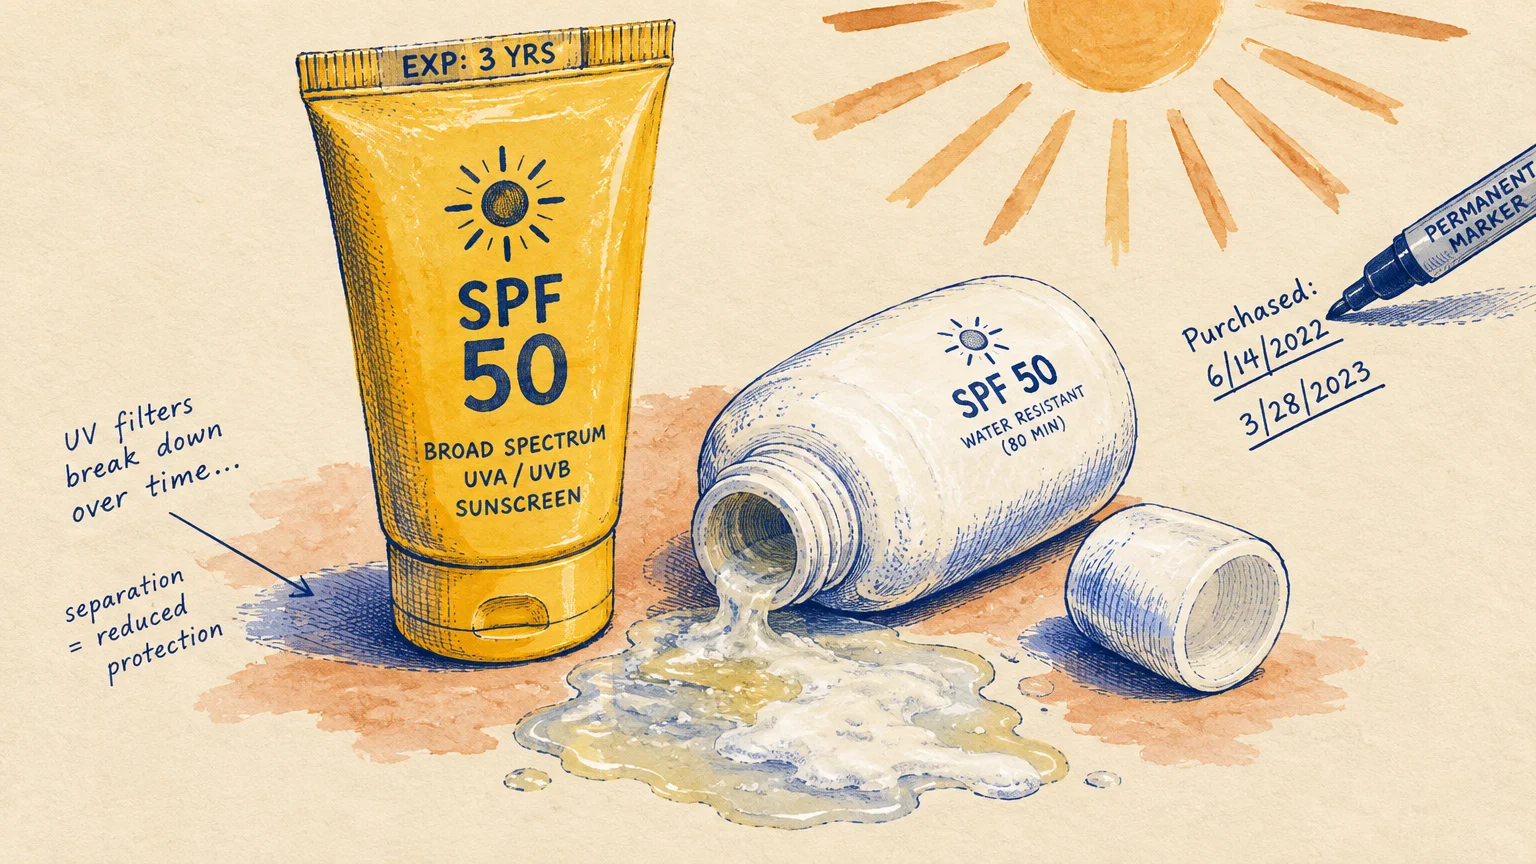
Sun protection products often sit in dark bathroom cabinets for months between family vacations. Over time, heat and humidity break down chemical UV filters, leaving your skin defenseless against damaging radiation.
Under official FDA sunscreen regulations (21 CFR 211.137), manufacturers must prove their sunscreens maintain full protective efficacy for at least three years.
Check your sunscreen container carefully for a stamped expiration date. If the bottle lacks a printed date, discard it three years after you purchased it.
Chemical filters like avobenzone and octisalate degrade into inactive compounds when exposed to ambient warmth. Applying expired sunscreen gives you a false sense of security while exposing you to sunburn and skin cancer risks.
Physical mineral lotions with zinc oxide or titanium dioxide last slightly longer, but their stabilizing emulsions eventually split. If the lotion appears watery, curdled, or smells sour, throw it straight into the garbage.
Write the purchase date on future sunscreen bottles with a dark permanent marker to track shelf life without any guesswork.
03 Frayed Toothbrushes and Aging Brush Heads
You use your toothbrush twice every day, yet it remains one of the easiest personal care items to forget. Aging bristles harbor oral bacteria and lose their ability to sweep away dental plaque.
The American Dental Association toothbrush guidelines state that you should replace manual toothbrushes and electric brush heads every three to four months.
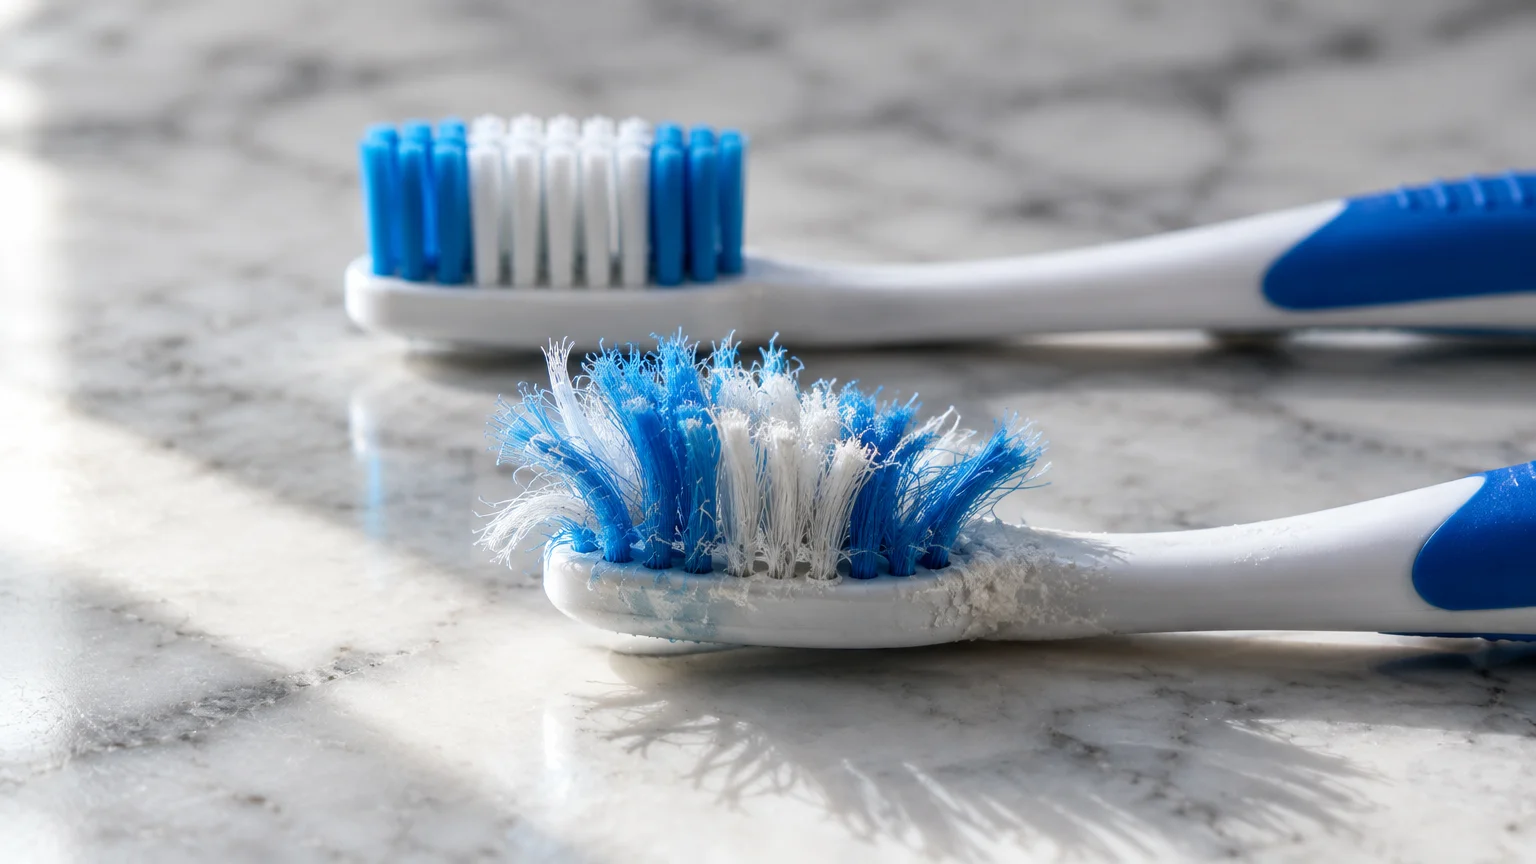
Inspect your brush bristles under bright bathroom lighting. If the bristles look bent, splayed, or flattened, toss the brush immediately regardless of its age.
Splayed bristles cannot penetrate the tight gaps between your teeth. Furthermore, frayed nylon tips lose their rounded contours, which causes them to scrape your delicate gum tissue and erode protective enamel.
Always replace your toothbrush head after recovering from an illness like the flu, strep throat, or a stomach virus. Lingering pathogens on the bristles can reinfect your mouth and prolong your recovery.
04 Liquid Eye Makeup and Mascara
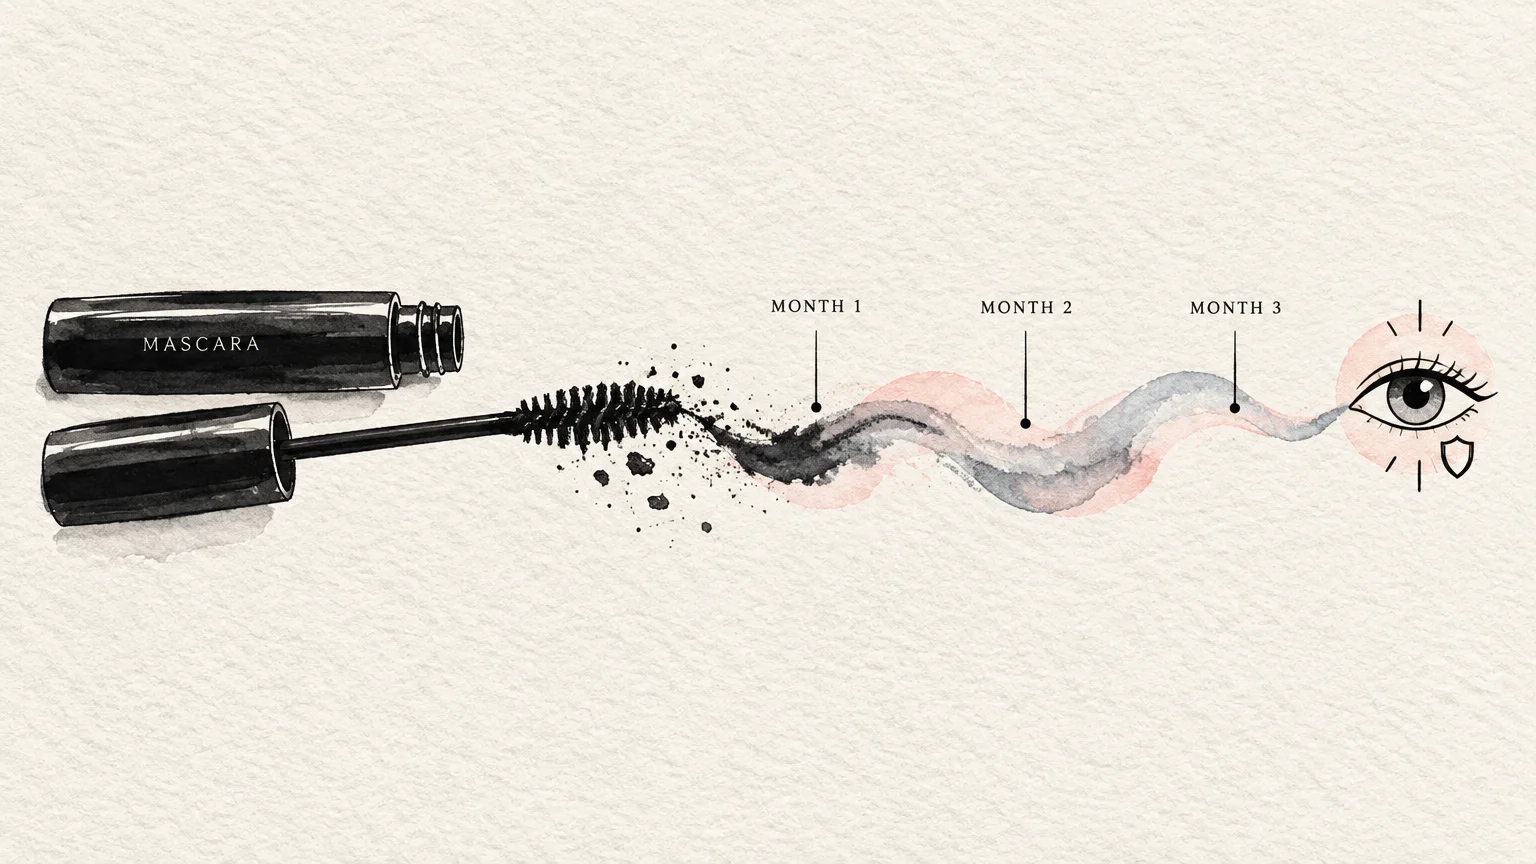
Liquid eye cosmetics create an ideal breeding ground for microscopic bacteria and mold spores. Every time you insert the applicator wand, you push surface microbes and air directly into the moist tube.
According to the FDA cosmetics safety guidance, manufacturers recommend discarding liquid eye makeup and mascara two to four months after opening.
Repeated exposure to ocular flora and ambient moisture degrades the chemical preservative systems inside these cosmetic bottles quickly.
Using old eye makeup can trigger severe ocular infections, including acute conjunctivitis, painful eyelid styes, and sight-threatening corneal ulcers.
Never pump your mascara wand into the tube, as this pushes drying oxygen inside. If a product smells like chemicals, clumps abnormally, or causes watery eyes, dispose of it at once.
05 Opened Bottles of Hydrogen Peroxide
Many bathroom cabinets hold a familiar brown bottle of 3% hydrogen peroxide for cleaning cuts and scrapes. Unfortunately, that half-empty bottle in your cabinet likely lost its sanitizing power months ago.
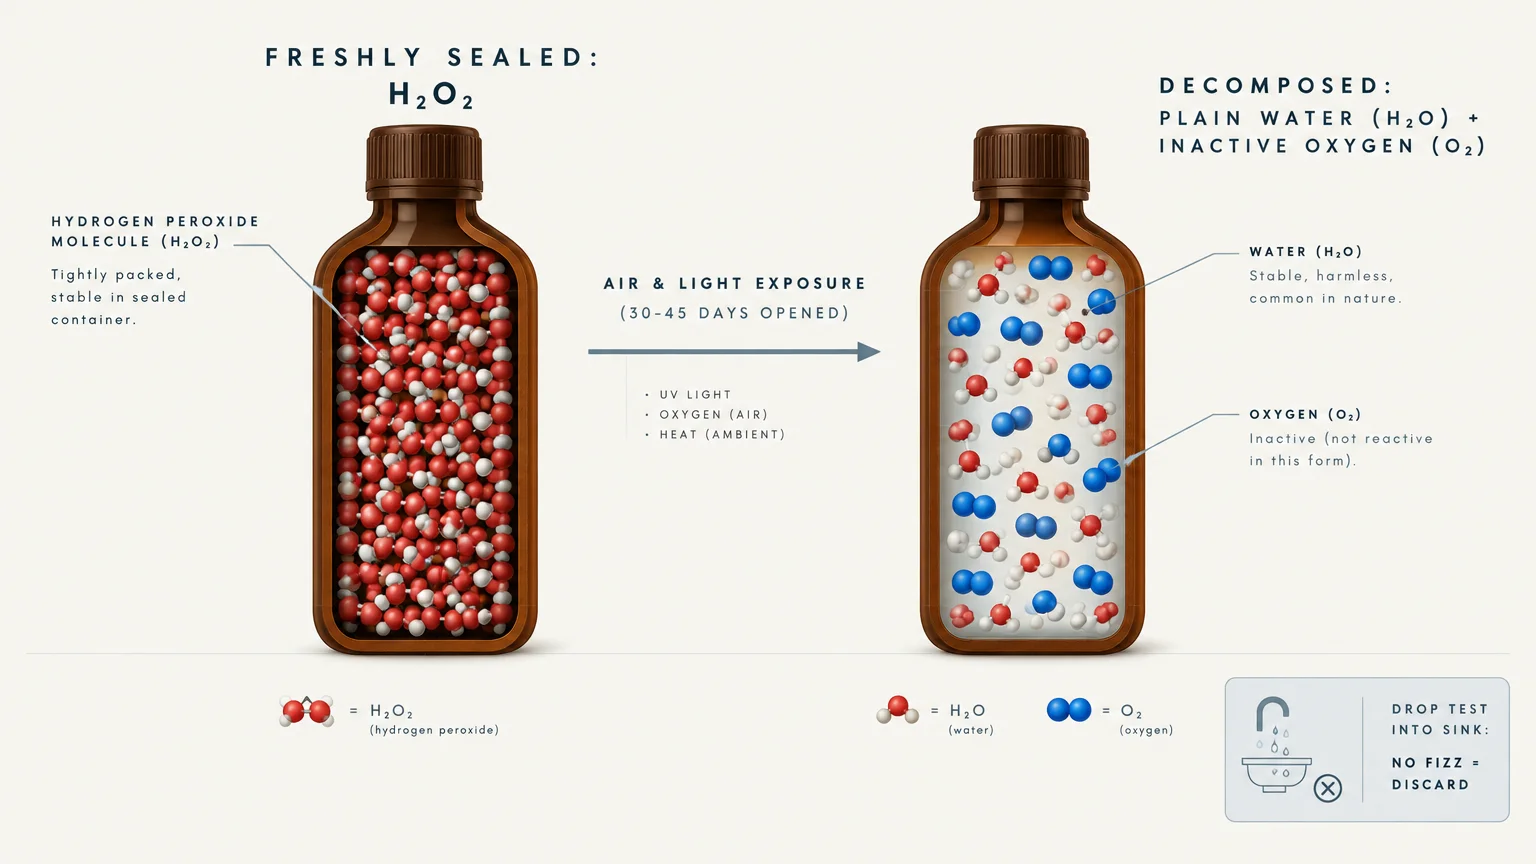
Hydrogen peroxide maintains a shelf life of roughly three years while factory-sealed. Once you open the cap, exposure to light and ambient air triggers rapid chemical decomposition.
An opened bottle of hydrogen peroxide degrades into plain water and gaseous oxygen within one to six months. Applying degraded peroxide to an open wound will not kill bacteria or sanitize the skin.
You can verify your peroxide’s chemical strength in seconds over the bathroom sink. Splash a tablespoon of the liquid onto the stainless steel basin or a small dish.
If the solution fizzes and foams actively, the active oxygen remains effective. If it stays flat and quiet, your peroxide has broken down into water and belongs in the drain.
06 Worn Loofahs and Plastic Bath Poufs
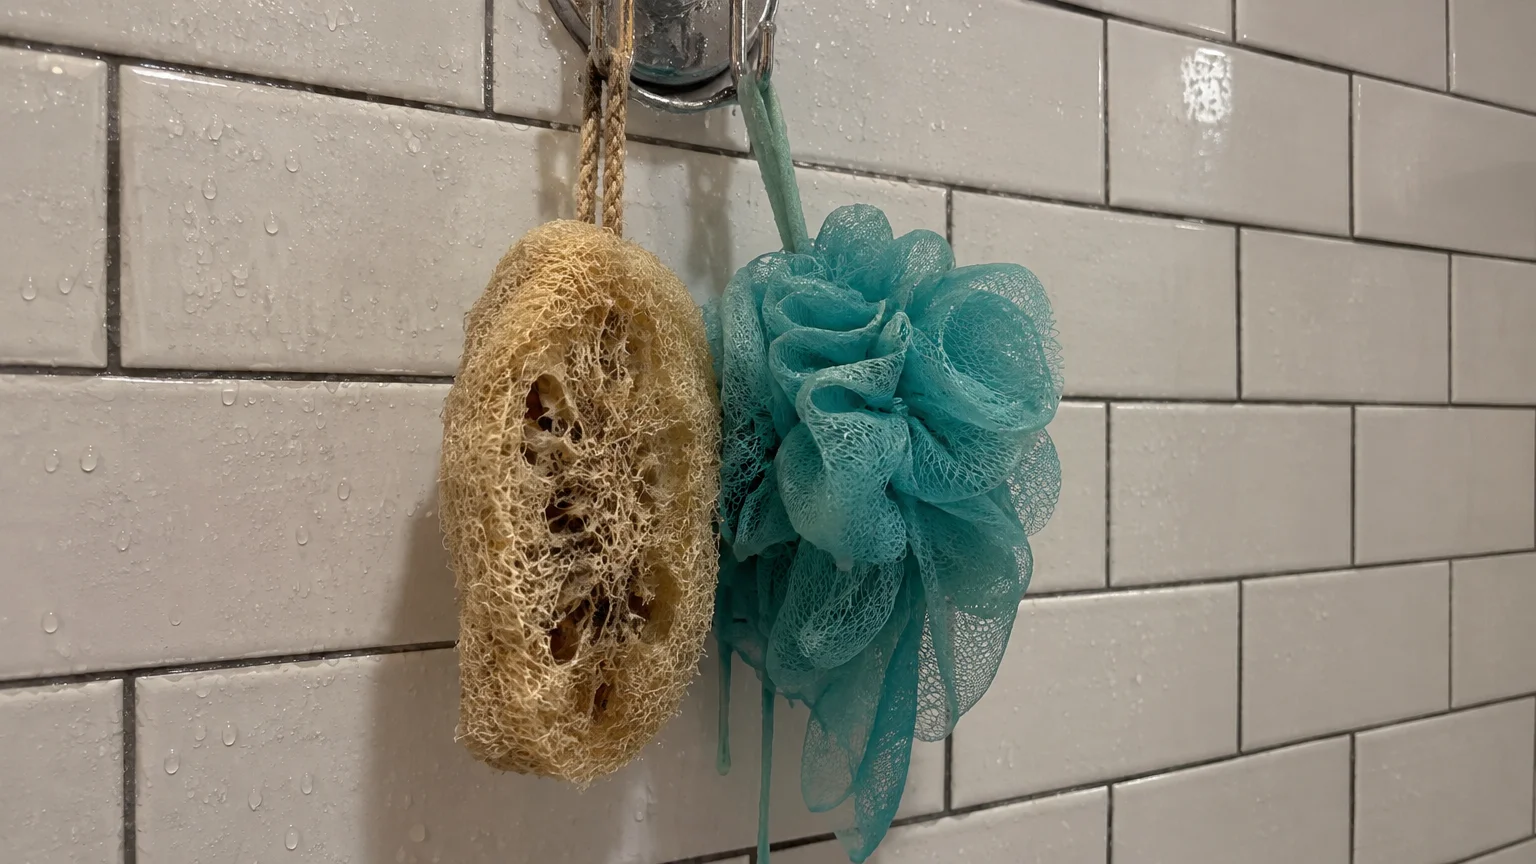
Loofahs and bath poufs feel luxurious during a warm shower, but they present severe bacterial hazards. Hanging in a steamy shower enclosure prevents these fibrous scrubbers from drying out between daily uses.
Dermatology guidelines recommend replacing natural loofahs every three to four weeks. Synthetic plastic mesh poufs require replacement every two months, or six to eight weeks.
Natural gourd loofahs trap dead skin cells within their organic matrix, feeding rapid microbial growth. Common environmental bacteria like Staphylococcus and Pseudomonas aeruginosa build dense biofilms across the fibers.
Scrubbing your body with a contaminated sponge rubs bacteria directly into microscopic nicks and open pores. This friction triggers painful folliculitis, recurring back acne, and uncomfortable bacterial skin infections.
Consider switching from bath poufs to soft cotton washcloths for daily bathing. Cotton washcloths dry quickly and tolerate frequent washing in hot laundry cycles.
07 Dull, Corroded, or Rusted Razor Blades
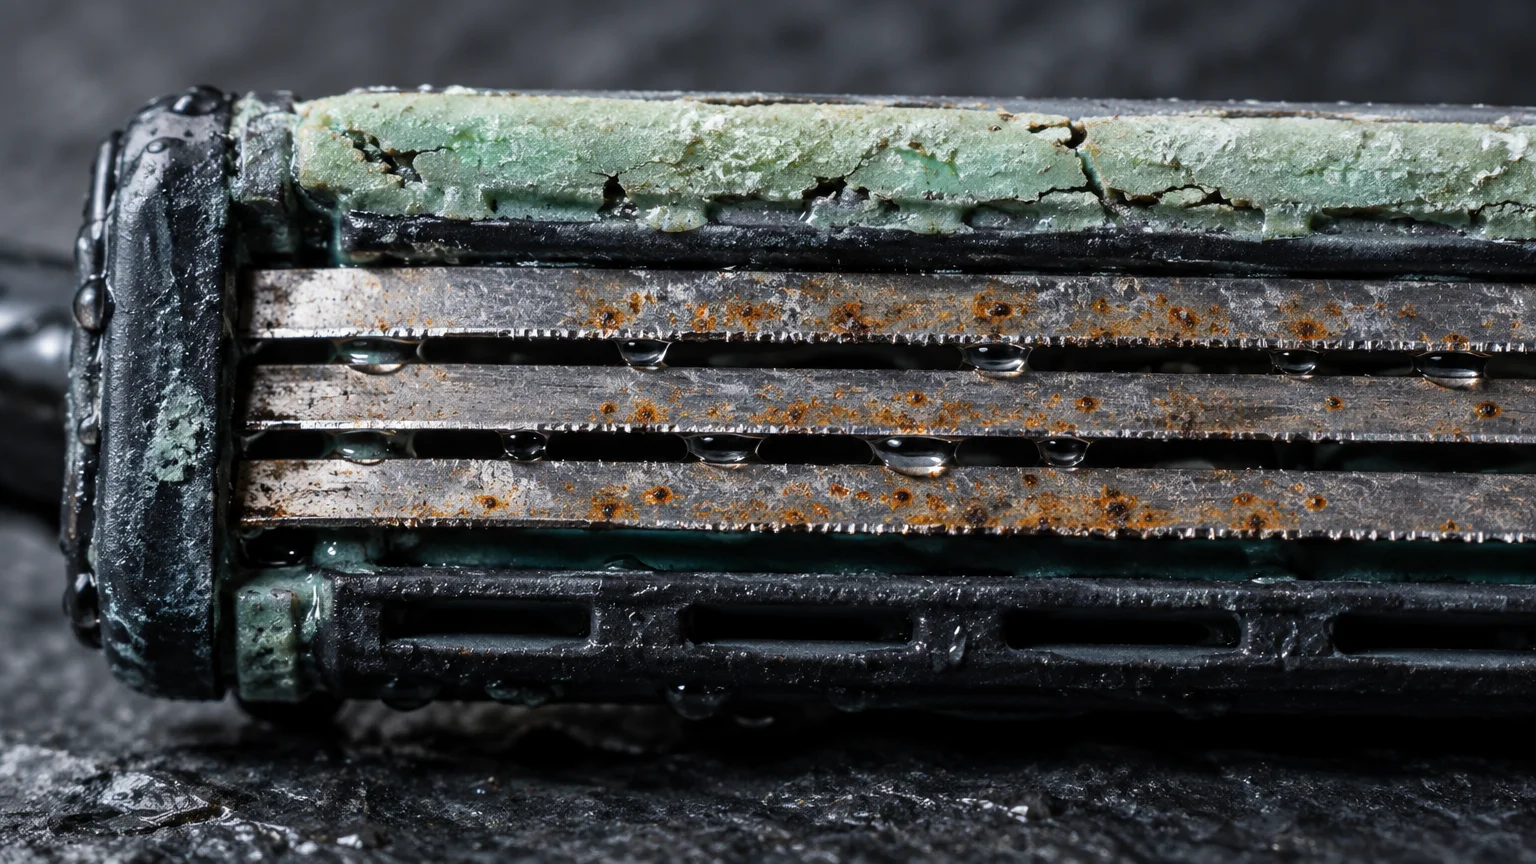
Storing disposable razors inside a steamy bathroom accelerates metallic oxidation and dulls fine blade edges. Even microscopic rust patches that escape your naked eye ruin shaving performance.
A dull blade snags hair instead of cutting smoothly at the skin level. This dragging irritates hair follicles, causing severe razor burn, red bumps, and painful ingrown hairs.
Microscopic corrosion creates jagged blade irregularities that cause micro-tears across your epidermal barrier. Surface bacteria then penetrate these tears, triggering localized folliculitis and skin irritation.
Discard razor cartridges after five to seven uses, or sooner if you observe tugging, nicking, or mineral discoloration. Never keep bare razors exposed to shower spray.
To dispose of double-edge or cartridge blades safely, seal them inside an empty plastic container or wrap them with duct tape before placing them in household trash.
Why Humidity and Heat Ruin Bathroom Cabinets
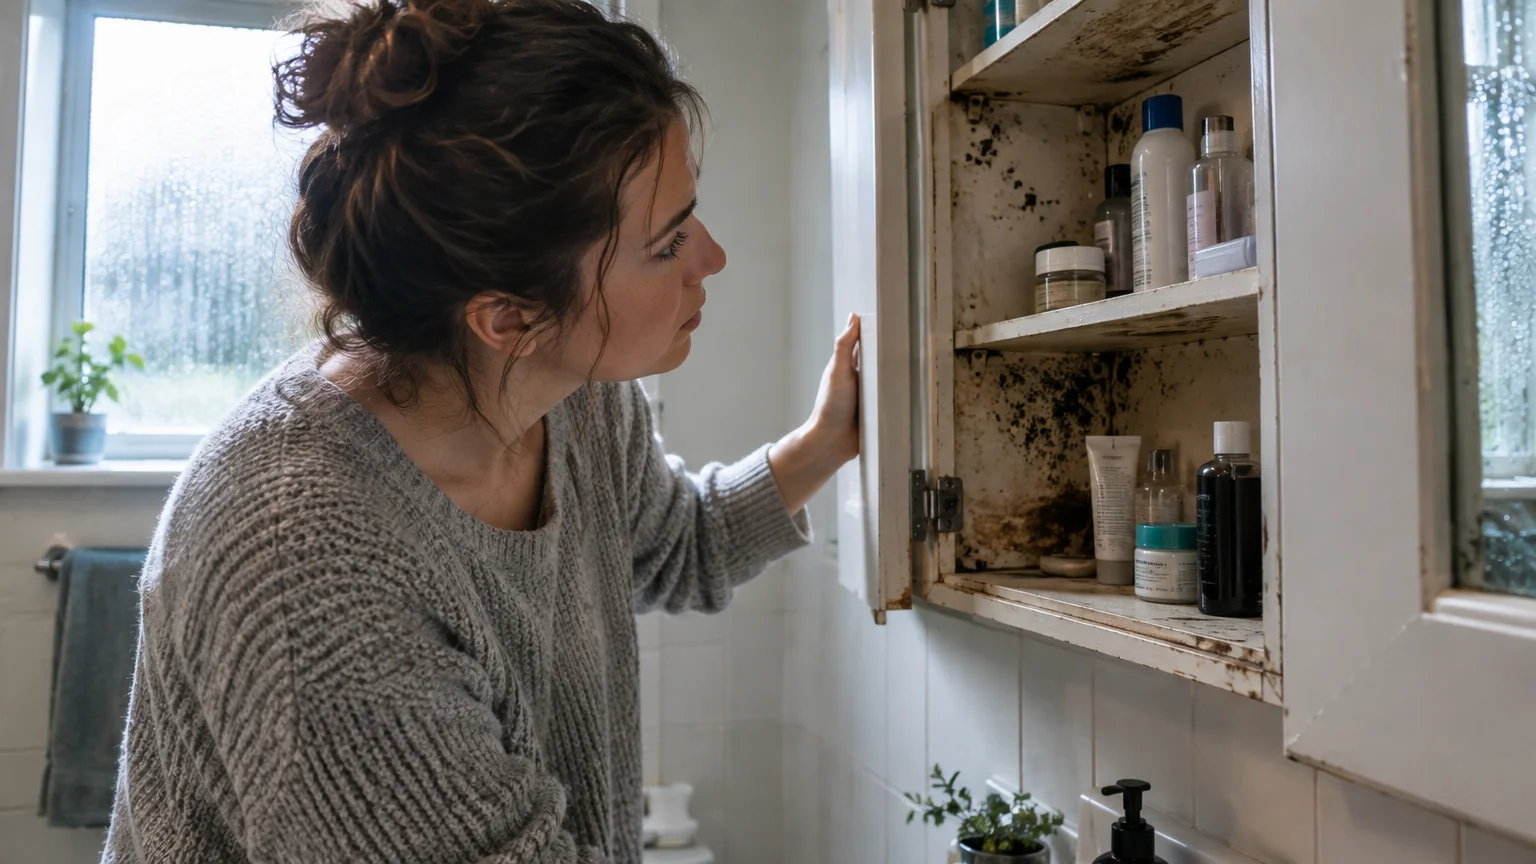
The typical bathroom experiences wild swings in temperature and relative humidity every day. Steam from morning showers penetrates wooden cabinets, creating a warm, damp microclimate that destroys sensitive household products.
Moisture degrades pharmaceutical gelatin capsules, causing them to soften, stick together, and dissolve prematurely. Solid prescription tablets also absorb ambient water vapor, accelerating chemical breakdown and diminishing clinical potency.
Cosmetic powders cake and grow surface mold when exposed to constant moisture. Meanwhile, liquid emulsions, anti-aging serums, and essential oils oxidize much faster under variable bathroom temperatures.
Medical experts recommend storing essential daily prescriptions and emergency medications in a dry, temperature-controlled environment. Consider moving your medication organizers to a master bedroom closet or a high linen cabinet.
Bathroom Cabinet Declutter and Replacement Guide
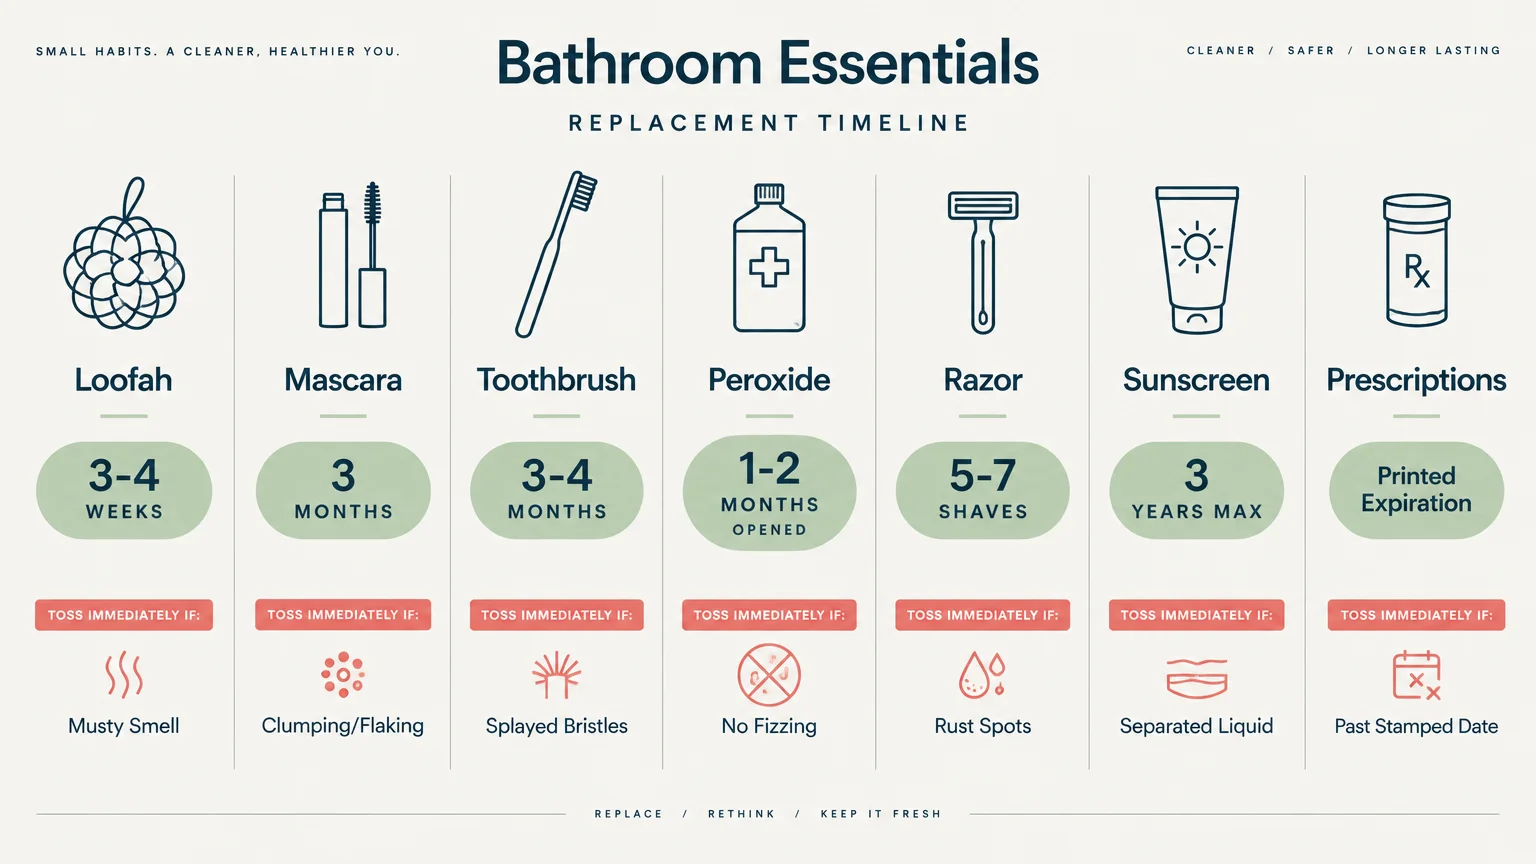
Use this reference table during every seasonal bathroom cabinet declutter. Regularly comparing your supplies against these standards prevents hazardous product buildup on your shelves.
| Cabinet Item | Safe Shelf Life | Signs It Is Expired | Primary Safety Risk |
|---|---|---|---|
| Prescription and OTC Pills | Check printed date (typically 1 to 2 years) | Chalky residue, odor, discoloration, crumbling | Ineffective treatment or toxic breakdown products |
| Sunscreen Lotions and Sprays | Up to 3 years (per FDA 21 CFR 211.137) | Liquid separation, watery consistency, sour scent | Severe sunburns, ultraviolet skin damage |
| Toothbrushes and Brush Heads | 3 to 4 months (ADA guidelines) | Splayed bristles, discoloration, matting | Enamel abrasion, gum recession, plaque retention |
| Mascara and Liquid Eyeliners | 2 to 4 months after opening | Gasoline smell, dry clumping, flaking | Conjunctivitis, styes, corneal ulcers |
| 3% Hydrogen Peroxide | 1 to 6 months after opening | Failure to fizz when poured into sink | Zero antiseptic efficacy on wounds |
| Natural Loofahs | 3 to 4 weeks | Musty odor, dark mold spotting, slime | Staphylococcus and Pseudomonas infections |
| Synthetic Mesh Poufs | 6 to 8 weeks | Frayed netting, persistent mildew smell | Bacterial folliculitis, body acne flare-ups |
| Razor Blades and Cartridges | 5 to 7 shaves | Rust stains, dull edges, skin tugging | Micro-tears, severe razor burn, infection |
A 5-Step Medicine Cabinet Cleanout Plan
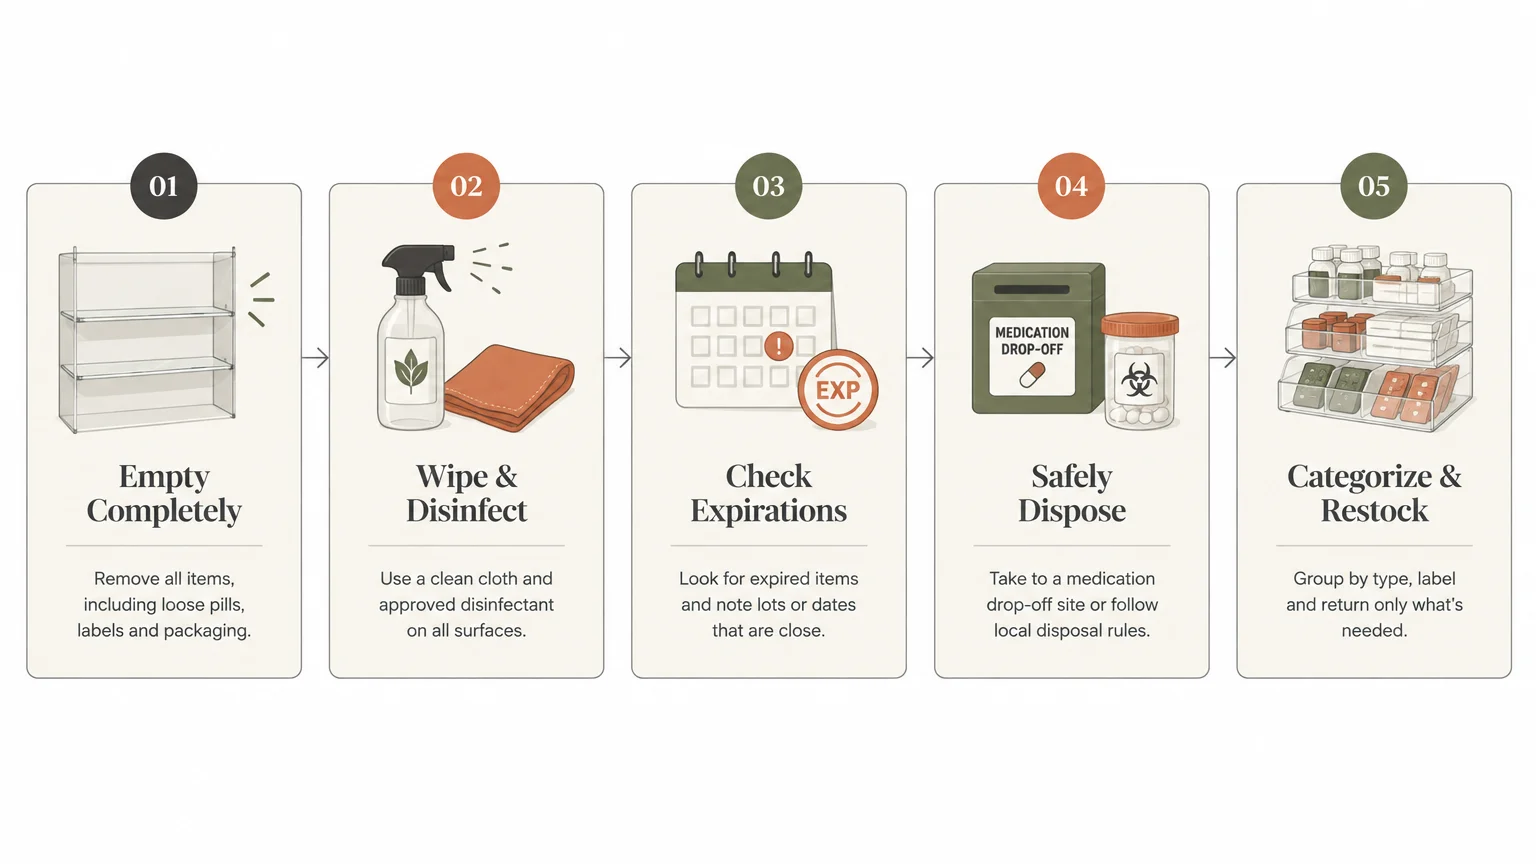
Tackling an overflowing medicine cabinet feels overwhelming when you try to organize items piecemeal. Follow this structured five-step method to declutter your bathroom cabinet thoroughly and efficiently.
Step 1: Empty Every Shelf Completely
Remove every single item from your cabinet and place it on a clean towel on the bathroom vanity. Clearing the shelves lets you evaluate your entire inventory at a single glance.
Step 2: Wipe and Disinfect the Interior
Clean the interior surfaces with a damp microfiber cloth and a gentle, non-abrasive disinfectant spray. Wipe away sticky spills, dried toothpaste spots, and accumulated dust before restocking.
Allow the cabinet shelves to air dry completely before returning any items. Trapping residual moisture inside a closed cabinet creates mold issues.
Step 3: Sort Products into Three Distinct Categories
Group your items into three clear piles: Keep, Discard, and Relocate. Separating items by intention speeds up your decision-making and keeps clutter off your counters.
Move items you rarely use—such as extra guest soaps or bulk bandages—to a separate linen closet. Reserve your main cabinet strictly for everyday essentials.
Step 4: Check Expiration Dates and Textures
Examine every bottle for manufacturer expiration stamps, lot numbers, and Period After Opening symbols. If an item lacks a readable date, evaluate its smell, consistency, and color.
Discard anything that shows signs of phase separation, unusual clumping, or an off-putting odor. When in doubt, always prioritize safety and toss questionably old items.
Step 5: Group and Reorganize with Clear Acrylic Bins
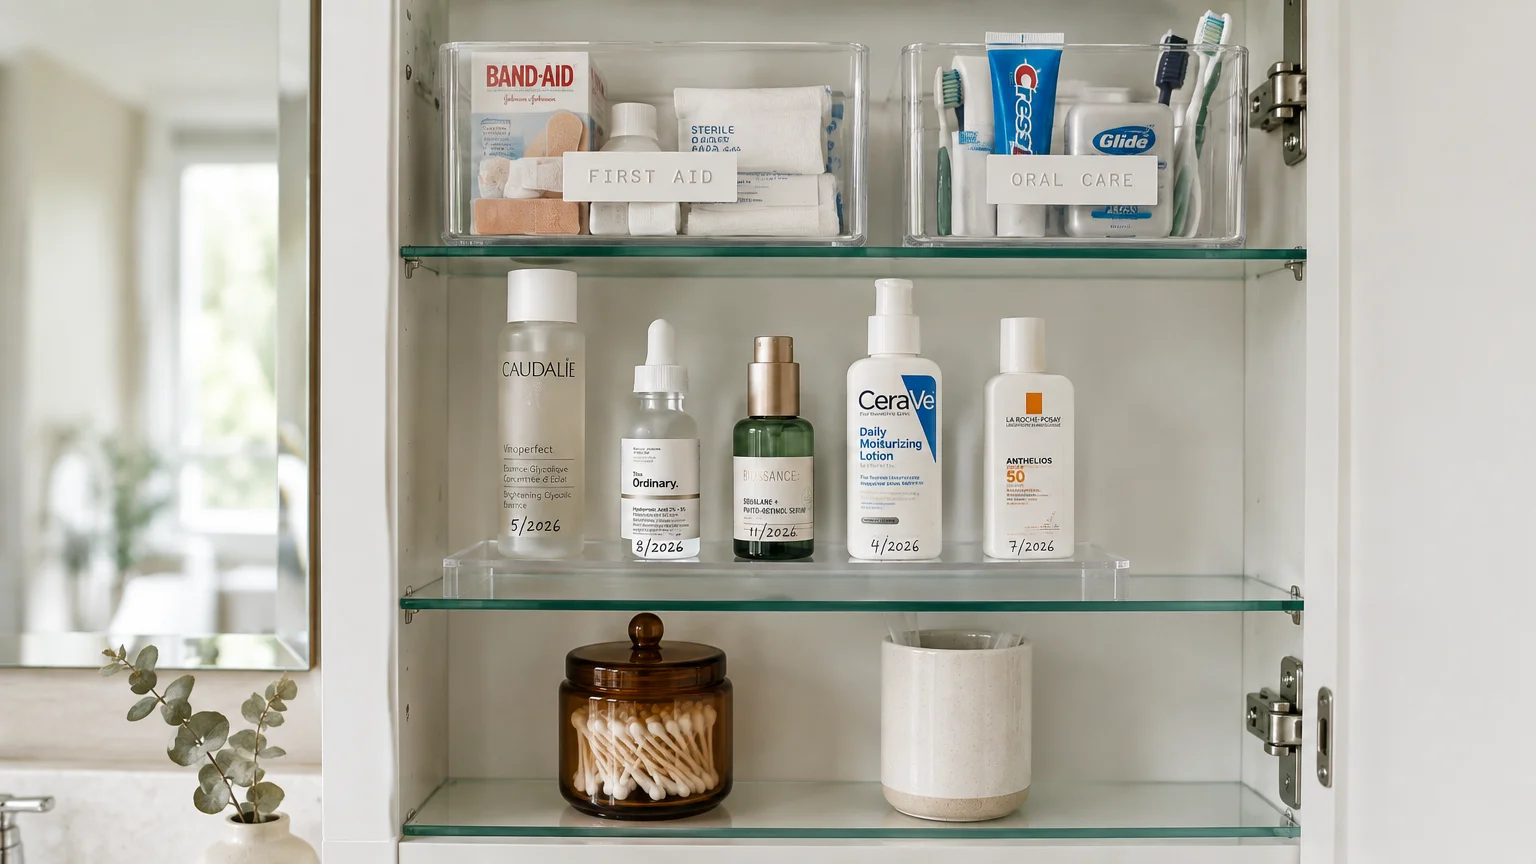
Group remaining products into categories such as first aid, dental hygiene, eye care, and daily skin regimens. Store these categories in clear, shallow acrylic organizers.
Clear acrylic bins let you locate specific products instantly without knocking over nearby bottles. Tiered shelf risers also keep smaller medicine bottles visible and accessible.
Practical Bathroom Organization Tips to Prevent Future Clutter
Maintaining an organized cabinet requires consistent habits rather than occasional marathon cleaning sessions. Implementing simple daily protocols prevents expired products to throw out from piling up again.
Adopt a strict one in, one out rule for personal care products. Whenever you purchase a new face moisturizer or sunscreen, discard or finish the older bottle first.
Keep a fine-tip permanent marker inside your bathroom drawer. Label the purchase date or opening date directly on every bottle, tube, and cosmetic compact upon opening.
Schedule a routine medicine cabinet cleanout twice every year. Aligning your declutter sessions with biannual time changes makes remembering this essential chore effortless.
Your Practical Next Step
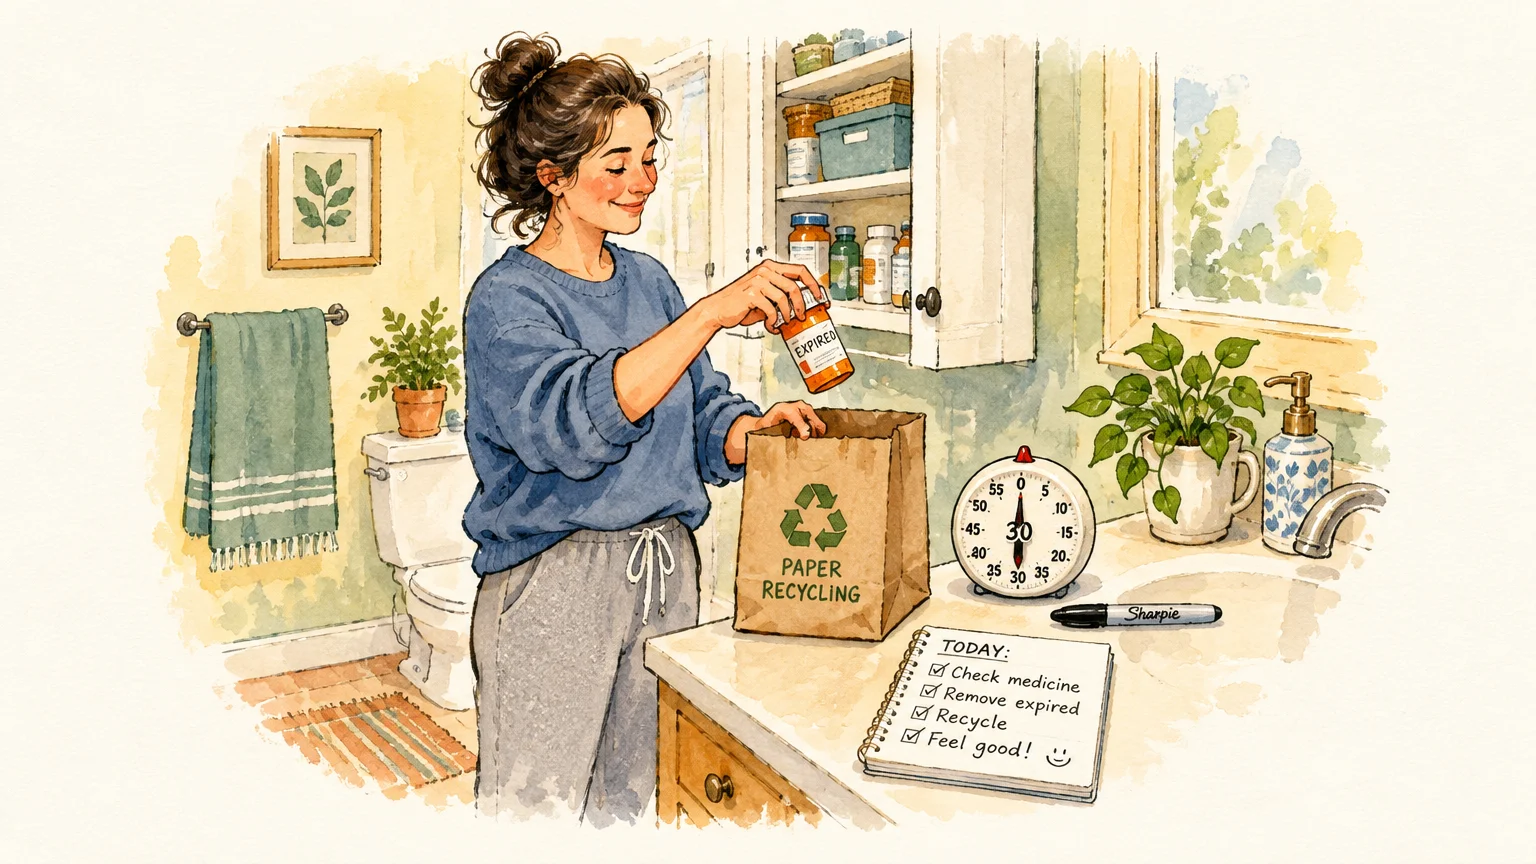
Walk into your bathroom right now with a small wastebasket and inspect your medicine cabinet. Pick out just three expired items—an old mascara tube, a worn toothbrush, or expired pills—and dispose of them safely.
Taking that small action takes less than three minutes and gives you immediate momentum toward a cleaner, healthier bathroom.



I am going to do this. I’ve been putting it off for too long. Thank you.