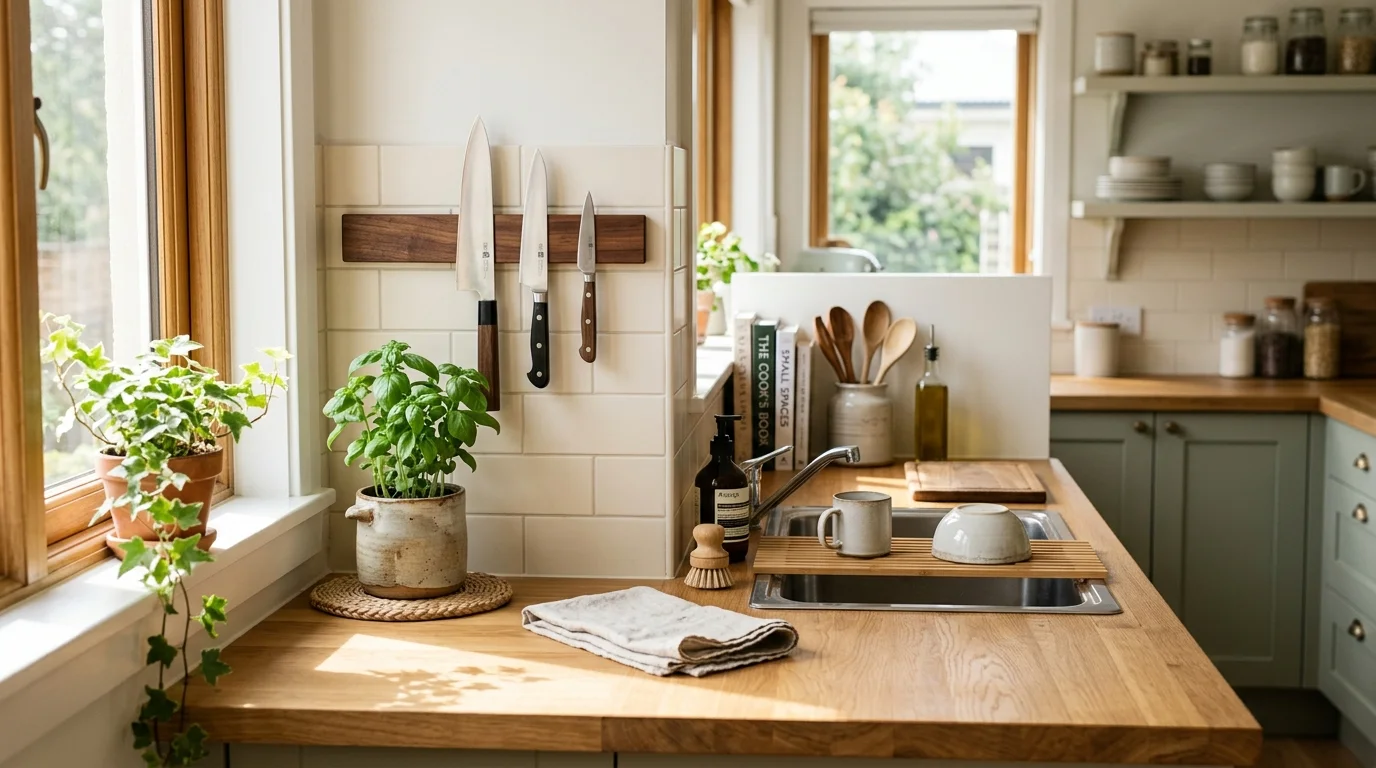
Cooking in a cramped kitchen turns meal preparation into a frustrating puzzle, but you can reclaim square feet of prep space without spending thousands on custom cabinetry. By implementing smart kitchen layout fixes that reallocate unused vertical space and relocate everyday appliances, you instantly open up clean, functional work surfaces. Small kitchen counter space ideas work best when they focus on workflow efficiency rather than mere decluttering. Whether you manage a cozy apartment kitchenette or aim to simplify daily routines in a lifelong home, these ten practical layout shifts clear off clutter, streamline meal prep, and bring lasting calm back to the heart of your house.
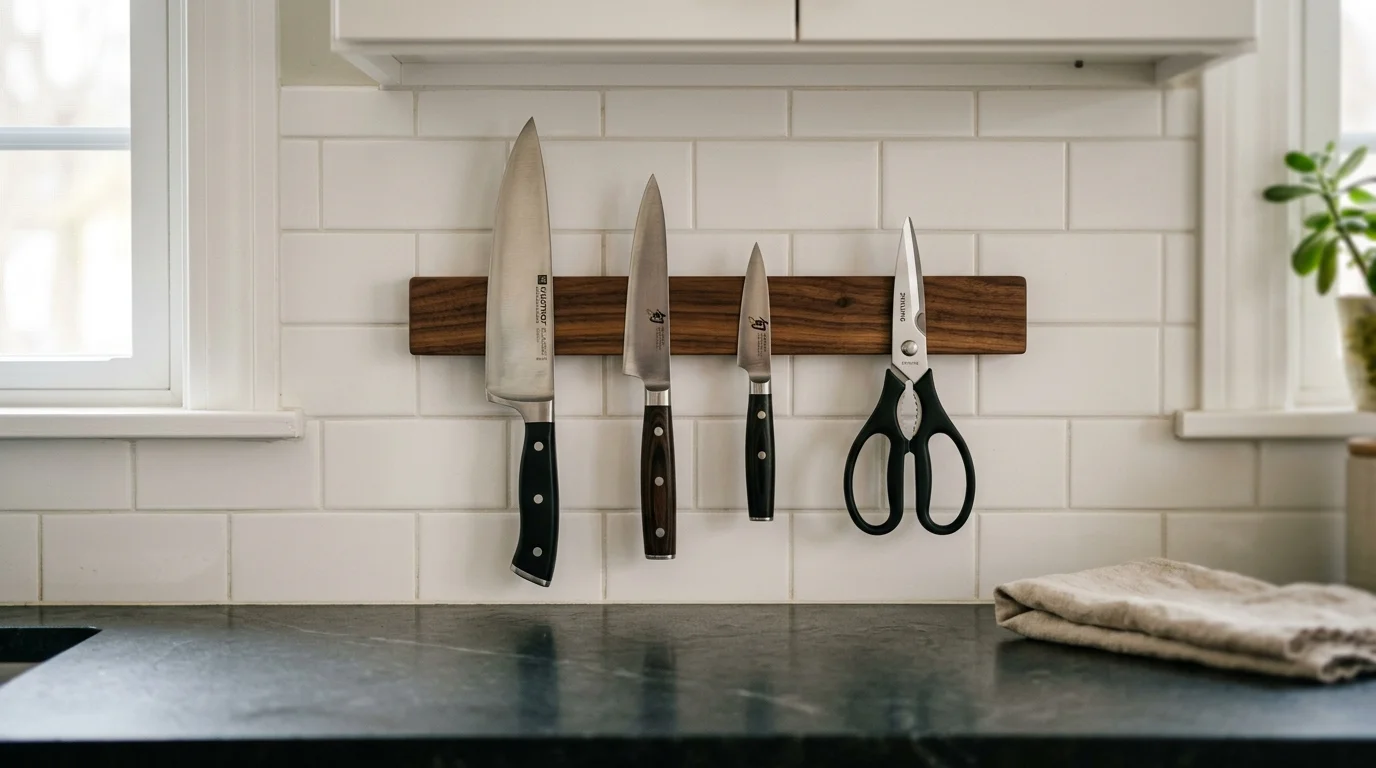
01 Swap Wooden Knife Blocks for Wall-Mounted Magnetic Strips
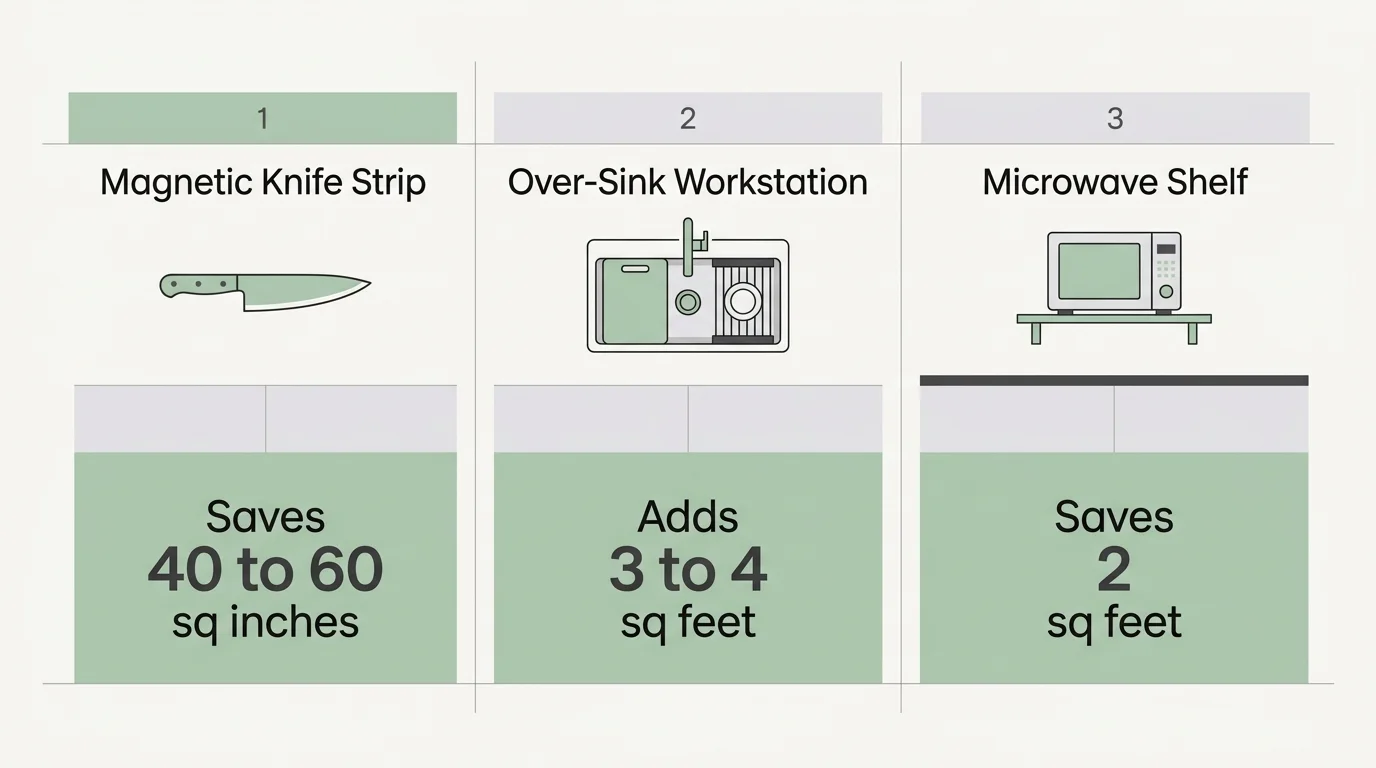
Traditional wooden knife blocks take up valuable counter space in the primary zone between your sink and stove. A standard 8-slot knife block claims about 40 to 60 square inches of prime countertop footprint, while collecting dust and moisture underneath. Removing this bulky item gives you an immediate pocket of open prep space where you need it most.
Mounting a heavy-duty stainless steel or hardwood magnetic strip onto your backsplash or the side panel of a cabinet solves this issue instantly. Wall-mounted strips keep your chef’s knives, paring tools, and kitchen shears within arm’s reach while preserving surface area. Mount the strip at least four inches above the counter to prevent blade handles from dragging, and ensure you place it away from heavy foot traffic zones to maintain household safety. Keeping cutlery visible and elevated also promotes better air drying after washing, which aligns with U.S. Department of Agriculture food safety guidelines for maintaining hygienic tool surfaces during meal preparation.
02 Lift the Microwave off Your Main Countertop
Microwave ovens represent the single largest counter hog in compact kitchens. A typical countertop microwave occupies nearly two square feet of workspace and sits right at elbow height, blocking natural light and restricting arm movement during complex cooking tasks. Relocating this single appliance dramatic shifts how spacious your room feels.
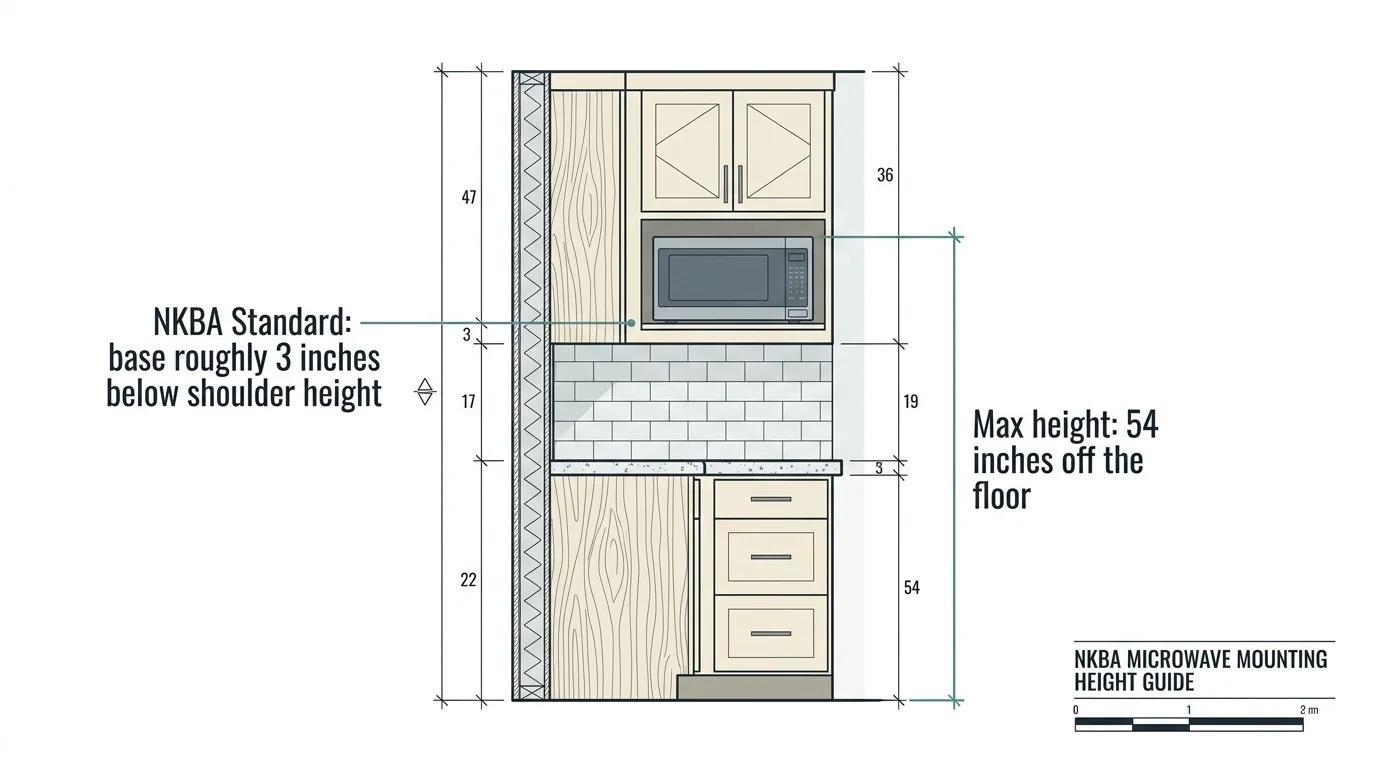
Consider installing an under-cabinet mounting kit, building a dedicated microwave shelf into an upper cabinet run, or placing the unit on a nearby pantry shelf. According to National Kitchen and Bath Association design standards, the ideal height for a microwave landing zone places the base of the appliance roughly 3 inches below the principal user’s shoulder height, but no higher than 54 inches off the floor. This positioning prevents dangerous hot liquid spills while completely freeing up the main counter run underneath for chopping and plating.
03 Utilize Over-the-Sink Workstations and Roll-Up Racks
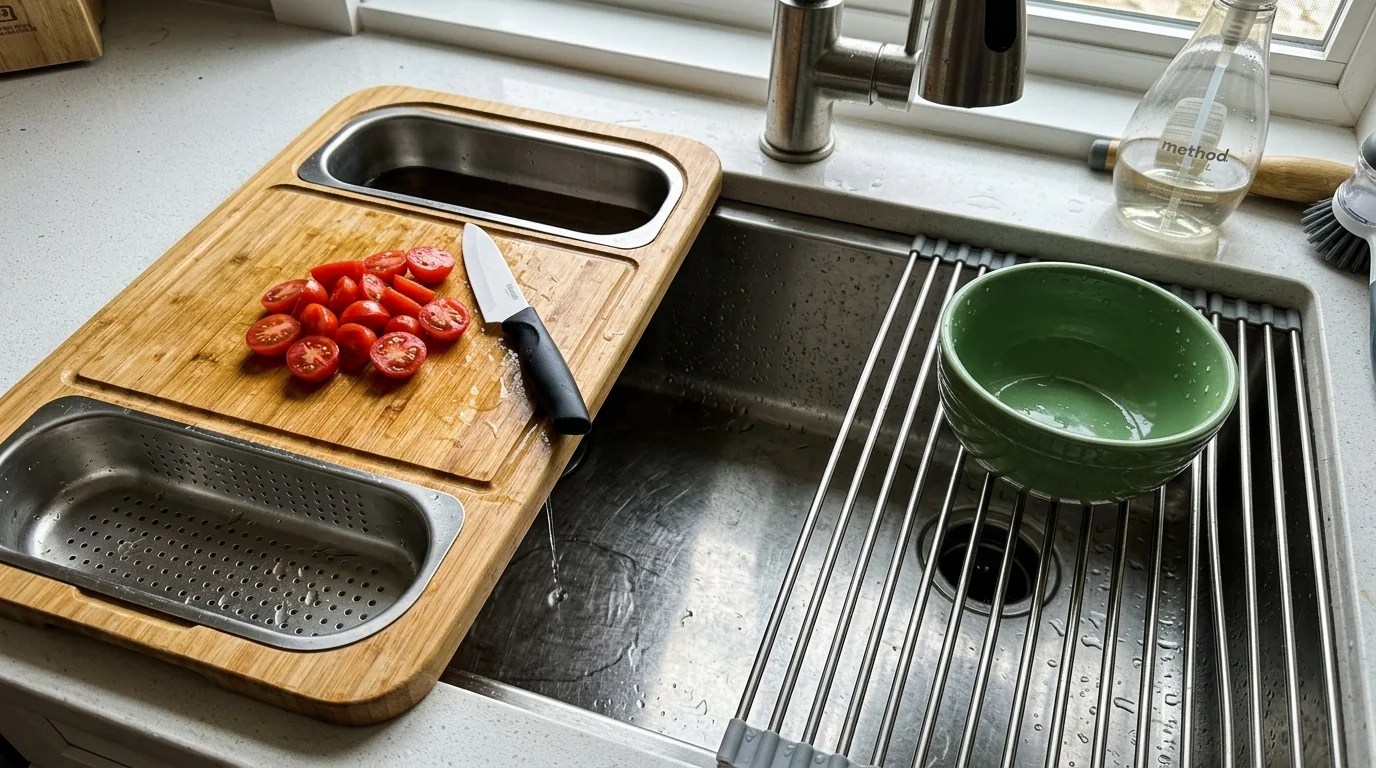
Your kitchen sink basin contains unused space that sits dormant when you are not actively washing dishes. By expanding your prep zone directly over the sink cavity, you effectively add three to four square feet of functional workspace without changing your room footprint.
Invest in an over-the-sink cutting board engineered with built-in colander attachments or silicone corner grips. You can slice vegetables directly over the sink while rinsing produce simultaneously. Pair this with a stainless steel, silicone-coated roll-up drying rack that unrolls across the basin when needed and rolls into a narrow cylinder for drawer storage when finished. This arrangement replaces large plastic dish drying racks that permanently anchor themselves to your counters.
04 Convert Unused Cabinet Ends and Backsplashes into Vertical Storage
When horizontal counter space runs out, turn your attention to vertical walls and structural cabinet end panels. Kitchens often feature wide stretches of blank backsplash and open side panels on upper cabinets that can easily carry daily prep items.
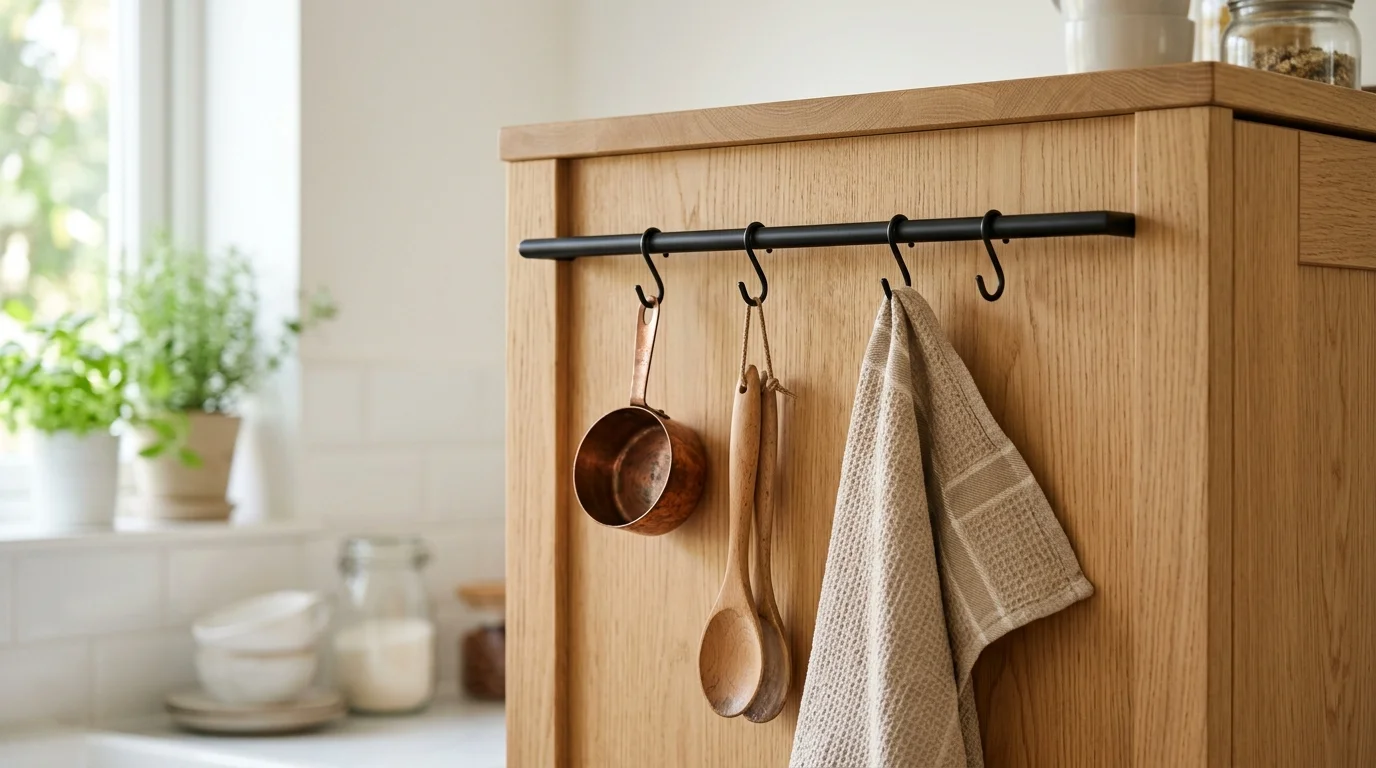
Install wall-mounted steel rails equipped with adjustable S-hooks along your backsplash to hang measuring spoons, ladles, silicone spatulas, and small strainers. Mounting shallow wire spice baskets directly to the side of your upper cabinets keeps everyday seasonings, olive oils, and garlic jars within reach during cooking. Maximizing small kitchen storage vertically keeps these high-frequency items off your counters, eliminating the rings of oil and sticky spots that accumulate under traditional spice turntables.
05 Add a Slim Rolling Cart to Bridge Dead Floor Gaps
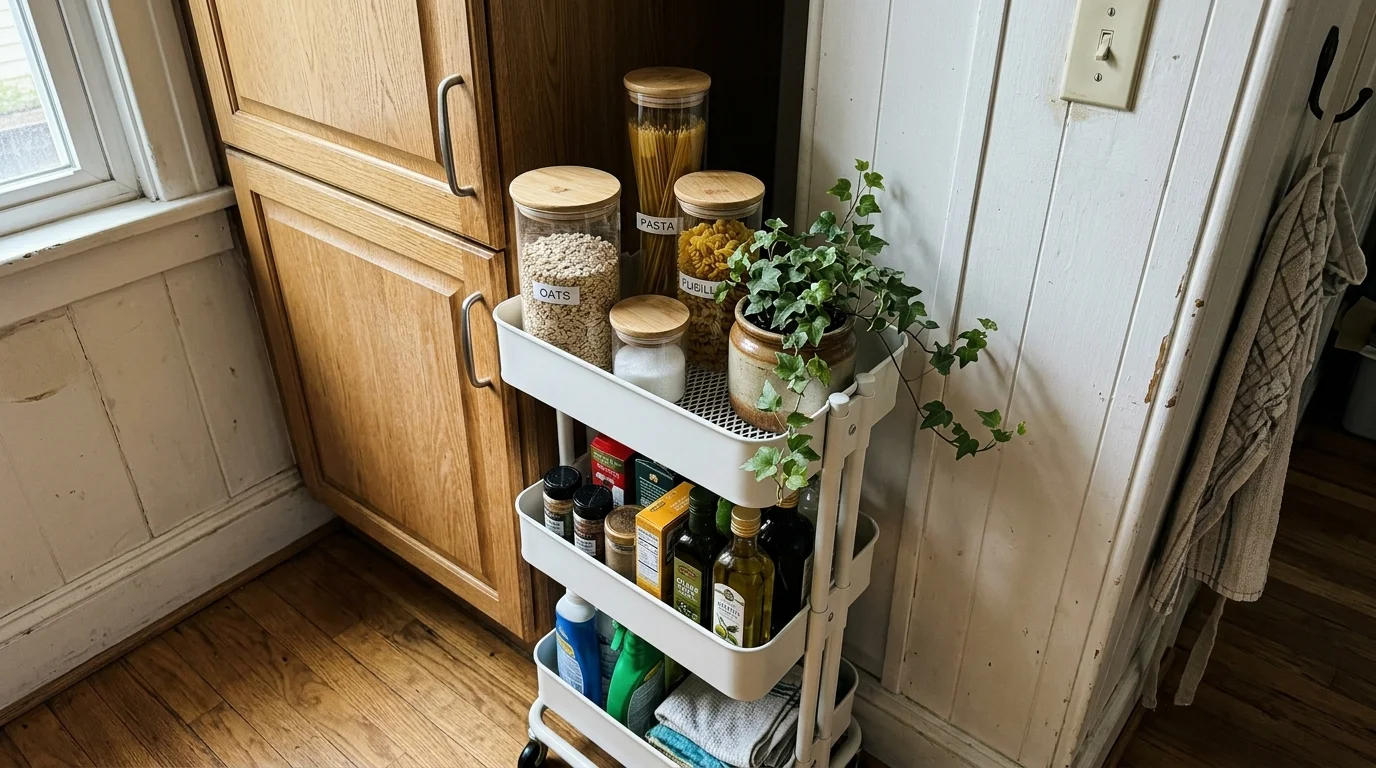
Gaps frequently exist between your refrigerator and adjacent cabinets, or between lower base units and the wall. A narrow 5-inch to 8-inch utility cart on heavy-duty casters transforms these awkward floor gaps into active storage hubs.
Use a multi-tiered pull-out cart to house tall oil bottles, vinegars, canned goods, and cutting boards. During active meal prep, roll the cart out alongside your main counter to serve as a mobile side table for ingredient prep, then slide it out of view when dinner is served. Choosing a cart with locking caster wheels guarantees stability when resting heavy prep bowls on the top shelf.
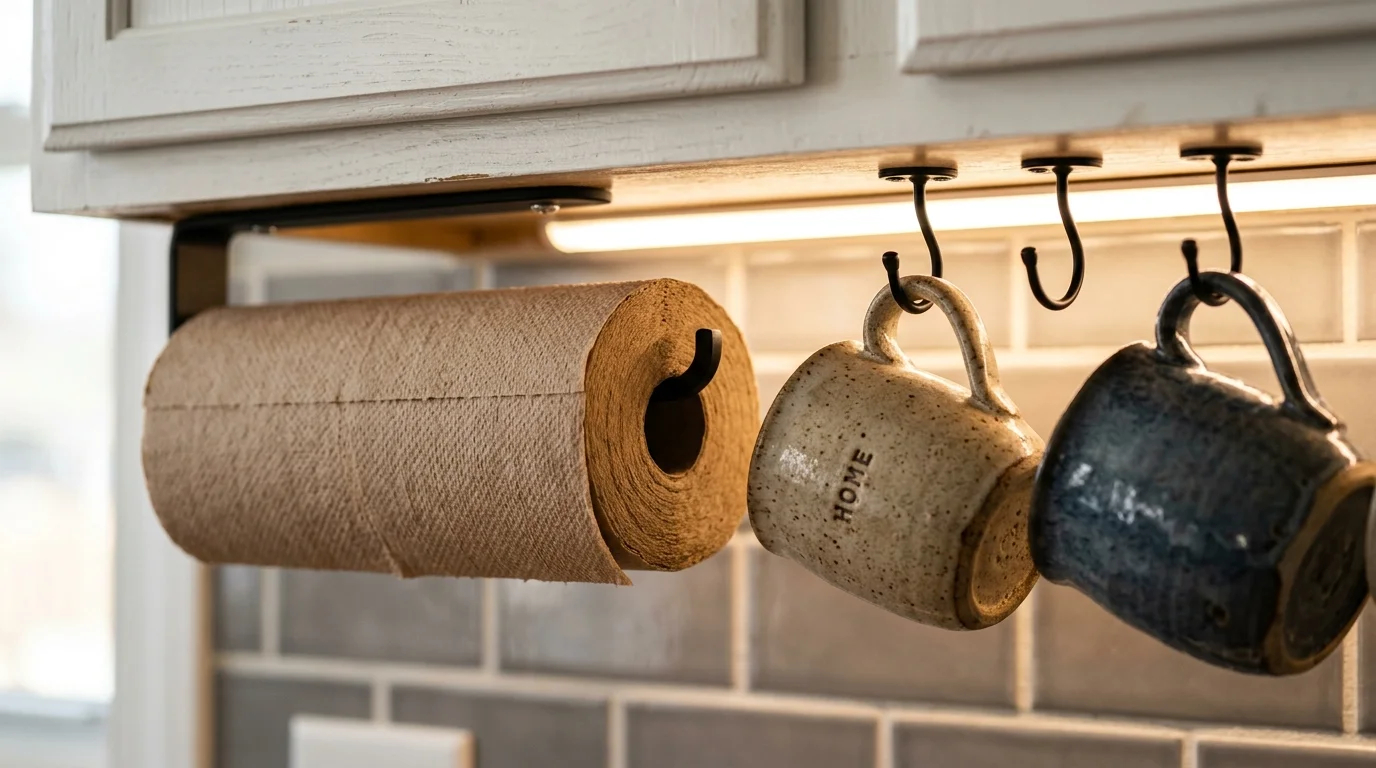
06 Mount Paper Towels, Mug Racks, and Spices Under Upper Cabinets
Items resting on your counter create visual clutter and physical obstacles, forcing you to move multiple items every time you wipe down the surfaces. Elevating small accessories to the undersides of your upper cabinets clears the deck completely.
Install under-cabinet paper towel holders, hanging mug rails, and fold-down spice racks. When mounting fixtures beneath upper cabinets, ensure you leave adequate clearance above nearby cooking surfaces. The National Fire Protection Association safety codes recommend keeping flammable materials, such as paper towel rolls and wooden utensils, at least 18 inches away from open cooktops and heating elements. Suspended under-cabinet racks keep supplies accessible while leaving the counter surface clear for quick cleaning.
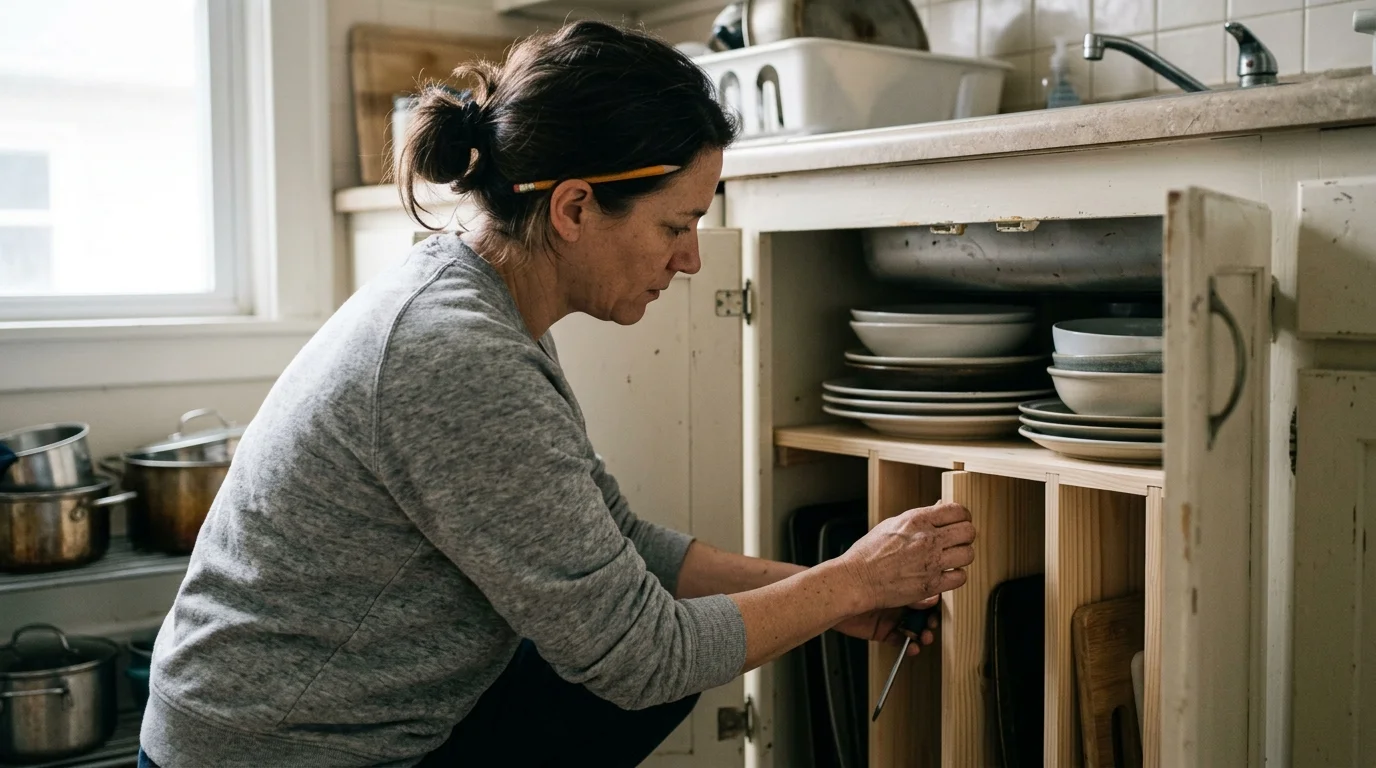
07 Install Internal Cabinet Risers and Vertical Dividers
Sometimes counter clutter exists simply because cabinet interiors suffer from poor layout design. Standard cabinet shelves leave massive vertical air gaps, forcing homeowners to stack items horizontally or dump appliances onto the counter when cabinets overflow.
Reclaim cabinet interiors by inserting metal wire shelf risers, pull-down corner racks, and vertical tray dividers. Storing baking sheets, cutting boards, and serving platters vertically like books rather than stacking them horizontally makes them far easier to retrieve. Adding internal risers doubles the usable shelf capacity inside existing upper cabinets, allowing you to move blenders, food processors, and toaster ovens off the counter and behind closed doors.
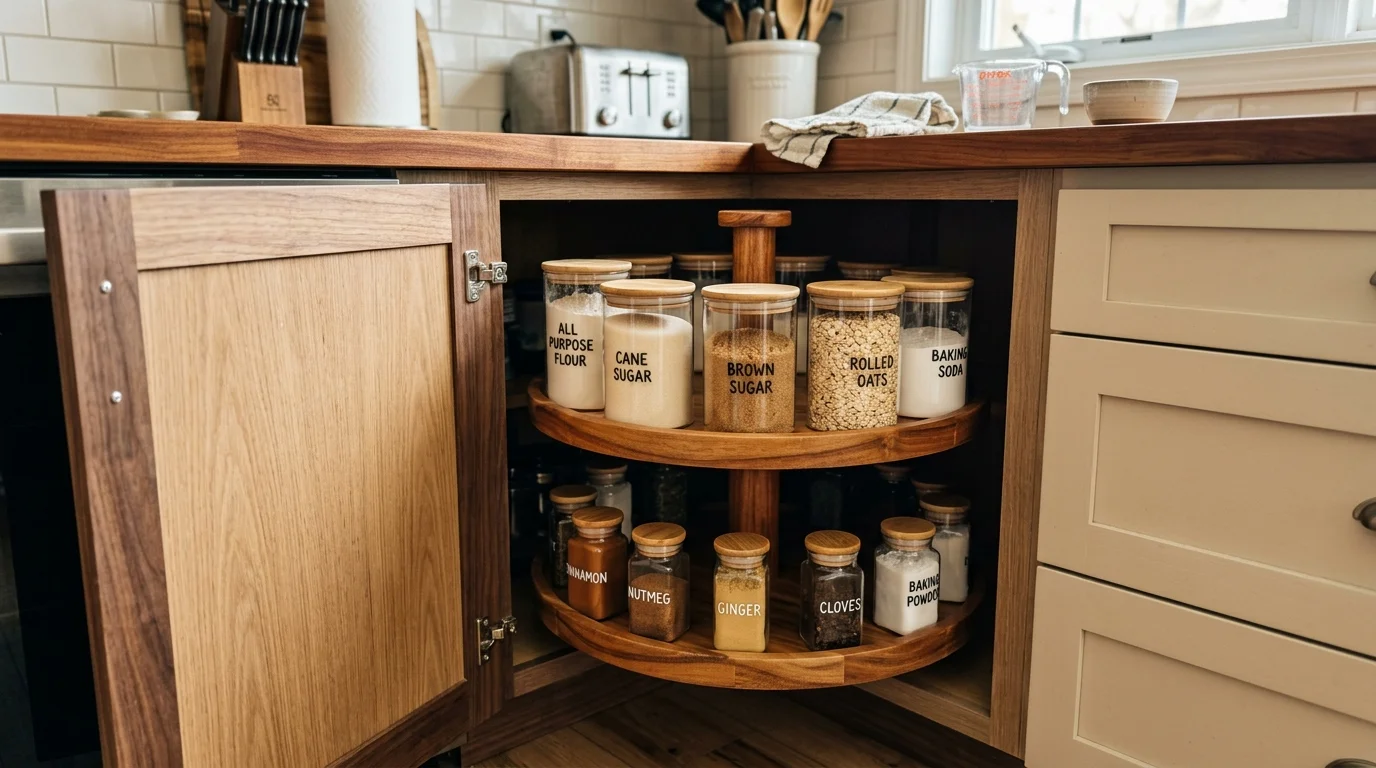
08 Reclaim Deep Corner “Dead Zones”
Deep cabinet corners often become dumping grounds for unopened mail, bread boxes, and neglected appliances because reaching into the back requires awkward bending and stretching. Strategic corner counter space solutions convert these dead zones into active zones.
Position bulky diagonal appliances—such as heavy stand mixers or espresso machines—directly into the 90-degree corner apex. Because this corner area is naturally too deep for comfortable manual prep work like chopping or rolling dough, placing heavy fixed equipment there leaves your straight, easily accessible counter runs completely open. Alternatively, install a two-tiered countertop Lazy Susan in the corner to organize coffee canisters, tea boxes, and honey jars in one neat, rotatable footprint.
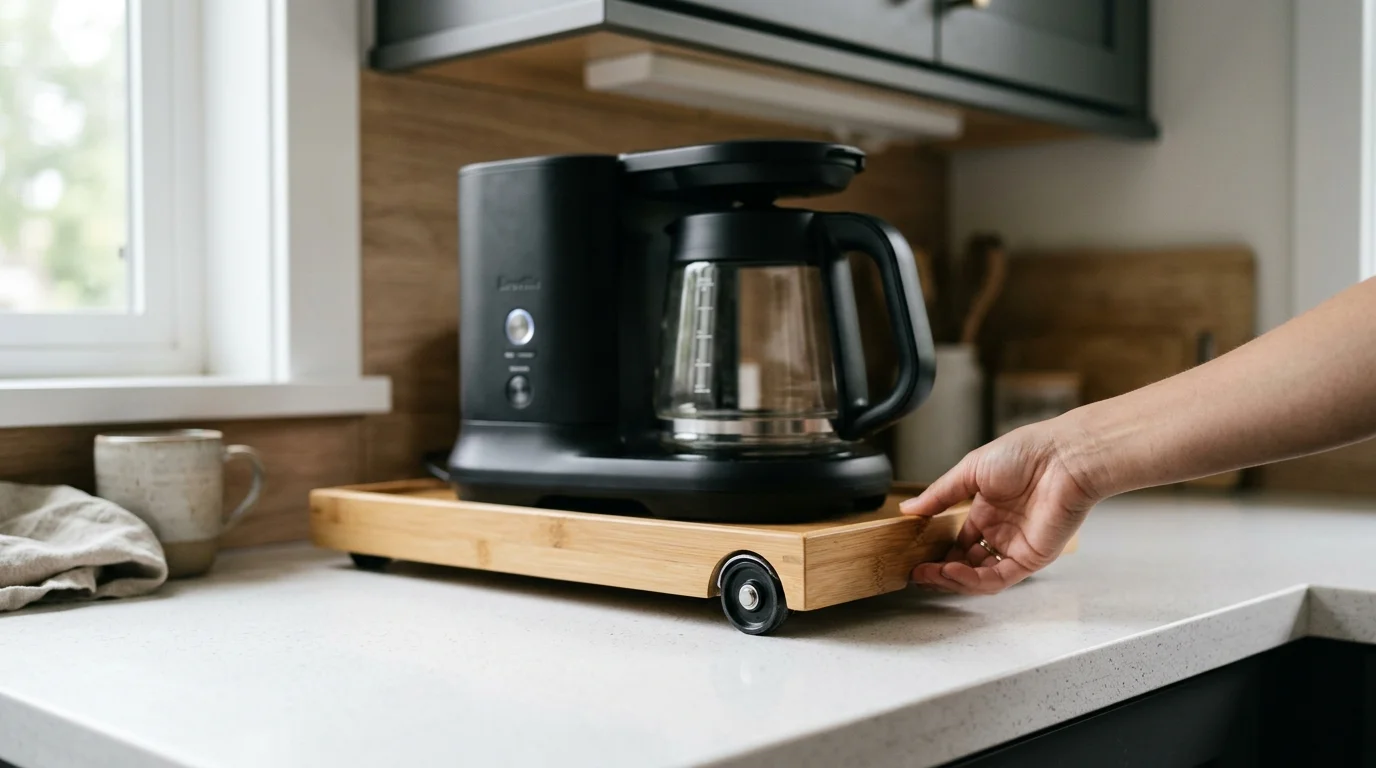
09 Use Appliance Sliders and Pull-Out Trays
Small appliances like coffee makers, air fryers, and electric kettles usually sit pushed back against the wall beneath upper cabinets. When you need to use them, lifting or dragging them across the counter creates wear on your surfaces and disrupts nearby workspace.
Attach low-profile adhesive slider discs to the bottom feet of small appliances, or place them on shallow rolling appliance trays. These slider mechanisms let you glide heavy coffee makers forward to the front edge of the counter with a gentle tap when filling water reservoirs, then slide them back flush against the wall when finished. This simple mechanical shift allows you to maintain clean, unobstructed counter space in front of your appliances during meal prep hours.
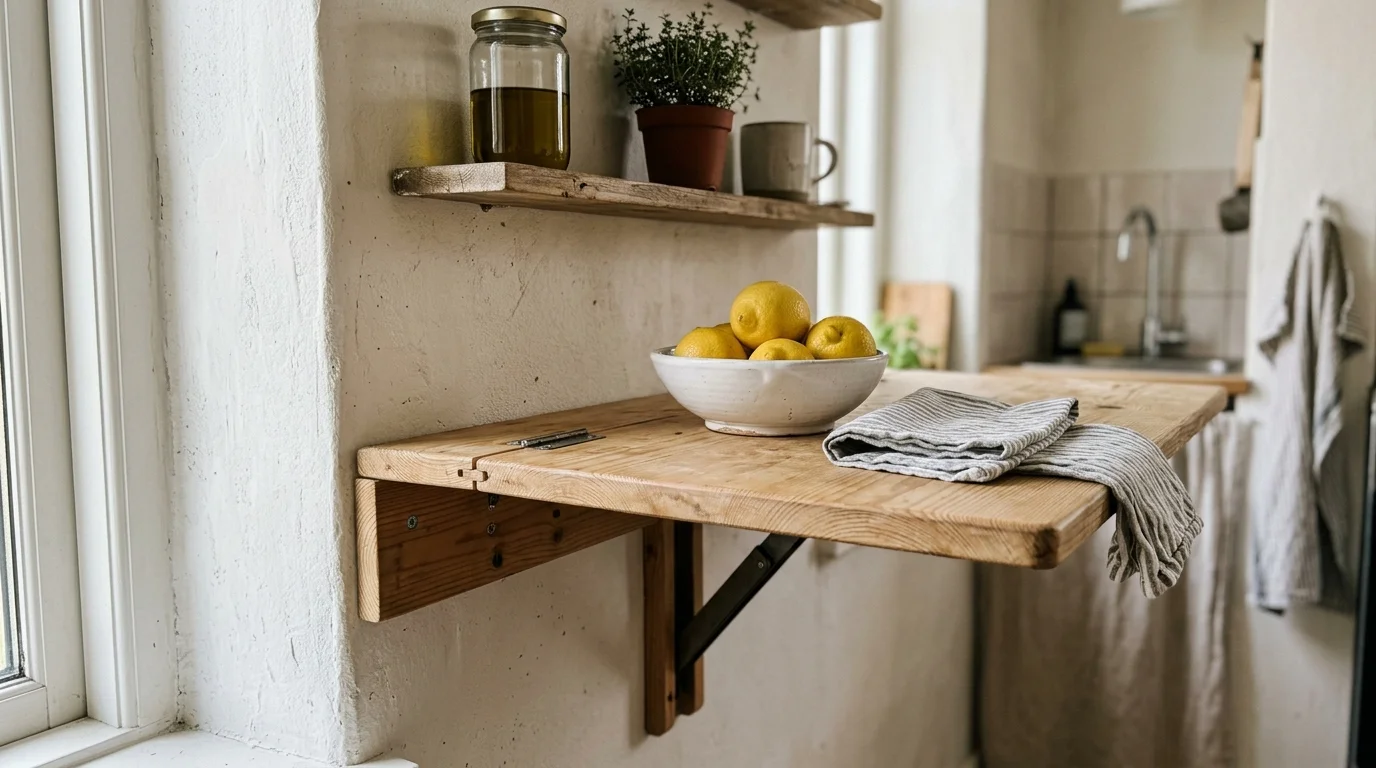
10 Install a Wall-Mounted Drop-Leaf Counter Extension
If your kitchen layout completely lacks sufficient built-in counter runs, create temporary surface area on demand using a wall-mounted drop-leaf table. This layout fix provides solid workspace when you need it and folds flat when you do not.
Mount a solid butcher block or stainless steel drop-leaf shelf onto an open wall stud run or the end of a cabinet bank using heavy-duty folding brackets. When baking or hosting guests, raise the leaf until the locking brackets snap into place, giving you an extra 3 to 5 square feet of butcher-block prep space rated to hold up to 100 pounds. Once cleanup is complete, release the lever to drop the table flat against the wall, restoring your floor walkways instantly. Maintaining clear walkways is essential for kitchen safety and sanitation, a standard supported by Centers for Disease Control and Prevention kitchen sanitation advice which emphasizes keeping floor paths unobstructed to prevent cross-contamination and trip hazards.
Comparing Counter Space Solutions for Small Kitchens
Select the right layout fixes based on your kitchen structure, budget, and DIY skill level using the practical comparison guide below.
| Kitchen Layout Fix | Primary Placement | Approximate Space Gained | Installation Effort | Ideal Solution For |
|---|---|---|---|---|
| Magnetic Knife Strip | Backsplash / Wall | 0.5 sq. ft. | Low (Adhesive or 2 Screws) | Clearing prep zones near cooktops |
| Microwave Relocation | Upper Shelf / Wall Mount | 2.0 to 3.0 sq. ft. | Moderate to High | Gaining major prep area in tiny kitchens |
| Over-the-Sink Workstation | Sink Basin | 3.0 to 4.0 sq. ft. | None (Drop-in place) | Renters and apartment kitchenettes |
| Slim Rolling Utility Cart | Floor Gaps / Pantry Zone | 2.0 to 4.0 sq. ft. | Low (Assembly only) | Storing oils, spices, and heavy baking pans |
| Under-Cabinet Paper Towel Mount | Cabinet Underside | 0.75 sq. ft. | Low (Screws or Tape) | Quick counter wiping and clean surfaces |
| Drop-Leaf Wall Extension | Open Wall Space | 3.0 to 5.0 sq. ft. | Moderate (Wall Anchor Required) | Temporary prep space for heavy cooking |
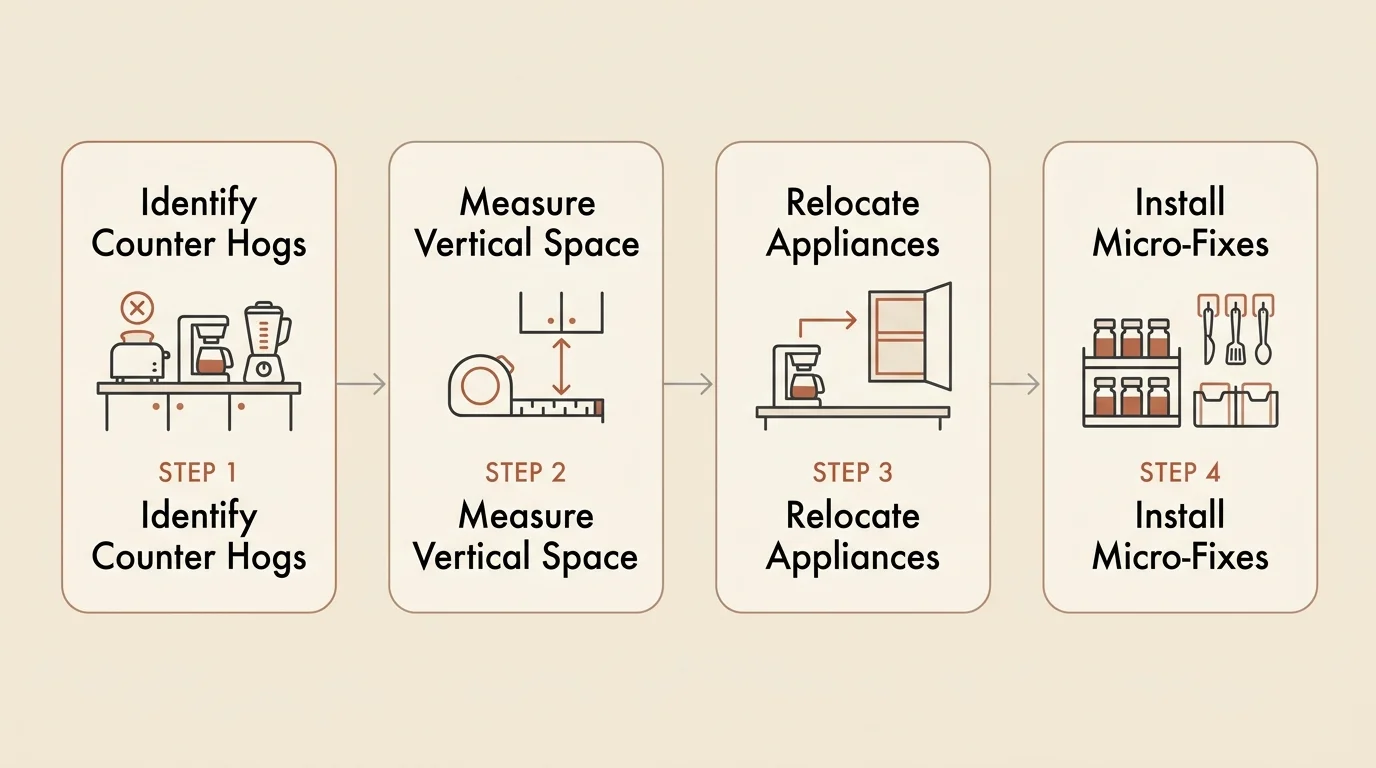
Step-by-Step Small Kitchen Organization Audit
Transform your cooking area in under 30 minutes by following these targeted kitchen layout fixes step by step.
- Measure your active prep zone: Identify the primary counter space between your sink and stove. Clear away every non-essential item sitting within this square.
- Audit your countertop appliances: Identify every appliance on your counter. If you do not use an appliance daily, relocate it inside a cabinet equipped with vertical shelf risers.
- Identify unused vertical zones: Scan your backsplash, cabinet end panels, and undersides of upper cabinets. Mark areas where you can install hanging rails or magnetic strips.
- Consolidate daily items: Lift paper towels, cutting boards, and knife blocks off the surface by mounting them to walls or utilizing over-the-sink accessories.
- Test your workflow path: Place rolling carts or appliance sliders in position and simulate cooking a basic meal to verify that your arms move freely without bumping into clutter.
Your Next Step for a Roomier Kitchen
Measure the open wall or backsplash space right next to your primary food prep zone today, pick one single layout fix from this list—such as installing a magnetic knife strip or an under-cabinet mount—and install it this week to immediately enjoy a cleaner, calmer, and roomier kitchen.