You can transform an older property into a fresh, inviting sanctuary without spending a fortune on complex renovations. Targeted cosmetic refreshes and strategic deep cleaning instantly strip away decades of accumulated grime, dark finishes, and stale odors.
Strategic updates give you the ease of modern living while preserving the architectural character that makes older houses special. Focusing your effort on high-impact surfaces delivers the greatest return in daily comfort.
Whether you are updating an older home for yourself or simplifying daily routines for loved ones, practical improvements make any space feel move-in ready quickly.
01 Deep-Clean Away Decades of Grime and Lingering Odors
Decades of cooking residues, pet dander, and fireplace soot settle deep into older building materials. A standard surface wipe-down cannot cut through years of ingrained soil.
Wash painted walls, baseboards, and window frames using warm water mixed with a heavy-duty degreaser or trisodium phosphate (TSP) substitute. This removes the greasy film that traps persistent musty odors.
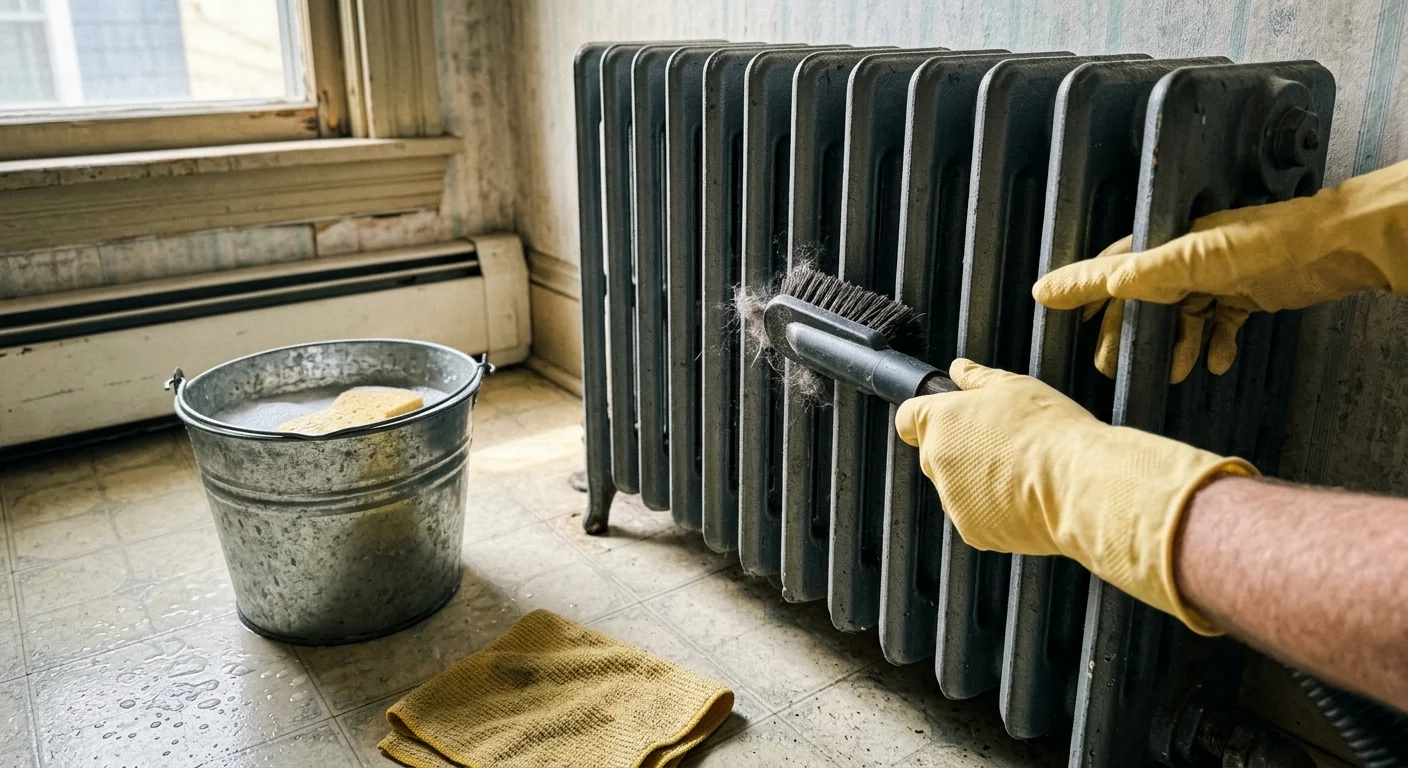
Dust and grime cake heavily on heating radiators, baseboard heaters, and ceiling fan blades. Vacuum these surfaces with a stiff-bristle brush attachment before wiping them down with a damp microfiber cloth.
Steam cleaning tile floors and shampooing carpets pulls out ground-in grit that causes lingering smells. Doing this work before moving your furniture cuts labor time in half.
If physical stamina is limited, hiring professionals provides immediate relief. Professional move-in deep cleaning ranges between $180 and $375 nationally, with most homeowners paying around $260 to $360 for comprehensive sanitization.
02 Neutralize Walls with Fresh, Light-Reflecting Paint
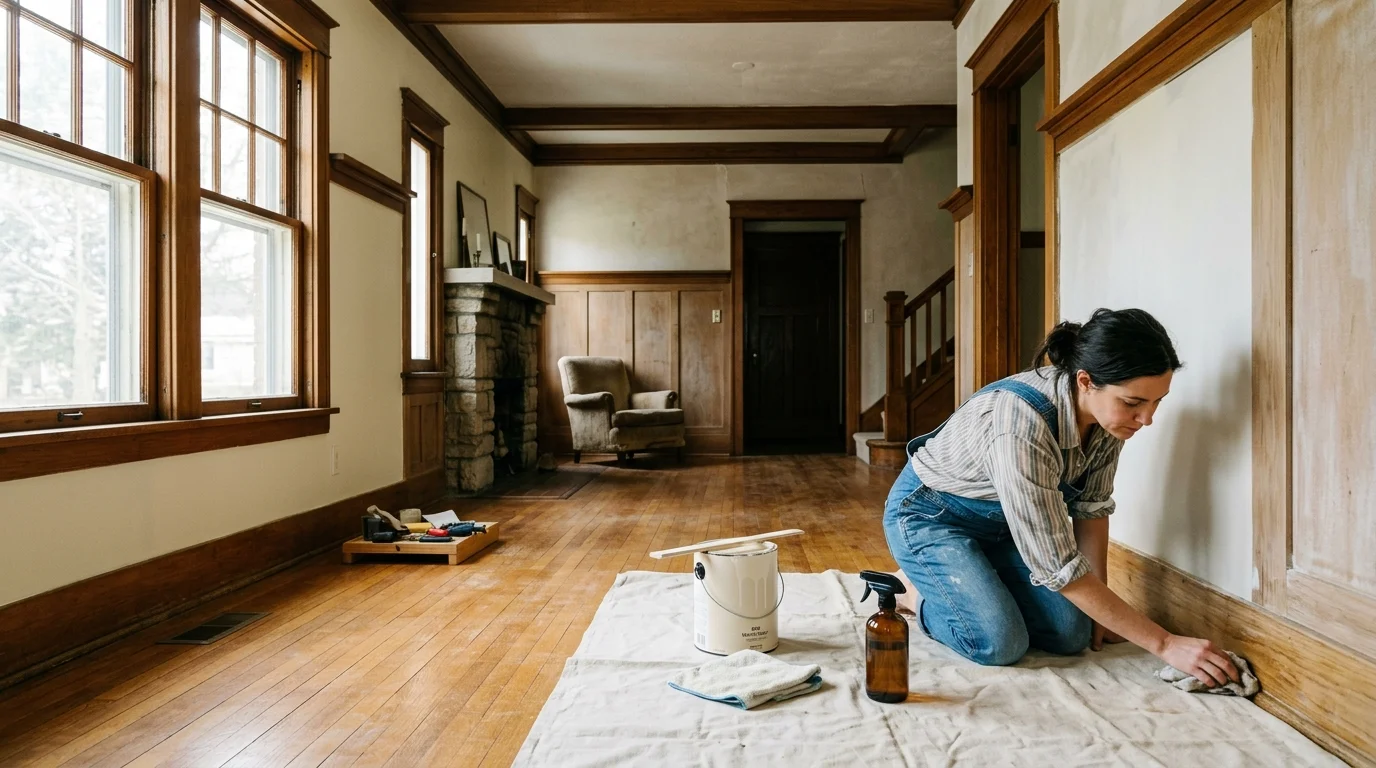
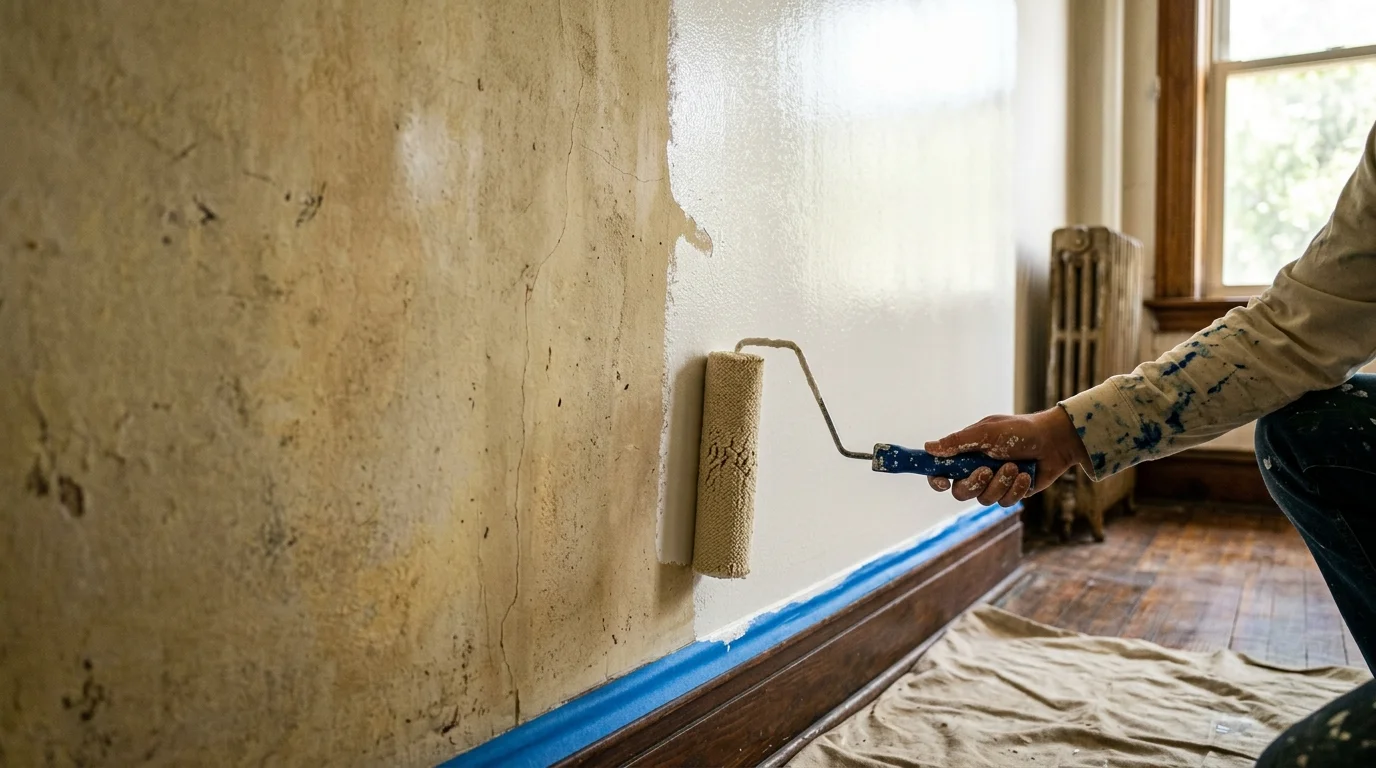
Dark paneling, saturated wallpaper, and aged beige walls absorb incoming sunlight and make rooms feel cramped. A fresh coat of light, neutral paint instantly brightens an older interior.
Interior painting yields an impressive 100% to 107% return on investment; it remains one of the smartest move-in-ready home updates you can undertake.
According to research from Zillow, 32% of home sellers repaint interior walls before listing their properties, ranking it as the single most common pre-move improvement.
Learning how to modernize an older home starts with light reflectance. Select warm whites, soft greiges, or pale creams with light reflectance values (LRV) above 65.
Choose satin or eggshell sheens for hallways and living rooms to ensure effortless, wipe-clean maintenance. Semi-gloss works best for moisture-prone kitchens and bathrooms.
Older plaster and drywall often display water stains, smoke residue, or tannin bleed from underlying wood trim. Apply a high-adhesion stain-blocking primer over troubled spots before rolling your finish coats.
03 Test and Safeguard Against Pre-1978 Lead Hazards
When considering renovating an old house tips, safety must always precede cosmetic updates. The U.S. Environmental Protection Agency (EPA) banned residential lead-based paint in 1978 due to severe health risks.
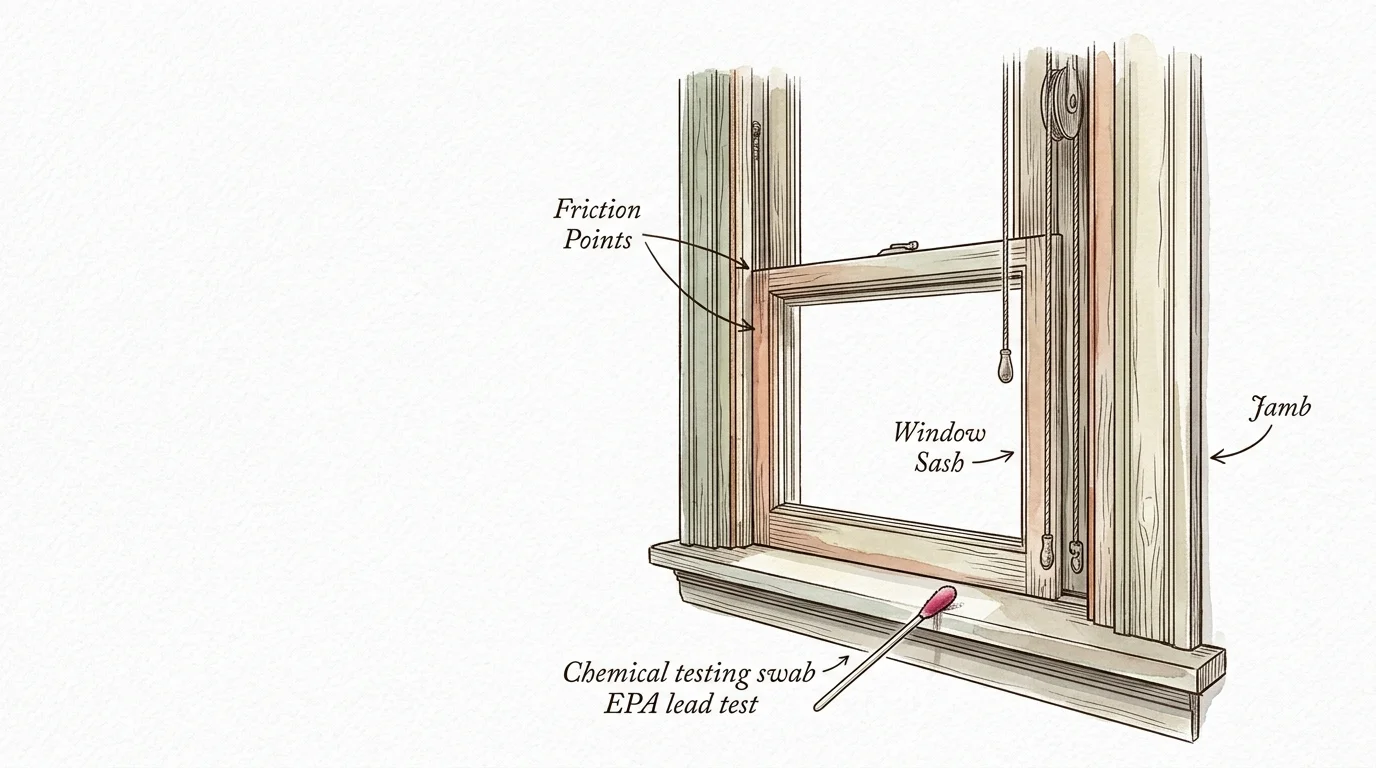
Before you sand historic baseboards, scrape peeling window sills, or drill into plaster walls, test surfaces with an EPA-recognized chemical test kit. Undisturbed lead paint presents minimal danger, but friction points generate toxic dust.
Under the EPA Lead Renovation, Repair, and Painting (RRP) Rule, contractors disturbing more than 6 square feet of painted interior surfaces in pre-1978 homes must be Lead-Safe Certified.
Friction surfaces on historic double-hung windows generate the highest concentrations of lead dust in older properties. Inspect the jambs and sashes carefully for chips, flaking paint, or wood-on-wood rubbing.
If you perform minor repairs yourself, use wet-sanding sponges and HEPA-filtered vacuums to trap particles. Never dry-sweep or power-sand suspect paint layers without containment barriers.
04 Swap Heavy Drapery for Simple, Light-Filtering Treatments
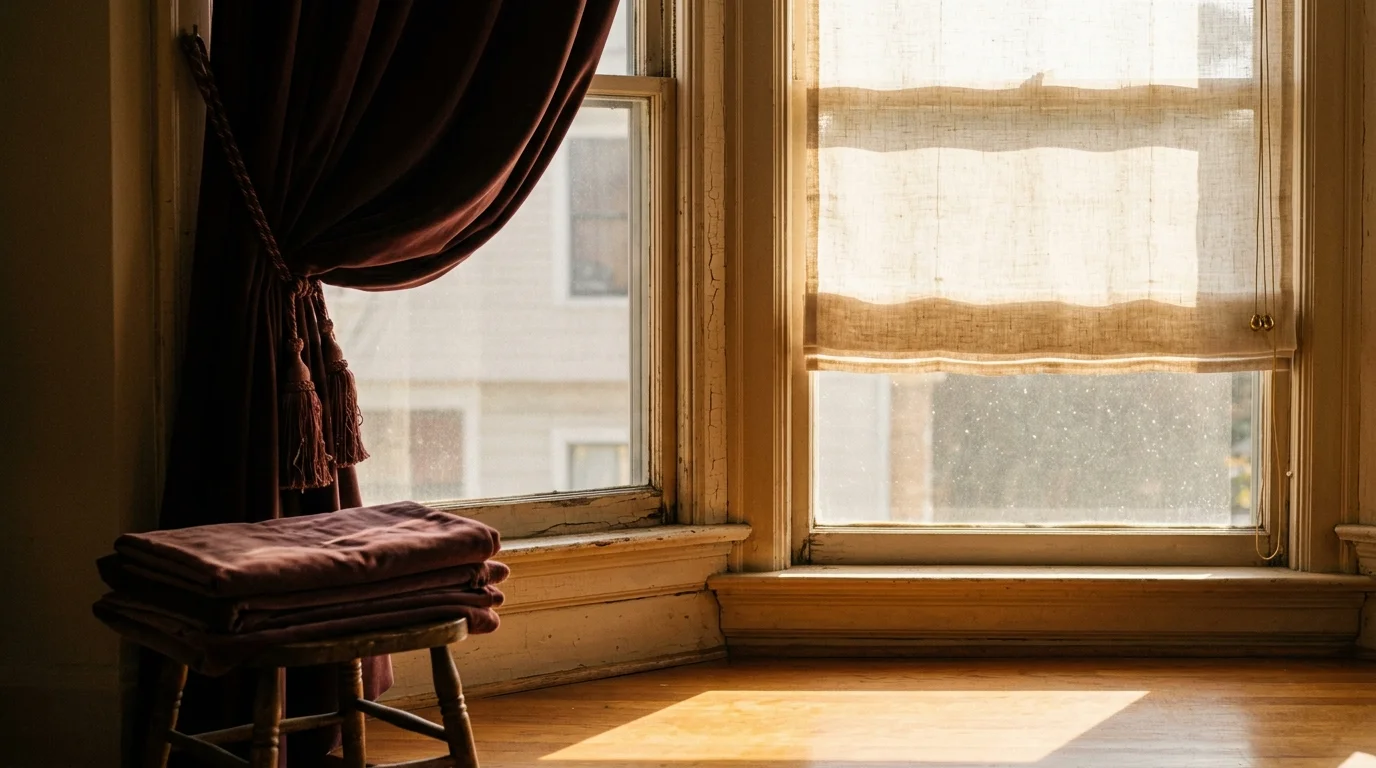
Older properties frequently feature heavy damask drapes, dusty valances, or brittle vinyl blinds that starve living areas of natural light. These thick fabrics trap dust mites, pollen, and lingering cooking grease.
Take down outdated window dressings and clean the glass thoroughly inside and out. Clean windows immediately increase visible light and connect your rooms to the outdoors.
Replace heavy fabric swags with cordless cellular shades or clean-lined linen curtains mounted high and wide. Cordless systems look sleek, open effortlessly, and eliminate hazardous dangling cords for visiting grandchildren or pets.
Cellular honeycomb shades provide excellent thermal insulation against drafty single-pane windows. They trap air inside small pockets, keeping historic rooms noticeably cooler in summer and warmer in winter.
05 Upgrade Dated Cabinet Hardware in Kitchens and Baths
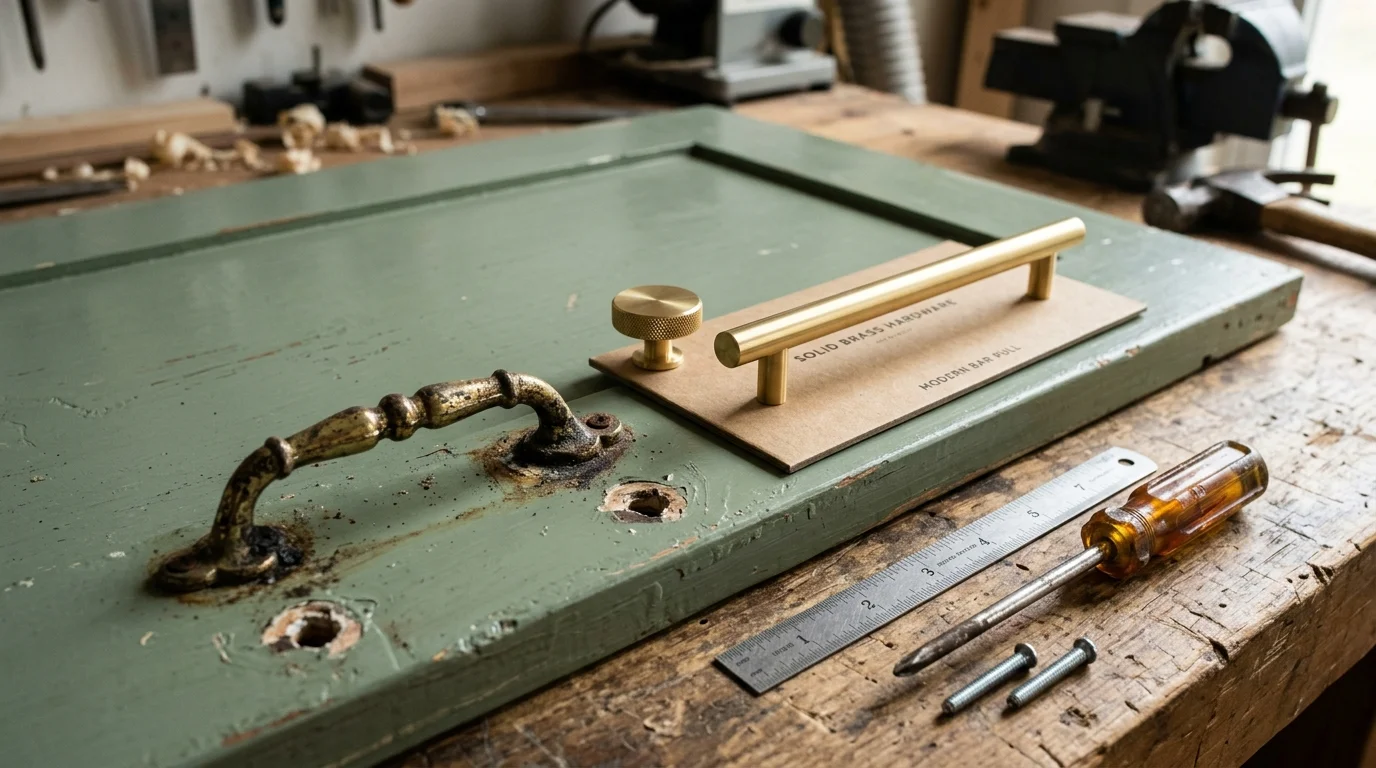
Vintage kitchens and bathrooms often boast solid wood cabinetry that remains structurally sound despite looking fatigued. Replacing worn, ornate pulls gives your storage an instant contemporary lift.
Swapping out handles and knobs costs an average of $100 to $500 for an entire kitchen, with individual pieces averaging $2 to $10 each. This quick swap yields an estimated 70% to 80% ROI.
In contrast, full cabinet replacements run between $5,000 and $20,000 or more. Preserving the original boxes saves thousands while modernizing an older home with minimal downtime.
Before shopping for replacements, measure the exact center-to-center distance between existing screw holes on your cabinet doors. Standard sizes include 3-inch, 3.75-inch, and 96-millimeter centerings.
Matching existing hole spacing saves hours of filling, sanding, and repainting cabinet fronts. Select streamlined hardware finishes such as matte black, brushed brass, or satin nickel.
Opt for ergonomic D-shaped pulls, which provide an easy grip for hands with arthritis or reduced mobility.
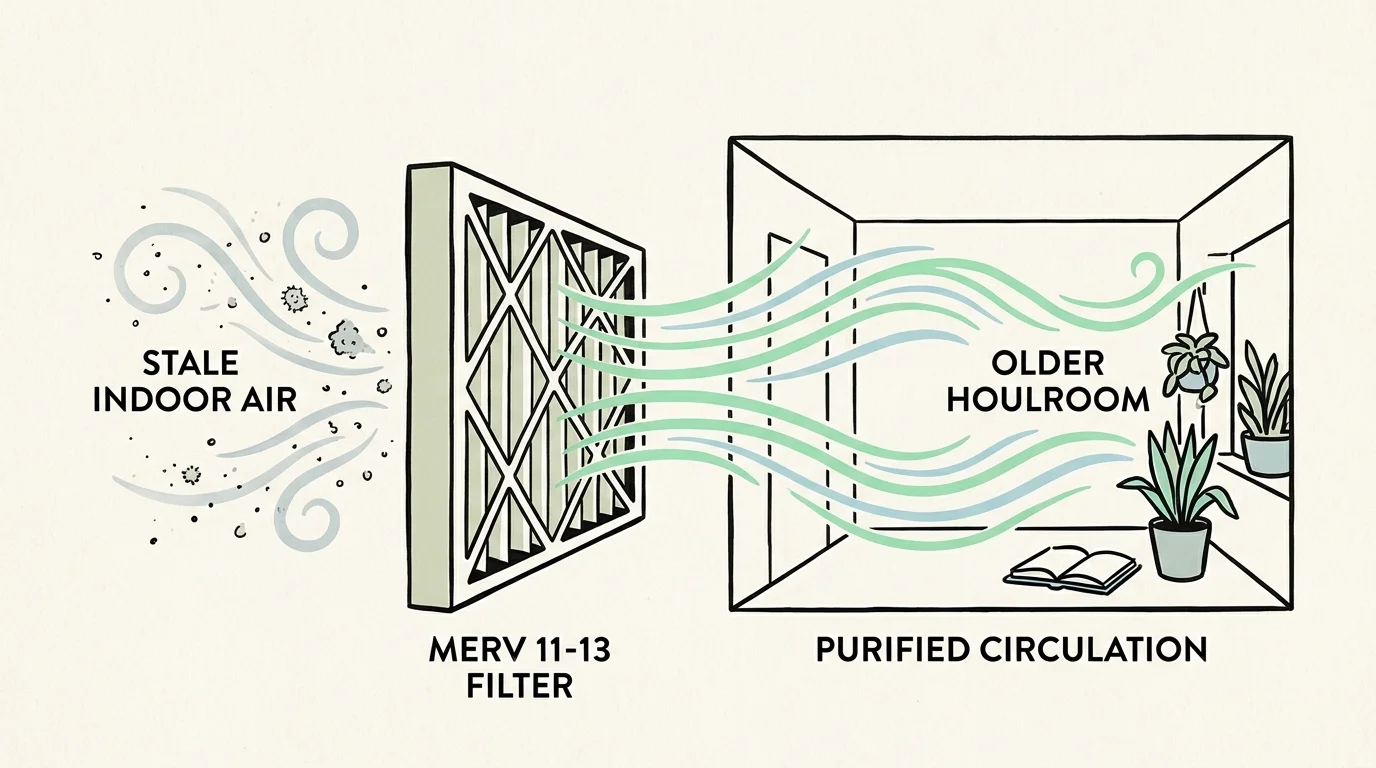
06 Optimize Air Filtration to Eliminate Stale Indoor Air
Older homes often suffer from stale, stagnant air caused by decades of dust accumulation in ductwork and minimal original ventilation. Upgrading your furnace filter dramatically improves everyday breathing quality.
The EPA suggests using filters with a Minimum Efficiency Reporting Value (MERV) between 8 and 13 in residential systems. Check the EPA guide on indoor air filtration before choosing a high-density model.
A filter rated between MERV 8 and 11 captures mold spores, pollen, and pet dander effectively without restricting airflow across older blower motors. Filters above MERV 13 can overtax aging HVAC equipment.
Vacuum out all supply grilles and return vents using a crevice tool. Place freestanding HEPA air purifiers in bedrooms to maintain fresh, allergen-free air while you sleep.
During your first month in an older house, change the HVAC filter every 30 days. Active unpacking and cleaning dislodge dormant dust settled in floorboards and closets.
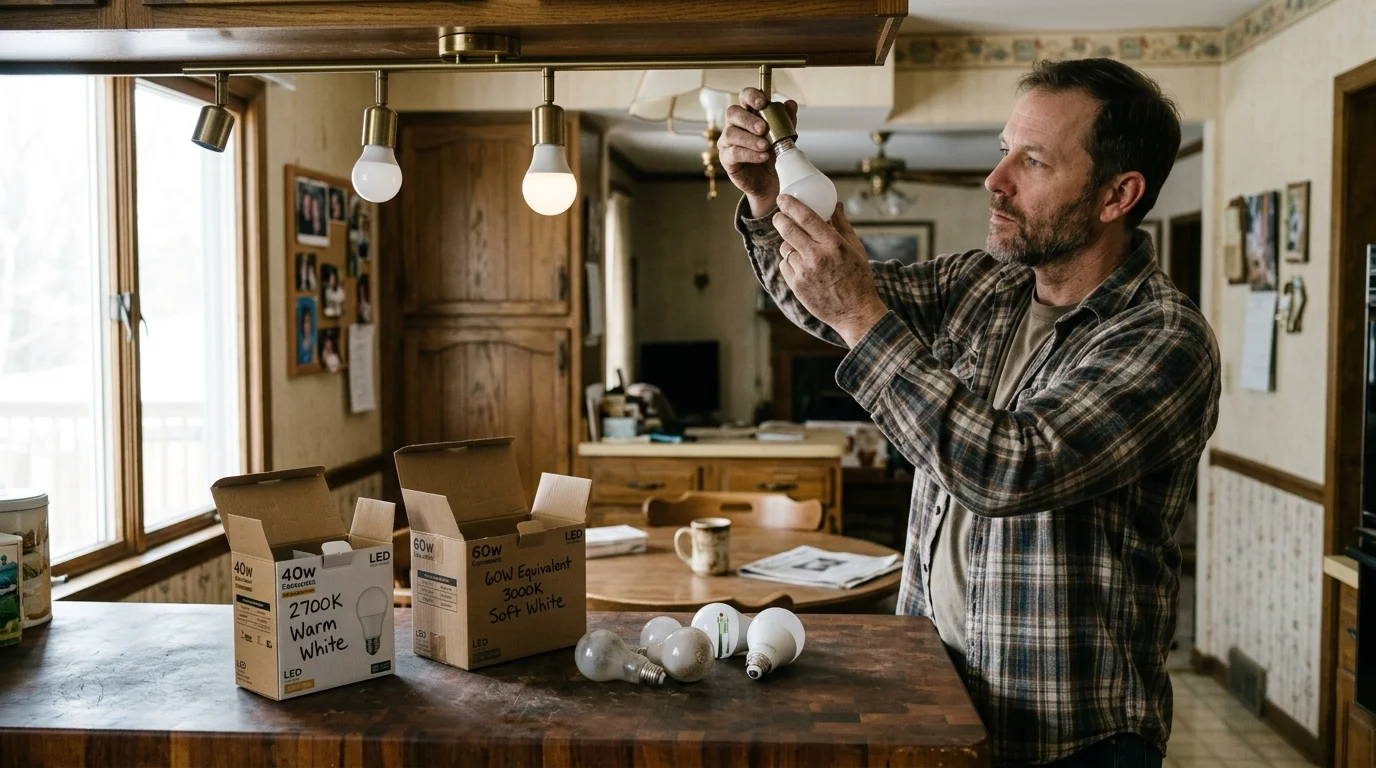
07 Standardize Modern LED Color Temperatures
Few things date a house faster than a chaotic mix of amber incandescent bulbs, harsh fluorescent tubes, and cool blue LEDs. Inconsistent lighting creates visual discord and accentuates surface imperfections.
Standardize your lighting throughout the home using energy-efficient LEDs. Check the Kelvin rating on the packaging rather than relying on generic descriptions like “bright white.”
Install bulbs rated between 2700K (warm white) and 3000K (soft white) in living rooms, dens, and bedrooms; these temperatures provide inviting warmth without yellow dinginess. The U.S. Department of Energy LED guidelines explain how proper lighting improves energy efficiency.
Reserve crisper 3500K to 4000K bulbs for task-oriented zones like kitchens, laundry rooms, and walk-in pantries. Clear visibility reduces eye strain and makes daily chores simpler.
Install LED-compatible dimmer switches in main dining and living areas. Dimmer controls allow you to adjust lighting levels easily, softening the room in the evening and reducing glare.
Look for LED bulbs with a Color Rendering Index (CRI) of 90 or above. Higher CRI bulbs display wood grains, textiles, and paint finishes in their true, rich colors.
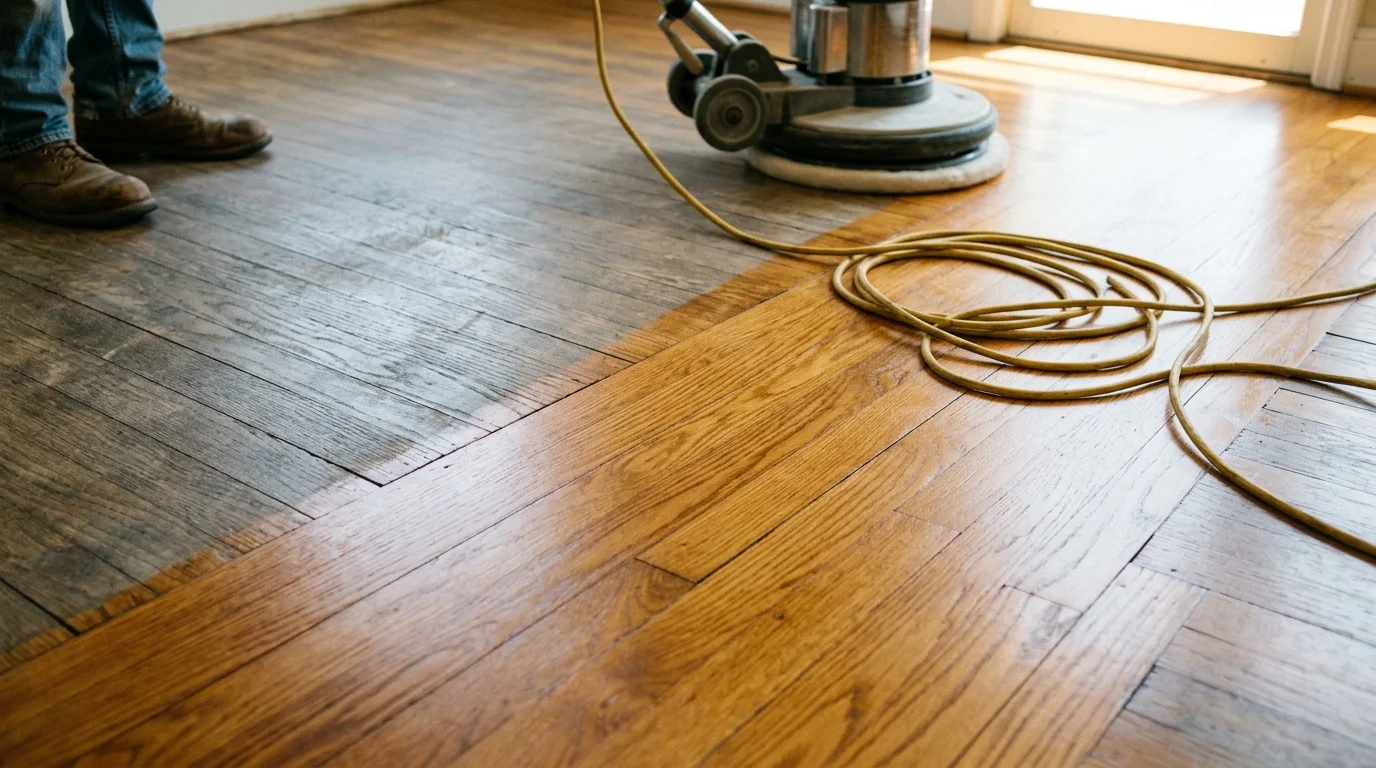
08 Refinish or Deep-Scrub Hardwood Floors
Original hardwood floors add unmatched warmth and historic charm, but years of foot traffic leave them dull, scratched, and discolored. You do not always need an expensive, messy full sanding project.
If the wood finish is merely scratched or scuffed, hire a professional for a screen-and-recoat treatment. This process lightly buffs the top polyurethane layer and applies a fresh protective coat at half the cost of full sanding.
For DIY maintenance, clean the planks using a microfiber mop and a pH-neutral hardwood floor cleaner. Avoid steam mops or vinegar, which break down finishes and warp historic floorboards.
Silence annoying floor squeaks by dusting talcum powder or powdered graphite into loose board seams. Walk across the area repeatedly to work the powder between boards and reduce wood friction.
Affix heavy-duty felt pads to the legs of all chairs, tables, and heavy furniture before unloading the moving truck. Felt pads prevent new gouges and allow you to slide furniture effortlessly during cleaning.
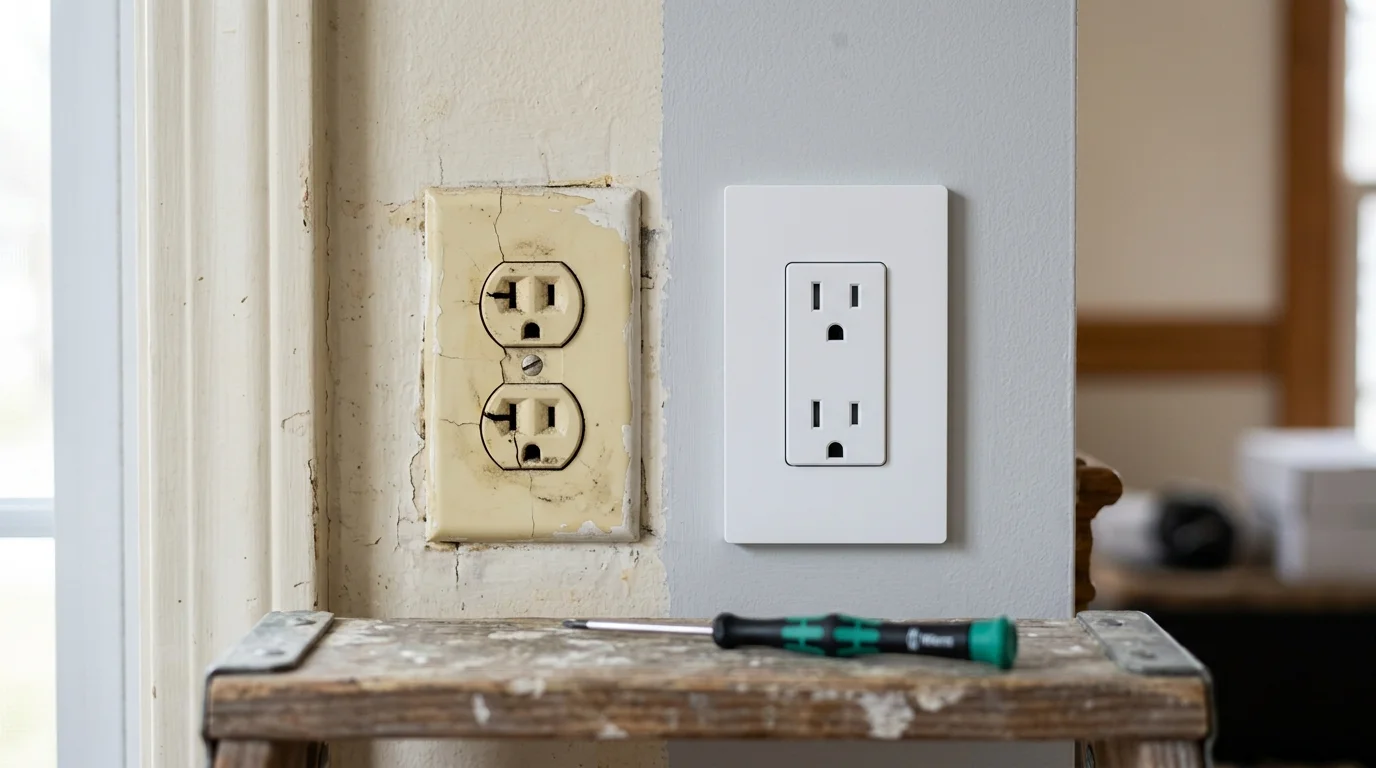
09 Modernize Switch Plates, Outlets, and Vent Covers
Plastic outlet covers and light switch plates discolor into a brittle, yellowed ivory over decades of sun exposure. Often, past painters carelessly slapped paint over the edges, leaving messy borders.
Smart home improvement for older houses focuses on small, tactile touchpoints like wall covers. Replacing every plate with crisp white, unbreakable nylon covers costs less than two dollars per plate.
Choose modern screwless plates for an ultra-clean, architectural finish that wipes down in seconds. Their flat surface prevents dirt and kitchen grease from gathering in recessed screw heads.
Consider swapping standard toggles for wide rocker switches throughout the main living spaces. Rocker switches provide easier operation for anyone with stiff fingers or limited hand strength.
Upgrading wet-location receptacles near sinks to Ground Fault Circuit Interrupters (GFCIs) provides modern electrical safety and meets current residential building standards.
Remove rusted or bent floor registers and replace them with solid metal grates that fit flush against the floorboards. Clean, straight lines on the floor complete the move-in-ready aesthetic.
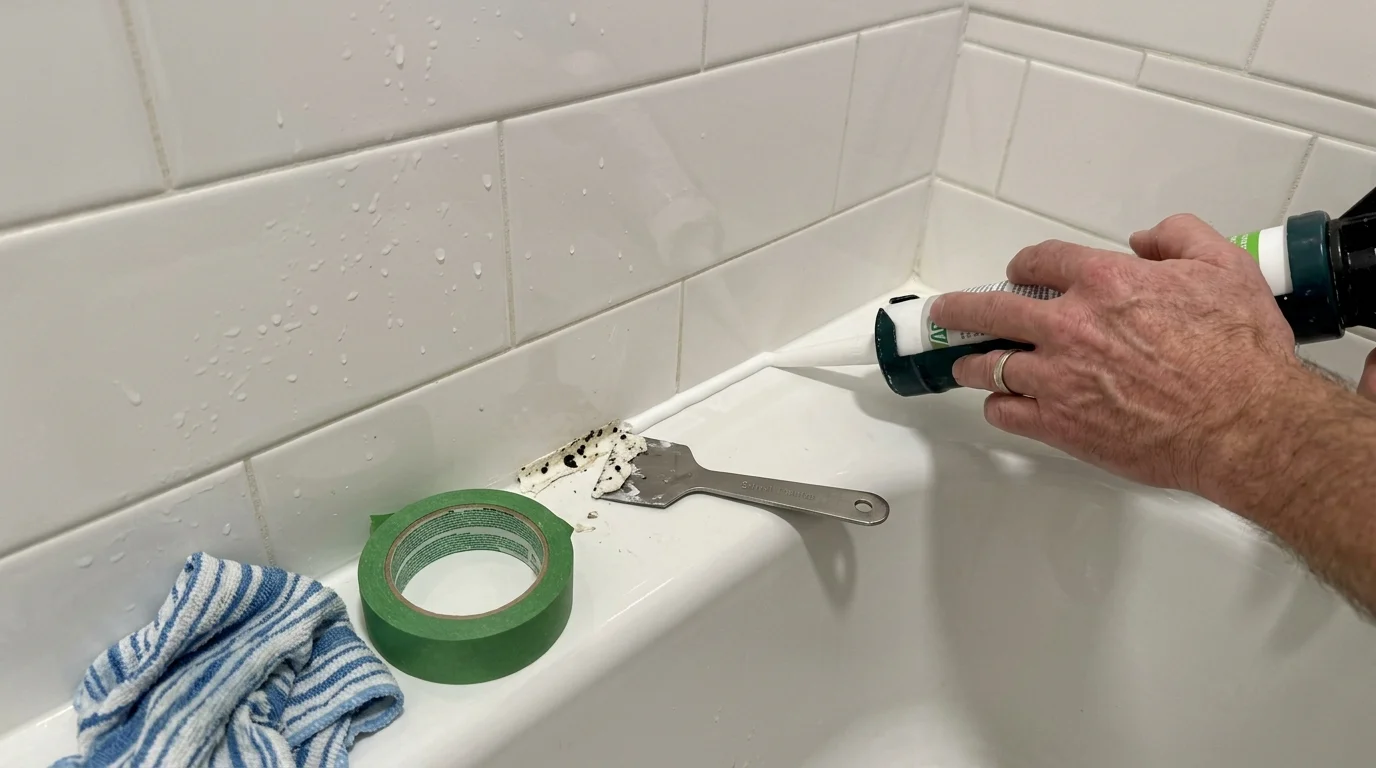
10 Refresh Caulk and Grout Lines in Wet Areas
Brown, crumbling grout and peeling silicone caulk make bathrooms and kitchens look neglected, even when surfaces are clean. Moisture seeping behind failed caulk also encourages hidden mold growth.
Strip old, discolored caulk along tubs, showers, and backsplashes using a manual caulk-remover tool. Clean the seams thoroughly with isopropyl alcohol before applying a fresh bead of 100% silicone sealant.
According to the CDC guidelines on mold prevention, sealing joints and controlling indoor moisture stops mold colonies before they spread.
Smooth silicone caulk beads using a damp finger or a silicone profiling tool within five minutes of application. A neat, continuous seal prevents standing water from penetrating beneath tile edges.
Revitalize stained grout lines with an epoxy-based grout colorant pen. This coats porous grout, hides stubborn stains permanently, and seals the surface against future water intrusion.
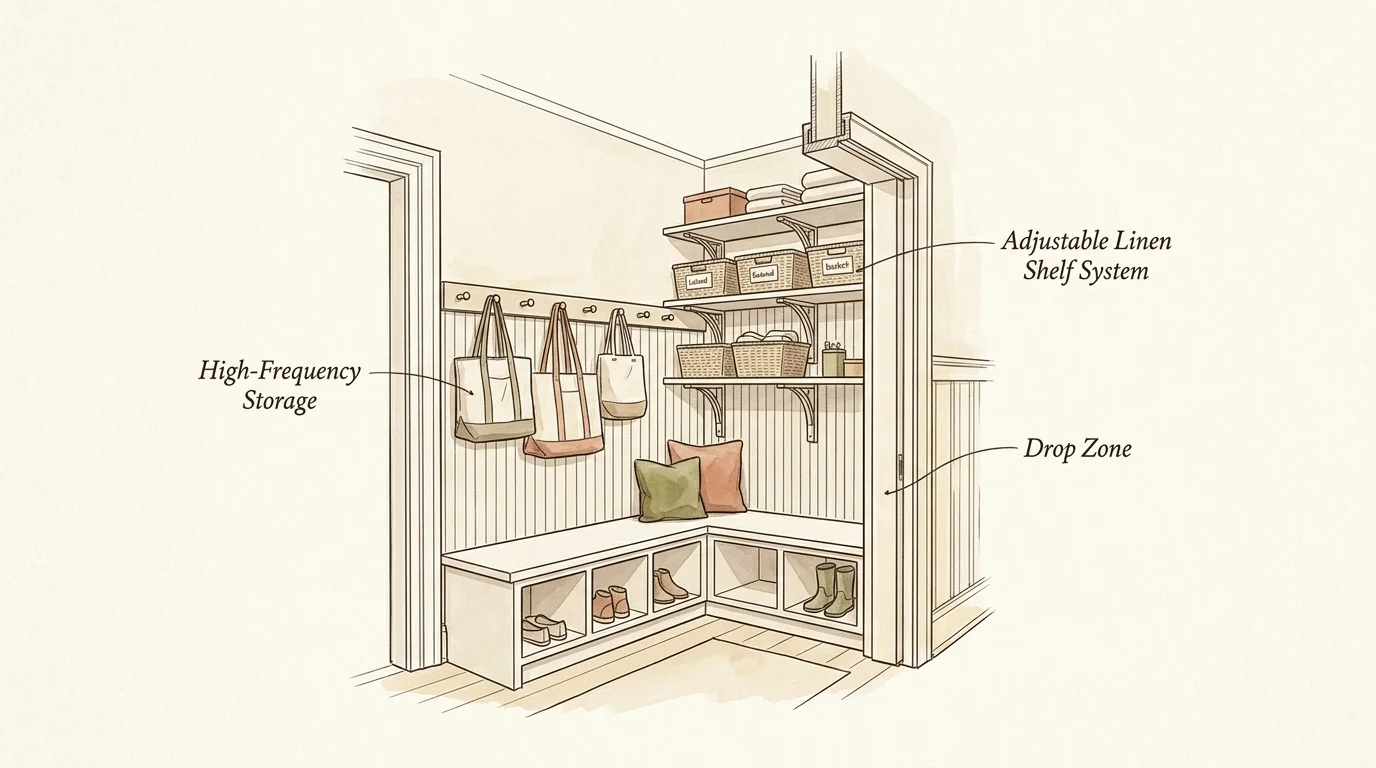
11 Clear Visual Clutter and Create Low-Maintenance Storage
Older homes built before the 1980s rarely offer the walk-in closets and sprawling cabinetry standard in newer construction. Shallow storage leads to visible clutter on tables, countertops, and chairs.
Maximize limited closet depth by installing modular closet organizers with double-hang rods and vertical shelving. Utilizing vertical wall space doubles usable hanging capacity without requiring framing alterations.
Install pull-out wire baskets or sliding wooden drawers inside deep lower kitchen cabinets. Roll-out shelving brings stored items directly to you, eliminating the frustration of bending down to reach buried pots.
Over-the-door organizers with clear pockets or sturdy wire baskets instantly convert unused closet doors into functional pantries. They keep cleaning supplies, toiletries, and small accessories visible and off valuable shelf space.
Add a dedicated drop zone near the primary entrance with sturdy wall hooks and a narrow shoe bench. Containing daily items prevents shoes, bags, and coats from migrating into living areas.
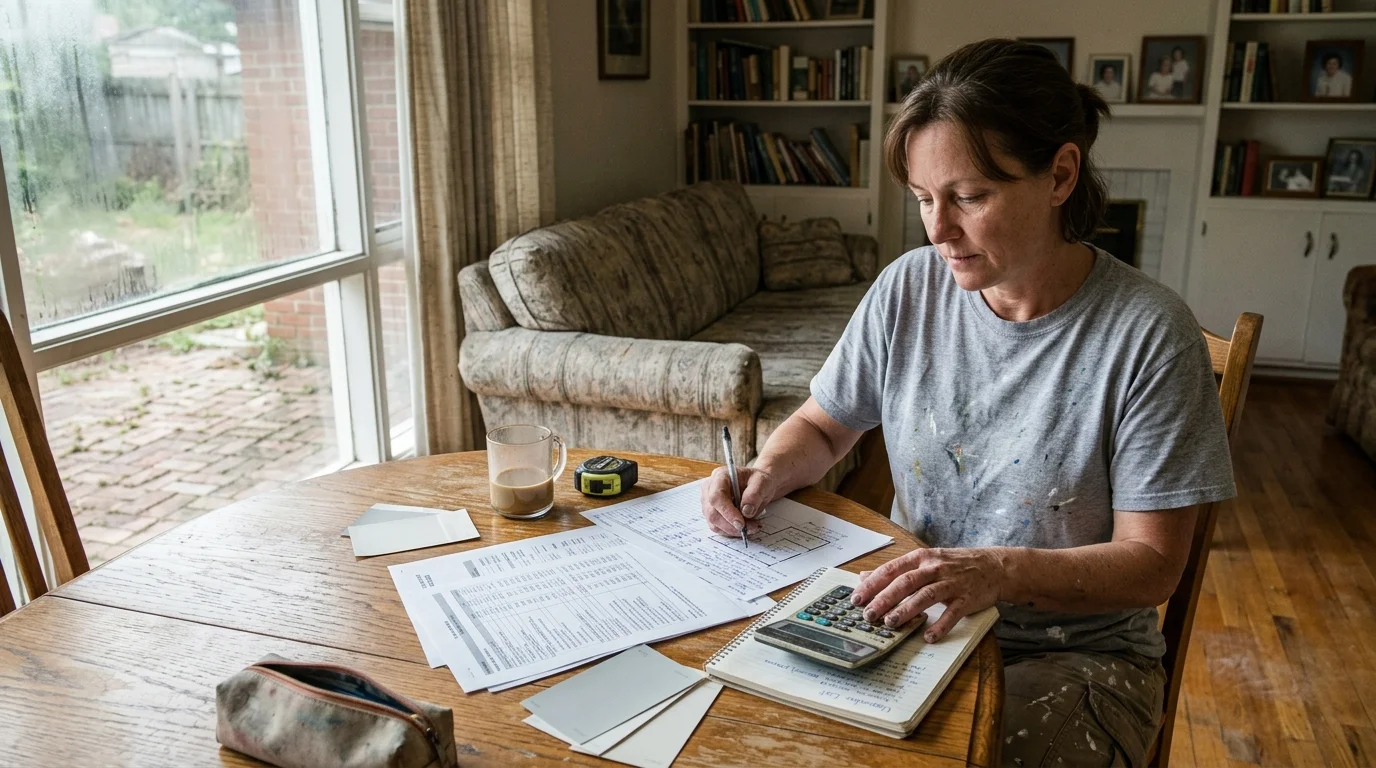
Move-In Ready Upgrades: Cost, Effort, and Impact
Evaluating cost against daily impact helps you allocate your budget toward updates that matter most. The table below compares primary aesthetic and functional improvements for an older house.
| Upgrade Project | Typical Cost | Estimated ROI / Daily Value | Execution Time |
|---|---|---|---|
| Interior Wall Painting | $1.50–$3.50 per sq. ft. DIY ($1,200–$3,000 professional) | 100% to 107% ROI; high brightness boost | 2 to 4 days |
| Cabinet Hardware Refresh | $100 to $500 total ($2 to $10 per handle) | 70% to 80% ROI; immediate modern feel | 1 to 2 hours |
| Professional Deep Cleaning | $180 to $375 (national average: $260–$360) | High health and comfort return | 4 to 8 hours |
| LED Lighting Standardization | $50 to $150 for whole-home bulbs | Immediate energy savings and visual unity | 1 to 2 hours |
| Re-caulking Tubs and Sinks | $20 to $50 DIY materials | Critical water and mold damage prevention | 2 to 3 hours |
| Air Filter Upgrade (MERV 8–11) | $15 to $35 per filter | Reduces respiratory allergens and dust | 10 minutes |
| Switch Plates and Outlet Covers | $30 to $75 for entire house | Crisp aesthetic lines and improved safety | 2 to 3 hours |

Room-by-Room Move-In Preparation Checklist
Use this sequential checklist to organize your tasks before your moving truck arrives. Checking off these items room by room prevents chaotic scrambling and keeps your projects on schedule.
- Whole-House Safety and Systems
- Test paint on trim and window sills for lead hazards if the home was built before 1978.
- Install a fresh MERV 8 to 11 air filter in the central HVAC furnace or air handler.
- Replace batteries in all smoke detectors and carbon monoxide monitors on every level.
- Label circuit breakers clearly in the electrical main panel.
- Kitchen and Dining Spaces
- Scrub interior and exterior cabinet faces with a degreasing cleaner.
- Install modern D-shaped cabinet pulls and drawer handles.
- Clean inside the refrigerator, oven, and dishwasher before loading groceries.
- Apply 100% silicone caulk along the sink basin and counter backsplash joints.
- Bathrooms
- Strip away mildewed silicone caulk around tubs and shower pans; apply fresh sealant.
- Deep-scrub floor grout and refresh discolored seams with an epoxy grout pen.
- Standardize lighting with 3000K soft white LED vanity bulbs for flattering reflection.
- Install smooth rocker switches and clean, screwless switch plates.
- Bedrooms and Living Areas
- Apply two coats of neutral paint with light reflectance values (LRV) above 65.
- Vacuum heating baseboards, radiator fins, and ceiling fan blades thoroughly.
- Install cordless cellular shades to maximize natural sunlight and thermal control.
- Stick heavy-duty felt pads to the bottom of all furniture legs to protect original hardwoods.

Your 48-Hour Move-In Action Plan
Tackling an entire house at once feels overwhelming; prioritizing your tasks prevents burnout and saves money.
Start by testing for lead paint hazards and booking a comprehensive deep cleaning before unloading your furniture. Clean, empty rooms allow you to paint walls and wipe down cabinets in a fraction of the time.
Once surfaces dry and the fresh air filters run clear, install your modern light bulbs and fresh hardware. You will step into a bright, hygienic home that blends historic charm with effortless modern living.