A single hard freeze can split outdoor spigots, burst water pipes, and crack masonry overnight. Tackling your fall exterior maintenance now protects your property from catastrophic water damage and expensive structural repairs.
Preparing your property does not require backbreaking labor or frantic last-minute scrambles. Prioritizing vulnerable exterior zones creates a calm, orderly transition into cold weather while preserving your peace of mind.
Use this before the first freeze checklist to winterize home exterior systems safely and efficiently. A few practical afternoons outside will safeguard your living space all winter long.

Exterior Winterization Priority Overview
Review this planning reference before freezing weather hits your neighborhood. It highlights the urgency, time commitment, and primary tools required for each task.
| Exterior Task | Urgency Level | Estimated Time | Essential Supplies |
|---|---|---|---|
| Disconnect Garden Hoses | High | 15 minutes | Storage strap, hose reel |
| Shut Off & Insulate Faucets | High | 20 minutes | Insulated faucet covers, small bucket |
| Clear Gutters & Downspouts | Medium | 1–2 hours | Gutter trowel, bucket, sturdy ladder |
| Blow Out Sprinkler System | High | 1 hour | Air compressor or licensed technician |
| Seal Foundation & Wall Cracks | Medium | 45 minutes | Polyurethane caulk, caulk gun, copper mesh |
| Service Gas Lawn Equipment | Medium | 45 minutes | Fuel stabilizer, clean rags, scraper |
| Trim Weak Tree Limbs | Medium | 1 hour | Bypass loppers, pole saw, safety glasses |
| Store Patio Furniture | Low | 1 hour | Mild dish soap, breathable furniture covers |
| Caulk Doors & Windows | High | 1–2 hours | Silicone exterior sealant, door sweeps |
| Inspect Chimney & Vents | Medium | 30 minutes | Flashlight, binoculars |
| Ready Walkways & De-Icer | High | 30 minutes | Pet-safe de-icer, ergonomic snow shovel |
01 Disconnect and Drain Garden Hoses
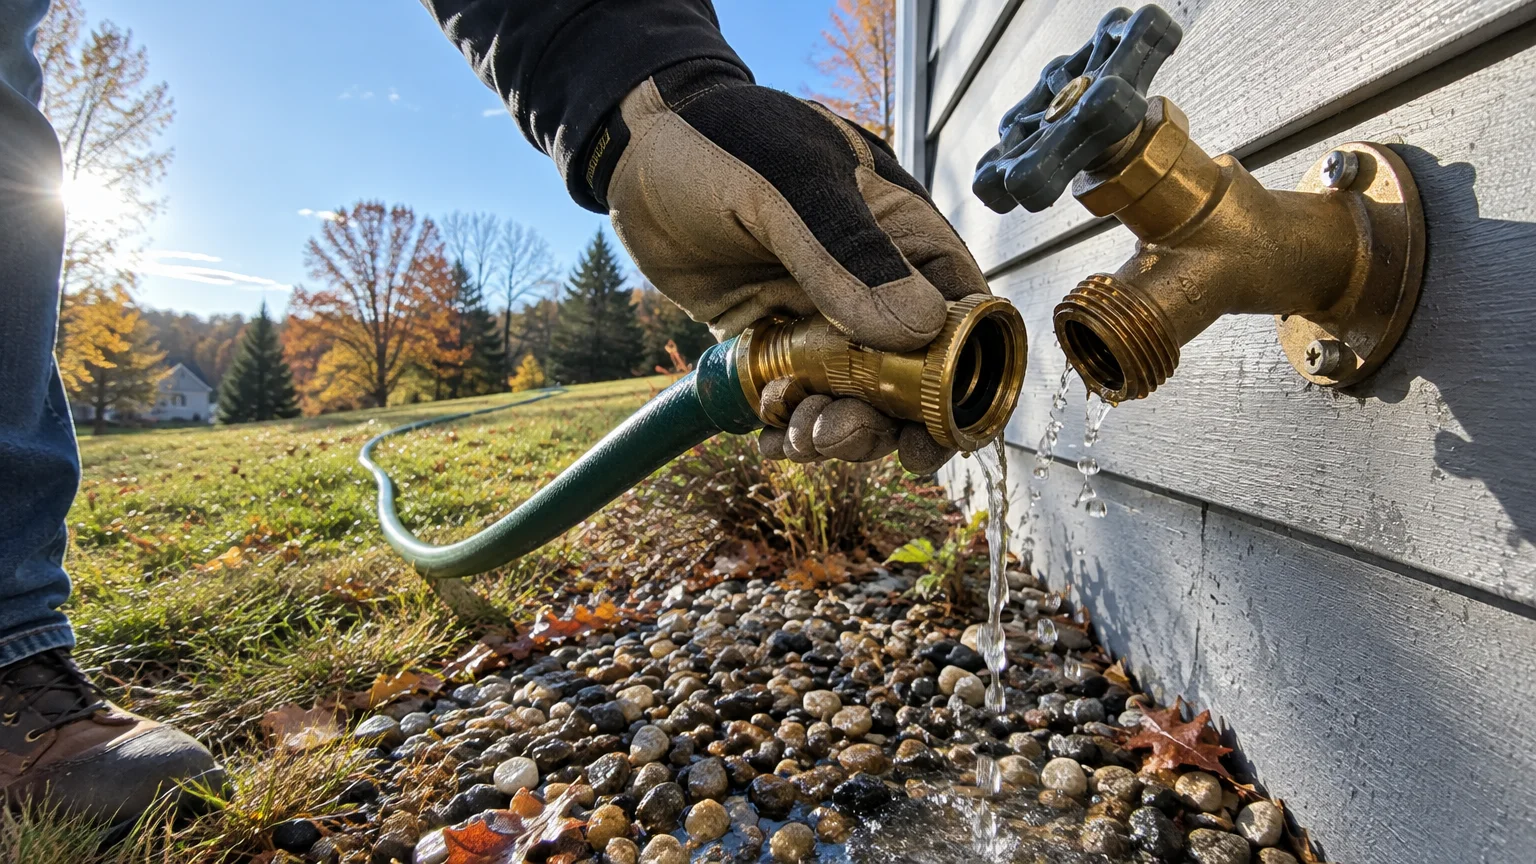
Never leave garden hoses attached to exterior faucets when night temperatures dip toward thirty-two degrees. A connected hose traps residual water inside the spigot body and indoor connection pipes.
When trapped water turns to ice, it expands with violent force inside the narrow copper pipe. This immense pressure frequently bursts plumbing several feet inside your heated home, causing widespread flooding.
The Insurance Information Institute confirms that water damage from frozen pipes is one of the most common and expensive homeowner insurance claims. Disconnecting your hoses takes only minutes and eliminates this severe hazard.
Stretch each hose across a gentle slope to drain lingering moisture thoroughly. Coil the dry hoses neatly onto reels or hang them inside your garage away from freezing winds.
02 Shut Off and Insulate Outdoor Spigots
After removing your hoses, take deliberate steps to winterize outdoor faucets before temperatures plunge. Even modern frost-proof sillcocks will rupture if internal valves hold stagnant water.
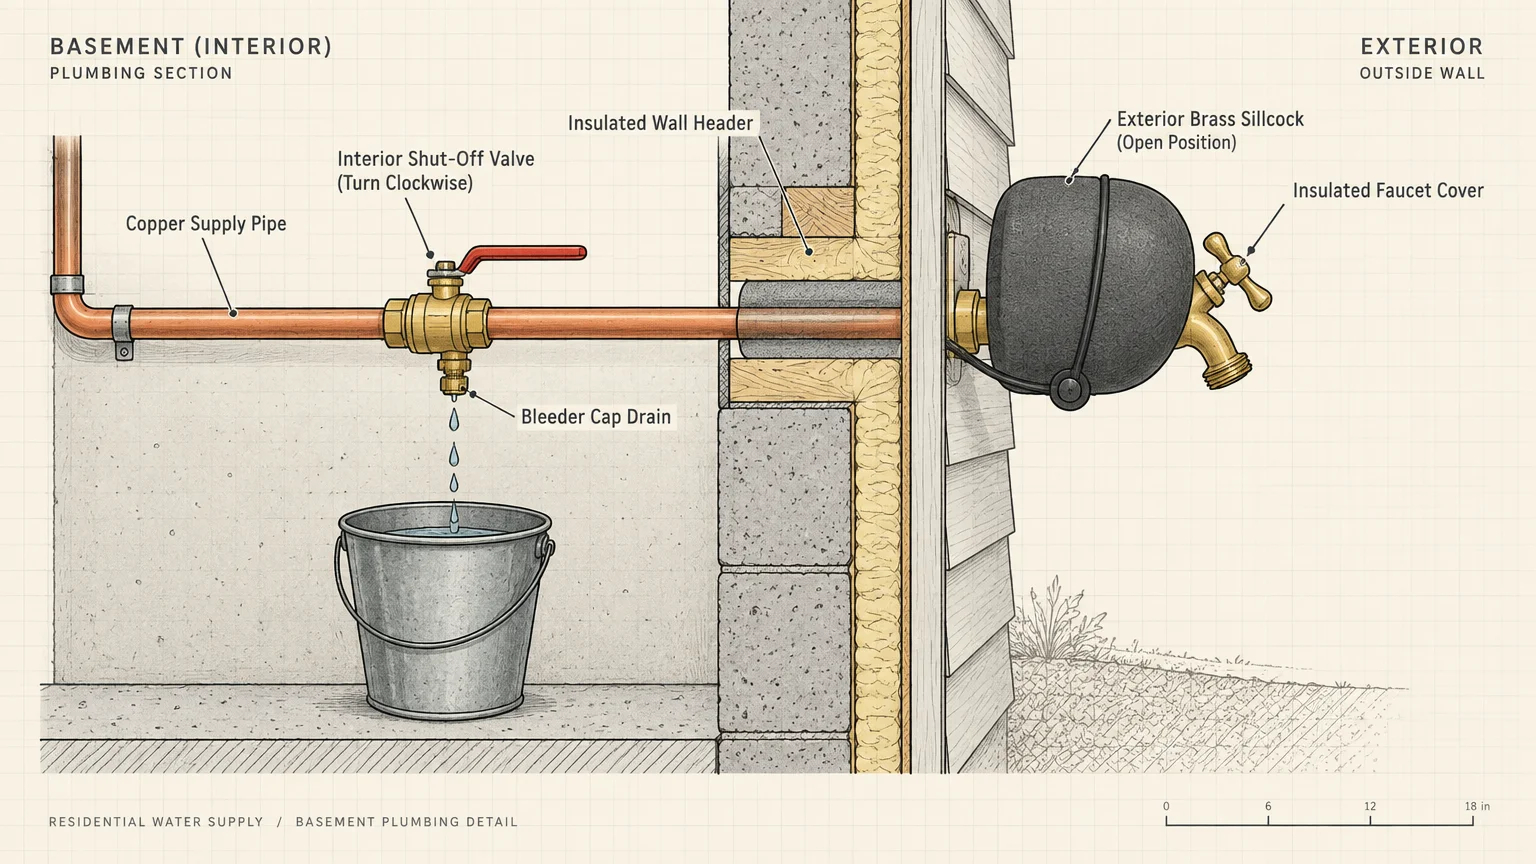
Locate the dedicated interior shut-off valves for your exterior spigots inside your basement, crawlspace, or laundry utility room. Turn the round valve handles clockwise until the water flow stops completely.
Step back outside and turn the outdoor spigots fully open to drain lingering droplets. If your indoor valve has a small bleeder drain cap, unscrew it over a cup to release trapped moisture.
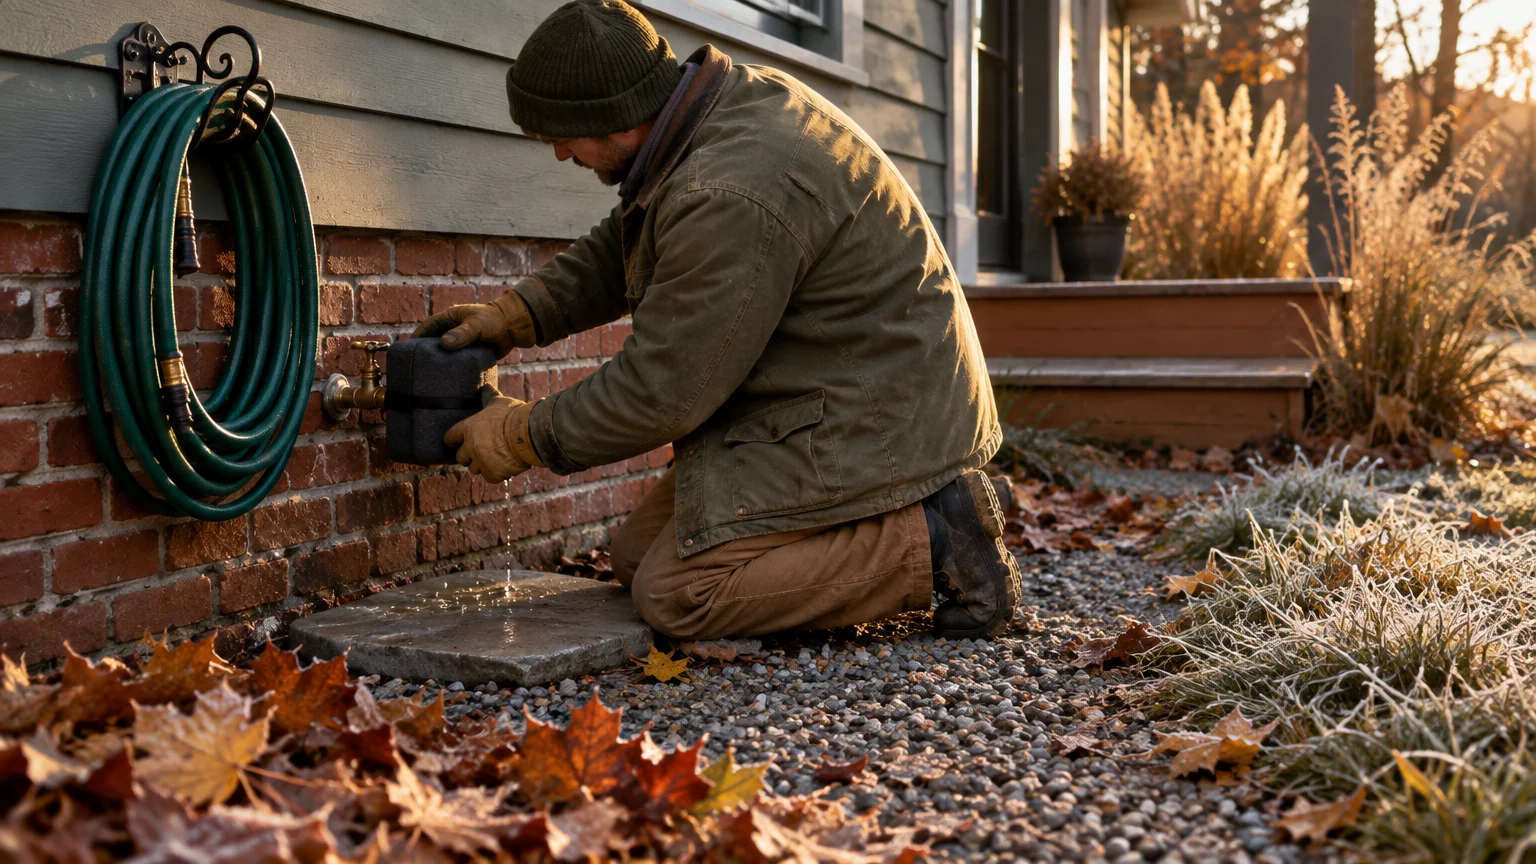
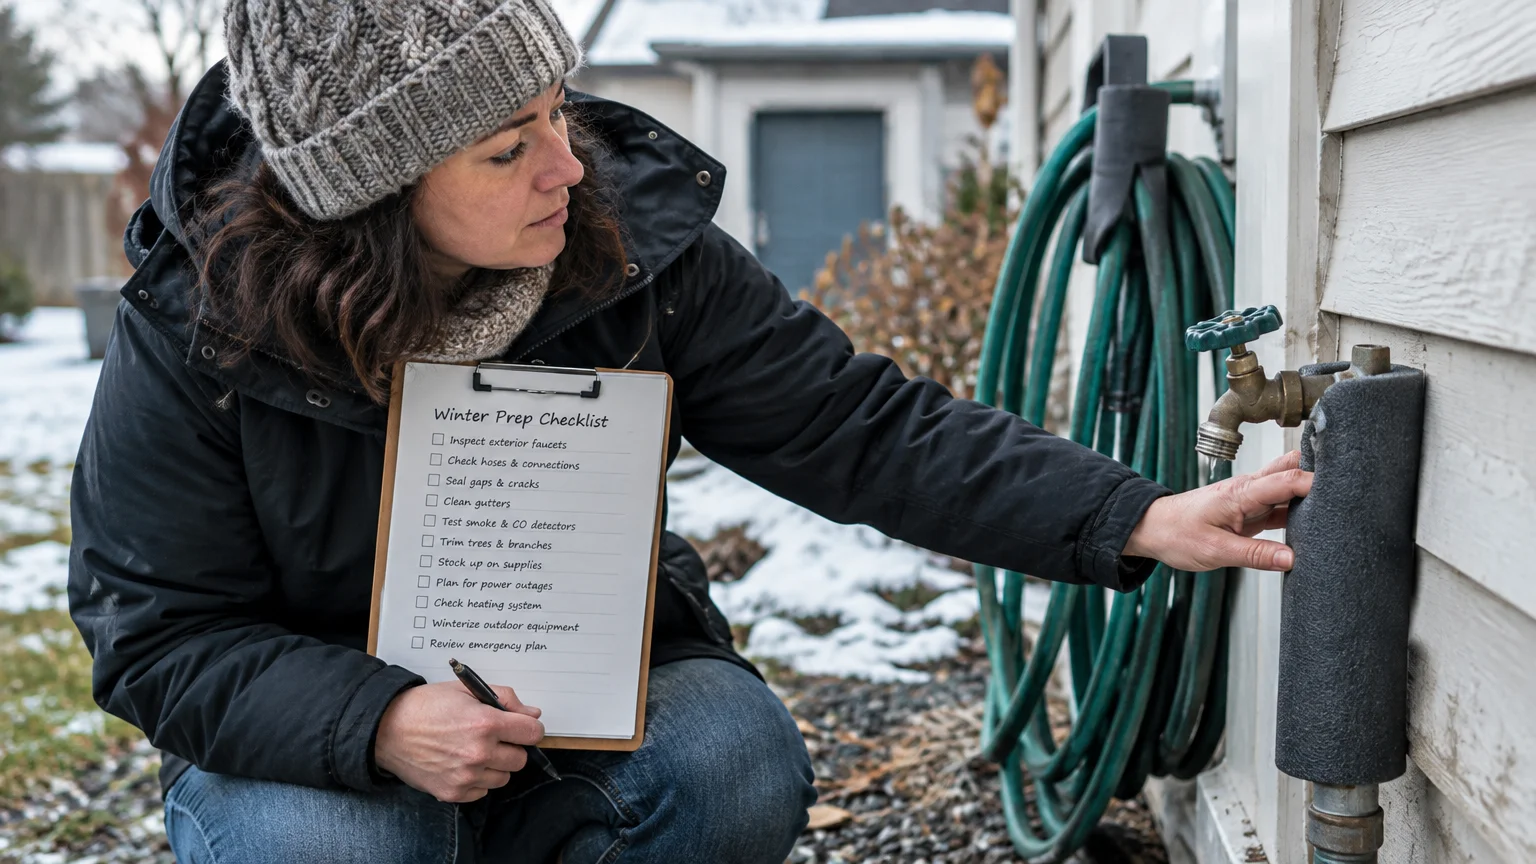
Secure dome-shaped insulated foam covers tightly over each exterior spigot. These inexpensive covers shield metal components from bitter wind chill and trap radiant heat escaping from your foundation.
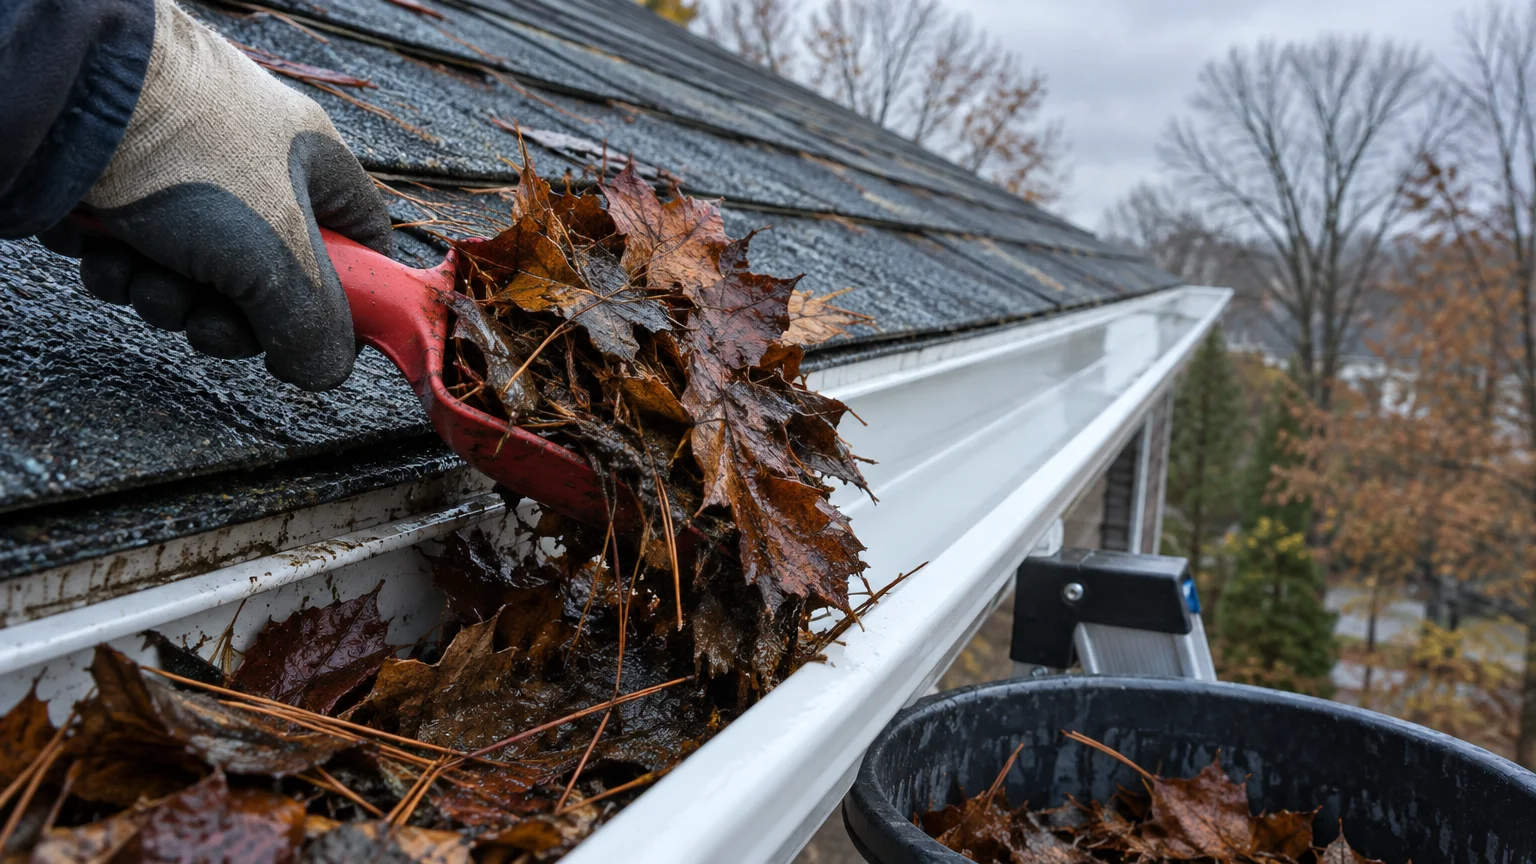
03 Clear and Flush Gutters and Downspouts
Autumn leaves, seed pods, and pine needles accumulate rapidly inside gutter troughs throughout October. When freezing weather arrives, this saturated debris turns into heavy, rock-hard blocks of ice.
Clogged gutters prevent melting snow from draining away from your roofline. As meltwater backs up under cold shingles, it freezes into thick ice dams that force water into your ceilings and walls.
Clear the debris by hand using a plastic gutter trowel and a collection bucket. If you feel unsteady on a ladder, hire an insured gutter cleaning specialist to complete this task safely.
Rinse the troughs with water to ensure downspout elbows flow freely. Attach rigid downspout extensions to direct cold discharge water at least five feet away from your foundation.
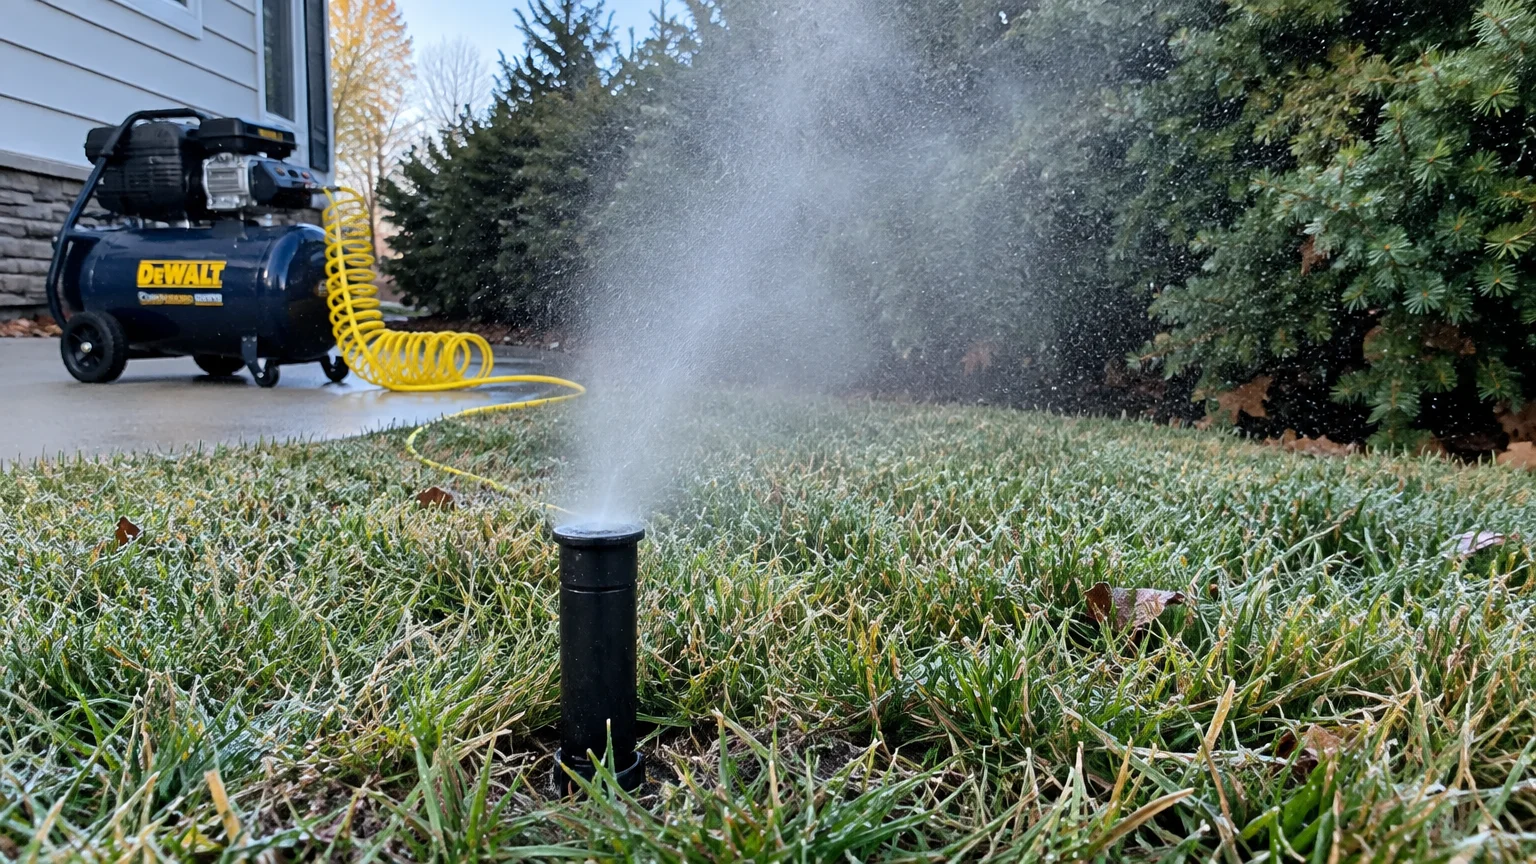
04 Evacuate In-Ground Irrigation Systems
In-ground sprinkler lines sit merely eight to twelve inches below the soil surface. Freezing frost lines penetrate this shallow depth easily, destroying delicate zone valves and underground PVC pipes.
Replacing cracked underground pipes in the spring involves messy excavation and high repair bills. Evacuating water from your irrigation lines before freezing temperatures settle prevents underground pipe splits.
Locate the main sprinkler shut-off valve inside your basement or utility room and turn it off. Switch your digital irrigation control timer to standby or rain mode.
Schedule an irrigation contractor to blow out the system using a commercial high-volume air compressor. High volume at low pressure pushes water out smoothly without shattering delicate plastic sprinkler heads.
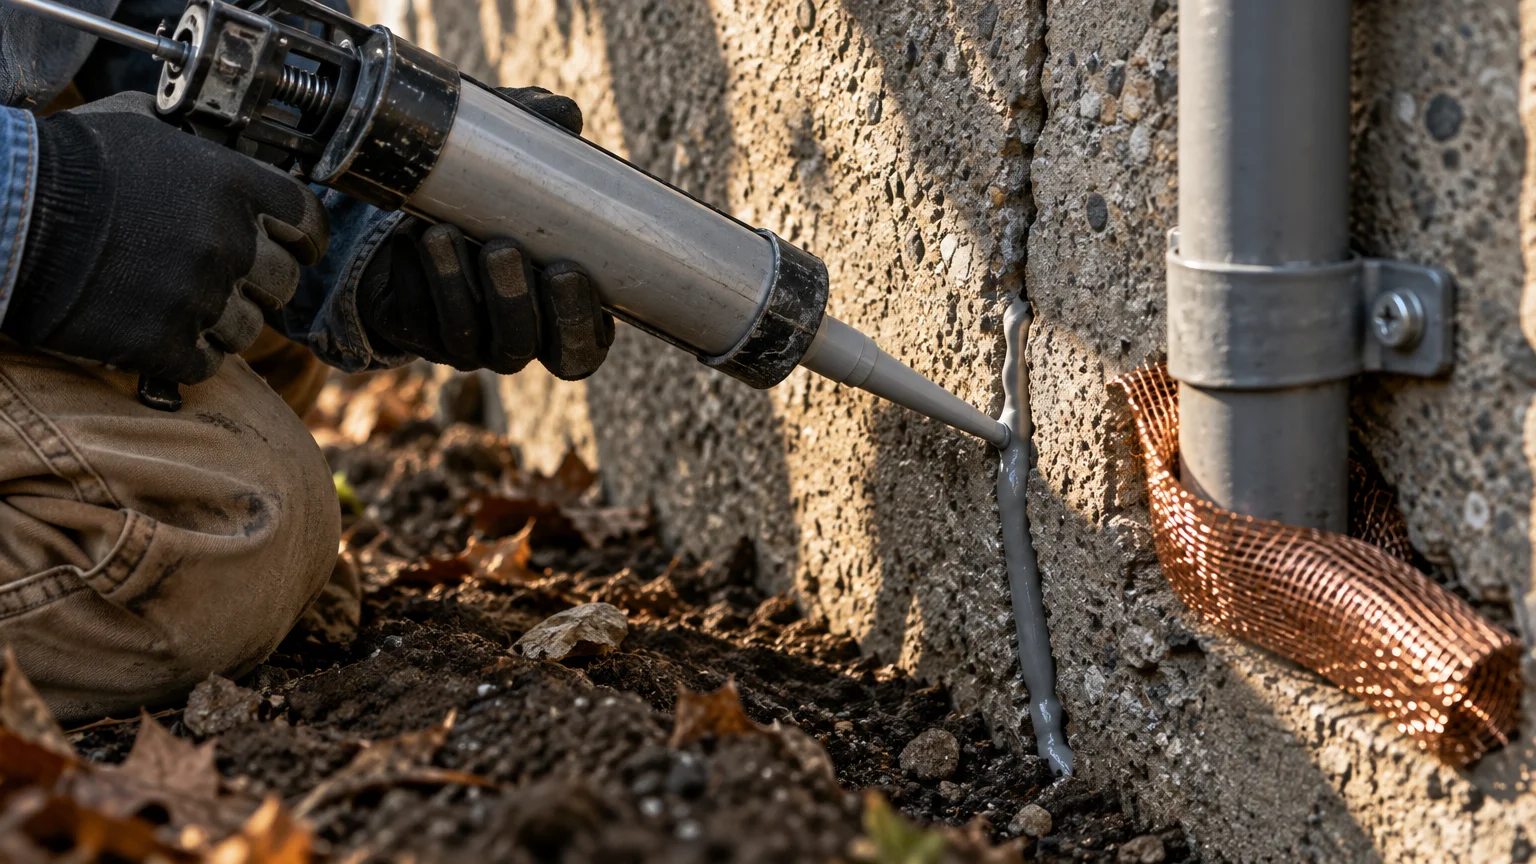
05 Seal Foundation Cracks and Exterior Gaps
Inspect your exterior foundation walls on a clear day to winterize home exterior surfaces thoroughly. Focus on concrete seams, crawlspace vents, and holes drilled for utility cables or gas lines.
Water naturally enters hairline cracks in concrete, freezes, and forces the fissure wider each winter. Openings also serve as warm entryways for mice, spiders, and rats escaping the autumn cold.
Seal cracks narrower than a pencil width with flexible polyurethane masonry caulk. This heavy-duty elastomeric formula stretches and compresses as the foundation shifts slightly throughout extreme seasonal temperature changes.
Stuff stainless steel mesh into gaps surrounding exterior pipes before applying pest-blocking expanding foam. Rodents cannot gnaw through steel fibers, ensuring your crawlspace remains clean and secure.
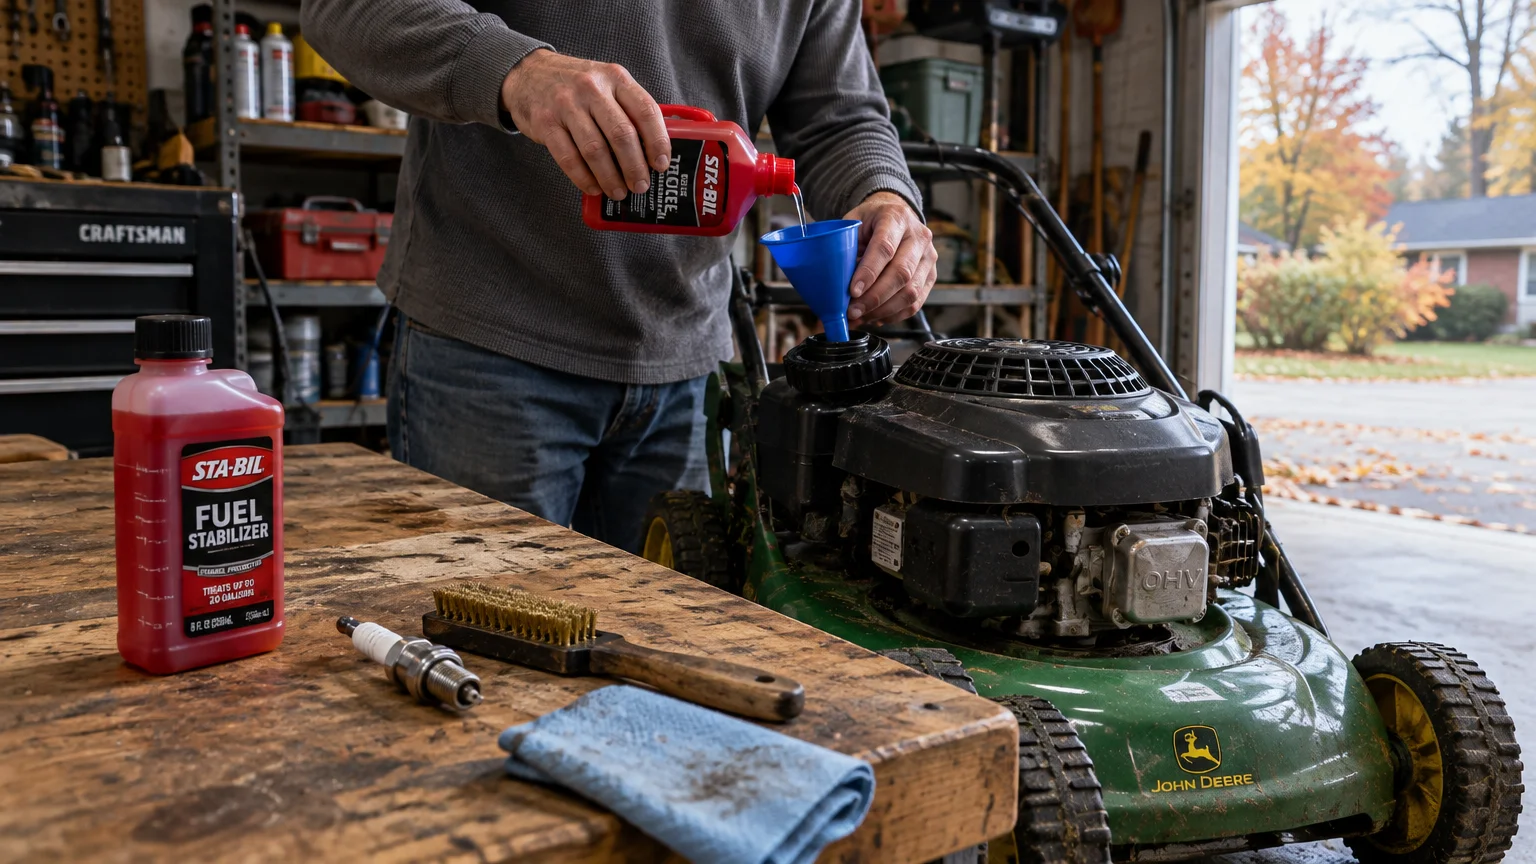
06 Service and Store Gas-Powered Lawn Tools
Leaving modern ethanol-blended gasoline in small engines over the winter leads to carburetor failure. Ethanol naturally draws moisture from humid air, separating over time into corrosive acid layers that gum up carburetors.
Pour a measured fuel stabilizer into your gas can before filling your lawn mower tank for its final cut. Let the motor run for several minutes so the stabilized fuel circulates through the entire fuel system.
Alternatively, empty the gas tank completely by running the engine until it stops. The U.S. Environmental Protection Agency emphasizes that proper small-engine maintenance prevents evaporative fuel emissions and protects groundwater from gasoline leaks.
Scrape dry grass and soil deposits from under the mower deck with a stiff plastic scraper. Apply a light mist of penetrating lubricant on steel cutting edges to halt corrosion during damp winter months.
07 Trim Overhanging Tree Limbs and Weak Branches
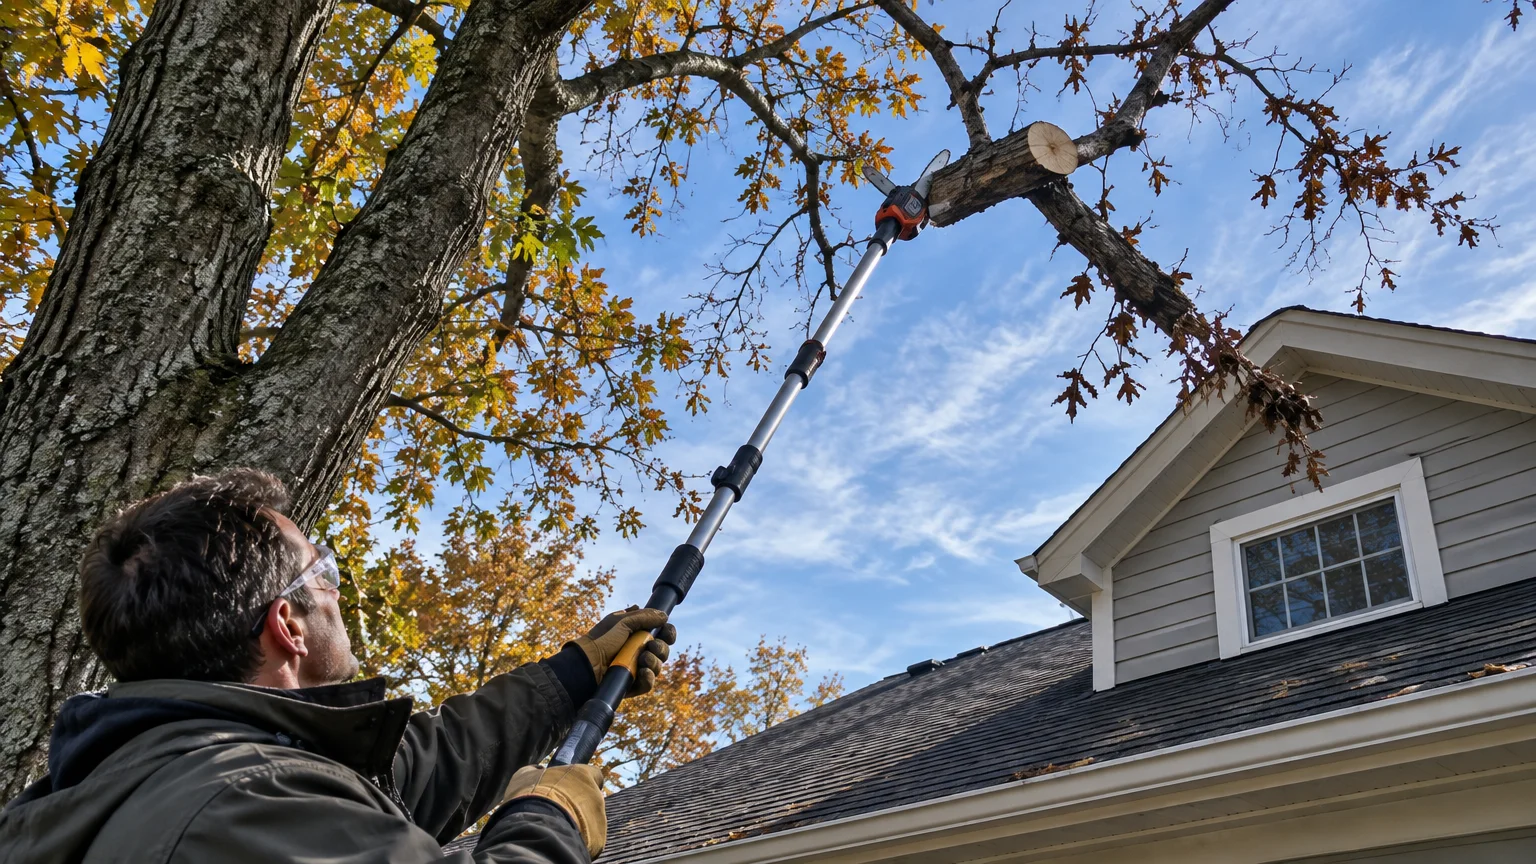
Wet winter snow and glaze ice add tremendous weight to tree branches. Dead, diseased, or overextended limbs often snap under this load, falling directly onto roofs, gutters, and power lines.
A fallen tree branch can puncture asphalt shingles or rip down gutters during an icy night. Taking proactive steps now eliminates unexpected storm emergencies and prevents costly roof repairs.
Cut back low-hanging branches that hover within six feet of your roof or exterior siding. Use sharp bypass loppers or a secure telescoping pole saw while remaining firmly balanced on the ground.
Never attempt to prune limbs that weave near utility electrical wires. Call your local electric utility or hire a licensed arborist to manage high, hazardous limbs safely.
08 Clean and Protect Patio Furniture
Frigid temperatures, wet snow, and ice can quickly ruin expensive outdoor patio furniture. Water trapped inside tubular aluminum or steel chair legs freezes, expands, and splits metal seams open.
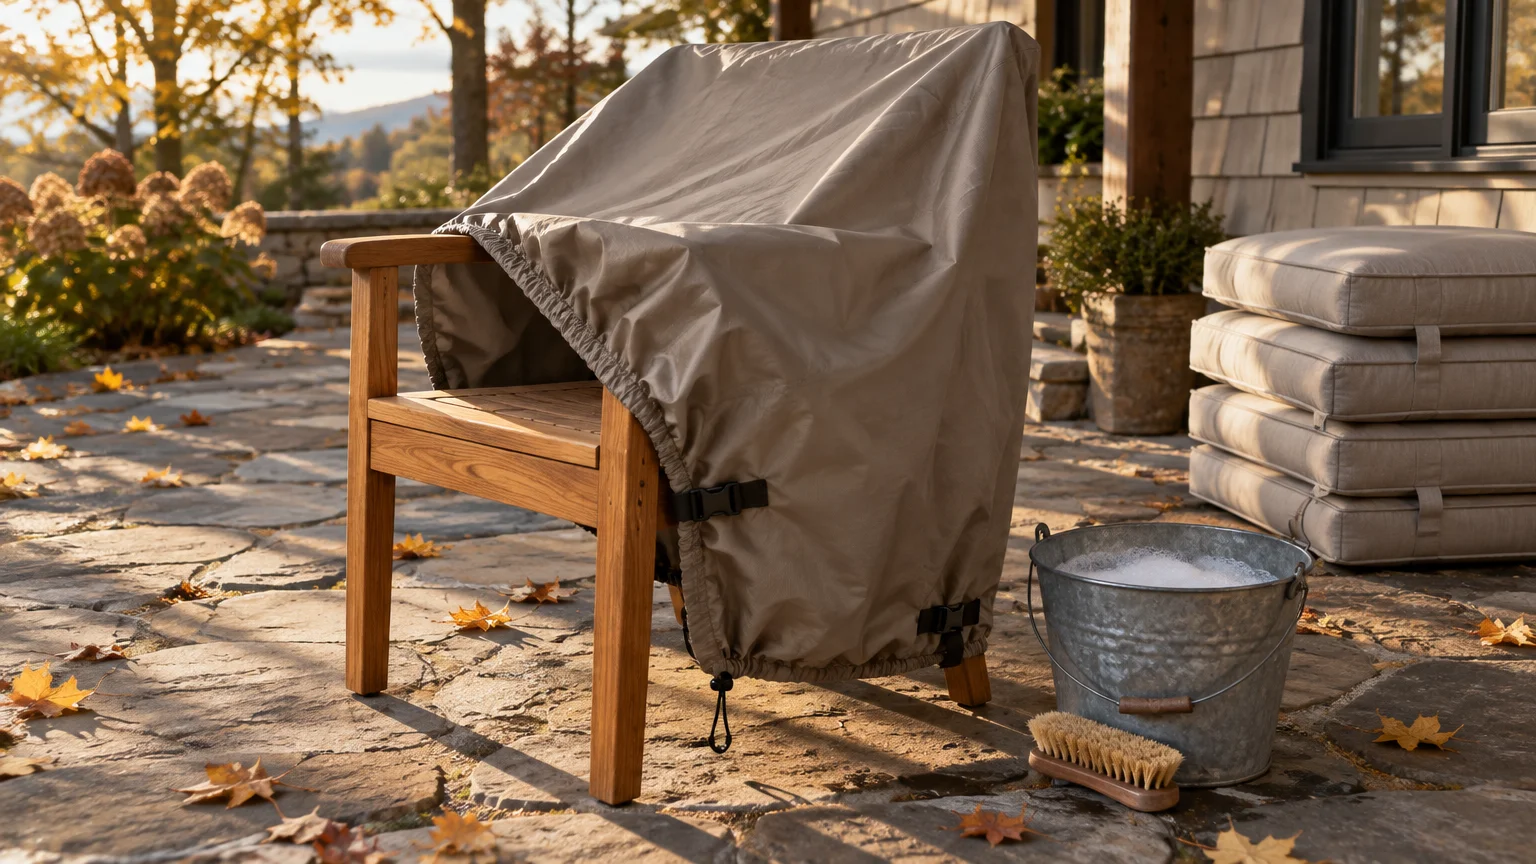
Scrub your patio chairs, tables, and frames with warm water and mild dishwashing soap. Rinse them clean with a bucket of fresh water and allow everything to dry completely in the sun.
Wash outdoor fabric cushions, spot-treat grease marks, and confirm they are bone dry before storage. Storing damp cushions inside enclosed spaces invites mildew, which permanently stains fabric fibers and ruins foam cushioning.
Pack cushions into sealed storage bags and bring them into your basement or spare closet. Cover your stacked outdoor furniture tightly with breathable, heavy-duty waterproof furniture covers tied securely against winter winds.
09 Weatherstrip Doors and Seal Window Frames
Cold drafts leaking around windows and doors make your living spaces uncomfortable and overwork your furnace. Sealing these air leaks is an essential step to prepare house for winter warmth and comfort.
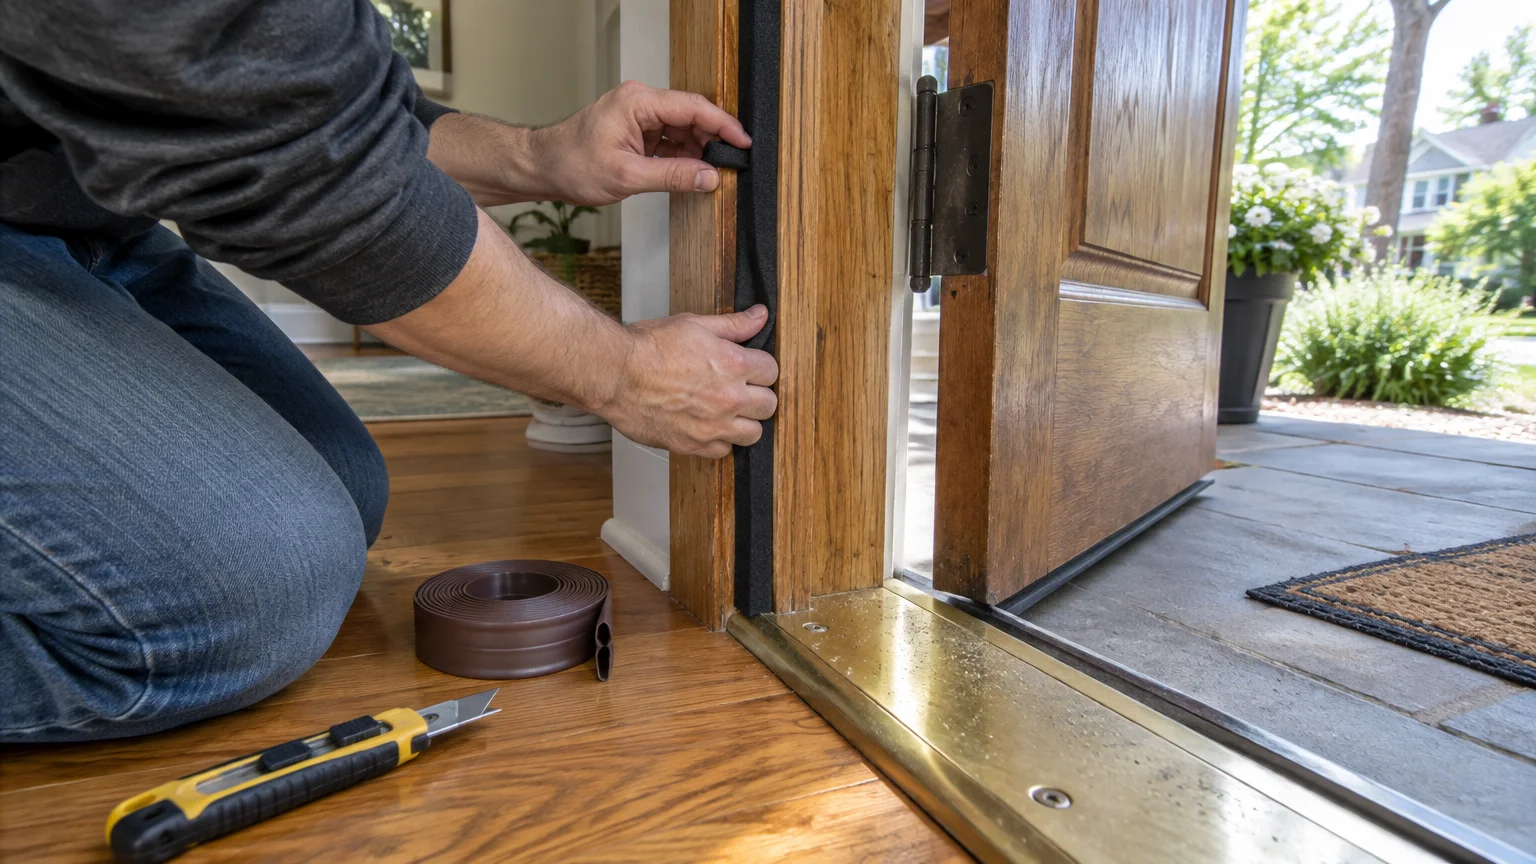
Inspect the exterior caulking around all window and door casings for cracks or shrinkage. Remove peeling caulk with an oscillating tool or painter knife before laying down a fresh bead of exterior silicone sealant.
Examine the flexible compression weatherstripping inside exterior door jambs. If you feel cold air slipping past the door or see daylight, install a fresh sweep along the bottom threshold immediately.
The U.S. Department of Energy highlights that thorough air sealing and weatherstripping lowers heating bills while improving overall indoor air quality.
10 Inspect Chimney Caps and Heating Exhaust Vents
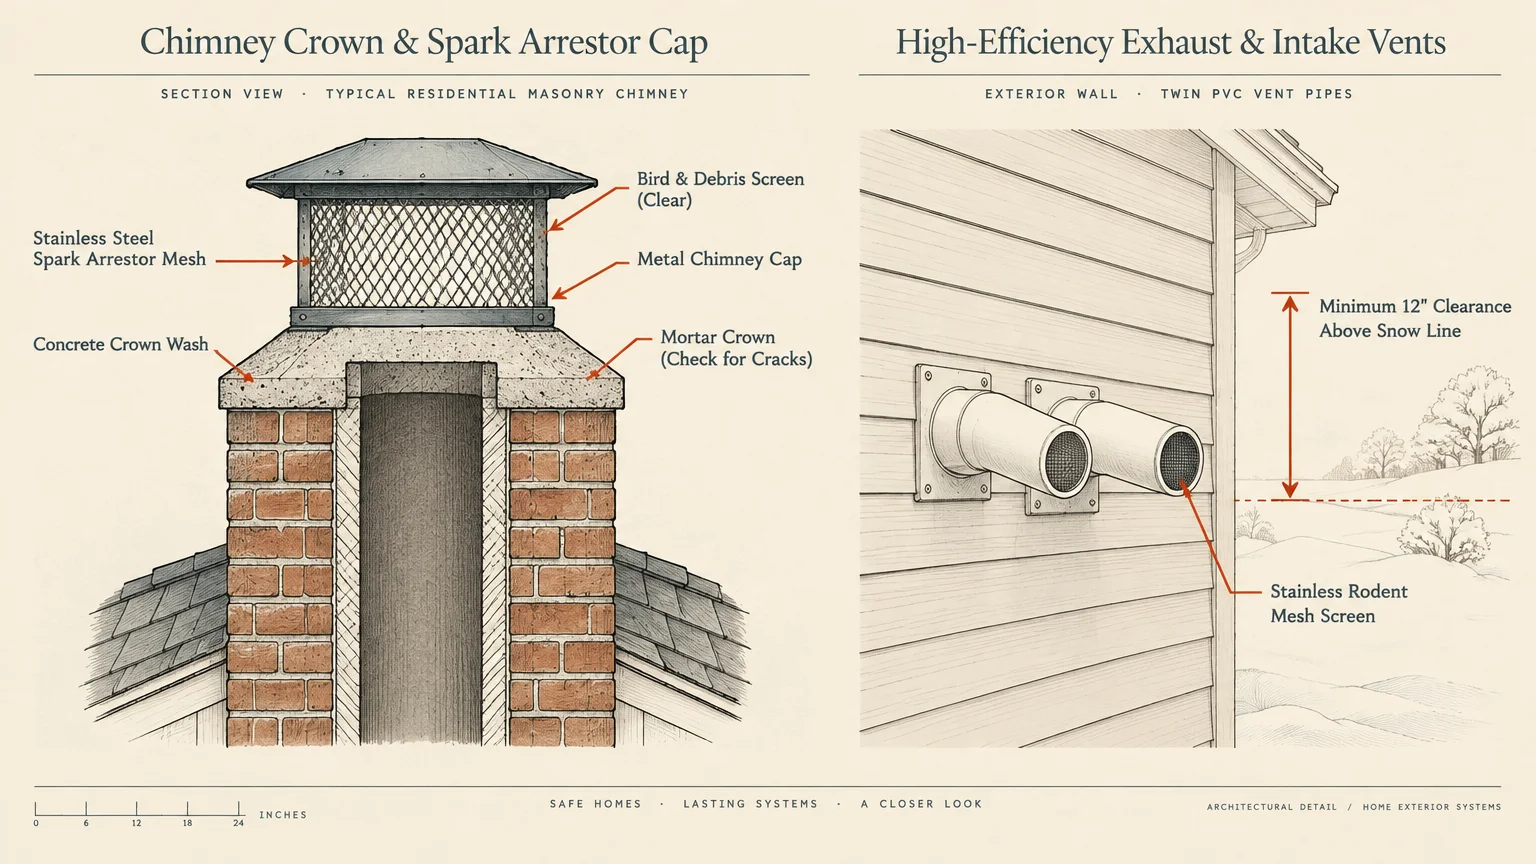
Your heating equipment needs a clean, unobstructed passage to vent combustion gases safely outdoors. During spring and summer, birds and squirrels often nest inside exposed chimney flues and sidewall furnace pipes.
Inspect the top of your masonry chimney from your yard using binoculars. Verify that your metal spark arrestor cap sits firmly in place to keep wildlife and driving rain out.
Blocked exhaust flues cause lethal carbon monoxide gas to back up into living areas when your furnace runs. The Centers for Disease Control and Prevention warns that carbon monoxide poisoning causes thousands of emergency visits each winter.
Schedule an inspection with a certified chimney professional if you burn firewood regularly. Professional sweeps clear out flammable creosote buildup, preventing dangerous chimney fires during the holiday season.
11 Ready Walkways and Stock Safe De-Icing Supplies
Do not wait for the first winter storm forecast to unearth your cold-weather tools. Inspect your snow shovels now for cracked plastic blades, loose bolts, or splintered wooden handles.
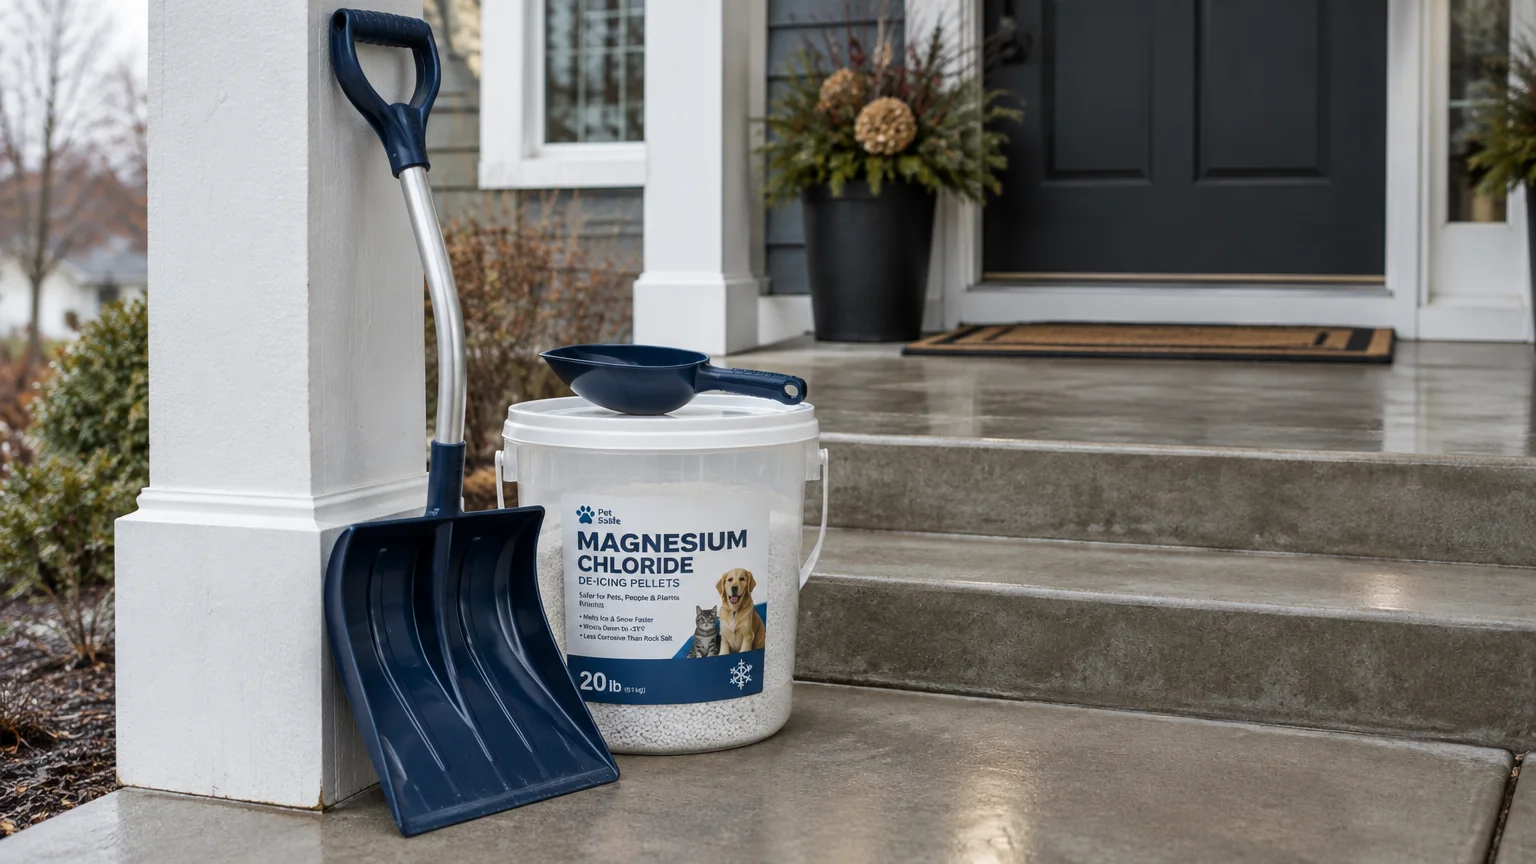
Buy pet-safe de-icer before local hardware stores experience shortages during the first freezing rain event. Look for formulas containing calcium magnesium acetate, which melts ice rapidly without pitting concrete walkways or burning pet paws.
Store your de-icing blend in an airtight bucket right inside your garage door or front entryway. Having your scoop ready allows you to treat slippery front steps quickly before heading out in the morning.
Test your outdoor porch and pathway light fixtures to confirm that all bulbs illuminate properly. Bright, energy-efficient LED bulbs ensure high visibility and prevent dangerous slips across slick walkways during dark winter evenings.
A Gentle Two-Weekend Winterization Routine
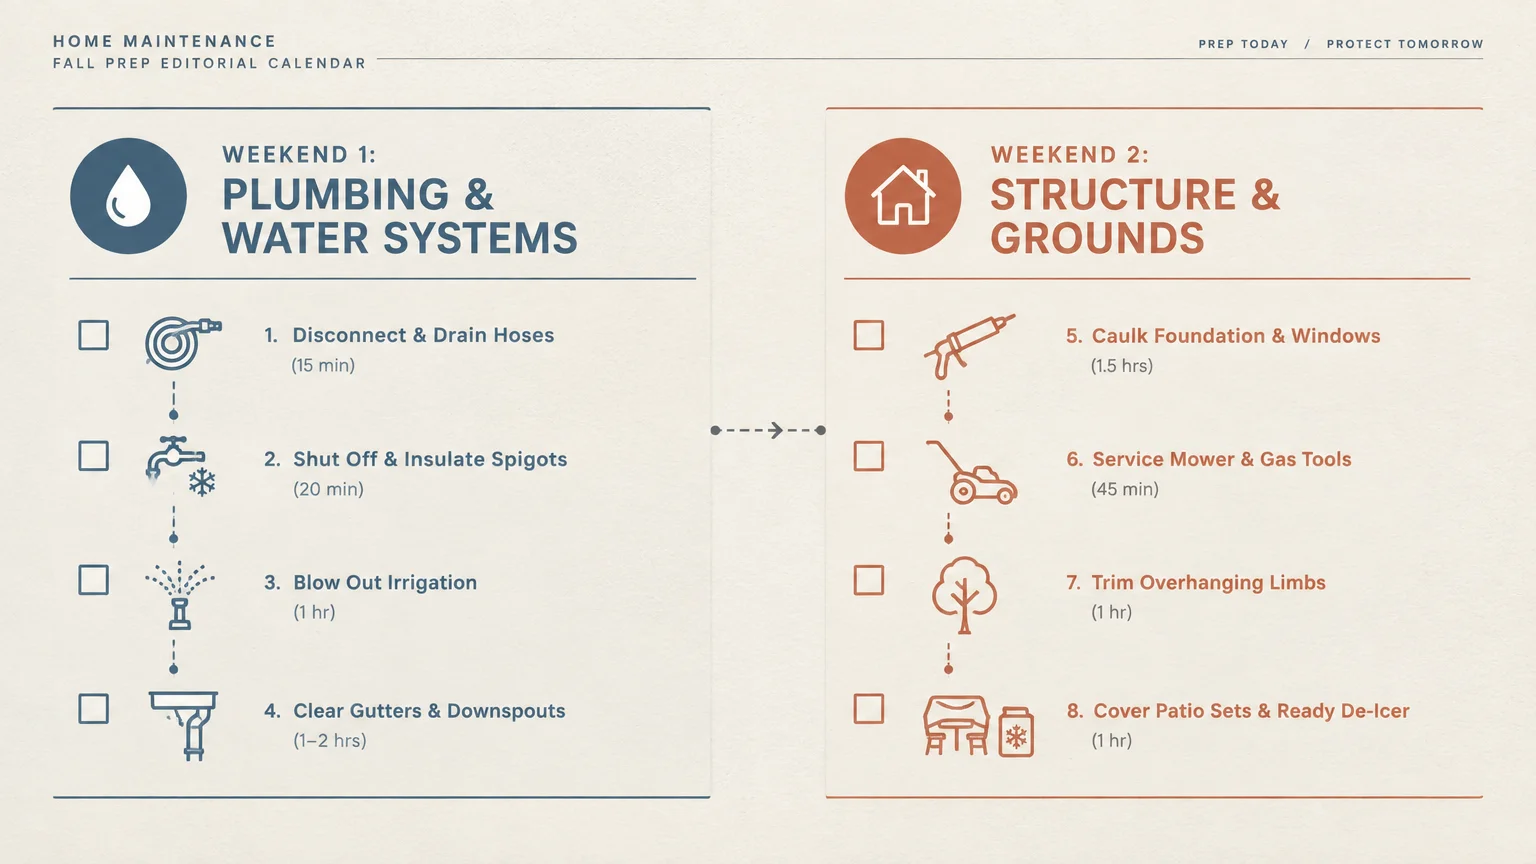
Dividing your fall exterior maintenance into two manageable weekend sessions protects your body and prevents fatigue. Follow this balanced plan to work steadily without physical strain.
-
Weekend One: Water Lines and Structural Sealing
Focus on plumbing and thermal envelopes while outdoor temperatures remain moderate. Disconnect hoses, drain spigots, seal foundation cracks, and refresh door weatherstripping.
-
Weekend Two: Grounds, Equipment, and Walkways
Devote your second weekend to clearing gutters, servicing lawn equipment, covering furniture, and staging de-icer. This logical pacing ensures complete protection before cold weather arrives.
Essential Safety Checklist for Cold-Weather Maintenance
Cold weather creates hidden exterior hazards, from slick ladder rungs to brittle tools. Keeping a few basic safety habits in mind protects your physical well-being.
-
Dress in breathable layers:
Wear moisture-wicking garments under an insulated windbreaker. Staying dry prevents sudden chills while you work in cold autumn breezes. -
Ensure ladder stability:
Place ladder feet on level, solid concrete rather than soft turf. Never overreach beyond side rails to grab distant gutter debris. -
Shield your hands:
Wear puncture-resistant, waterproof work gloves. Padded gloves preserve finger dexterity, cushion joint strain, and keep hands comfortably warm. -
Call licensed specialists:
Hire insured contractors for steep roofs, high tree canopies, and irrigation blowouts. Bringing in experts prevents serious falls and equipment damage.
Your Next Practical Step
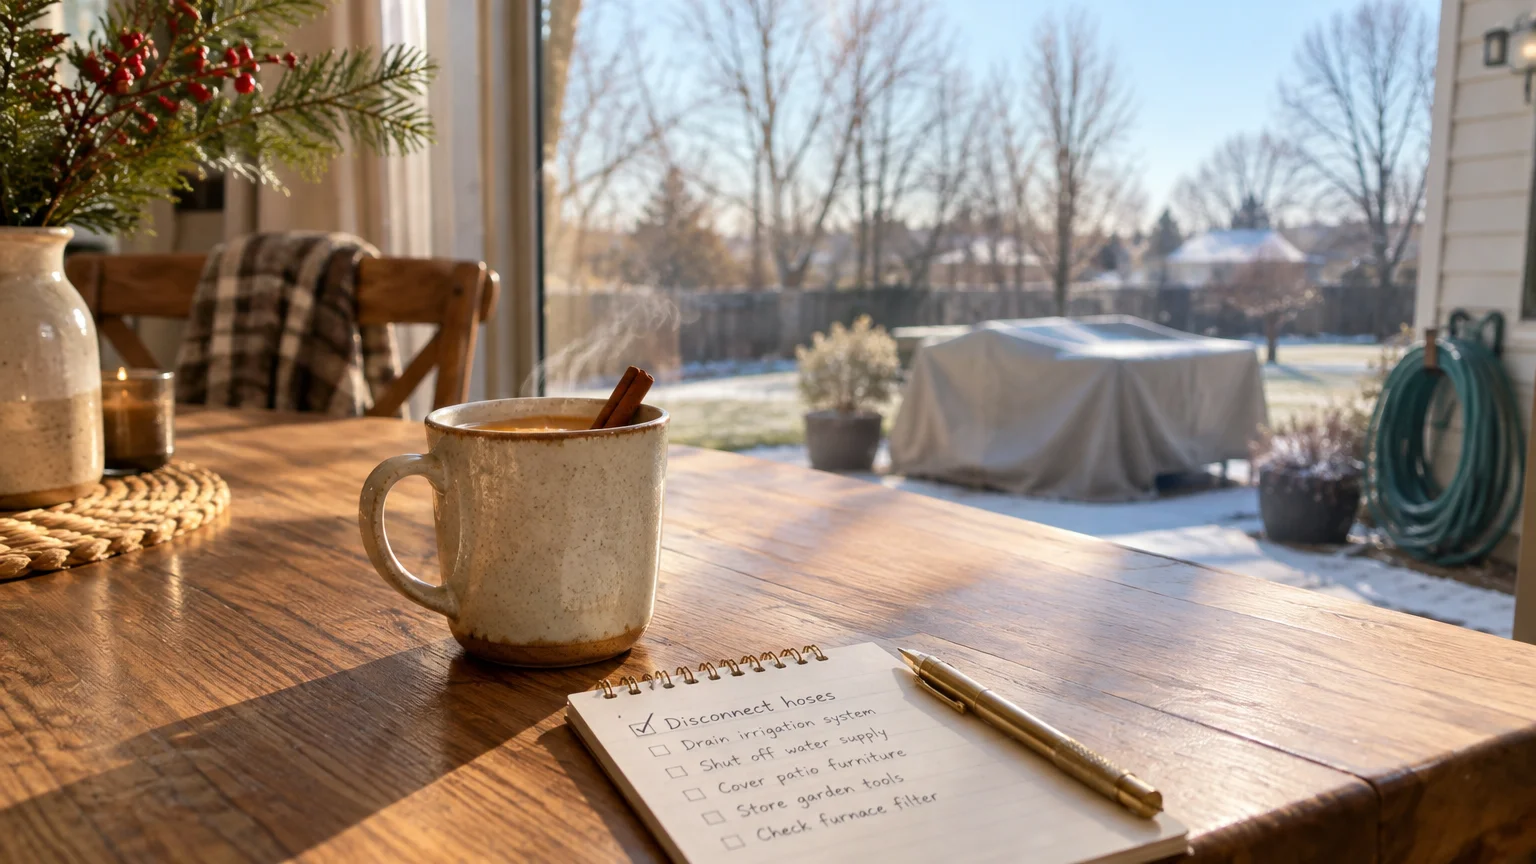
Pick one high-priority chore from this list to complete before sundown today. Walking outside to disconnect and store your garden hoses takes under ten minutes and immediately eliminates a catastrophic burst pipe hazard.
Once you secure your outdoor plumbing, prepare your tools for next weekend’s projects. Steady, proactive maintenance now keeps your home warm, dry, and damage-free throughout the entire winter.