Professional cleaners maintain immaculate spaces not by working harder, but by targeting hidden problem spots before grime accumulates. Adopting a few targeted habits transforms your house cleaning routine from an exhausting marathon into effortless maintenance.
Most homeowners focus solely on open floors and visible countertops, unintentionally overlooking breeding grounds for bacteria and dust. Adding ten quick weekly cleaning tasks keeps your living areas pristine and prevents grueling seasonal deep cleans.
When you address these overlooked zones every seven days, you protect your home surfaces and preserve healthy indoor air. You will also enjoy a calmer living space with minimal daily effort.
The Pro Philosophy: Prevention Over Deep Scrubbing
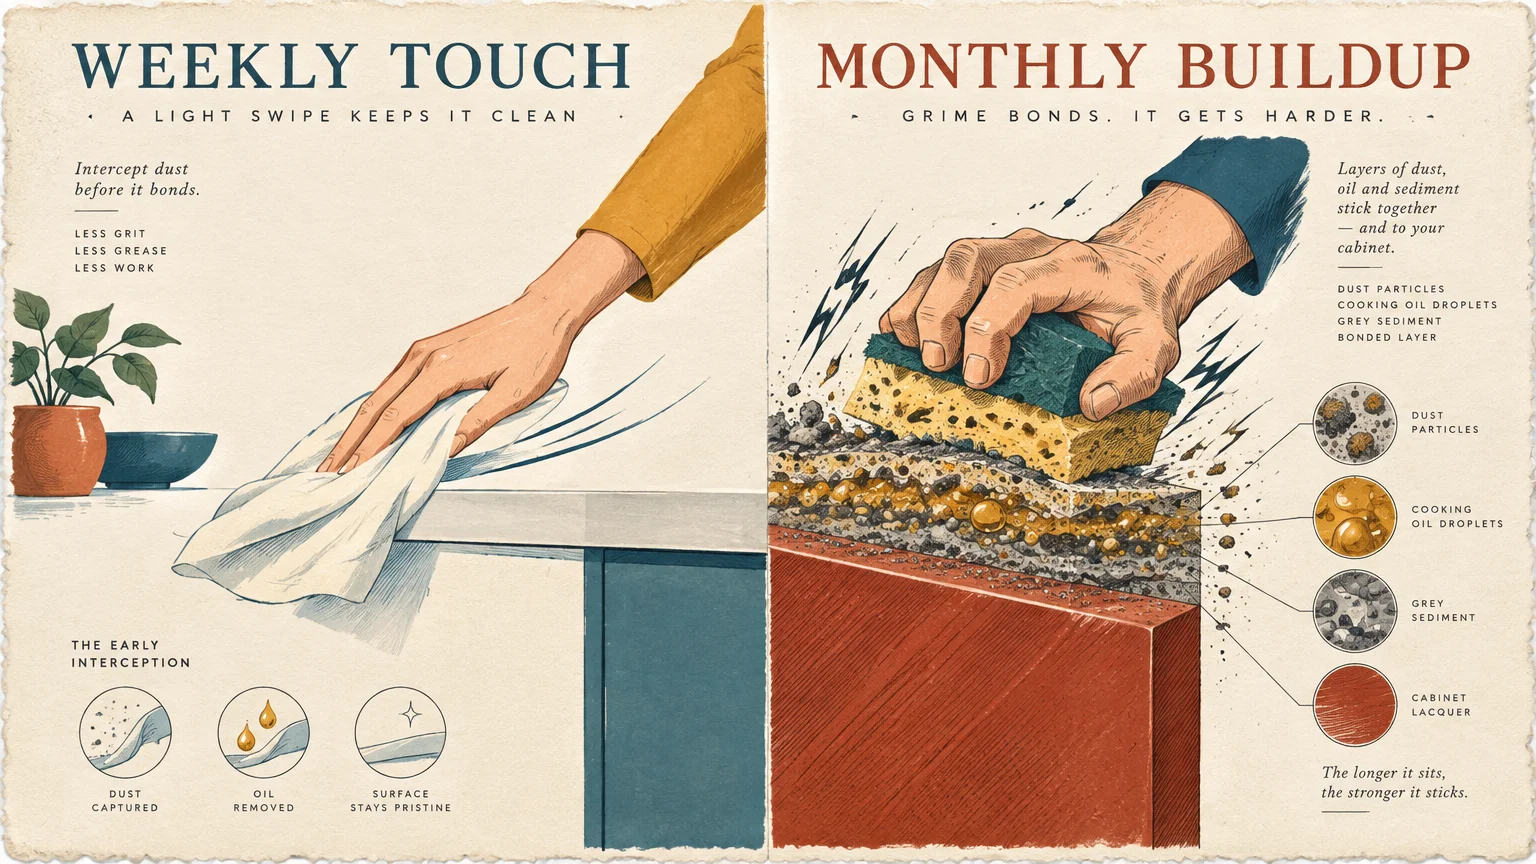
Professional cleaners approach residential hygiene systematically. They understand that soil accumulates in layers over time.
When dust combines with airborne cooking oils and ambient humidity, it binds firmly to household surfaces. Once that bond forms, simple dusting no longer works; you must scrub with harsh chemicals.
Addressing minor touchpoints weekly stops this bonding process completely. A quick wipe down requires seconds, whereas removing baked-on grime takes hours of physical labor.
This preventive strategy also preserves your home finishes. Scrubbing aggressive buildup damages paint, strips cabinet coatings, and degrades rubber seals prematurely.
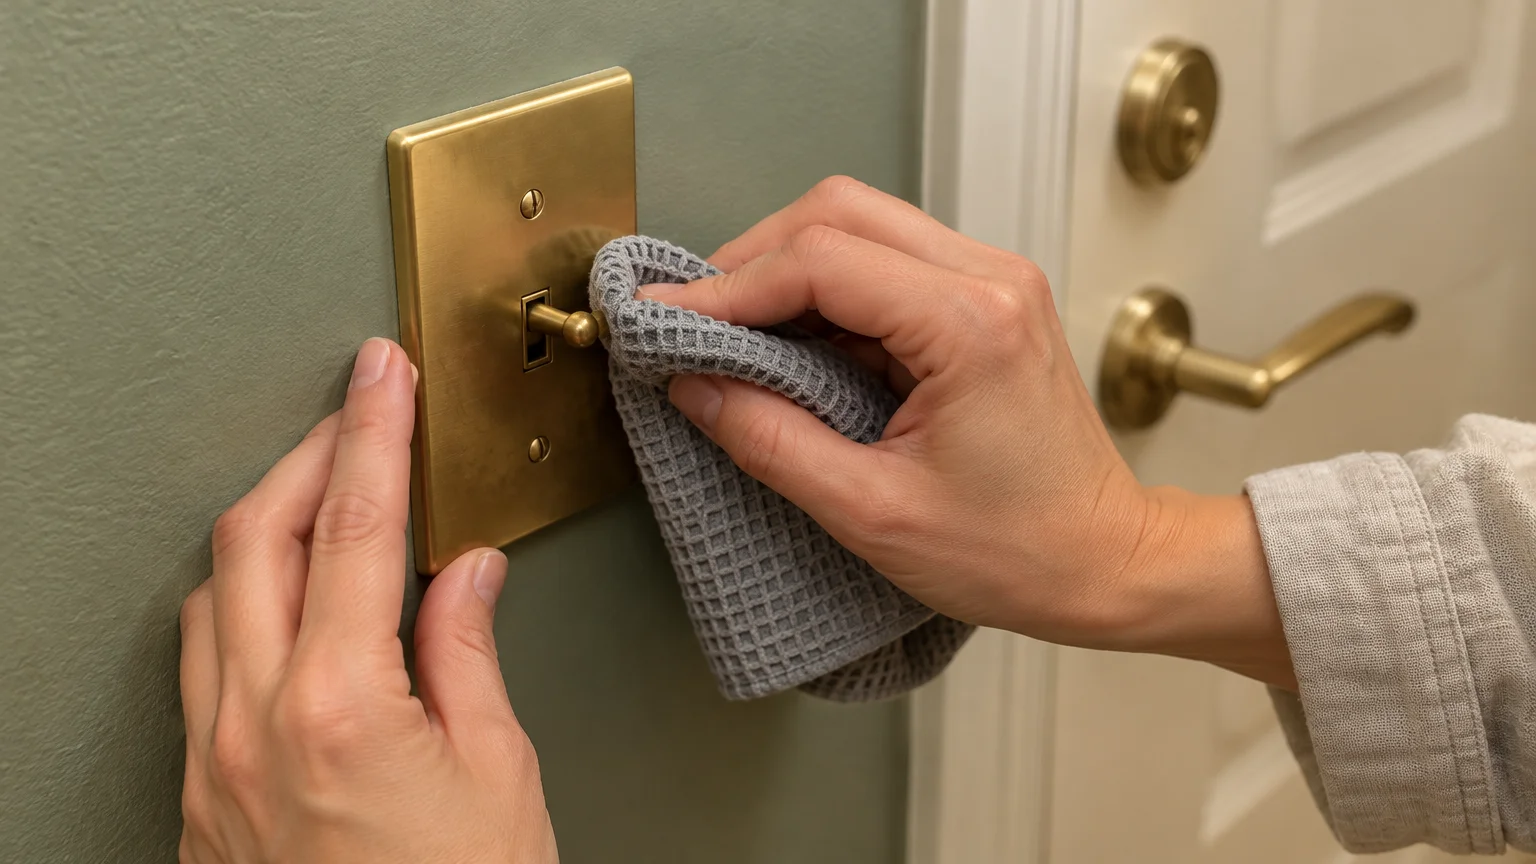
01 Disinfecting High-Touch Light Switches and Door Hardware
Your hands deposit natural oils, food residue, and environmental microbes onto doorknobs and toggle switches all day. Because these fixtures blend into the background, most homeowners bypass them during routine maintenance.
According to official CDC cleaning and sanitizing guidance, disinfecting frequent contact points dramatically interrupts pathogen transmission inside residential homes.
Never spray liquid cleaners directly onto an electrical switch plate. Liquid can seep behind the plate, creating serious electrical fire hazards and short circuits.
Instead, spray a mild disinfectant or 70% isopropyl alcohol onto a microfiber cloth until lightly damp. Wipe the toggle, the surrounding switch plate, the door lever, and the deadbolt smoothly.
Use a clean section of the cloth for each room to avoid transferring dirt between living spaces. This entire task takes less than three minutes for an entire house.
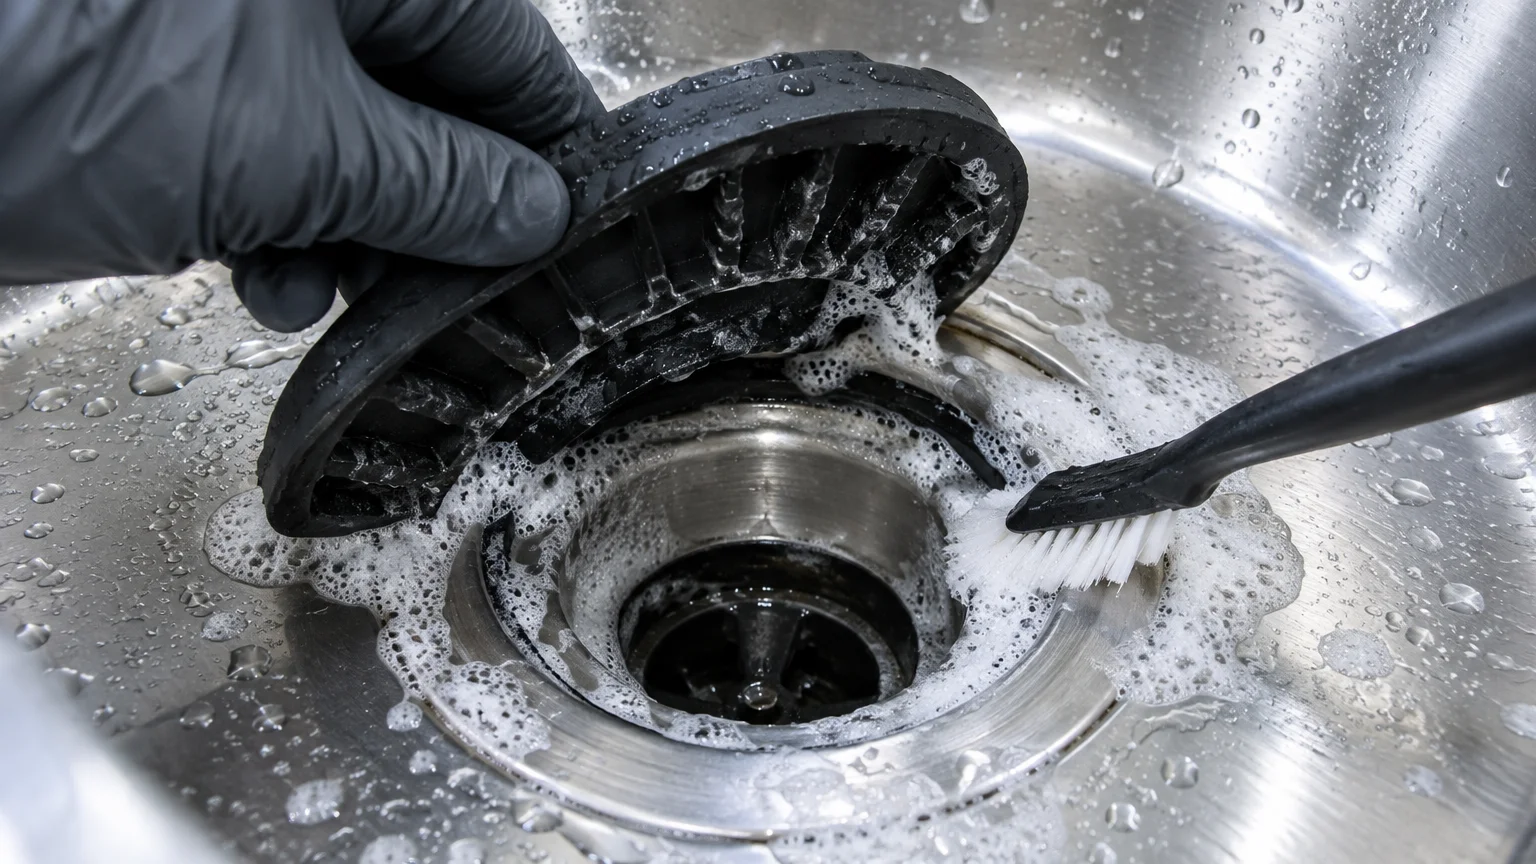
02 Sanitizing Kitchen Sink Drains and Disposal Flanges
Wiping your sink basin with dish soap leaves the stainless steel shiny, but it misses the primary contamination zone. Pathogens thrive inside the dark collar of the drain and the disposal flange.
In extensive research conducted by NSF International household germ studies, kitchen sink drains consistently harbored higher concentrations of harmful coliform bacteria than bathroom fixtures.
Lift the black rubber splash guard on your garbage disposal to reveal the hidden underside. You will often find a dense layer of decomposing food grease and slimy biofilm clinging there.
Scrub the underside of the rubber baffle using an old dish brush dipped in warm, soapy water. Follow up by scrubbing the interior neck of the drain pipe.
Finish by flushing the disposal with a cup of baking soda, followed by hot running tap water. This removes foul odors before they permeate your kitchen air.
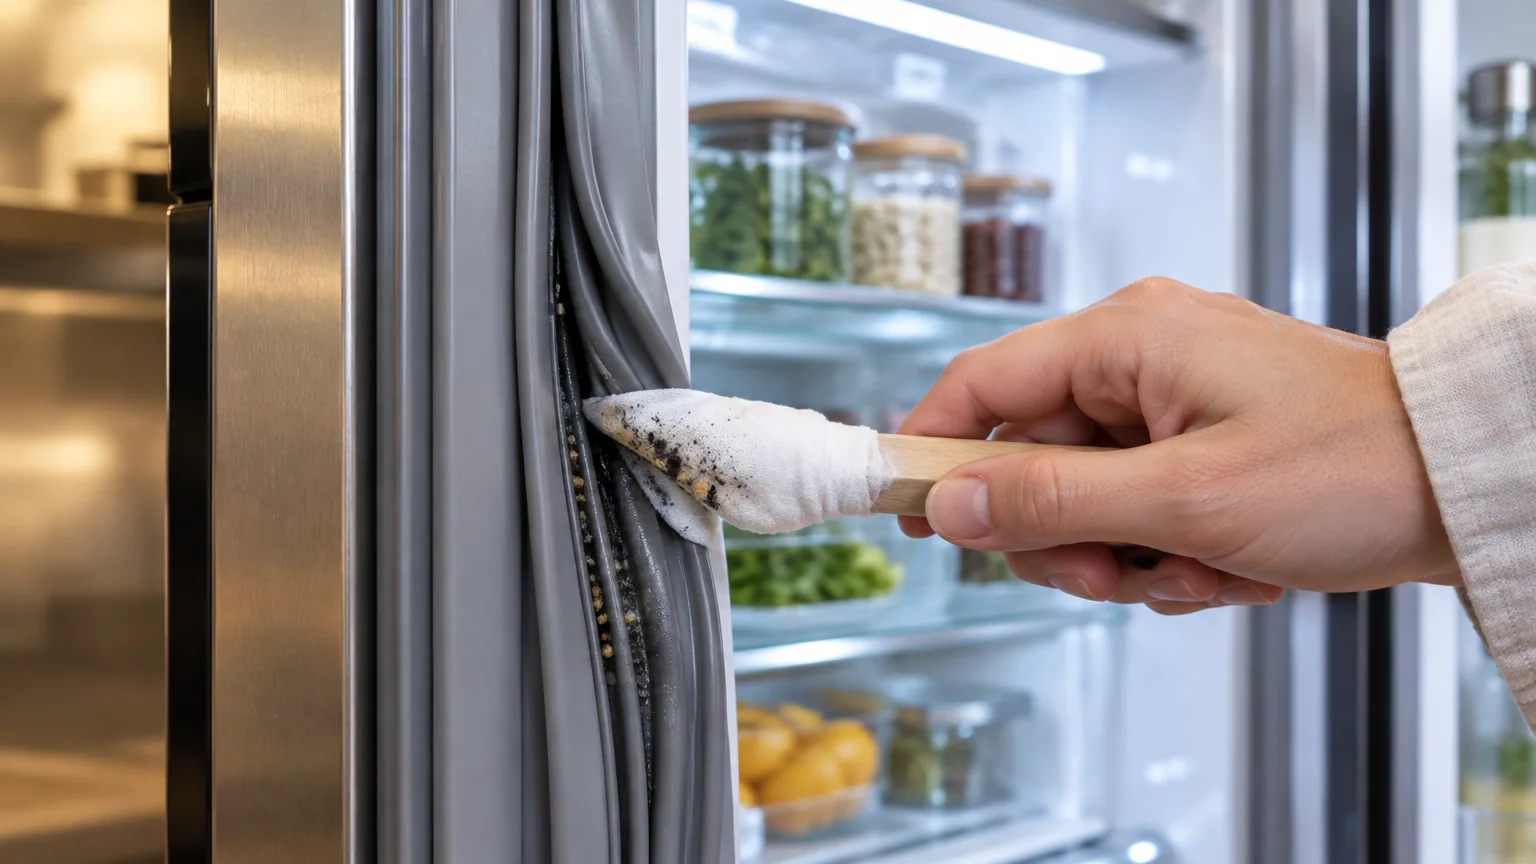
03 Wiping Refrigerator and Dishwasher Door Gaskets
The flexible rubber gaskets sealing your appliances keep cool air in and seal water inside during wash cycles. Unfortunately, the accordion folds of these gaskets act as magnets for crumbs, condensation, and black mold.
When food debris rests against soft rubber seals, it attracts mildew that deteriorates the material. Damaged gaskets break the appliance seal, driving up your electric bill and risking food spoilage.
Inspect the folds of your refrigerator doors every week. Pull back the rubber lip gently to expose trapped crumbs, sticky juice spills, and moisture.
Dip a microfiber cloth into warm water mixed with gentle dishwashing detergent. Run the folded edge of the cloth through every channel to lift out trapped debris.
Dry the rubber completely using a fresh cloth to eliminate standing moisture. Never apply chlorine bleach to gaskets; harsh chemicals dry out rubber and cause brittle cracking.
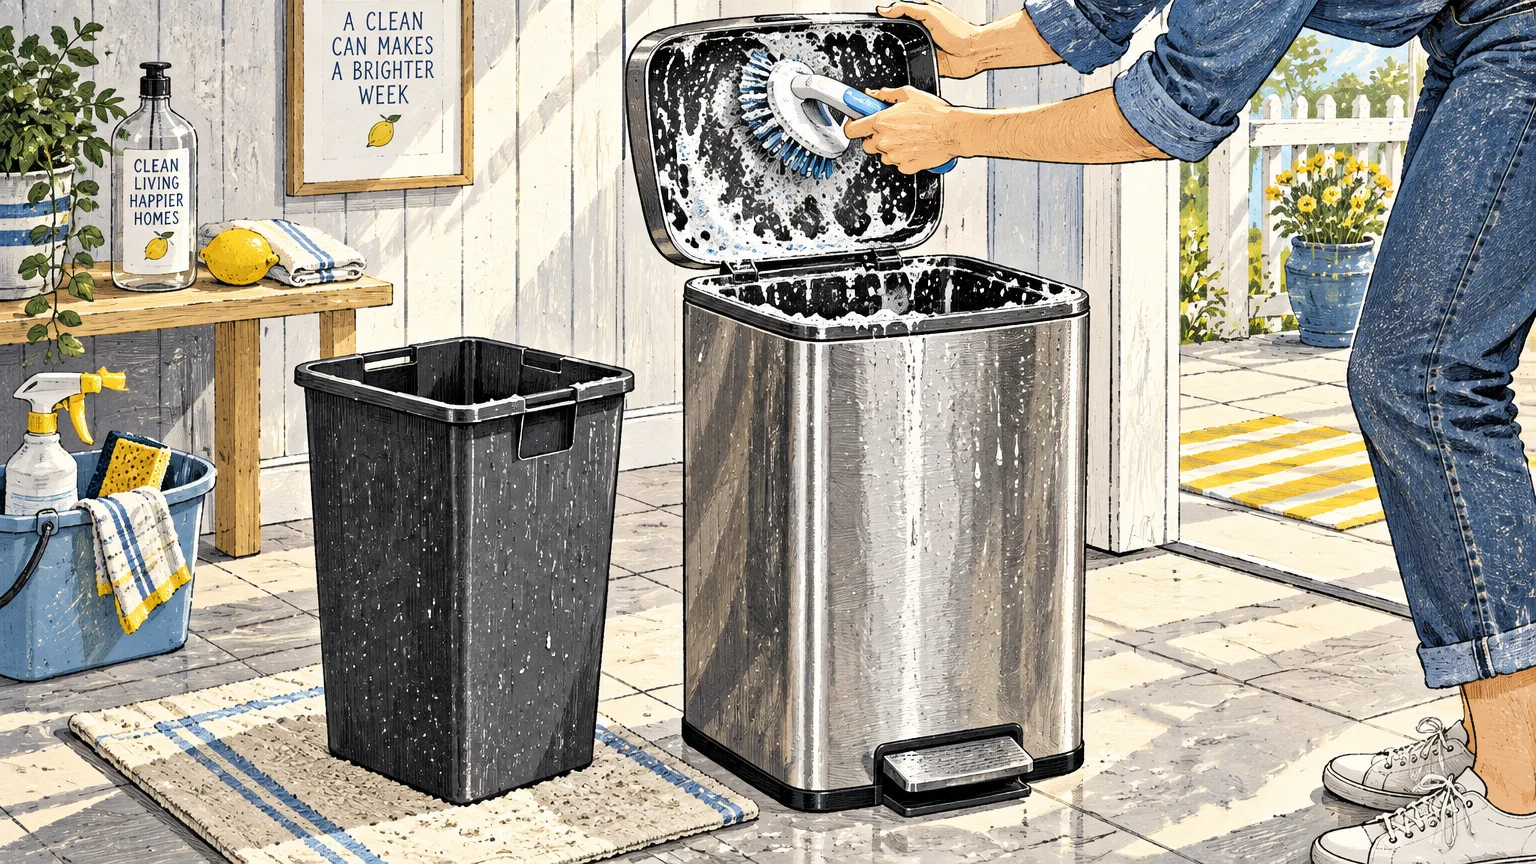
04 Washing Kitchen Trash Can Interiors and Lids
Even premium heavy-duty trash liners experience microscopic leaks, punctures, and condensation transfer. As organic waste decomposes, liquids seep through and pool at the bottom of the bin.
Relying solely on replacing the plastic bag allows foul odors and bacteria to fester undisturbed. Over time, bacteria establish persistent colonies inside the plastic bottom.
Professional cleaners inspect and wipe the waste can interior every time they pull the trash. They also clean the contact points on the exterior lid and foot pedal.
Mist the inside of the empty bin with an all-purpose spray containing hydrogen peroxide or plant-based surfactants. Let the cleaner dwell for two minutes to loosen stuck particles.
Wipe the interior dry with a designated utility cloth or paper towel before inserting a new liner. A clean trash can keeps your kitchen smelling fresh without synthetic air fresheners.
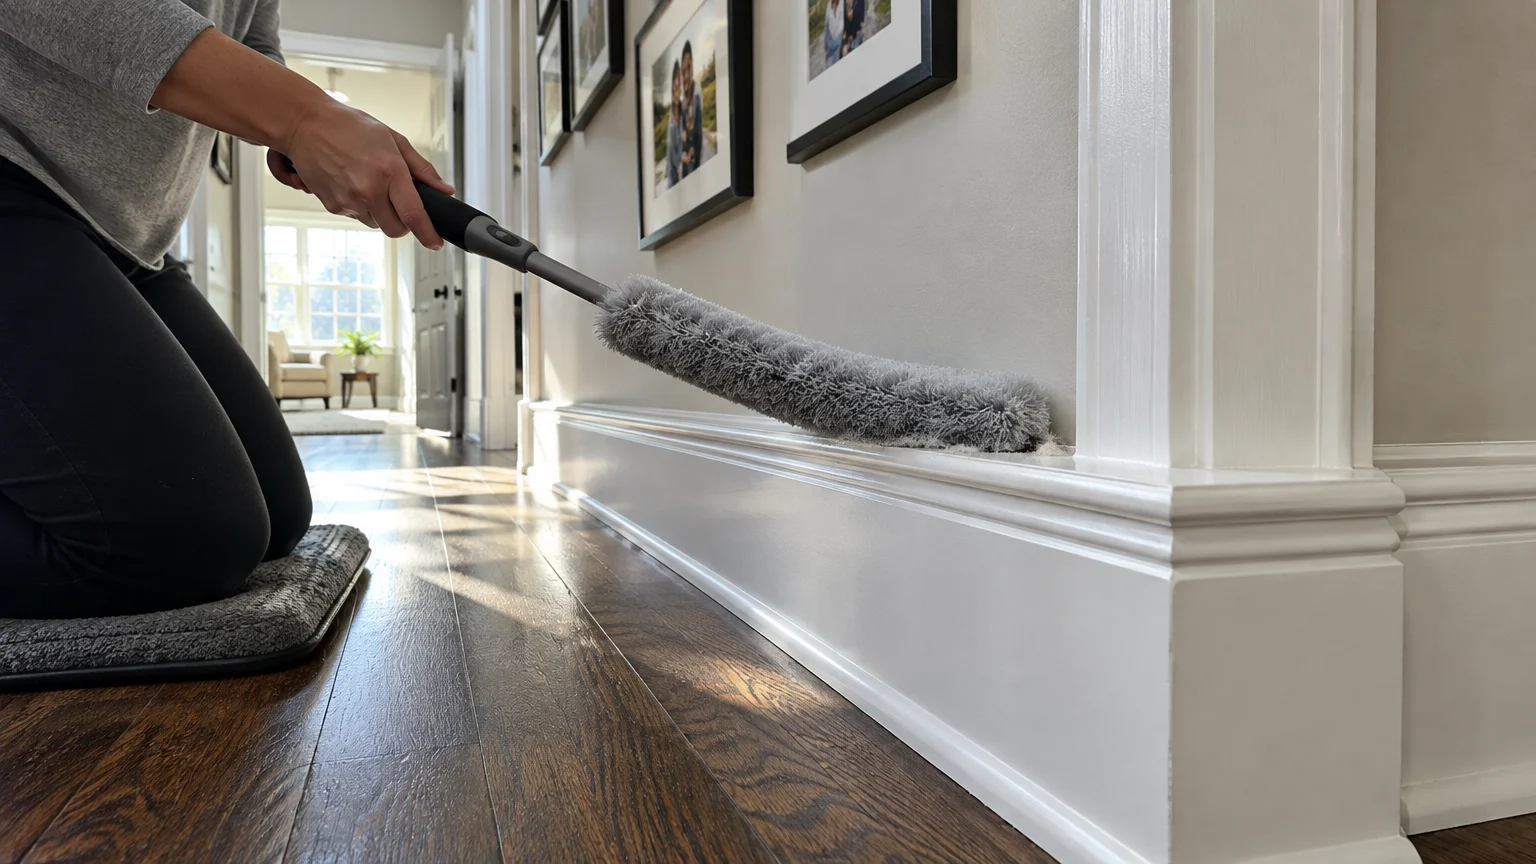
05 Dusting Baseboard Ledges and Door Casings
Horizontal woodwork ledges catch falling airborne dust before it reaches your flooring. When homeowners neglect baseboards, foot traffic and drafts compact that dust into an unsightly, gray film.
Wiping them weekly prevents dirt from adhering to the paint finish. A quick dry sweep takes only seconds per room and keeps baseboards looking freshly painted.
You do not need to bend down or crawl on hands and knees to execute this task. Use an extendable microfiber duster or wrap a clean cloth around the head of a dry floor mop.
Walk the perimeter of each room, running the duster along the top molding of the baseboard. Sweep the duster over window sills and the tops of door casings simultaneously.
This rapid pass captures dust before it falls onto freshly vacuumed carpets or hard floors. It also saves older adults and busy homeowners from strenuous deep cleaning sessions later.
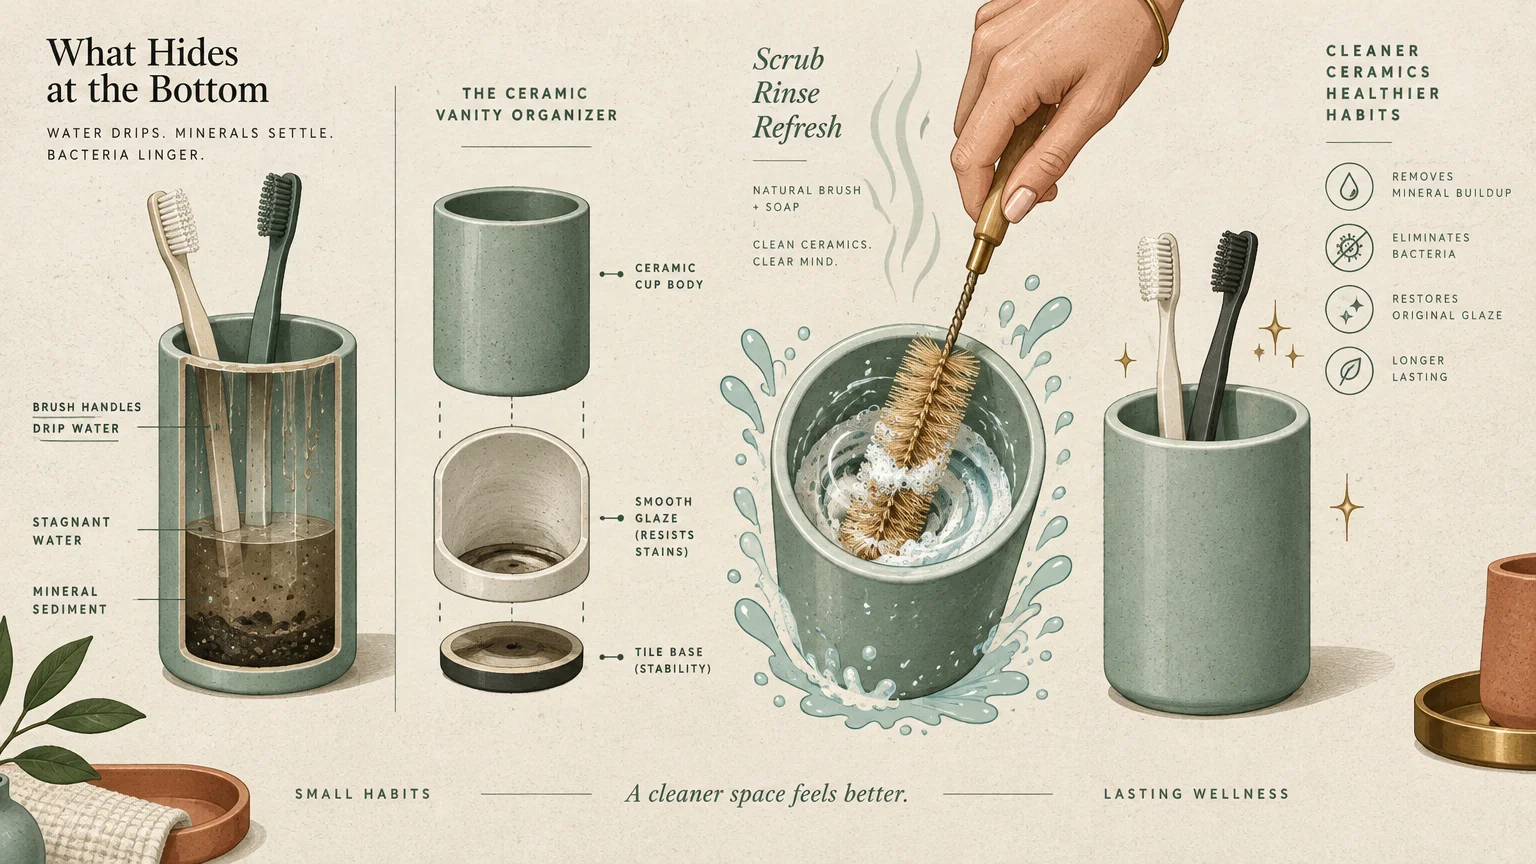
06 Sanitizing Toothbrush Holders and Bathroom Caddies
Bathroom storage cups and silicone caddies hold items that go directly into your mouth. Despite this, they often sit neglected on vanity counters for months at a time.
Toothbrush holders collect water droplets dripping down toothbrush handles after use. This standing water creates a warm, stagnant pool where bacteria, dental yeast, and slime flourish rapidly.
Health authorities at the USDA Food Safety and Inspection Service and global hygiene organizations emphasize keeping oral hygiene equipment dry and sanitized.
Empty your toothbrush organizer and rinse out the collected sediment with hot running tap water. Wash the container thoroughly with antibacterial dish soap and a clean bottle brush.
If the holder is dishwasher-safe, run it through a sanitizing cycle on the top rack once a week. Allow the vessel to air dry completely before returning toothbrushes to their slots.
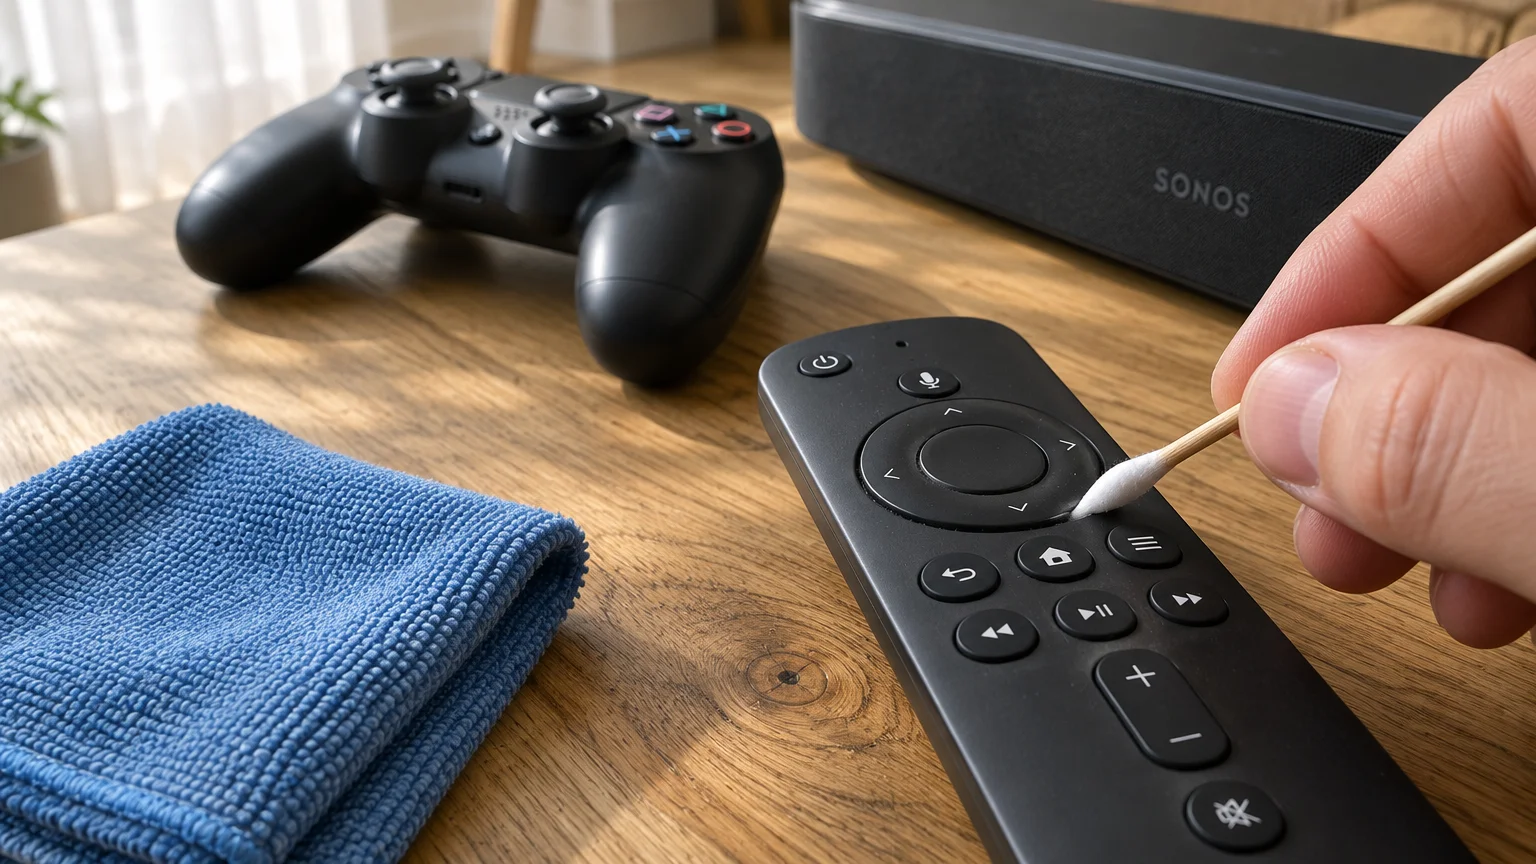
07 Disinfecting Remote Controls and Household Electronics
Remote controls, game controllers, and computer mice circulate through multiple hands every evening. People handle them while snacking, coughing, or lounging, creating concentrated deposits of body oils and germs.
Because electronic devices contain sensitive circuitry, homeowners often avoid cleaning them for fear of water damage. Consequently, they remain among the most overlooked cleaning tasks people skip.
Turn off the device or pop out the batteries before beginning the cleaning process. This prevents accidental button presses or damage during sanitizing.
Moisten a microfiber cloth with 70% rubbing alcohol, ensuring the fabric remains damp rather than wet. Wipe firmly across the plastic casing and over the face of the buttons.
Dip a cotton swab in alcohol to clean the narrow crevices between individual rubber buttons. The alcohol evaporates in seconds without leaving sticky residue or moisture behind.
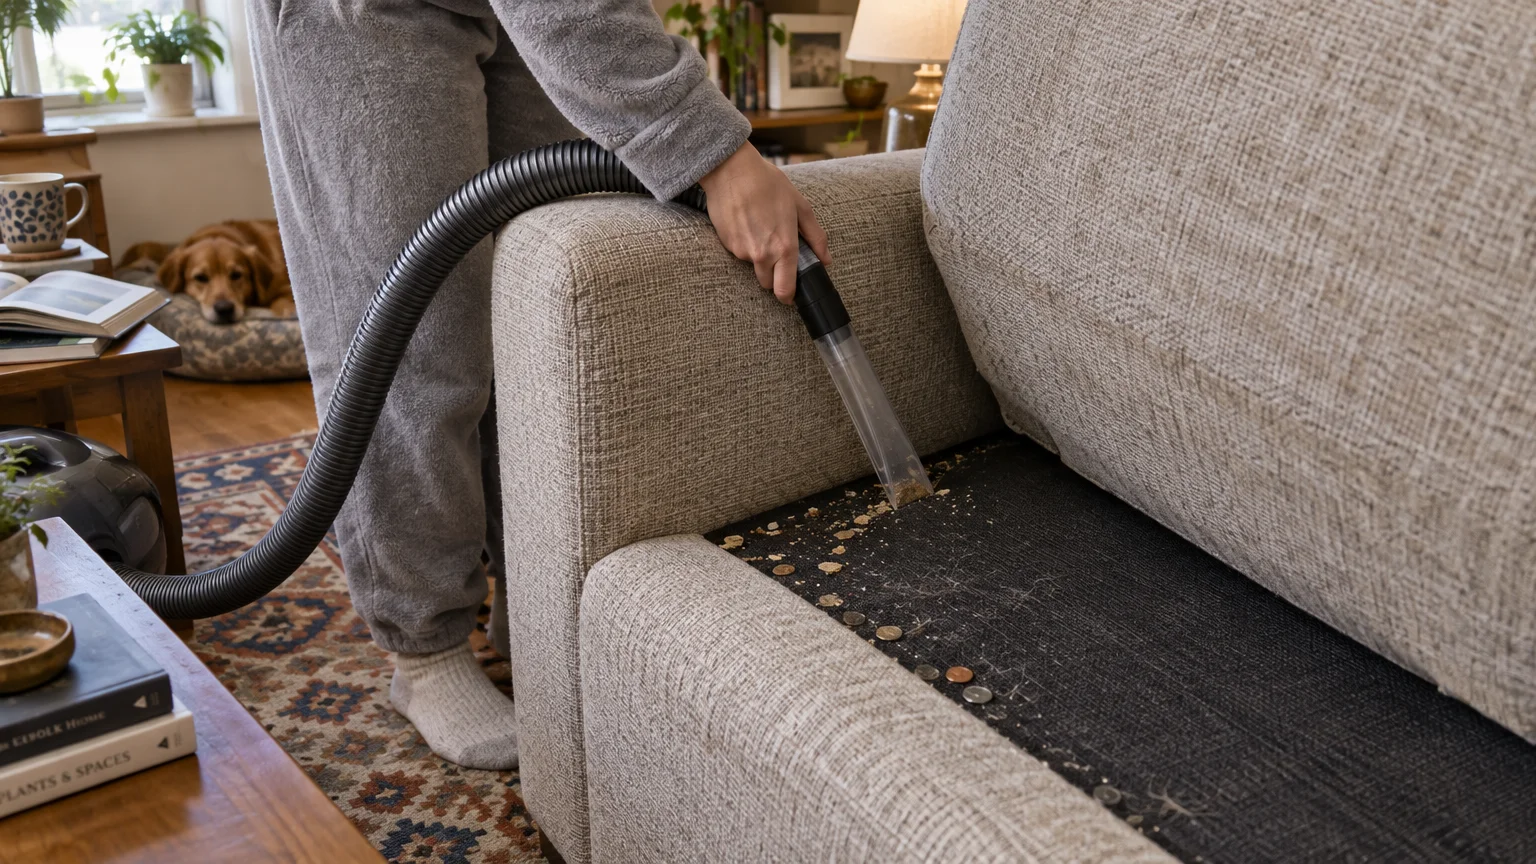
08 Vacuuming Beneath Upholstery Cushions and Crevices
Surface vacuuming removes visible dust from couch seating, but debris naturally shifts downward. Food crumbs, pet hair, fingernails, and abrasive grit settle into the deep folds beneath removable cushions.
As family members sit, that abrasive grit grinds against the delicate backing fabric of the furniture. Over time, friction frays the upholstery fabric and weakens the sofa seams.
Remove all loose cushions once every week as part of your house cleaning routine. Inspect the fabric platform for loose change, pens, or dropped snacks.
Attach the narrow crevice wand to your vacuum cleaner hose to access tight corners. Vacuum along the back welt, side seams, and tufted buttons using slow, overlapping strokes.
If you own pets, run a rubber squeegee across woven upholstery fabric before vacuuming. The rubber blade gathers deeply embedded pet hair that standard vacuum suction misses.
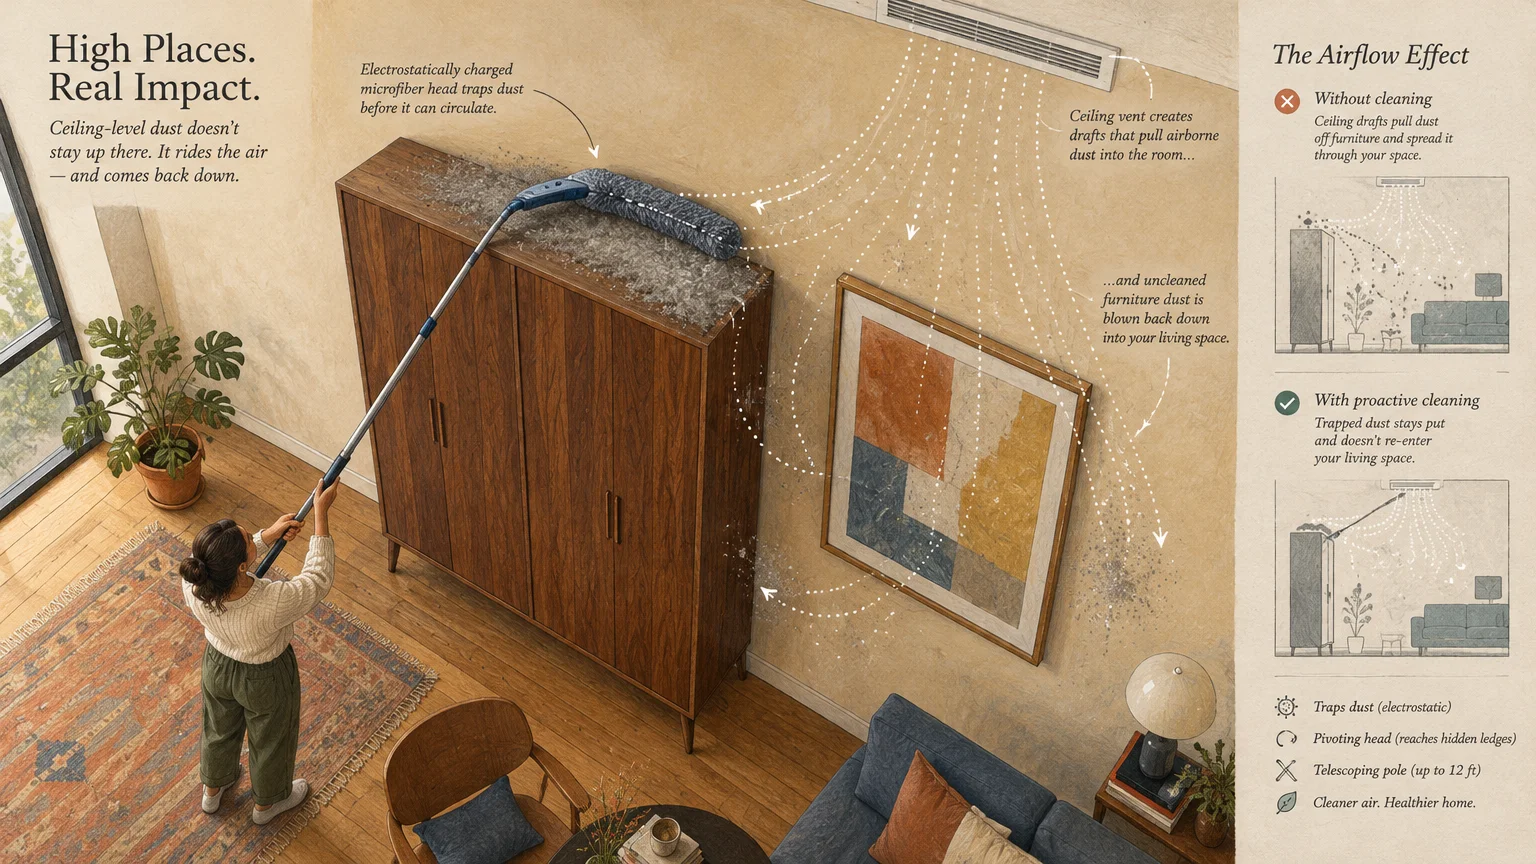
09 Dusting the Tops of Tall Furniture and Picture Frames
Out of sight often means out of mind when dusting residential rooms. The flat tops of tall bookshelves, hanging mirrors, and refrigerators collect thick sheets of settled dust undisturbed.
Whenever your HVAC system activates or ceiling fans spin, moving air currents disturb this dust. The particles blow back into living spaces, irritating sensitive lungs and triggering allergy symptoms.
Inspect your home from a high vantage point to spot these hidden dust reservoirs. You will likely find heavy lint layers atop armoires, kitchen cabinets, and picture frames.
Clean these elevated surfaces using a bendable, electrostatic microfiber wand mounted on a telescoping handle. Bend the duster head at a ninety-degree angle to lay flat against high ledges.
Slide the duster smoothly toward you to pull dust down without knocking it into ambient air. Clean tall surfaces first so your vacuum captures any stray dust that drifts to the floor.
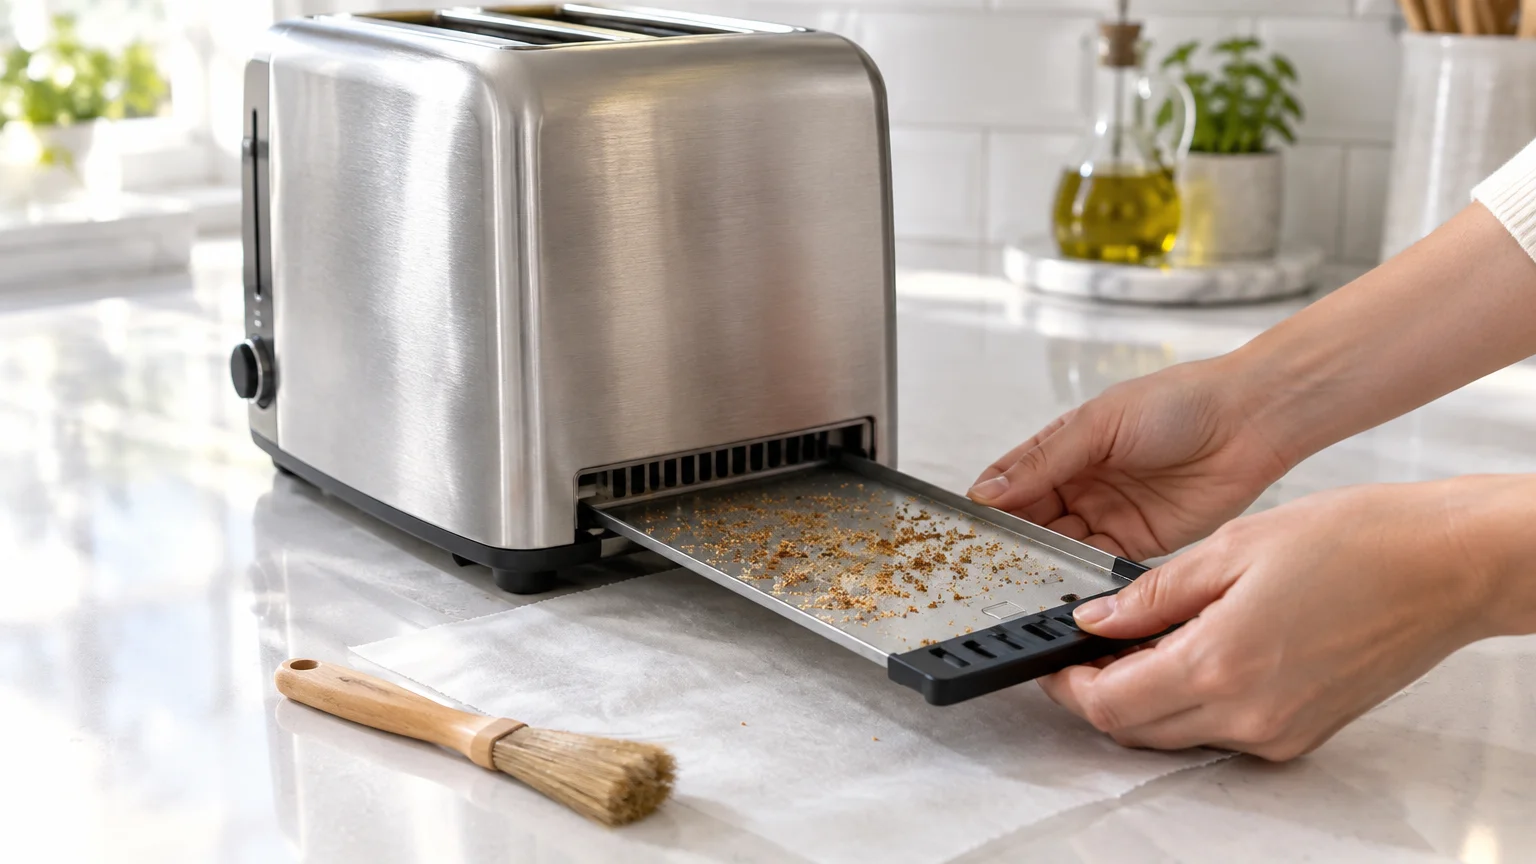
10 Cleaning Small Appliance Exteriors and Crumb Trays
Countertop appliances like toasters, blenders, and coffee makers endure heavy daily use. Splattering grease, stray grinds, and sticky syrups coat their housings, creating an adhesive surface for dust.
Additionally, toaster crumb trays collect dry carbohydrate particles that create unpleasant burnt smells when heated. Left unchecked, dense crumb accumulations present genuine kitchen fire hazards.
Slide your toaster over the kitchen sink every week and pull the bottom crumb tray completely free. Dump the accumulated toast crumbs directly into your compost bin or trash can.
Wipe the crumb tray with a dry cloth and snap it back firmly into position. Never run metal crumb trays through the dishwasher unless the appliance manual explicitly permits it.
Next, wipe down the exterior housings of your coffee machine and blender. For safe degreasing around kitchen prep zones, select products reviewed under the EPA Safer Choice program to avoid synthetic fragrances.
Slide each appliance forward to clean the countertop section hiding beneath its footprint. Food crumbs trapped under small appliances attract household pests when left undisturbed.
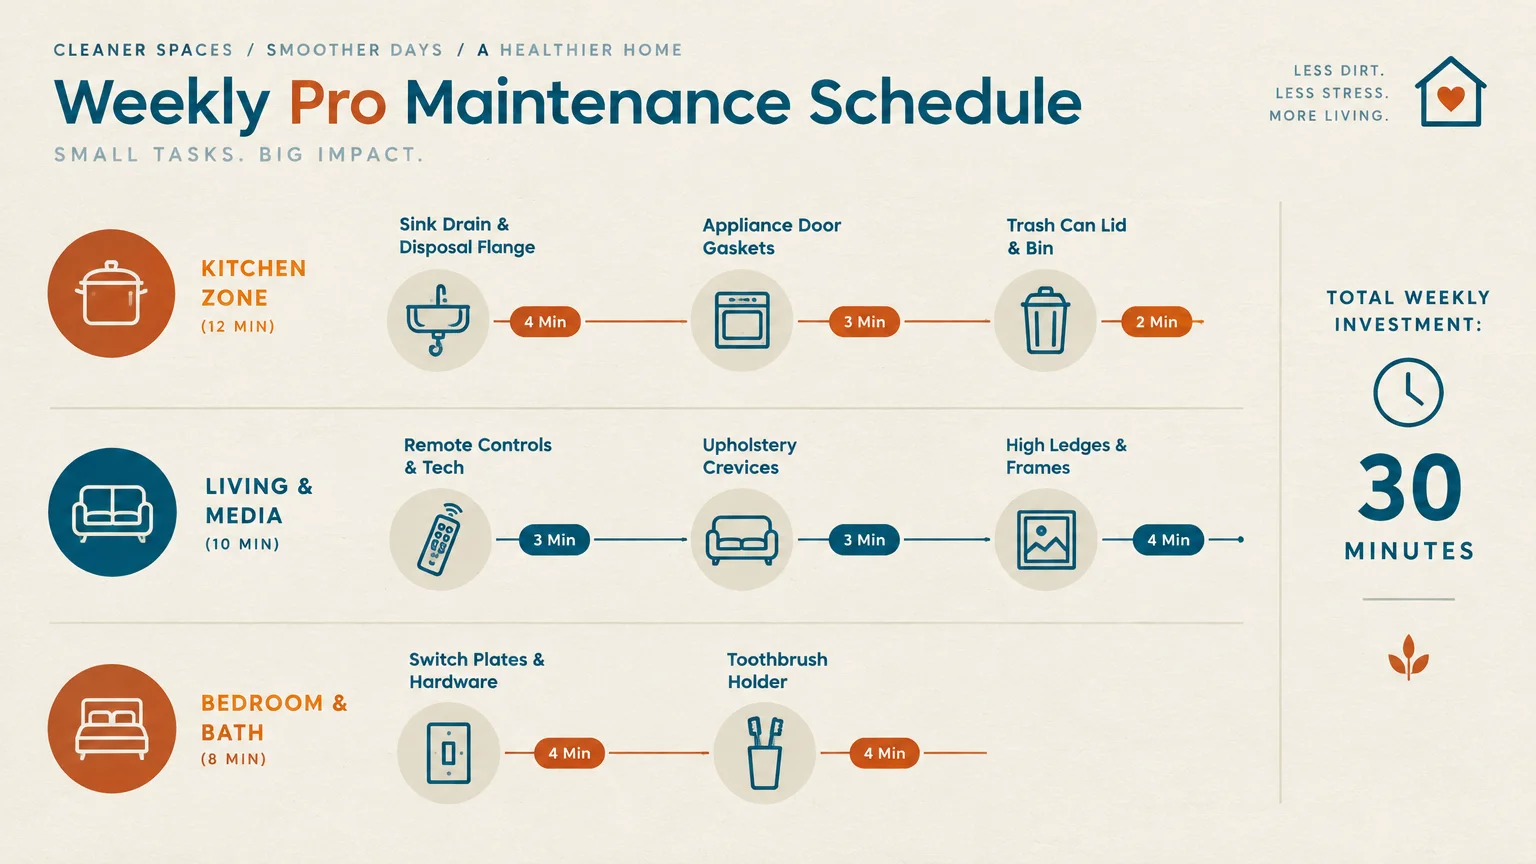
Weekly Pro Maintenance Schedule
Integrating these duties into your schedule prevents overwhelm and keeps chores manageable. Use the following breakdown to spread these weekly cleaning tasks evenly across your week.
| Cleaning Task | Estimated Time | Recommended Tools | Primary Benefit |
|---|---|---|---|
| High-Touch Switch Plates | 3 Minutes | Microfiber cloth, 70% alcohol | Stops viral transfer between rooms |
| Sink Drains and Flanges | 4 Minutes | Detail brush, baking soda | Eliminates drain biofilm and foul odors |
| Appliance Door Gaskets | 5 Minutes | Warm soapy water, cotton cloth | Protects airtight seals and prevents mold |
| Trash Can Interiors | 4 Minutes | Disinfectant spray, paper towels | Neutralizes odors and removes bacteria |
| Baseboards and Trim | 6 Minutes | Extendable microfiber duster | Prevents dirt bonding to painted wood |
| Toothbrush Organizers | 3 Minutes | Bottle brush, warm soapy water | Stops yeast and slime buildup near brushes |
| Remote Controls | 3 Minutes | Alcohol wipes, cotton swabs | Cleans body oils from textured buttons |
| Under Cushion Fabric | 5 Minutes | Vacuum crevice tool, pet squeegee | Prevents abrasive fabric wear and mites |
| Tops of Tall Furniture | 5 Minutes | Telescoping microfiber duster | Improves indoor air quality and HVAC load |
| Small Appliance Housings | 4 Minutes | All-purpose spray, microfiber cloth | Reduces kitchen fire risk and grease film |
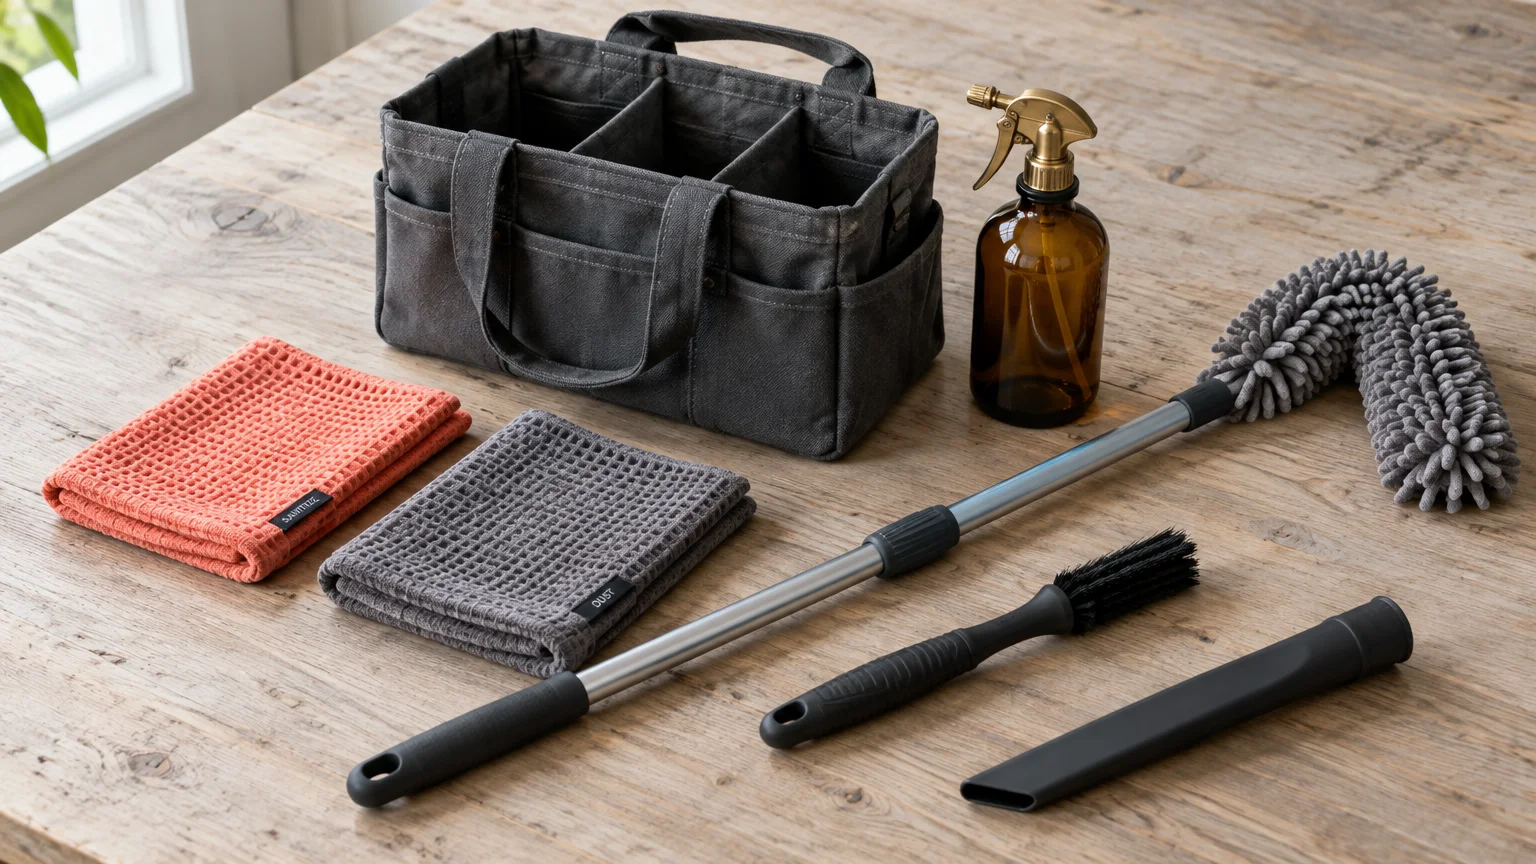
Essential Tools for Speed and Ergonomic Comfort
Professional cleaners work swiftly because they equip themselves with high-efficiency tools. The right equipment eliminates unnecessary bending, stretching, and hand strain.
Invest in three high-density split microfiber cloths dedicated exclusively to dusting and wiping. High-grade split microfiber traps soil through electrostatic attraction instead of pushing dust around surfaces.
Add a telescoping pole with an adjustable pivoting head to your utility closet. This allows you to reach high crown moldings and low baseboards without straining your spine or knees.
Keep a small detail brush or soft-bristled toothbrush in your cleaning caddy. These small brushes dislodge stubborn debris from drain collars and narrow appliance channels effortlessly.
Finally, assemble your supplies in a portable tote with a comfortable carrying handle. Having your spray bottles, cloths, and brushes ready cuts wasted setup time drastically.
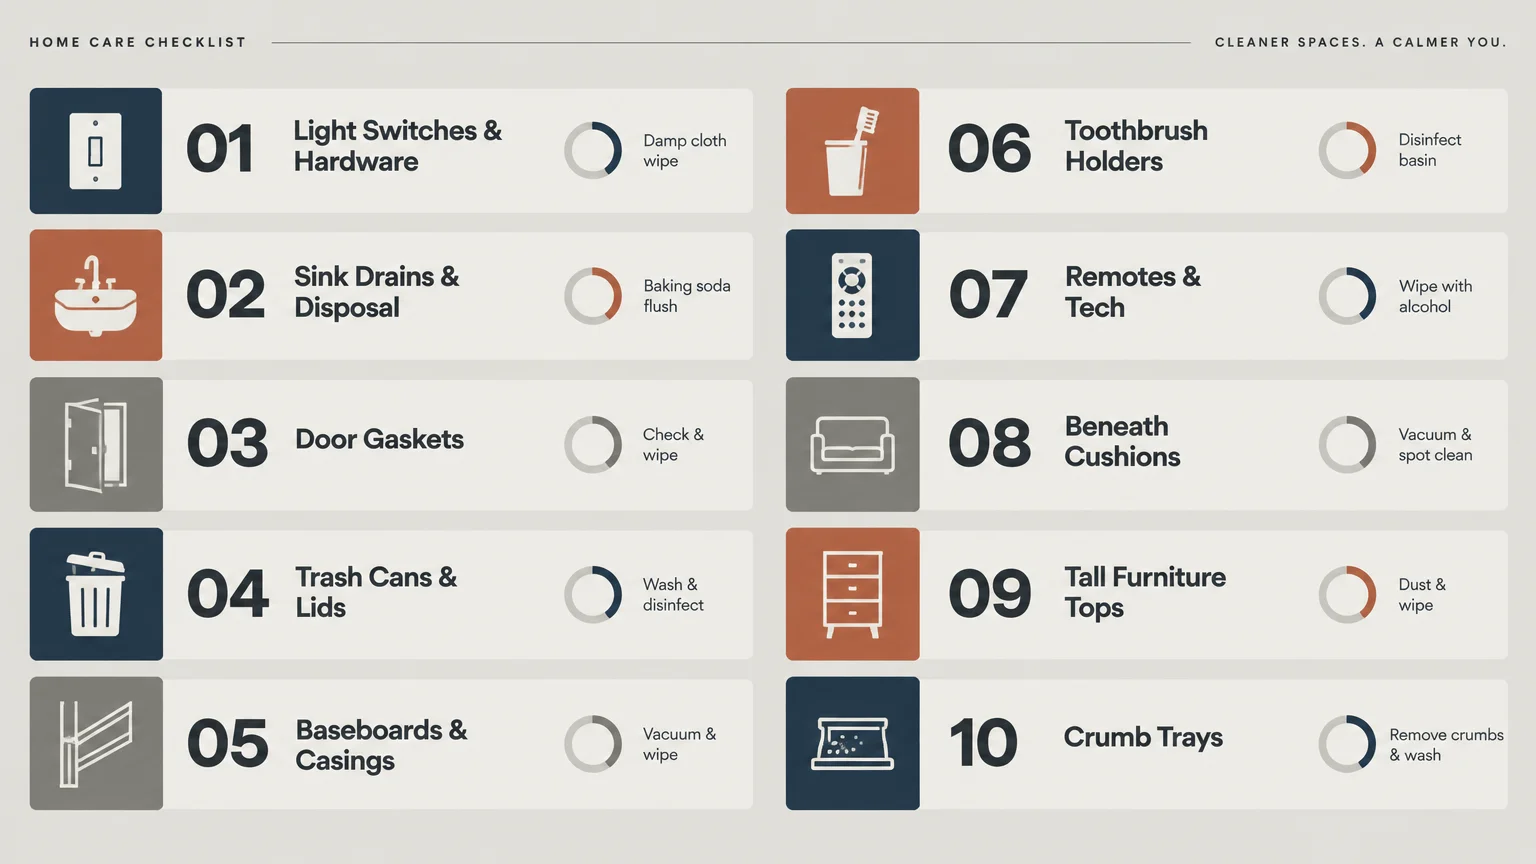
Actionable 10-Point Weekly Cleaning Checklist
Incorporate these professional cleaning tips into your routine by tackling two tasks per day or completing them all in one focused forty-minute sweep.
- Sanitize entry doorknobs, interior passage levers, and switch toggles in all main hallways.
- Scrub the garbage disposal baffle underside and rinse the drain collar with hot water.
- Inspect and wipe down refrigerator and dishwasher rubber door gaskets with mild soap.
- Spray, wipe, and air dry the interior bases and foot pedals of all household trash bins.
- Glide an extendable duster across baseboard edges, window sills, and upper door moldings.
- Wash bathroom toothbrush cups, rinse mugs, and soap trays in hot soapy water.
- Disinfect television remotes, computer mice, and tablet edges using 70% isopropyl alcohol.
- Lift couch cushions, vacuum upholstery seams, and capture trapped debris beneath seat platforms.
- Extend your reach to dust the tops of kitchen cabinets, refrigerators, and wall frames.
- Empty the toaster crumb tray and wipe grease splatters from small countertop appliances.

Your Next Practical Step
Select just two tasks from this list to test during your next regular cleaning session. Starting small helps you build consistent momentum without feeling drained by extra housework.
Pick up a microfiber cloth and address your light switches and kitchen sink drain today. You will immediately notice how much fresher your living space feels when hidden grime disappears.