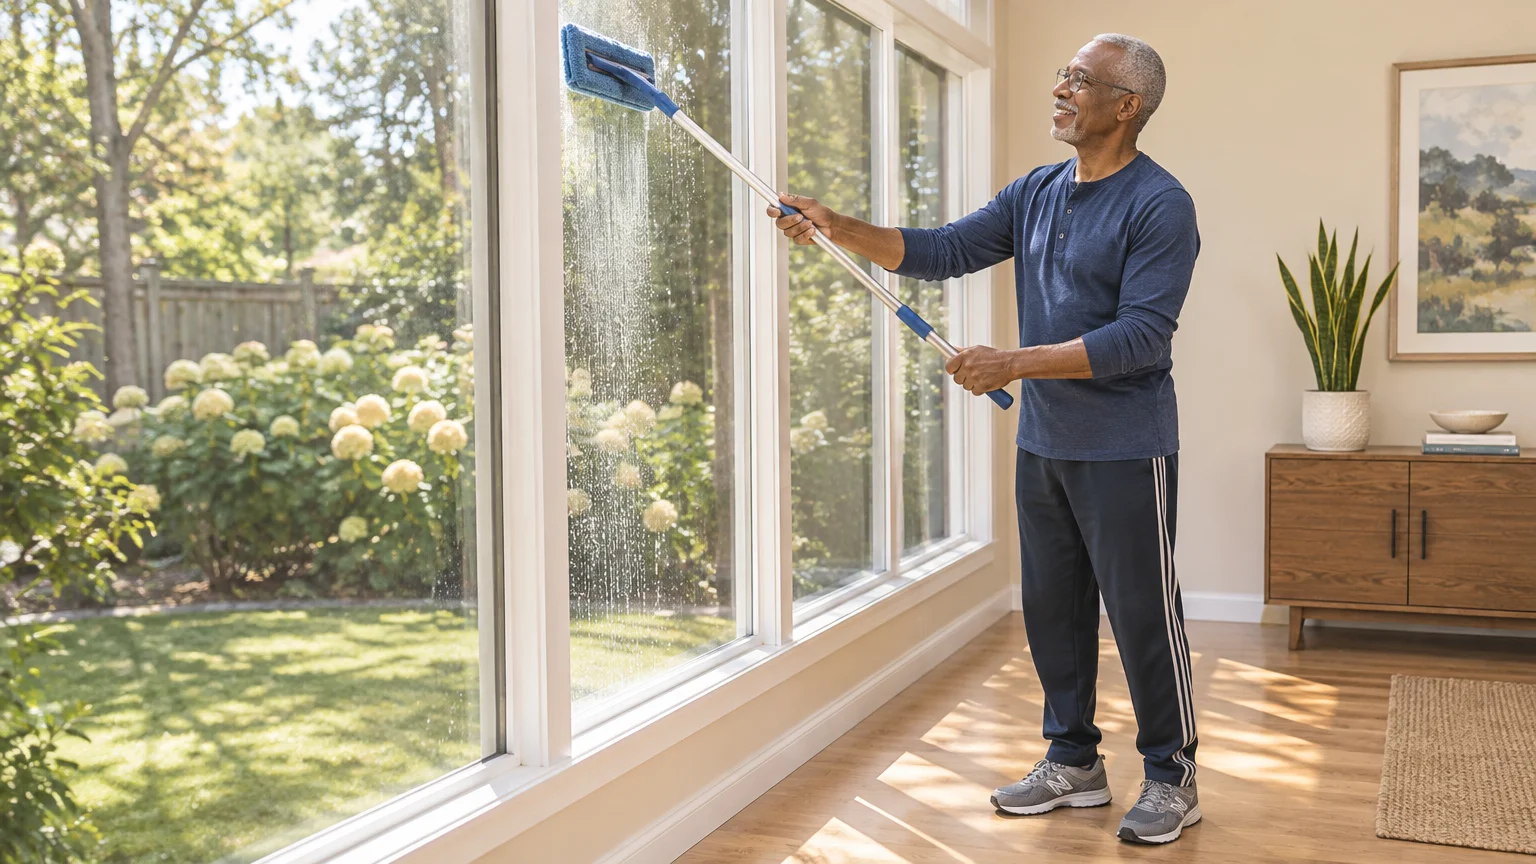
Keeping a tidy home shouldn’t leave your lower back throbbing or your knees swollen for hours afterward. With upright tools, smart pacing, and targeted sprays, you can scrub tubs, vacuum floors, and sanitize counters without dropping to your hands and knees.
Joint stiffness turns everyday chores into high-risk tasks, especially when standard routines demand deep bending or heavy lifting. Adjusting how you move—and letting cleaning chemistry loosen grime first—protects sore joints while delivering reliable results.
These practical strategies cover safe posture, accessible cleaning tools, and room-by-room shortcuts designed for pain-free upkeep.
Why Standard Cleaning Methods Strain Knees and Backs
Traditional housework assumes you can squat beside baseboards, lean deep into bathtubs, and haul heavy buckets up stairs without discomfort. In reality, joint pain makes those motions exhausting and risky for millions of households.
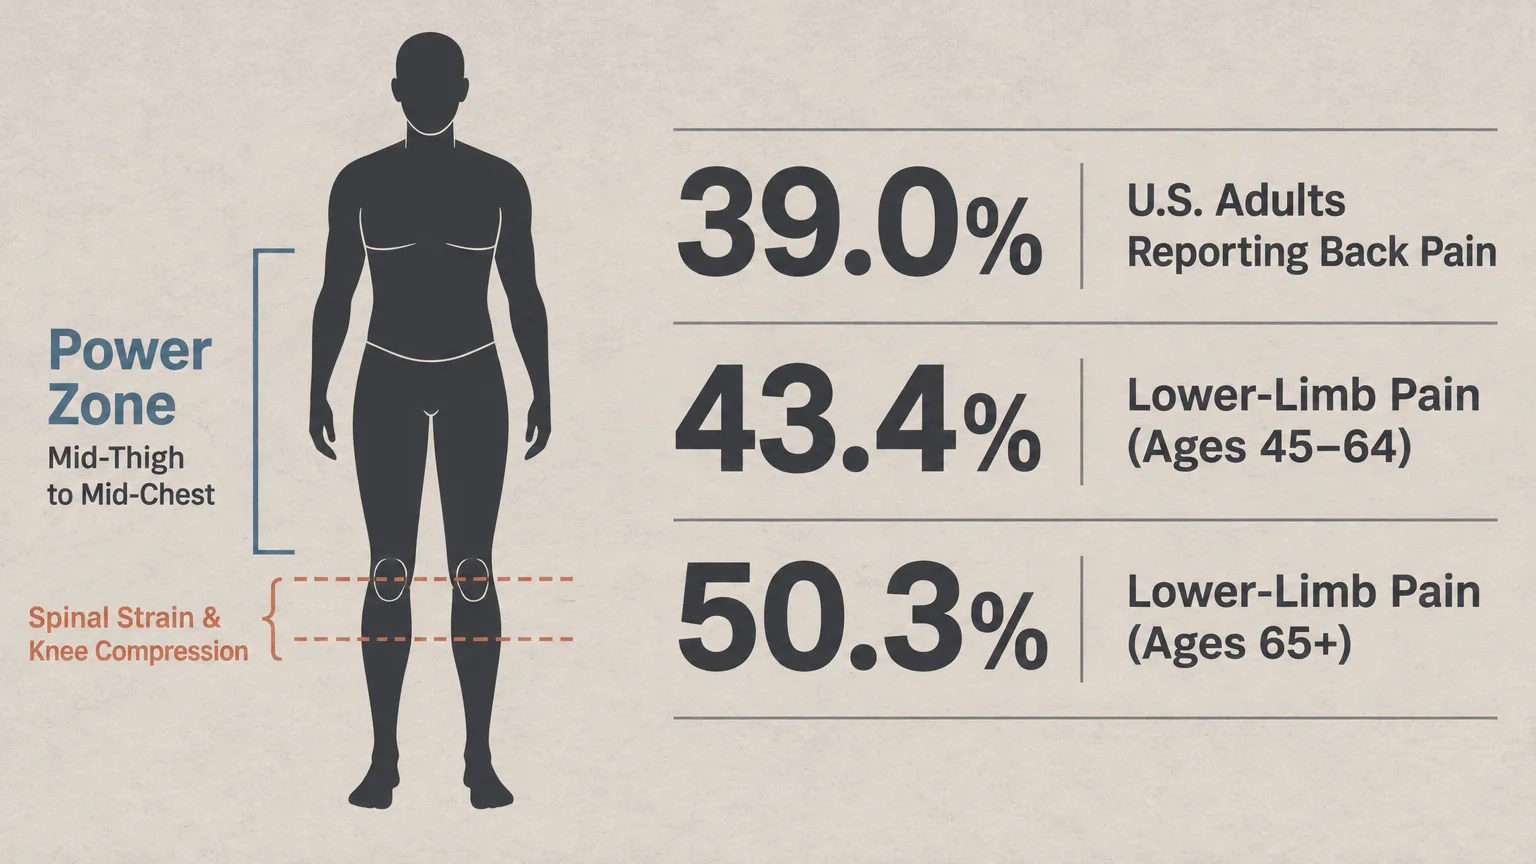
According to the CDC National Center for Health Statistics (NCHS Data Brief No. 415, July 2021), 39.0% of U.S. adults reported back pain over a three-month period. That rate rises to 44.3% among adults aged 45 to 64 and 45.6% for those 65 and older.
Lower-limb discomfort in the hips, knees, or feet follows a similar climb across age groups. The same CDC report found 43.4% of adults aged 45 to 64 and 50.3% of adults aged 65 and older experienced lower-limb pain, compared with 21.0% of young adults.
Arthritis compounds the challenge of routine scrubbing and lifting. In 2025, 21.1% of U.S. adults had diagnosed arthritis, per CDC National Health Interview Survey data, and roughly 44% of adults with arthritis experience physical limitations from the condition.
Knee joints bear an especially heavy burden during low-to-the-ground chores like scrubbing tile or reaching under beds. Globally, the World Health Organization reported in July 2023 that 365 million people live with knee osteoarthritis—making the knee the most commonly affected joint worldwide.
A 2015 survey cited by CreakyJoints showed that 84.6% of people with rheumatoid arthritis struggled with household chores, and over half needed assistance. Even mild stiffness makes prolonged kneeling or twisting difficult to sustain safely.
Fall prevention adds another urgent reason to rethink how you clean. Per the CDC, falls are the leading cause of fatal and nonfatal injuries among U.S. adults aged 65 and older, affecting more than 1 in 4 older adults each year.
Those falls lead to roughly 4.5 million emergency department visits and nearly 319,000 hip-fracture hospitalizations annually. Because falling once doubles your risk of falling again, eliminating slick floors, tangled cords, and awkward reaches during chores protects both your joints and your independence.
Ergonomic Rules for Pain-Free, Upright Cleaning
Before buying new equipment, change how you position your body during everyday tasks. Small posture adjustments reduce spinal compression and keep pressure off sensitive kneecaps.
Workplace safety guidance from OSHA and NIOSH centers on keeping loads inside your power zone—the area between mid-thigh and mid-chest. Reaching far from your torso or bending below the knees multiplies strain on your lower spine.
NIOSH research notes that back injuries account for 1 in 5 workplace injuries, with 75% happening during lifting. While cleaning at home rarely involves industrial cargo, wet mop buckets, bulk detergent jugs, and heavy upright vacuums still pose real risks.
OSHA recommends using rolling carts, dollies, or two-person lifts for loads over 50 pounds, and safe limits drop rapidly whenever you hold an item away from your body. Keeping supplies light and close to your waist protects your lower back from sudden pulls.
Use these core body-mechanics rules whenever you tidy up:
- Hinge at the hips and knees: Keep your spine neutral and engage your core instead of rounding your lower back over counters or low shelves.
- Pivot with your feet: Turn your entire body toward the area you are wiping or vacuuming rather than twisting at the waist.
- Walk your vacuum upright: Stand tall and walk the vacuum smoothly across the room and back, following MyHealth Alberta guidance, instead of bending forward to push and pull repeatedly.
- Prop one foot at the sink: When washing dishes or wiping counters, MyHealth Alberta advises opening a lower cabinet door and resting one foot on the ledge or a low footrest to flatten lumbar strain.
- Work in short intervals: Spine Team Texas recommends 20- to 30-minute cleaning blocks while alternating heavy and light tasks.
- Pace rooms across the week: The Arthritis Foundation suggests cleaning one room per day, changing positions every 30 minutes, and taking a two- to five-minute walk every hour.
Pacing feels slow at first, yet it prevents the multi-day flare-ups that follow marathon weekend cleaning sessions. Stopping before pain starts keeps your routine sustainable year-round.
Easy Cleaning Tools That Replace Bending and Scrubbing
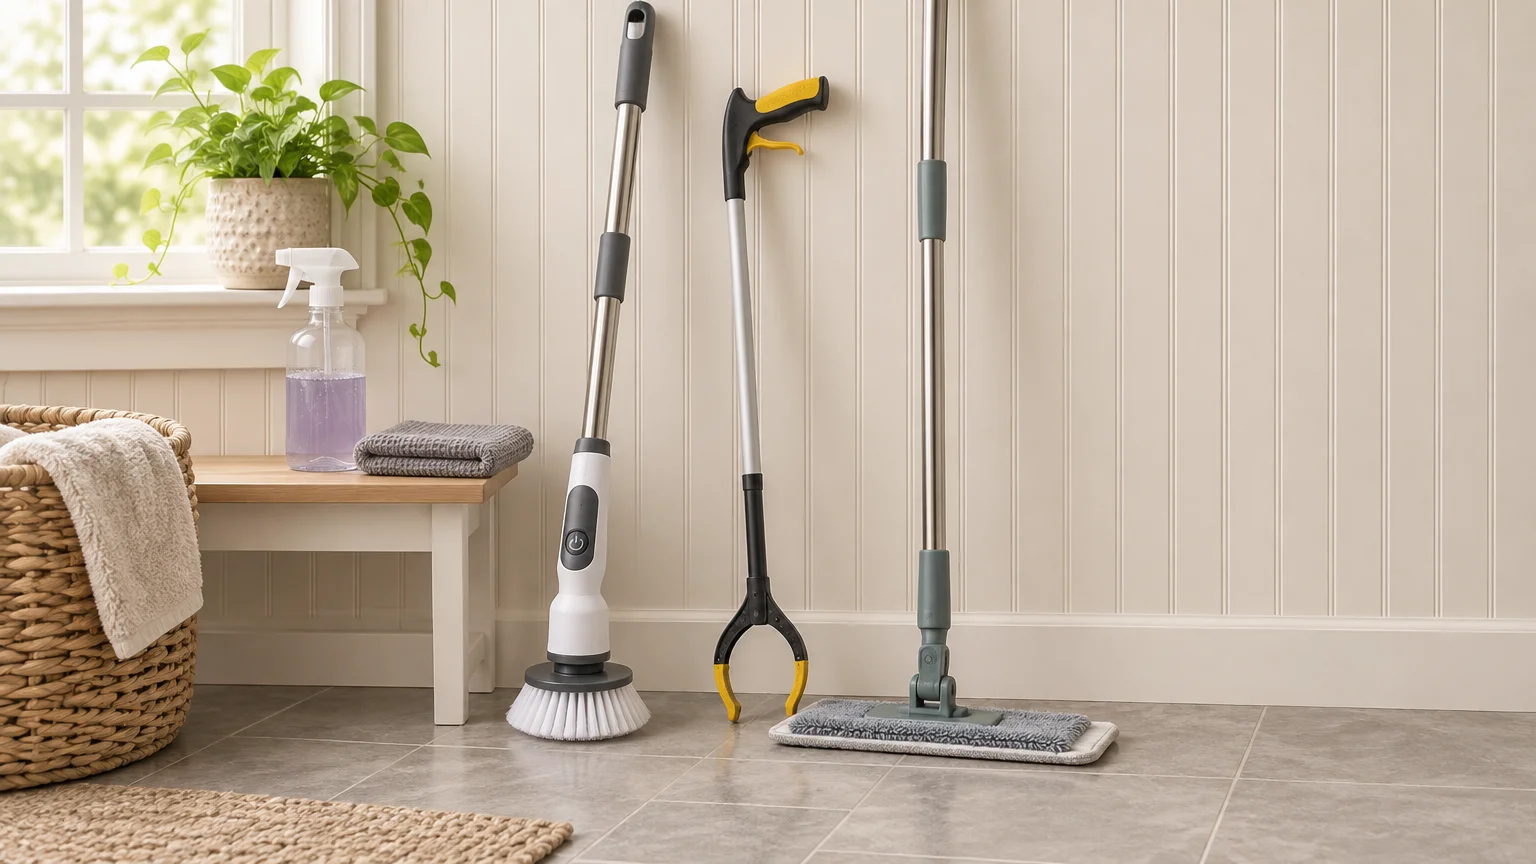
Upgrading to long-handled, lightweight, and motorized gear removes the toughest motions from cleaning with bad knees or sore backs. Look for equipment that extends your reach while keeping total weight manageable.
Lightweight Cordless Stick Vacuums
Dragging a heavy corded upright vacuum over thresholds and up stairs punishes sore joints. Modern cordless stick vacuums trim both weight and setup friction.
Lab tester RTINGS (October 2026) classifies stick vacuums under 5 pounds as lightweight, 5 to 7 pounds as average, and 7 pounds or heavier as heavy. Aim for models under 7 pounds—or under 5 pounds if wrist or shoulder pain accompanies your back issues—with at least 60 minutes of low-power runtime.
Real-world models span a wide weight and feature spectrum. For example, TechRadar (November 2026) notes the Shark Detect Pro weighs 6.61 pounds, while Forbes (August 2026) lists the auto-emptying Shark PowerDetect Clean and Empty at 8.8 pounds with up to 70 minutes of runtime.
Higher-end units like the Dyson V15 Detect retail around $599 as of July 2026. Whichever model fits your budget, test how easily the dustbin empties and whether the handle feels balanced in one hand.
Self-Emptying Robot Vacuums
Robot vacuums eliminate daily floor bending entirely by handling crumbs, pet hair, and dust while you rest. Pairing a robot with a self-emptying dock also removes the chore of crouching to empty a small dustbin after every run.
According to PCMag (November 2026), budget self-emptying robot vacuums such as the Tapo RV30 Max Plus cost $300 or less, while capable midrange models sit at $500 or less. Running a robot several times a week keeps grit off floors before you ever need to bring out a mop.
Extendable Electric Spin Scrubbers
Kneeling beside a tub to scrub soap scum ranks among the hardest chores for stiff joints. Cordless electric spin scrubbers replace rapid arm scrubbing with motorized brush heads on telescoping poles.
In late 2026, budget extendable spin scrubbers—including models from Black+Decker and Jorking—cost roughly $24 to $28. Most weigh around 1.5 pounds, carry IPX7 waterproofing for wet showers, and run 60 to 120 minutes per charge.
Keep in mind one ergonomic catch noted by Business Insider (April 2026): fully extended telescoping poles typically require two hands to steer steadily against curved tub corners. Use light pressure and let the spinning bristles do the friction work.
Microfiber Spray Mops, Grabbers, and Rolling Carts
Traditional string mops paired with sloshing water-filled buckets weigh plenty and force repeated wringing. A flat microfiber spray mop keeps total weight low and holds solution right on the handle.
Pair your mop with a lightweight grabber reacher to pick up dropped socks, stray pet toys, or trash without squatting. Load sprays, cloths, and brushes onto a slim rolling utility cart so wheels carry the weight from room to room.
| Tool Type | Typical Weight and Specs | 2026 Price Context | Joint-Saving Benefit |
|---|---|---|---|
| Lightweight Stick Vacuum | Under 5 to 7 lbs; 60+ min low-power runtime recommended | Midrange to $599 flagship models | Eliminates cord bending and heavy upright pushing |
| Self-Emptying Robot Vacuum | Automated floor runs with base-station dust collection | $300 or less (budget) to $500 or less (midrange) | Cuts daily sweeping and dustbin crouching |
| Extendable Spin Scrubber | Around 1.5 lbs; 60 to 120 min runtime; IPX7 waterproof | About $24 to $28 | Scrubs tubs, tile, and baseboards while standing |
| Flat Microfiber Spray Mop | Lightweight pole with built-in trigger sprayer | Budget-friendly manual tool | Replaces heavy water buckets and manual wringing |
| Rolling Utility Cart | Multi-tier wheeled frame keeping sprays at waist height | Varies by size and material | Moves supplies between rooms within your power zone |
Let Dwell Time and Material-Safe Chemistry Do the Scrubbing
Elbow grease is overrated when chemical dwell time can break down grease and soap scum for you. The Arthritis Foundation recommends spraying cleaners onto surfaces and letting them sit for a few minutes before wiping.
That brief pause loosens dried food, toothpaste, and mineral film so a light pass with a soft cloth clears the mess. Always check your cleaner’s label for exact wet contact times when sanitizing or disinfecting.
Soap and Water vs. Chemical Disinfectants
Many people assume harsh disinfectants are necessary for every counter and floor. In most routine household situations, the CDC states that plain soap and water removes most germs effectively unless someone in your home is sick or recently visited while ill.
Mild dish soap diluted in warm water cuts kitchen grease without irritating airways or requiring intense scrubbing. Reserve full disinfection for high-touch areas during illness or after handling raw meat.
Safe Bleach Dilution and Personal Protection
When you genuinely need to disinfect non-porous surfaces, accurate measuring protects both your health and your finishes. Use standard household bleach containing 5% to 9% sodium hypochlorite—never splashless or unlabeled laundry bleaches, which do not disinfect reliably.
For proper disinfection, the CDC specifies mixing 5 tablespoons (1/3 cup) of unexpired bleach per gallon of water, or 4 teaspoons per quart.
Always wash away visible dirt with soap and water first, apply the diluted bleach solution while wearing rubber gloves and eye protection, and let surfaces air dry.
Surface Compatibility and Tool Textures
Matching your brush texture and cleaner pH to the surface prevents permanent etching and scratches—which otherwise create rough pits that trap more dirt later. Check your home’s finishes before spraying:
- Natural marble, limestone, and travertine: Use only pH-neutral dish soap or stone-safe cleaners with plush microfiber cloths, because acids like vinegar or lemon juice etch stone permanently.
- Sealed quartz and granite: Wipe with warm soapy water and soft microfiber; avoid abrasive scouring powders or stiff wire brushes that dull protective sealants.
- Acrylic and fiberglass tubs: Pair non-scratch nylon spin-scrubber pads with gentle foaming bath cleaners rather than gritty pastes that scratch glossy plastic.
- Glazed ceramic tile and porcelain: Use medium-stiff nylon grout brushes on extension poles for grout lines, and soft pads across glazed tiles.
Ventilation and Chemical Mixing Rules
Indoor air holds chemical fumes far longer than most people expect. According to the EPA, concentrations of volatile organic compounds (VOCs) from household cleaners can run up to 10 times higher indoors than outdoors and linger well after chores end.
Both the CDC and EPA urge you to open windows and doors and run bathroom or kitchen exhaust fans during and after cleaning. Taking fresh-air breaks prevents dizziness and protects lungs when spraying inside compact rooms.
The CDC, EPA, and Washington State Department of Health warn never to mix household bleach with ammonia, acids like vinegar, toilet cleaners, or other products. Combining them releases toxic gases—including chloramine gas—that can injure lungs quickly.
If a surface needs two separate cleaners, finish with the first, rinse thoroughly with plain water, and let it dry before applying the next. Save the U.S. Poison Control Center hotline—800-222-1222—in your phone for accidental fume exposure.
Bathroom Shortcuts for Cleaning With Bad Knees
Bathrooms pack slick tile, tight corners, and low porcelain fixtures into one small space. Rearranging how you tackle the tub, toilet, and floor removes every kneeling motion.
Follow this upright step-by-step routine for a clean bathroom without knee strain:
- Start the exhaust fan and open a window: Pull moisture and cleaner vapors out before you spray a single surface.
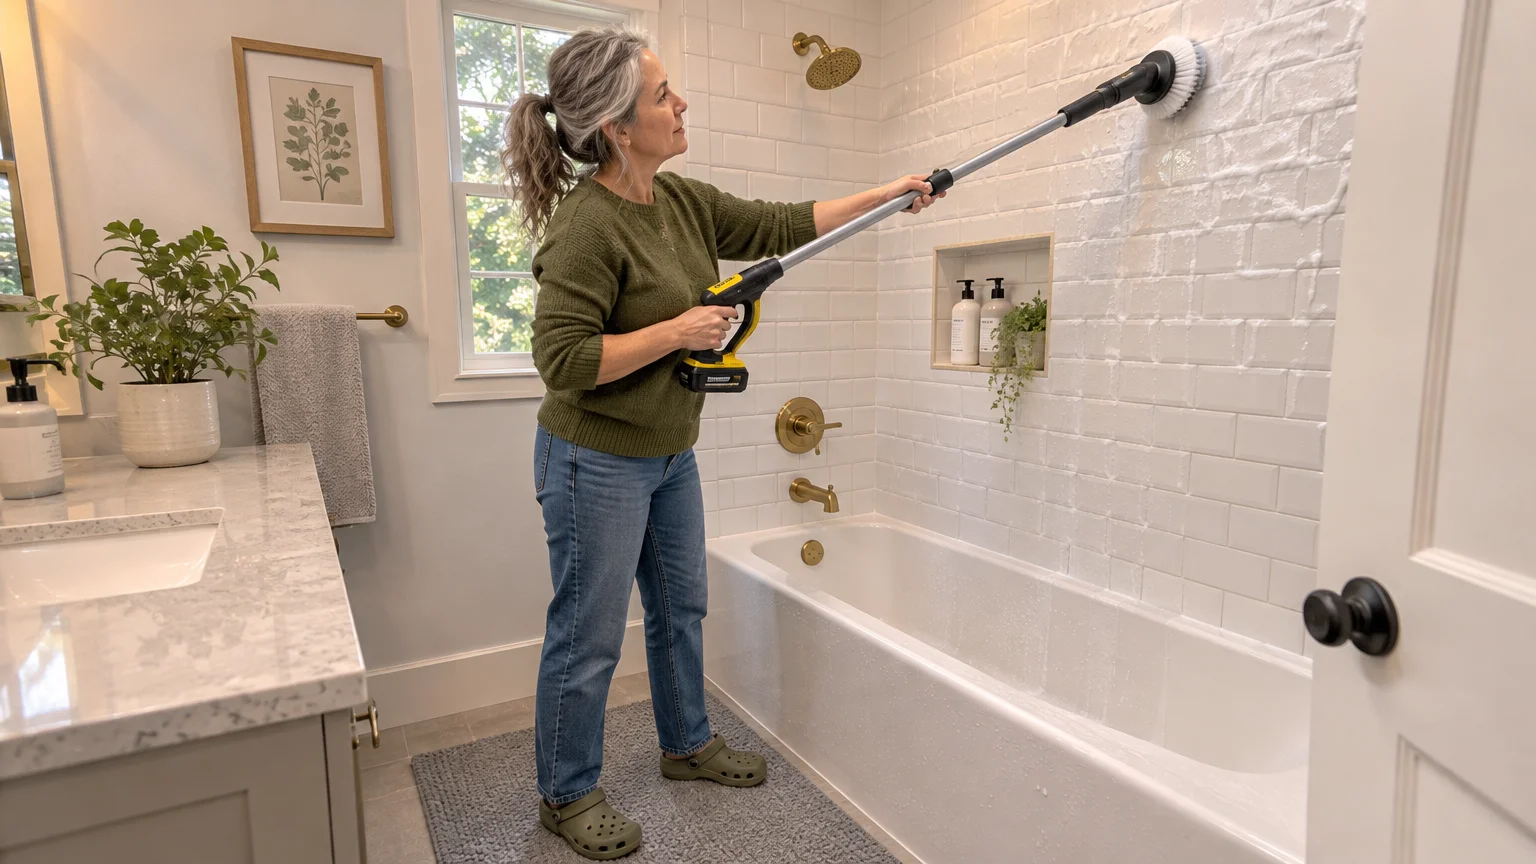
- Pre-treat the tub and shower walls: Mist warm tile or acrylic with an appropriate bath cleaner while standing outside the tub, then step away for a few minutes while dwell time softens soap residue.
- Scrub with an extendable spin scrubber: Hold the telescoping pole with both hands to guide the soft or non-scratch brush head across shower walls, corners, and the tub basin without stepping inside.
- Rinse with a handheld shower wand: Swapping a fixed showerhead for a long-hose handheld wand lets you wash away suds from a comfortable standing posture instead of crouching with cups of water.
- Clean the toilet standing tall: Use an extra-long toilet brush or disposable wand head inside the bowl, and wipe the tank, seat, and outer base with disinfecting wipes gripped by a long-handled reacher or flat mop pad.
- Dry the floor immediately: Run a dry microfiber flat mop across wet splashes around the tub and vanity before stepping across the room.
Removing wet spots right away matters enormously for safety. The CDC specifically identifies wet spots, slippery floors, and throw rugs as modifiable home fall hazards, so swap loose bathmats for non-slip backed mats or hang dry towels between showers.
If kneeling for low tub corners ever feels unavoidable, sit on a sturdy, dry shower bench positioned just outside the tub rim rather than dropping onto tile. Better yet, reserve deep grout detailing for days when your joints feel calmest.
Kitchen and Floor Hacks for Back Pain Cleaning
Kitchens demand constant standing at counters, reaching into deep sinks, and wiping spills under toe-kicks. Small adjustments keep your spine aligned from prep to cleanup.
Whenever you wash dishes or scrub produce at the sink, open the under-sink cabinet door and prop one foot on the bottom ledge. Shifting one leg forward relieves tension along your lower lumbar spine and stops you from slouching over the faucet.
Avoid leaning forward to scour baked-on casserole dishes or stovetop grates. Fill crusty pans with warm water and a drop of dish soap, cover them with a damp towel or lid, and let them soak while you sit down.
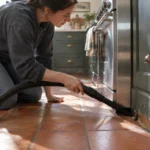
For low refrigerator drawers, dishwasher seals, and oven doors, pull a sturdy dining chair or rolling stool directly beside the appliance. Sitting at eye level with low shelves eliminates painful mid-back rounding.
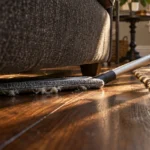
Clean kitchen baseboards and lower cabinet faces using a flat microfiber mop dampened lightly with warm soapy water. Gliding the flat mop head sideways along trim lets you wipe dust and splashes from a relaxed standing stance.
Skip heavy mop buckets altogether during routine floor care. Mist small sections with a spray mop loaded with floor-safe solution, work backward toward the doorway so you never walk on damp tile, and let the floor dry completely while wearing supportive, non-skid shoes.
Cleaning Tips Seniors Can Use in Multi-Story Homes and Laundry Rooms
Carrying heavy supplies up and down staircases introduces both joint strain and dangerous tripping hazards. Simple layout tweaks cut down on stair trips.
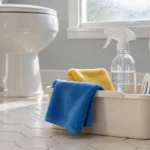
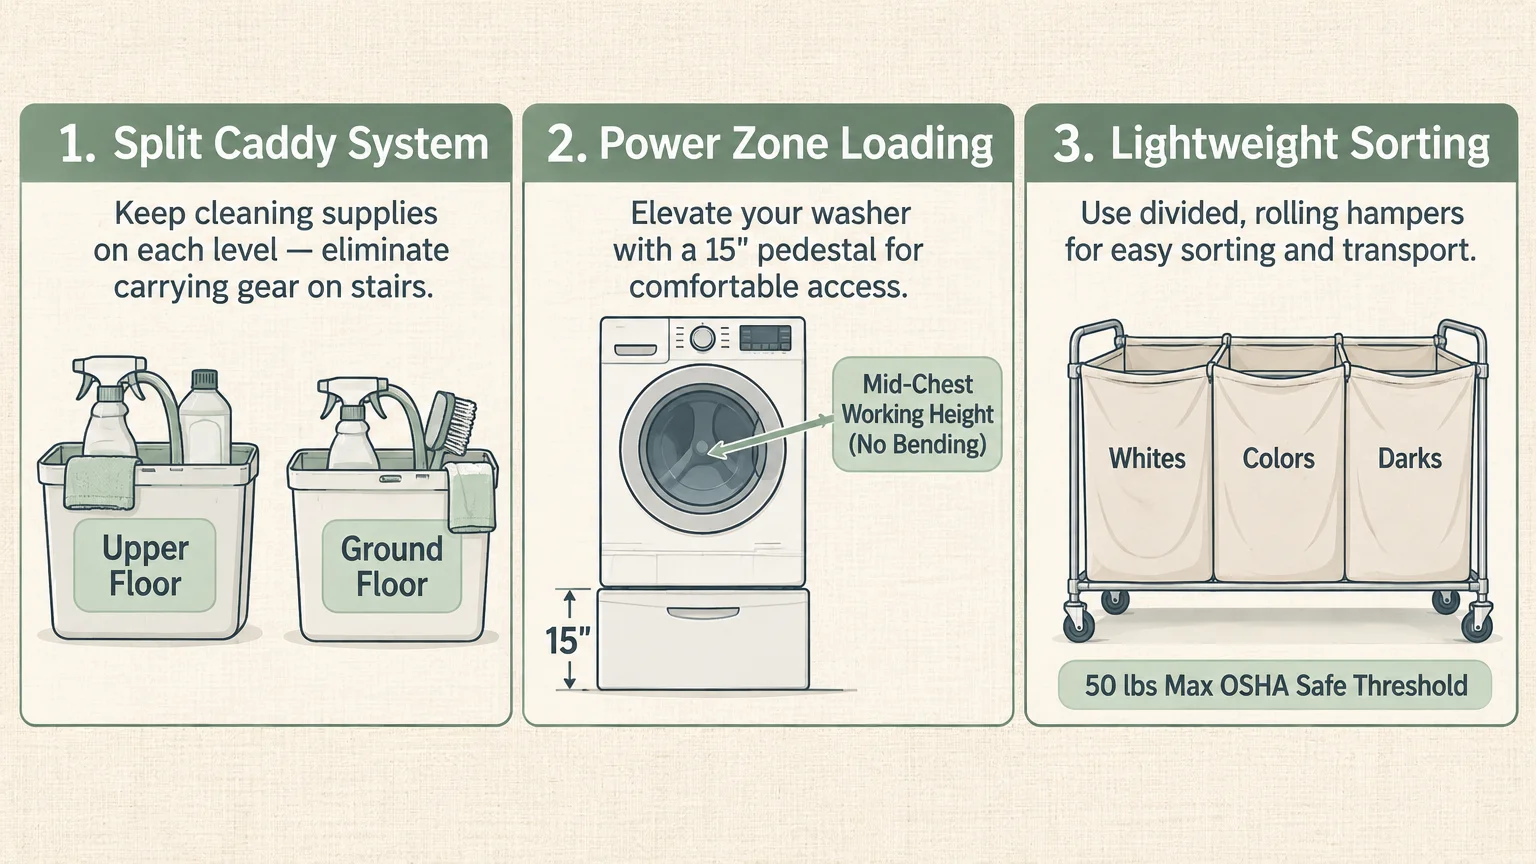
The Arthritis Foundation recommends keeping a duplicate set of basic cleaning supplies—plus a lightweight vacuum—on every floor of a multi-story home. Placing a small caddy of microfiber cloths, mild all-purpose spray, and toilet supplies upstairs removes the need to haul baskets up steps.
Make sure stairs themselves stay completely clear of stacked laundry, vacuum cords, and cleaning bottles. Good lighting and free hands on the handrail keep every climb steady.
Laundry rooms create another hidden back trap, especially around low front-loading washers and dryers. Place a sturdy, non-slip stool right beside the machines, as the Arthritis Foundation advises, so you can sit while loading and transferring clothes.
Divide heavy wet laundry into smaller batches inside a lightweight, hip-high rolling basket instead of hoisting one overflowing tub. Pulling smaller loads keeps weight well inside your safe lifting zone.
Before you start vacuuming any hallway or living room, scan the floor for modifiable fall hazards listed by the CDC:
- Unsecured throw rugs: Remove small accent rugs entirely or anchor them flat with double-sided rug tape so vacuum heads and shoes never snag an edge.
- Trailing cords and clutter: Coil appliance cords immediately and clear shoes, magazines, and pet bowls from walkways before turning on a mop or vacuum.
- Poor footwear: Wear supportive, closed-heel shoes with grippy rubber soles rather than floppy slippers or slick socks while mopping.
- Dim lighting: Switch on overhead fixtures so hidden puddles or power cords stand out clearly before you step forward.
A Joint-Friendly Weekly Cleaning Checklist
Trying to clean an entire house on a single morning punishes stiff knees and backs. Splitting chores into one 20- to 30-minute focus zone per day keeps your home consistently clean with far less fatigue.
Use this pacing checklist to spread work evenly across the week:
- Monday — Living Room Reset: Run a self-emptying robot vacuum or walk a lightweight stick vacuum upright during a short session; use a long-handled duster on shelves at chest height.
- Tuesday — Kitchen Surfaces: Prop one foot on the lower cabinet ledge while wiping counters with warm soapy water; soak stovetop grates before wiping lightly.
- Wednesday — Rest and Reset Day: Skip heavy chores entirely, run only a quick grabber-reacher pickup, and give joints a full recovery window.
- Thursday — Bathroom Refresh: Open the window, pre-treat the tub for a few minutes, guide an extendable spin scrubber across wet tile, and dry floor splashes immediately.
- Friday — Bedroom and Dusting: Sit on the edge of the bed to fold laundry, swap sheets in small sections without yanking heavy corners, and sweep under edges with a dry microfiber mop.
- Saturday — Floors and Baseboards: Damp-mop kitchen and bath tile with a lightweight spray mop in 20- to 30-minute intervals, taking a two- to five-minute walk break between zones.
- Sunday — Light Laundry Only: Use your laundry-room stool for front-loaders, transfer wet garments in light half-loads, and restock your upstairs and downstairs supply caddies.
Adjust any day to match how your joints feel that morning. If stiffness flares up, swap a mopping day for light seated dusting and pick back up when your body feels ready.
Your Next Step for Safer, Easier Cleaning
Pick the single chore that triggers your knees or back fastest—like scrubbing the tub or hauling supplies upstairs—and fix that bottleneck first. One targeted swap beats trying to change every habit overnight.
Pause to let a spray cleaner dwell before wiping, place duplicate supplies on your second floor, or switch to an upright extendable scrubber. One small change today builds a safer, calmer cleaning routine.