You can restore a grime-caked microwave in under five minutes without scrubbing until your arms ache. Harnessing steam breaks down stubborn grease and dried sauce spatters instantly; you only need to wipe the residue away.
Food residues trap bacteria, cause unpleasant cooking smells, and degrade appliance heating efficiency over time. Using targeted natural cleaning tricks protects the interior enamel while eliminating hours of hard labor.
These proven techniques use basic pantry staples to dissolve crusty messes safely and rapidly. Grab a microfiber cloth and a microwave-safe bowl to transform your appliance today.
01 The Citrus Steam Blast for Baked-On Grease
Fresh citrus contains d-limonene, a natural solvent that dissolves sticky vegetable oils and animal fats. When heated, the water carries vaporized citric acid directly into the hardened splatter across the ceiling and walls.
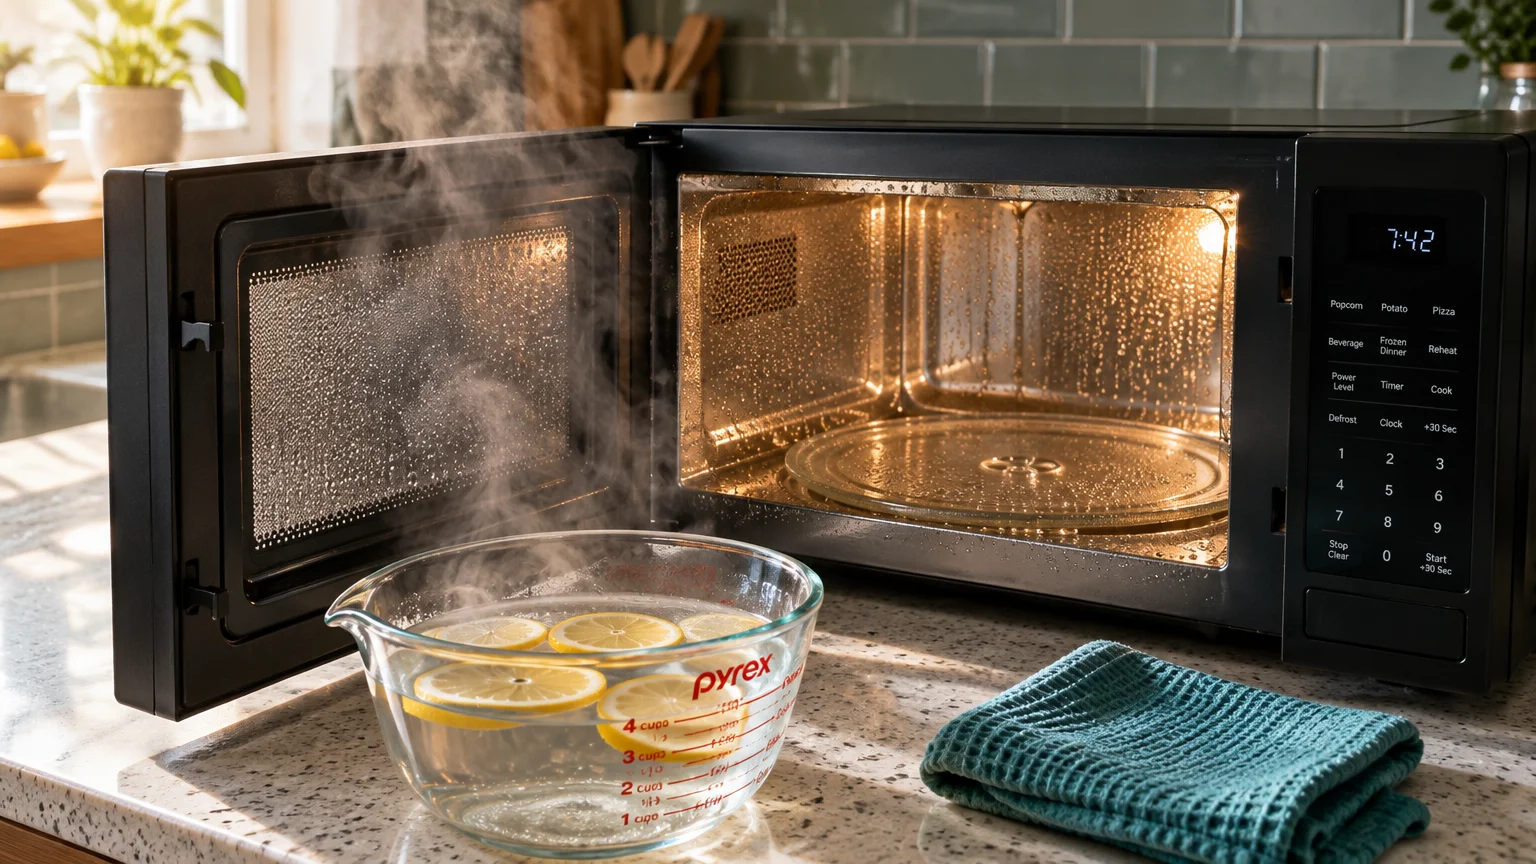
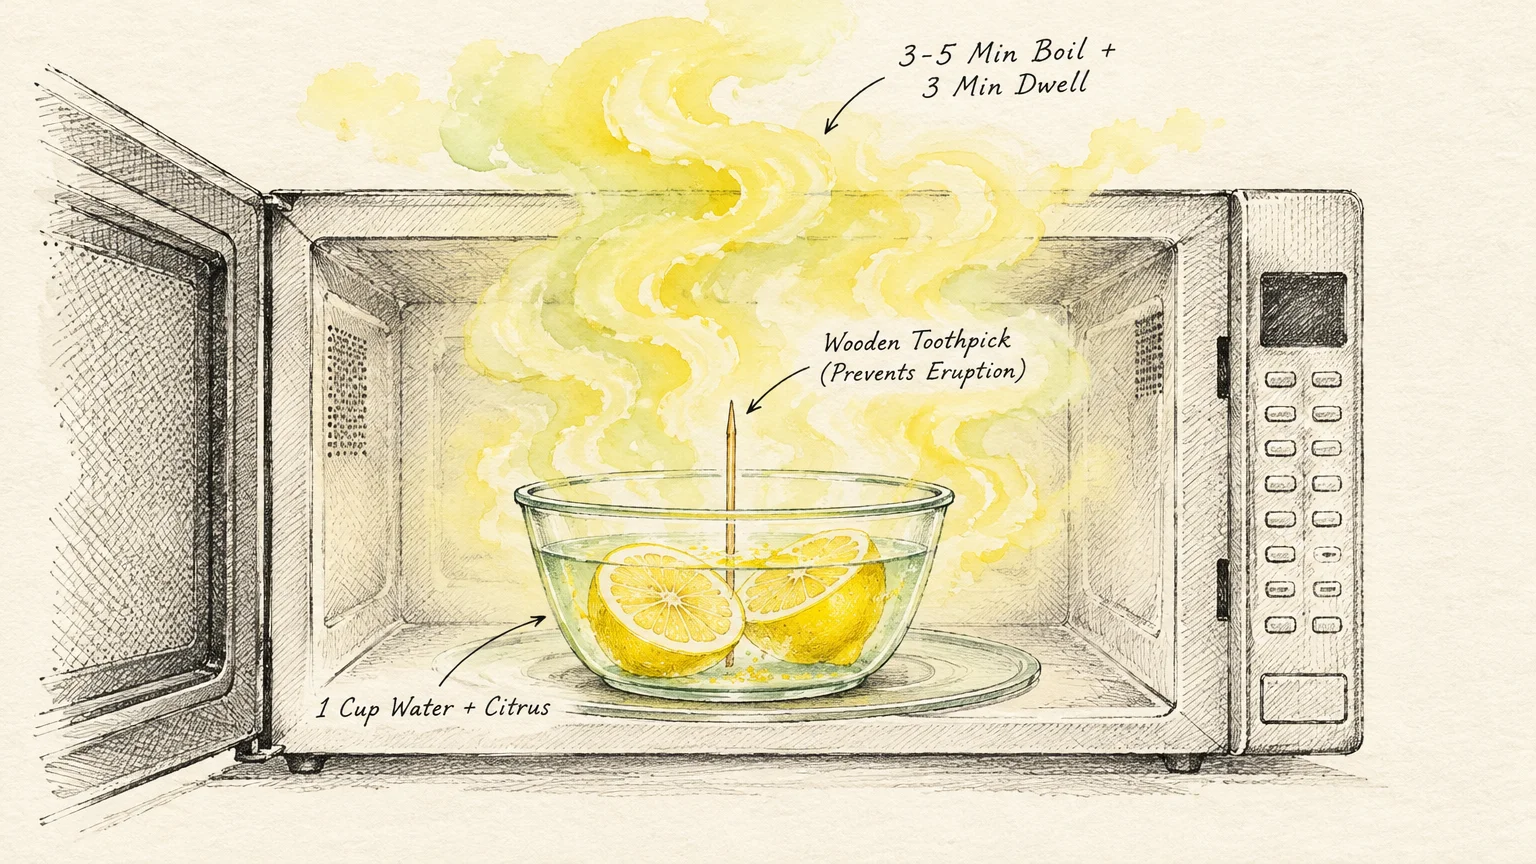
Pour one cup of tap water into a microwave-safe glass or ceramic bowl. Slice a fresh lemon or lime in half, squeeze the juice into the water, and drop the rinds into the liquid.
Place a wooden toothpick or wooden stir stick in the bowl before heating. According to the FDA guidelines on microwave oven safety, adding a non-metallic item prevents superheated water from erupting dangerously when disturbed.
Microwave the bowl on high power for three to five minutes until the liquid boils vigorously. You should see dense condensation coat the interior window and walls.
Leave the door closed for an additional three minutes after the timer rings. This dwell time allows the warm acid vapor to break chemical bonds in baked-on food residues.
Carefully remove the hot bowl using heat-resistant oven mitts. Take a clean, damp microfiber cloth and wipe down the ceiling, walls, turntable, and door seals in broad, sweeping motions.
The softened grease wipes away with minimal pressure. As an added benefit, the natural citrus oils leave your entire kitchen smelling fresh and clean.
02 The Distilled White Vinegar Vapor Bath
When you face charred cheese or explosive tomato sauce stains, distilled white vinegar delivers exceptional cutting power. Vinegar contains roughly five percent acetic acid, making it ideal for breaking down mineral deposits and alkaline food films.
Combine one cup of water and two tablespoons of distilled white vinegar in a microwave-safe container. Avoid using stronger cleaning vinegars with high acid concentrations, as their vapors can overpower small kitchens and irritate your airways.
Set the container inside the microwave cavity. Run the unit on high for four minutes to generate a thick, acidic steam fog.
Keep the door sealed for two to three minutes after heating stops. This dwell time ensures the vinegar vapors penetrate deep into dried carbohydrate and protein crusts.
Open the door and cautiously lift out the container. Dip a textured microfiber sponge directly into the warm vinegar solution—wearing rubber gloves—and wipe the interior surfaces.
Vinegar neutralizes pungent odors from previous meals while lifting discolorations from white or stainless steel interior liners. Rinse your sponge with cool tap water and perform a final pass to remove any residual acidity.
03 The Baking Soda Slurry for Stubborn Cooked-On Stains
Some burnt spots refuse to yield to steam alone; they require targeted chemical lifting and gentle mechanical action. Sodium bicarbonate—common baking soda—acts as a mild alkali that emulsifies grease without scratching delicate interior coatings.
To treat localized scorch marks and burnt splatters, mix a dense cleaning paste using the following proportions:
- Two tablespoons of fresh baking soda
- One tablespoon of warm water
- A few drops of liquid dish soap for extra degreasing power
Stir the ingredients in a small ramekin until they form a smooth paste resembling toothpaste. Apply the paste directly onto dried stains using your fingers or a soft silicone spatula.
Allow the slurry to sit undisturbed for five minutes. The alkaline mixture works into the organic matter, softening the hard outer crust.
Take a non-scratch scrub sponge moistened with warm water and buff the stained area using light, circular motions. Never use steel wool, wire brushes, or abrasive scouring pads, which permanently scratch protective interior cavity coatings.
Wipe the site thoroughly with a damp microfiber cloth to remove all chalky baking soda residue. Dry the surface completely with a clean kitchen towel to prevent moisture streaks.
04 The Dish Soap Suds Technique for Sensitive Cavities
Certain budget microwaves feature painted epoxy cavities that can degrade if exposed to frequent acid treatments. For routine cleaning on sensitive surfaces, a neutral surfactant steam treatment provides effective dirt removal without corrosion risks.
Fill a microwave-safe bowl with one cup of warm water and add one teaspoon of liquid dish soap. Whisk the mixture gently to disperse the soap evenly without creating an overflowing head of foam.
Microwave the sudsy solution on high power for two to three minutes. As the water evaporates, soap molecules ride the steam droplets, settling across every interior square inch.
Let the appliance sit unopened for two minutes to allow the soapy film to emulsify surface grease. Open the door and remove the bowl using protective silicone pinch grips.
Wipe down the cavity using a soft, damp cellulose sponge. The surfactant action lifts oil droplets away from the surface, suspending them in the sponge fibers.
Rinse the sponge under warm tap water and wipe the interior a second time to remove soap residue. Leftover soap film can bake onto the walls during future cooking cycles, creating unsightly yellow stains.
05 The Wet Paper Towel Humidifier Method
If you need to clean microwave messes without washing a bowl afterward, commercial-grade paper towels offer a rapid alternative. This trick functions as a localized steam engine directly against interior splatter zones.
Take four or five thick, unprinted paper towels and run them under cold tap water until fully saturated. Gently squeeze out excess water so the towels are dripping-wet but not pooling liquid.
Spread the saturated towels across the center of the turntable plate. Ensure the paper towels do not contact the ceiling heating element if your unit includes a convection or grilling feature.
Run the microwave on high for one to two minutes while monitoring the process through the door window. The water within the paper towel matrix rapidly boils, releasing high-density moisture directly into the confined cooking cavity.
Wait thirty seconds for the paper towels to cool slightly so you can handle them safely. Pick up the warm, damp paper towels and use them as disposable wipes to collect the loosened grime.
Discard the soiled towels straight into the compost or trash bin. A single final wipe with a dry cloth finishes the job in record time.

06 The Vanilla and Clove Deodorizing Steam
Burnt popcorn and reheated seafood leave lingering odors that survive basic cleaning routines. Stale odors permeate the microwave exhaust ducting, returning every time you operate the appliance.
University food safety specialists recommend proper sanitation to keep kitchen air and cooking equipment fresh; review Colorado State University Extension guidelines on kitchen sanitation for safe home practices. Masking scents with harsh synthetic aerosols inside food prep areas creates chemical contamination hazards.
Instead, combine one cup of water, two teaspoons of pure vanilla extract, and four whole cloves in a ceramic mug. The essential oils in whole spices and pure extracts bond with airborne odor molecules, effectively neutralizing them.
Microwave the mixture on high power until it reaches a rolling boil, which generally takes about two to three minutes. Once steam coats the cavity, shut off the power immediately.
Leave the door closed for at least fifteen to twenty minutes—or even overnight for extreme fish or scorch smells. The aromatic vapors permeate the porous door gasket and venting routes, stripping away unpleasant smells.
Remove the mug and wipe the interior dry. Your microwave will smell clean and warm without synthetic perfumes or lingering foul odors.
07 The Isopropyl Alcohol Detail for Exterior Touchpads
Greasy fingerprints and kitchen dust gather rapidly on microwave handles, door latches, and electronic membrane keypads. Spraying standard liquid cleaners directly onto electronic control boards can cause short circuits and expensive electrical failures.
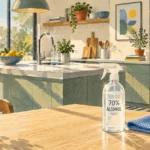
Seventy percent isopropyl alcohol acts as an exceptional exterior degreaser that evaporates rapidly without leaving behind cloudy streaks. It cuts through oily fingerprints while sanitizing high-touch surfaces safely.
Fold a soft microfiber cloth into quarters and dampen one corner with a small amount of isopropyl alcohol. Never pour or spray liquid cleaners directly onto the control panel or ventilation slots.
Gently wipe down the push-buttons, digital display screen, and door release mechanism. Use a clean wooden cotton swab dampened with alcohol to remove built-up grime trapped along the raised seams of the keypad.
The alcohol flashes off in seconds, leaving the surface sanitized and streak-free. Use the dry side of the cloth to buff the glass viewing window and stainless steel trim to a brilliant shine.
Clean the exterior handle thoroughly, as hands transfer grease and food bacteria to this surface daily. Maintaining the exterior ensures a sanitary appliance inside and out.
Crucial Components: Caring for Turntables and Waveguide Covers
A thorough cleaning session requires paying close attention to two delicate components: the glass turntable and the waveguide cover. Overlooking these items leads to mechanical jams, arcing sparks, and cracked components.
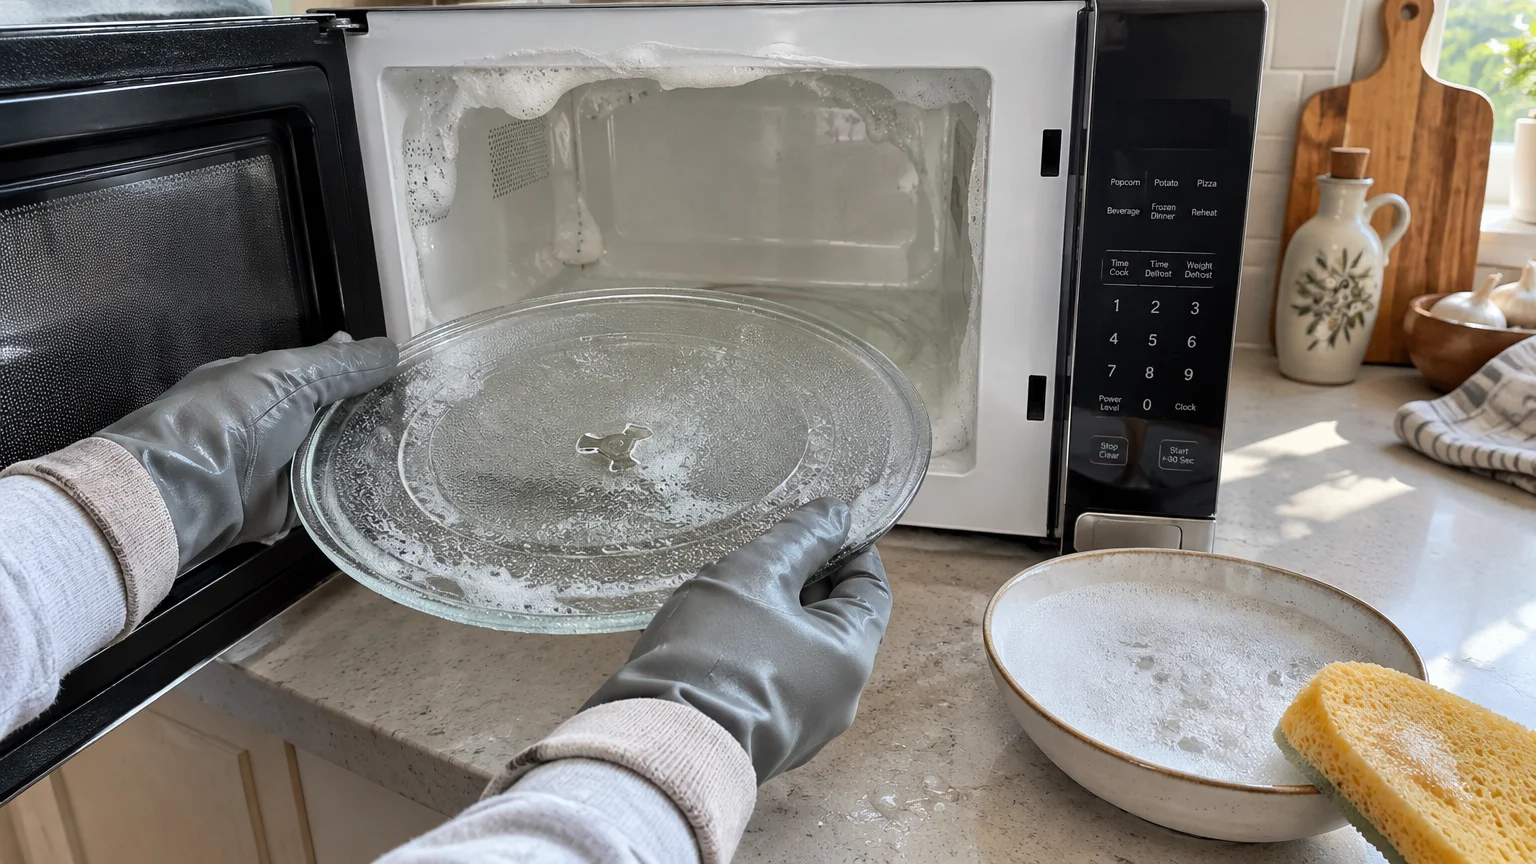
Always inspect the glass turntable tray before exposing it to water. If the tray feels hot from recent cooking, let it cool completely to room temperature before washing.
Plunging hot tempered glass into cold sink water causes thermal shock, which can shatter the tray instantly. Wash the cooled tray in the sink using warm water and liquid dish soap, or place it on the top rack of your dishwasher.
Lift out the rotating roller ring underneath the turntable. Wash the small plastic wheels with warm soapy water to remove dried crumbs and sticky grease pools that cause jerky rotation and motor strain.
Locate the waveguide cover, typically a small rectangular panel made of mica mounted on the right interior wall or ceiling. This shield protects the internal magnetron electronics from food splatters and moisture.
Never soak the waveguide cover or scrub it with abrasive pads. Gently wipe food spatters off the mica surface using a barely damp cloth, taking care not to bend or puncture the brittle material.
If grease bakes into the waveguide cover, electrical current can arc across the carbonized residue, producing sparks and smoke. Replace burned or frayed waveguide covers immediately to preserve your appliance.
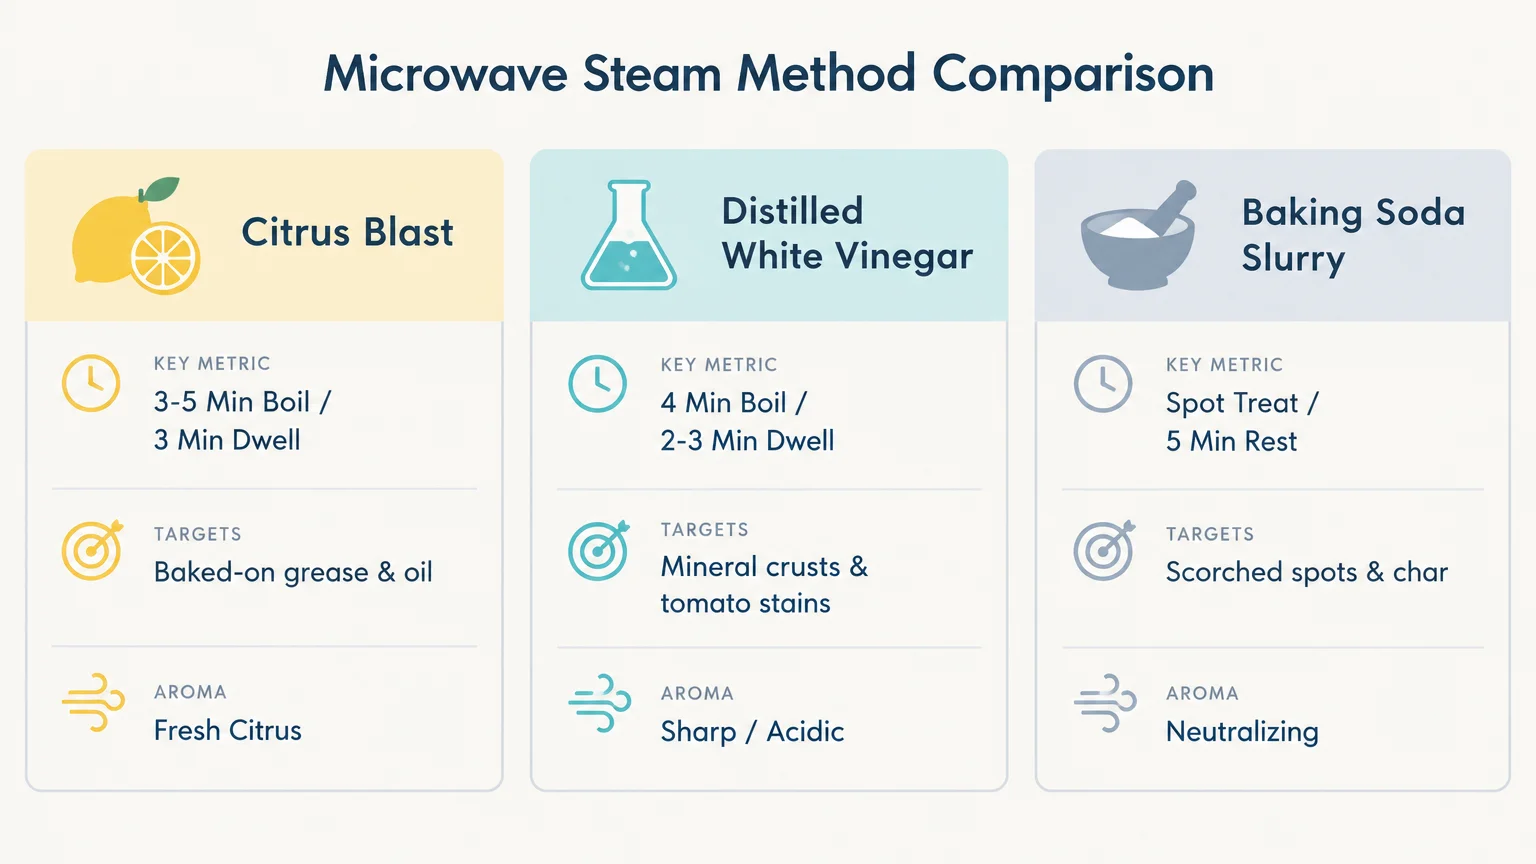
Microwave Cleaning Method Comparison
Selecting the right method for your specific mess saves time and protects your appliance interior. Consult this reference table to match your cleaning challenge with the optimal solution:
| Cleaning Method | Best For | Active Ingredient | Dwell Time | Recommended Tool |
|---|---|---|---|---|
| Citrus Steam Blast | General grease, light spatters | Citric acid (d-limonene) | 3 minutes | Microfiber cloth |
| Vinegar Vapor Bath | Hard water, dried sauces, cheese | 5% Acetic acid | 3 minutes | Textured sponge |
| Baking Soda Slurry | Scorched spots, stubborn rings | Sodium bicarbonate | 5 minutes | Non-scratch scrub pad |
| Dish Soap Suds | Painted cavities, daily maintenance | Neutral surfactants | 2 minutes | Cellulose sponge |
| Paper Towel Steam | Fast single-step wipe downs | Water vapor | 30 seconds | Damp paper towels |
| Vanilla & Cloves | Burnt popcorn, fish odors | Aromatic essential oils | 15 minutes | Dry lint-free cloth |
| Isopropyl Alcohol | Touchpads, handles, glass doors | 70% Isopropanol | Instant | Damp microfiber cloth |
Always verify your appliance manufacturer’s care booklet before applying home solutions. While natural cleaners are gentle, matching chemistry to the stain guarantees pristine results without unnecessary scrubbing.
Essential Microwave Safety and Sanitation Practices
Routine cleaning is about more than aesthetics; it prevents pest attraction and cross-contamination. The USDA Food Safety and Inspection Service highlights that clean microwave interiors ensure food cooks evenly and reaches safe internal temperatures.
Food spatters left inside the cavity absorb microwave energy during subsequent cycles. This diversion leaves cold spots in your meals where harmful foodborne bacteria can survive.
Furthermore, baked-on carbon deposits can overheat and produce smoke or localized fires. Implementing simple preventive protocols eliminates most heavy scrubbing sessions before they begin.
Keep these fundamental rules in mind whenever you use or clean your appliance:
- Always cover bowls and plates with a vented silicone splatter lid or parchment paper during cooking.
- Never operate the microwave when the cavity is empty, as this damages the internal magnetron tube.
- Wipe minor spills immediately with a damp rag while the cavity walls are still warm.
- Check the flexible door seal regularly for dried food chunks that might prevent an airtight seal.
- Avoid bleach, ammonia, and commercial oven cleaners, which release toxic fumes and corrode microwave interiors.
The CDC guidance on household cleaning and hygiene stresses cleaning surfaces with soap or detergent before using disinfectants. Following this principle ensures your appliance remains hygienic and safe for food preparation.
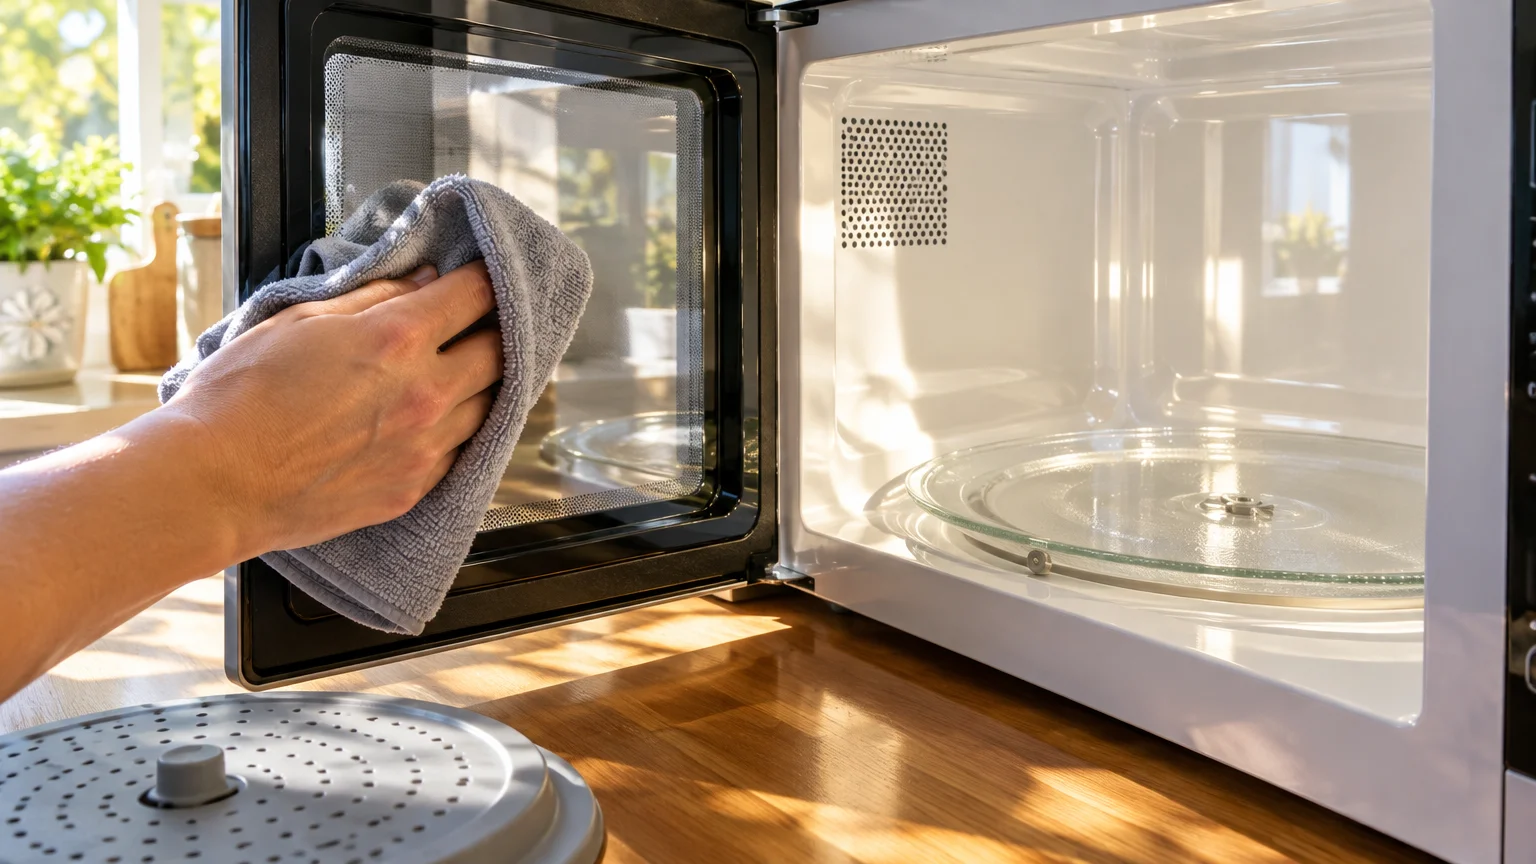
Keep Your Microwave Pristine in Seconds
Take two minutes right now to place a bowl of water and sliced lemon in your microwave. Run it on high, let the steam loosen today’s hidden splatters, and wipe the cavity clean to keep your kitchen running effortlessly.