You can achieve a sparkling shower without spending your weekend hunched over tiles with an abrasive brush. Chemical dwell time breaks down mineral deposits and body oils so you simply rinse them away.
When you let safe household solutions do the heavy lifting, easy bathroom cleaning becomes a realistic part of your routine. This approach preserves your joints and protects delicate tile glazes from abrasive scratches.
These eight practical shower cleaning hacks target stubborn soap scum removal and hard water buildup using chemistry rather than muscle. You will reclaim your time while keeping every corner fresh.
The Science of Dwell Time in Easy Bathroom Cleaning
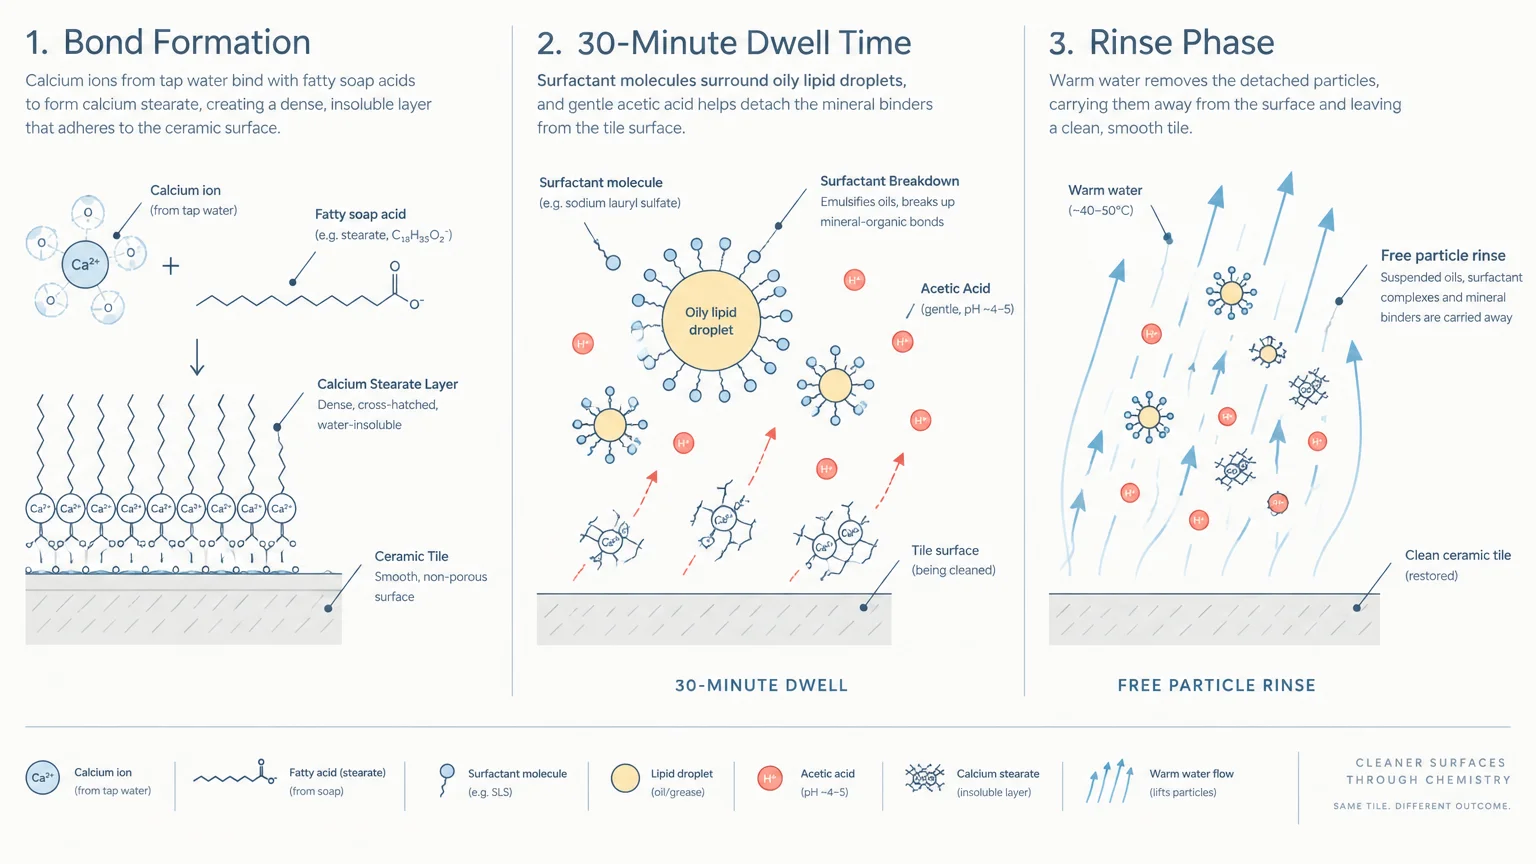
Soap scum forms when the fatty acids in bar soaps bind with calcium and magnesium ions found in tap water. This chemical reaction creates calcium stearate, an insoluble coating that sticks tenaciously to smooth surfaces.
Scrubbing tries to mechanically scrape these hardened bonds away from your walls. Chemical dwell time dissolves the bonds from underneath instead, allowing water to carry the residue away.
Surfactants surround fatty particles, while gentle acids loosen mineral bonds. Once these bonds break, a simple warm-water rinse cleans the wall completely.
Applying the right cleaner and letting it rest for thirty minutes eliminates physical strain. You substitute patience for brute force and get better results.
01 The Clinging Vinegar and Dish Soap Spray
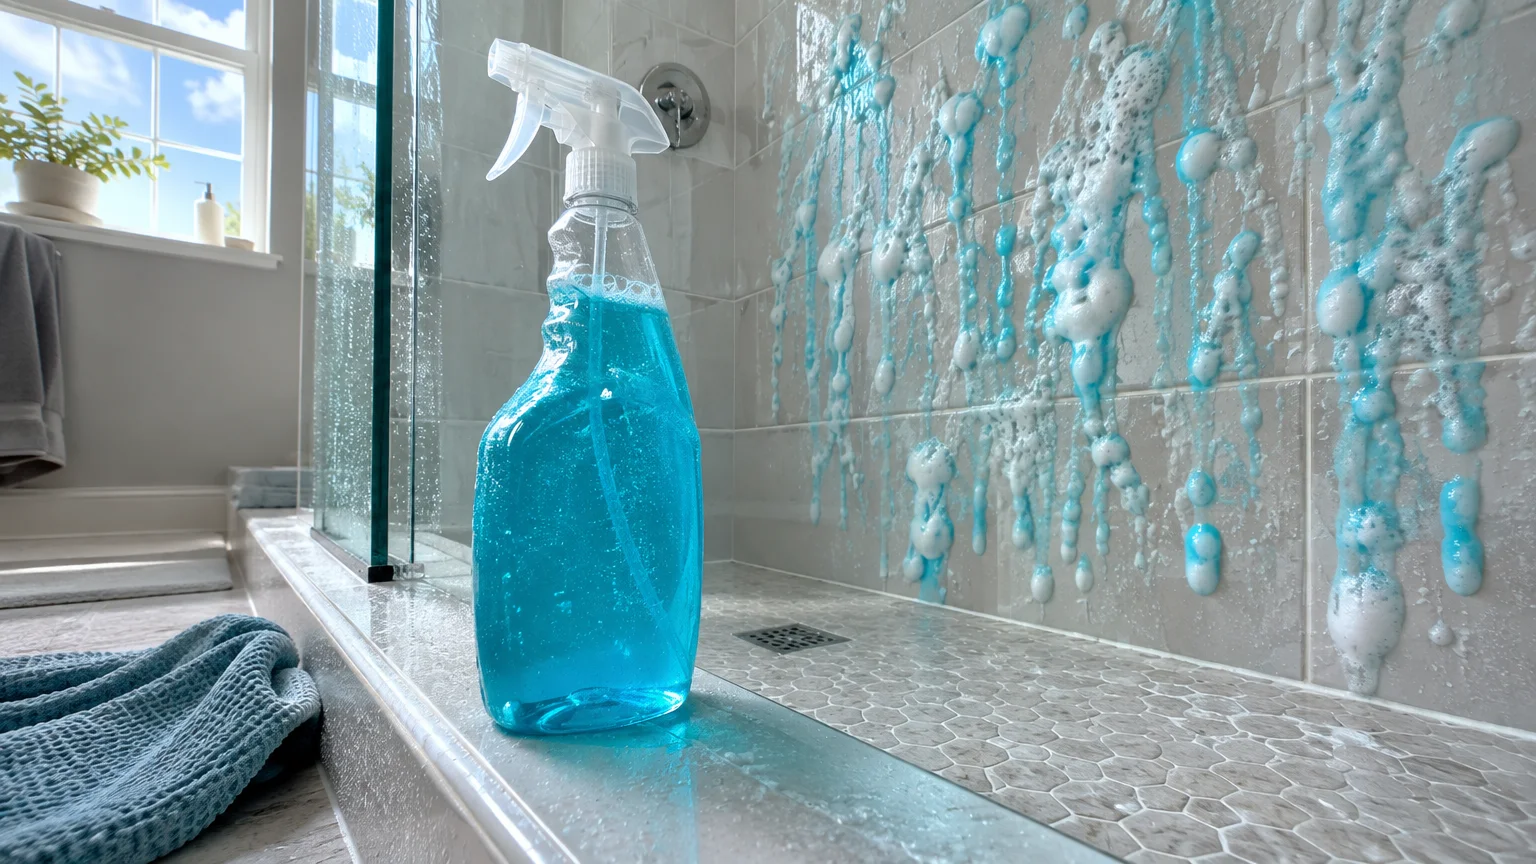
Liquid cleaners run down vertical walls before they can dissolve deposits. Combining heated distilled white vinegar with concentrated dish soap creates a thick gel that stays in place.
The acetic acid in vinegar dissolves mineral binders within the scum. Simultaneously, concentrated surfactants in the dish soap break down oily skin residues and conditioning agents.
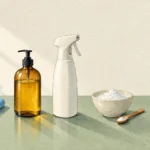
- 1 cup distilled white vinegar
- 1 cup concentrated liquid dish soap
- Microwave-safe measuring container
- Heavy-duty spray bottle
- Handheld shower wand or plastic rinsing cup
Warm the vinegar in your microwave for roughly thirty seconds until it is hot to the touch. Heat accelerates chemical reactions and helps the two liquids blend evenly.
Pour the warm vinegar into your spray bottle and add the dish soap slowly. Swirl the bottle gently to combine the ingredients without creating excessive foam.
Spray the mixture generously over your shower doors, fiberglass walls, and ceramic tiles. Allow the solution to dwell undisturbed for forty-five minutes.
Rinse the surfaces using hot water from your showerhead. Watch the softened film glide down the drain without touching a sponge to the tile.
Do not use this vinegar spray on natural stone surfaces like marble, granite, or travertine. Acid etches calcium carbonate stones permanently, dulling their polished finish.
02 The Overnight Submerged Showerhead Soak
Hard water clogs internal showerhead nozzles with limescale and chalky calcium carbonate deposits. This mineral accumulation restricts water pressure and causes streams to shoot sideways in erratic directions.
Submerging the fixture completely in an acidic bath dissolves these crusty blockages overnight. You avoid wrenching the fixture off its pipe and damaging the surrounding wall plate.
- Inspect your showerhead and wipe away any loose outer debris using a damp rag.
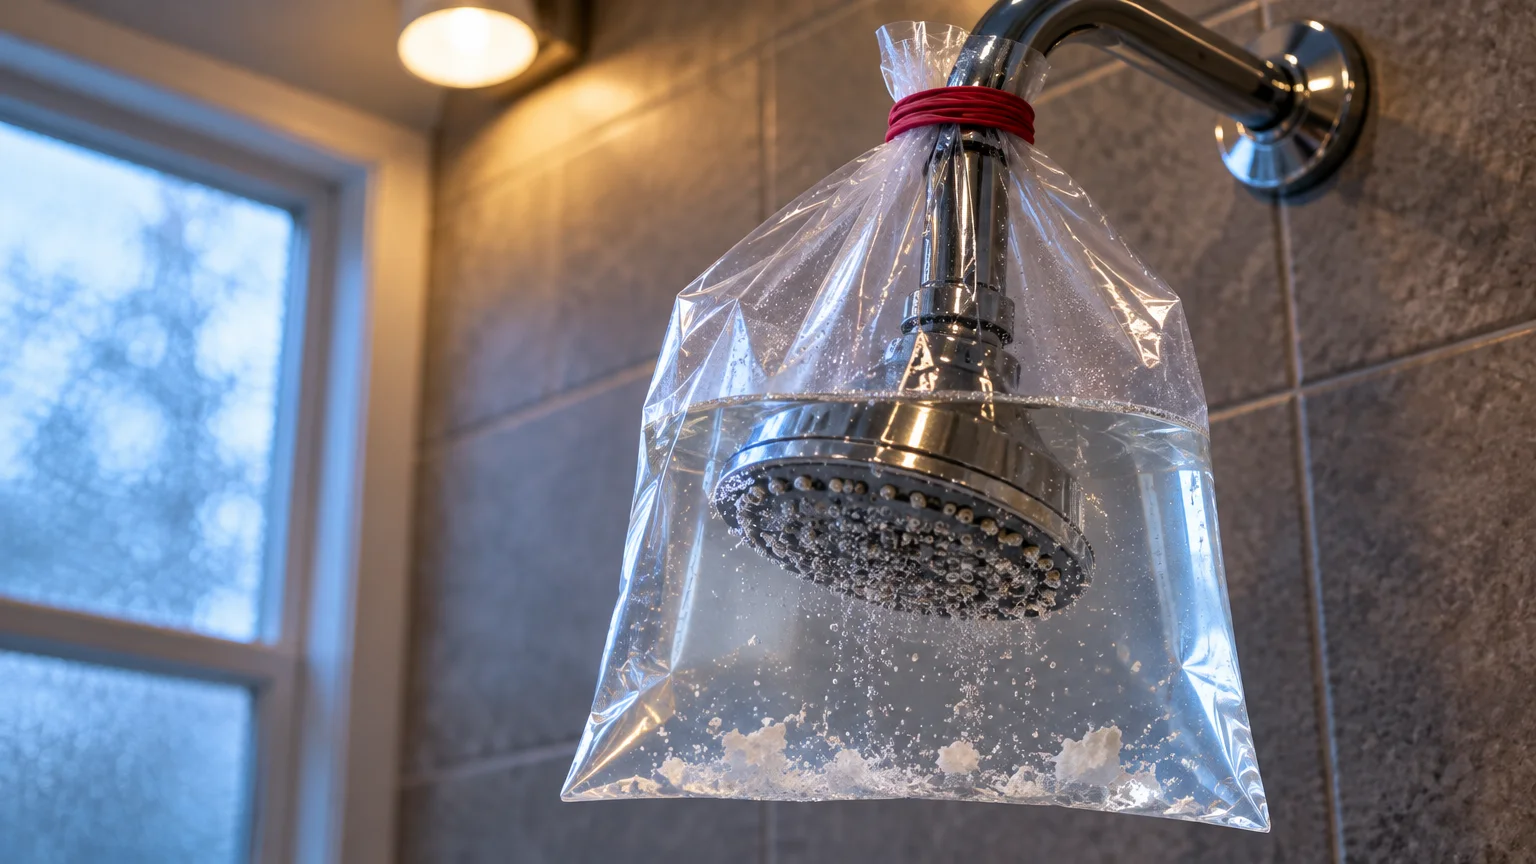
- Fill a sturdy gallon-sized plastic storage bag halfway with distilled white vinegar.
- Position the bag over the showerhead until the spray plate sits submerged in the liquid.
- Secure the top of the bag around the neck of the pipe using a thick rubber band or zip tie.
- Leave the submerged showerhead overnight for at least seven to eight hours.
- Remove the bag carefully the next morning and run hot water for two full minutes.
The running water flushes loosened mineral fragments out of the internal channels. Your showerhead will spray with full, even force again.
If your fixture has a delicate specialty finish like oil-rubbed bronze, do not soak it overnight. Limit acid exposure on coated metals to thirty minutes to protect protective surface sealants.
03 The Post-Shower Hydrophobic Maintenance Mist
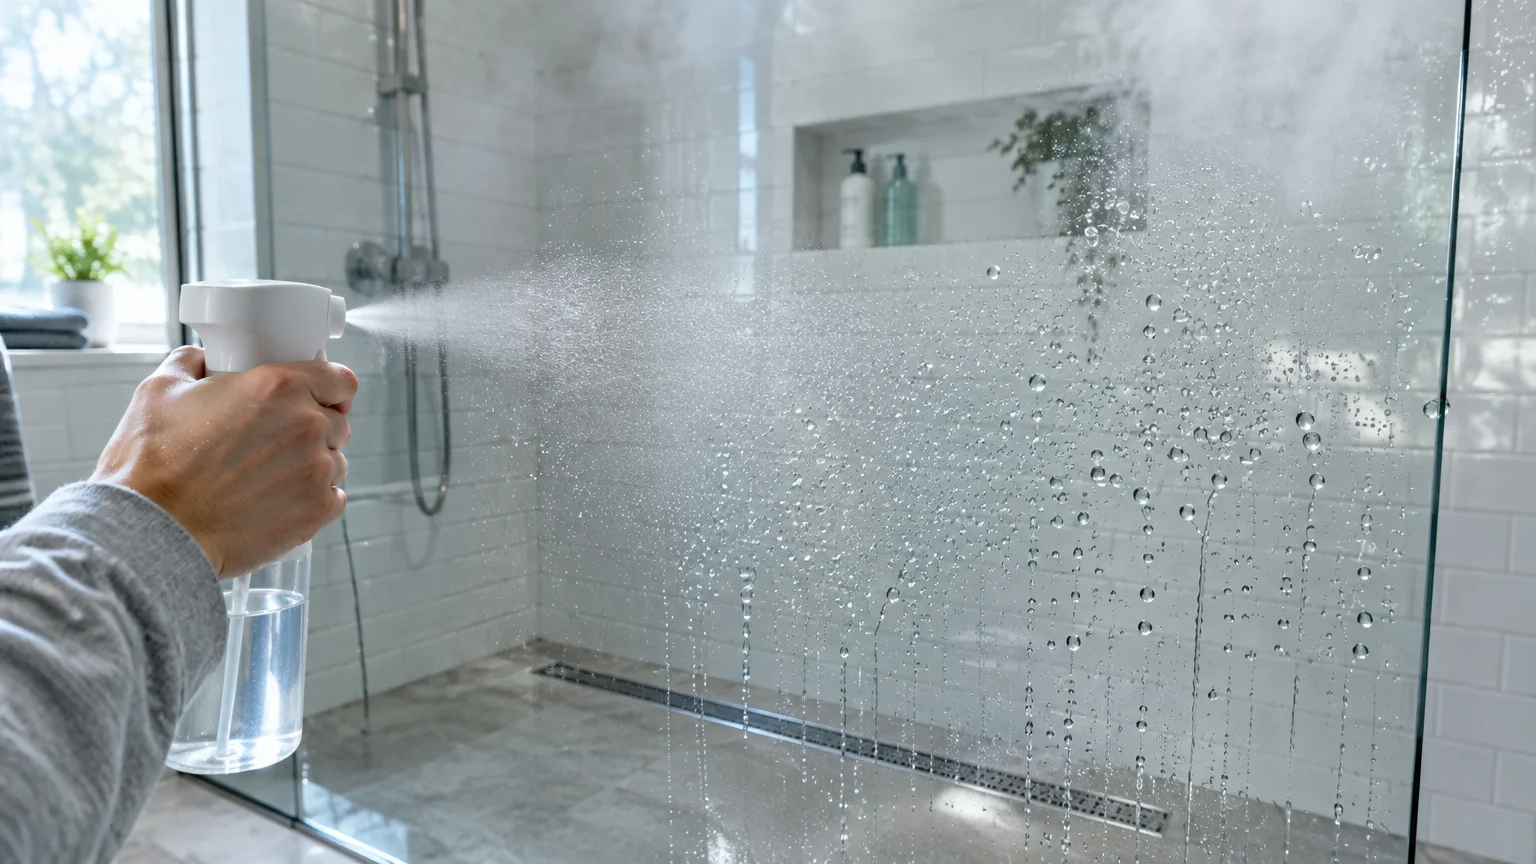
The easiest way to clean shower surfaces is to prevent residue from bonding in the first place. A daily post-shower mist alters the surface energy of your walls so moisture sheets right off.
This daily shower cleaning tip takes less than ten seconds after you finish your morning shower. You apply the mist while the walls are still wet and warm.
Mix two cups of tap water, half a cup of rubbing alcohol, and one tablespoon of dishwasher rinse aid. The alcohol speeds evaporation, while the rinse aid breaks the surface tension of residual water droplets.
Keep the spray bottle inside your shower stall for easy, convenient access. Before stepping out, spray a light mist across the wet walls, tub, and glass.
Walk away immediately without wiping, buffing, or rinsing the walls. The fine mist prevents mineral rings and stops soap scum removal from becoming a major weekend chore.
04 Oxygen Bleach Slurry for Caulk and Grout Channels
Porous grout absorbs dirty wash water, leading to dark staining and discoloration deep within your tile lines. Chlorine bleach whitens surface grime temporarily, but it emits harsh fumes and can degrade porous grout binders over time.
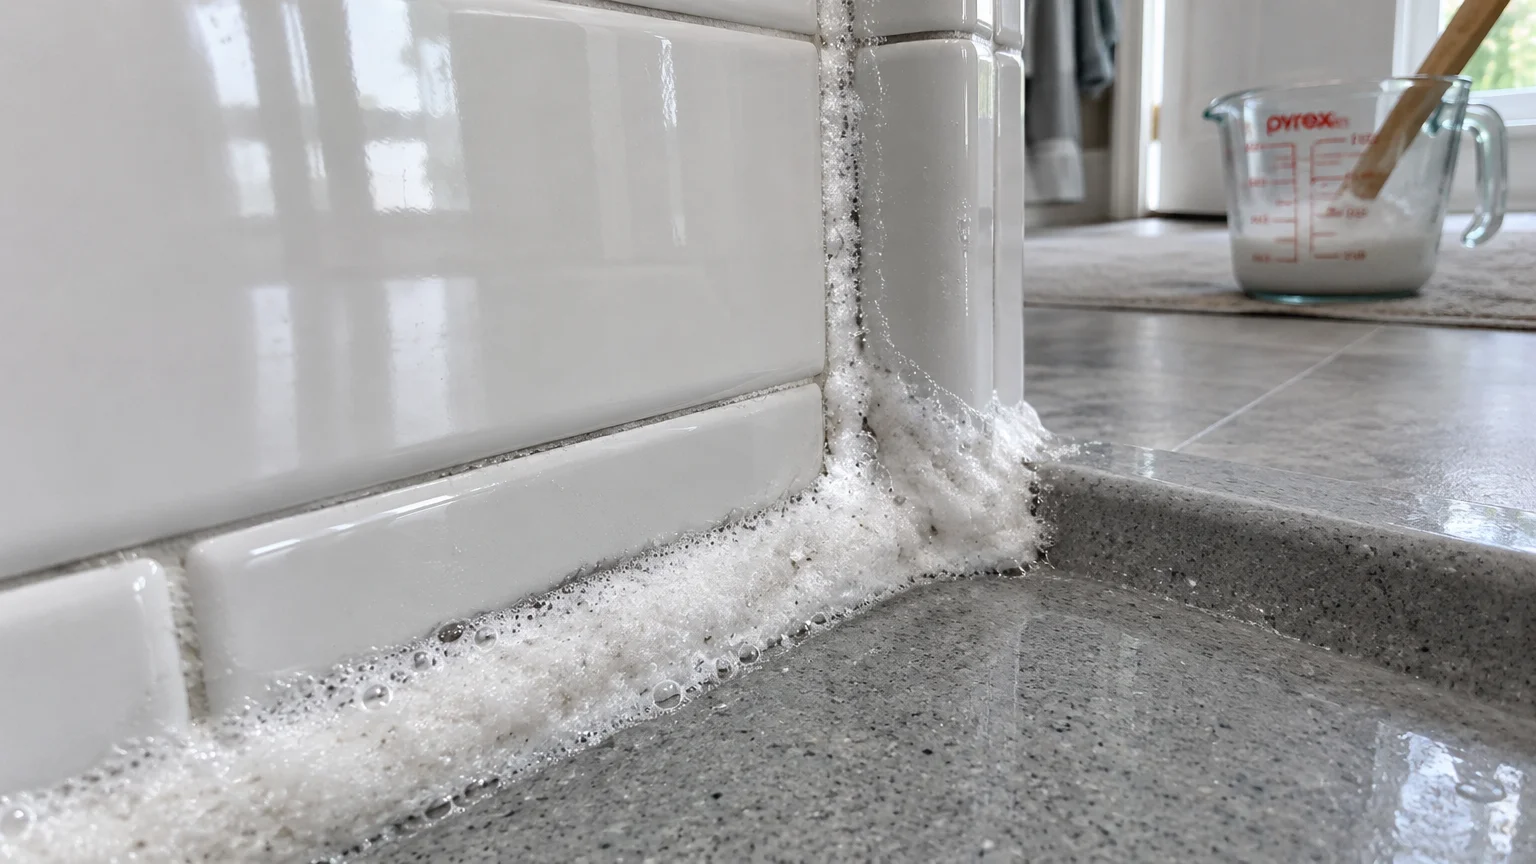
Oxygen bleach, also known as sodium percarbonate, offers an effective alternative that works without foul vapors. When combined with water, it releases a continuous stream of effervescent oxygen bubbles that lift deeply embedded grime.
Dissolve three tablespoons of powdered oxygen bleach into one cup of warm water. Stir the liquid until the powder dissolves into a thick, milky liquid suspension.
Pour or brush this liquid along your horizontal and vertical grout channels using an inexpensive foam brush. The foaming action penetrates microscopic crevices without requiring manual pressure.
Allow the oxygen bleach solution to bubble on the grout for thirty minutes. Rinse the tiles thoroughly with warm water using your handheld wand.
The active oxygen lifts soil out of the cement matrix naturally. Your grout lines will dry several shades lighter without back-breaking labor.
05 Citric Acid Steam Descaling
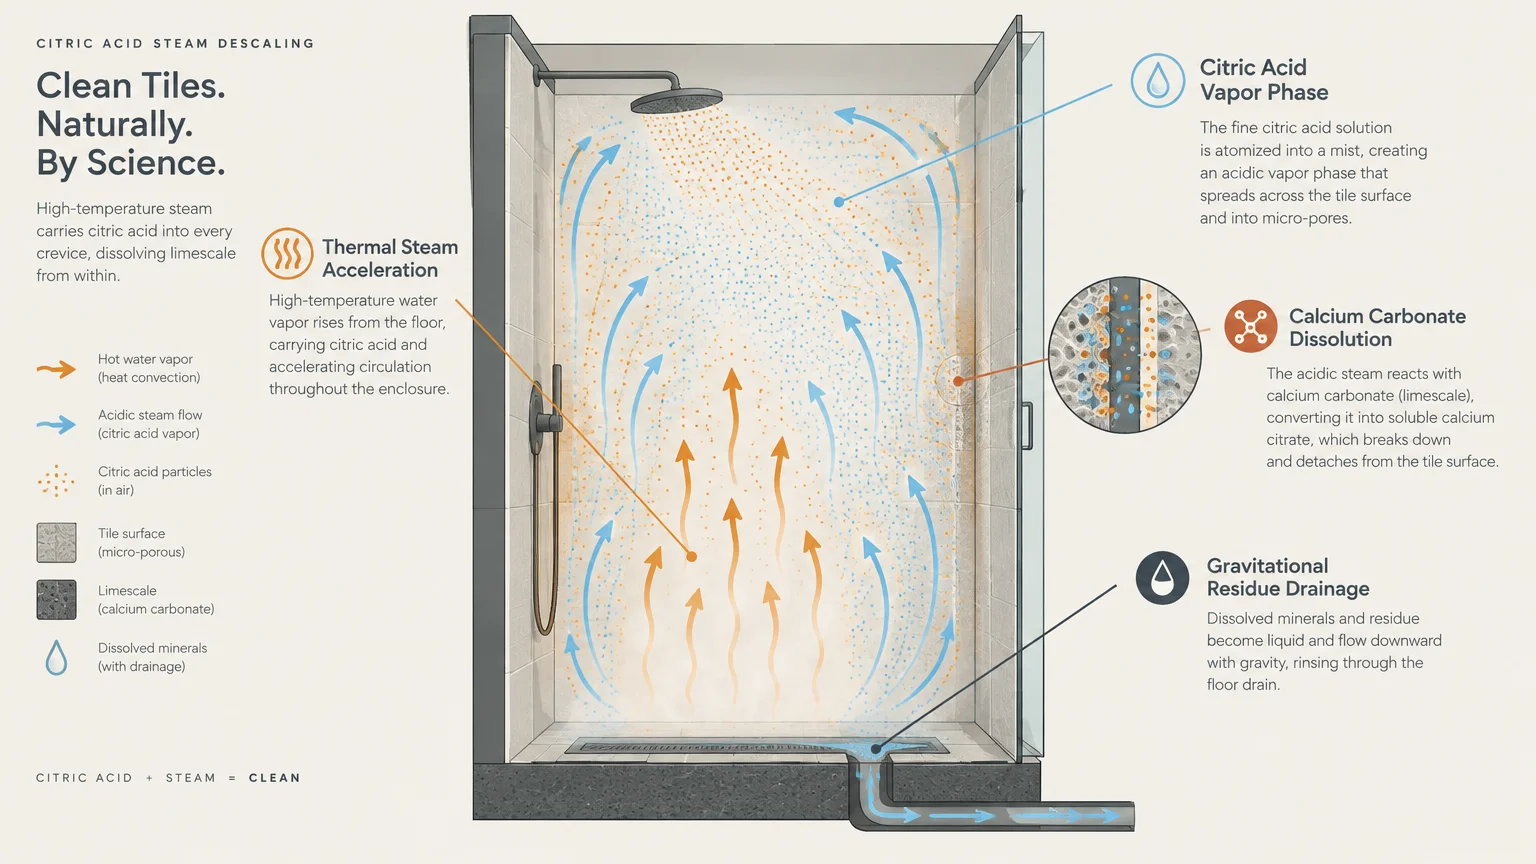
Citric acid provides the mineral-cutting potency of vinegar without the pungent, lingering pickle odor. Derived from citrus fruits, it acts as a natural chelating agent that binds tightly to hard water minerals.
When combined with natural steam, citric acid loosens calcium deposits across large areas rapidly. This makes it an ideal hack for textured shower floors and patterned glass doors.
Dissolve three tablespoons of food-grade citric acid powder into two cups of very hot tap water. Pour the dissolved solution into a spray bottle and tighten the nozzle.
Turn your shower to its hottest setting for sixty seconds to fill the stall with humid steam. Shut the water off and immediately spray the citric solution over the entire wet enclosure.
Close the shower door or curtain to trap the warm moisture inside for twenty minutes. The trapped steam keeps the citric solution active, preventing it from drying against the walls.
Turn on the cool water to rinse down the walls and base. The calcium film will wash directly down the drain, leaving clear, streak-free surfaces.
06 The Thirty-Second Squeegee Evacuation Method
Water serves as the carrier vehicle for every mineral deposit and soap residue that enters your shower. When standing water evaporates into the air, it leaves behind minerals and dissolved soap lipids.
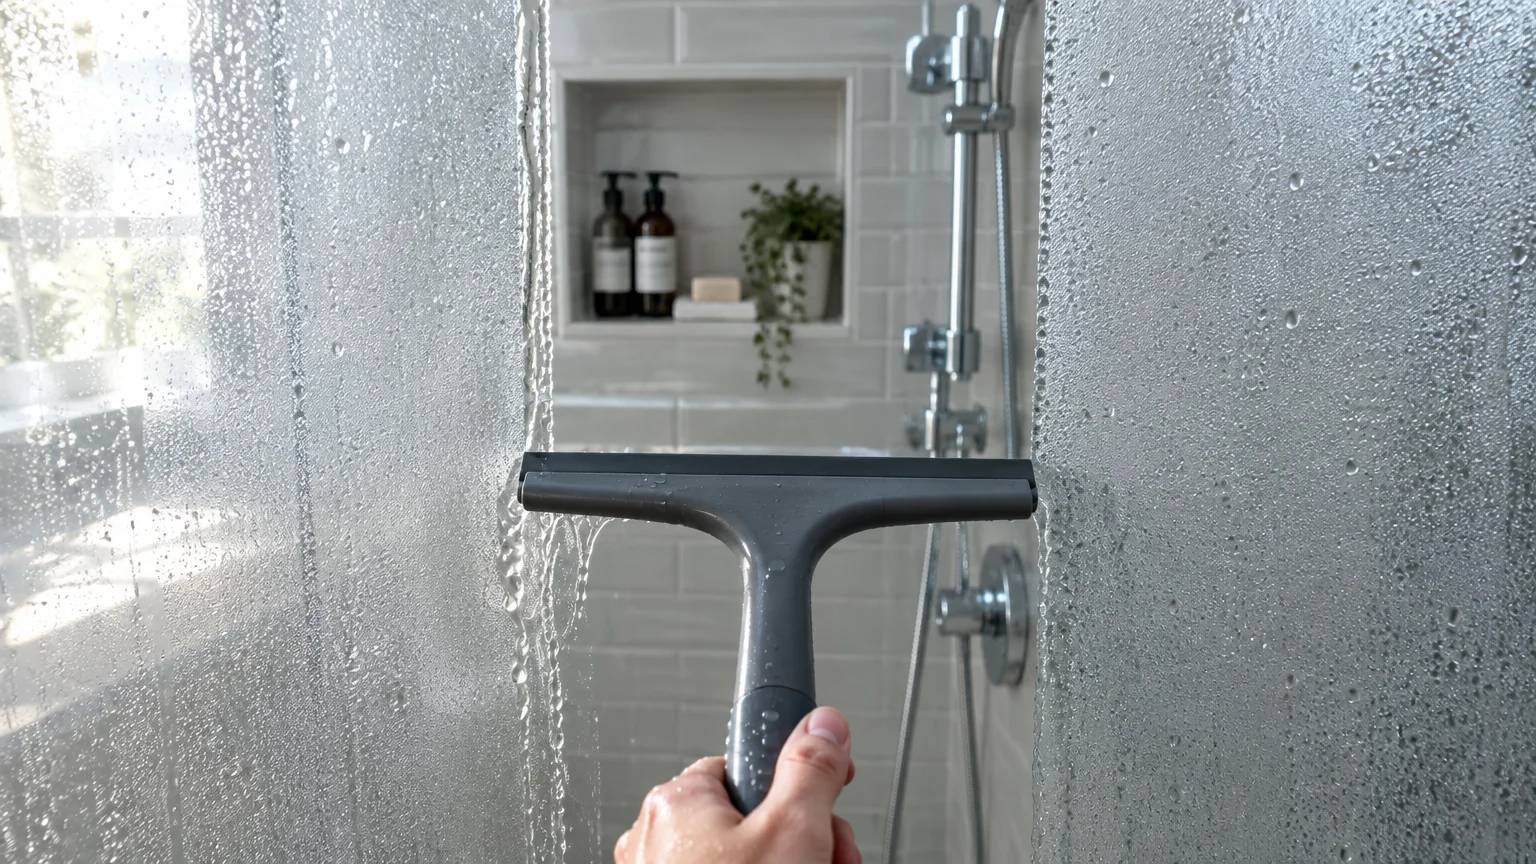
Removing standing water before it evaporates prevents hard deposits from ever forming on glass and tile. A flexible silicone squeegee clears surface water in thirty seconds flat.
Select a squeegee with a soft silicone blade rather than stiff black rubber. Flexible silicone contours across curved tiles, uneven grout lines, and glass without skipping or squeaking.
Start at the top corner of your shower door and pull the blade straight down in overlapping vertical strokes. Wipe the bottom edge of the blade on a microfiber towel once between passes.
Clear the glass panels first, then make quick downward sweeps across your primary tile accent walls. Direct the pooling moisture directly toward the floor drain.
This quick mechanical sweep removes minerals before they dry. It completely eliminates the need for aggressive soap scum removal later in the month.
07 Hydrogen Peroxide Bio-Breakdown for Corners
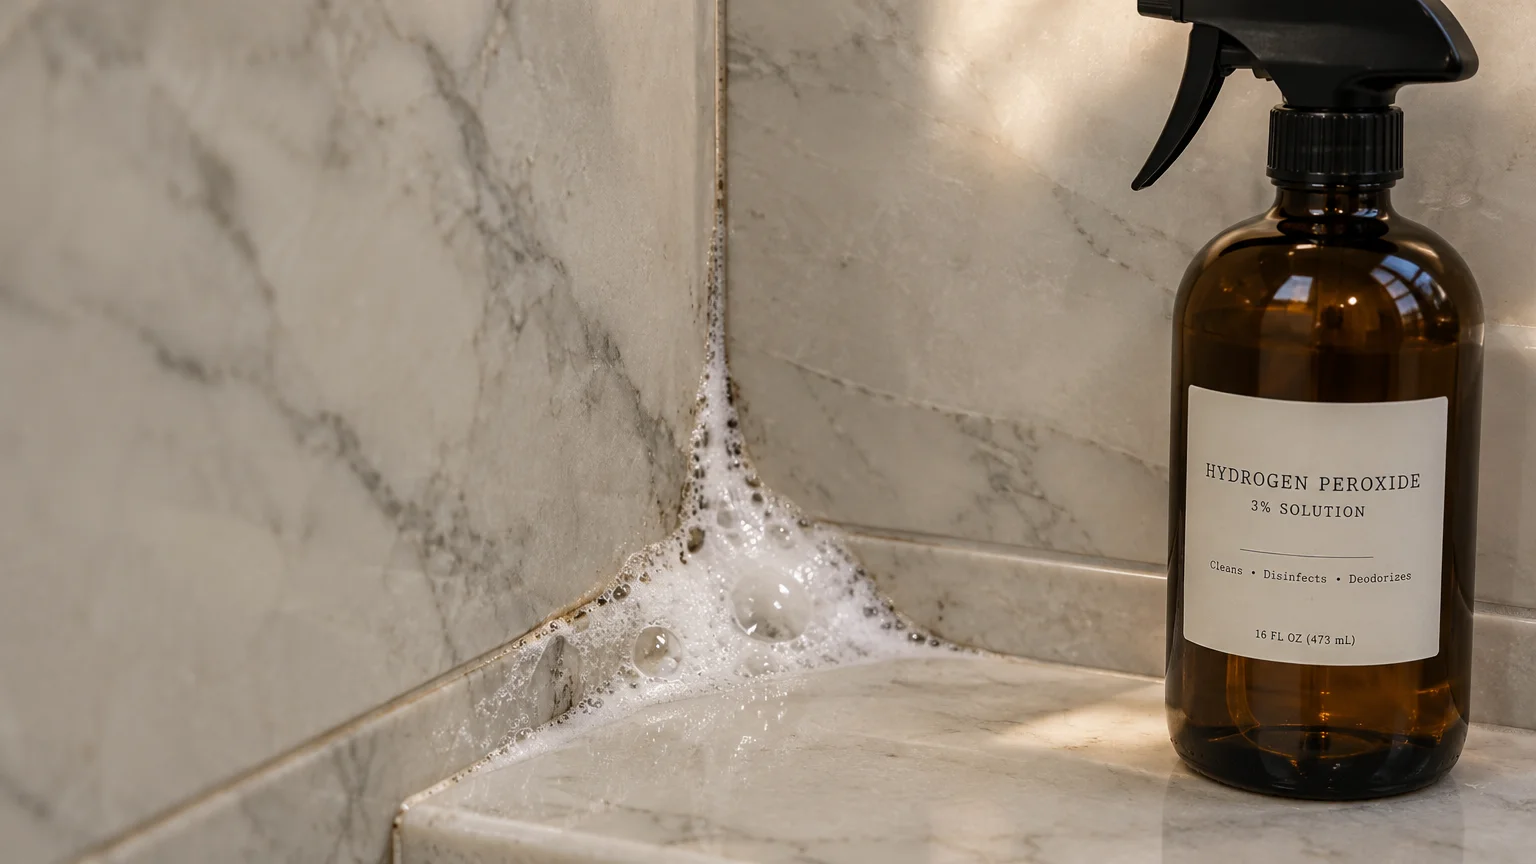
Damp silicone seals and low corners often develop dark, slimy biofilm along their perimeter. This film consists of bacteria, airborne fungi, and organic body oils settling into recessed caulk joints.
Household hydrogen peroxide breaks these organic materials down through oxidation. As it contacts biological matter, it releases micro-bubbles that break organic bonds without producing irritating fumes.
Screw a standard plastic spray trigger directly onto a fresh bottle of three percent hydrogen peroxide. The dark amber bottle prevents light from breaking down the peroxide liquid into harmless water.
Spray the peroxide directly onto discolored caulk lines, track corners, and damp edges around your tub rim. You will hear an audible fizzing sound as the liquid attacks the biological buildup.
Leave the foaming liquid on the caulk until the fizzing stops naturally, which takes about twenty minutes. The oxidative process neutralizes discoloration and releases the organic bond.
Rinse the treated corners using warm water from your shower wand or a cup. The biological slime washes away cleanly, restoring bright caulk without damaging the silicone seal.
08 Hydrophobic Polymer Sealers for Shower Glass
Glass looks smooth to the naked eye, but its surface contains microscopic pits and valleys that trap minerals. Over time, recurring mineral exposure causes permanent etching that no cleaner can remove.
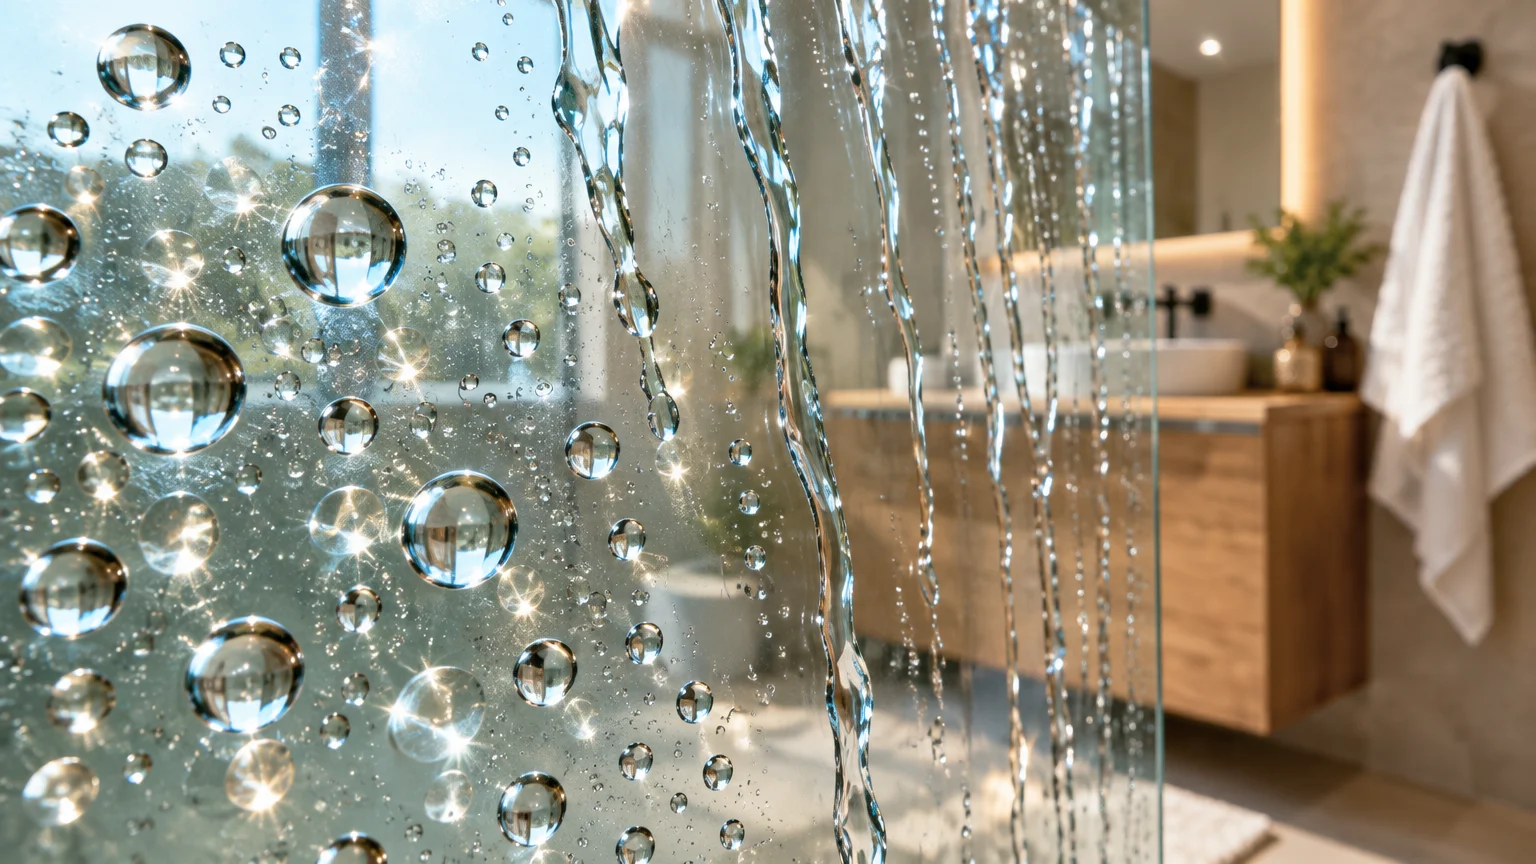
Applying a hydrophobic polymer barrier fills these microscopic pits and creates an ultra-smooth, slick surface. Water beads into tight spheres and slides downward instantly, taking soap particles along with it.
Start with a thoroughly clean, bone-dry glass shower panel. Spray an automotive glass rain repellent or polymer paste wax onto a clean microfiber cloth.
Wipe the product over the glass using firm, circular motions until you coat the entire interior surface. Let the product dry to a slight haze according to package directions.
Buff the haze away using a clean, dry microfiber cloth until the glass feels slick and appears transparent. Spray water against the panel to test your work; the stream will scatter into rapidly falling beads.
A single application provides protective water repellency for roughly thirty to sixty days. You cut regular maintenance down to a fast water rinse.
Surface-Safe Shower Cleaner Matching Guide
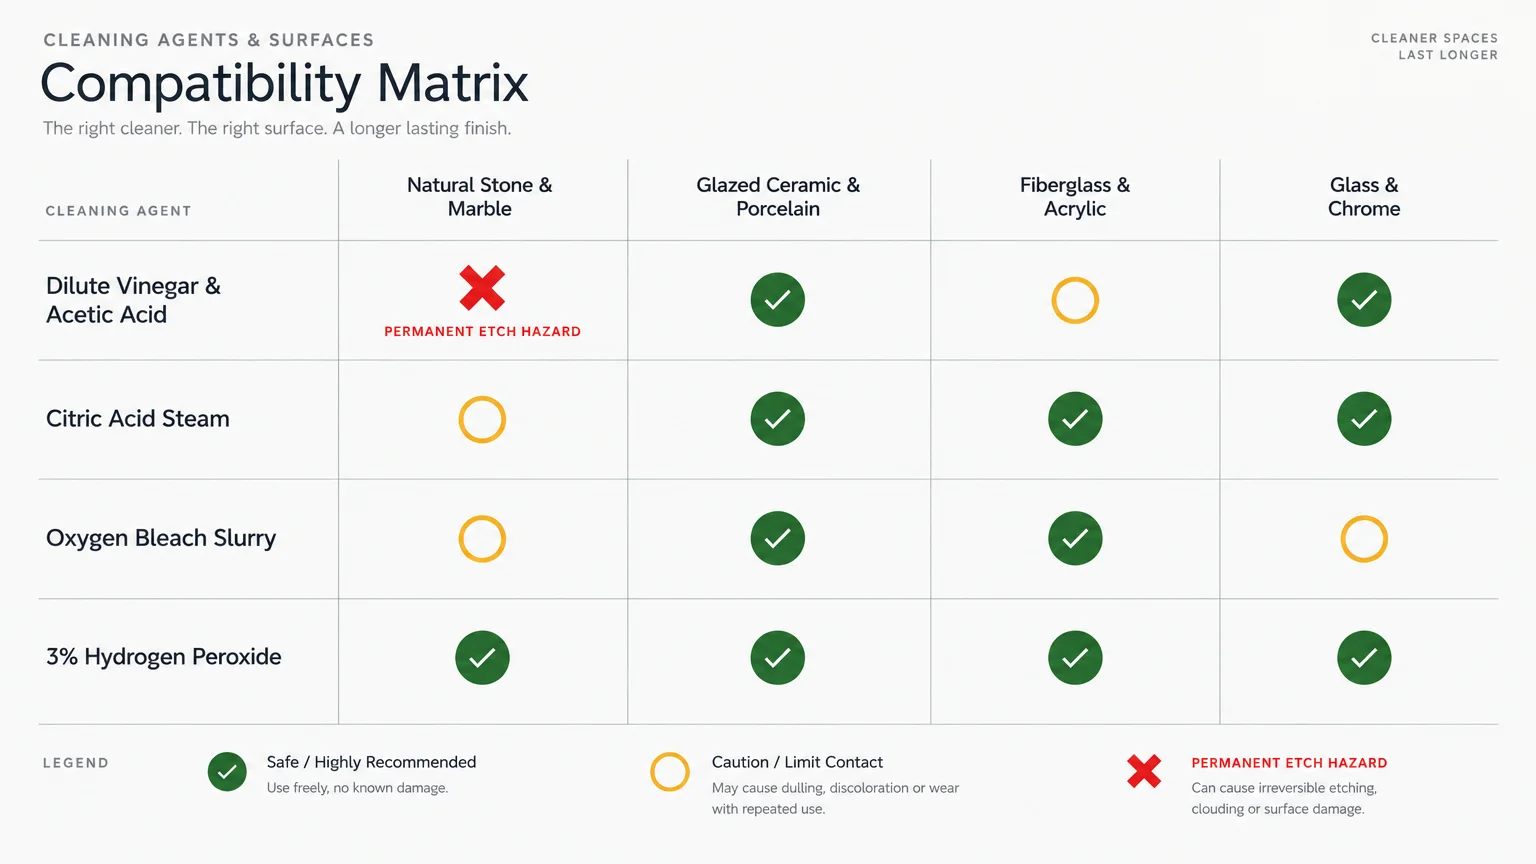
Using the wrong cleaner on sensitive bathroom materials can cause irreversible etching or surface discoloration. Use this quick-reference guide to select the safest no-scrub method for your shower build.
| Shower Surface | Safe No-Scrub Methods | Hazardous Ingredients to Avoid | Recommended Dwell Time |
|---|---|---|---|
| Glass Enclosures | Vinegar and dish soap, citric acid, polymer coatings | Hydrofluoric acid, coarse scouring powders | 30 to 45 minutes |
| Glazed Ceramic and Porcelain Tile | Vinegar mixtures, oxygen bleach, hydrogen peroxide | Harsh abrasive pads that scratch glazes | 30 minutes |
| Natural Stone (Marble, Travertine, Slate) | Mild dish soap, diluted isopropyl alcohol, oxygen bleach | Vinegar, citric acid, lemon juice, chlorine bleach | 15 to 20 minutes |
| Acrylic and Fiberglass Enclosures | Dish soap spray, hydrogen peroxide, warm water rinse | Acetone, concentrated paint thinners, abrasive powders | 20 to 30 minutes |
| Chrome and Stainless Steel Fixtures | Short-dwell vinegar, mild soap solutions | Prolonged acid exposure, industrial muriatic acid | 15 to 30 minutes maximum |
Always test any new cleaning hack on an inconspicuous corner before coating your entire shower stall. This step ensures full compatibility with your specific grout sealers and tile glazes.
Critical Bathroom Cleaning Safety Rules
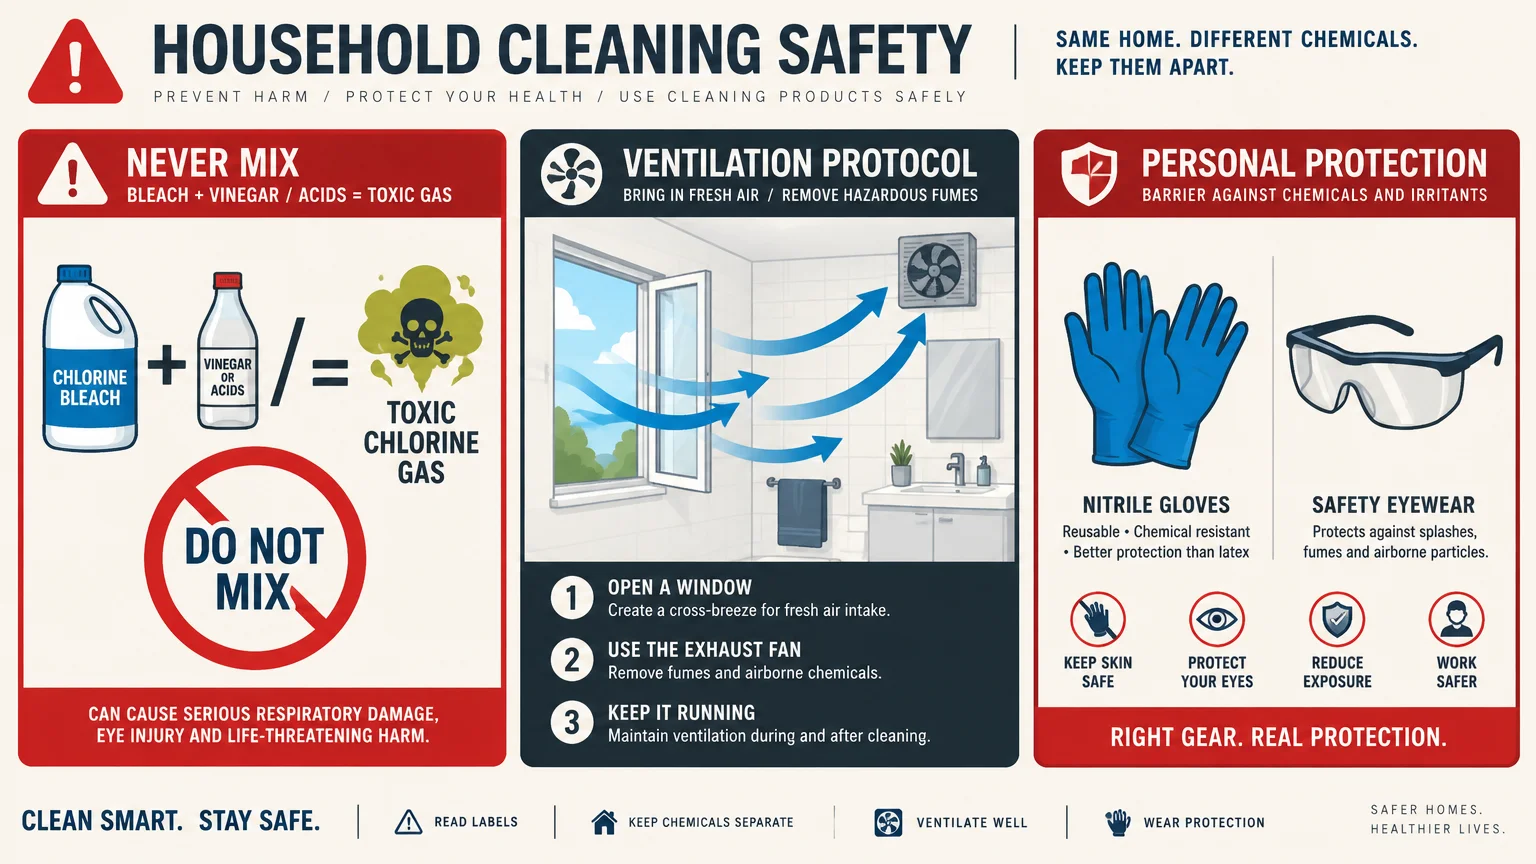
Understanding chemical compatibility protects both your bathroom fixtures and your respiratory health. Cleaning products work through reactive chemistry, and combining the wrong compounds creates dangerous indoor air contaminants.
Never mix chlorine bleach with vinegar, citric acid, or any other acidic cleaner. Combining bleach with acids creates toxic chlorine gas, which causes severe respiratory distress upon inhalation.
The National Capital Poison Center provides vital guidelines on cleaning chemical hazards to help homeowners avoid accidental poisonings. Read product labels thoroughly before attempting custom chemical mixtures.
Avoid mixing chlorine bleach with ammonia or commercial glass cleaners containing ammonia compounds. This dangerous mixture produces chloramine vapors, which trigger coughing, eye irritation, and acute shortness of breath.
The Centers for Disease Control and Prevention outlines mold cleanup safety, emphasizing adequate airflow during treatment. Always switch on your bathroom exhaust fan and prop the entry door open during deep cleaning sessions.
When selecting store-bought cleaners to supplement these DIY hacks, seek out verified formulas with third-party verification. Look for the EPA Safer Choice standard for home cleaning products to identify chemicals that protect family health and the environment.
If your bathroom features genuine limestone or marble, follow stone care best practices. Review recommendations from the Natural Stone Institute regarding safe maintenance to avoid permanent acidic etching on high-end stonework.
Equipment That Eliminates Manual Strain
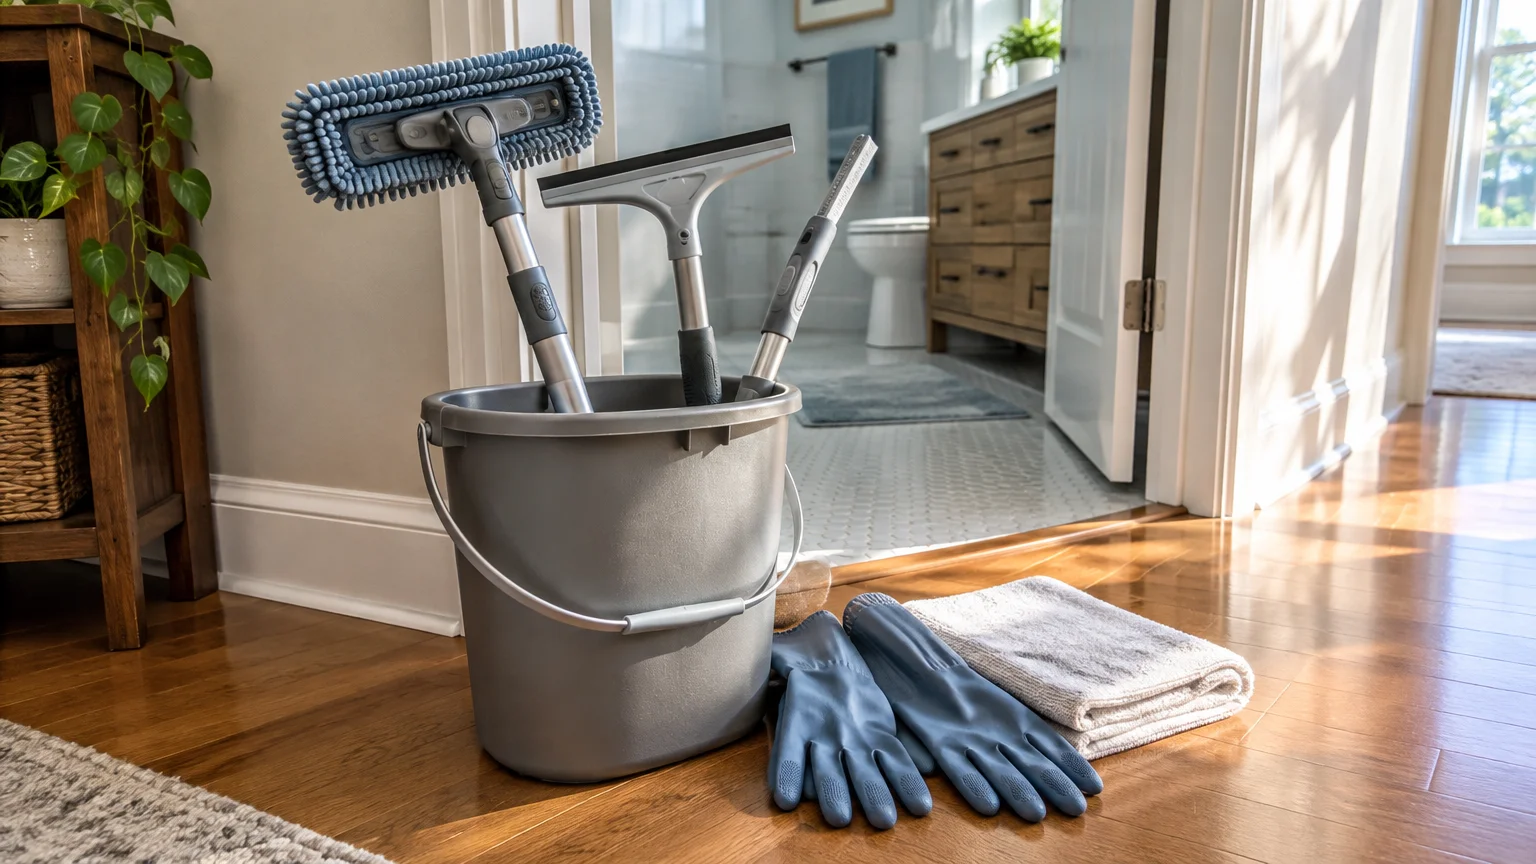
The right cleaning tools reduce physical strain on your knees, wrists, and lower back. Selecting ergonomic tools helps older adults and busy professionals maintain spotless spaces effortlessly.
Invest in an extendable tub-and-tile cleaning pole equipped with an articulating, swiveling head attachment. An adjustable pole lets you coat high tile tracks and low shower pans without bending or climbing.
A high-output trigger sprayer delivers larger fluid volumes with each squeeze. This cuts down on repetitive hand strain while applying cling sprays across large glass enclosures.
Ensure your showerhead features an extra-long flexible metal hose or install a temporary push-on rubber rinse hose. Good water reach makes washing away loosened cleaners fast, thorough, and completely mess-free.
Your Practical Next Step
Pick one simple hack from this guide to test during your evening routine today. Mixing up a spray bottle of warm vinegar and concentrated dish soap takes five minutes and requires supplies you already own.
Coat your glass doors or tile surround, let the cling spray dwell while you relax, and rinse with hot water. You will enjoy a spotless, gleaming shower without a single minute of scrubbing.