You spend hours scrubbing, yet the kitchen rarely stays spotless for long. A few simple adjustments to your routine can stop this frustrating cycle and save you serious effort. Many common household cleaning habits actually push dirt around, damage expensive finishes, and create hidden messes that demand harder scrubbing later. By identifying these missteps, you improve your overall home maintenance, protect your countertops, and keep your appliances running smoothly with less elbow grease. From ditching the universal sponge to cleaning in the correct order, tackling these seven kitchen cleaning mistakes—and applying practical cleaning hacks—will instantly streamline your chores and give you back your free time.
Mistake 1: Cleaning Natural Stone Countertops with Vinegar
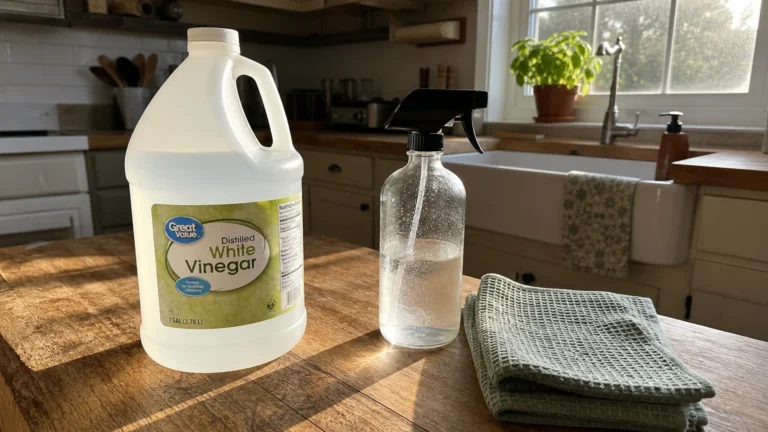
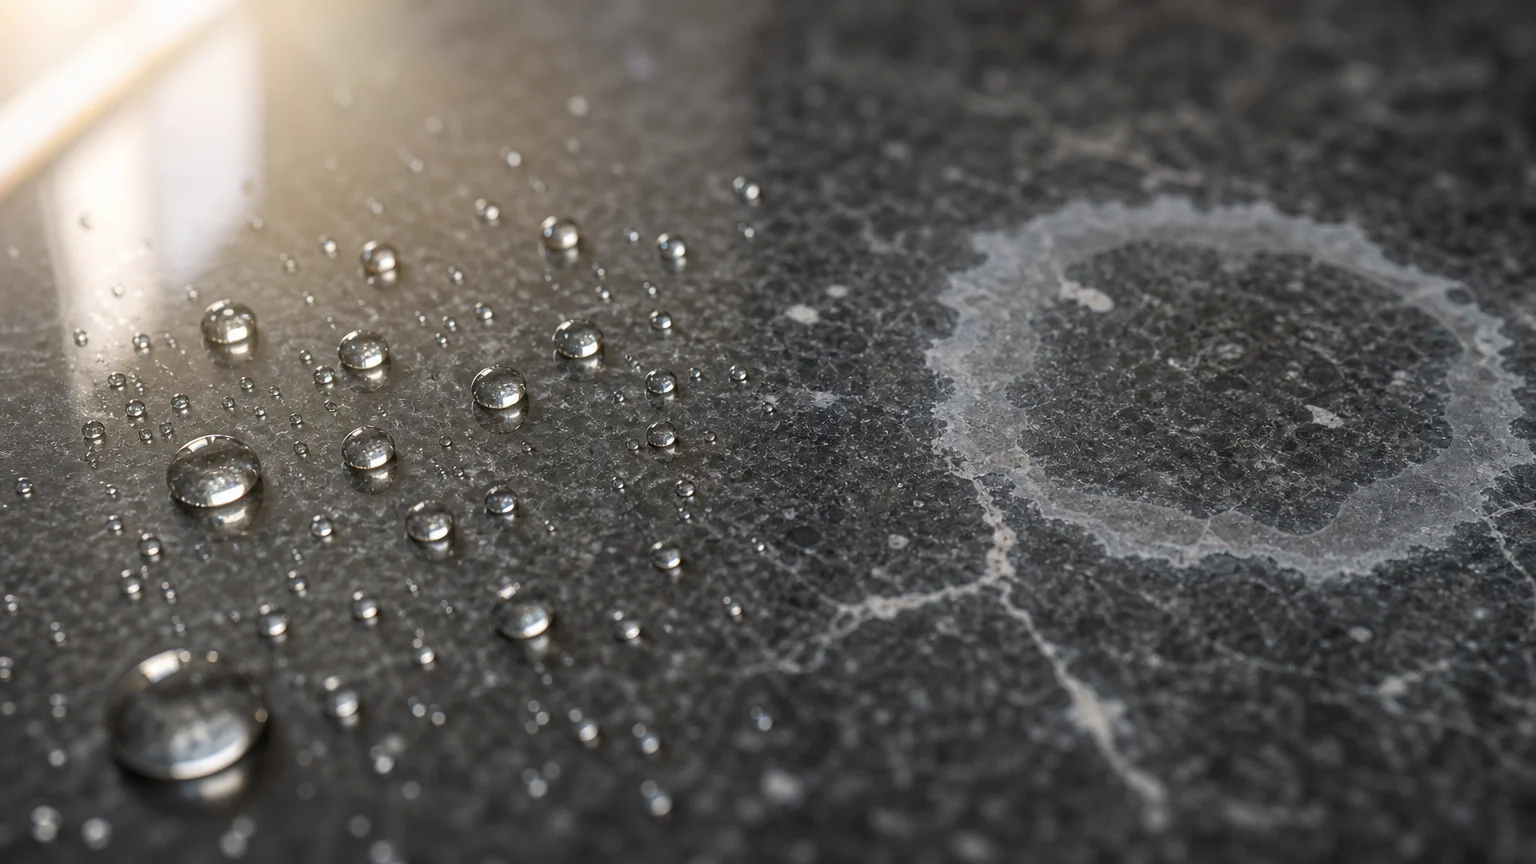
Many people switch to white vinegar as a cheap, natural alternative to harsh chemicals. While vinegar effectively cuts through grease on glass and ceramic, using it on natural stone countertops creates costly and time-consuming damage. Vinegar contains acetic acid. When applied to granite, marble, limestone, or travertine, this acid slowly eats away the protective sealant. Once the sealant degrades, the porous stone absorbs liquids easily, leading to permanent stains from dark liquids like coffee, wine, or cooking oils.
Furthermore, the acid reacts with the calcium-based minerals in the stone itself, causing etching—dull, whitish marks that look like dried water spots but cannot be wiped away. Fixing etched granite requires hiring a professional to grind and polish the surface, creating a heavy burden for your home maintenance budget. If you have engineered quartz countertops, you face a different risk; highly acidic cleaners can slowly degrade the polymer resins binding the stone together, causing the surface to permanently cloud.
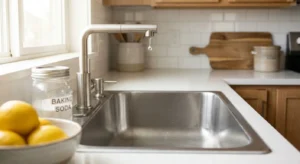
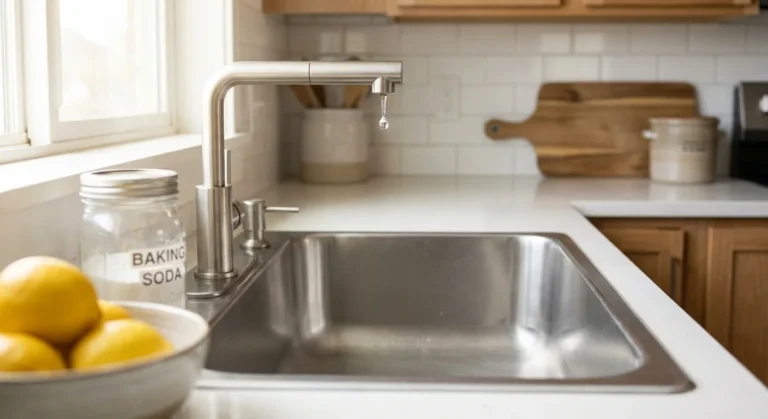
To test if your countertops need a fresh coat of sealer, pour a few drops of water near the sink. If the water beads up, the seal is intact. If the stone absorbs the water and turns dark, it is time to reapply a protective sealant.
Instead of acidic household cleaning products, use a dedicated pH-neutral stone cleaner. For daily messes, warm water mixed with a few drops of mild dish soap works perfectly. Follow these simple steps for safe, streak-free counters:
- Clear the countertop of appliances and clutter to access the entire surface without obstruction.
- Mix warm water and a few drops of mild liquid dish soap in a small bowl.
- Dampen a clean microfiber cloth in the solution and wring it out completely so it is not dripping.
- Wipe the counters in a broad “S” pattern to capture crumbs rather than pushing them around.
- Dry the stone immediately with a clean towel to prevent hard water deposits from forming mineral rings.
Mistake 2: Treating Your Sponge as a Universal Wiping Tool
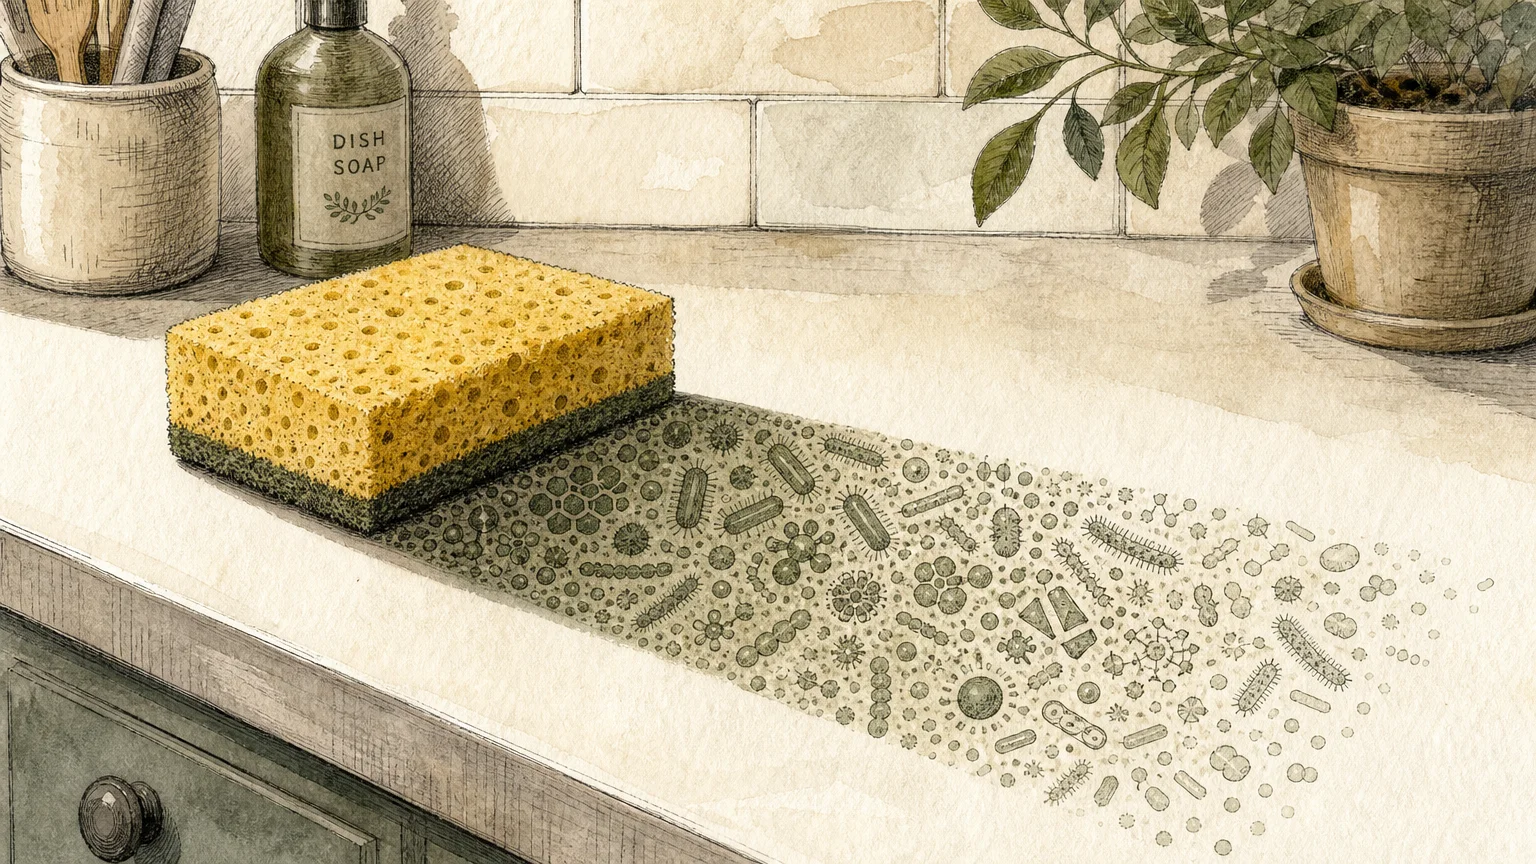
Grabbing the nearest wet sponge to wipe down the cutting board, the stovetop, and the kitchen table seems incredibly efficient. In reality, you are simply spreading invisible messes across your clean food preparation zones. A kitchen sponge provides the perfect warm, damp environment for bacteria to multiply rapidly.
According to research by NSF International, kitchen sponges consistently rank as the most contaminated items in the typical home. Their extensive household germ study revealed that over 75 percent of tested kitchen sponges contained coliform bacteria, a family that includes dangerous strains like Salmonella and E. coli. When you use that same dirty sponge to wipe your counters, you smear a microscopic layer of bacteria everywhere, entirely defeating the purpose of your cleaning routine.
To avoid cross-contamination and reduce the workload of deep sanitization, separate your cleaning tools. Use a durable silicone scrubber or a plastic-bristled brush for washing dishes—bristles dry much faster than porous foam and trap significantly fewer bacteria. Reserve microfiber cloths or washable cotton dish towels for wiping down your surfaces.
If you prefer using traditional sponges, you must sanitize them frequently to prevent foul odors and bacterial growth. You can place a completely saturated sponge in the microwave for one minute on high power to eliminate the vast majority of pathogens. Alternatively, run the sponge through the heated wash and dry cycles of your dishwasher. Most importantly, always throw your sponge in the trash the moment it develops a sour, musty odor.

Mistake 3: Spraying Cleaners Directly Onto Surfaces
When tackling a sticky stovetop or a dusty refrigerator door, your first instinct is likely to spray the cleaning solution directly onto the mess. This common habit creates extra cleanup in two distinct ways: chemical overspray and stubborn residue buildup.
When you pull the trigger on a spray bottle, the liquid disperses in a wide mist. Some of that mist hits your target, but the rest lands on adjacent cabinets, appliances, or the floor. Over time, this stray mist dries into a slightly sticky film. Airborne dust, pet hair, and cooking grease naturally cling to this film, creating a stubborn layer of grime that requires aggressive, time-consuming scrubbing to remove.
Furthermore, modern ranges and smart refrigerators feature touchscreens, digital dials, and sensitive electrical housings. Spraying a liquid cleaner directly at these interfaces allows moisture to seep behind the protective glass or plastic housing. Once inside, the liquid corrodes the delicate wiring, resulting in uncooperative buttons and expensive repair bills.
You can easily prevent this chain reaction by altering your application method. Simply spray the cleaning solution directly onto your microfiber cloth until it is damp, then wipe the surface. Applying the cleaner to the cloth gives you complete control over where the chemicals go. You use less product, avoid damaging sensitive electronics, and prevent the sticky residue that attracts dust. This simple tweak leaves your kitchen looking polished and cuts your future dusting time in half.
Mistake 4: Skipping the Range Hood and Exhaust Filters
Your range hood works tirelessly to pull steam, smoke, and vaporized grease out of the air while you pan-fry chicken or boil pasta. Because the metal exhaust filters sit above eye level, they are out of sight and notoriously easy to ignore. Leaving these metal mesh filters uncleaned forces the exhaust fan to work harder, reducing its mechanical lifespan and increasing your energy costs.
More importantly, neglecting the hood filter allows thick layers of combustible grease to accumulate right above your heat source. The National Fire Protection Association identifies cooking equipment as the absolute leading cause of home fires. Grease-saturated exhaust systems severely escalate this danger. A sudden flare-up on the stovetop can easily ignite the heavy grease trapped in the filter above, quickly drawing the fire directly into your home’s hidden ductwork.
Cleaning a heavily neglected, sticky filter is a grueling, messy chore that ruins your scrub brushes. However, cleaning it regularly takes only a few minutes of passive soaking. Make this a standard part of your monthly routine so the grease never has time to solidify.
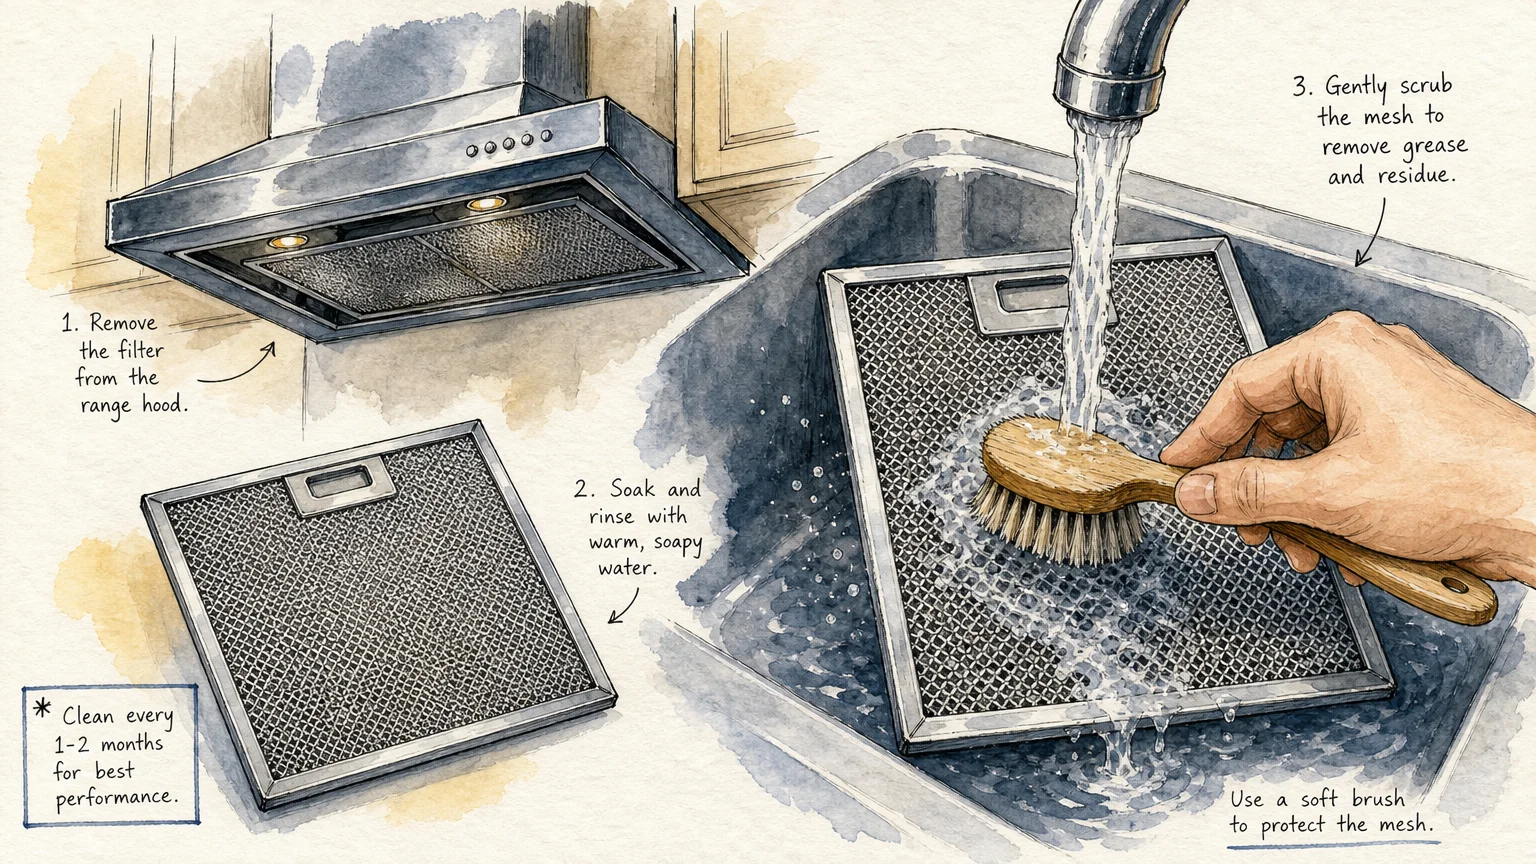
How to Clean a Greasy Range Hood Filter:
- Remove the metal filter by pushing up on the latch and sliding it out of the hood track.
- Fill your sink or a large heat-safe baking pan with boiling water.
- Add one-fourth cup of baking soda and a generous squirt of heavy-duty degreasing dish soap.
- Submerge the filter completely in the hot mixture and let it soak for fifteen to twenty minutes.
- Gently scrub the mesh with a non-abrasive dish brush to release the softened grease layer.
- Rinse thoroughly with hot water and allow it to air-dry completely before snapping it back into place.

Mistake 5: Mopping the Floor Before Cleaning the Counters
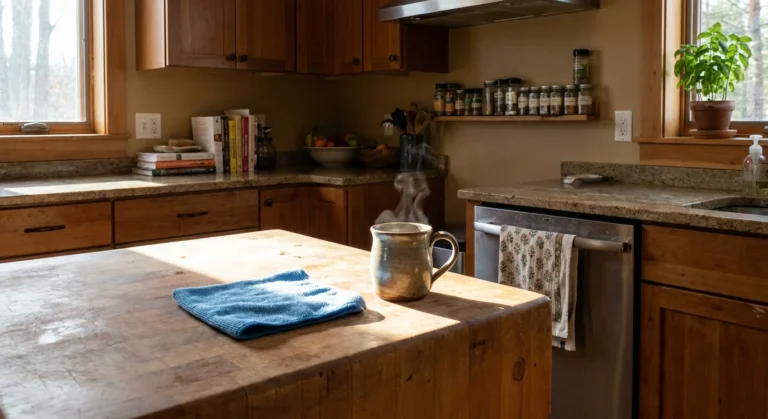
Efficiency in household cleaning relies entirely on the order of operations. Many people tackle the most visually satisfying task first—sweeping and mopping the kitchen floor. However, cleaning the floor before addressing the higher surfaces guarantees that you will have to clean the floor twice.
Gravity dictates where dust and debris fall. When you wipe down dusty upper cabinets, scrub a greasy backsplash, or sweep crumbs off the kitchen island, those loose particles drop straight down. If you have already mopped, you just ruined your pristine floor with wet, dirty crumbs that will stick to the freshly washed surface.
Professional cleaners rely on a strict top-to-bottom workflow. This methodical approach ensures that any dirt dislodged from high areas lands on uncleaned surfaces below, allowing you to capture it all at the very end of your routine. To save yourself from repetitive, frustrating labor, adopt this systematic cleaning hierarchy:
| Phase | Surfaces to Clean | Action Required |
|---|---|---|
| Step 1: The Ceiling Level | Light fixtures, crown molding, tops of tall cabinets | Dust with a dry microfiber duster or a long-handled tool to capture cobwebs safely. |
| Step 2: Upper Mid-Level | Upper cabinet doors, range hood exterior, backsplash | Wipe down with a damp cloth and a mild degreaser to remove sticky cooking splatters. |
| Step 3: The Work Zone | Countertops, stovetop, sink, interior of the microwave | Scrub off stuck-on food, sanitize the surfaces, and wipe all crumbs directly to the floor. |
| Step 4: Lower Mid-Level | Lower cabinet doors, appliance fronts, oven door | Wipe away liquid drips and greasy fingerprints using a fresh, damp microfiber cloth. |
| Step 5: The Base Level | Baseboards, floor vents, the kitchen floor | Sweep or vacuum all fallen debris, then mop starting from the far corner and working toward the exit. |
Mistake 6: Ignoring the Dishwasher Filter
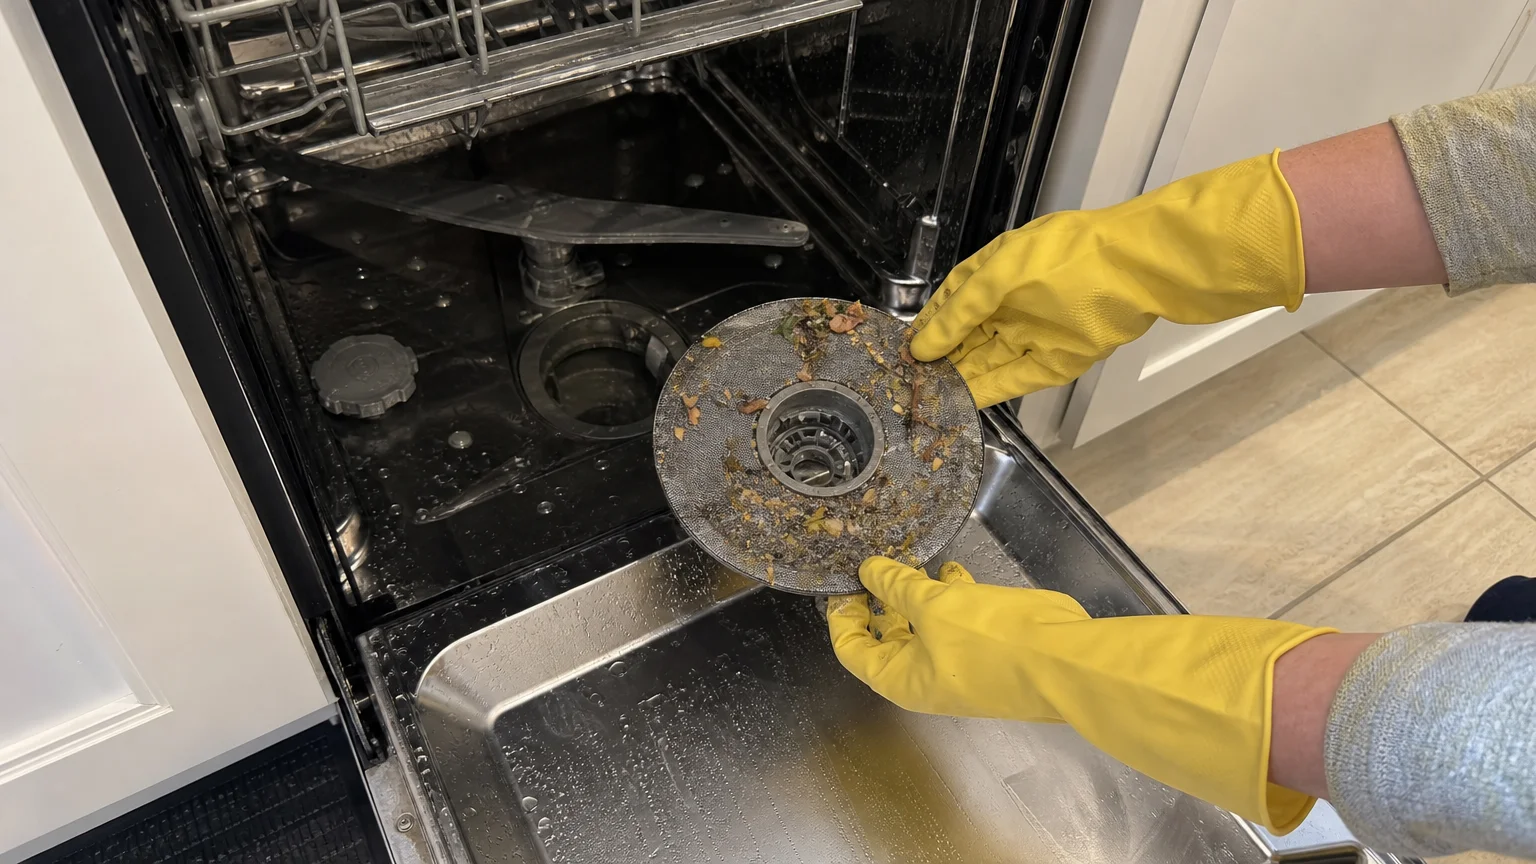
You expect your dishwasher to do the heavy lifting for you, but the machine cannot clean your plates effectively if it is heavily soiled itself. Older dishwashers utilized loud, heavy-duty food grinders, but most modern, quiet models rely on a removable cylindrical mesh filter situated at the bottom of the tub.
During a wash cycle, the dishwasher continuously recirculates the same water. If the internal filter is choked with old food particles, congealed grease, and coffee grounds, the water cannot flow freely. The machine ends up spraying that dirty, gritty water right back onto your freshly loaded plates. You then waste valuable time rewashing cloudy glassware and scrubbing baked-on food specks off your silverware.
A clogged filter also produces a sour, swampy odor that wafts through the kitchen every time you open the appliance door. Preventing this extra labor requires checking the filter routinely. If you live in an area with hard water, you might also notice chalky white mineral scales forming on the fine mesh, which further restricts water flow.
To maintain peak appliance performance, pull out the bottom dish rack and twist the cylindrical filter to unlock it. Pull the assembly out and inspect the screen. Rinse it under warm running water to remove loose, fleshy debris. If grease or mineral scale is blocking the fine mesh, soak it in warm soapy water, then gently scrub it with an old, soft toothbrush. Never use a stiff wire brush, as puncturing the delicate screen will allow large food chunks to reach and damage the internal drain pump. Reinstall the clean filter, making sure it locks firmly into place. Doing this simple maintenance once a month entirely eliminates the need for frustrating second washes.
Mistake 7: Neglecting the Garbage Disposal
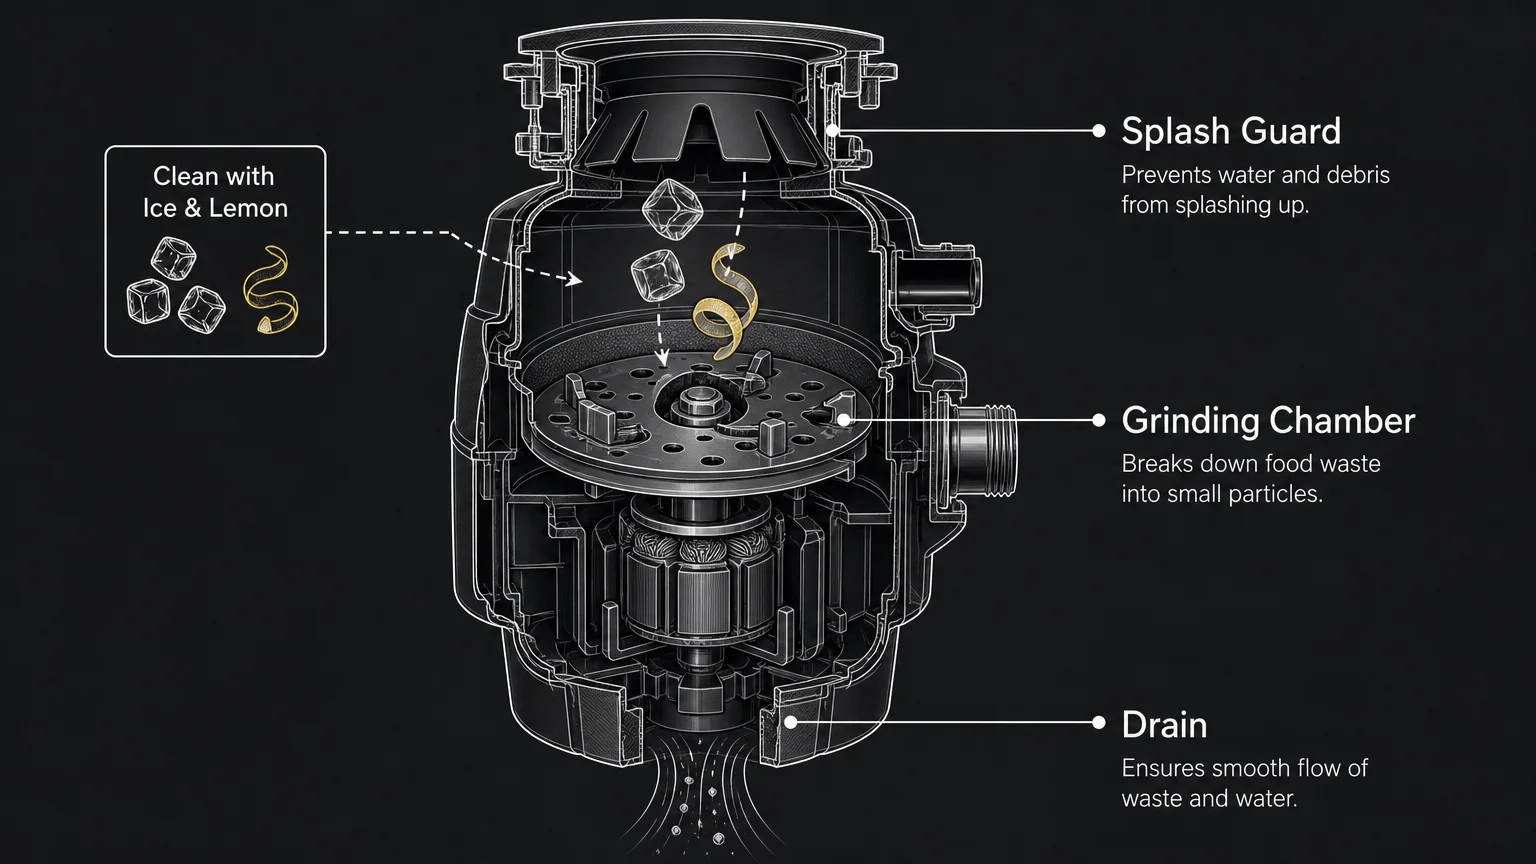
The garbage disposal frequently becomes the invisible source of mysterious, lingering kitchen odors. When you grind up food scraps, sticky residues and starchy pastes cling tightly to the grinding impellers and the sidewalls of the disposal chamber. Over time, this sludge develops into a thick, rotting biofilm that emits a foul smell and eventually slows down the grinding mechanism.
A common reaction is to pour liquid chlorine bleach directly down the drain. While bleach effectively kills bacteria, it is a highly corrosive chemical. Pouring bleach into the disposal can rapidly oxidize the stainless steel components and chemically degrade the rubber splash guards and pipe seals, leading to expensive under-sink plumbing leaks.
You need a cleaning method that removes the physical sludge without damaging the appliance. The safest, most effective cleaning hacks rely on simple mechanical abrasion combined with natural deodorizers. Appliance experts at Consumer Reports recommend utilizing common ice cubes and baking soda for this exact task.
The freezing temperature of the ice makes the greasy sludge brittle and easy to break apart, while the hard edges of the ice cubes act as a safe abrasive to scour the metal grinding components without dulling them. Furthermore, running cold water instead of hot water ensures the grease remains solid enough to be chopped and flushed away, rather than melting and coating your deep plumbing pipes.
The Ice and Baking Soda Method:
- Turn off the garbage disposal completely and visually ensure no hard items (like spoons or pits) have fallen inside.
- Pour half a cup of dry baking soda directly into the disposal chamber to begin neutralizing odors.
- Fill the rest of the disposal chamber to the brim with plain ice cubes.
- Turn on the cold water tap and let it run at a steady, moderate stream.
- Turn on the garbage disposal and let it grind the ice completely. The loud rattling noise is completely normal.
- Once the ice clears, leave the cold water running for another thirty seconds to flush all the dislodged debris down the drain.
After you finish the ice treatment, you can drop a few lemon or orange peels into the disposal. Grinding the citrus oils releases a pleasant, natural fragrance that replaces the musty drain smell, leaving your kitchen remarkably fresh.

Start With One Simple Change Today
Reading through a list of common mistakes can feel overwhelming, but you do not need to overhaul your entire cleaning routine in one afternoon. The most sustainable way to improve your household maintenance is to focus on a single, highly actionable adjustment. Today, walk into your kitchen, grab your old, sour sponge, and throw it directly into the trash can. Replace it with a fresh microfiber cloth, or commit to running a brand-new sponge through the microwave every evening to sanitize it. By taking just two minutes to address the dirtiest item in the room, you instantly stop spreading bacteria and make your kitchen a healthier, easier space to manage.