Most kitchen cleaning routines focus on visible surfaces like countertops and sink basins, but daily wiping leaves behind layers of atomized grease, food particulate, and bacteria in spots you rarely look at. A thorough kitchen cleaning guide systematically targets high-touch hardware, hidden appliance filters, cabinet tops, and baseboards to transform your cooking space into a truly hygienic environment. By following a structured kitchen deep clean checklist, you eliminate the cognitive overwhelm of deciding what to scrub next while preventing long-term damage to expensive cabinetry and appliances. You will restore your kitchen to an immaculate, easy-to-maintain standard that saves you hours during your weekly reset routines.
Common Kitchen Cleaning Mistakes That Waste Time and Energy
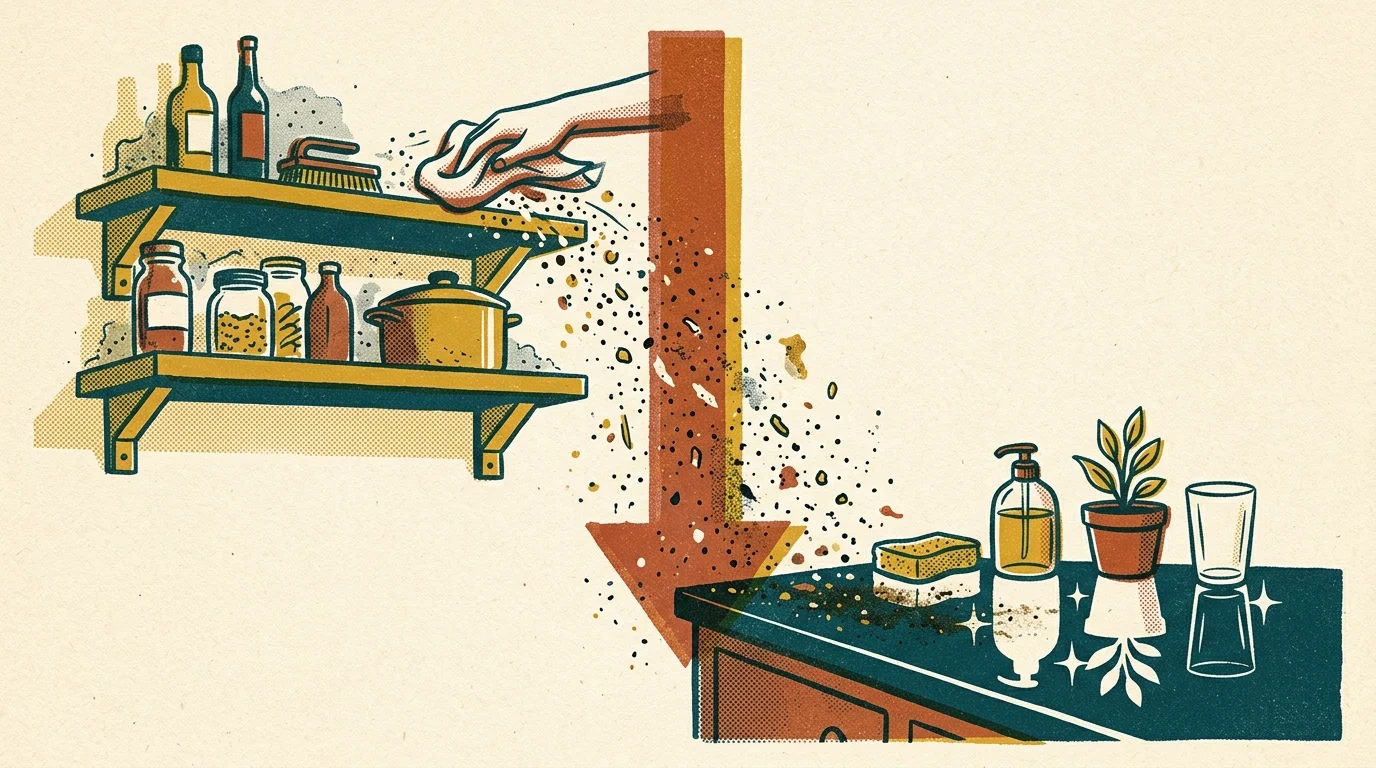
Many homeowners invest hours scrubbing their kitchens only to achieve superficial results because they fall prey to common kitchen cleaning mistakes. Working out of logical order ranks among the most frustrating errors; scrubbing lower cabinets or mopping floors before clearing dust off high light fixtures forces you to clean the same surfaces twice. Gravity guarantees that dust, grease drops, and debris from high shelves fall onto whatever sits below them.
Chemical safety errors also compromise your health and waste your effort. Mixing cleaning compounds can create hazardous fumes and destroy surface seals. For instance, combining chlorine bleach with vinegar or ammonia-based cleaners generates toxic gases; reviewing official CDC home cleaning guidelines ensures you apply disinfectants safely without exposing your household to chemical hazards. Stick to dedicated, single-purpose cleaners or time-tested natural agents like dish soap, baking soda, and distilled white vinegar used in separate steps.
Rushing product dwell time also undermines your efforts. Degreasers require five to ten minutes to break down oxidized cooking oils on range hoods and cabinet tops. Wiping away a cleaner instantly forces you to scrub violently with abrasive pads, which scratches delicate finishes and wears out your muscles. Give active surfactants time to dissolve soil for you so you can gently wipe grime away.
Finally, reusing dirty cleaning tools simply spreads pathogens around your kitchen. Traditional cellulose sponges harbor millions of bacterial cells within their damp pores. Replace grimy sponges with washable microfiber cloths; microfiber traps micro-particles far more effectively and restores to a pristine state when laundered in hot water.
Phase 1: Clear, Stage, and Prepare Your Kitchen
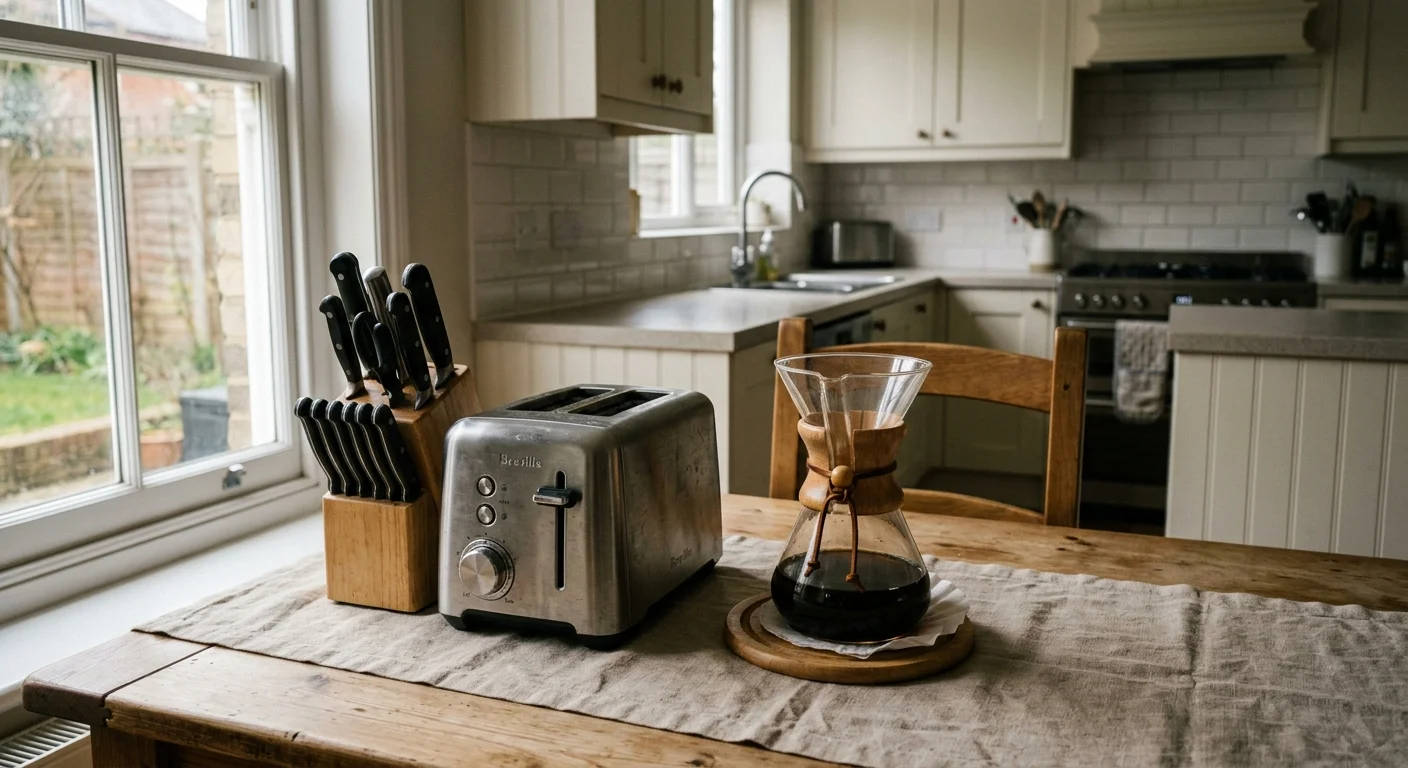
Practical preparation turns a chaotic deep clean into a predictable, step-by-step process. Begin by completely clearing your countertop surfaces. Transfer small appliances—such as your toaster, blender, knife block, and coffee maker—to a nearby dining table or staging cart. Removing these obstacles opens up long stretches of counter space, making deep cleaning faster and far less awkward.
Assemble your cleaning toolkit before mixing a single solution. You need five or six microfiber cloths, a non-scratch scrub sponge, a stiff nylon brush, an old toothbrush for tight crevices, a vacuum hose attachment, baking soda, white vinegar, mild dish soap, and an effective degreaser. Selecting eco-friendly products labeled with the EPA Safer Choice program certification guarantees that your degreasers cut tough kitchen grease while protecting your indoor air quality.
Break your workload into manageable chunks to conserve your physical energy. Older adults and busy professionals benefit from tackling one specific zone at a time instead of exhausting themselves in a single marathon clean. Set a gentle 30-minute timer for each section and take brief rest breaks between phases.
Phase 2: High-Zone Cleaning (Ceilings, Upper Cabinets, and Vent Hoods)
Always start at the absolute highest point in your kitchen so falling dust lands on uncleaned surfaces. Attach a microfiber duster or high-reach wand to sweep cobwebs from ceiling corners, light fixtures, hanging pendant lamps, and crown molding. Gently wipe down ceiling fan blades using a damp cloth wrung out with warm water and a drop of dish soap.
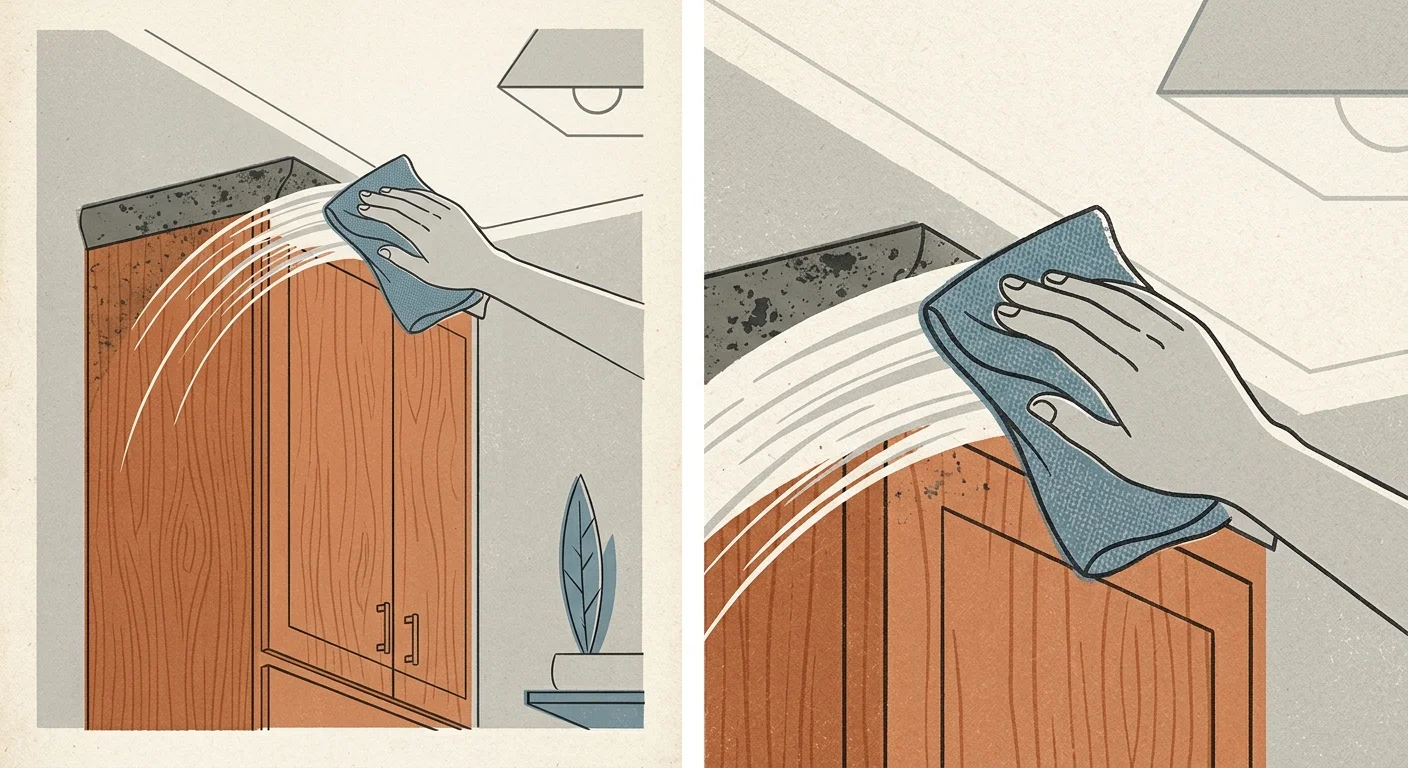
The tops of upper cabinets represent one of the most neglected spots in modern homes. Cooking vapors lift fine oil particles into the air, where they settle on cabinet tops and trap dust, forming a thick, sticky film. Spray this area with a degreasing solution and let it sit for seven minutes. Scrape away the softened sludge using a soft plastic scraper, then wipe the surface clean with a damp microfiber cloth. Once the wood dries, lay down sheets of parchment paper across cabinet tops; during your next deep clean, you simply lift away the oil-laden paper and replace it without scrubbing.
Exhaust hood mesh filters collect vast amounts of trapped grease that restrict ventilation efficiency over time. Pull down these metal mesh filters and submerge them in a sink filled with boiling water, 1/2 cup of baking soda, and 2 tablespoons of grease-cutting dish soap. Allow the filters to soak for fifteen minutes; the hot alkaline bath dissolves polymerized oils effortlessly. Rinse them thoroughly under high-pressure hot water and let them air dry completely before reinserting them.
Finish this zone by wiping upper cabinet doors and exposed trim. Focus on the upper edges where hand oils and steam accumulate, along with cabinet handles and door frames. Dry wood cabinet surfaces immediately with a clean towel to preserve their finish.
Phase 3: Deep Cleaning Major Appliances Inside and Out
Appliances require meticulous attention to perform efficiently and store food safely. Begin with your refrigerator and freezer. Take out all food items, discarding expired condiments, freezer-burned items, and old leftovers. According to USDA food safety guidelines, maintaining cold storage temperatures below 40°F (4°C) prevents harmful bacterial growth, so place perishable items in an insulated cooler if your cleaning process takes longer than thirty minutes.
Remove plastic drawers and glass shelving, washing them in your sink with warm dish soap. Allow cold glass shelves to adjust to room temperature before washing them with warm water to prevent thermal shock and cracking. Wipe internal refrigerator walls with a solution of two tablespoons of baking soda per quart of warm water. This mild mixture lifts spills without leaving harsh chemical residues that taint uncovered food. Vacuum condenser coils located behind or beneath the refrigerator; clearing away dust blankets helps the compressor run cooler, saving up to 15 percent on your refrigerator energy usage.
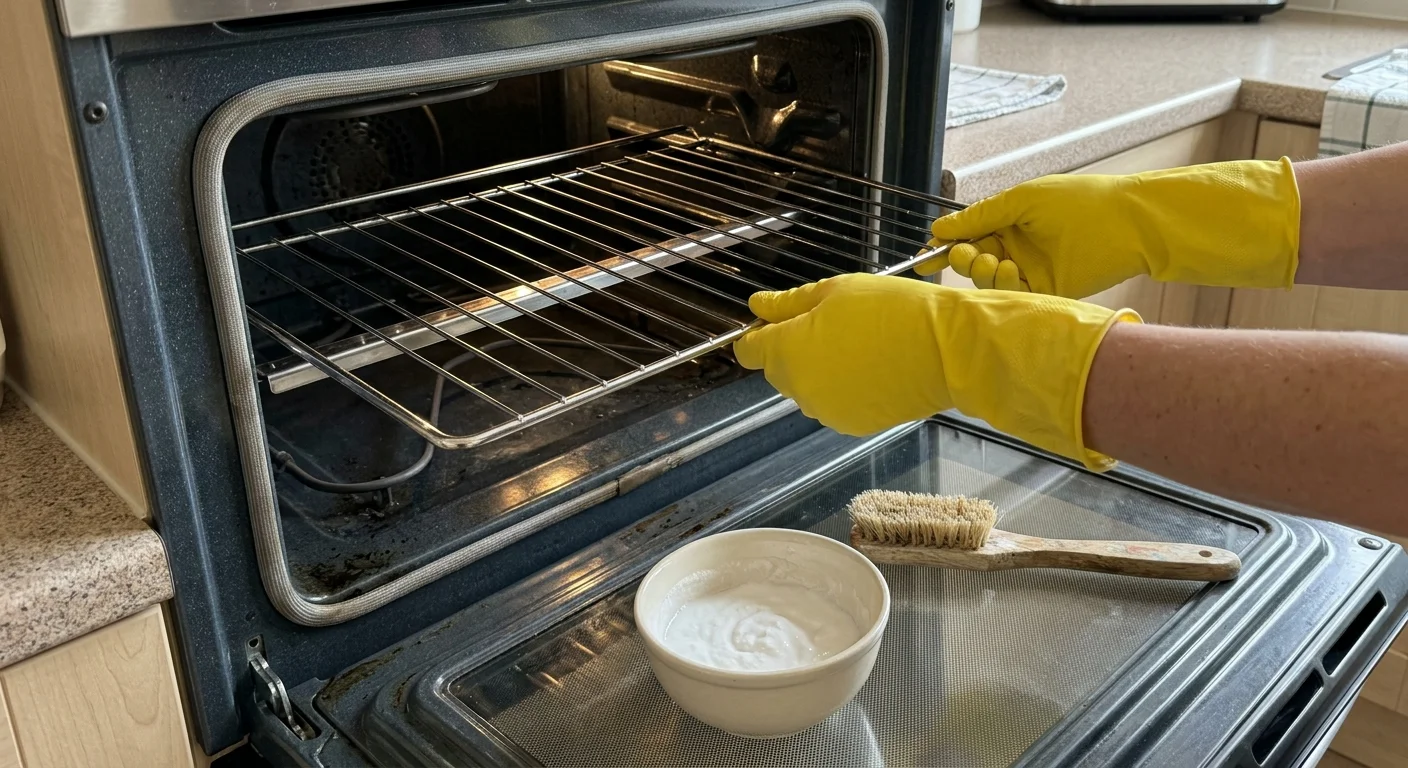
Shift your attention to the oven and range. Avoid high-heat self-cleaning cycles, which reach temperatures near 900°F and frequently blow thermal fuses or burn out control boards. Instead, coat interior oven surfaces with a thick paste made from 3/4 cup baking soda and 1/4 cup water, keeping the paste away from heating elements. Let the mixture dwell overnight or for at least four hours. Spray white vinegar over the dried paste to trigger a gentle foaming reaction, then wipe away baked-on grime with a damp rag.
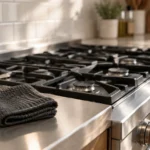
Remove stove control knobs by pulling them straight off their stems, soaking them in warm soapy water, and scrubbing around control shafts with a toothbrush. Clean glass cooktops using a non-abrasive cooktop cream and a soft microfiber pad to buff away burnt rings without scratching the surface finish.
Clean your dishwasher by removing the bottom rack and unscrewing the central filter assembly at the bottom of the basin. Rinse trapped food particles out of the mesh screen under warm tap water. Place a cup filled with white vinegar upright on the top rack and run a full hot water cycle to dissolve mineral scale, limescale, and detergent build-up inside internal spray arms.
Steam-clean your microwave without intense scrubbing. Fill a microwave-safe bowl with one cup of water and several lemon slices or two tablespoons of white vinegar. Microwave on high power for three minutes until the liquid boils furiously, filling the interior with hot steam. Leave the door closed for five additional minutes to let the trapped steam soften baked-on food splatters before wiping down interior walls, door seals, and the glass turntable.
Phase 4: Cabinets, Drawers, and Pantry Organization
Address cabinet interiors and utensil drawers systematically to maintain order behind closed doors. Empty drawers one at a time, using your vacuum hose attachment to extract stray crumbs, spice dust, and debris from drawer corners. Clean plastic cutlery trays and organizing dividers in warm soapy water before returning them.
Inspect drawer tracks, cabinet hinges, and door pulls. Skin oils, cooking splatter, and moisture leave sticky films on cabinet hardware. Clean metal pulls with a soft rag dampened with warm water and mild dish soap, drying hardware thoroughly to prevent tarnishing or water spots.
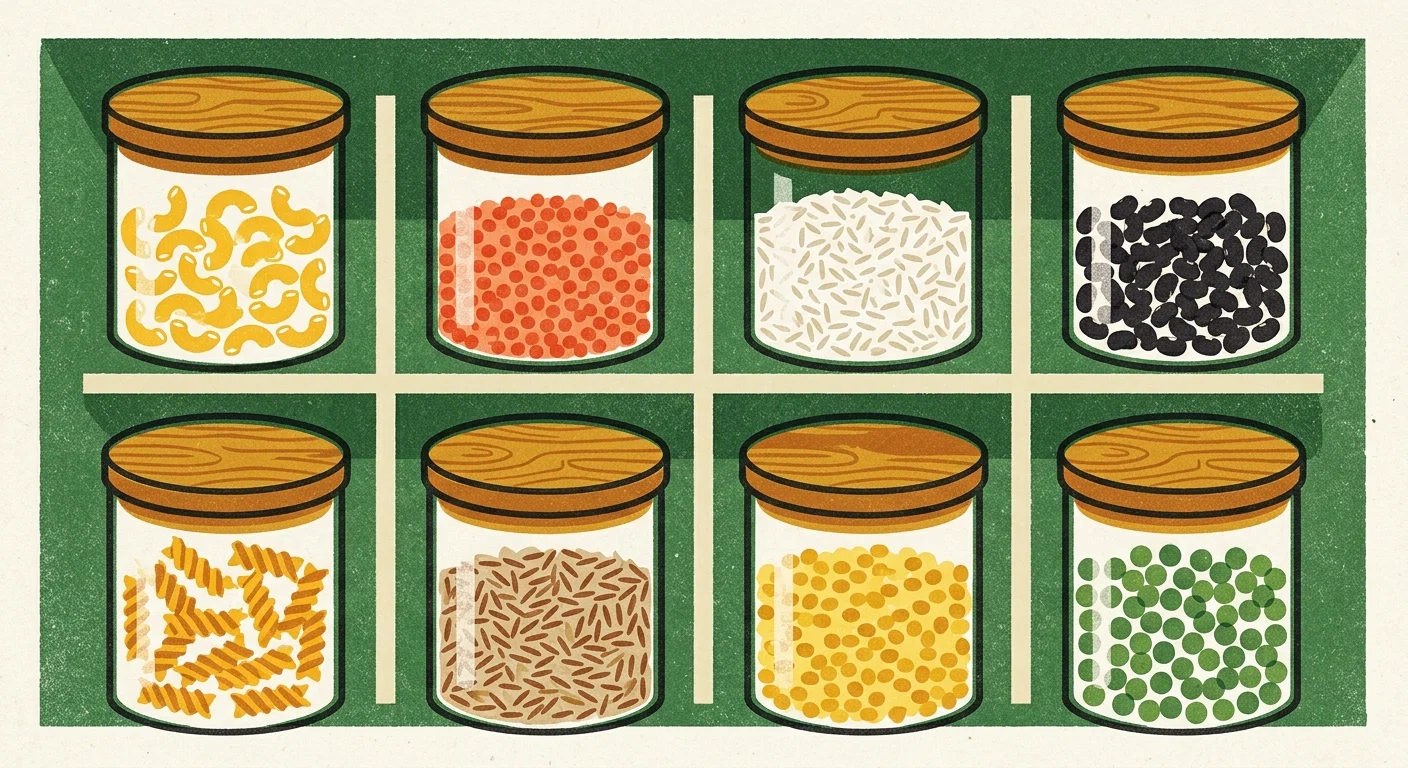
Audit your pantry shelves by pulling out dry goods and checking expiration dates on flour, baking powder, spices, and canned goods. Wipe down pantry shelves with a damp cloth and install washable shelf liners to protect wood shelves from future spills and liquid stains.
Phase 5: Countertops, Backsplashes, and Food Prep Zones
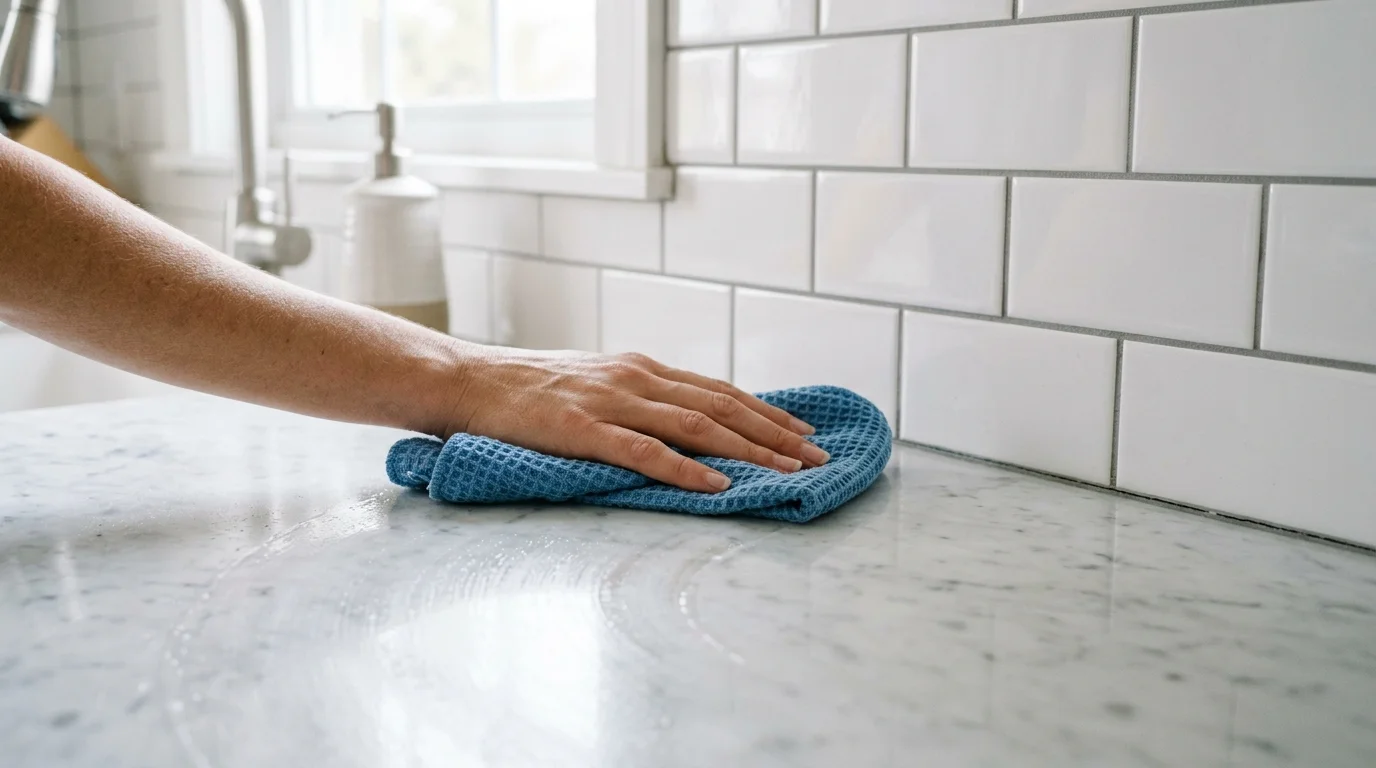
Match your cleaning approach to your specific countertop material to protect expensive surfaces. Quartz and solid surfaces respond well to warm water and gentle dish soap. Natural stone surfaces like granite and marble require pH-neutral cleaners; acidic ingredients like vinegar or lemon juice strip protective sealants and etch natural stone. Check your granite seal by placing a few drops of water on the surface; if the water absorbs into the stone within five minutes instead of forming distinct beads, apply a fresh coat of stone sealer.
Deep cleaning kitchen tips always prioritize grout lines and tile backsplashes directly behind cooking surfaces. Apply a paste of baking soda and warm water to greasy backsplash grout lines, letting it work for ten minutes. Scrub along grout channels with a stiff nylon brush to lift trapped grease, then wipe the area clean with a damp towel.
Clean your small countertop appliances thoroughly before placing them back onto clean surfaces. Empty and wash toaster crumb trays, wipe down coffee maker heating plates, and scrub blender bases. Run a cycle of equal parts water and white vinegar through your drip coffee maker to flush internal mineral deposits, followed by two cycles of clean water.
Phase 6: Sanitizing the Sink and Waste Station
Research published in NSF International germ research highlights that kitchen sinks and garbage disposals harbor significantly higher bacterial counts than most bathroom fixtures. Daily rinsing leaves a thin organic film inside sink basins and disposal splash guards that encourages bacterial growth.
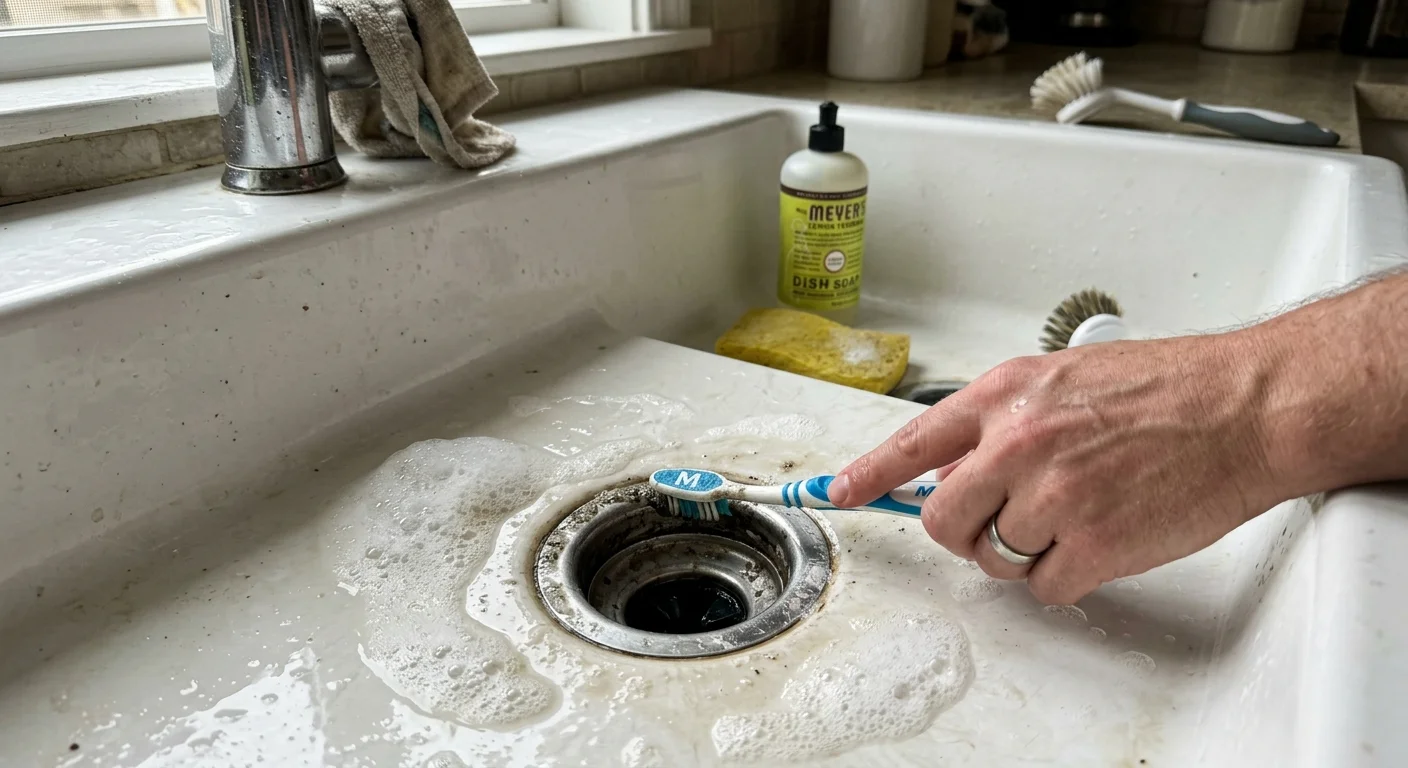
Scrub your sink basin thoroughly using baking soda sprinkled over a damp sponge. Baking soda provides gentle abrasive power to lift rust spots and water stains without scratching stainless steel, porcelain, or fireclay surfaces. Scrub around faucet bases, aerator screens, and sink drain flanges using an old toothbrush, then rinse with hot water.
Deodorize and scrub garbage disposal blades using coarse salt and ice. Drop two cups of ice cubes, one tablespoon of coarse sea salt, and lemon peels into the disposal. Turn on cold water and run the disposal unit for thirty seconds; the hard ice and coarse salt physically scrub internal grinding components while citrus oils neutralize unpleasant odors.
Sanitize trash cans and recycling bins inside and out. Wash interior walls using an antibacterial spray cleaner and a long-handled scrub brush. Allow plastic trash cans to dry completely in direct sunlight; natural ultraviolet light kills remaining mold spores and lingering odors before you re-line the cans.
Phase 7: Low-Zone Detailing and Floor Restoration
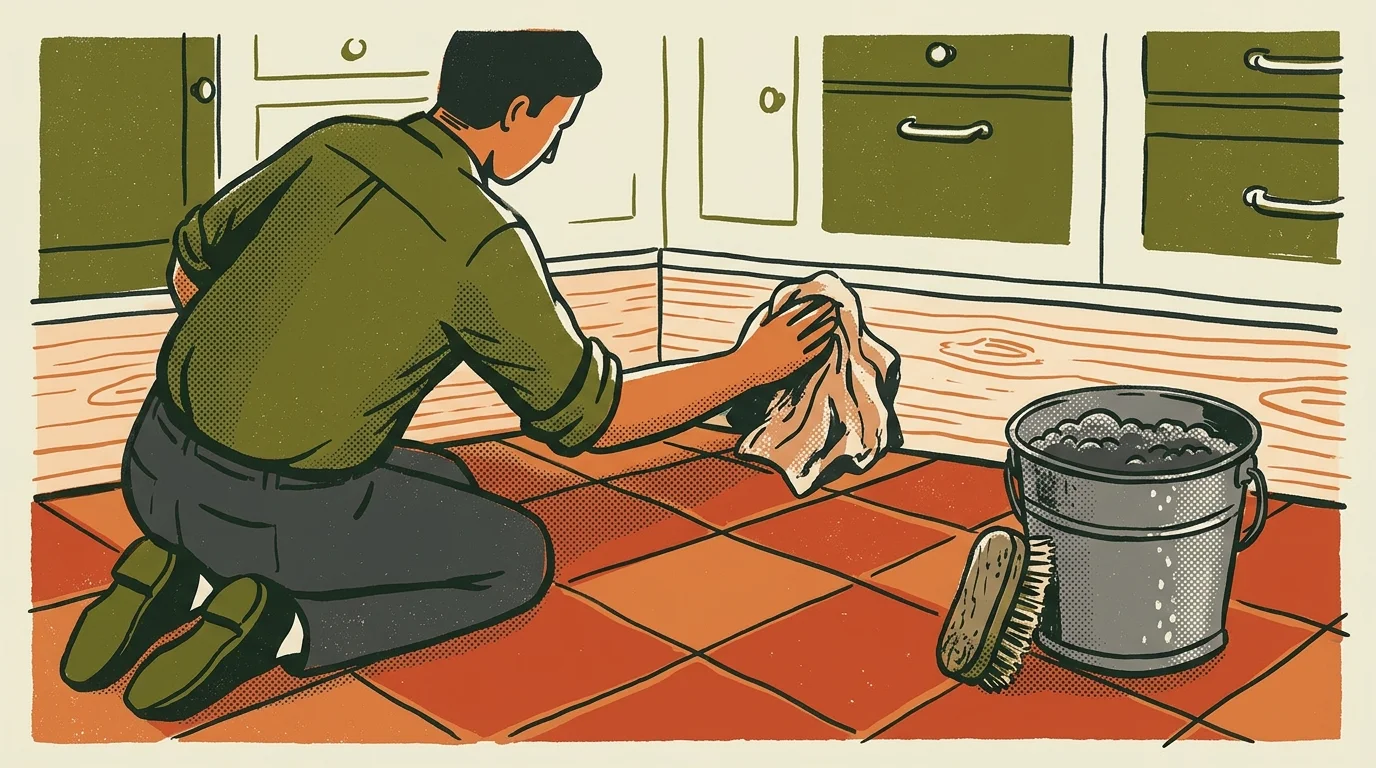
Direct your attention to cabinet toe kicks—the recessed spaces beneath lower cabinets. Spilled liquids and dust drift under cabinet edges, forming dark lines of dirt that remain untouched for months. Wipe toe kicks and baseboards down using a damp microfiber cloth wrung out in warm, soapy water.
Gently pull heavy appliances forward if you can do so safely. Roll out your refrigerator and free-standing oven to sweep up hidden food crumbs, stray paper, and dust webs underneath. Mop exposed flooring thoroughly before returning appliances to their original spots.
Finish your reset by detailing the main floor. Vacuum tile or wood floors with a hard-surface brush attachment to pull grit out of grout lines and floorboard seams. Mop your way out of the room starting from the farthest corner, using fresh, warm water mixed with a neutral floor cleaner to avoid spreading muddy water over clean floors.

Master Kitchen Deep Clean Checklist
Use this comprehensive kitchen cleaning checklist table to schedule your tasks, select the correct supplies, and track your progress through every phase of the project.
| Kitchen Zone | Key Tasks | Recommended Supplies | Frequency |
|---|---|---|---|
| High Zone & Vent Hood | Dust corners/fixtures, degrease cabinet tops, soak hood filters in boiling water. | High-reach duster, baking soda, degreaser, parchment paper. | Every 6 Months |
| Major Appliances | Clean fridge coils, interior shelves, oven paste, dishwasher filter, microwave steam. | Baking soda, white vinegar, vacuum hose, soft brush. | Every 3 to 6 Months |
| Cabinet Interiors & Pantry | Vacuum crumb-filled drawers, wipe hardware, check food expiration dates. | Vacuum attachment, microfiber cloths, mild dish soap. | Every 6 Months |
| Countertops & Backsplash | Scrub tile grout, check granite seal, sanitize prep counters, clean small appliances. | pH-neutral cleaner, nylon grout brush, non-scratch pads. | Monthly |
| Sink & Garbage Disposal | Scrub basin, descaling faucet aerator, run ice/salt/citrus through disposal. | Baking soda, ice cubes, coarse salt, lemon peels. | Bi-Weekly |
| Low Zone & Baseboards | Wipe cabinet toe kicks, clean under appliances, deep vacuum and mop flooring. | Microfiber mop, neutral floor cleaner, vacuum brush. | Monthly |
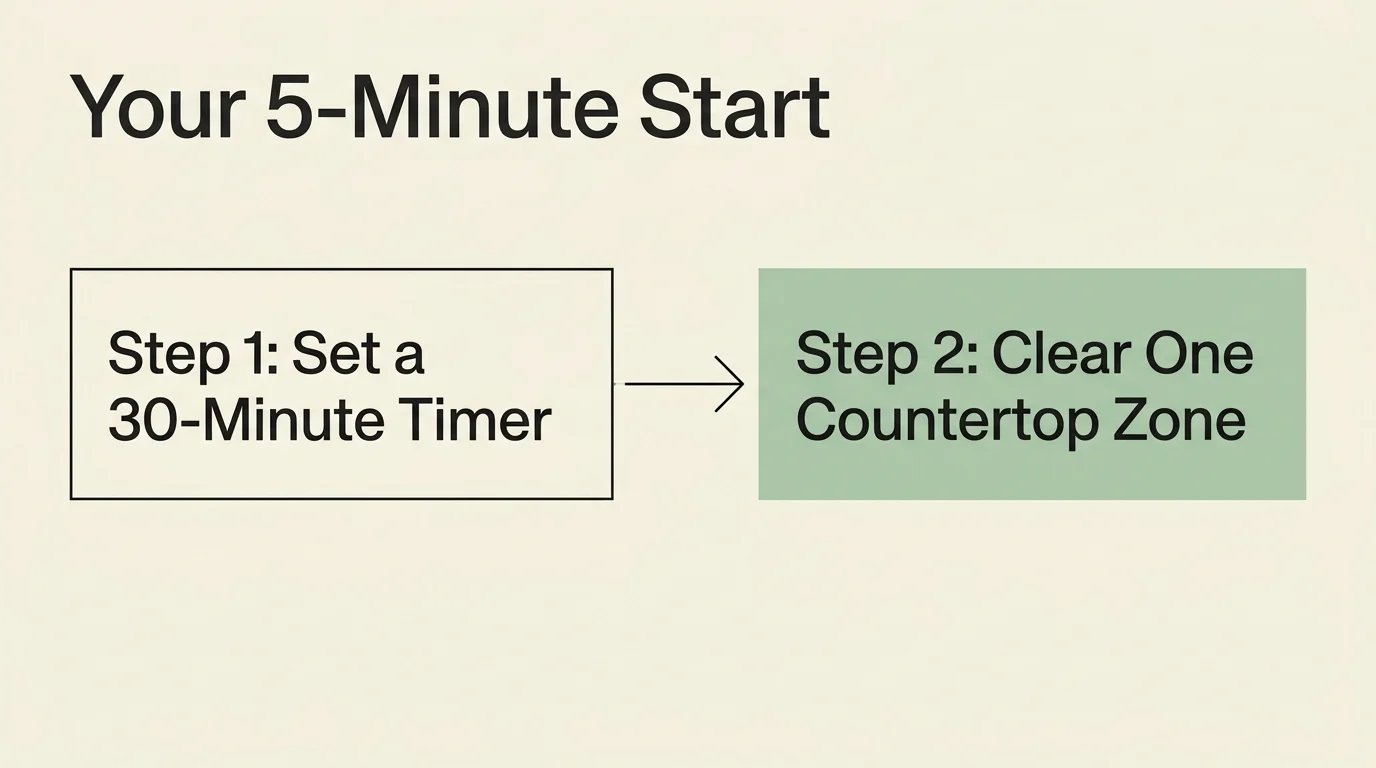
Your Immediate 5-Minute Next Step
Take immediate action right now by selecting one single task from this guide rather than waiting for a free weekend. Remove your exhaust range hood filters, place them in your sink with boiling water, baking soda, and dish soap, and let them soak while you brew a cup of tea. Completing this quick five-minute step builds immediate momentum and launches your journey toward a fresher, calmer, and healthier kitchen environment.