A spotless countertop creates the illusion of a pristine kitchen, but hidden grease, bacteria, and dust quietly accumulate in spots most people overlook during regular tidying. Deep cleaning your kitchen isn’t just about wiping down visible surfaces; it requires targeting the neglected zones that compromise hygiene and shorten appliance lifespans. By following a systematic thorough kitchen cleaning guide, you eliminate stubborn odors, improve food safety, and protect your investment in high-use appliances. Tackling these overlooked areas restores a sense of calm and makes your daily kitchen cleaning routine significantly faster, ensuring your cooking space remains genuinely clean, fresh, and effortless to maintain every single day.
Deep Clean Kitchen Appliances to Boost Efficiency and Health
When you perform a standard kitchen cleaning routine, wiping down appliance exteriors usually takes top priority. However, hidden working components inside these machines accumulate food residue, grease, and dust over time. Neglecting these areas reduces operational efficiency, drives up energy costs, and fosters bacterial growth. To keep your home running smoothly, you must deep clean kitchen appliances by targeting their hidden working parts.
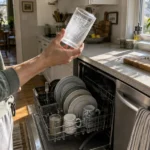
The Dishwasher Filter and Spray Arms
Modern dishwashers utilize manual-clean filter assemblies located at the bottom of the tub under the lower rack. Food particles trapped in this mesh filter decompose over time; this recirculates dirty water onto your dishware and produces foul odors. To clean it, rotate the cylindrical filter assembly counterclockwise and lift it out. Rinse the assembly under warm running water while gently scrubbing the mesh with a soft nylon brush and mild dish soap. Before reinstalling the filter, check the rotating spray arms; clear any clogged spray nozzles using a wooden toothpick or bent paperclip to restore full water pressure.
Refrigerator Condenser Coils and Rubber Door Gaskets
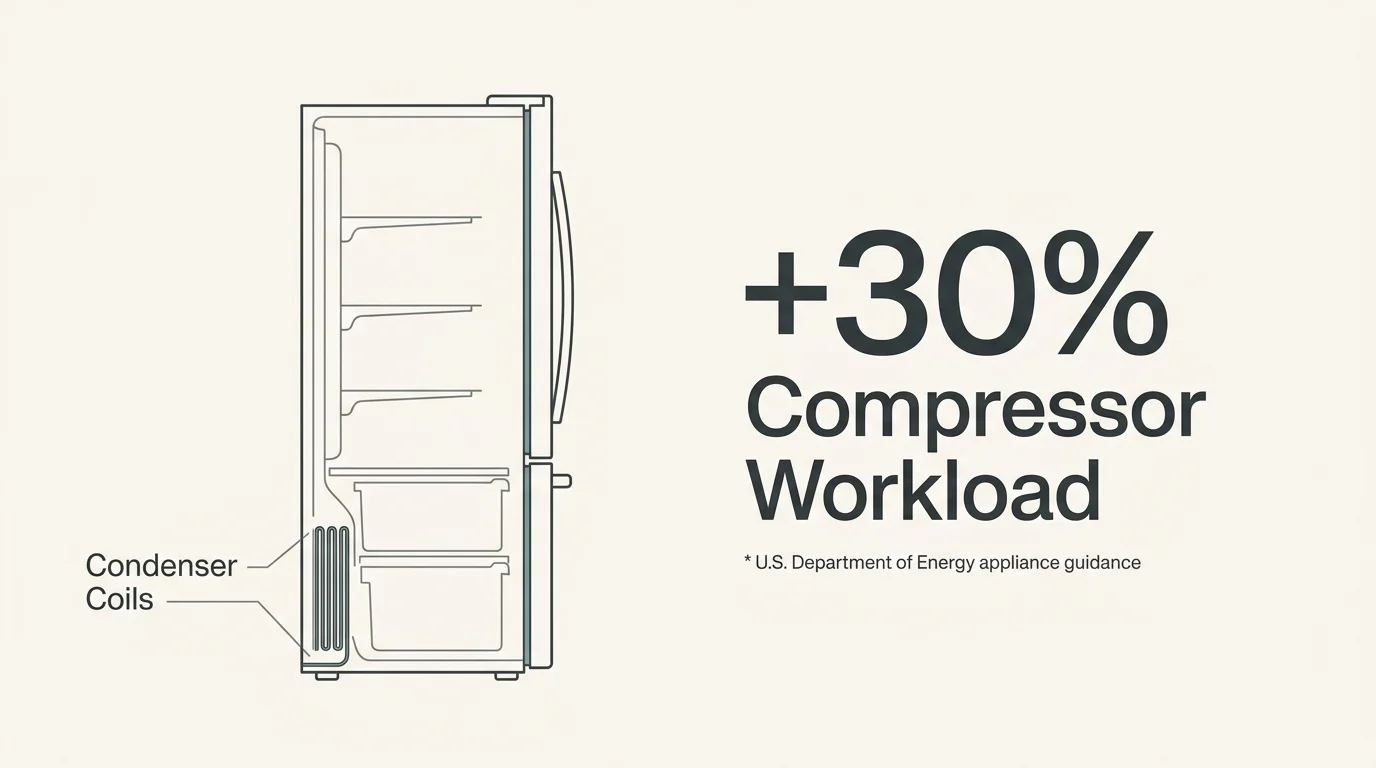
Dust, pet hair, and kitchen grease gradually coat your refrigerator’s condenser coils—hidden either behind the bottom toe grille or along the lower rear panel. According to appliance performance guidance from the U.S. Department of Energy, dirty condenser coils force the compressor to work up to 30 percent harder to maintain cooling temperatures, which significantly increases electricity bills and shortens the unit’s operating life. Unplug your refrigerator, remove the protective access panel, and vacuum the coils using a narrow hose attachment or coil brush. Next, inspect the soft rubber door gaskets. Wipe away food splatters and surface mold using warm water and mild dish soap; avoid using concentrated bleach, as strong chemicals degrade and crack rubber seals over time.
Range Hood Mesh Filters and Exhaust Canopies
Your range hood captures airborne grease and moisture during cooking, but saturated aluminum mesh filters quickly lose their functionality. Heavy grease accumulation inside exhaust channels also poses a serious household fire hazard. Slide out the metal mesh filters and submerge them in a sink filled with boiling water, one-quarter cup of baking soda, and a generous squirt of degreasing dish soap. Let the filters soak for 20 minutes to break down sticky polymerized oils. Scrub them gently with a non-abrasive brush, rinse thoroughly with hot water, and allow them to dry completely before snapping them back into place.
Microwave Upper Ceiling and Waveguide Cover
Food splatters inside your microwave don’t just land on the glass turntable; steam directs grease and food particles upward onto the interior ceiling and the thin mica waveguide cover on the side wall. Baked-on residue absorbs microwave energy, reducing heating efficiency and causing localized hot spots. Fill a microwave-safe glass bowl with two cups of water and two tablespoons of white vinegar or fresh lemon juice. Microwave on high power for four minutes until steam coats the interior walls. Leave the door closed for five minutes to allow the steam to liquefy baked-on grime; then wipe down the ceiling, walls, and turntable roller ring with a soft microfiber cloth.
Target Often Forgotten Cleaning Spots Across Your Cabinetry
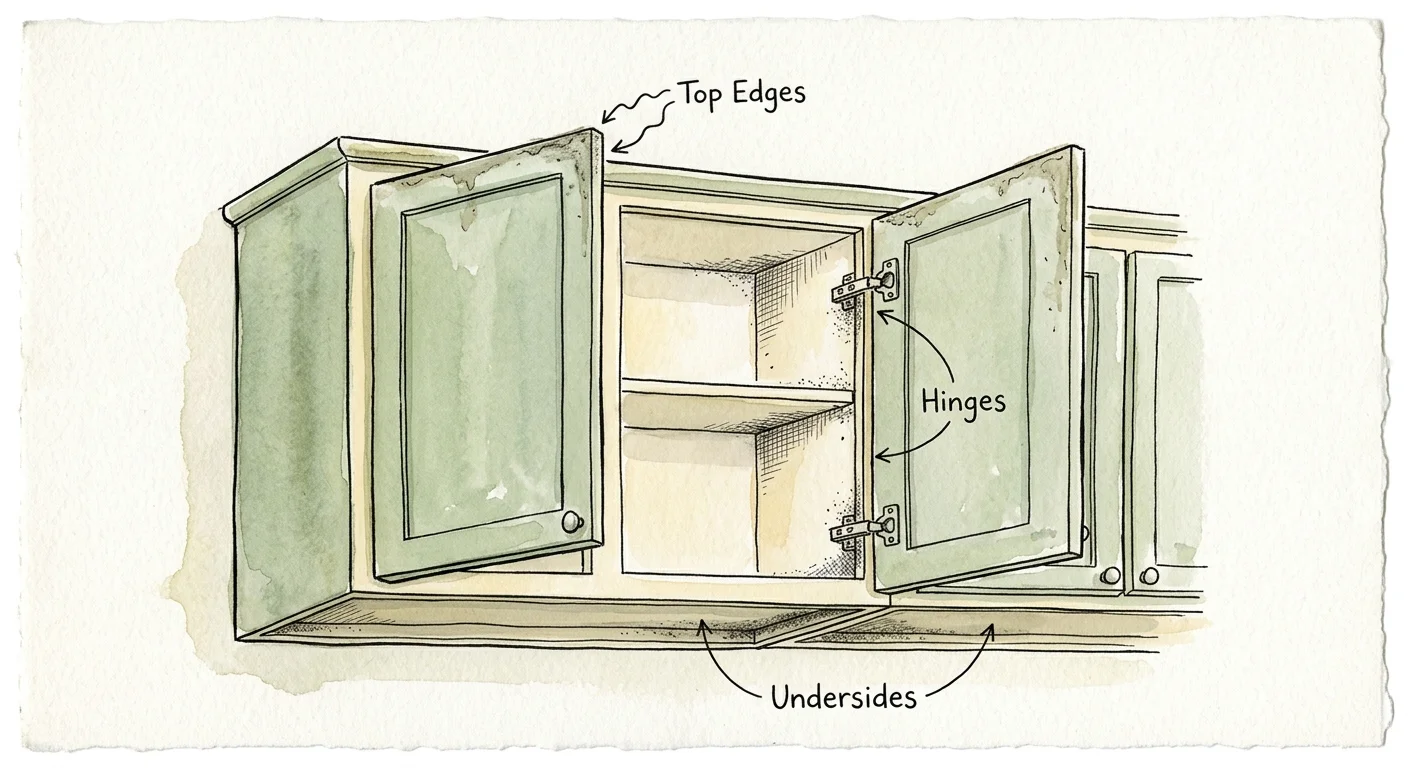
Cabinetry occupies the largest surface area in your cooking space, yet several structural zones remain completely untouched during weekly chores. Targeting these often forgotten cleaning spots prevents sticky grease film accumulation and eliminates dust reservoirs that compromise indoor air quality.
Upper Cabinet Ledges and Crown Moldings
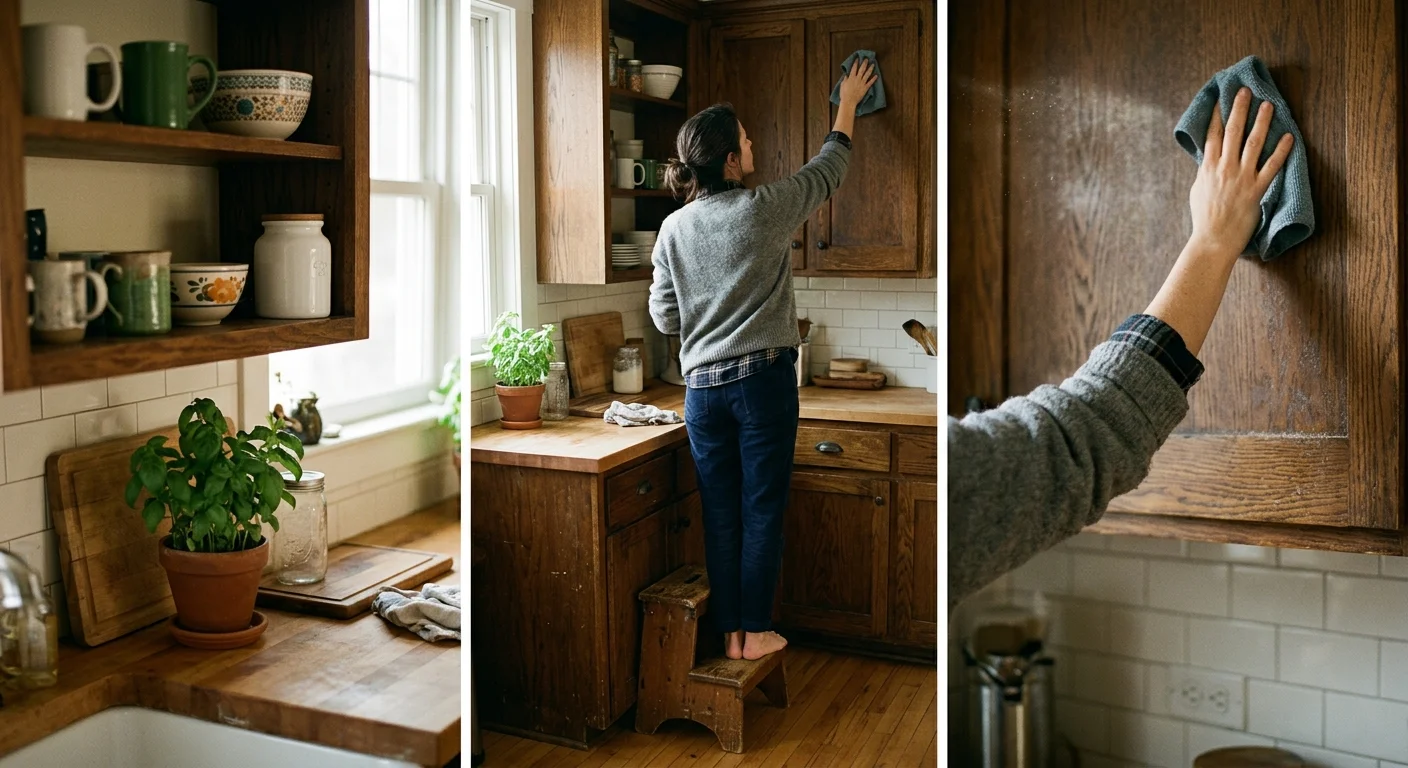
Airborne grease from frying and sautéing travels upward and settles on top of upper kitchen cabinets, creating a tacky layer that traps floating dust. Over months, this mixture hardens into a stubborn coating that basic dusting cannot remove. Apply a warm water solution mixed with a degreasing dish soap or an alkaline cleaner onto the cabinet tops. Let the solution sit for three minutes to break down the grease film; then scrub gently with a non-scratch sponge and wipe clean with a wet microfiber cloth. To make future maintenance effortless, line the cleaned cabinet tops with wax paper or removable shelf liners; next year, simply lift away the dirty liner and replace it without scrubbing.
Base Cabinet Toe Kicks and Floor Seams
The recessed space beneath your lower cabinets—known as the toe kick—collects a surprising amount of swept-up debris, pet hair, and dropped food crumbs. Moisture from floor mopping often pushes this organic material directly into the joint where the toe kick meets the flooring, creating an attractive shelter for household pests. Vacuum along these recessed joints using a narrow crevice attachment. Spray a mild multi-surface cleaner along the seam and wipe it clean using a microfiber rag wrapped around a putty knife to pull out embedded dirt from narrow cracks.
Under-Cabinet Lighting Strips and Wiring Channels
Under-cabinet task lights and power channels provide necessary illumination, but their undersides gather vaporized grease and dust. Turn off the light fixtures and allow them to cool completely. Dampen a microfiber cloth with isopropyl rubbing alcohol—which cuts through sticky film rapidly without introducing excess liquid around electrical wiring—and gently wipe down light diffusers, power cords, and mounting tracks.
Cabinet Door Insets and Hardware Mounts
Shaker-style cabinet doors feature recessed center panels where dust settles, while cabinet handles and pulls collect skin oils from daily touch. Spray an interior wood cleaner or mild soapy water onto a microfiber cloth rather than spraying directly onto the wood surface to prevent liquid pooling in frame joints. Use a soft-bristled toothbrush to gently scrub away grime tucked around cabinet hardware and tight panel grooves.
Sanitize Hidden Water, Waste, and Wall Cavities
Moisture and organic waste create ideal conditions for mold, mildew, and bacterial growth. Focusing on water supply components, disposal units, and trash storage bays elevates your cleaning routine into a thorough kitchen cleaning guide that safeguards household health.
Garbage Disposal Rubber Splash Guard
The underside of the flexible rubber splash guard sitting inside your sink drain harbors thick layers of decomposing food sludge and black biofilm. Flip the rubber flaps upward using an old toothbrush dipped in a paste of baking soda and liquid dish soap. Scrub the underside thoroughly until all dark buildup disappears. To sanitize the grinding chamber itself, pour two cups of ice cubes and one cup of coarse rock salt into the disposal, run cold tap water, and switch on the unit. The ice and salt scour internal components while loosening hardened debris from the blades.
Refrigerator Water Dispenser Niche and Ice Chute
Refrigerator water dispensers and ice chutes provide daily drinking water, but moist niches frequently foster bacterial slime and mineral buildup. Sanitation guidelines from the Centers for Disease Control and Prevention highlight the necessity of cleaning and sanitizing water-dispensing equipment regularly to avoid cross-contamination. Remove the small drip tray grate beneath the dispenser and scrub out standing water and mineral deposits. Soak a small nylon brush or pipe cleaner in distilled white vinegar, insert it into the water outlet nozzle, and scrub gently to remove mineral scale and mold spores before flushing the line with fresh water.
Trash Can Enclosure Bays and Surrounding Walls
When you toss food scraps into your trash bin, tiny splatters invisibly coat nearby surfaces. Over time, bacteria and sticky residues accumulate on the inside paneling of pull-out trash drawers, as well as on the drywall behind freestanding cans. Pull your trash receptacle completely out of its cabinet bay or corner. Spray down the surrounding wall, baseboard, and inner cabinet surfaces with an antibacterial disinfectant cleaner, let it sit for two minutes, and wipe it dry. Wash the exterior and interior of the trash bin itself using hot, soapy water before inserting a fresh trash liner.
Sink Overflow Vents and Pull-Out Faucet Hoses
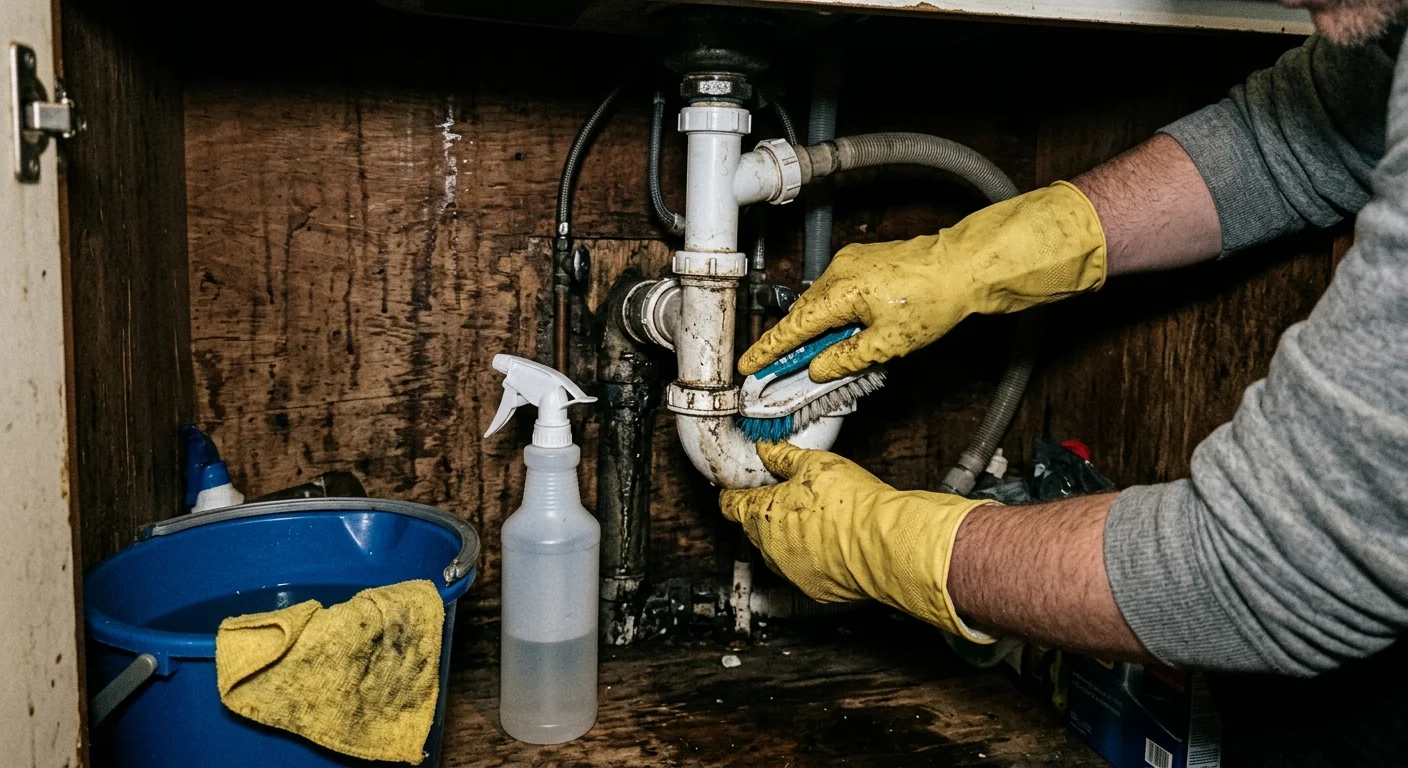
If your kitchen sink includes an overflow hole or a pull-out spray faucet, dirt quietly accumulates out of view. The flexible weight-bearing hose under your sink drags across cabinet floors and collects dust, which gets pulled back up into your faucet housing during use. Pull the spray hose out fully, wipe its entire length with a sanitizing wipe, and clean the cabinet floor area where the hose rests. Clean sink overflow openings by pouring warm water mixed with white vinegar directly down the vent channel using a small funnel.
The Comprehensive Kitchen Deep Cleaning Checklist
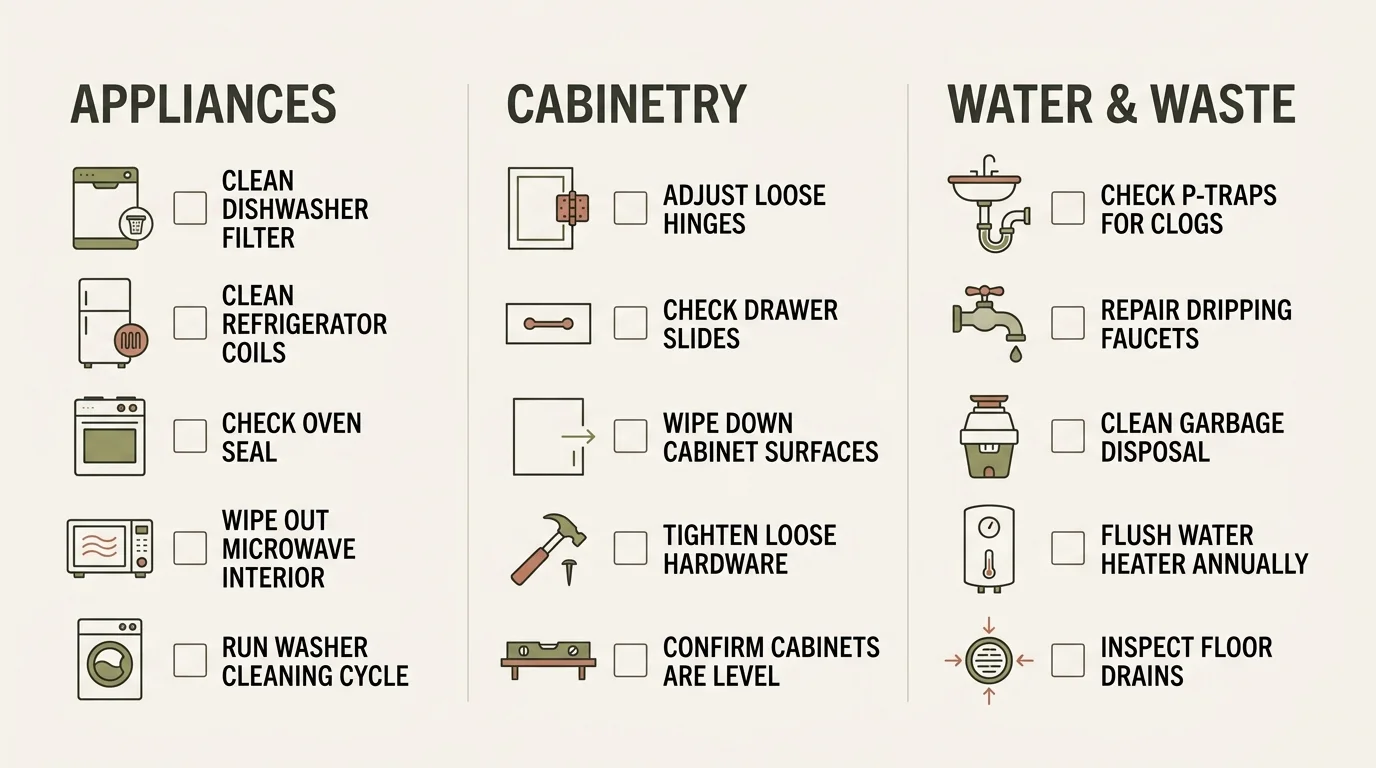
Use this structured kitchen deep cleaning checklist to systematically audit your home. Tackling these zones sequentially prevents cross-contamination and ensures you cover every critical surface efficiently.
| Kitchen Zone | Forgotten Spot | Step-by-Step Action | Recommended Tools |
|---|---|---|---|
| Dishwasher | Manual Tub Filter & Spray Arms | Unscrew bottom filter, scrub mesh under warm water, and clear spray arm holes with a toothpick. | Soft nylon brush, dish soap, toothpick. |
| Refrigerator | Condenser Coils & Door Gaskets | Vacuum coils behind access panel; wipe rubber door seals with mild soapy water. | Vacuum crevice tool, coil brush, microfiber cloth. |
| Range Hood | Aluminum Mesh Filters | Soak mesh filters in hot water, baking soda, and degreaser for 20 minutes before gently scrubbing. | Baking soda, degreasing dish soap, scrub brush. |
| Cabinetry | Upper Cabinet Ledges | Apply degreaser to dissolve tacky grease film, wipe clean, and lay down wax paper liners. | Alkaline degreaser, sponge, wax paper. |
| Cabinet Base | Toe Kicks & Floor Joints | Vacuum recessed joints under lower cabinets; dig out trapped grime along floor seams. | Vacuum crevice tool, putty knife, rag. |
| Sink & Disposal | Splash Guard Underside | Flip up rubber baffle flaps and scrub black biofilm from the underside; scour blades with ice and salt. | Toothbrush, baking soda, ice cubes, rock salt. |
| Water Dispenser | Nozzle & Drip Tray | Clean water nozzle with vinegar-soaked pipe cleaner; scrub mineral scale from drip tray. | Distilled white vinegar, pipe cleaner, sponge. |
| Waste Station | Trash Bay & Adjacent Walls | Disinfect cabinet interior or walls surrounding trash bins; scrub bin interior. | Antibacterial cleaner, microfiber towels, hose/tub. |
Essential Chemical Safety and Sanitation Standards
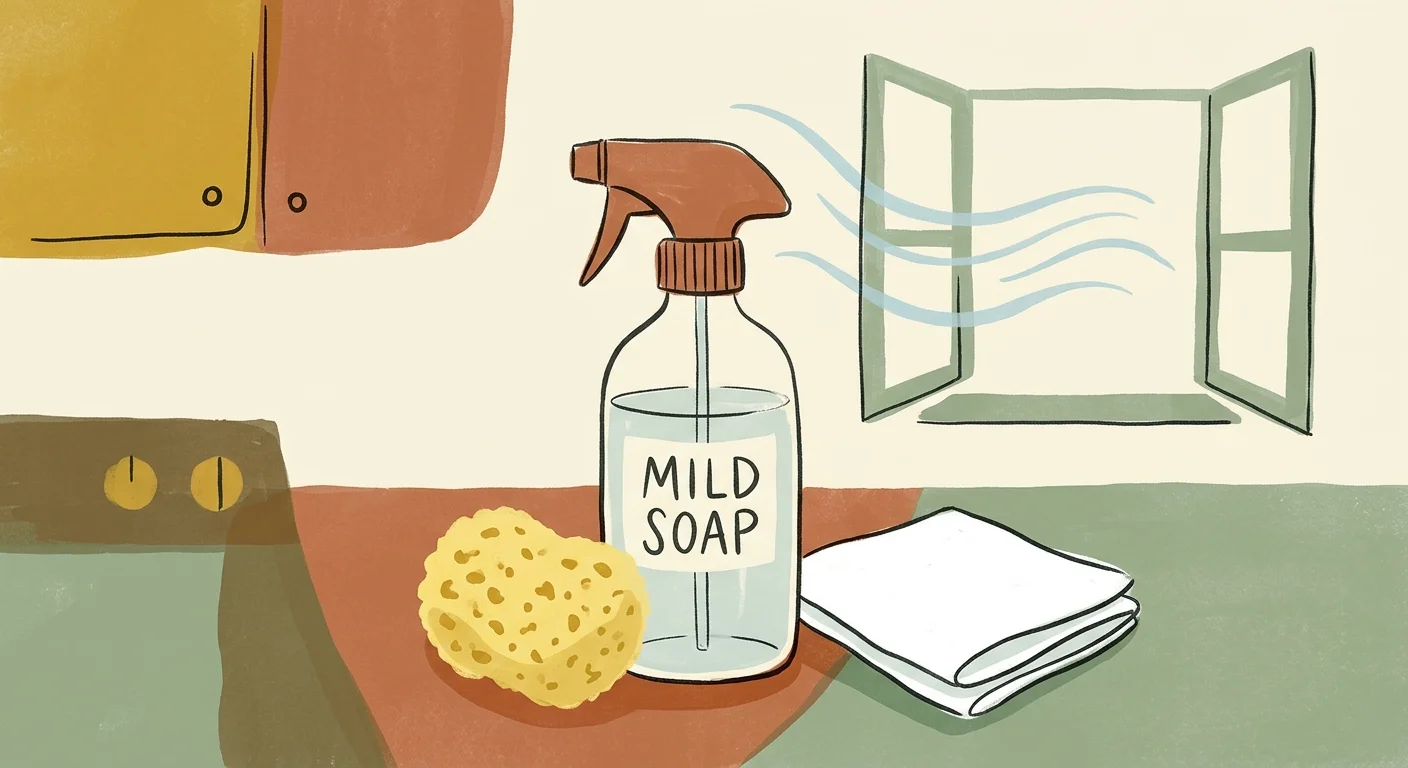
Deep cleaning requires powerful agents, but combining household chemicals poses severe safety risks. Never mix chlorine bleach with ammonia, vinegar, or acidic cleaners; doing so releases toxic chloramine or chlorine gas that causes acute respiratory harm. Chemical hazard resources from the U.S. Environmental Protection Agency advise homeowners to maintain adequate room ventilation by opening windows or running exhaust fans whenever using concentrated chemical formulations.
When sanitizing surfaces that come into direct contact with food—such as cutting boards, prep counters, and refrigerator shelves—always practice proper food safety protocols. Food handling standards set by the USDA Food Safety and Inspection Service recommend washing surfaces with warm soapy water to remove organic matter before applying any sanitizing solution. Allow sanitized surfaces to air-dry completely or rinse them with fresh water according to product label directions to prevent chemical contamination of your food.
Your Practical Next Step for Immediate Progress
Transforming your kitchen from surface-clean to deep-cleaned doesn’t require an overwhelming, all-day effort. Select just one high-impact zone from this checklist today—such as removing your dishwasher filter or soaking your range hood mesh filters—to build immediate momentum. By tackling one or two of these forgotten spots each week, you will systematically eliminate hidden grime, restore appliance efficiency, and maintain a healthier, calmer cooking environment.