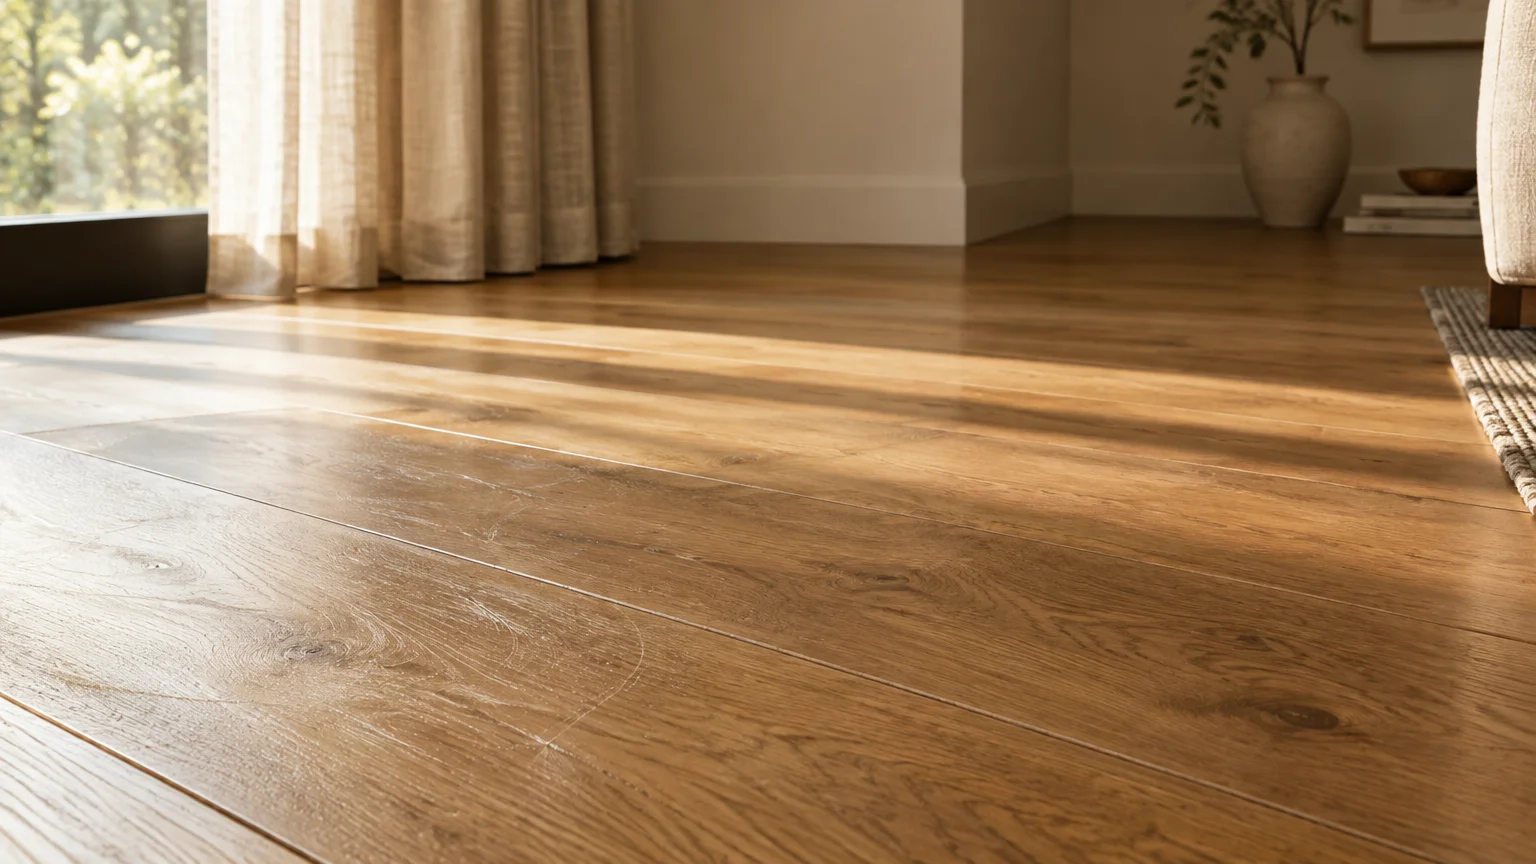
You can ruin your expensive flooring without ever dropping a heavy object. Common floor cleaning mistakes slowly strip protective seals, warp wood planks, and etch luxury stone tiles.
Good intentions often cause the worst damage when daily chores turn into abrasive routines. Swapping out a few harsh tools preserves your floor finish and cuts your cleaning time in half.
Learning how to clean floors properly protects your investment and keeps your home looking pristine. Avoid these nine habits that damage hardwood floors, laminate, tile, and stone surfaces.
01 Drenching Planks with a Soaking-Wet Mop
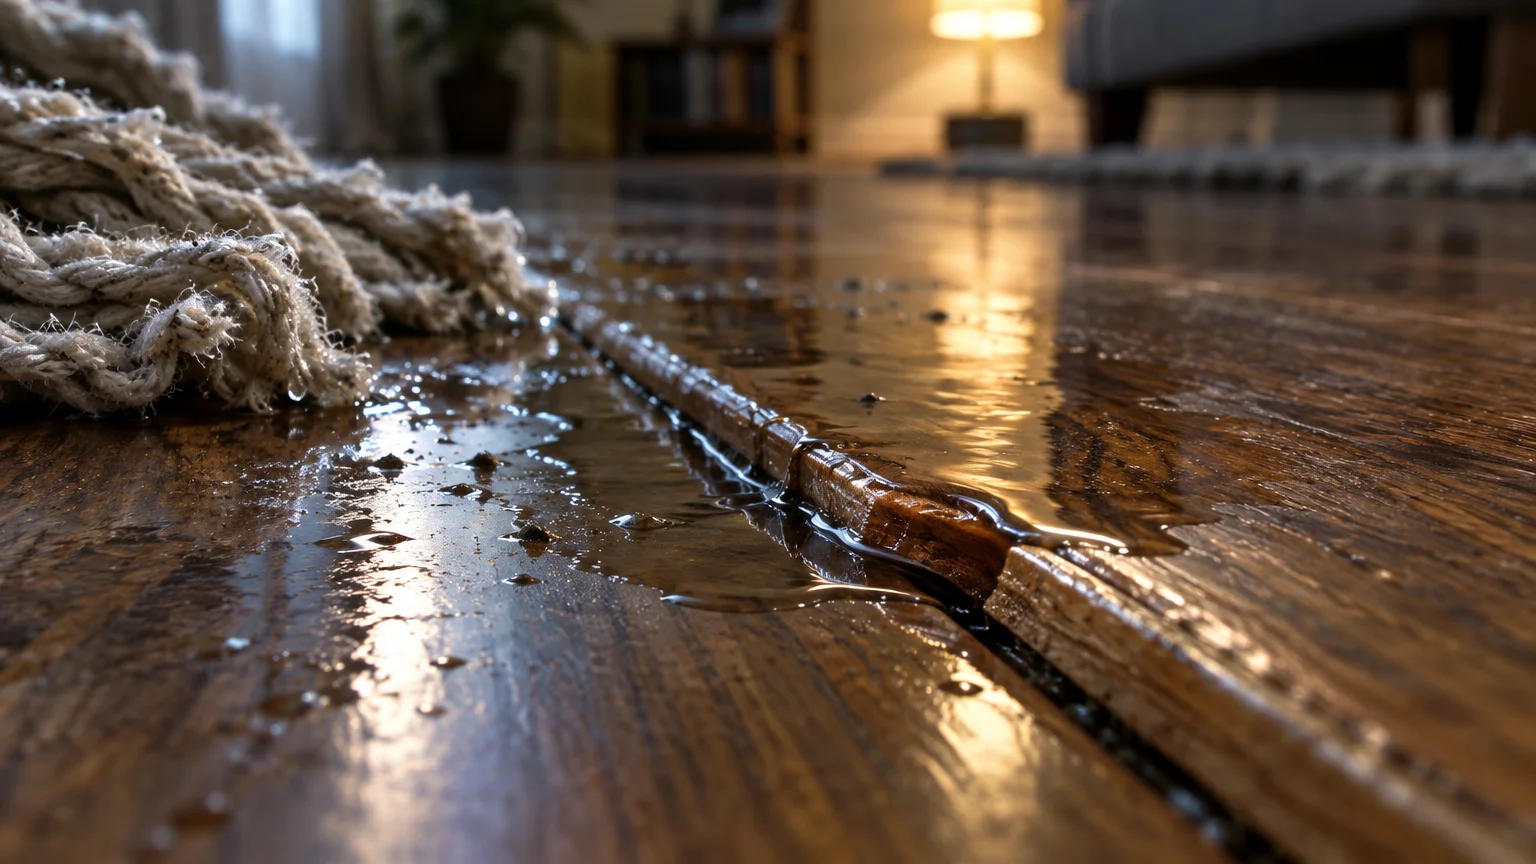
Dripping-wet cotton string mops introduce excessive water to your flooring. Liquid quickly seeps between floor seams, causing swollen edges and permanent warping.
Wood fibers expand when they absorb moisture. Even high-end engineered planks cup or buckle when water collects beneath their wear layer.
According to maintenance guidelines from the National Wood Flooring Association, excessive moisture remains the primary cause of floor finish failure. Standing water also breaks down moisture-resistant glues inside laminate and luxury vinyl tile.
You do not need saturated fibers to loosen everyday grime. Excess water merely pushes diluted dirt into seams instead of lifting it off the surface.
Switch to a flat microfiber mop equipped with a fine misting spray. When using a traditional mop bucket, wring the mop head until it feels barely damp to the touch.
Your floors should dry completely within two to three minutes after passing over them. If wet tracks remain longer, your mop carries far too much water.
02 Using Vinegar or Lemon Juice on Hardwood and Stone
DIY cleaning blogs constantly recommend white vinegar as a universal disinfectant. Applying acidic household solutions to delicate flooring causes irreversible chemical damage.
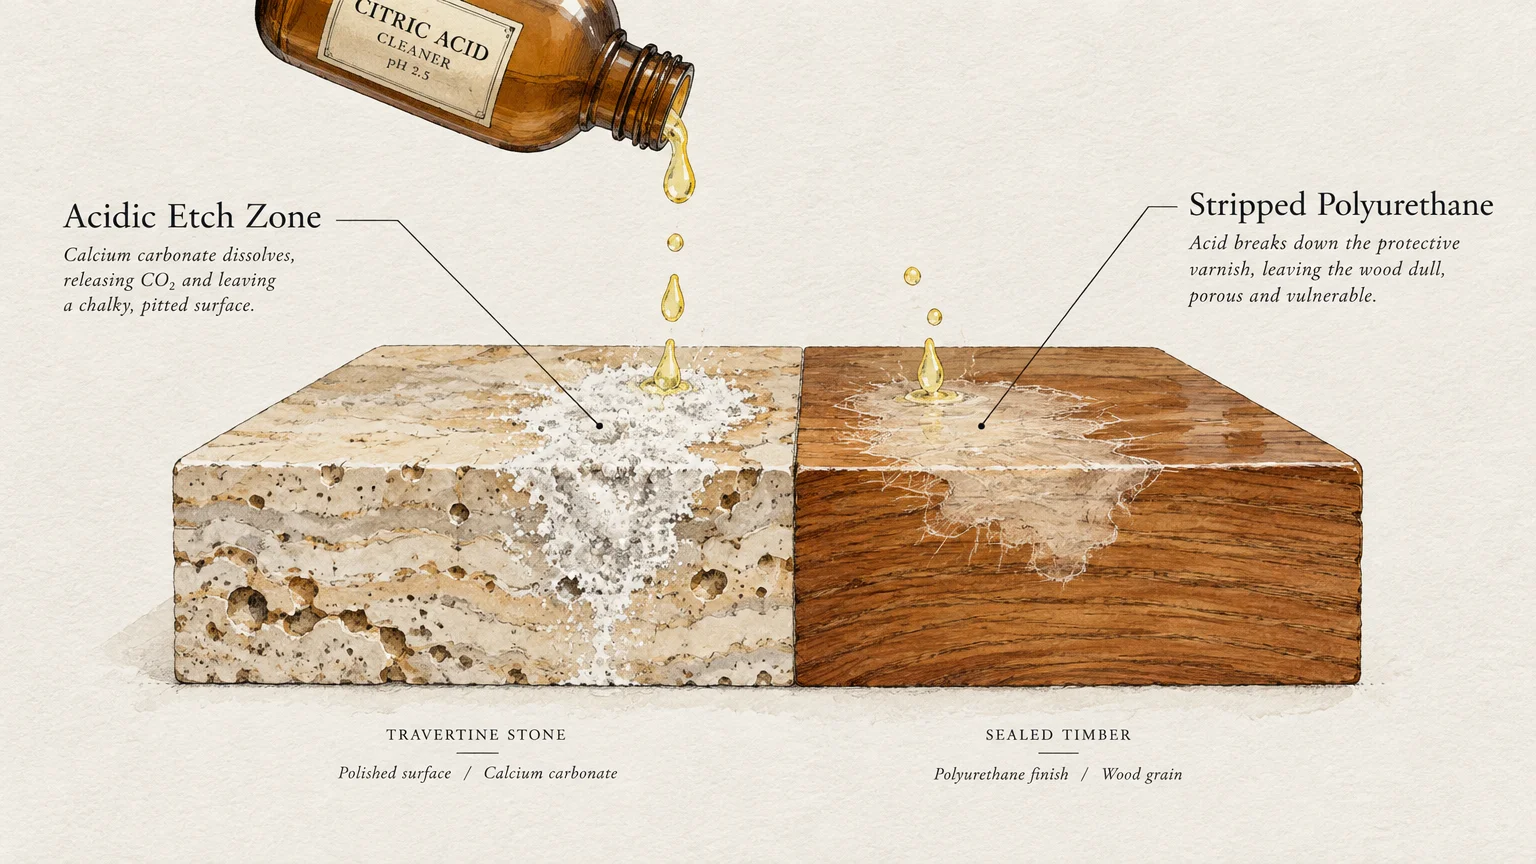
Vinegar possesses an acidic pH between 2.0 and 3.0. Over time, this acid eats away protective polyurethane coatings on hardwood floors, leaving bare wood vulnerable to staining.
The threat proves even more acute on calcium-based natural stones like marble, travertine, and limestone. The Natural Stone Institute warns that acidic cleaners chemically etch stone surfaces, creating dull spots that require professional repolishing.
Ammonia and lemon juice cause identical destruction by breaking down sealants and stripping protective luster. Once this protective barrier dissolves, everyday spills penetrate deep into the material.
Use dedicated pH-neutral cleaners formulated specifically for your floor material. A neutral cleaner lifts body oils and dust without attacking delicate chemical finishes.
03 Sanitizing Wood or Vinyl Planks with Steam Mops
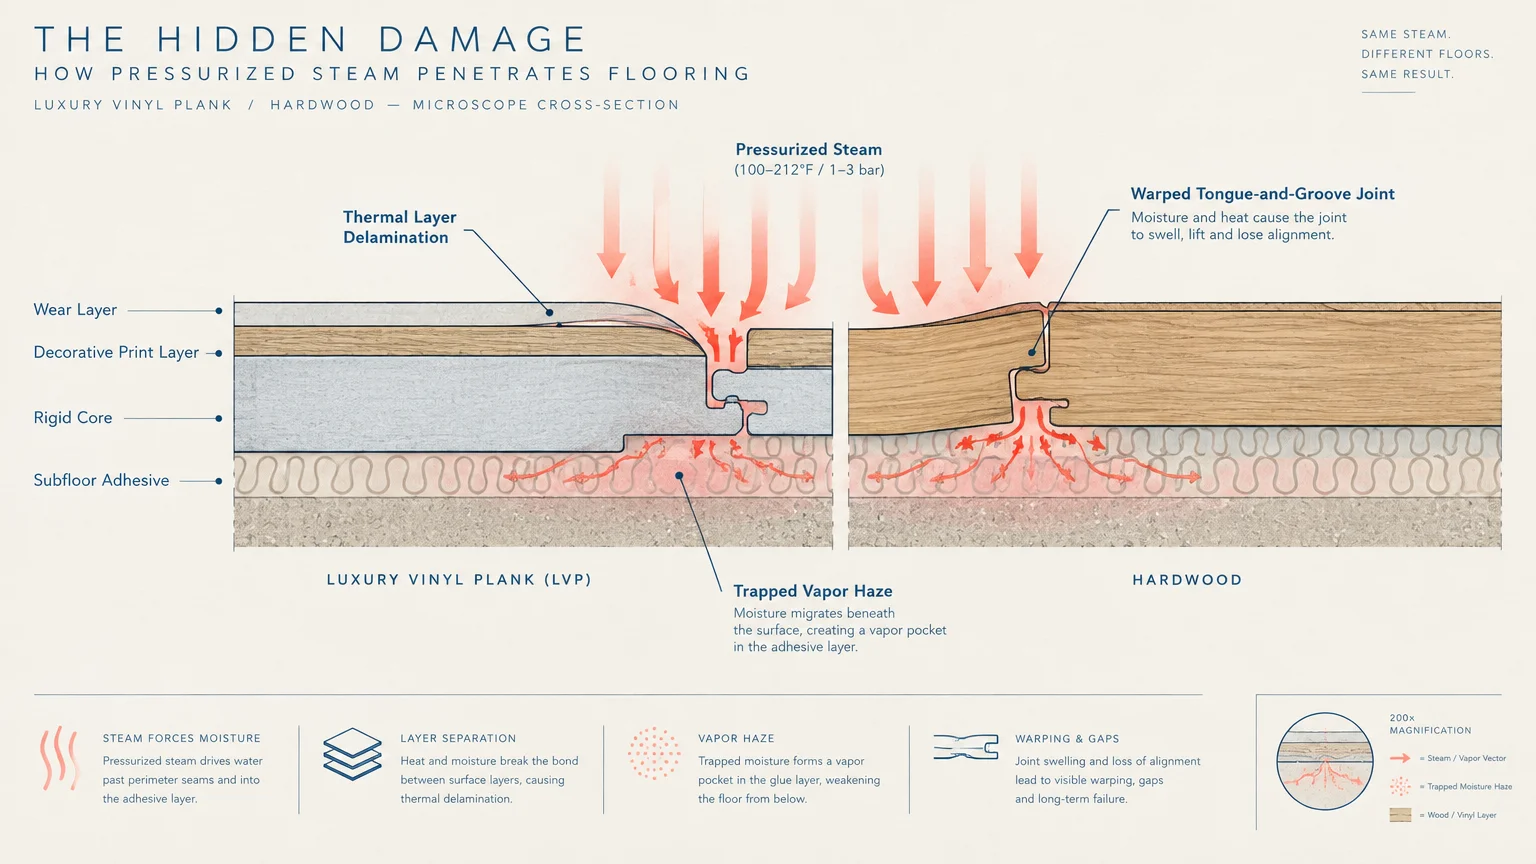
Steam cleaners promise effortless sanitization using only pressurized water vapor. Unfortunately, steam remains one of the fastest habits that damage hardwood floors and luxury vinyl.
Steam cleaners blast extreme heat and vapor into microscopic seams under high pressure. This intense heat forces moisture deep past protective topcoats where room-temperature water never reaches.
On luxury vinyl plank (LVP), heat softens adhesive layers and deforms rigid backing cores. This thermal stress causes plank curling, loose edges, and voided manufacturer warranties.
Hardwood floors react to steam by peeling, turning cloudy, or showing white haze rings. These milky patches indicate that trapped moisture has separated the finish from the raw timber.
Reserve your steam mop exclusively for unglazed ceramic tile or concrete surfaces without sensitive sealers. For sealed wood, laminate, and vinyl, rely on room-temperature water and microfiber pads.
04 Vacuuming Hard Surfaces with the Rotating Beater Bar On
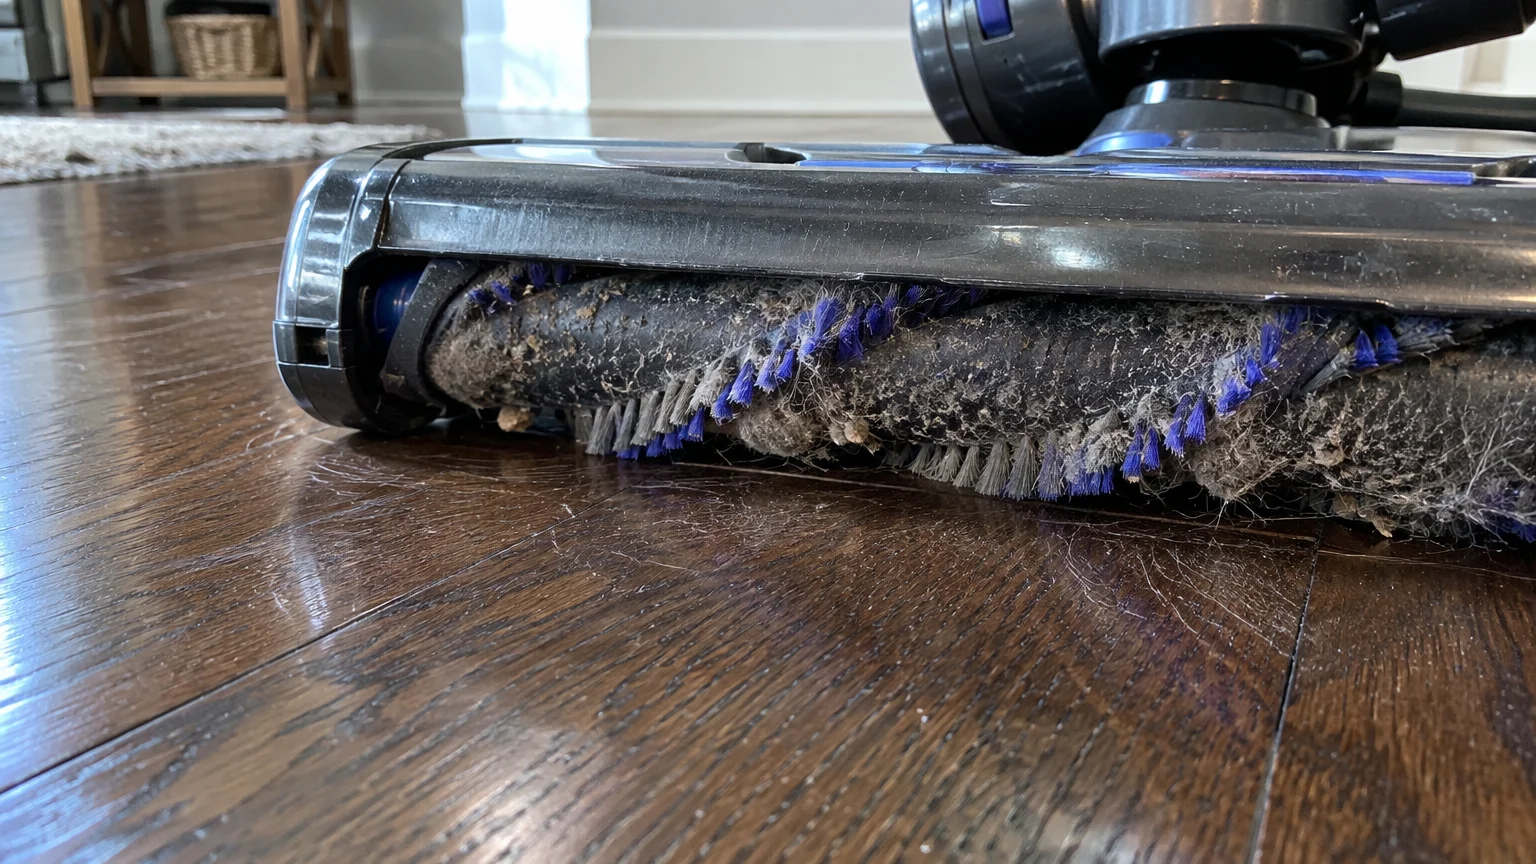
Upright vacuums clean deep carpet fibers through rotating motorized brushes called beater bars. Running that same stiff brush across hard surfaces rapidly damages your floors.
High-speed nylon bristles strike delicate finishes thousands of times per minute. Over several months, this constant abrasion leaves faint swirl marks across polished wood and glossy tiles.
Hard plastic vacuum wheels also present a major hazard on hardwood and vinyl floors. When tiny pebbles get trapped in wheel treads, the dragging vacuum carves visible gouges into the surface.
Always turn off the roller brush before transitioning your vacuum onto bare flooring. Better yet, switch to a hard-floor wand attachment lined with soft horsehair bristles or felt.
Inspect your vacuum wheels regularly to ensure they spin freely without trapped debris. Rubber-coated wheels glide smoothly and prevent accidental track marks during quick cleanups.
05 Pouring Cleaning Solution Directly onto the Surface
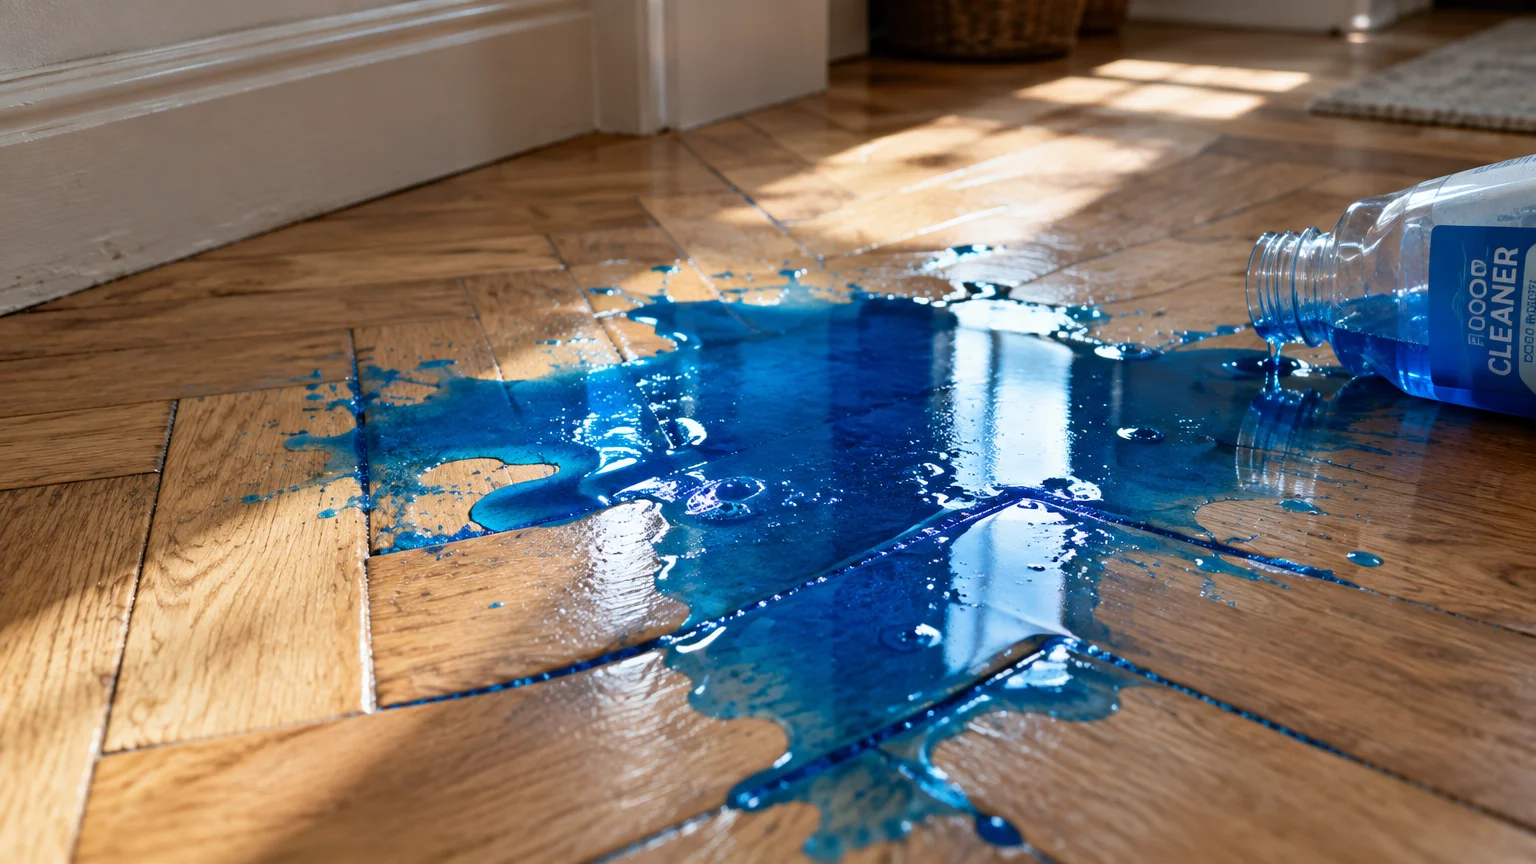
Squirt-and-mop products often show users squeezing liquid cleaner straight onto the floor. This common floor care mistake delivers far too much chemical solution into concentrated spots.
Poured liquids quickly pool inside plank bevels and porous grout channels before you can spread them. This pooling leaves sticky chemical residue that dries unevenly and discolors the subfloor.
Heavy soap residue creates an invisible, tacky film across the surface. This film acts like a magnet for airborne dust, pet dander, and shoe dirt.
You might notice your floors looking dull and dirty just hours after mopping. That dingy film is not fresh grime; it is trapped soil stuck to concentrated cleaning residue.
Lightly mist cleaning solutions directly onto your microfiber pad rather than spraying the floor. This technique controls moisture levels and guarantees a clean, streak-free sheen.
06 Scrubbing Tile Glaze and Grout with Abrasive Scourers
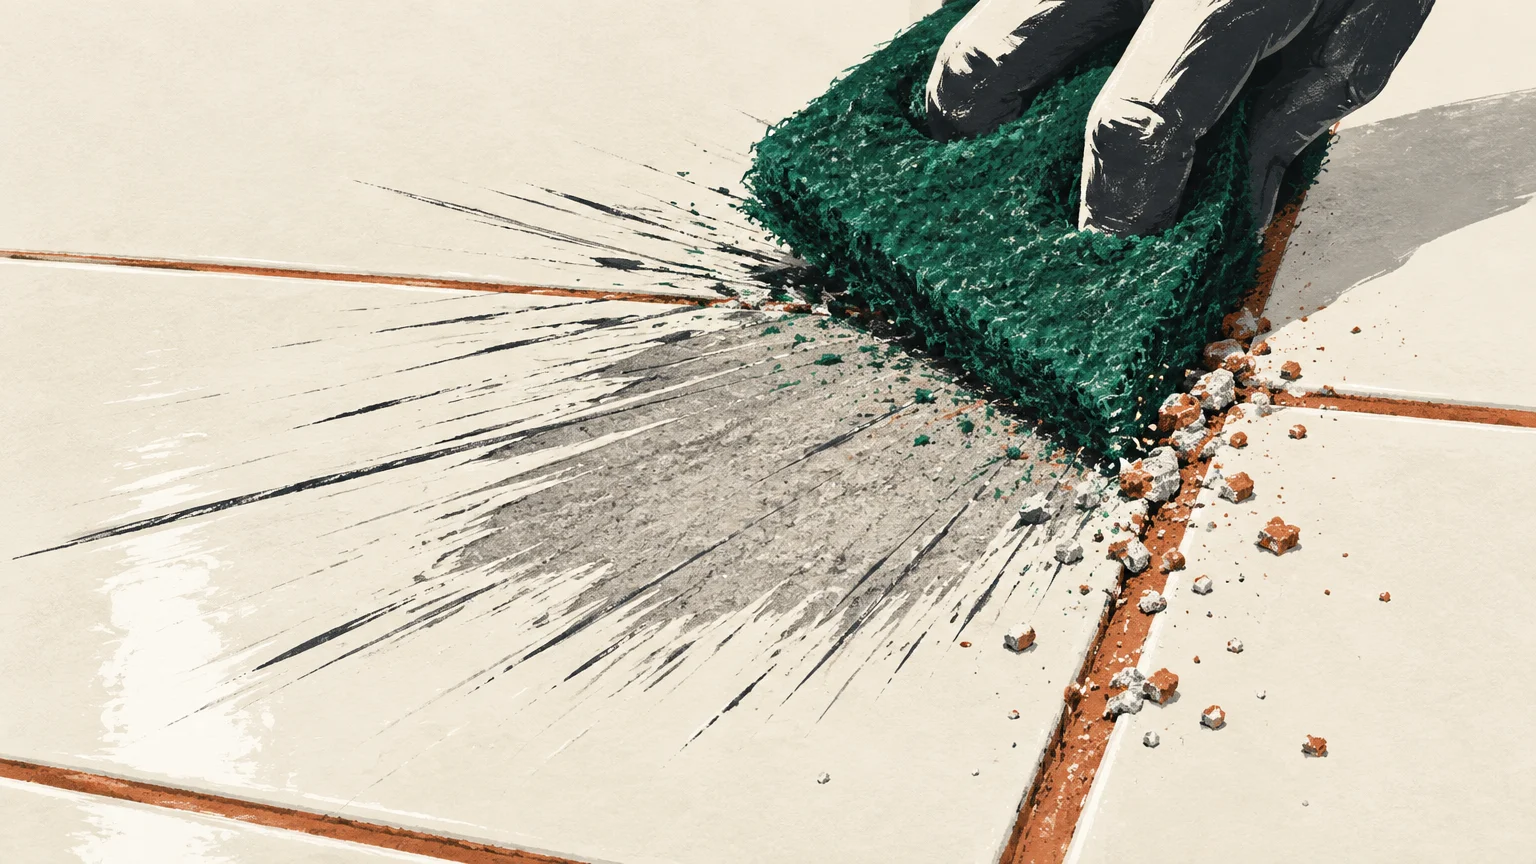
Stubborn stains and greasy grout lines tempt homeowners to pull out heavy scouring pads. Steel wool, stiff wire brushes, and abrasive green pads ruin tile installations quickly.
Glazed ceramic and porcelain tiles feature a thin glass-like protective finish applied during manufacturing. Steel wool and heavy scouring pads scratch this glaze, creating permanent micro-abrasions that harbor grime.
Rigid wire brushes also gouge out cementitious grout lines between tiles. According to technical resources from the Tile Council of North America, abrasive tools erode grout joints and compromise waterproof barriers.
Damaged grout lines allow water to seep behind shower walls or under subflooring. Repairing loose tiles or rotten subfloors costs hundreds of dollars in preventable construction repairs.
Clean stained grout using a soft-bristled nylon brush paired with an oxygen bleach paste. Let the cleaner dwell for fifteen minutes to dissolve stains without mechanical scratching.
07 Mopping Floors Before Clearing Loose Grit and Sand
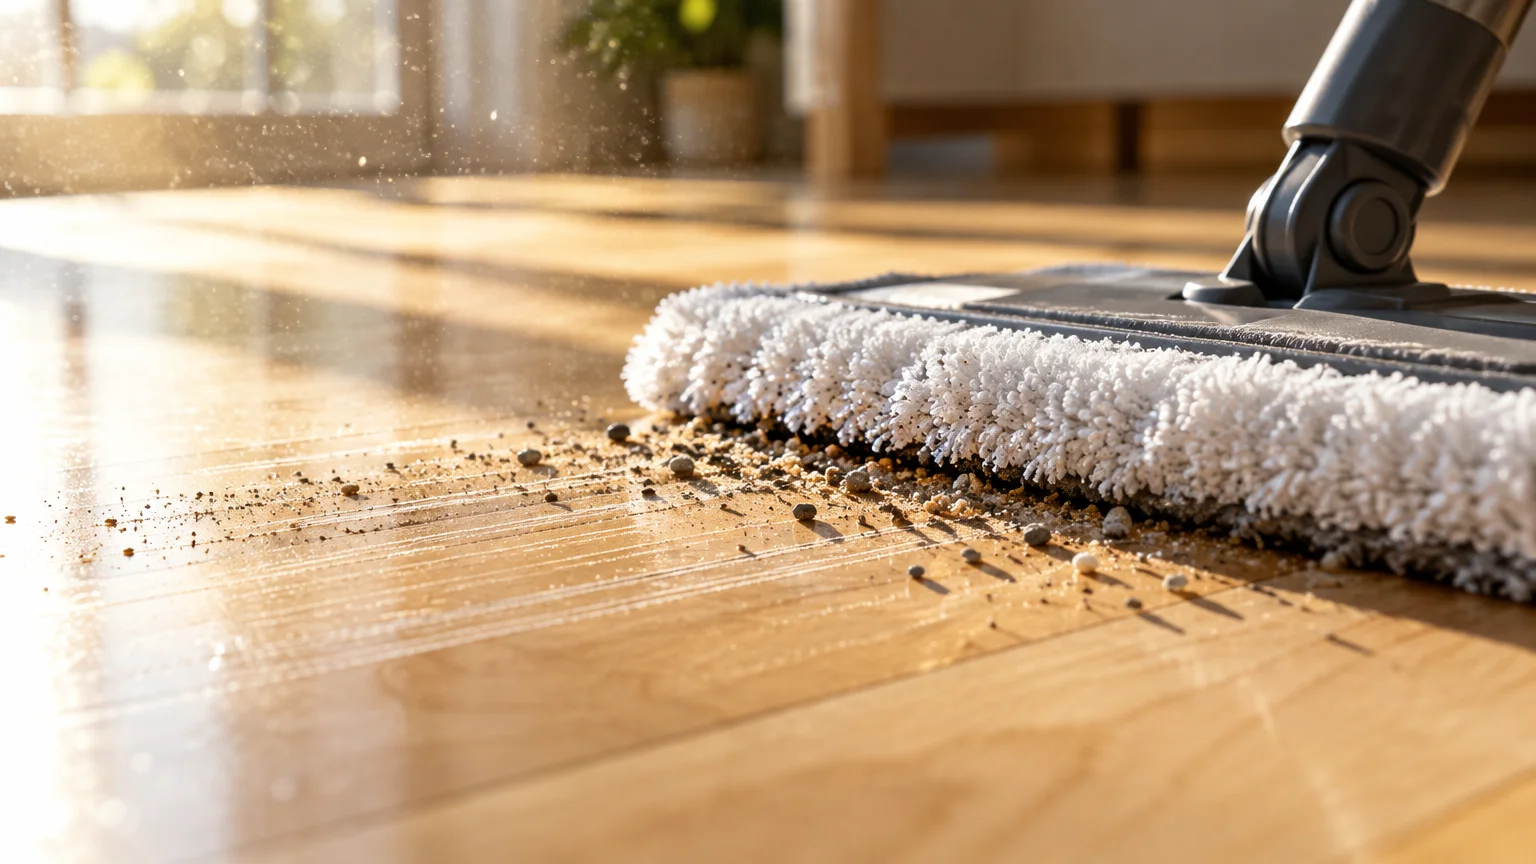
Skipping your preliminary dry sweep is one of the most destructive floor cleaning mistakes. Mopping a gritty floor grinds sharp particles into the surface like liquid sandpaper.
Outdoor footwear deposits sand, silica crystals, and tiny gravel onto household floors daily. When a wet mop drags these jagged mineral grains across wood, it leaves micro-scratches across the topcoat.
Micro-scratches scatter reflected light, turning once-glossy floors dull and hazy over time. These grooves also trap microscopic dirt particles that standard mopping cannot extract.
Take three minutes to dry dust-mop or vacuum your room thoroughly before introducing any liquid. An electrostatic dry mop captures fine pet fur and abrasive grit effortlessly.
Walk around high-traffic entryways in socks or bare feet to spot gritty areas before mopping. Removing surface debris first ensures your wet cleaning pad glides smoothly without causing harm.
08 Washing Floors with Dish Soap or Laundry Detergent
Dish soap cuts through kitchen grease effectively, which makes it tempting to add to your mop bucket. However, dishwashing liquids and laundry detergents are formulated for heavy rinsing under running water.
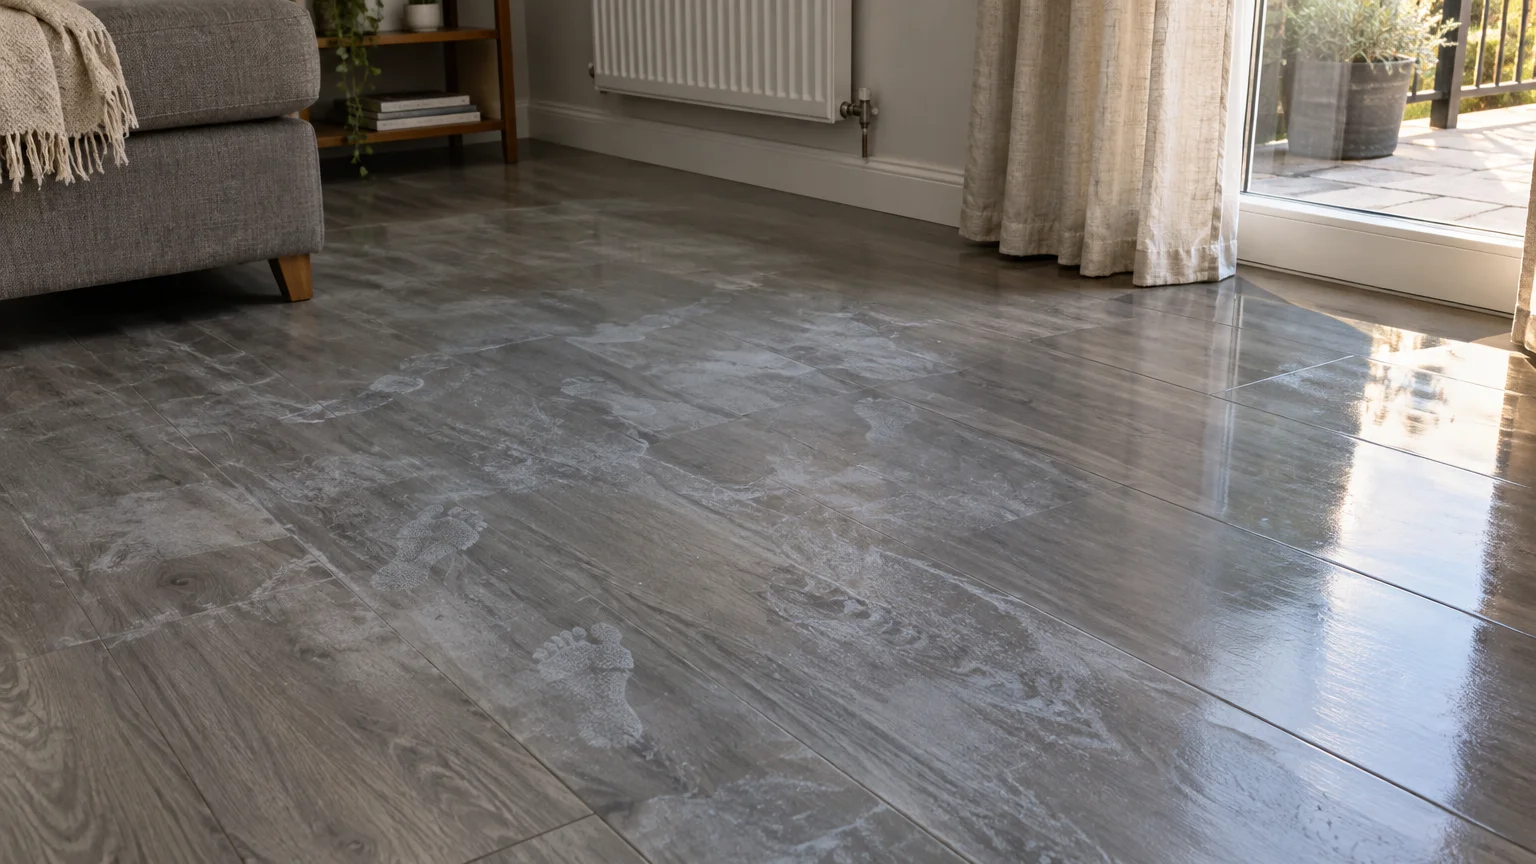
These heavy detergents leave thick surfactants and lathering agents behind on floor surfaces. Because you cannot rinse a floor like a dinner plate, that soapy film hardens into a cloudy coating.
The resulting film makes floors slick when wet and attracts grease from bare feet and shoes. Over several weeks, footsteps leave visible, cloudy smudges across the entire room.
Stripping away built-up soap scum requires tedious scrubbing with specialized stripping solutions. You can avoid this build-up by selecting rinse-free, dedicated floor formulas.
Look for floor cleaning solutions certified by the EPA Safer Choice program. These products clean thoroughly without toxic residues or lingering surfactant build-up.
09 Skipping Routine Sealant on Grout and Natural Stone
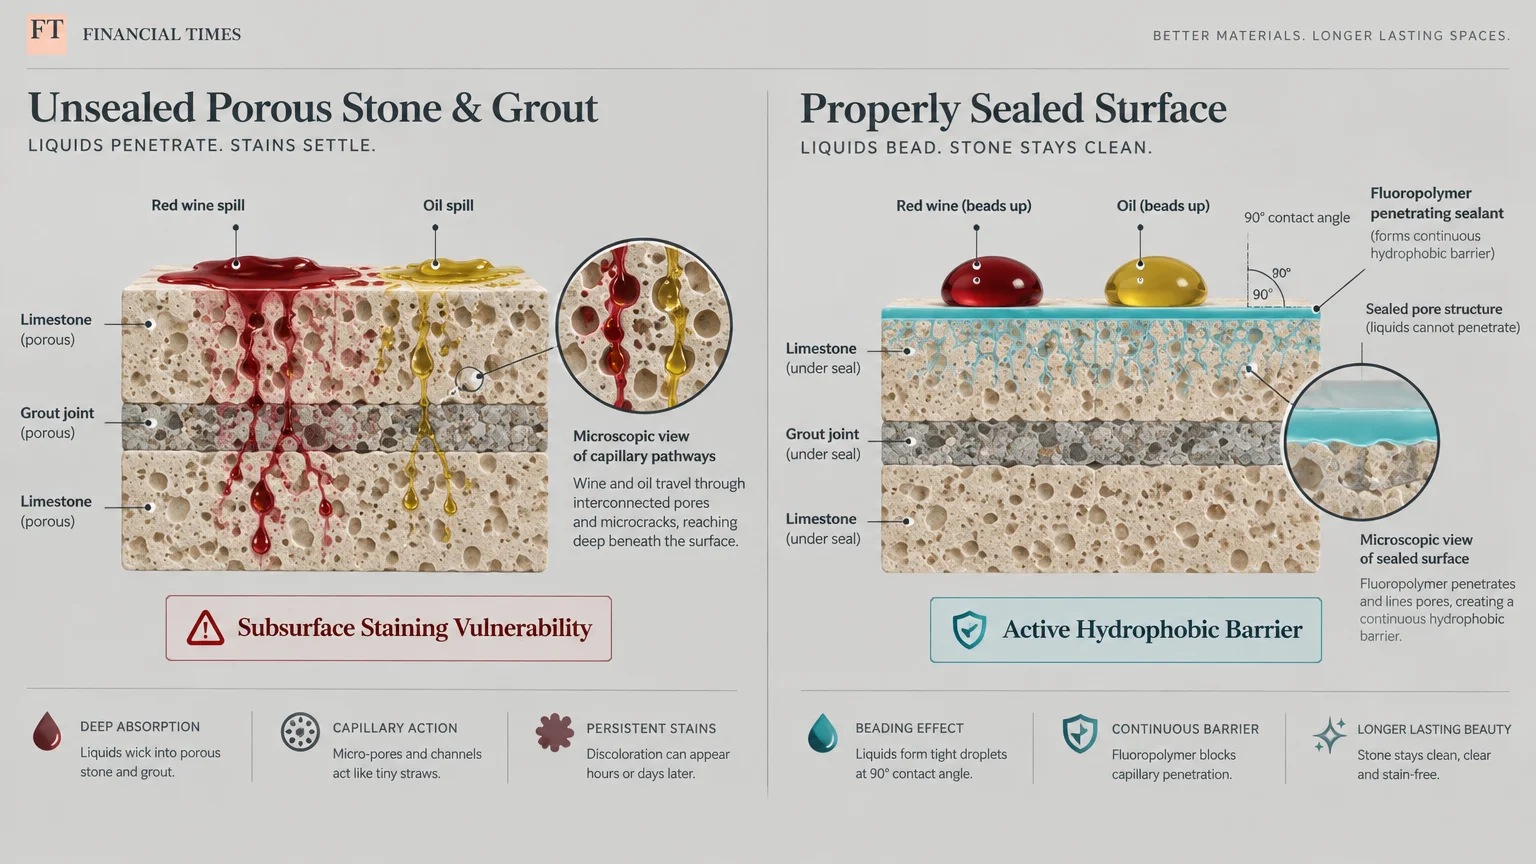
Cleaning porous flooring materials without renewing their protective sealers invites permanent floor damage from cleaning habits. Cementitious grout lines and natural stone tiles possess microscopic pores that absorb liquid.
Every time you wash an unsealed stone floor, dirty wash water sinks into the stone pores. Over time, muddy water discolors light grout lines and creates permanent subsurface shadows in marble.
Unsealed stone also absorbs cooking oils, wine spills, and colored cleaning dyes instantly. Once a stain penetrates deep beneath the surface, topical cleaners cannot extract the discoloration.
Perform a water droplet test on your stone tiles and grout lines every six months. Splash a few drops of clean water onto the surface and wait ten minutes.
If the water beads tightly on the surface, your seal remains intact. If the stone darkens or absorbs the water, apply an impregnating penetrating sealer immediately.

Understanding Floor pH: Why Acidity Destroys Modern Finishes
Every liquid cleaning solution carries a specific pH value on a scale from zero to fourteen. Solutions falling below seven are acidic, while those measuring above seven are alkaline.
Polyurethane coatings on hardwood floors maintain chemical stability only within a neutral range between 6.5 and 7.5. Harsh acids break chemical bonds in the urethane polymer chain.
When urethane bonds break down, the protective shell softens and develops microscopic fissures. This chemical erosion allows future spills to reach the raw timber beneath the seal.
Alkaline cleaners like bleach and ammonia cause comparable degradation by yellowing the protective coat. Always check product labels to ensure your daily solution states a neutral pH.
Tools That Protect Your Floors: What to Buy Instead
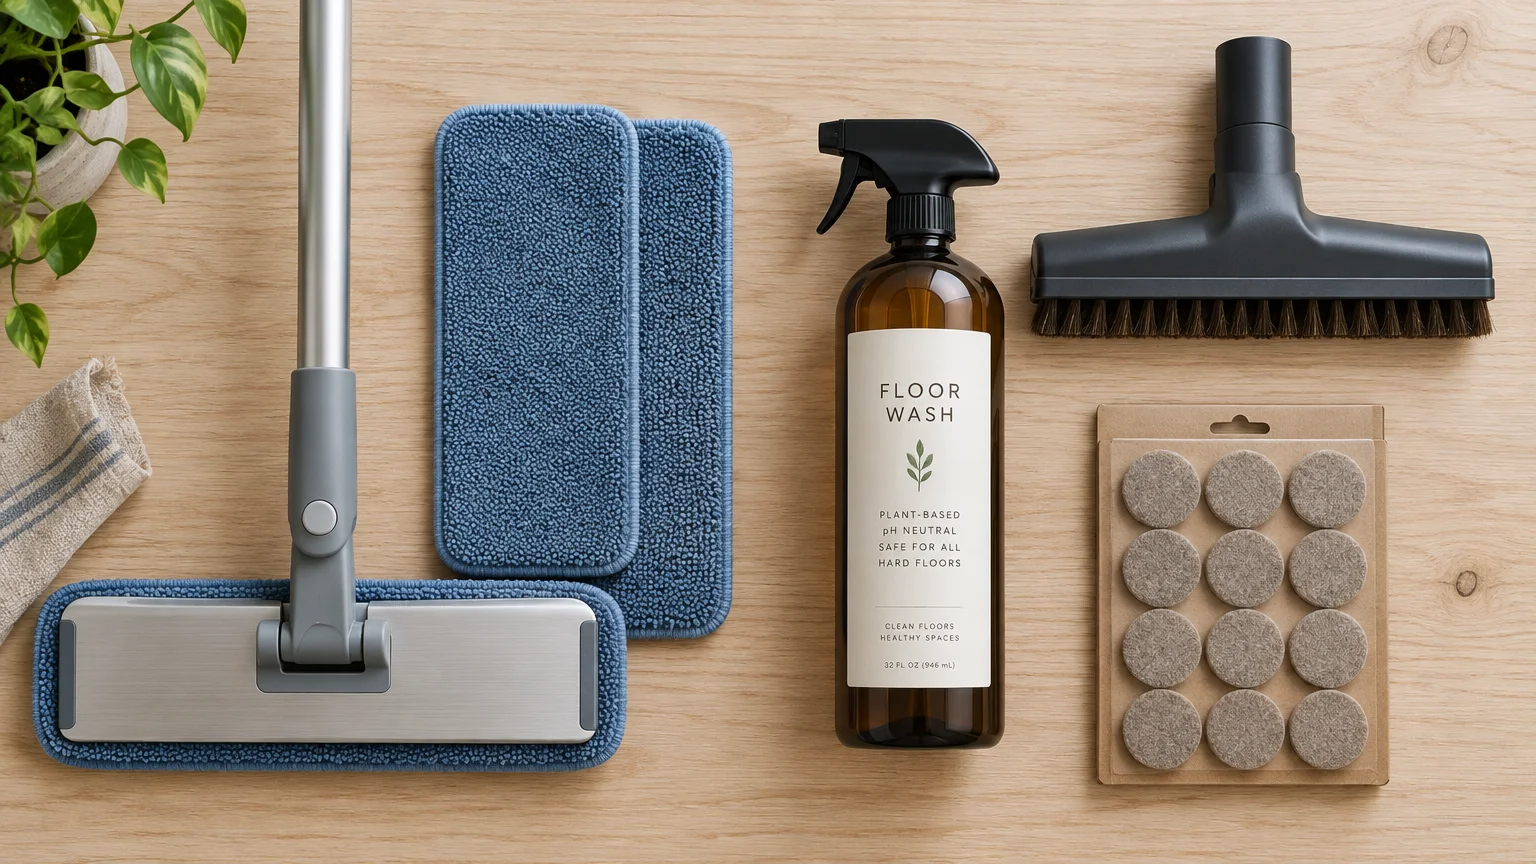
Ditching harmful cleaning habits requires swapping outdated tools for gentler modern alternatives. A few inexpensive upgrades will protect your surfaces for decades to come.
Replace heavy string mops with flat microfiber mop systems that feature washable hook-and-loop pads. Microfiber split fibers lift dust and bacteria mechanically using capillary action rather than soaking water.
Invest in a refillable spray mop or a simple handheld misting bottle. Controlling liquid delivery prevents puddling and ensures floors dry almost instantly.
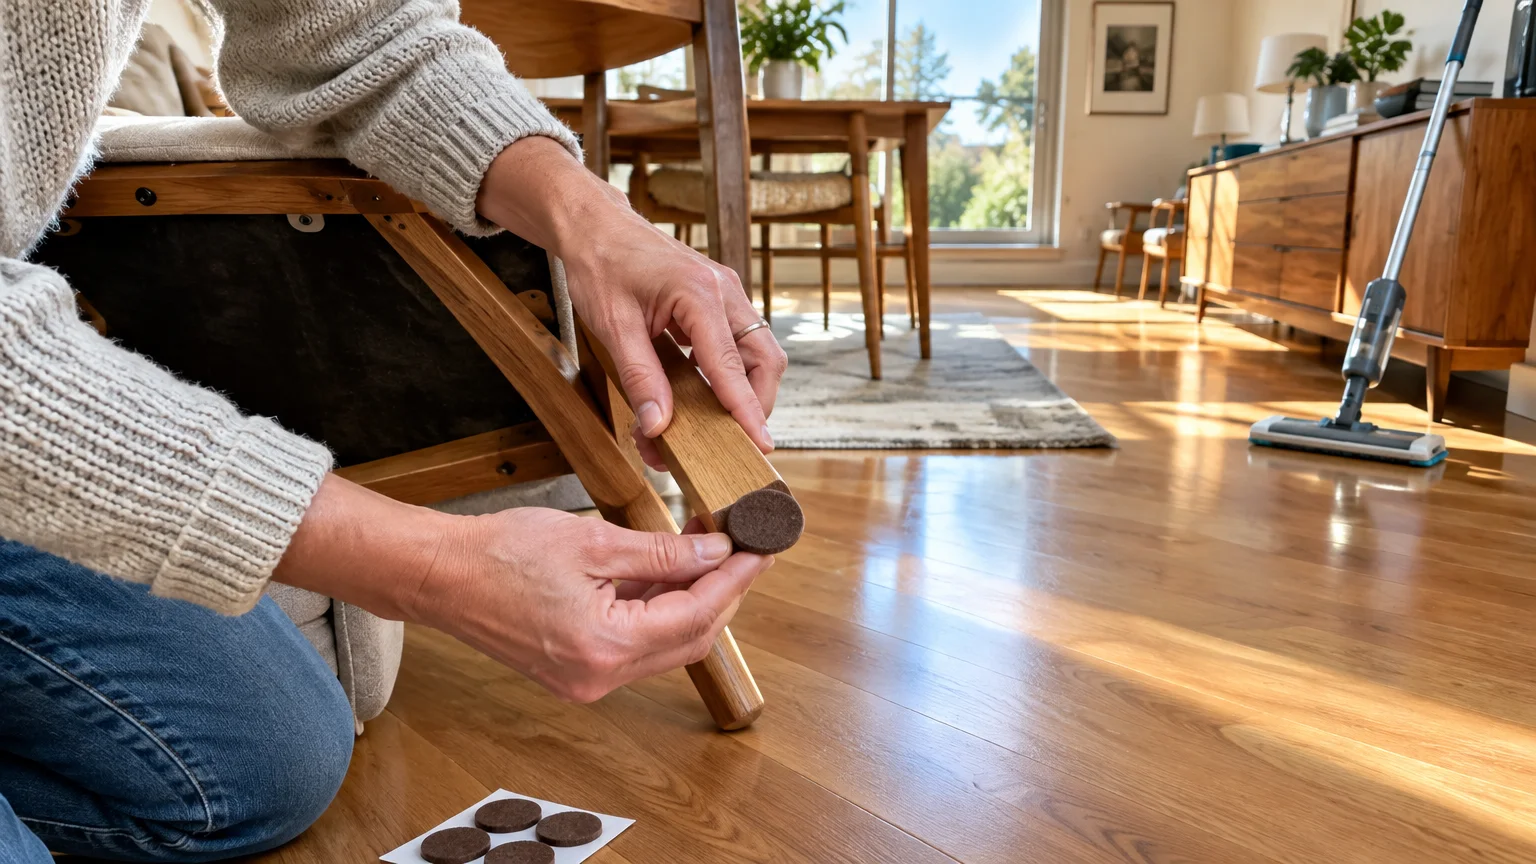
Attach dense felt pads beneath all furniture legs, chairs, and rolling storage units. Sliding chairs across hard surfaces creates friction damage that no amount of cleaning can reverse.
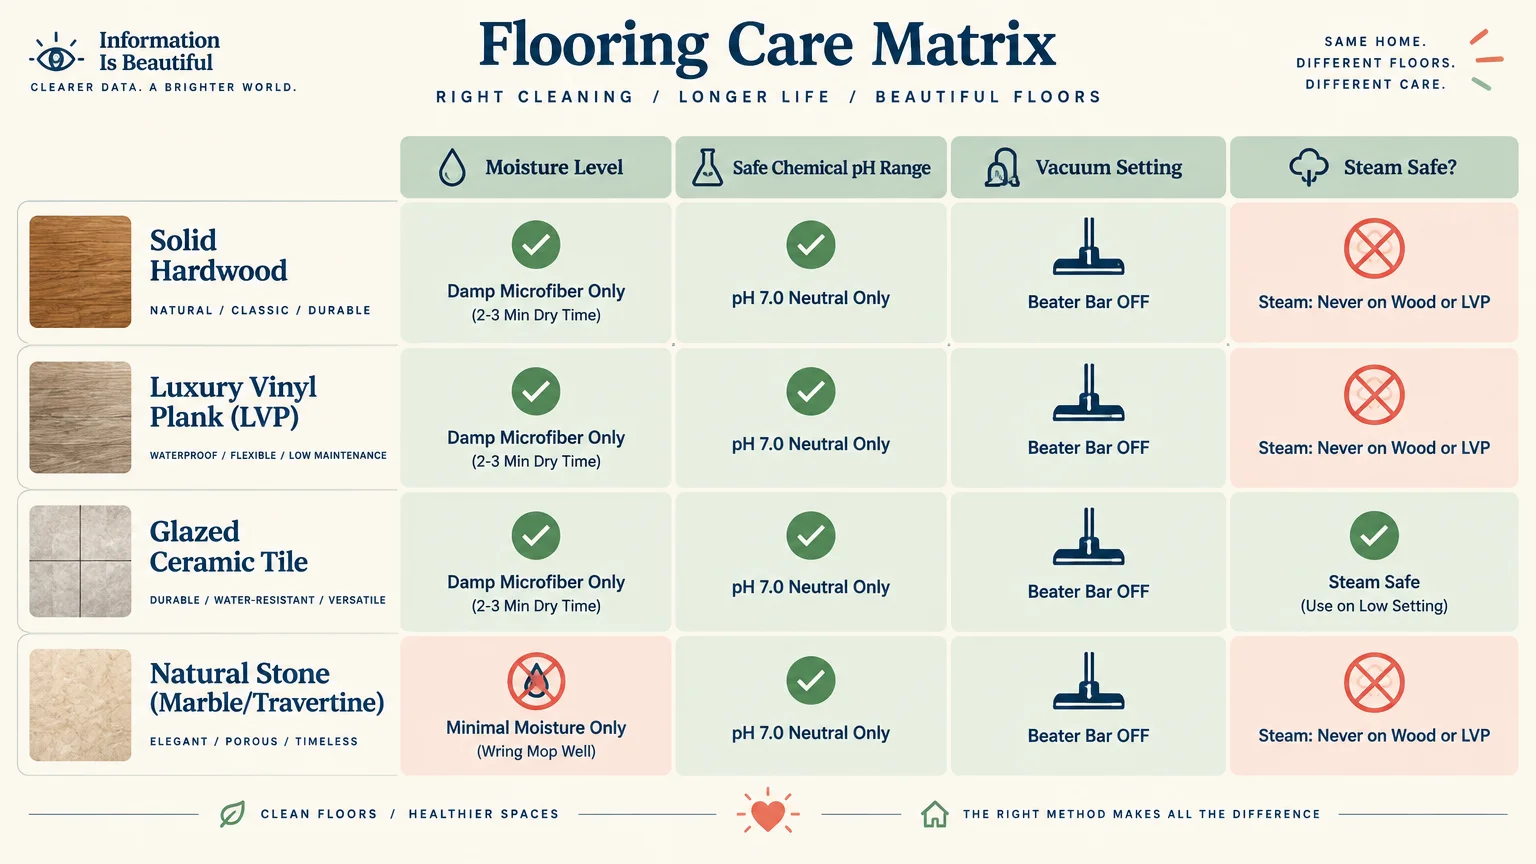
Quick Reference: Safe Cleaning Methods by Flooring Type
Different flooring materials react uniquely to moisture, chemicals, and cleaning friction. Review this reference table to match the right cleaning tool with your specific floor surface.
| Flooring Type | Risky Habit to Eliminate | Safe Alternative Cleaning Method | Ideal Cleaning Tool |
|---|---|---|---|
| Hardwood (Solid & Engineered) | Soaking mops, vinegar, steam cleaners | Barely damp microfiber mopping with pH-neutral cleaner | Flat microfiber mop with spray mist |
| Luxury Vinyl Plank (LVP/LVT) | Steam mops, excessive standing water | Mild neutral cleaner, damp wiping | Microfiber mop with synthetic pad |
| Ceramic & Porcelain Tile | Abrasive scouring pads, harsh wire brushes | Warm water, neutral cleaner, oxygen bleach on grout | Soft nylon bristle brush, microfiber mop |
| Natural Stone (Marble, Slate) | Acidic cleaners (vinegar, lemon), ammonia | Specialized stone cleaner, periodic penetrating sealer | Microfiber pad, cotton polishing cloth |
| Laminate Flooring | Steam cleaners, poured liquid cleaners | Light misting, immediate dry buffing | Dry electrostatic sweeper, damp microfiber |
Matching your cleaning method to floor manufacturer specifications prevents warranty disputes. Keep this guide handy in your laundry room or supply closet for quick reference.
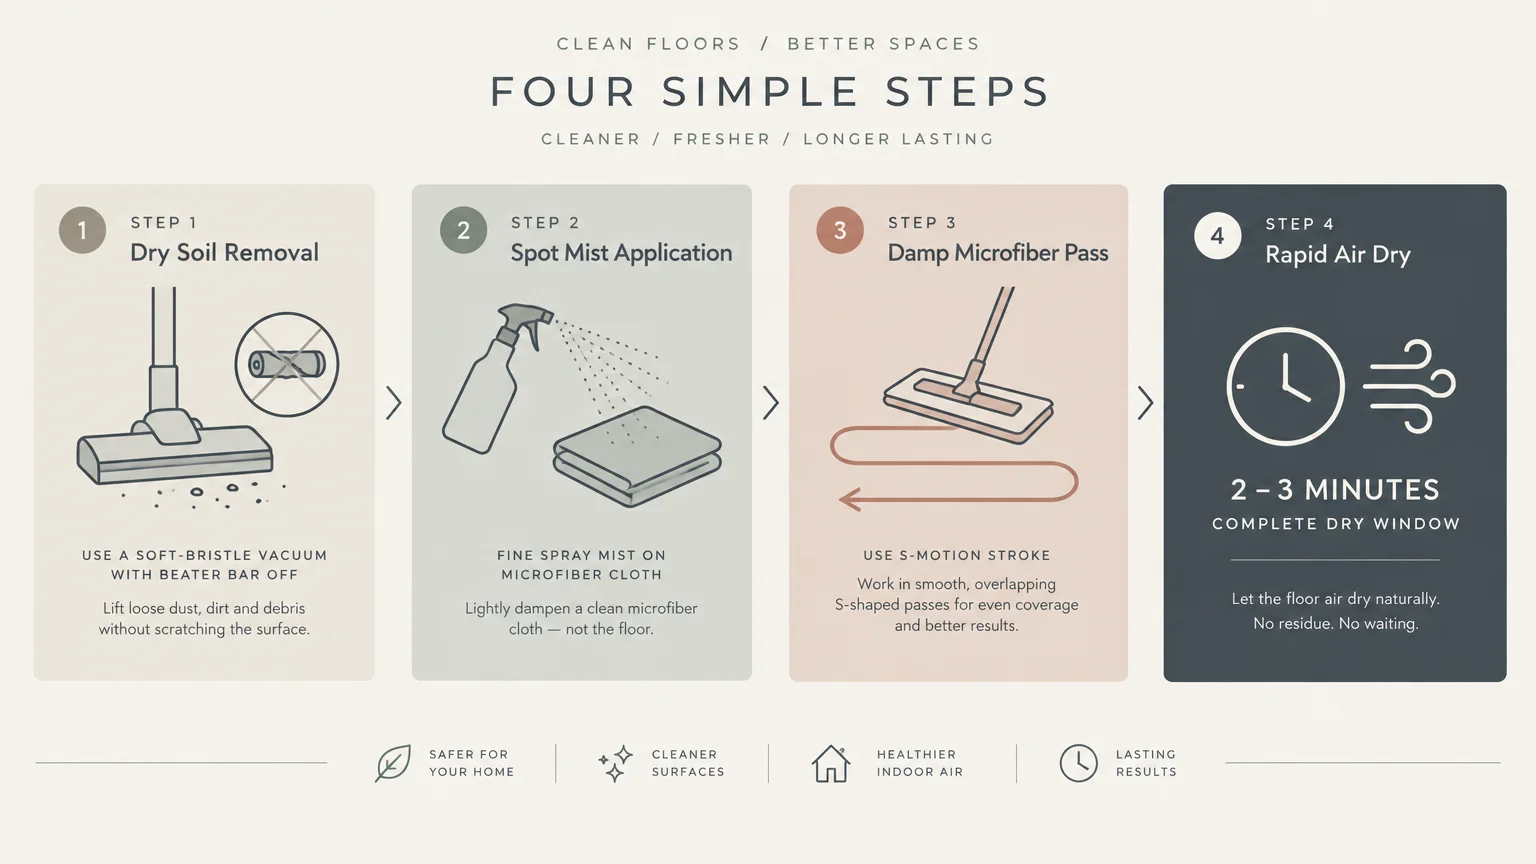
The Damage-Free Floor Care Routine: Step-by-Step
Establishing a consistent maintenance routine prevents dirt buildup and removes the temptation to use aggressive cleaning techniques. Follow this structured routine to keep every room spotless without damaging floor seals.
- Clear Dry Debris Daily: Glide an electrostatic dry dust mop or bare-floor vacuum across high-traffic zones to lift loose grit before foot traffic grinds it down.
- Spot-Clean Spills Immediately: Blot sticky spills, grease drops, and pet accidents with a damp cloth as soon as they happen rather than letting them dry.
- Prep Your Damp Microfiber Pad: Mist your microfiber pad lightly with a pH-neutral floor cleaner until it feels damp rather than saturated.
- Mop in an S-Pattern: Work in continuous S-curves starting from the farthest corner of the room, moving backward toward the exit doorway.
- Inspect the Drying Time: Verify that the cleaned surface dries completely within two to three minutes without streaks, puddles, or tacky residue.
Consistent dry maintenance cuts deep-cleaning frequency in half. You will spend less physical energy cleaning while preserving your floor surfaces for years to come.
Your Immediate Next Step for Healthier Floors
Walk into your utility closet right now and inspect the products you currently use on your floors. Set aside acidic solutions like white vinegar and retire any abrasive scouring pads from hard surface cleaning.
Replace them with a pH-neutral cleaner and a clean set of microfiber pads before your next cleaning session. Your floors will reward your gentle care with lasting beauty and resilience.