Wiping down your kitchen countertops creates the feeling of a spotless cooking space. Yet harmful bacteria and mold quietly multiply on surfaces you touch constantly without a second thought.
Adding eight neglected kitchen items to clean weekly prevents cross-contamination and keeps food preparation safe. You will protect your family’s health and simplify your weekend chores with predictable, low-effort routines.
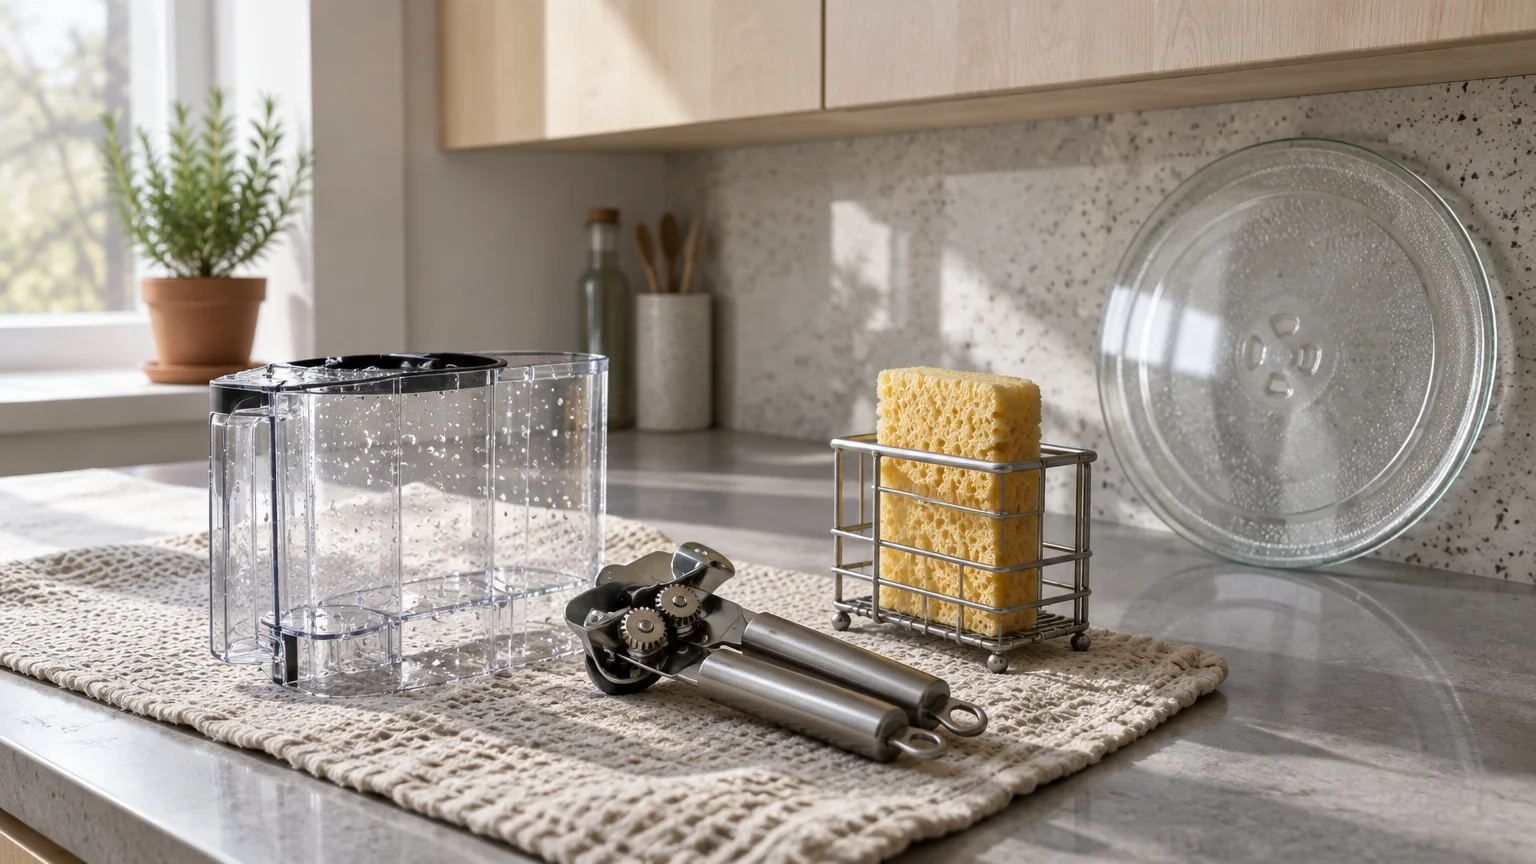
Targeting these high-touch zones takes less than thirty minutes when you establish an efficient kitchen cleaning checklist. Here is exactly what needs your attention and how to sanitize each item fast.
01 Kitchen Sponges and Dish Scrubbers
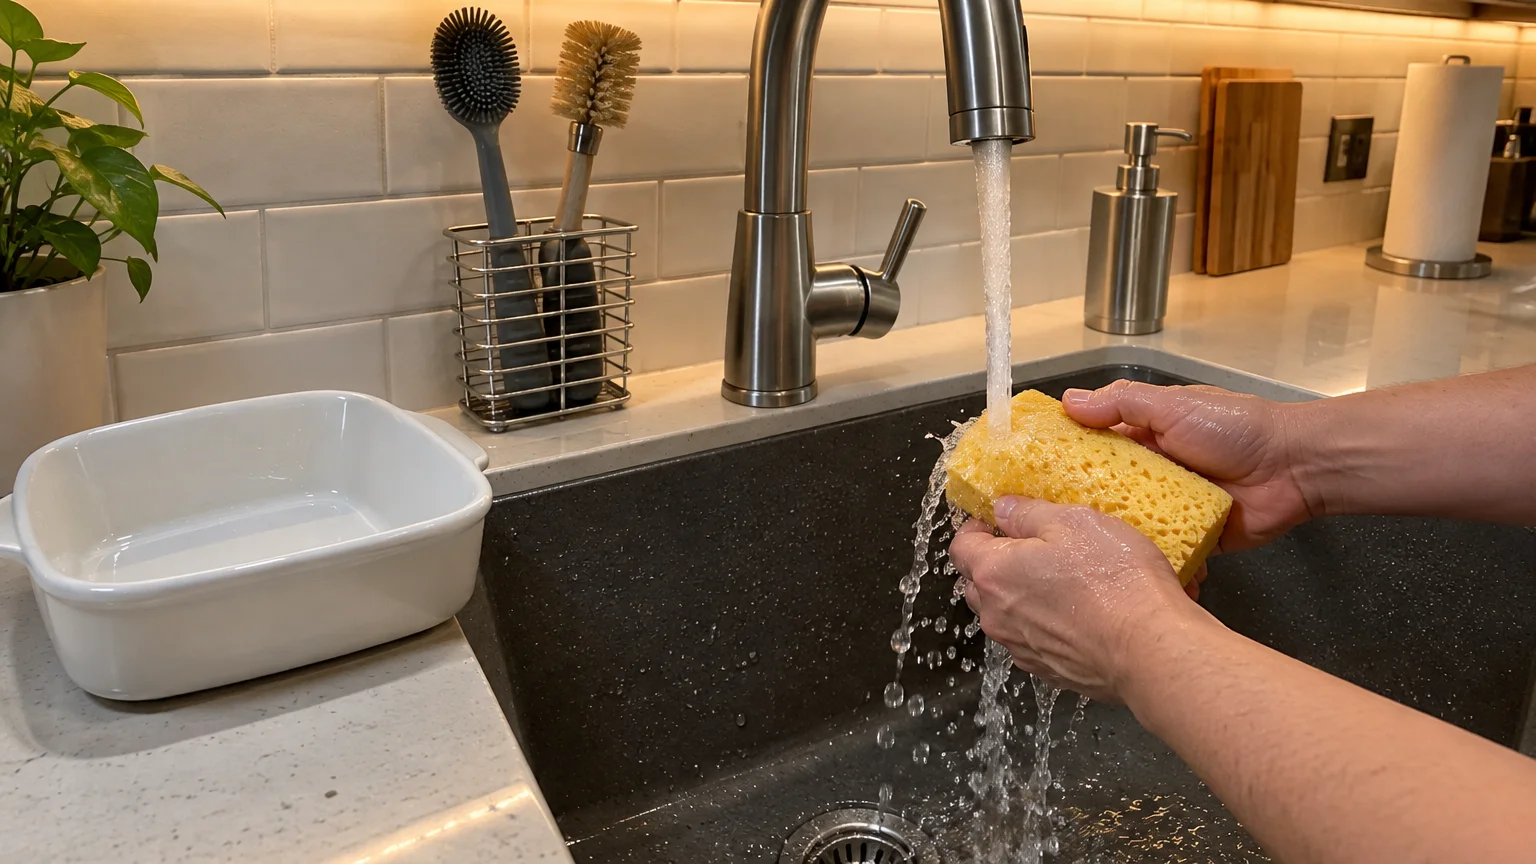
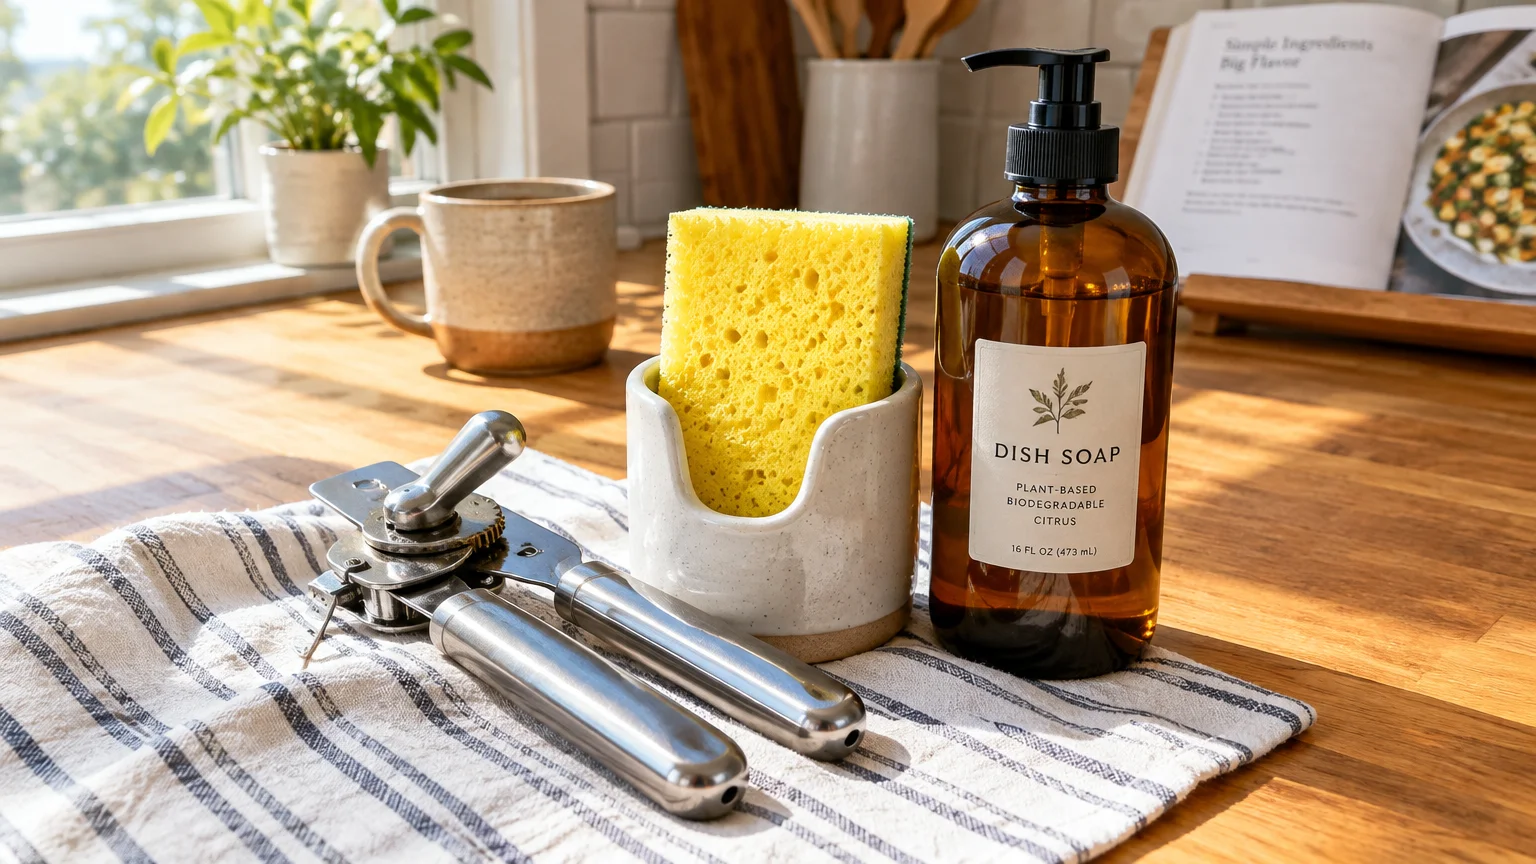
Kitchen sponges trap moisture, food debris, and cooking grease, making them the germiest kitchen items in most households. Without routine disinfection, your favorite cleaning tool simply smears active bacteria across cutting boards and dinner plates.
Warm water and dish soap clean plates effectively; however, porous cellulose fibers shelter microbes deep inside. Routine USDA food safety research reveals that regular sanitization significantly reduces foodborne pathogens on household sponges.
Sanitizing your sponges takes only a couple of minutes and extends their usable life. Build this quick task into your Sunday evening kitchen hygiene routine.
- Inspect the sponge: Discard sponges that smell sour, show dark mildew spots, or shed fibers.
- Saturate completely: Soak cellulose sponges with clear tap water so steam can penetrate internal pockets.
- Microwave with care: Heat the saturated sponge on high for one minute; ensure it is soaking wet to avoid fire hazards.
- Run through the dishwasher: Place plastic dish wands and silicone scrubbers on the top rack during a heated drying cycle.
- Dry in a ventilated holder: Prop your sponges upright in an open caddy where ambient air circulates freely.
Proper sponge cleaning eliminates lingering grease and prevents foul odors near your sink. Swap out cellulose sponges every two to three weeks to maintain top sanitary standards.
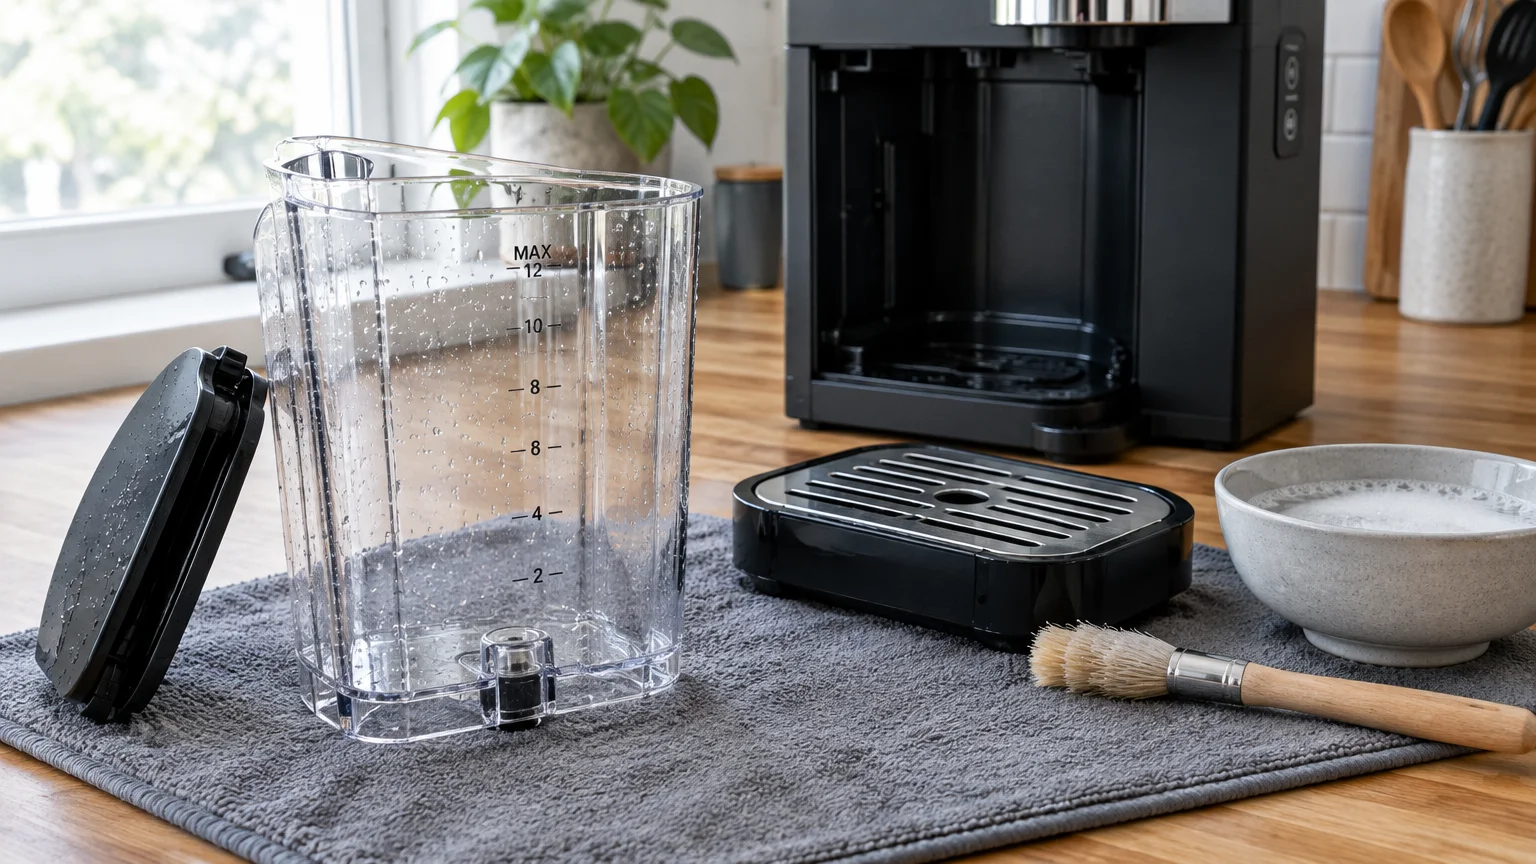
02 Coffee Maker Water Reservoir and Drip Tray
Dark, humid chambers provide ideal conditions for yeast and mold spores to thrive. Many homeowners rinse the glass coffee carafe daily but overlook the internal reservoir and removable drip tray.
Studies from NSF International on home hygiene show coffee reservoirs frequently contain higher microbial counts than bathroom door handles. Stagnant moisture creates a slick biofilm that dulls coffee flavor and contaminates your morning beverage.
Cleaning these components weekly stops mineral scaling and keeps your morning brew tasting clean and rich. You do not need harsh specialty chemicals for routine weekly upkeep.
- Empty remaining water: Pour out leftover water from the tank at the end of each brewing week.
- Disassemble removable pieces: Detach the water tank, reservoir lid, and drip tray from the base.
- Wash with gentle soap: Clean these components in your sink using warm water, mild unscented dish liquid, and a soft microfiber cloth.
- Wipe the chamber interior: Wipe non-removable water chambers using a clean, damp cloth wrapped around a wooden spoon.
- Air dry overnight: Leave the reservoir lid and brewing basket open so moving air evaporates trapped humidity.
Rinsing the drip tray weekly also prevents sticky splash marks from attracting kitchen ants. This simple habit protects your machine and delivers a consistently pure cup of coffee.
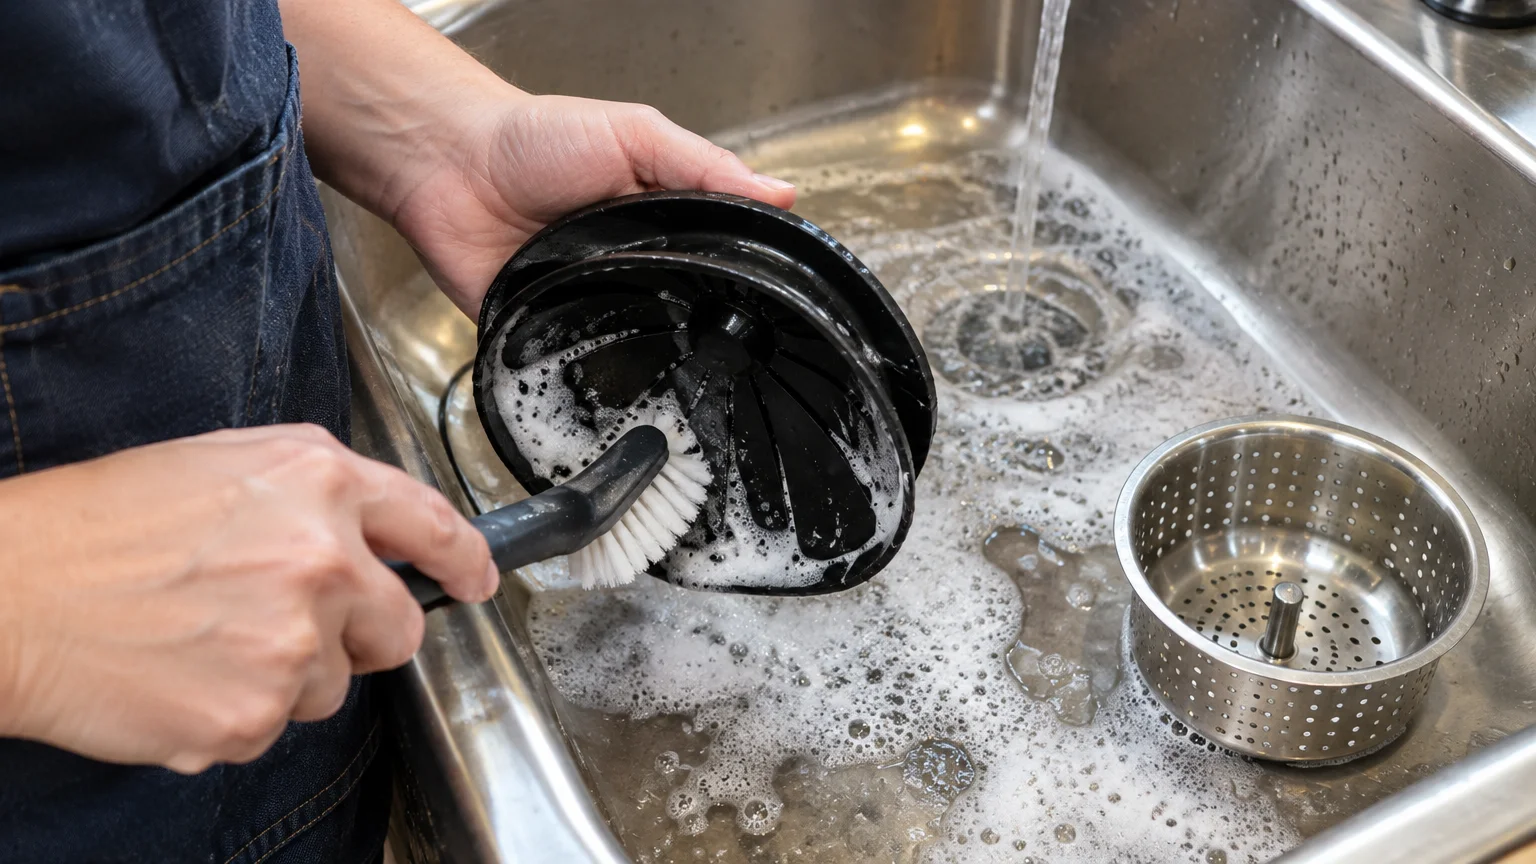
03 Kitchen Sink Drain, Strainer, and Disposal Baffle
Rinsing greasy skillets and dinner plates pushes organic matter straight down the drain throat. Unfortunately, food particles, gelatinous soap scum, and raw meat juices stick to the underside of rubber disposal baffles.
These hidden deposits foster thriving colonies of bacteria that release stale, sour odors into your home. Splashing running water down the sink does not generate enough physical friction to break up this sticky sludge.
You can scrub away this accumulation quickly using an inexpensive dish brush or an old toothbrush. Regular mechanical scrubbing keeps drains flowing freely without corrosive liquid drain chemicals.
- Lift the disposal flap: Put on rubber cleaning gloves and flip the flexible rubber splash guard upward.
- Apply grease-cutting soap: Squirt concentrated dish soap directly onto a stiff-bristled brush.
- Scour the underside: Scrub vigorously beneath the rubber flaps where slimy black residue accumulates.
- Clean the drain rim: Scrub the metal sink flange and strainer basket until surfaces shine.
- Flush with boiling water: Pour a kettle of hot water down the drain to carry away loosened oils.
Drop a few fresh lemon wedges down the garbage disposal after scrubbing to leave a pleasant citrus scent. Your kitchen will smell instantly fresher once you eliminate this hidden slime layer.
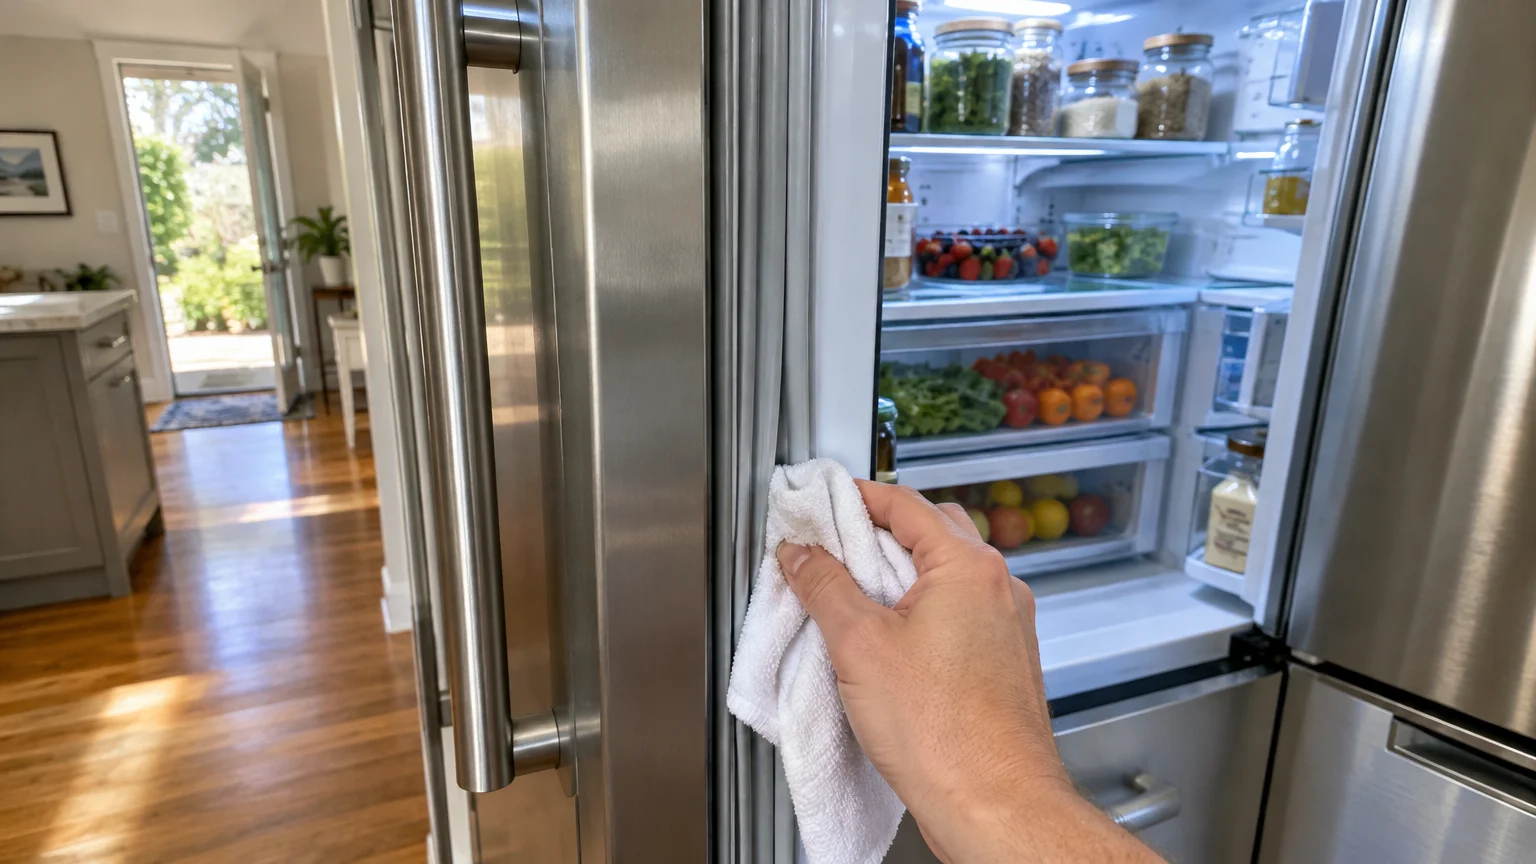
04 Refrigerator Door Handles and Rubber Gaskets
You reach for refrigerator handles dozens of times daily, frequently while prepping raw poultry or peeling vegetables. Because multiple family members touch these surfaces throughout the day, handles become significant vectors for microbial transfer.
The accordion-style rubber seals along the door perimeter also collect loose crumbs, liquid drips, and condensation. Over time, trapped moisture inside rubber folds fosters unsightly black mold that damages the door seal.
Wiping these areas requires less than two minutes and protects your perishable groceries. Safe cleaning methods protect fragile rubber compounds from drying out or cracking prematurely.
- Mix a gentle wash: Stir two drops of mild liquid dish soap into two cups of warm water.
- Wipe the handles thoroughly: Clean the full grip length, focusing closely on the backside where fingers press firmly.
- Clean the gasket folds: Wrap a damp microfiber cloth around your finger and slide it through each rubber channel.
- Remove stubborn crumbs: Use a cotton swab dampened with soapy water to lift debris from tight corners.
- Dry the seal completely: Pat the rubber gasket dry with a clean towel to eliminate lingering moisture.
A tight, clean rubber seal prevents cool air leaks and helps lower your monthly electricity bill. Keep a spray bottle of mild cleaner nearby to handle unexpected sticky handle spills immediately.
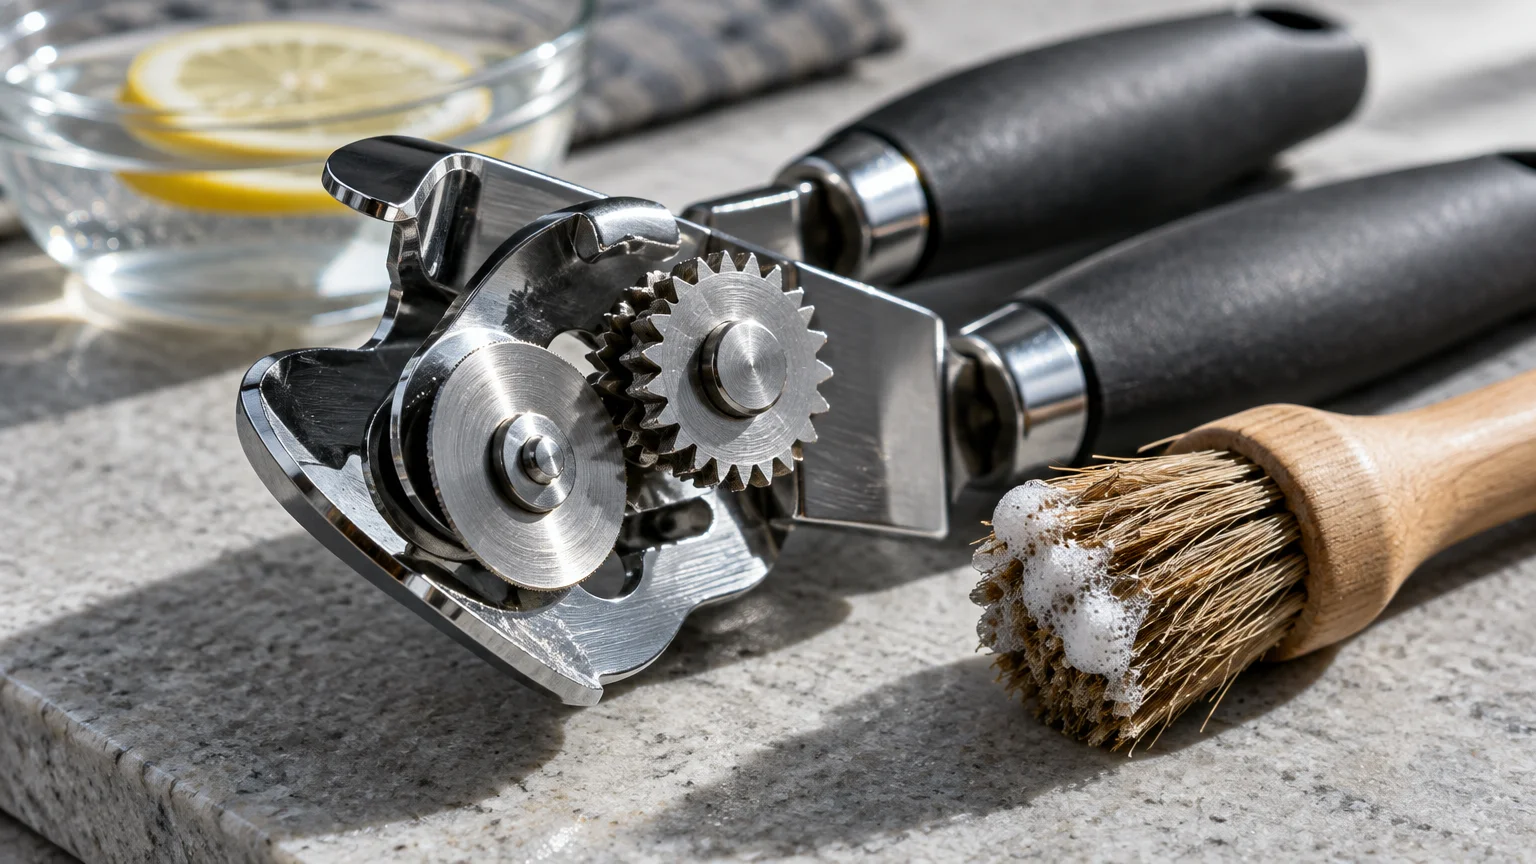
05 Can Opener Blades and Driving Gears
Can openers pierce metal lids on pet food, canned tuna, tomato sauce, and preserved fruit. Liquids frequently splash onto the cutting wheel and rotating gears during daily kitchen use.
The FDA food safety guidelines emphasize that all food-contact surfaces require routine sanitation to prevent cross-contamination. Storing a can opener with dried sauce residues introduces old bacteria directly into newly opened ingredients.
Dried residues can also jam the internal turning mechanism, making can openers difficult to rotate for older adults. A focused weekly scrub keeps the blade turning smoothly with minimal wrist strain.
- Inspect the cutting wheel: Check the blade area for shredded paper labels and dried sauce deposits.
- Scrub with warm suds: Dip a stiff brush into warm, soapy water and scrub around the rotating gears.
- Rinse under hot water: Hold manual can openers beneath the tap; clean electric units using a well-wrung cloth.
- Dry immediately: Towel-dry the metal mechanism thoroughly to prevent surface rust and blade dulling.
- Lubricate moving parts: Dab a tiny drop of mineral oil on the gear pivot monthly to ensure smooth operation.
Never tuck a damp can opener into a closed utensil drawer. Rust builds rapidly on carbon steel gears, ruining the blade edge and spoiling kitchen hygiene.
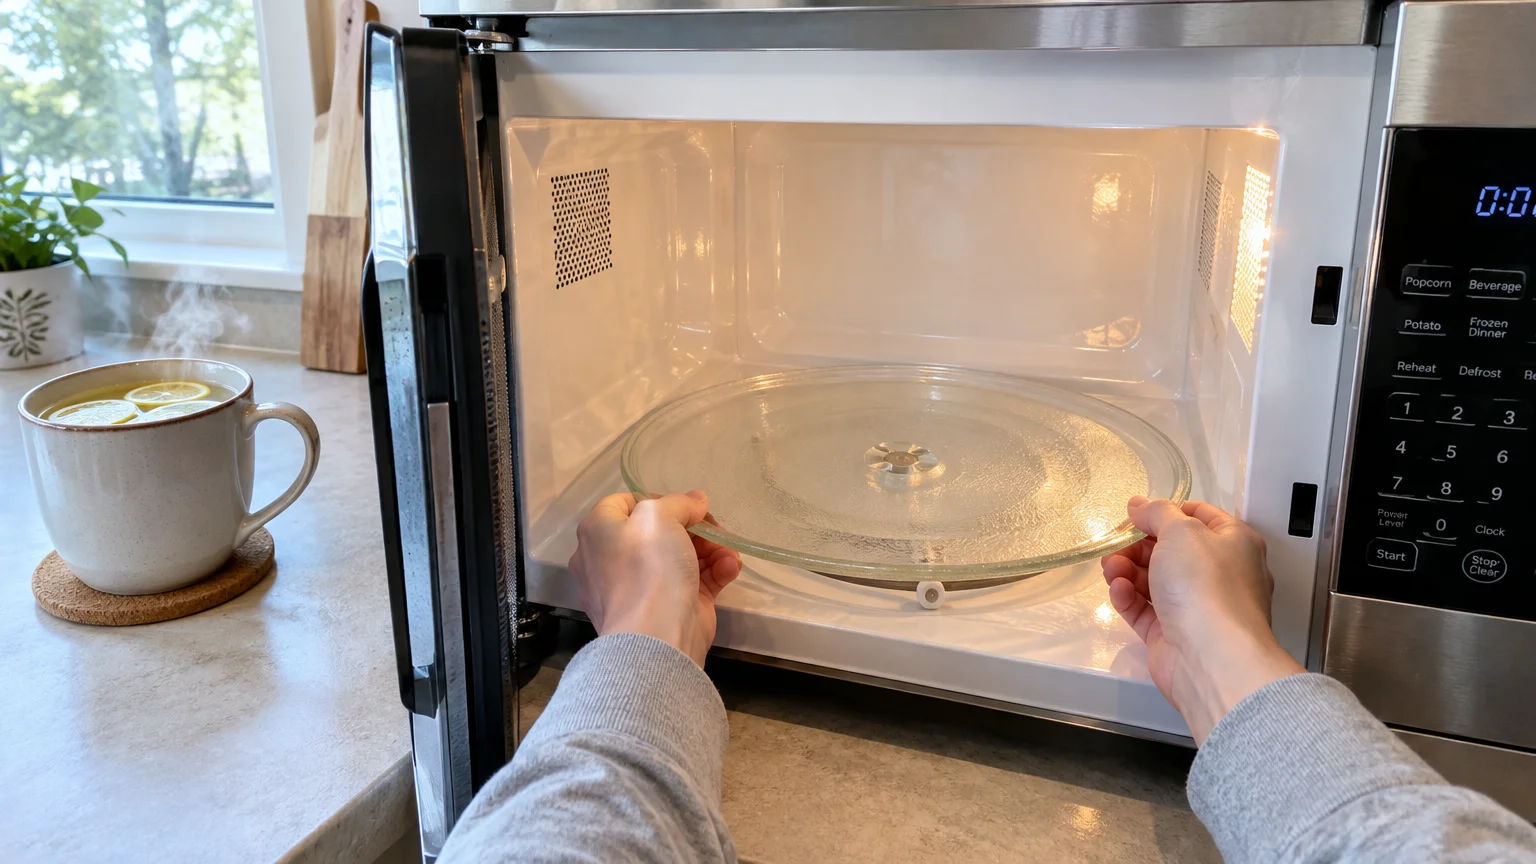
06 Microwave Turntable and Interior Splatter Zones
Reheating pasta sauce and soups often leaves microscopic splatters across the microwave roof, walls, and turntable track. Over time, heat bakes these food oils onto the interior cavity, making them difficult to scrape away.
Old food splatters absorb heat energy during subsequent cooking cycles, reducing heating efficiency and generating burnt odors. Pathogenic microbes can also linger on moist interior walls between everyday uses.
Natural steam cleans stubborn, baked-on grease without requiring heavy chemical fumes or aggressive scrubbing. This gentle method protects delicate interior wall coatings from scratches.
- Fill a steam bowl: Combine one cup of water and two tablespoons of white vinegar in a microwave-safe bowl.
- Heat on high: Microwave the mixture for four minutes until vigorous steam coats the interior window.
- Allow steam to work: Keep the microwave door shut for five minutes so condensation softens dried splatters.
- Wash the glass tray: Lift out the glass turntable and roller ring, washing both in warm sink water.
- Wipe interior surfaces: Wipe the roof, sides, floor, and door seals using a clean microfiber cloth.
Always wipe the exterior control keypad with a barely damp cloth while you let the interior steam. Your microwave will operate more efficiently and remain pleasant to use for every meal.
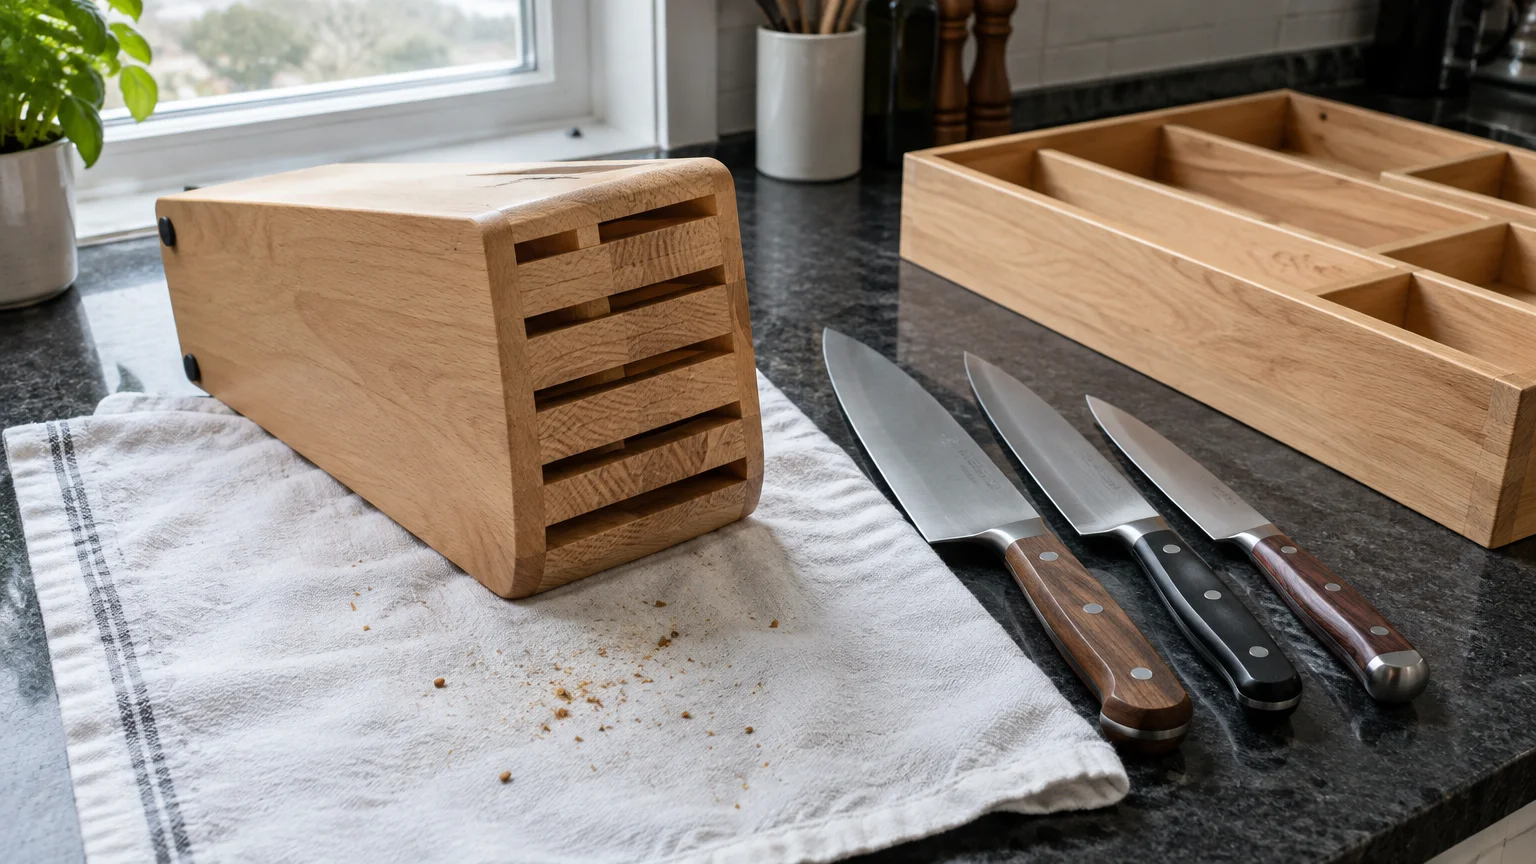
07 Knife Block Slots and Drawer Cutlery Trays
Storing clean cutlery in countertop knife blocks feels tidy, but narrow wooden slots collect airborne dust, cooking grease, and moisture. Inserting a knife that is even slightly damp into wooden blocks encourages mold growth inside dark crevices.
Similarly, drawer organizers collect stray bread crumbs, spice dust, and pet hair under individual fork and spoon dividers. Wiping cutlery dividers weekly ensures you set tables with genuinely sanitary silverware.
Clearing debris from wooden blocks and plastic drawer inserts takes minimal physical effort. You can complete both tasks simultaneously while washing your regular lunch dishes.
- Empty the storage slots: Remove all kitchen knives and place them safely on a flat counter surface.
- Invert and shake: Turn the wooden knife block upside down over your sink and gently tap out loose particles.
- Clear tight crevices: Direct a can of compressed air into the slots to dislodge stubborn debris.
- Empty the silverware tray: Remove forks, spoons, and organizers from your flatware drawer.
- Wash and dry: Wash plastic drawer organizers with warm soapy water; allow wooden units to dry completely before refilling.
Always hand-dry kitchen knives thoroughly with a cotton towel before sliding them back into storage slots. Keeping wooden channels completely dry protects cutlery steel from oxidation and stops fungal development.
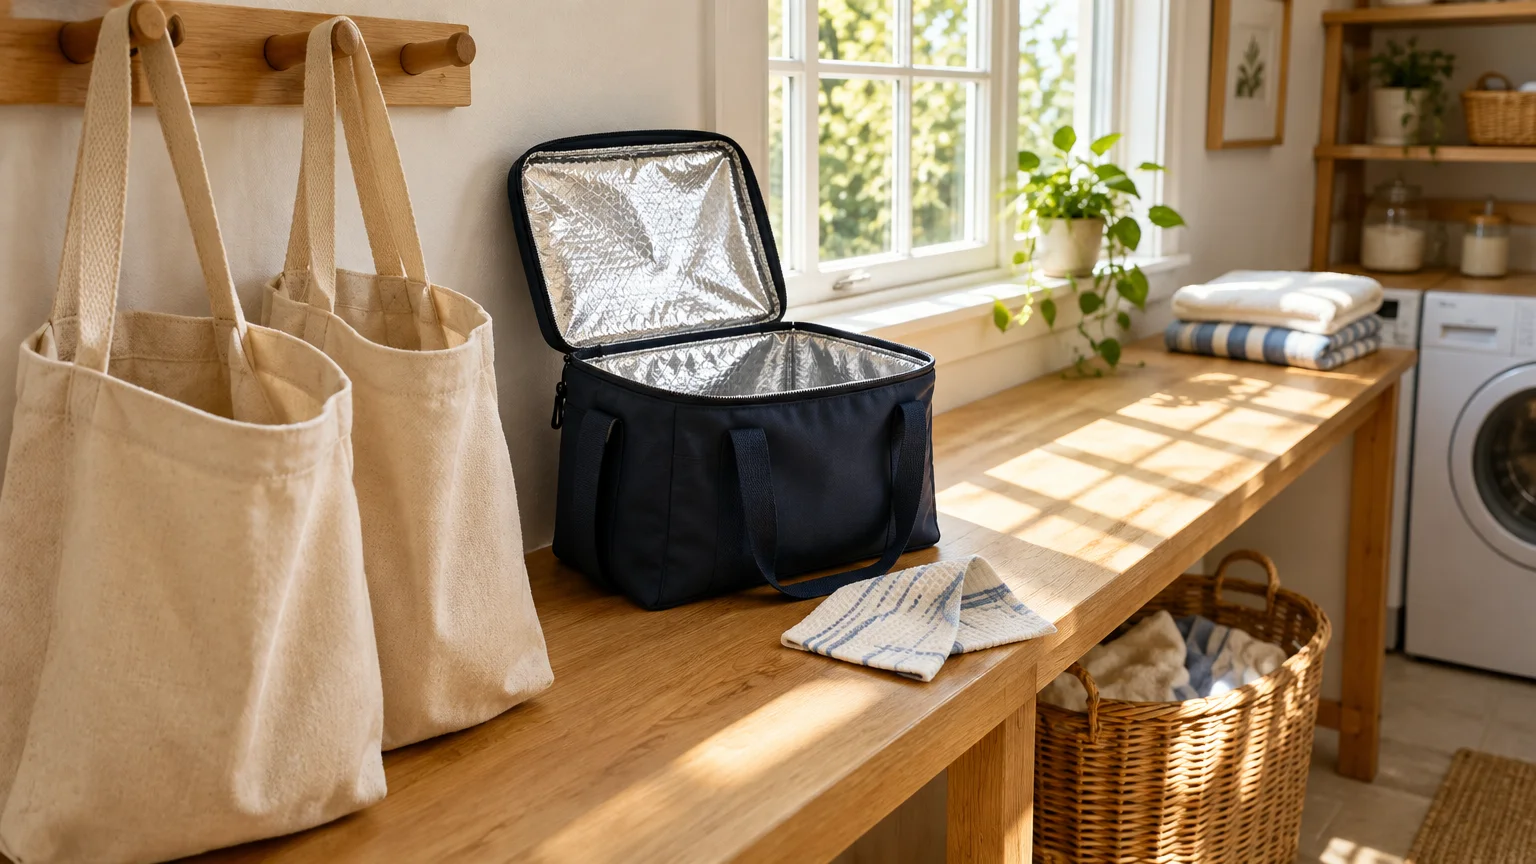
08 Reusable Grocery Bags and Insulated Coolers
Reusable shopping totes transport fresh meat packages, unwashed produce, milk cartons, and bulk pantry goods. You also rest these bags on vehicle carpets, shopping cart bottoms, and kitchen prep islands.
The CDC food safety prevention recommendations highlight that washing food bags regularly prevents harmful cross-contamination. Soil from unwashed potatoes or leaked poultry juices can easily contaminate ready-to-eat produce during your next market visit.
Cleaning fabric and insulated bags weekly keeps your car trunk and kitchen counters spotless. Treat bag cleaning as an essential part of unpacking weekend groceries.
- Sort bags by material: Separate machine-washable canvas bags from vinyl-lined insulated lunch totes.
- Machine-wash canvas bags: Launder cotton totes in warm water with regular laundry detergent, then tumble dry.
- Disinfect insulated liners: Spray interior foil or vinyl linings with a multi-surface cleaner or hydrogen peroxide.
- Wipe exterior bases: Clean bag bottoms where soil and outdoor dirt transfer from grocery checkout belts.
- Hang dry thoroughly: Hang insulated totes open on a drying rack until moisture evaporates completely.
Dedicate specific bags solely for raw meat and poultry by choosing distinct colors or patterns. This simple organizing system prevents accidental food cross-contamination before you even leave the supermarket.
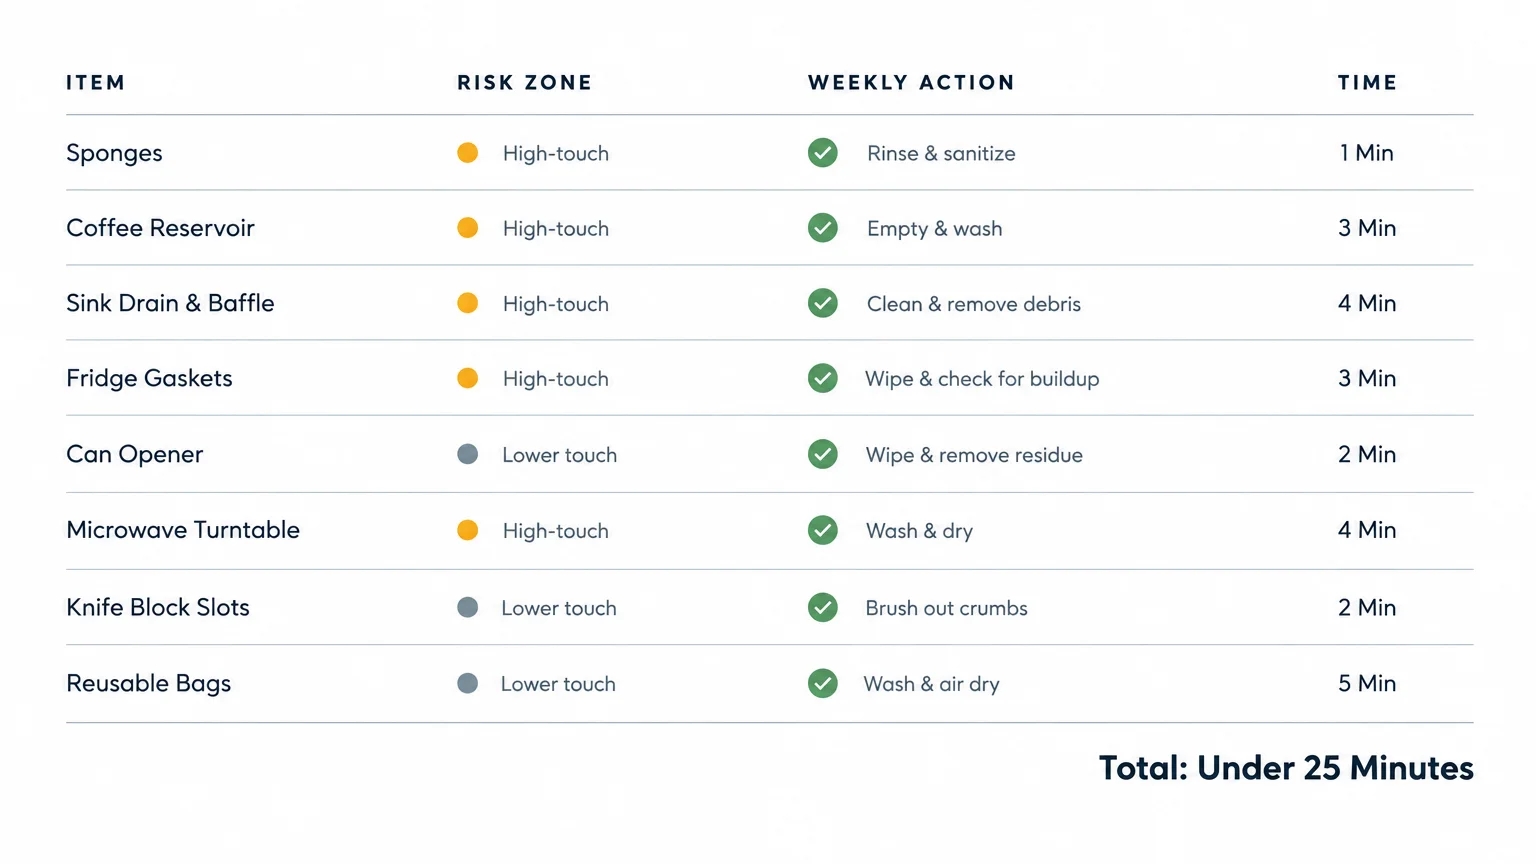
Weekly Kitchen Hygiene Quick Reference Guide
Use this reference table to plan your weekly chores without feeling overwhelmed by long cleaning routines. Grouping items by tool and location keeps your efforts efficient and focused.
| Kitchen Item | Weekly Action | Recommended Cleaner | Time Needed |
|---|---|---|---|
| Sponges & Brushes | Microwave damp sponge; dishwasher for brushes | Steam heat or heated dry cycle | 2 minutes |
| Coffee Reservoir | Wash tank, lid, and drip tray | Warm water and mild dish soap | 3 minutes |
| Sink Drain & Baffle | Scrub underside of rubber splash guard | Dish soap, stiff brush, hot water | 4 minutes |
| Fridge Handles | Wipe handles and seal folds | Diluted dish soap, microfiber cloth | 2 minutes |
| Can Opener | Scrub cutting wheel and driving gears | Warm sudsy water, detail brush | 2 minutes |
| Microwave Cavity | Steam with vinegar water; wash turntable | Water, white vinegar, cloth | 5 minutes |
| Cutlery Storage | Invert knife block; wipe drawer tray | Compressed air, mild soapy cloth | 4 minutes |
| Grocery Bags | Wash canvas; sanitize insulated linings | Laundry cycle or disinfectant spray | 5 minutes |
Completing these small maintenance actions weekly prevents deep-set grime that requires hours of intense weekend scrubbing. A consistent kitchen cleaning checklist keeps every surface sanitary with minimal physical exertion.

A Low-Stress Routine for Sustainable Kitchen Hygiene
Cleaning an entire kitchen in one session can be physically taxing, especially if you experience joint stiffness or low stamina. Breaking tasks into brief daily habits makes maintaining kitchen hygiene effortless and enjoyable.
Adopt a simple paired-task approach rather than saving every chore for the weekend. Clean your microwave turntable while waiting for water to boil, or scrub your disposal baffle after completing evening dishes.
Investing in ergonomic tools also reduces physical strain on your hands and wrists during cleaning routines. Long-handled dish brushes, lightweight spray bottles, and thick microfiber cloths provide effective scrubbing power without requiring heavy joint pressure.
Store your specialized cleaning supplies right where you use them to minimize unnecessary walking and reaching. Placing a detail brush under the sink ensures you clean drain baffles without hunting through crowded utility cabinets.
Reset Two Neglected Items Today
Pick just two items from this list to tackle right now, such as your microwave interior and kitchen sponge. Spend seven minutes sanitizing them, enjoy the immediate freshness, and schedule the remaining items across the coming week.