A sparkling tabletop often conceals sticky residues and settled dust lurking just out of sight. Tackling hidden dining room grime restores your entertaining space and prevents long-term surface damage.
Everyday family dinners and busy holiday gatherings spread oils and airborne particles onto unexpected surfaces. Targeting these neglected areas cuts your deep-cleaning time significantly.
This practical guide pinpoints seven spots where dining room grime accumulates and shows you how to eliminate it easily. You will transform your room into a clean, inviting space for every meal.
01 The Table Apron and Underside Lip
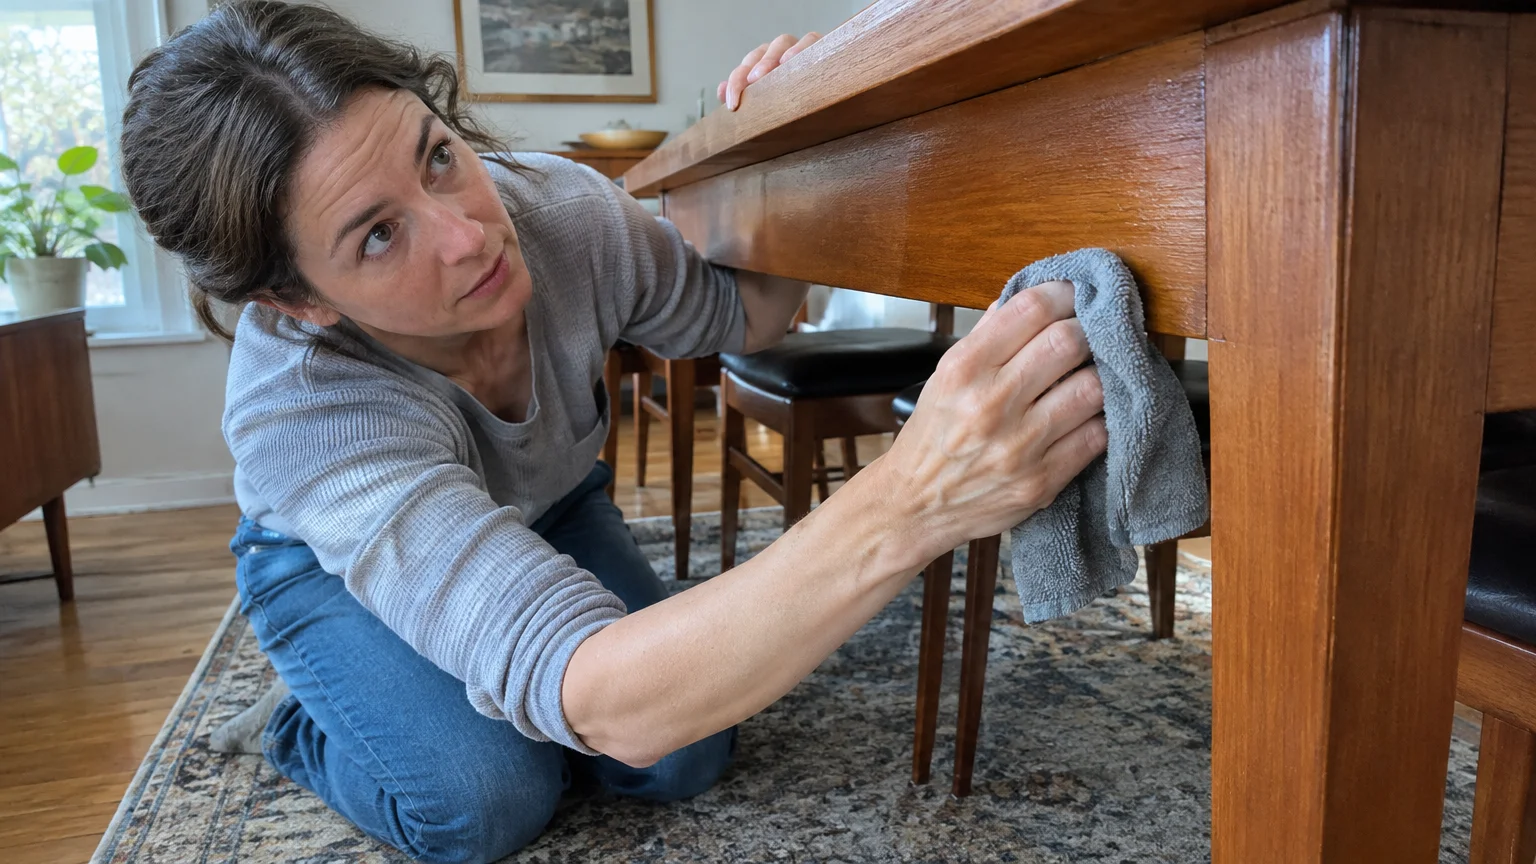
You probably wipe down your dining tabletop after every meal. However, the apron—the vertical wooden frame directly beneath the tabletop—rarely receives the same attention.
When family members pull their chairs forward, their hands naturally grip this lower rim. Over time, skin oils, food residues, and sauce splatters transfer to the wood grain.
In addition, spilled liquids naturally flow over table bevels and curl beneath the edge. These drops dry into tacky streaks that attract floating pet dander and lint.
You can remove this built-up film with a gentle, non-abrasive cleaning routine. Avoid harsh solvents that dissolve delicate wood finishes or dry out veneers.
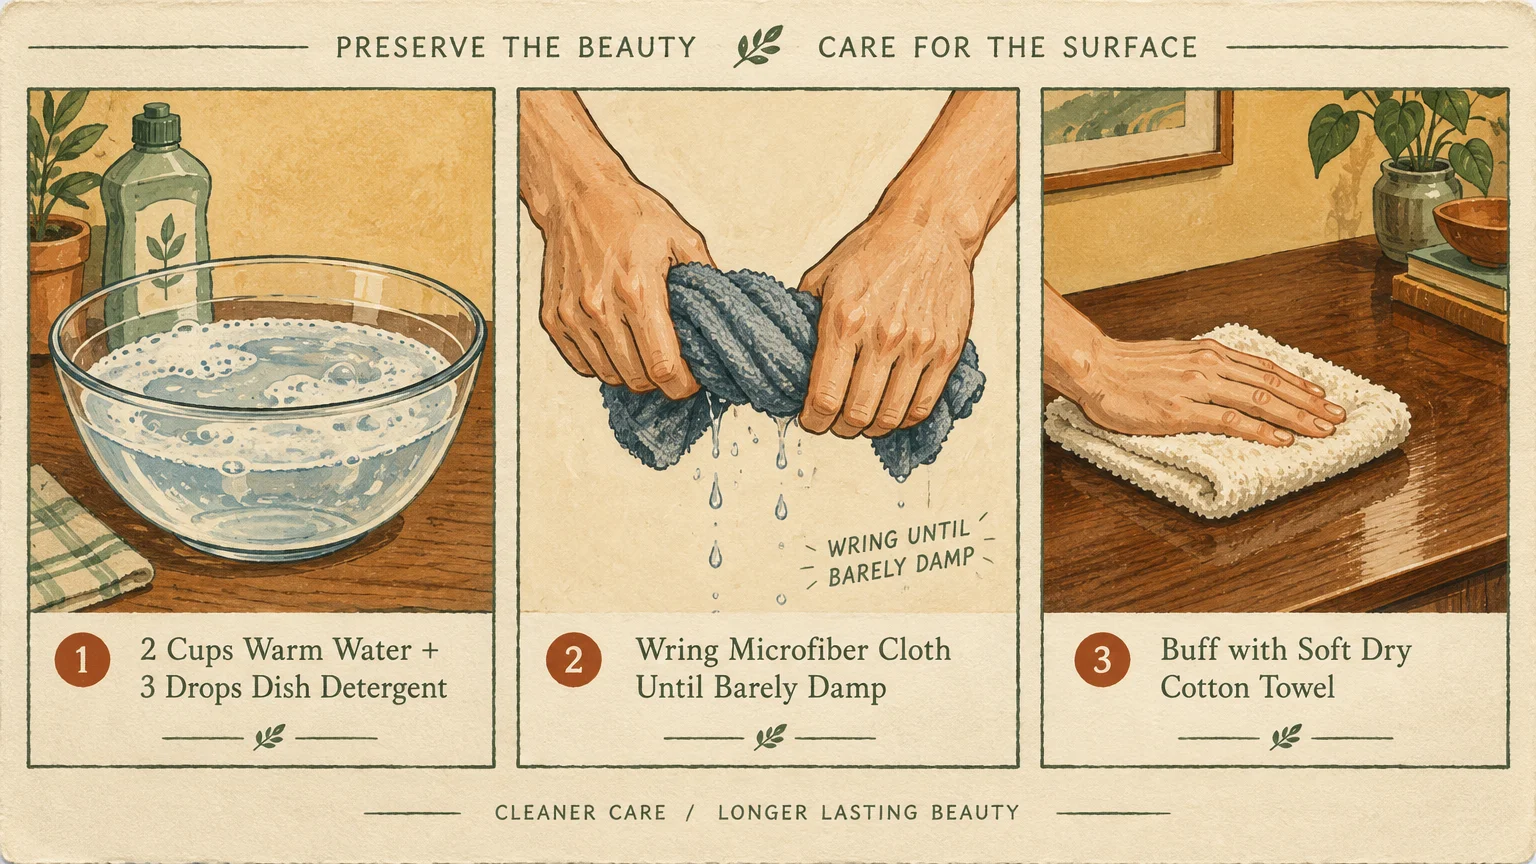
- Mix two cups of warm water with three drops of mild dish detergent.
- Dip a microfiber cloth into the suds and wring it out until barely damp.
- Run your cloth along the entire underside perimeter, paying special attention to corner joints.
- Follow immediately with a dry microfiber towel to remove leftover moisture.
Moisture control protects your table from water damage. Never let wet solutions pool on manufactured wood or thin veneers, as moisture causes irreversible swelling.
For regular upkeep, choose gentle formulas evaluated by the EPA Safer Choice program to protect your table finish.
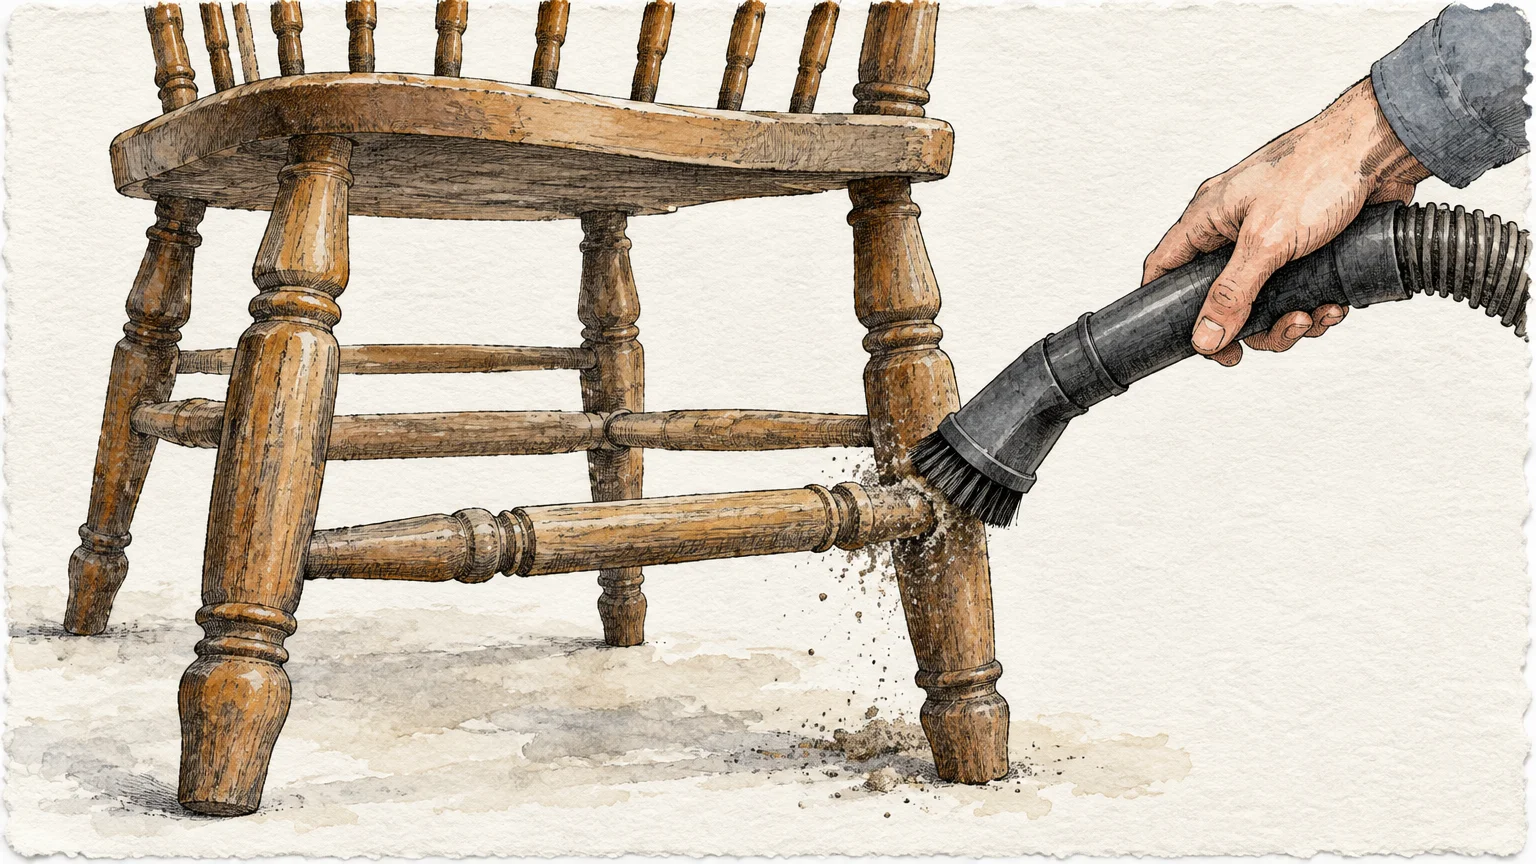
02 Chair Rungs, Stretchers, and Spindles
Dining chair legs and horizontal support rungs endure constant exposure to dirt. Guests unconsciously rest their shoe soles on chair stretchers throughout dinner.
This habit deposits sidewalk grit, mud, and street oils directly onto chair crossbars. At the same time, food crumbs drop from laps and settle onto intricate turnings.
Cooking vapors from nearby kitchens float into the dining room and settle on these dusty surfaces. The combination forms a stubborn, gummy layer that regular dusting cannot lift.
Cleaning horizontal rungs requires a two-step dry-and-wet approach. Tackling dry debris first prevents you from smearing gritty dirt across fine wood.
- Use a soft brush attachment on your vacuum cleaner to pull loose dust from joints and decorative crevices.
- Dampen a clean microfiber cloth with diluted castile soap or gentle wood wash.
- Wrap the damp cloth around each spindle and rotate your hand back and forth along the wood.
- Wipe the surface with a dry cloth to prevent liquid streaks and dull spots.
Inspect the bottom of each chair leg while cleaning the rungs. Scrape away compacted hair and dirt from felt floor protectors, replacing worn pads to safeguard hardwood floors.
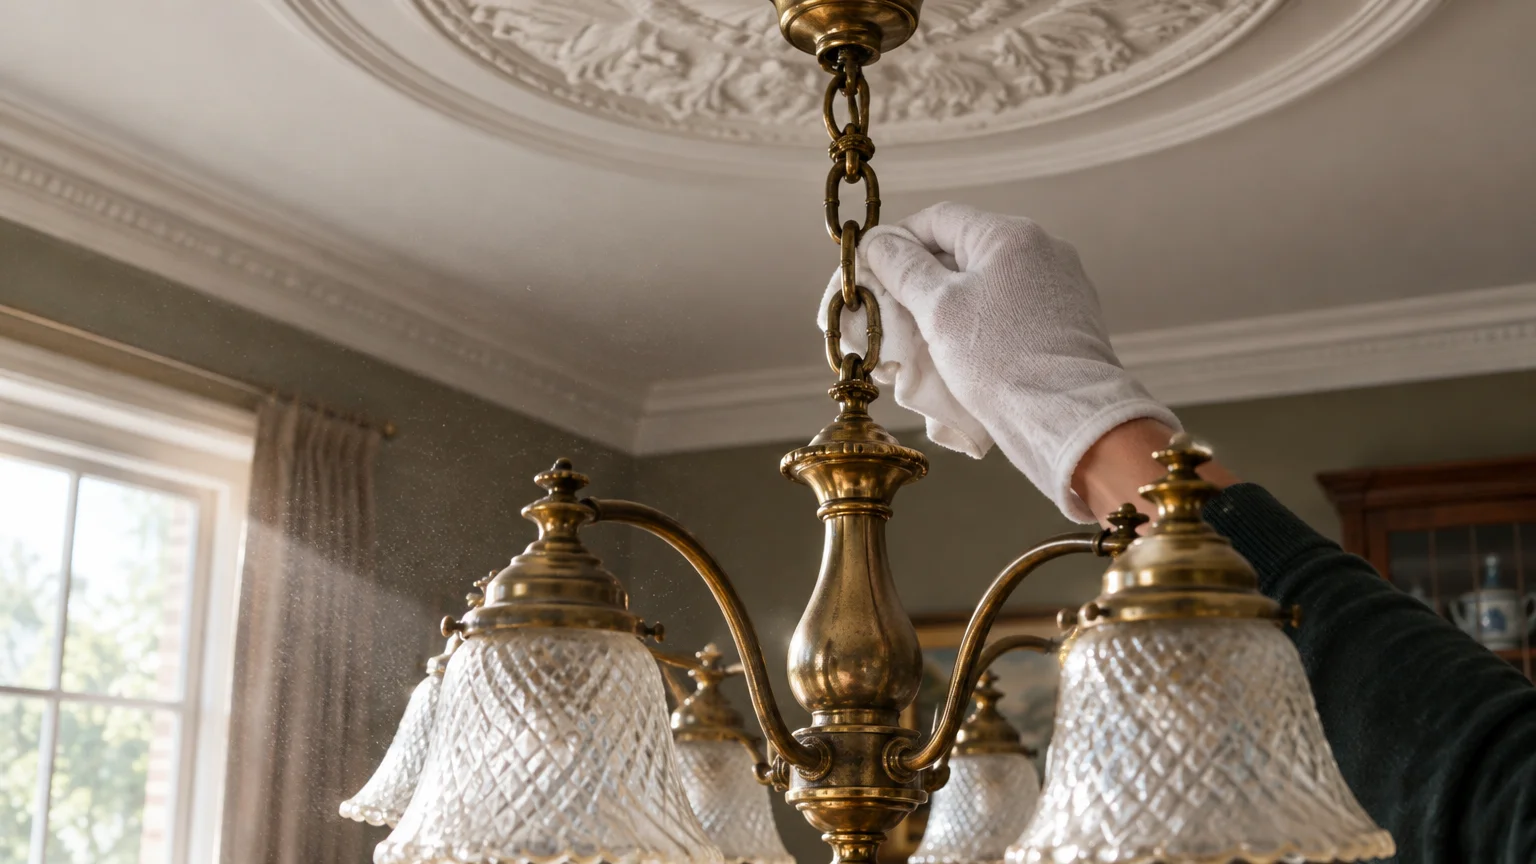
03 Chandeliers, Pendant Chains, and Ceiling Medallions
Overhead dining lighting fixtures accumulate heavy layers of greasy dust. Heat rising from light bulbs creates warm air currents that pull airborne cooking fats toward the ceiling.
These sticky fats adhere to chandelier chain links, glass shades, light sockets, and ceiling medallions. Over several months, this coating dims your light output and dulls metal finishes.
Cleaning hanging lights demands careful safety precautions. You must protect yourself from electrical hazards and avoid damaging delicate decorative glass.
Before beginning, turn off the wall switch and allow all light bulbs to cool completely. For added protection, consult fixture safety protocols from the Electrical Safety Foundation International.
- Place a thick bath towel or drop cloth on the dining table beneath the fixture to catch accidental falls.
- Slide a clean cotton sock over your hand like a mitt.
- Mist the sock with a 50-50 mixture of distilled water and isopropyl alcohol; never spray liquid directly onto fixture components.
- Gently wipe each bulb, chain link, and glass prism individually from top to bottom.
- Use a dry microfiber cloth to buff glass and polished brass surfaces to a clear shine.
Take your time on ceiling medallions and fixture canopies. A long-handled microfiber duster with a pivoting head helps you clear decorative plaster molding without climbing onto unstable furniture.
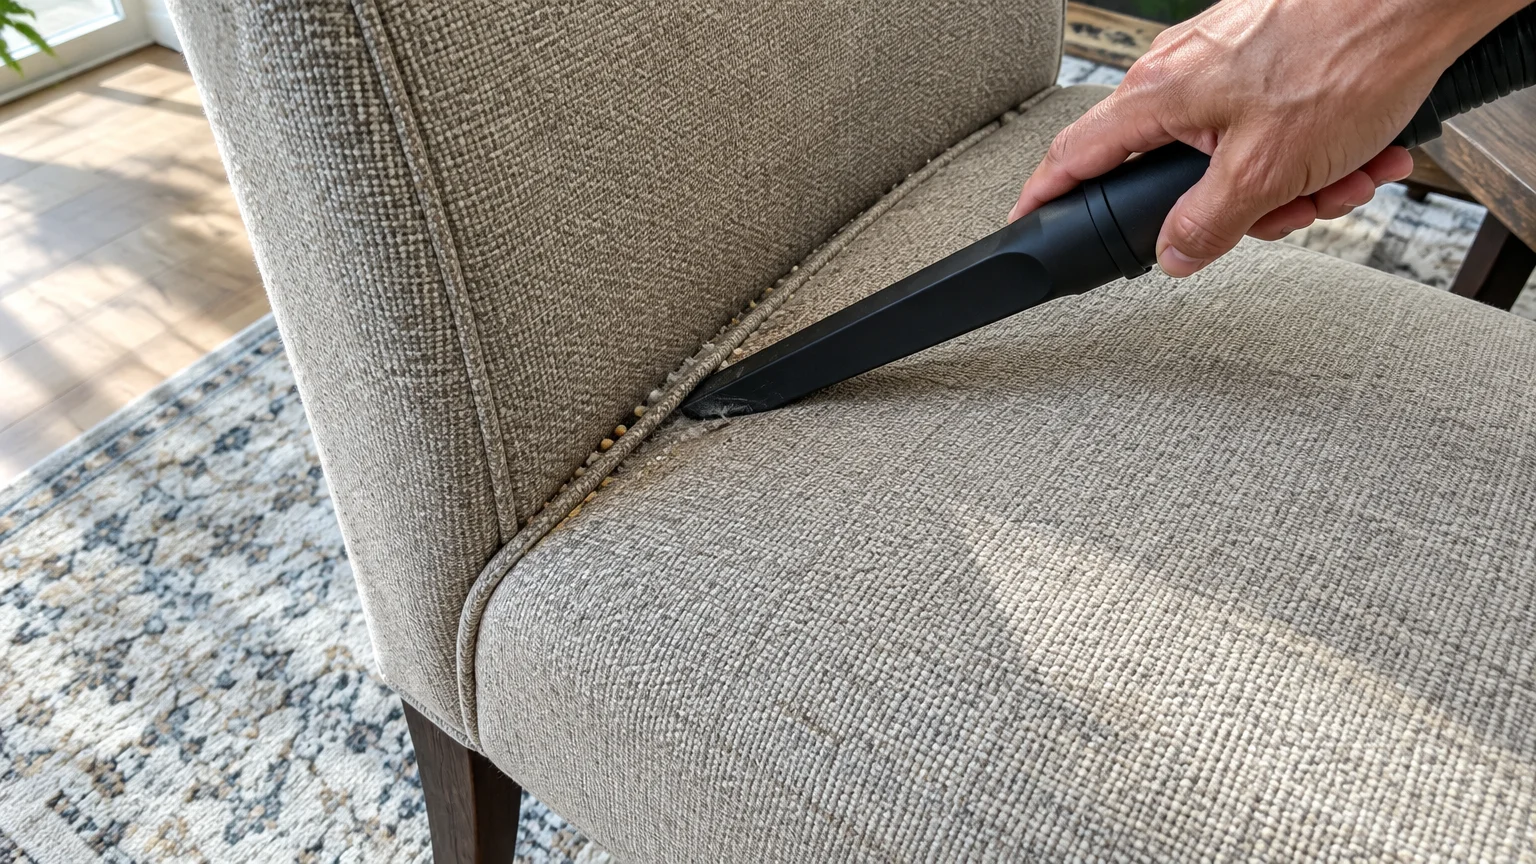
04 Upholstered Dining Seats and Piping Welts
Upholstered dining chairs introduce comfort and texture to your room, but their woven fibers trap surprising amounts of dining room grime. Crumbs easily slide down between the seat cushion and backrest.
Furthermore, the raised piping welt surrounding seat cushions collects greasy crumbs and dead skin cells. Perspiration and body oils seep through clothing into fabric fibers every time someone sits down.
Ignoring fabric seats allows liquid spills and organic matter to cause fiber decay and lingering odors. A structured cleaning routine revives the look and smell of your chairs.
First, identify your chair fabric cleaning code on the manufacturer tag. The American Cleaning Institute outlines standard upholstery codes to help you choose between water-based cleaners and solvent-only formulas.
- Fit your vacuum cleaner with a narrow crevice tool to extract debris along welted seams.
- Switch to an upholstery brush tool and vacuum the fabric face using slow, overlapping strokes.
- For water-safe fabrics, mix one teaspoon of clear dishwashing liquid into a bowl of warm water.
- Whisk the water vigorously to produce dry foam suds.
- Apply only the foam to stained spots using a soft microfiber towel; blot gently without rubbing.
- Press a dry white towel firmly over damp areas to draw out moisture and residual soap.
Allow fabric chairs to dry completely before seating guests. Opening dining room windows or running an oscillating floor fan accelerates air circulation and prevents musty odors.
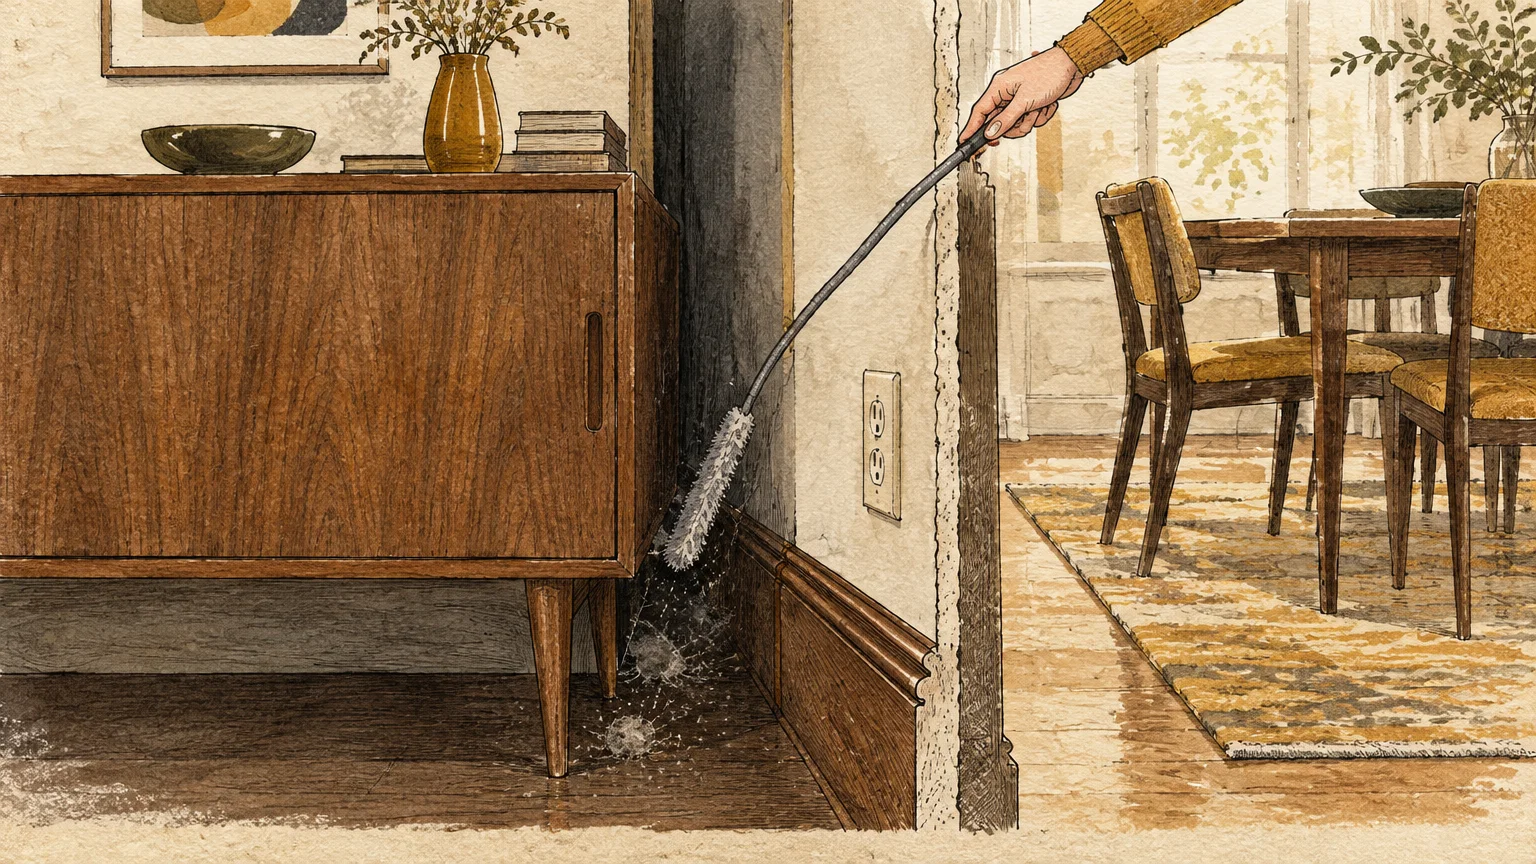
05 Baseboards and Crevices Behind Buffets and Sideboards
Large dining room furniture pieces like china buffets, credenzas, and sideboards rarely move from their positions against walls. Because these pieces remain stationary, dead-air pockets form behind them.
Airborne dust, pet fur, and fabric fibers settle undisturbed along baseboards and low-profile trim. Over time, ambient humidity binds these particles into a thick, felt-like blanket of grime.
You do not need to strain your back moving heavy oak credenzas to clean these areas. Specialized cleaning tools and simple reach extenders solve the problem safely.
A flat, flexible microfiber wand slips easily into narrow gaps between large furniture and drywall. Slide the wand horizontally along the wall trim to pull out trapped dust bunnies and cobwebs.
If you have open space beneath your sideboard, utilize your vacuum wand with a low-profile floor head. Guide the head completely to the back wall to capture grit along the shoe molding.
Finish by damp-wiping any exposed baseboards with a microfiber mop pad attached to an adjustable pole. This tool lets you wipe away grease marks and scuffs while standing upright comfortably.
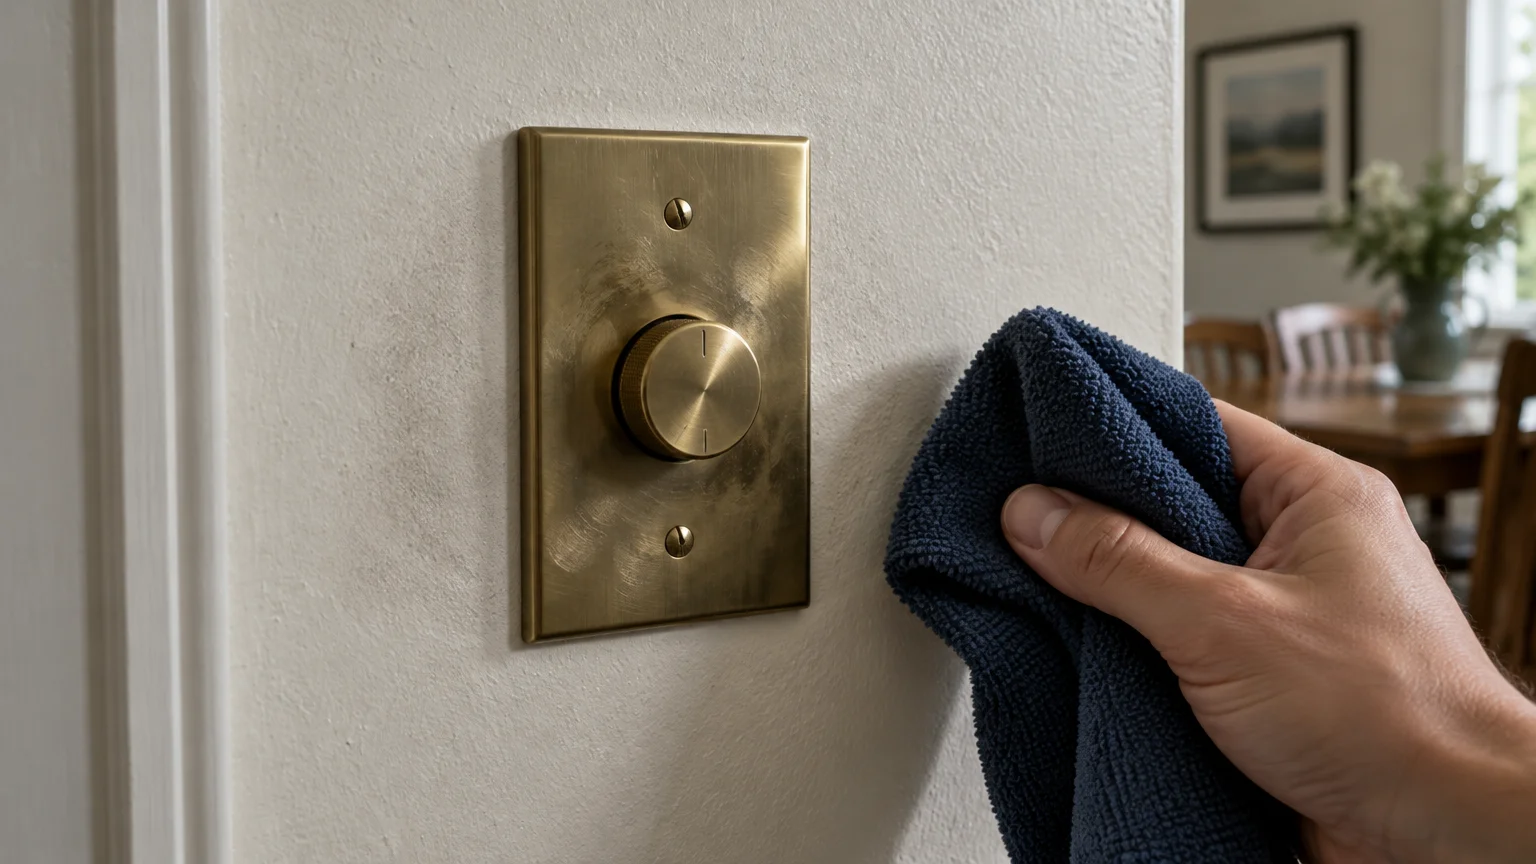
06 Light Switch Plates, Dimmer Dials, and Surrounding Walls
The dining room light switch is among the most frequently handled surfaces in your home. Family members and dinner guests touch switch plates right before eating and after handling greasy finger foods.
Oils from fingertips transfer to dimmer knobs, toggle switches, and screw covers. The drywall surface immediately surrounding the switch plate also collects smudge marks and food stains.
Cleaning these high-contact areas improves hygiene and brightens your room. Following surface hygiene guidance from the CDC helps you sanitize high-touch touchpoints safely.
- Never spray liquid cleaners, disinfectants, or water directly onto any electrical switch or wall plate.
- Lightly dampen a microfiber cloth with 70% isopropyl alcohol or warm soapy water.
- Wipe the plastic plate, toggle switch, and rotary dial firmly to dissolve built-up grease.
- Dry the components thoroughly with a clean, lint-free cloth.
- Use a barely damp melamine foam sponge to gently erase fingerprint smudges from the painted wall beside the plate.
Take care not to scrub painted drywall too aggressively with melamine foam. Light pressure lifts oily residue without stripping paint sheen or creating permanent burnish marks.
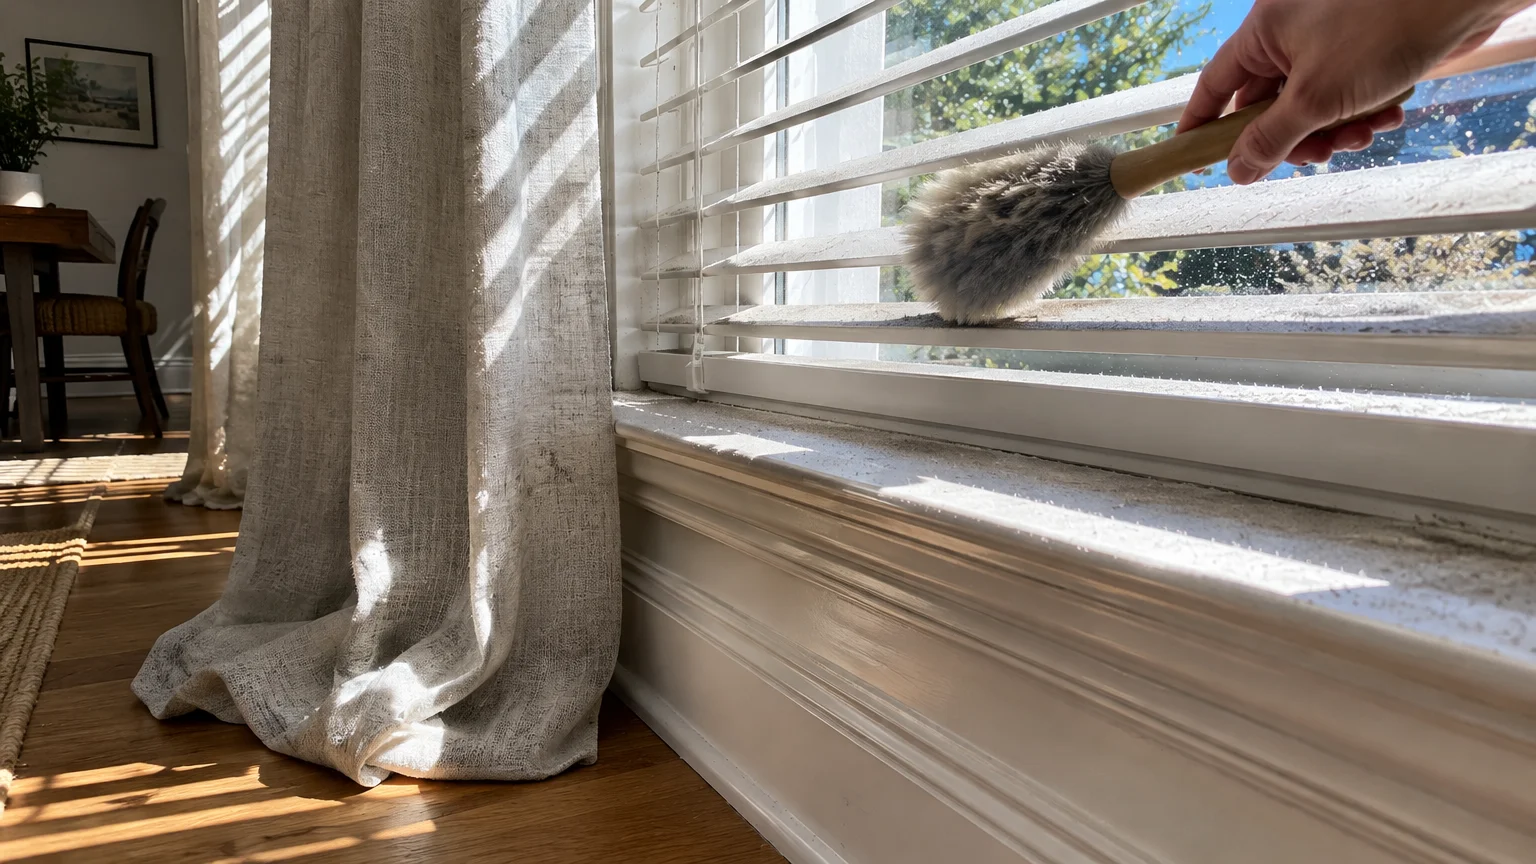
07 Window Sills, Blind Slats, and Drapery Hemlines
Dining room windows create pleasant natural lighting during family brunches, but window trim collects stubborn grime. Warm indoor air meets cold glass panes, generating subtle condensation along lower window sashes.
This localized moisture mixes with outdoor pollen, street dust, and cooking aerosols, forming a dingy, gray sludge in sill corners. Left alone, this damp dirt damages paint and fosters mildew.
Simultaneously, floor-length curtains act like stationary brooms. Drapery hemlines sweep against baseboards and rugs, gathering static dust, pet hair, and floor grit along their lower edges.
- Vacuum horizontal window blinds with a soft dusting brush, working from the top slat downward.
- Wipe each blind slat with a damp microfiber cloth to remove oily grease films.
- Clean window sill corners with an old soft-bristled toothbrush dampened with warm water and mild detergent.
- Wipe the entire wooden sill dry using a fresh microfiber towel.
- Use an upholstery brush attachment to vacuum both sides of your drapery hemlines, lifting trapped floor dirt before it discolors fabric.
Performing this simple window routine every few months prevents permanent fabric discoloration. Keeping sills dry also preserves wooden window framing against costly rot.
Dining Room Surface Care and De-Griming Protocol
Different materials in your dining room require distinct cleaning agents and tools. Using the wrong product can etch delicate wood finishes, dissolve fabric dyes, or leave dull soap films behind.
Consult this reference table to match each grime-prone spot with its optimal cleaning approach and avoid costly surface damage.
| Dining Room Spot | Grime Type | Recommended Cleaning Agent | Primary Tool | Common Mistake to Avoid |
|---|---|---|---|---|
| Table Apron and Underside | Hand oils, food splatters, sticky drips | Mild dish soap diluted in warm water | Damp microfiber cloth | Oversaturating wood joints with excess liquid |
| Chair Rungs and Spindles | Shoe scuffs, street grit, dropped crumbs | Gentle castile soap or vegetable oil wash | Vacuum dusting brush, soft cloth | Wiping dry grit directly into wood finish |
| Chandelier and Hanging Lights | Aerosol cooking fats, convection dust | 50-50 distilled water and isopropyl alcohol | Cotton glove or sock, lint-free cloth | Spraying liquids directly into light sockets |
| Upholstered Seat Cushions | Skin oils, beverage drips, seam crumbs | Dry detergent foam or code-specific cleaner | Crevice tool, upholstery brush, white towel | Scrubbing fabric aggressively and soaking padding |
| Baseboards Behind Buffets | Static dust balls, carpet fuzz, hair | Multi-surface spray or warm soapy water | Flexible telescoping wand, flat mop | Straining back muscles by moving heavy furniture |
| Switch Plates and Dimmers | Fingerprint oils, food sauces, germs | 70% isopropyl alcohol or disinfectant wipe | Lightly misted microfiber cloth | Allowing liquid to drip behind wall plate |
| Window Sills and Blinds | Condensation sludge, pollen, curtain dust | Warm water with mild plant-based soap | Soft toothbrush, vacuum brush, cloth | Letting water sit in wooden window corners |
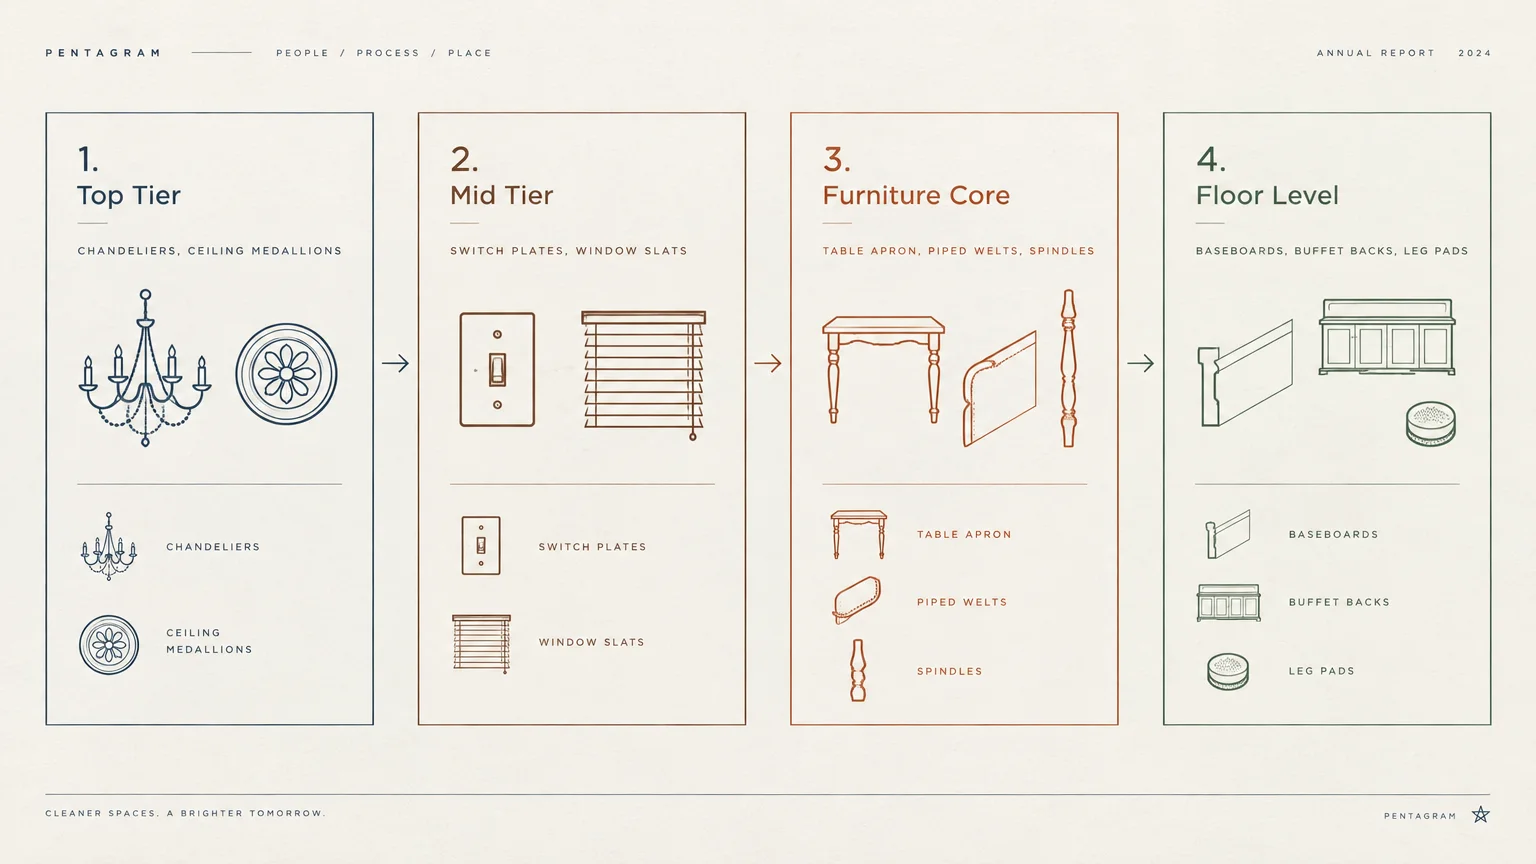
Systematic Dining Room Deep-Cleaning Checklist
A structured workflow ensures you clean your dining room efficiently without re-contaminating finished surfaces. Work from top to bottom so falling dust lands on surfaces you have not cleaned yet.
Follow this step-by-step checklist when performing seasonal deep cleaning or preparing your home for holiday dining.
- Phase 1: Overhead Dusting
- Turn off lighting fixtures and let bulbs cool completely.
- Dust ceiling corners, crown molding, and ceiling medallions with a high-reach pole.
- Clean chandelier canopies, chain links, bulbs, and glass shades.
- Phase 2: Window Treatments and Walls
- Vacuum blind slats from top to bottom with a soft dusting brush.
- Wipe blind surfaces and clean window sills and sash tracks.
- Vacuum drapery panels, focusing on hemlines that touch the floor.
- Sanitize light switches, dimmer dials, and surrounding wall scuffs.
- Phase 3: Furniture Detailing
- Wipe down the table apron, bottom edge, and table pedestal or legs.
- Vacuum upholstered chair seams with a narrow crevice attachment.
- Spot-clean upholstery stains using dry foam or fabric-safe detergent.
- Wipe down chair spindles, crossbars, and backrests.
- Inspect chair feet and replace damaged felt floor glides.
- Phase 4: Perimeter and Floor Care
- Slide a flexible dusting wand behind heavy buffets, sideboards, and china cabinets.
- Wipe down all baseboards, corner blocks, and shoe molding.
- Vacuum the entire floor, including area rug perimeters and under furniture edges.
- Mop hard floor surfaces using cleaner suited for your flooring type.
Ergonomic Cleaning Strategies for Easy Home Maintenance
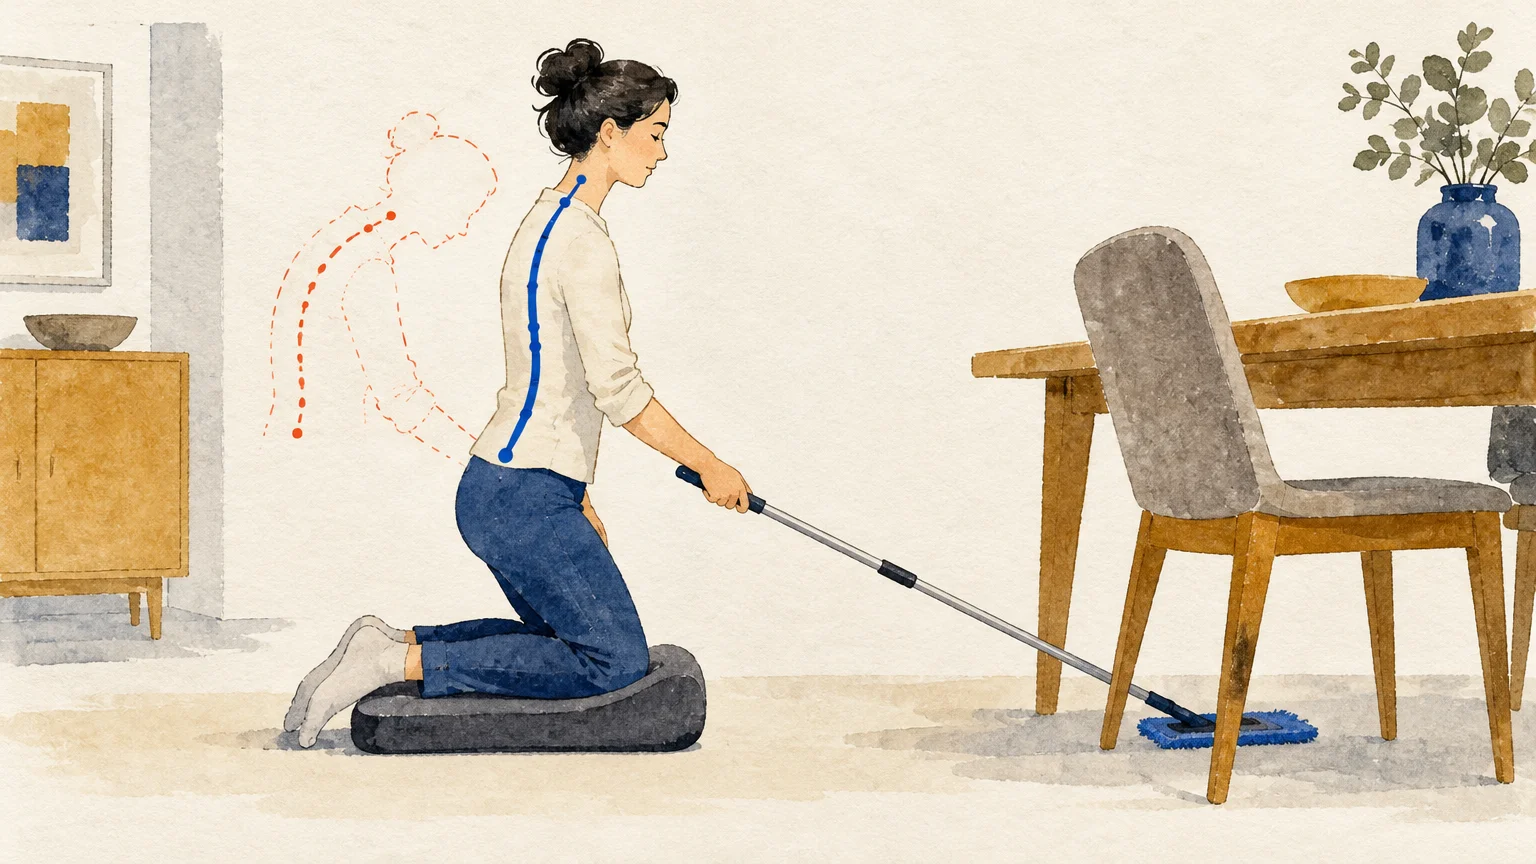
Deep cleaning your dining room should not leave you with aching joints or sore back muscles. Using ergonomic tools simplifies chores for adults of all ages and energy levels.
Invest in an extendable aluminum pole with interchangeable heads for high and low dusting tasks. Telescoping handles eliminate the need to climb onto step stools or bend down to floor level.
When cleaning chair spindles and table aprons, pull a dining chair over and sit comfortably while you work. Sitting down keeps your spine aligned and removes pressure from your hips and knees.
Divide large cleaning projects into manageable 15-minute segments instead of attempting a grueling day-long session. Tackling one spot each day keeps your dining space immaculate without causing physical fatigue.
Your Practical Next Step
Transforming your dining room begins with one simple, immediate action. You do not need to clean the entire room this afternoon to make noticeable progress.
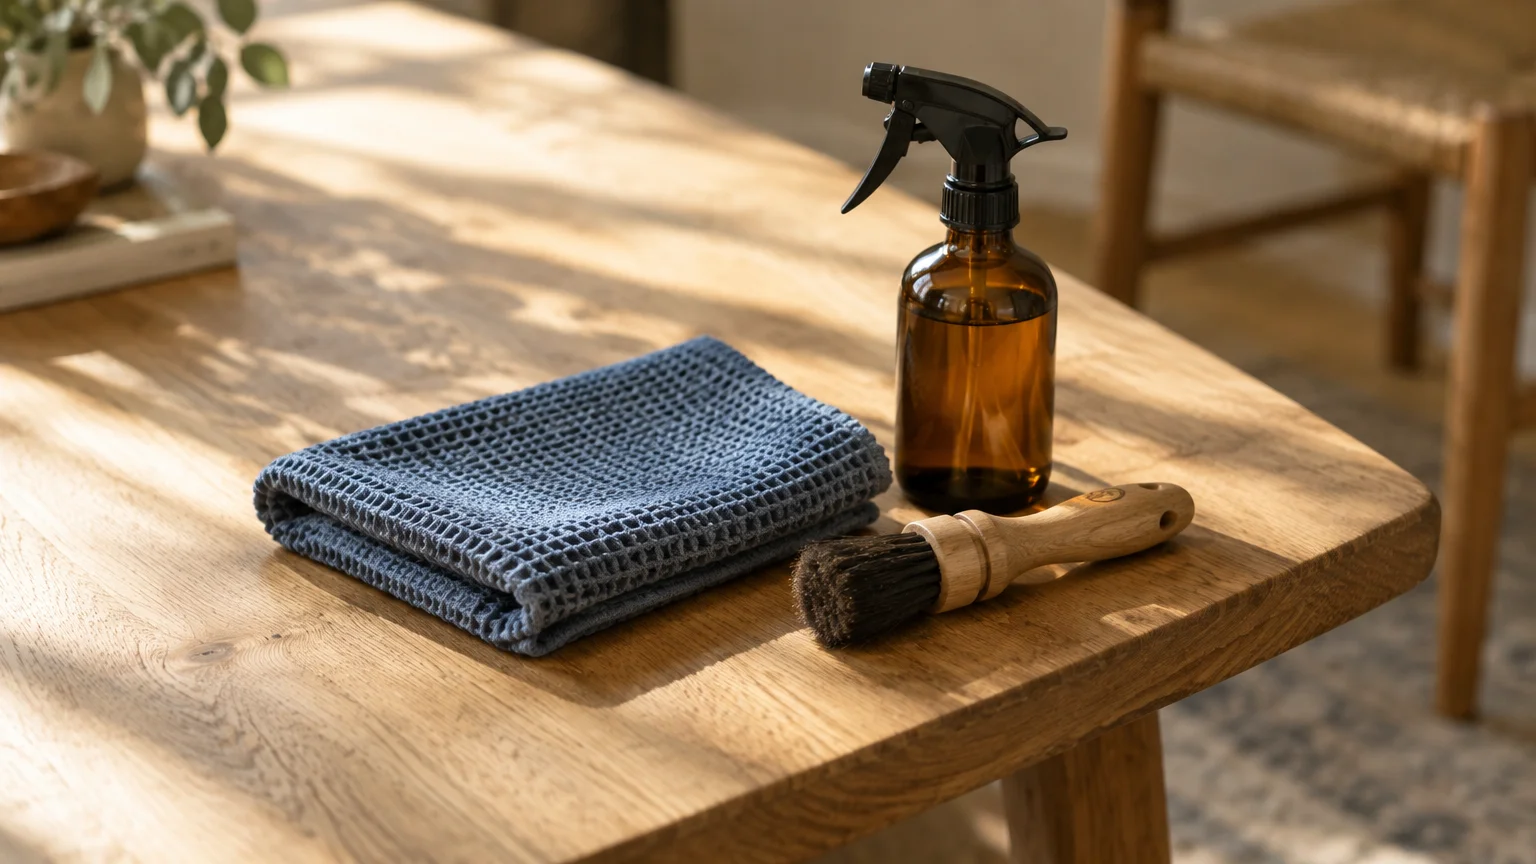
Walk into your dining room right now with a damp microfiber cloth. Run it along the hidden underside rim of your dining table, and enjoy the instant satisfaction of banishing hidden grime.