Clear glass transforms your living space by flooding rooms with natural light and sharp views. Hazy windows ruin that bright atmosphere, leaving dull smudges behind despite your hard physical scrubbing.
Glass is surprisingly sensitive to heat, mineral residue, and oily chemical coatings. When you adjust a few fundamental habits, you can restore crystal clarity across every pane in your home.
Discover the seven common window cleaning mistakes creating stubborn film on your glass; then apply our proven window cleaning tips for guaranteed, streak free windows.
Mistake 1: Washing Windows in Direct Sunlight
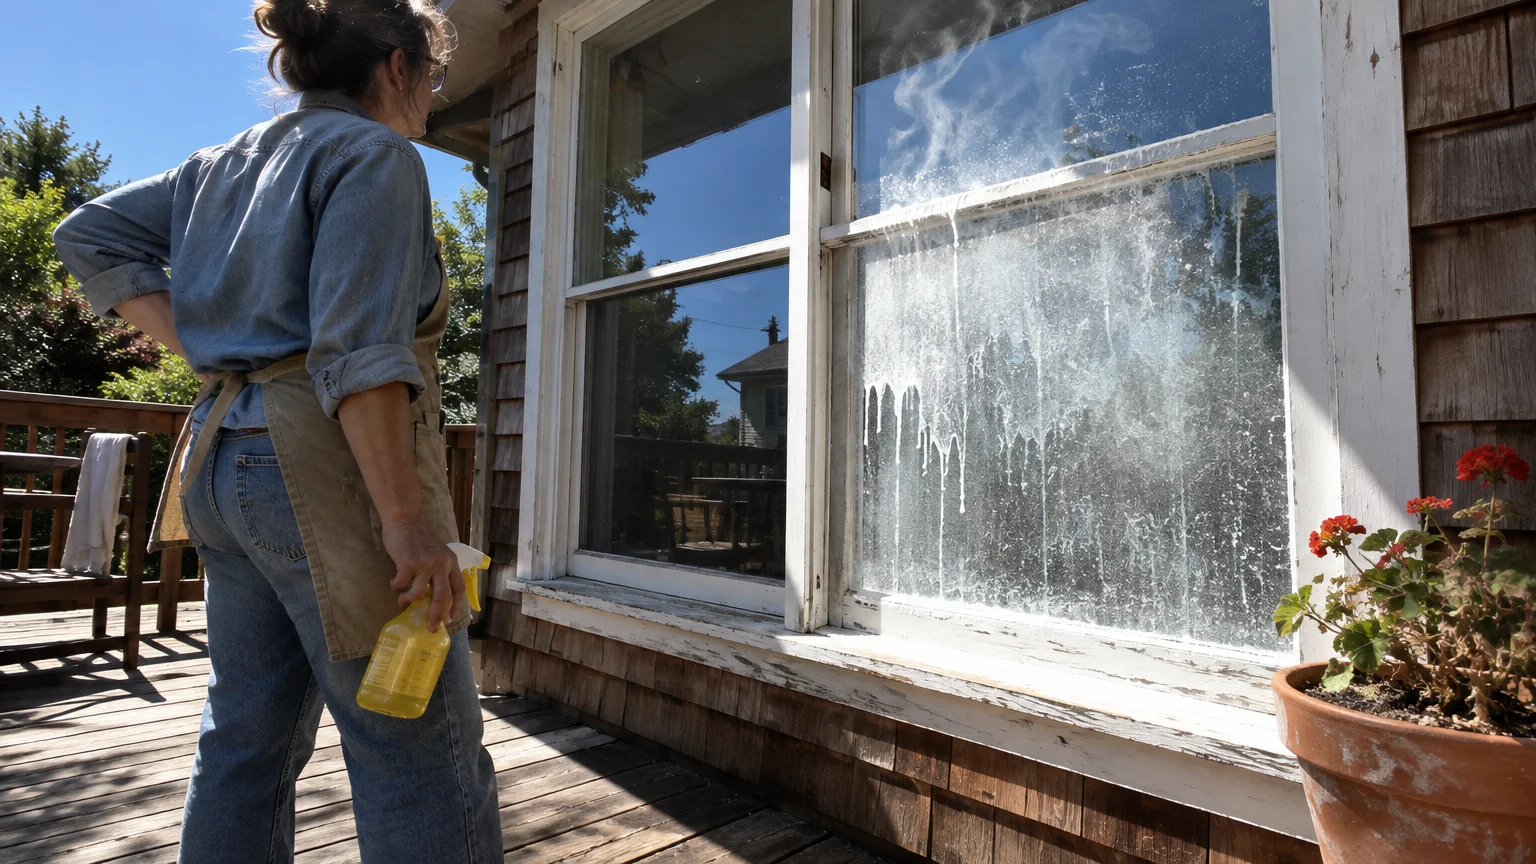
Sunlight seems like the ideal companion for exterior chores, but solar heat is the primary enemy of clear glass. Direct sun warms the window pane rapidly, turning your cleaning solution into hot vapor.
When liquid cleaner evaporates in seconds, water molecules escape into the air before you can wipe them away. This premature drying strands soap solids and chemical detergents directly on the glass surface.
The resulting deposit hardens into a cloudy, milky haze that resists dry buffing. You then scrub harder, which often spreads the dried surfactant across a broader surface area.
Schedule your washing routine during calm, overcast mornings or late afternoons. If you must wash on bright days, follow the shade around your home as the sun moves across the sky.
Mistake 2: Relying on Paper Towels and Ordinary Rags
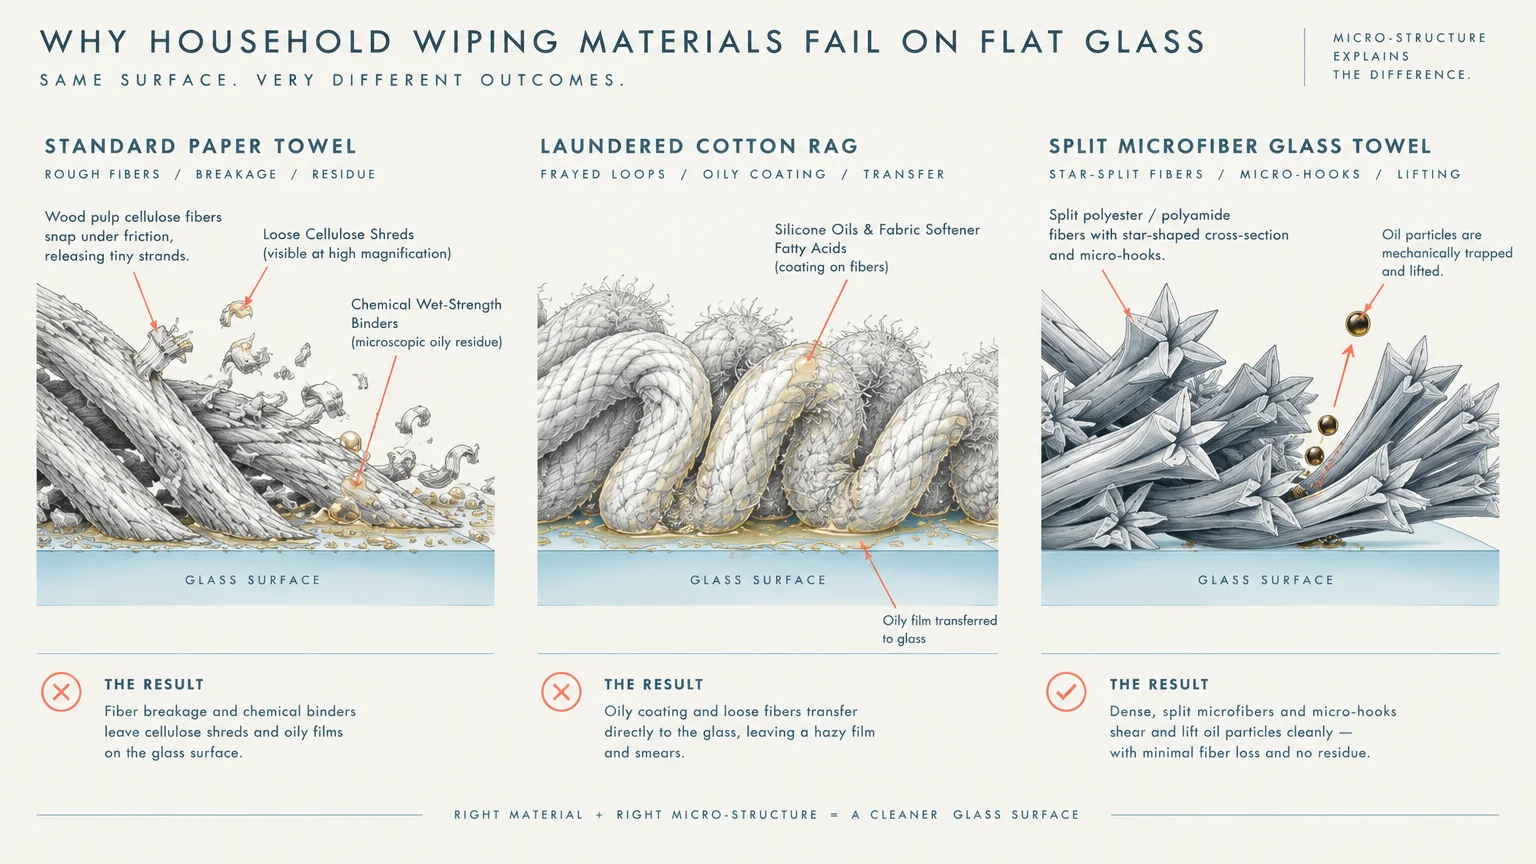
Paper towels feel convenient, but they represent one of the most frequent window cleaning mistakes. Manufacturers bind wood pulp with chemical sizing agents to give paper towels wet strength and absorbency.
As you drag damp paper across glass, friction shreds microscopic cellulose fibers across the pane. Worse, the chemical binders break down and spread an oily film over the glass.
Old cotton bath towels and flannel rags cause an entirely different problem. Household linens laundered with fabric softeners carry stubborn coatings of silicone oils and fatty conditioning agents.
Those softening residues transfer straight to the window, creating greasy tracks that smear when touched. Switch to lint-free, split-fiber microfiber towels designed specifically for flat glass surfaces.
Mistake 3: Overdosing Detergents and Liquid Soaps
A common instinct is to assume extra soap produces cleaner windows. In reality, concentrated soap creates persistent hazy windows that attract fresh grime within hours.
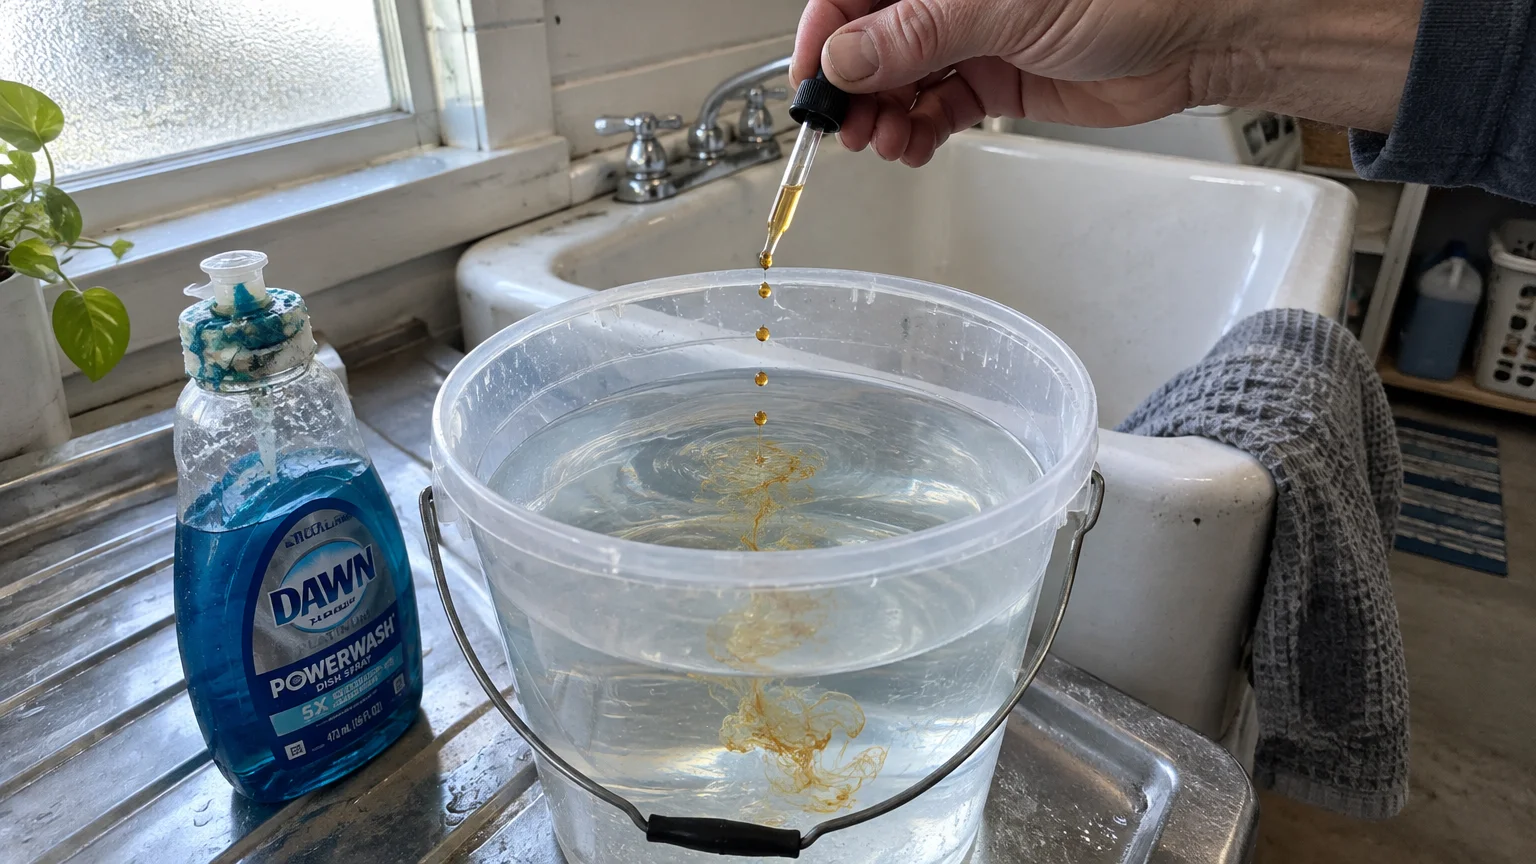
Dishwashing detergents contain potent surfactants engineered to cling to grease on ceramic plates and cookware. On flat architectural glass, however, thick surfactants do not rinse away easily without massive volumes of water.
Unrinsed detergent dries into an invisible, tacky layer across the window pane. That sticky coating immediately traps airborne dust, pet dander, and automotive exhaust particles from outside air.
Use minimal cleaning agent when washing glass panes. Professional window cleaners use only two or three drops of liquid dish soap per gallon of warm water.
Mistake 4: Using Mineral-Rich Hard Tap Water
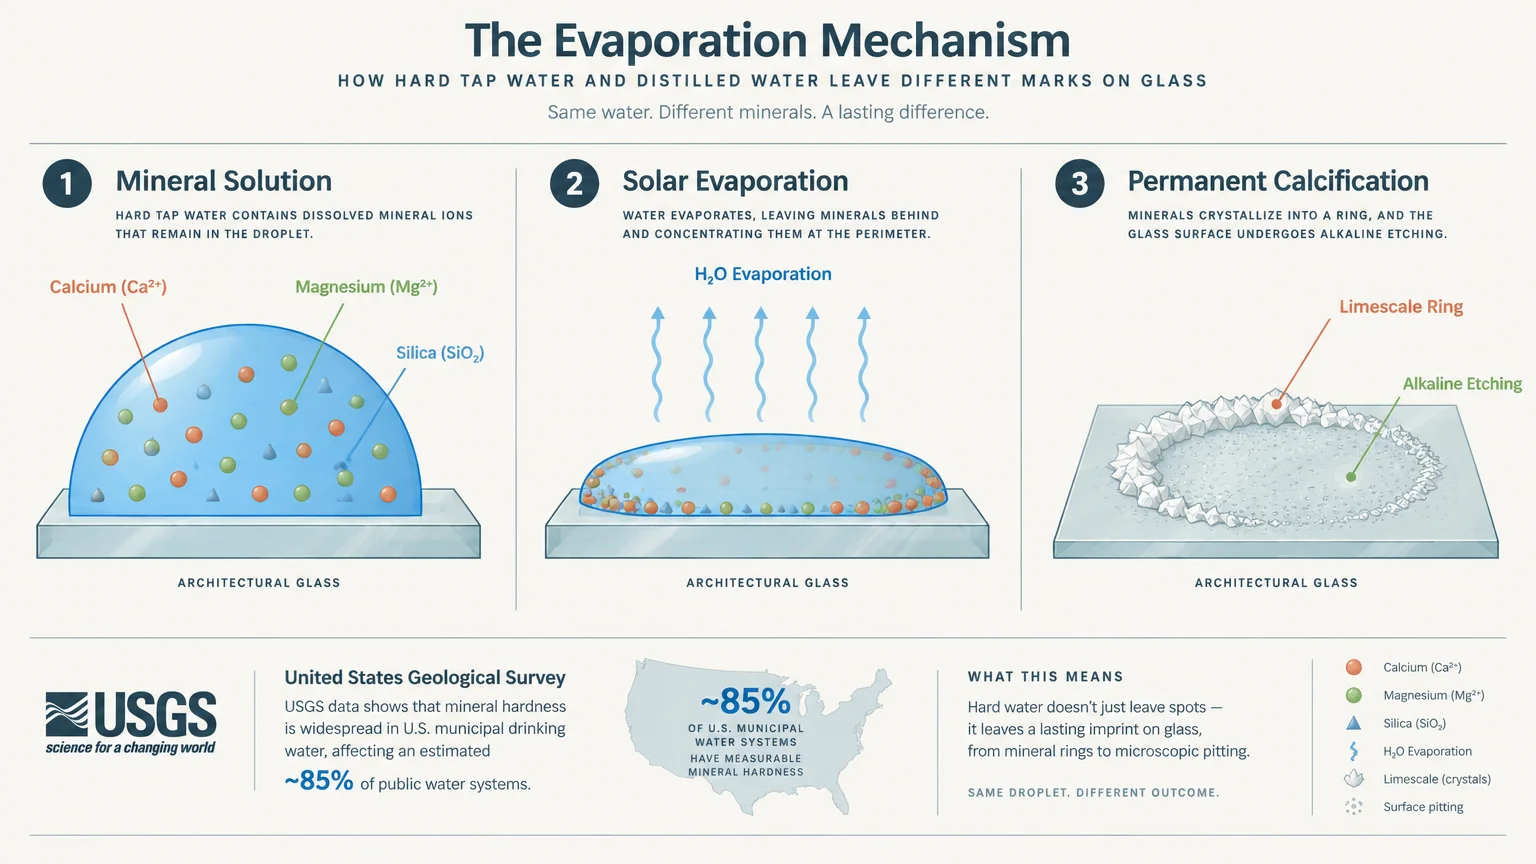
Tap water straight from your garden hose or kitchen faucet contains dissolved mineral solids. These dissolved compounds consist primarily of calcium, magnesium carbonates, and silica.
The United States Geological Survey notes that hard water is widespread across domestic water supplies. Understanding your local water hardness helps you prevent long-term glass staining.
When hard water evaporates from a window, liquid departs while minerals stay behind. These mineral salts crystallize into stubborn limescale rings, cloudy patches, and white water spots.
Over time, repeating this mistake allows alkaline minerals to chemically etch the glass surface permanently. Always mix your DIY cleaning sprays with distilled water or filtered reverse-osmosis water.
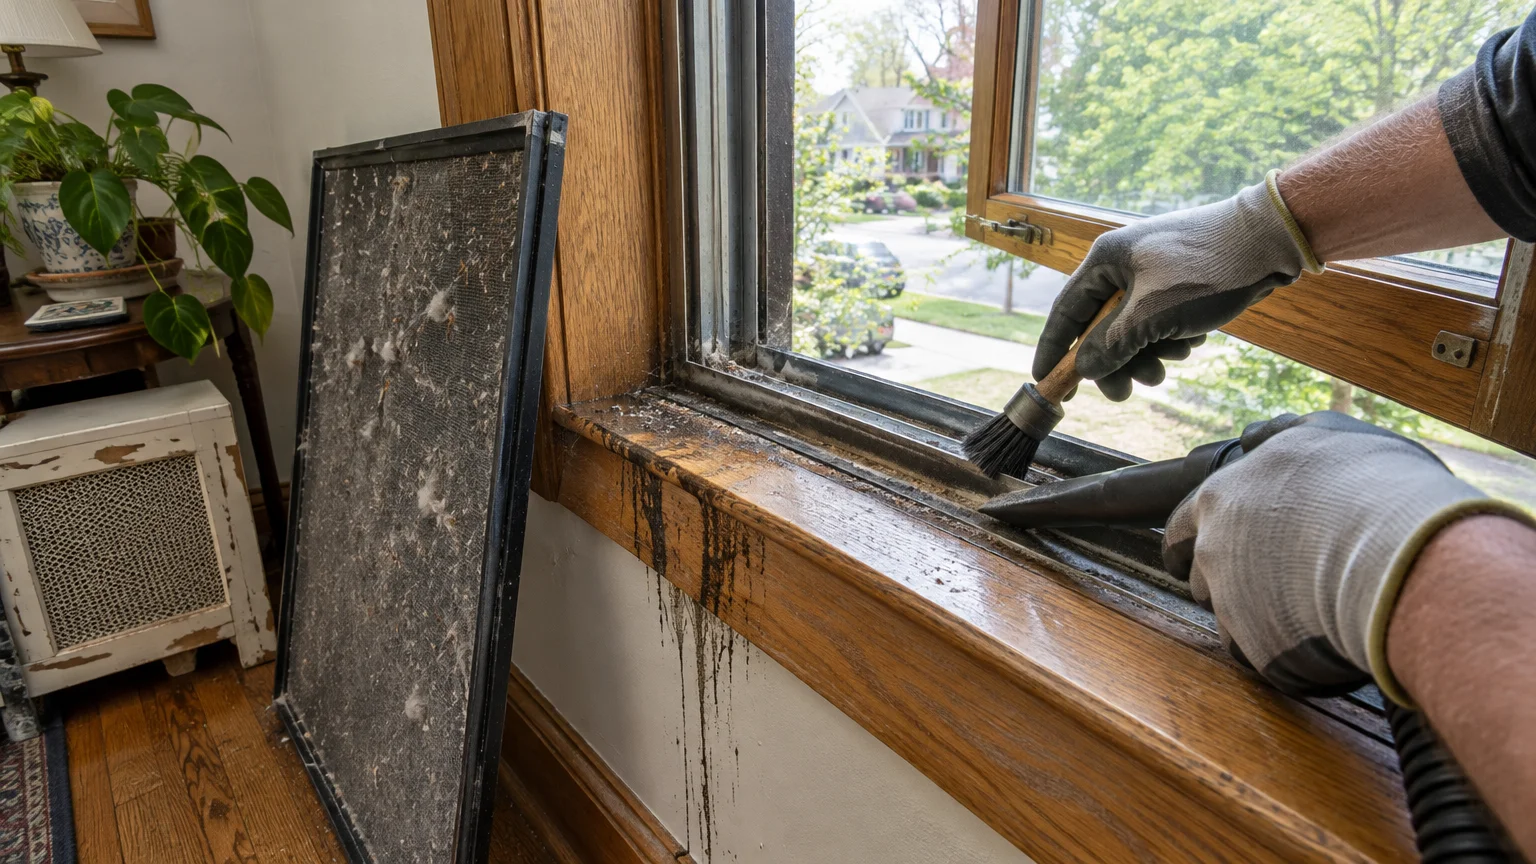
Mistake 5: Neglecting Frames, Sills, and Dusty Screens First
Cleaning glass before dusting the surrounding window frame creates instant mud. Window sills, blinds, and exterior screens gather heavy layers of pollen, dead insects, and loose soil.
The moment your damp squeegee or wet cleaning rag grazes a dusty sill, moisture dissolves that grime. Your cleaning tool then drags liquefied mud back across the clean center of the glass pane.
Dirty window screens compound this issue during rainstorms or windy afternoons. Raindrops strike dirty screen mesh, transferring trapped dirt splatters directly onto your freshly cleaned glass.
Always clean your windows from the outside edges inward. Vacuum window sills, brush off window screens, and wipe frames dry before spraying a single drop of glass cleaner.
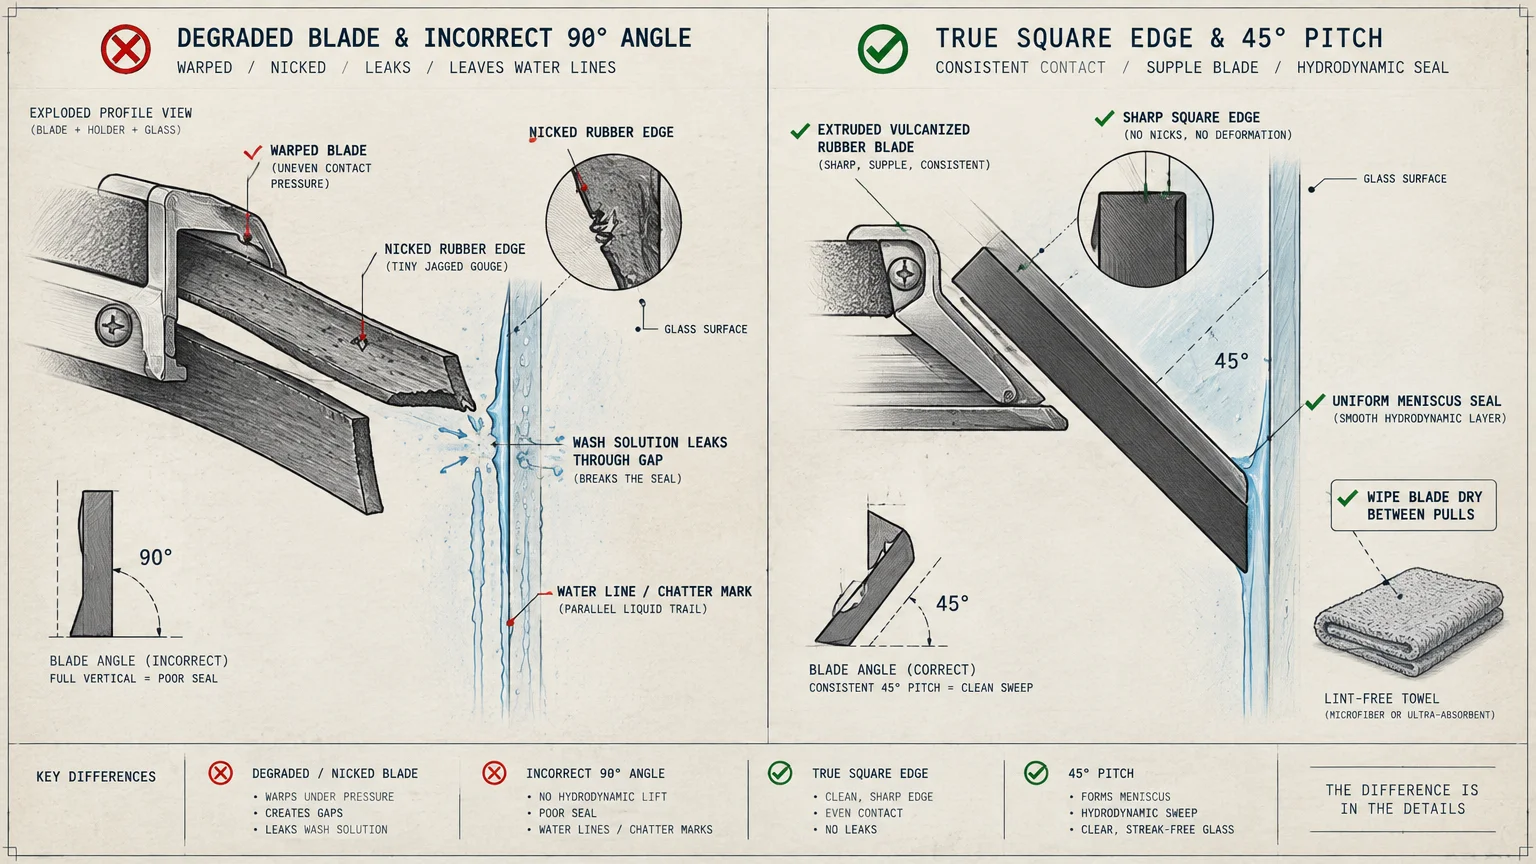
Mistake 6: Using Damaged Squeegees or Poor Technique
A quality squeegee is an essential tool for streak free windows, but damaged rubber ruins results. An old blade with tiny nicks, hardened rubber, or warped edges leaves pronounced lines of dirty water.
Technique matters just as much as tool condition when wiping glass. Pressing too hard against the pane bends the rubber blade out of its intended alignment, allowing water to slip beneath.
Failing to dry the squeegee blade between strokes is another common error. Each time you reset the tool against the glass, moisture on the blade creates a visible contact line.
Inspect your squeegee blade before every cleaning session, replacing the rubber strip when it feels stiff. Wipe the edge dry with a dedicated rag after every single stroke across the pane.
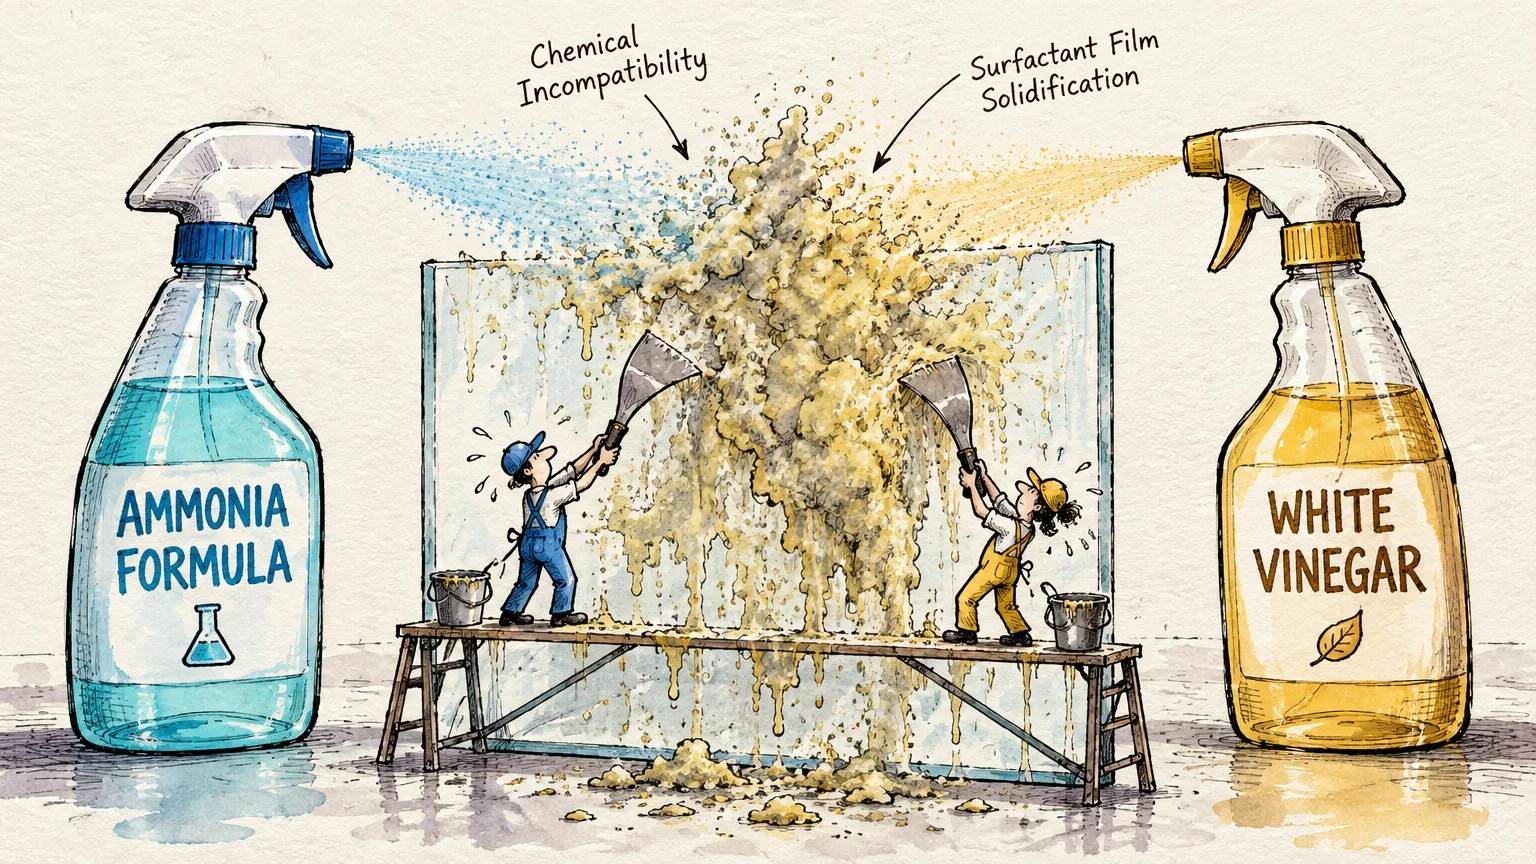
Mistake 7: Mixing Incompatible Chemicals or Using Waxy Formulas
Some commercial cleaning sprays include artificial perfumes, colorants, and silicone additives meant to repel rain. Unfortunately, these additives accumulate over time, leaving an oily, iridescent film that catches direct light.
Even worse, mixing household chemicals creates severe respiratory and physical hazards. The Centers for Disease Control and Prevention warns that mixing bleach with ammonia produces deadly chloramine gas.
Never combine commercial glass cleaners containing ammonia with chlorine bleach or acidic descalers. Aside from severe health risks, chemical reactions leave insoluble precipitates that permanently cloud glass.
Select third-party verified cleaning products certified by the EPA Safer Choice program. Alternatively, stick to simple solutions of distilled white vinegar and pure water.
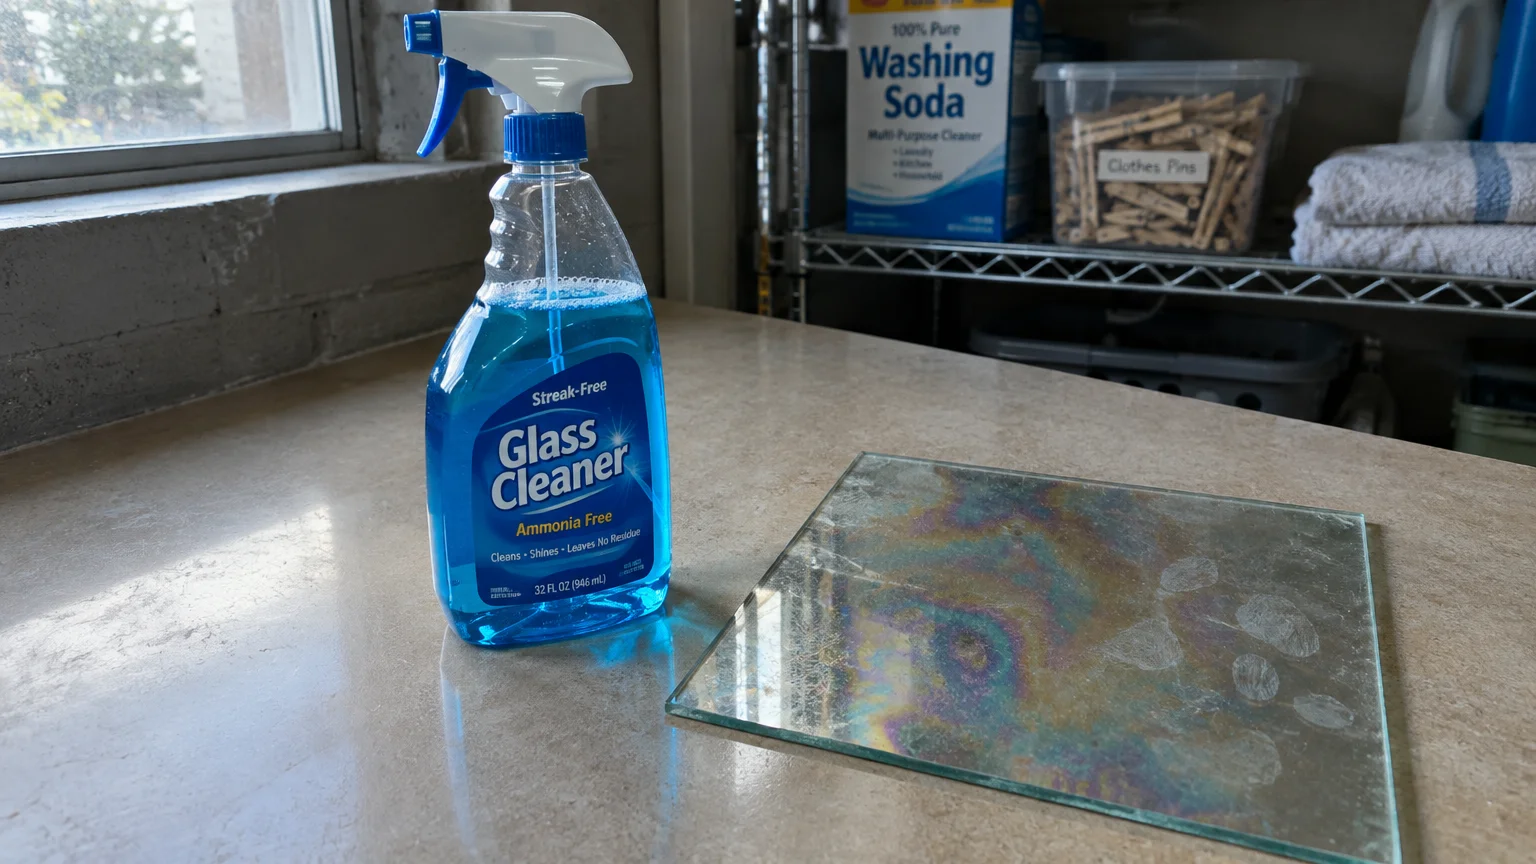
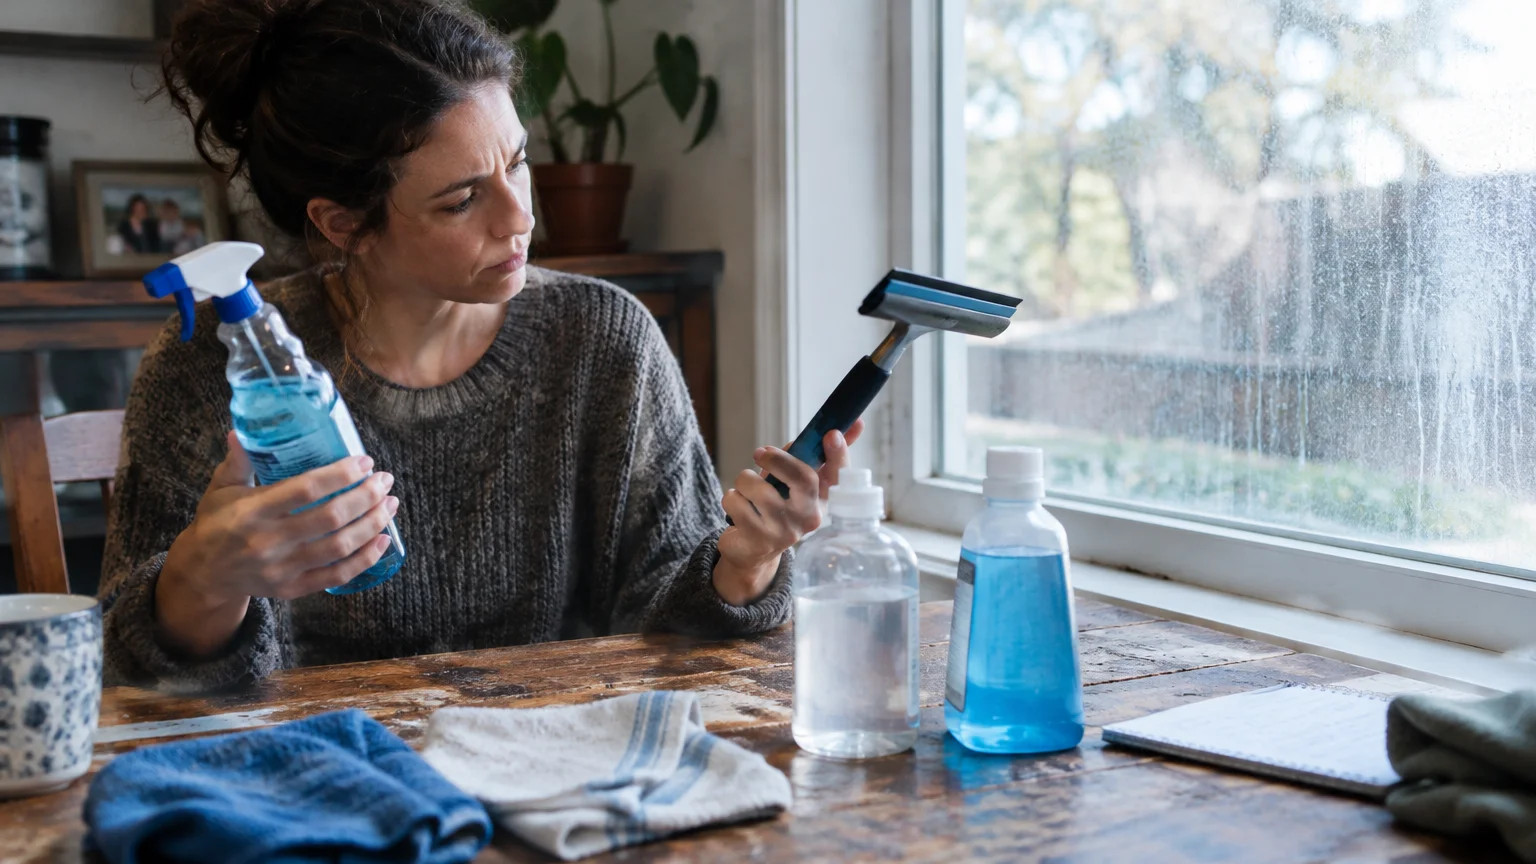
Why Commercial Blue Sprays Often Fail
Many homeowners reach for traditional blue glass cleaners expecting instant perfection. These formulations rely heavily on fast-evaporating solvents, artificial colorants, and synthetic fragrances.
While solvents dissolve light dust, they evaporate almost instantly on warm glass. When solvents flash off too quickly, they redeposit dissolved grease before your cloth can absorb the soil.
Furthermore, synthetic blue dyes and artificial scents offer zero cleaning power. Instead, those unnecessary chemical additives leave their own microscopic film behind, creating a foggy haze in bright morning light.
Simpler solutions perform significantly better on exterior and interior glass. Pure water combined with a physical mechanical tool—like a squeegee—leaves zero chemical residue on the glass.
Comparing Window Cleaning Solutions and Tools
Choosing the right combination of cleaning solutions and drying tools determines whether your glass stays clear. Review this quick comparison to eliminate haze-causing agents from your cleaning caddy.
| Method or Tool | Primary Strength | Haze Risk Level | Best Application |
|---|---|---|---|
| Distilled Water & White Vinegar | Dissolves mineral deposits and neutralizes alkaline film naturally. | Very Low | Interior glass, bathroom mirrors, and light hard water buildup. |
| Distilled Water & Mild Dish Soap | Cuts through greasy handprints and outdoor traffic soot safely. | Low (if properly diluted) | Heavily soiled exterior windows and patio doors. |
| Commercial Ammonia Cleaners | Emulsifies heavy kitchen grease and airborne oils quickly. | Moderate | Kitchen windowpanes exposed to cooking oils. |
| Squeegee with Fresh Rubber Blade | Physically strips dirty water away without fiber shedding. | Very Low | Large picture windows and exterior multi-pane surfaces. |
| Split Microfiber Towels (Waffle Weave) | Traps microscopic dust and absorbs moisture without lint. | Low (if washed without softener) | Window perimeter detailing and small interior panes. |
| Paper Towels & Cotton Rags | Convenient for fast single-spill cleanups around the kitchen. | High | Countertop wiping; never recommended for crystal-clear glass. |
Proper tools eliminate the physical friction that causes micro-scratches and static electricity. Static charges attract airborne dust particles immediately after cleaning, making panes look hazy within hours.
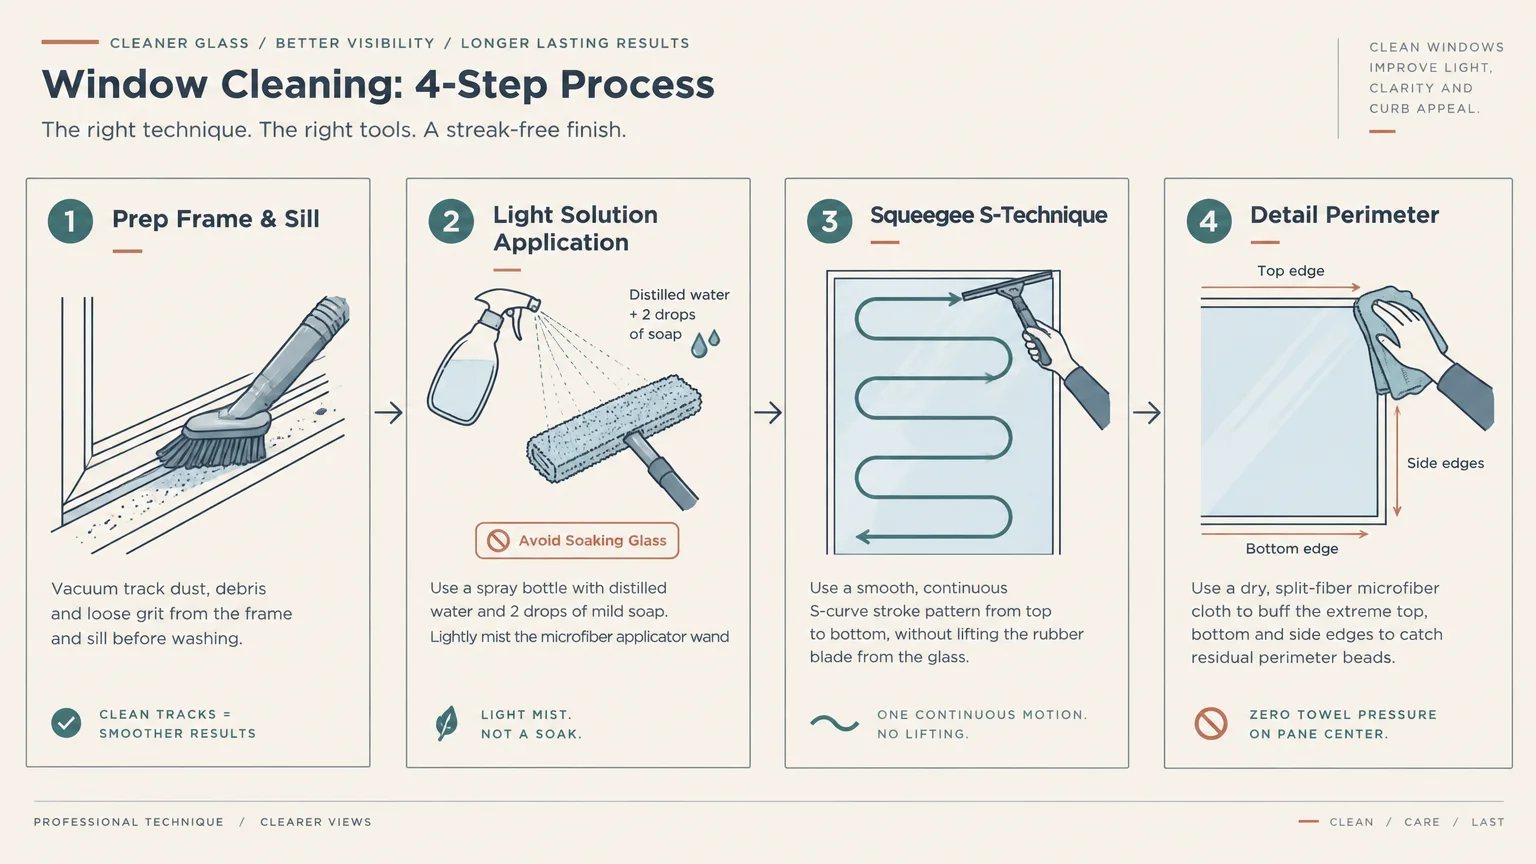
How to Clean Windows: A Step-by-Step Routine for Streak-Free Windows
Mastering how to clean windows requires a systematic approach rather than random spraying. Follow this six-step routine to maintain showroom-clear glass on both sides of your home.
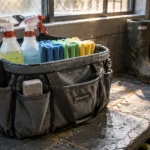
Gather your tools before starting so your wet solution never dries while you search for supplies. You need a bucket, squeegee, microfiber scrubber, dry detailing cloths, and distilled water solution.
- Dry-dust the perimeter: Vacuum the sill, frame, and screen track using a soft brush attachment. Wipe the edges with a dry cloth to capture loose dirt before applying water.
- Mix a balanced wash solution: Combine one gallon of warm distilled water with three drops of liquid dish soap. For windows with mineral haze, add two cups of distilled white vinegar.
- Apply solution with a microfiber washer: Soak your microfiber wand in the solution and squeeze until it does not drip excessively. Rub the glass in circular motions to loosen bonded debris and airborne grime.
- Cut a dry edge across the top: Take a dry microfiber cloth and wipe a one-inch dry strip across the very top edge of the window. This dry border prevents water from bleeding back down onto the wiped area.
- Pull the squeegee in smooth strokes: Place your squeegee blade in that dry top border. Pull the tool down in a smooth, continuous motion, keeping consistent light pressure against the glass.
- Wipe the blade after each pass: Wipe the rubber blade dry with a lint-free cloth after every stroke. Overlap your next vertical pass by approximately two inches over the clean section.
- Detail the perimeter: Wrap a clean, completely dry microfiber cloth around your index finger. Run your finger along the window frame to absorb any residual moisture trapped in the corners.
This professional technique prevents solution from pooling at the corners. When water pools in frames, capillary action slowly pulls dirty liquid back across your finished work.

Troubleshooting Checklist: Is the Haze on the Glass or Inside the Glass?
Sometimes cleaning fails because the cloudiness is not sitting on the glass surface. Use this diagnostic checklist to determine whether your hazy windows require cleaning, restoration, or replacement.
- Insulated glass seal failure: Look closely between double-pane or triple-pane units. If the cloudiness resembles interior moisture droplets, fogging, or grey film sealed between the panes, the perimeter seal has failed. Topical cleaning cannot correct this internal problem.
- Hard water mineral etching: Run your clean fingernail across the dry glass pane. If your nail catches on microscopic rough patches, dissolved minerals have chemically etched the silica. Restoring etched glass requires specialized cerium oxide polishing rather than standard liquid cleaners.
- Polymerized cooking grease: Interior glass near kitchens often collects vaporized cooking oils. This sticky film resists mild vinegar sprays. Dissolve cooking film by wiping the glass with 70% isopropyl alcohol before applying your standard wash routine.
- Tree sap and industrial fallout: Exterior glass near pine trees or industrial areas collects microscopic resin droplets. If your squeegee chatters or skips across the pane, use an automotive detailing clay bar with soapy water lubrication to lift the sap.
- Degraded window tint adhesive: Aftermarket solar control films degrade under intense ultraviolet radiation over time. When the adhesive breaks down, it creates an iridescent, milky haze under the glass surface that requires mechanical film stripping.
Consult professional glass resources like the National Glass Association for architectural glazing standards if seal failure occurs. Defective insulated glass units require glass unit replacement rather than surface scrubbing.

Essential Maintenance Habits to Keep Windows Clear Year-Round
Keeping your windows clear does not require weekly deep scrubbing. Adopting a few simple maintenance habits will prevent heavy grime buildup and protect your glass surfaces.
- Clean screens twice each year: Remove window screens every spring and autumn. Wash them with warm soapy water and a soft nylon brush to stop trapped dust from blowing onto glass.
- Redirect lawn sprinklers: Ensure automated irrigation heads do not spray hard municipal or well water against your exterior windows. Sprinkler spray causes severe mineral etching within months.
- Launder microfiber cloths correctly: Wash glass-cleaning microfiber towels in warm water with fragrance-free liquid detergent. Never use fabric softener or dryer sheets, which coat fibers in waxy oils.
- Inspect window weep holes: Clear the small drainage channels located at the base of exterior window frames. Blocked weep holes trap standing water that evaporates upward into cloudy steam along the lower pane.
Maintaining these perimeter components cuts your physical cleaning time in half. Clean frames and screens ensure that sudden rainfall rinses cleanly off your windows rather than leaving muddy streaks.
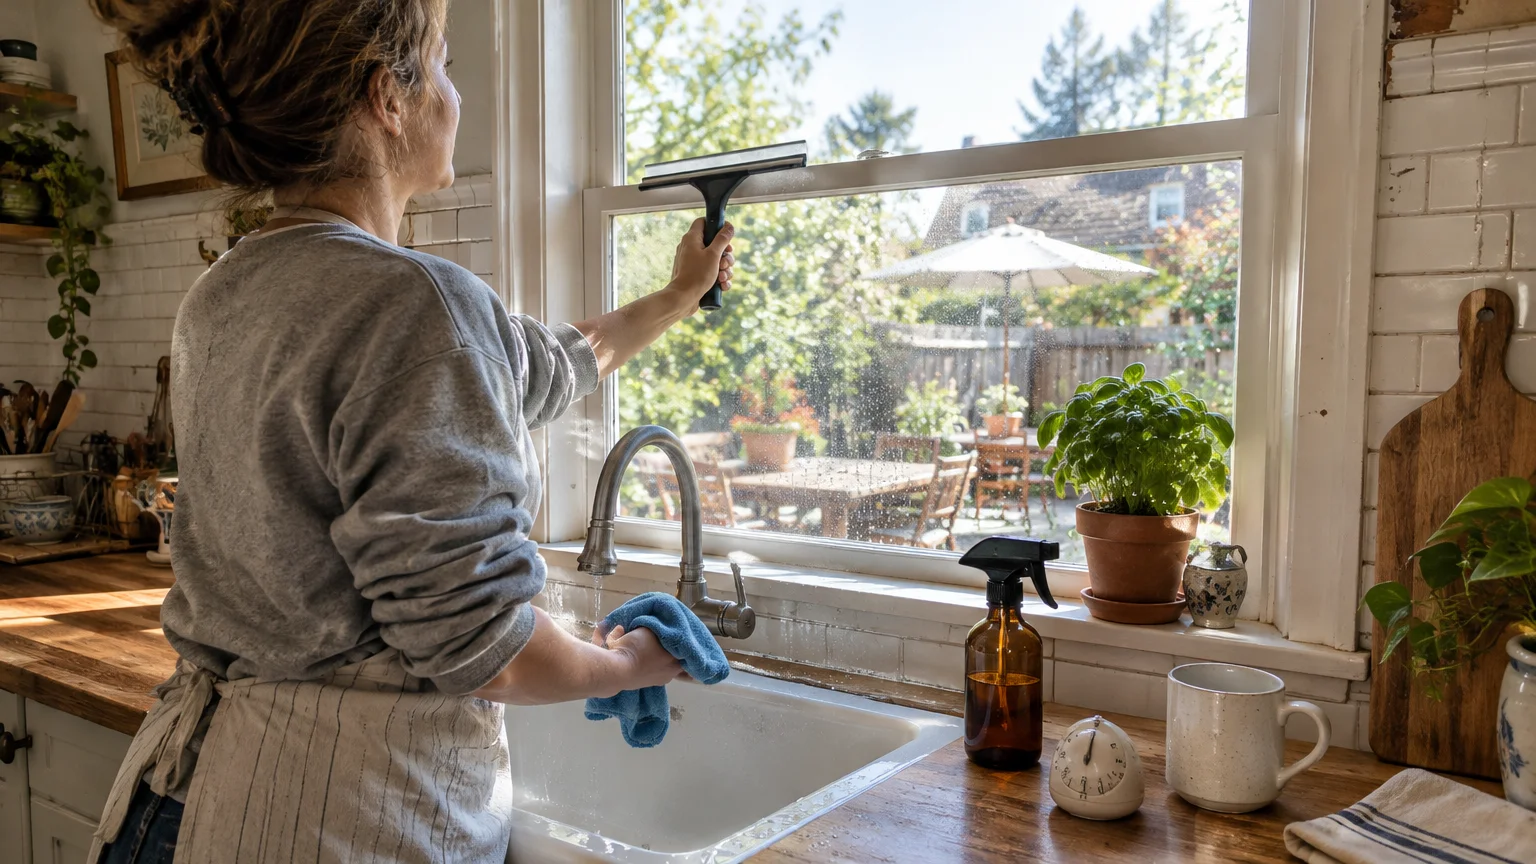
Your 10-Minute Single-Window Reset
Do not overwhelm yourself by attempting to clean every window in your home today. Choose one high-traffic pane, like your patio sliding door or kitchen picture window, for a quick reset.
Mix a spray bottle with equal parts distilled water and white vinegar, then grab two clean microfiber cloths. Wipe away years of built-up soap film and enjoy the immediate, crystal-clear view.