You can transform dull, cloudy glass into a crystal-clear reflection in less than two minutes once you correct a few subtle habits. Eliminating recurring haze requires targeting the exact mechanical and chemical errors that cause streaks.
Most lingering smudges do not come from stubborn bathroom grime; they stem from the very tools and formulas you trust to remove it. Common household habits often spread microscopic oils and dust across the surface.
Discover the seven most common mirror cleaning mistakes and master the straightforward adjustments that guarantee streak free mirror cleaning every single time.
01 Wiping Down Glass with Paper Towels and Rags
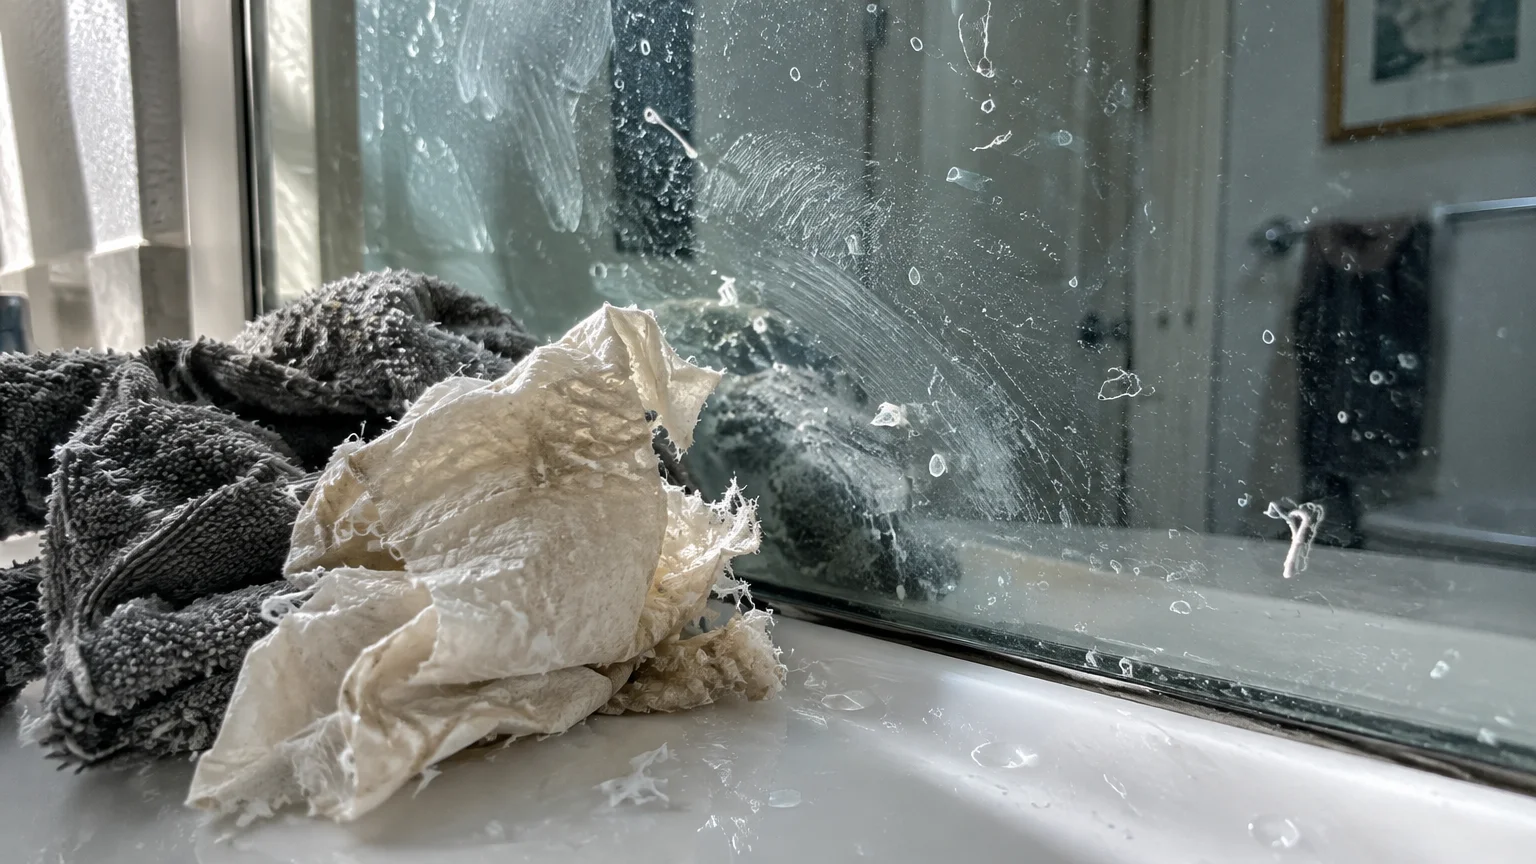
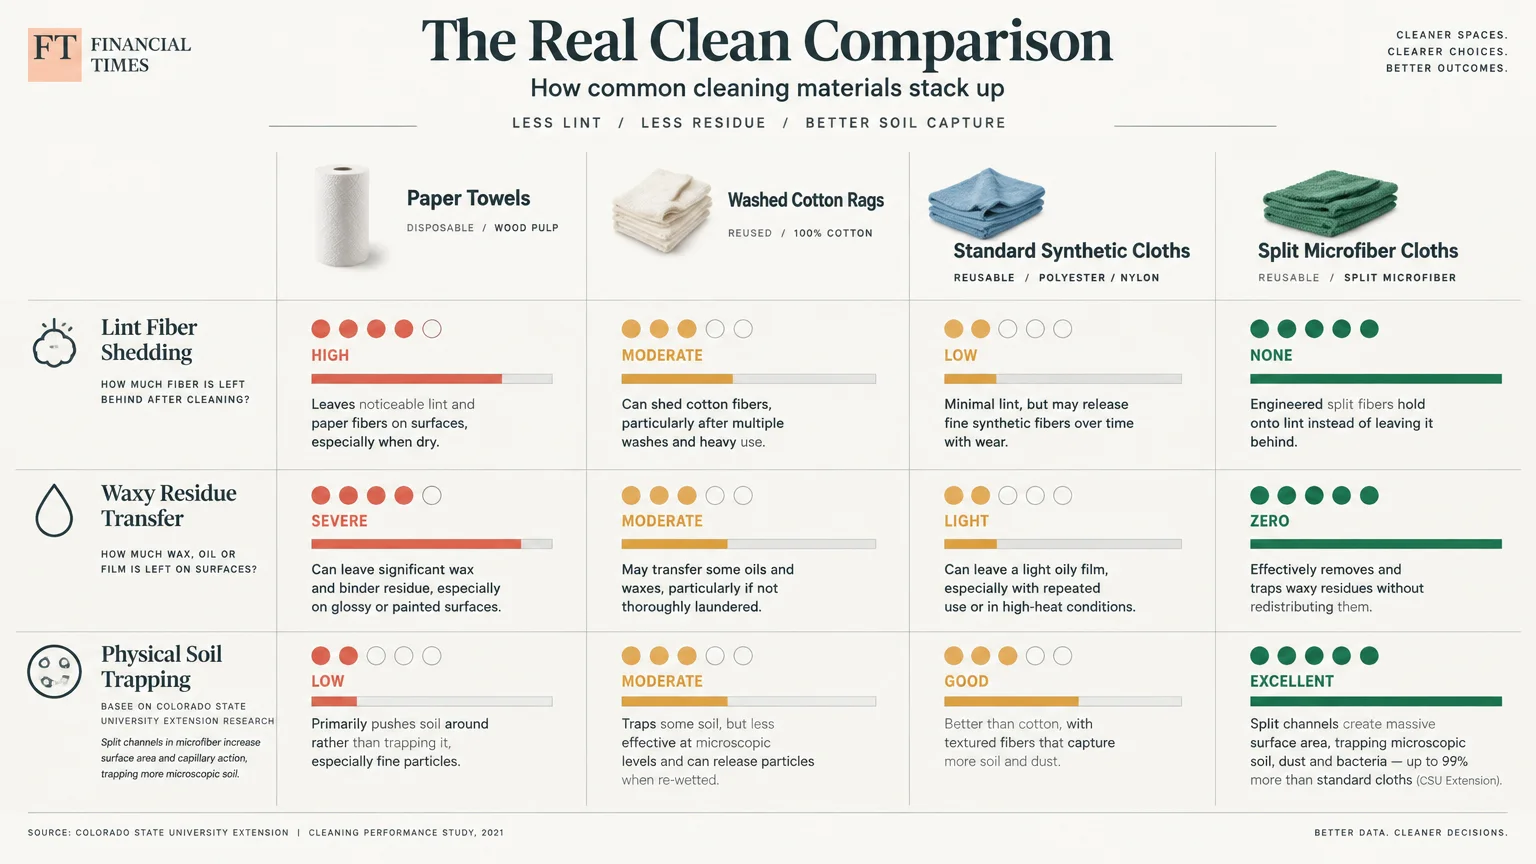
Paper towels seem convenient, but they represent one of the most pervasive mirror cleaning mistakes in modern homes. Manufacturers produce paper towels from wood pulp fibers that break apart readily under friction.
As you rub paper across wet glass, it sheds tiny cellulose strands. These microscopic fibers bond to moisture and form a hazy film across the pane.
Washing mirrors with discarded bath towels or old cotton t-shirts creates a completely different streak issue. Laundry detergents and fabric softeners coat cloth fibers with waxy conditioning agents designed to soften textiles.
When a laundered rag touches glass, friction transfers those synthetic waxes straight onto the mirror. The resulting chemical film creates broad, oily streaks that catch the light from every angle.
Instead, choose dedicated glass-cleaning microfiber cloths featuring a flat, tightly woven texture. According to cleaning research from Colorado State University Extension, split microfibers physically trap soils within microscopic channels rather than smearing them across smooth surfaces.
Wash your microfiber cloths separately using warm water and fragrance-free detergent. Never add liquid softener or dryer sheets to the laundry cycle, as both ruin microfiber absorption.
02 Spraying Cleaner Directly Onto the Mirror Surface
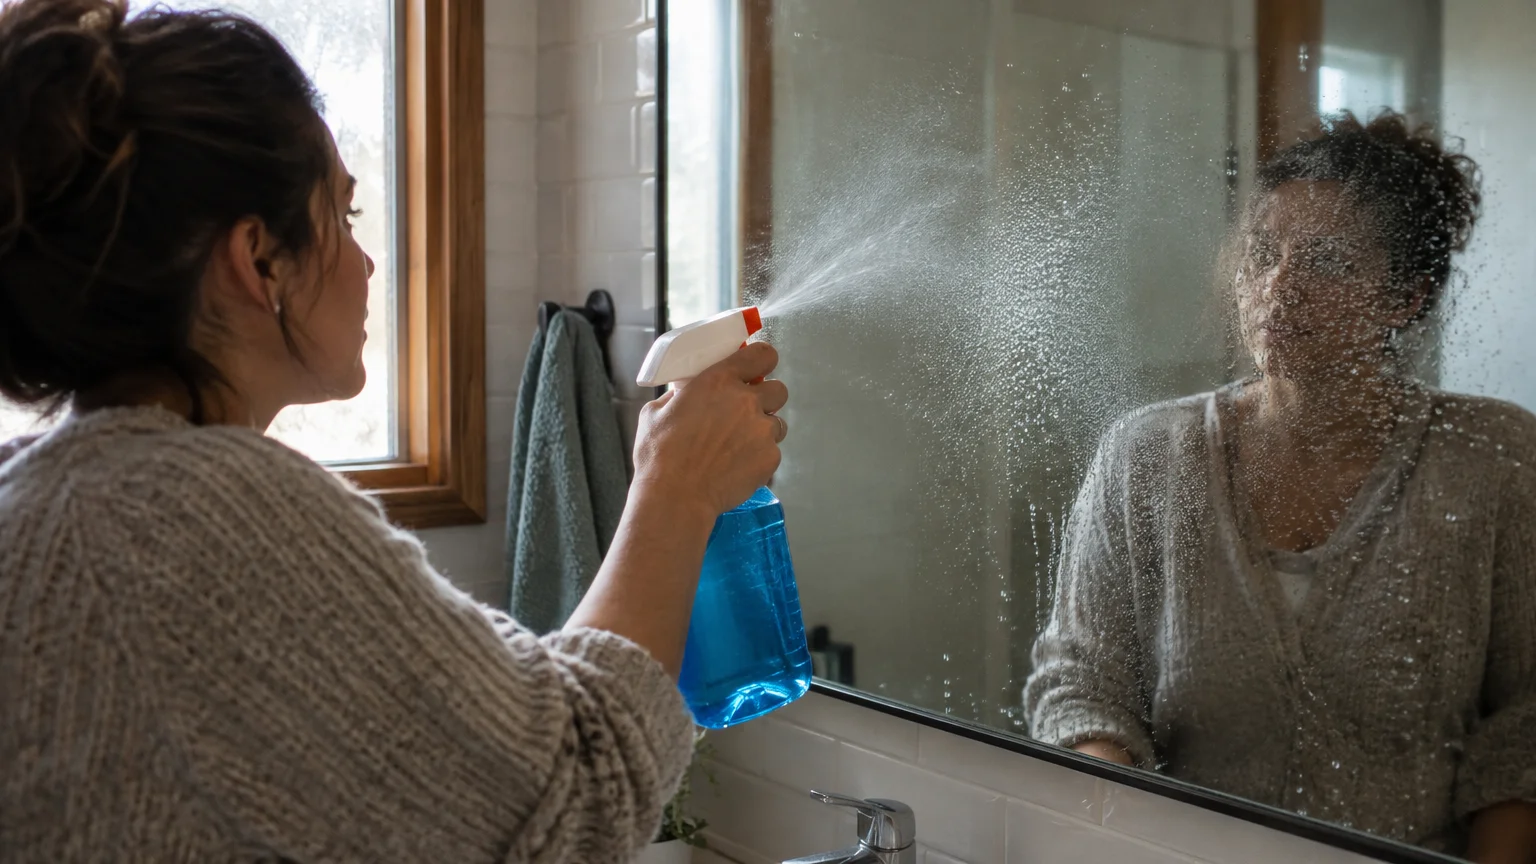
Spraying liquid cleaner straight onto a mirror appears harmless, but gravity immediately works against you. Heavy droplets run down the vertical glass before you can wipe them away.
These falling rivulets pool along the bottom edge and seep behind the frame. Over time, that trapped moisture triggers irreversible destruction known as mirror desilvering.
The National Glass Association notes that moisture trapped along edges attacks the protective backing of silvered mirrors. This chemical breakdown creates jagged black splotches and clouding that no glass cleaner can repair.
Direct spraying also creates uneven puddles across the glass face. Denser pools of liquid dry at different rates than thin films, which leaves distinct evaporation lines across your reflection.
Prevent this damage by misting your cleaner directly onto your cleaning cloth instead. A lightly dampened cloth gives you total moisture control while preventing fluid from infiltrating delicate seams.
03 Cleaning Mirrors in Direct Sunlight or Warm Rooms
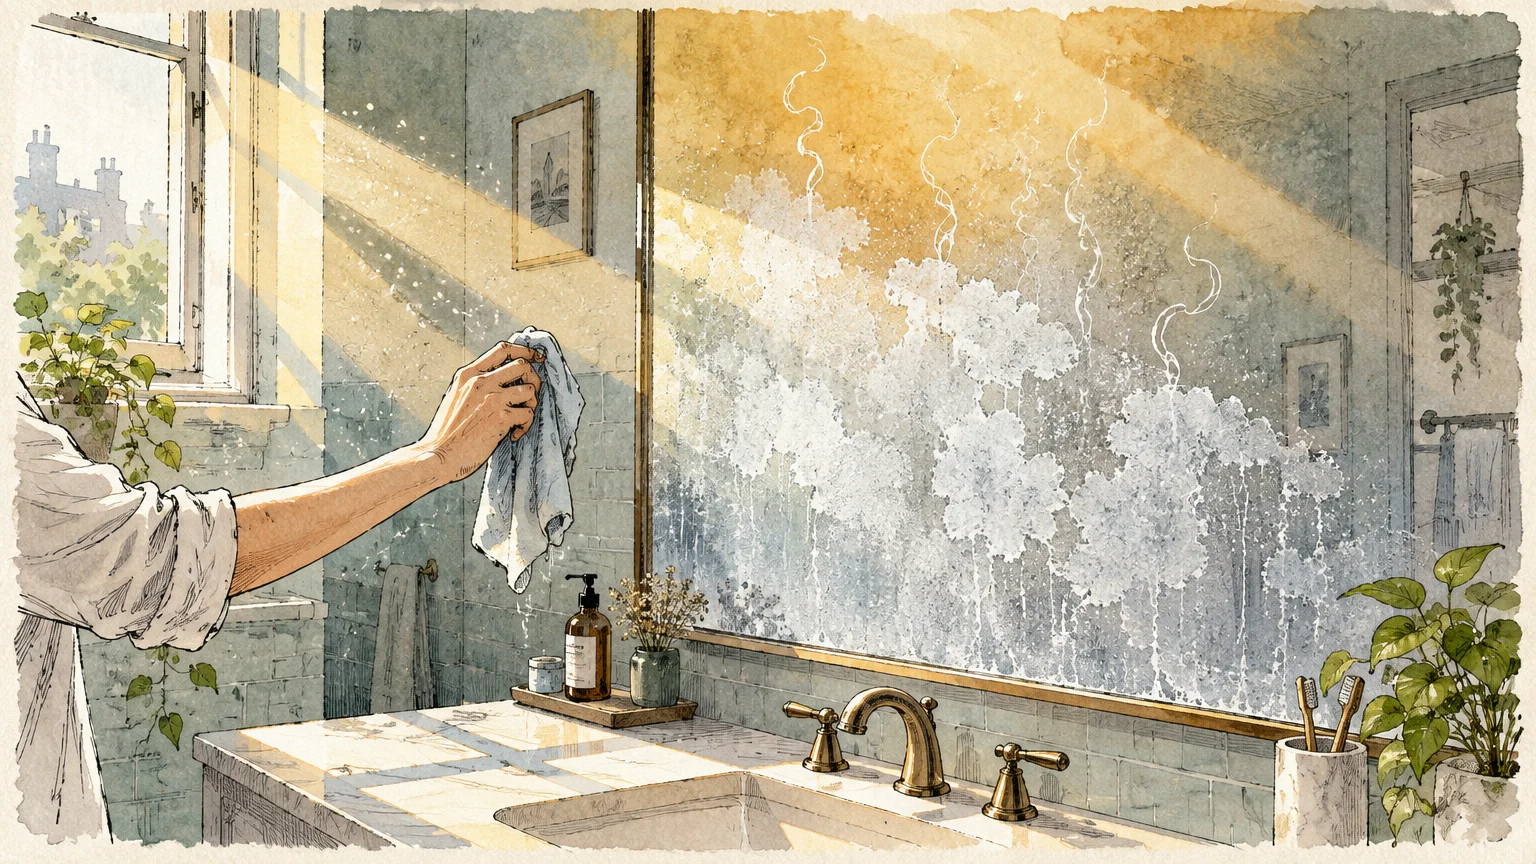
Natural daylight helps you spot dirt, but direct sunlight poses a major obstacle to clean glass. Solar radiation warms the mirror surface, which drastically accelerates chemical evaporation.
When cleaning liquid evaporates too quickly, you lose the lubrication needed to wipe away grime. The dissolved cleaning agents dry before you can lift them off the glass.
Those dried surfactants solidify directly on the mirror, creating stubborn, milky white streaks. You end up scrubbing dried chemical residue rather than removing dirt.
A similar issue occurs in bathrooms immediately following a hot shower. Lingering humidity and warm walls alter surface tension and prevent your cleaning cloth from absorbing moisture cleanly.
Clean your mirrors when the room is cool and out of direct sun. Close window blinds or wait until morning light moves away from the glass before you begin.
04 Using Heavy Soapy Cleaners or Harsh Chemical Formulas
More soap does not translate to cleaner glass. In fact, overusing heavy detergents remains a primary reason mirrors lose their clarity.
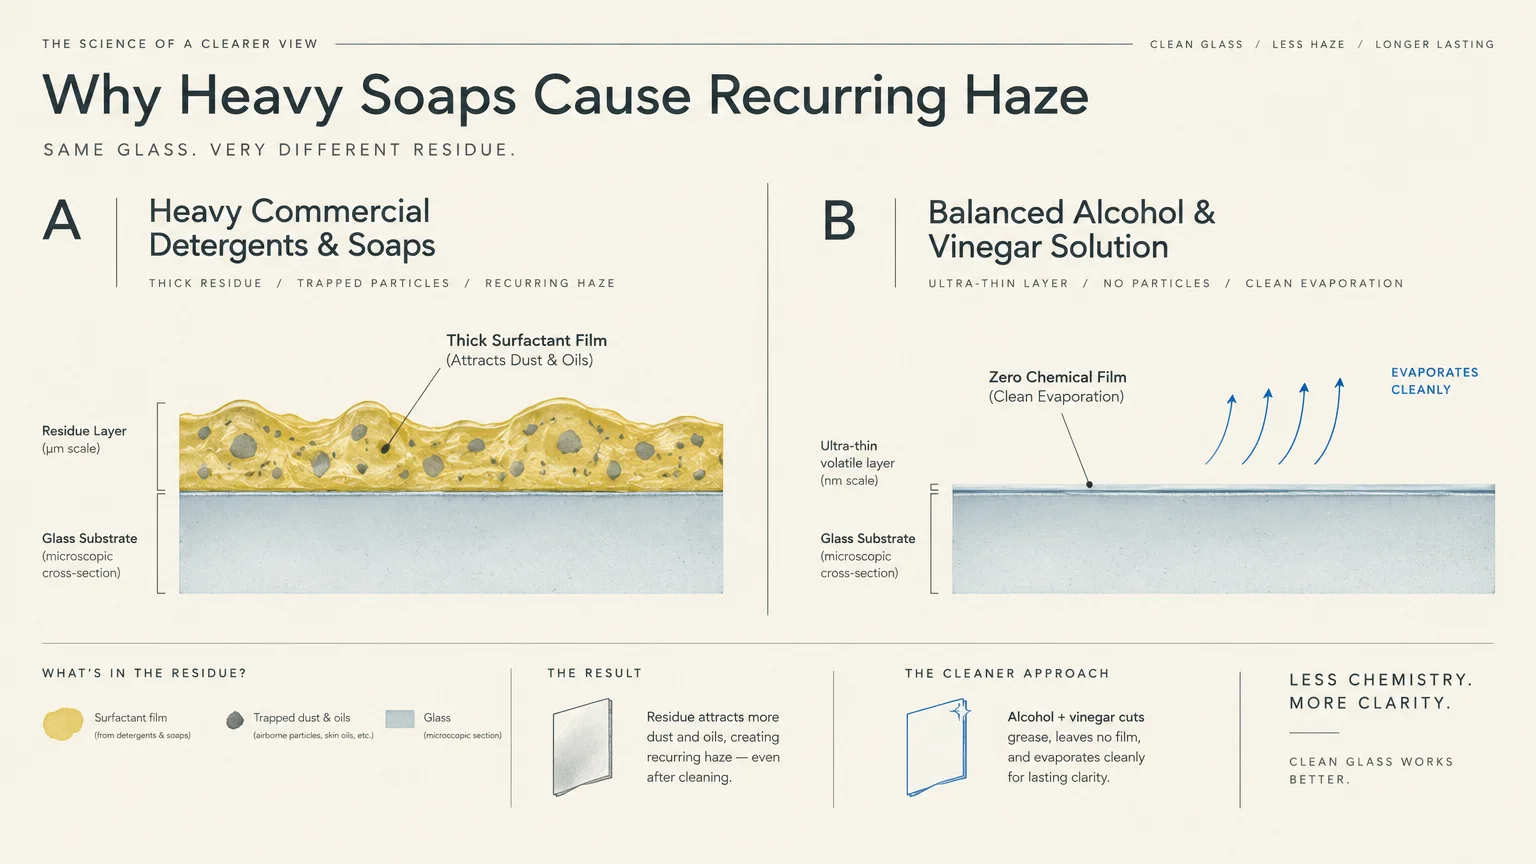
Standard dish soap contains high concentrations of surfactants engineered to emulsify kitchen grease. These heavy molecules require copious amounts of running water to rinse away completely.
Because you cannot rinse a wall mirror with a running hose, soap molecules remain behind. They form a sticky, invisible blanket that attracts airborne dust within hours.
Many commercial glass sprays also present hidden drawbacks. Artificial dyes, thick fragrance oils, and heavy ammonia additives frequently leave behind oily trails as they dry.
The U.S. Environmental Protection Agency Safer Choice program highlights that simpler solvent formulations reduce airborne residues while cleaning effectively. For mirrors, less chemical residue always yields a sharper reflection.
Switch to pure isopropyl alcohol diluted with distilled water, or select a certified dye-free formula. Pure solvents evaporate cleanly into the air without leaving any particulate matter behind.
05 Ignoring Pre-Existing Buildup Like Toothpaste and Hairspray
Bathroom mirrors endure daily assaults from personal care products. Toothpaste splatters, shaving cream flecks, and hairspray mist coat the glass every morning.
Attempting to clean these crusty spots with a standard glass cleaner usually makes the mess worse. Liquid spray rehydrates dried binders in toothpaste and spreads chalky calcium across the mirror.
Hairspray creates an even tougher problem because it consists of plasticized polymers designed to repel moisture. Water-based glass cleaners simply cannot break down these stubborn lacquer resins.
When you drag a wet cloth across aerosol hairspray, you smear dissolved polymers into broad streaks. What began as a tiny speck quickly becomes an opaque smear.
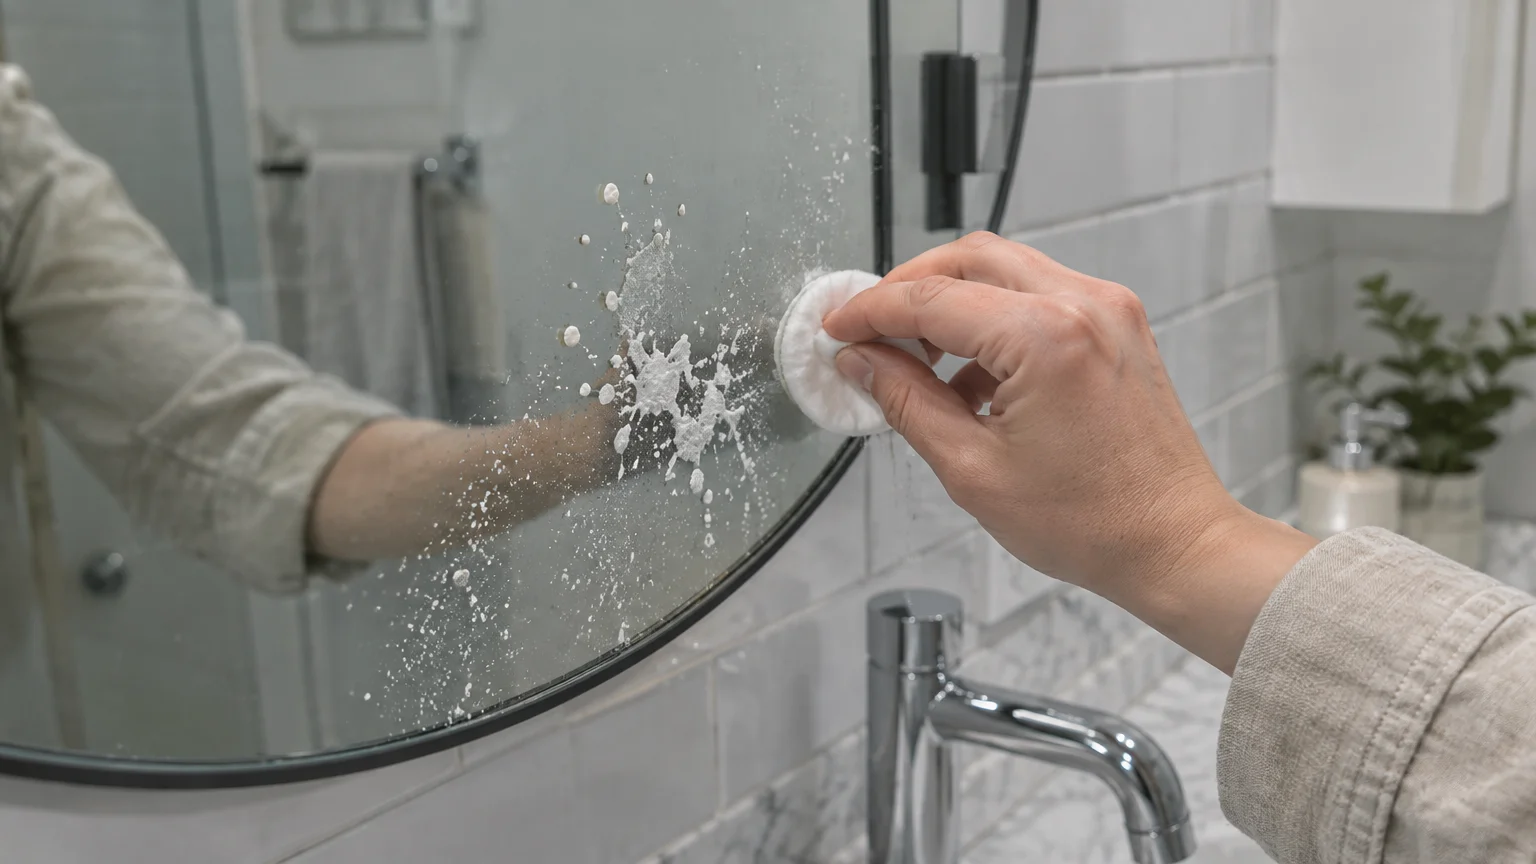
Inspect your mirror before wiping and spot-clean stubborn residues individually. Dampen a cotton pad with 70% isopropyl alcohol and press it against each spot for five seconds.
Alcohol dissolves resinous hairspray and lifts dried toothpaste binders instantly. Once these problem spots vanish, you can clean the entire glass surface without dragging sticky buildup around.

06 Scrubbing in Random Circular Motions
Most people learn to clean glass by rubbing in small, hurried circles. While circular scrubbing feels natural, it actively works against a streak-free finish.
Circular motions push dust, lint, and fluid toward the edges of each circle. When the cloth changes direction, it deposits that concentrated grime directly back onto the glass.
This pattern creates circular swirl marks that become painfully obvious when light hits the mirror at an angle. You essentially redistribute dirt instead of removing it.
Professional cleaners rely on structured geometric movements rather than circles. An intentional S-pattern sweeps debris systematically across the surface without crossing over clean sections.
Start at an upper corner and pull your cloth horizontally to the opposite edge. Reverse direction slightly lower, sweeping back across the mirror in a continuous serpentine motion.
This directional wiping carries dirt downward toward the bottom edge, preventing redeposition. Your cloth continuously meets fresh, uncleaned glass until the entire pane is clear.
07 Skipping the Final Dry Buffing Step
Stopping your cleaning routine while the glass is still damp invites streaks. Even the highest-grade cleaning solution leaves behind trace moisture as you finish your wiping pass.
If you let that residual moisture air-dry, microscopic mineral drops settle into place. This passive drying creates subtle lines and hazy water spots across the glass.
A two-cloth system provides the most reliable insurance against drying marks. The first cloth applies cleaner and lifts grime; the second cloth dries and polishes.
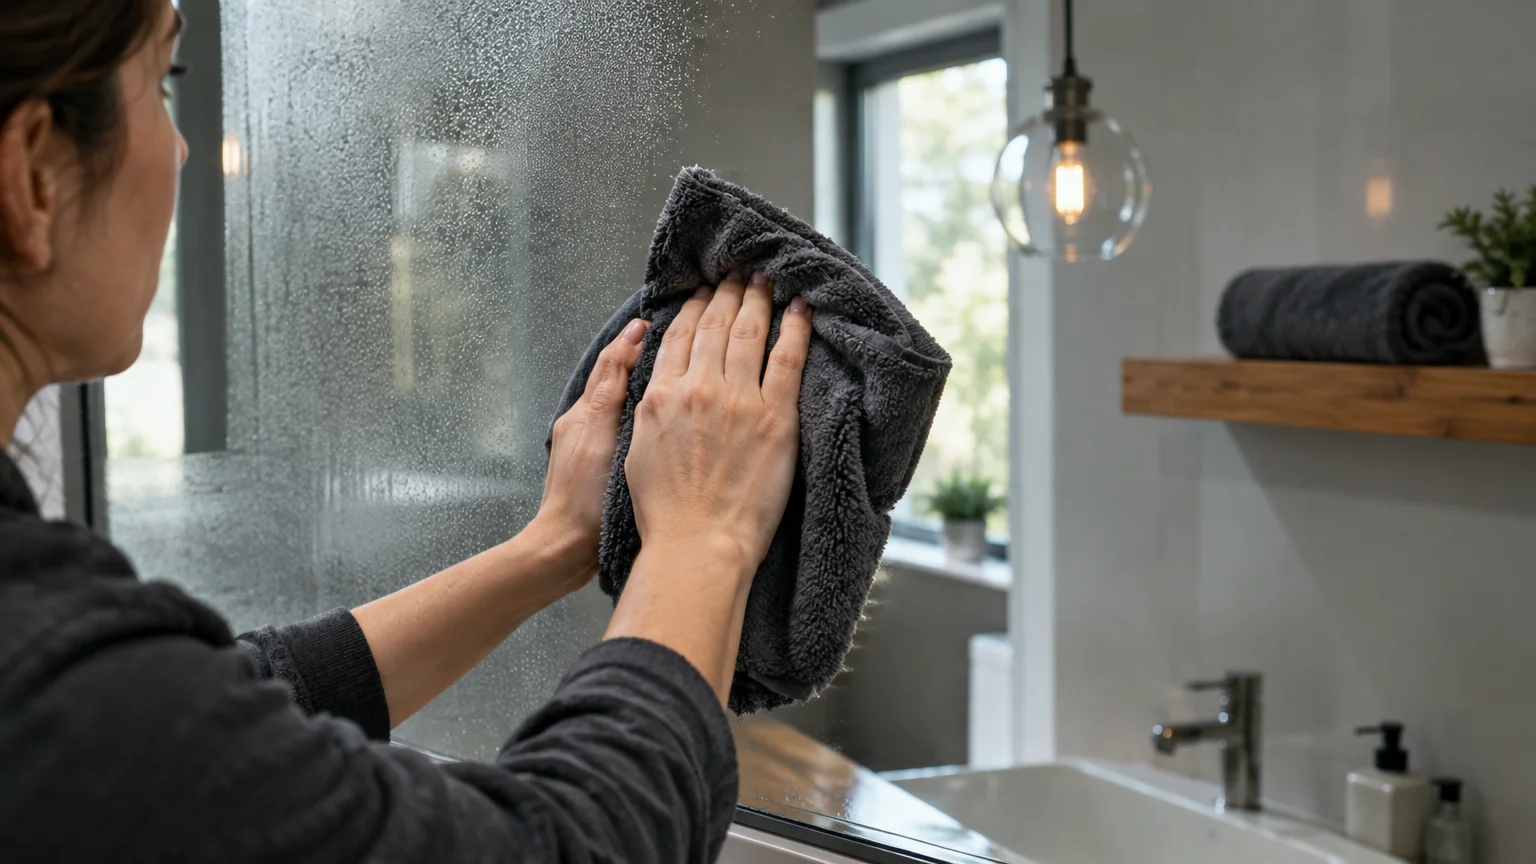
Immediately after your cleaning pass, grab a completely dry, clean microfiber cloth. Lightly buff the surface using firm, broad strokes to capture any remaining droplets before they evaporate.
Dry buffing removes microscopic moisture pockets and smooths the glass surface. This quick thirty-second extra step makes the difference between an acceptable mirror and an invisible pane.
Comparing Mirror Cleaning Tools and Solutions
Understanding how common materials interact with glass helps you select the right supplies. Review this breakdown to identify which habits introduce streaks into your living spaces.
| Tool or Solution | Streak Risk | Primary Mechanism of Failure | Recommended Application |
|---|---|---|---|
| Paper Towels | High | Cellulose wood fibers detach under friction, leaving visible lint and dust blankets. | Avoid entirely on glass; use strictly for general kitchen spill cleanup. |
| Terrycloth Rags | High | Laundered cotton transfers fabric softener waxes and detergent residues to glass. | Reserve for dusting baseboards or scrubbing textured tile surfaces. |
| Dish Soap Solutions | Moderate to High | Concentrated surfactants require heavy rinsing and leave a dust-attracting film. | Limit to greasy kitchen cookware and dining dishes. |
| Ammonia Cleaners | Moderate | Harsh fumes and potential corrosive damage to mirror backing over time. | Use sparingly on exterior window panes that lack silver backing. |
| Flat-Weave Microfiber | Very Low | Split fibers collect microscopic particulate without shedding or scratching. | Primary wiping and dry buffing tool for all decorative and bathroom mirrors. |
| Distilled Alcohol Mix | Very Low | Evaporates rapidly without dissolved minerals or chemical residues. | The premier liquid solution for routine, streak-free mirror maintenance. |
How to Clean Mirrors with the Two-Cloth Technique
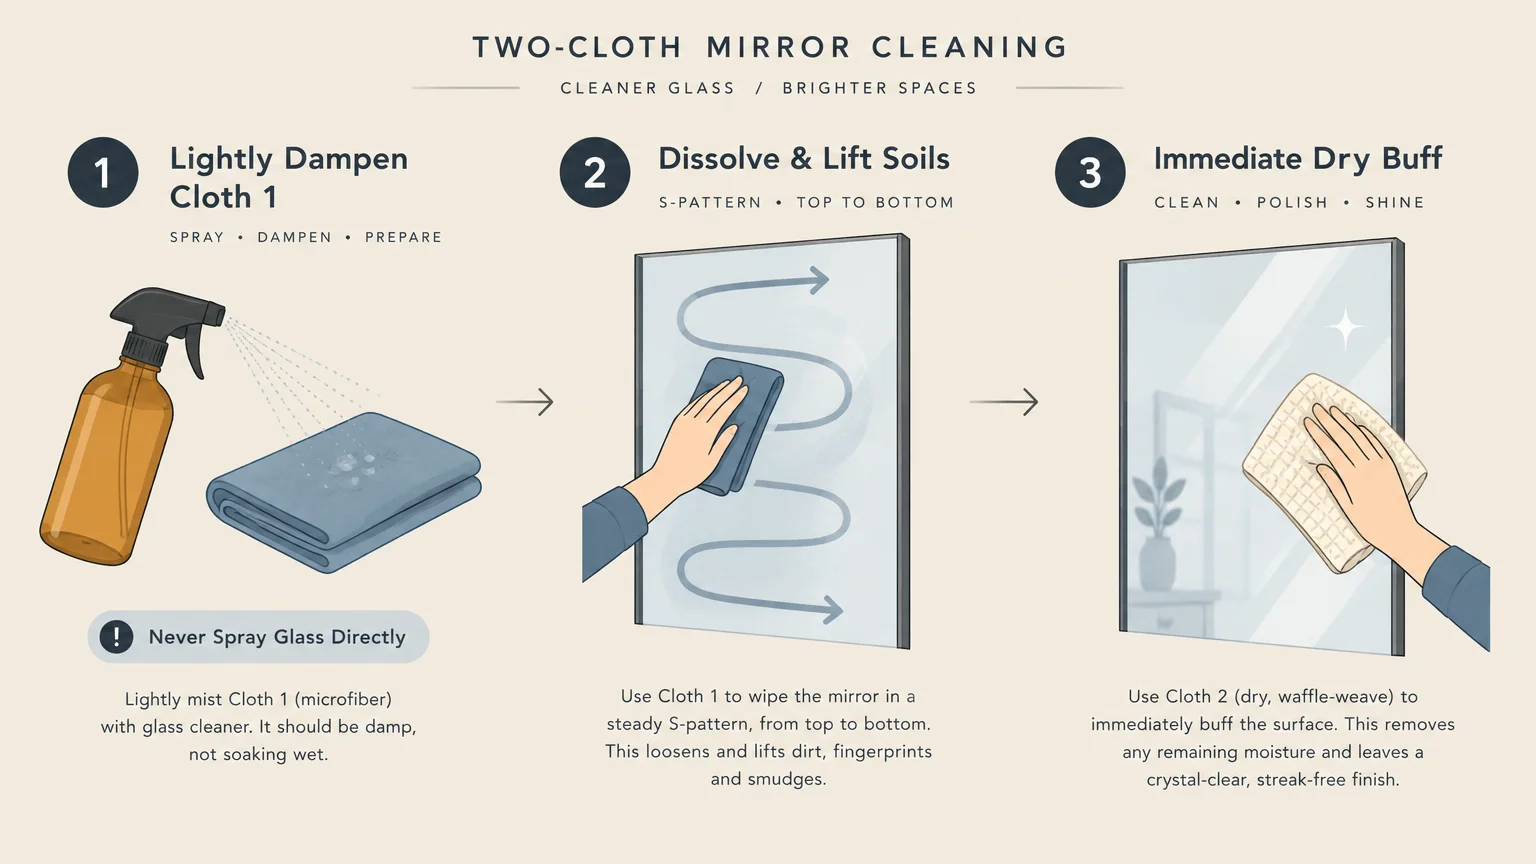
Executing a deliberate method ensures your mirrors remain spotless with minimal physical effort. Follow this step-by-step process to achieve flawless, streak free mirror cleaning on any glass surface.
- Isolate and dissolve localized grime: Inspect the mirror under directional light. Dab a cotton round soaked in 70% isopropyl alcohol directly onto dried toothpaste, hairspray lacquer, and cosmetics to dissolve them before wiping the whole surface.
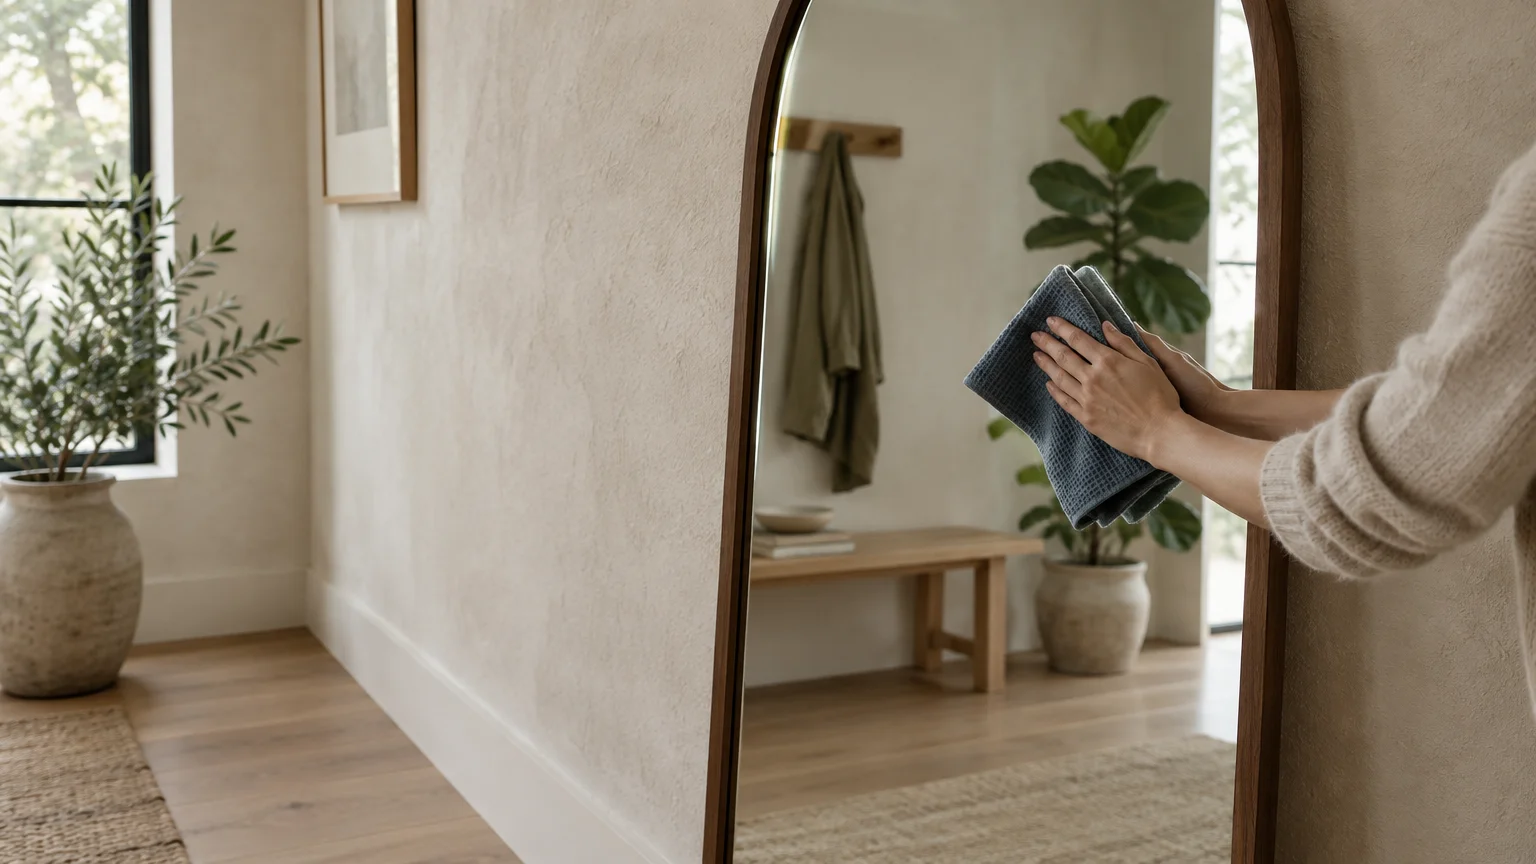
- Prepare your primary cleaning cloth: Fold a clean, flat-weave microfiber cloth into quarters. Lightly mist your cleaner onto one side of the cloth until damp rather than wet; keep the glass pane dry.
- Glide in an unbroken S-pattern: Place the damp cloth at the top left corner of the mirror. Pull it smoothly to the top right corner, then serpentine back down the mirror in a continuous S-shaped sweep toward the bottom.
- Wipe the perimeter frame: Flip your cloth to a fresh quarter. Run your hand around the outer perimeter of the mirror to catch any stray liquid lines that gathered near the frame edges.
- Buff the entire pane dry: Pick up a second, completely dry microfiber cloth immediately. Sweep across the surface using firm, broad strokes to lift residual moisture droplets before they air-dry into streaks.
How to Mix the Best Mirror Cleaner at Home
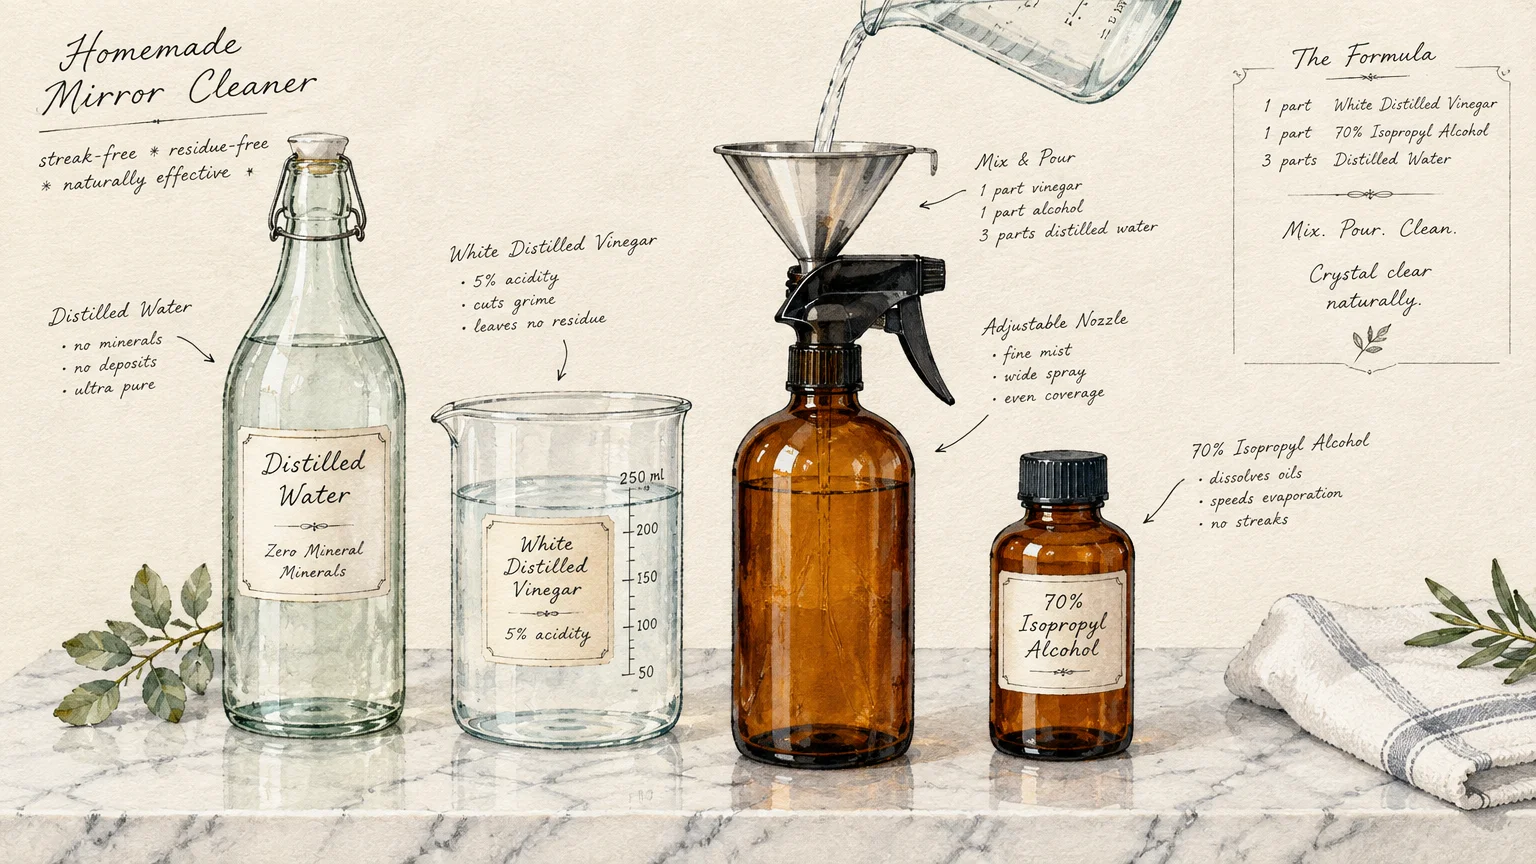
You do not need expensive commercial sprays to achieve a brilliant shine. In fact, many off-the-shelf cleaners contain unnecessary perfumes and colorants that contribute to surface cloudiness.
The secret to formulating the best mirror cleaner lies in your choice of water. Tap water contains dissolved minerals like calcium and magnesium that dry into visible spots.
According to mineral data from the U.S. Geological Survey, hard water leaves behind mineral deposits that bond tightly to glass. Using distilled water eliminates these dissolved solids completely.
Combine one cup of distilled water, one cup of 70% isopropyl alcohol, and one tablespoon of white distilled vinegar in a clean spray bottle. The alcohol accelerates evaporation, while the vinegar cuts through alkaline mineral residues.
Avoid using vinegar solutions if your mirror features an unsealed marble, travertine, or limestone frame. Acidic liquids can etch natural stone surfaces on contact, causing permanent dull patches.
For stone-framed mirrors, omit the vinegar entirely and use equal parts distilled water and isopropyl alcohol. This neutral mixture lifts fingerprints safely while evaporating in seconds.
Practical Cleaning Tips to Maintain Mirror Clarity
Maintaining pristine mirrors between deep cleanings requires very little time when you adopt proactive habits. A few minor adjustments prevent heavy residue from building up in high-traffic bathrooms.
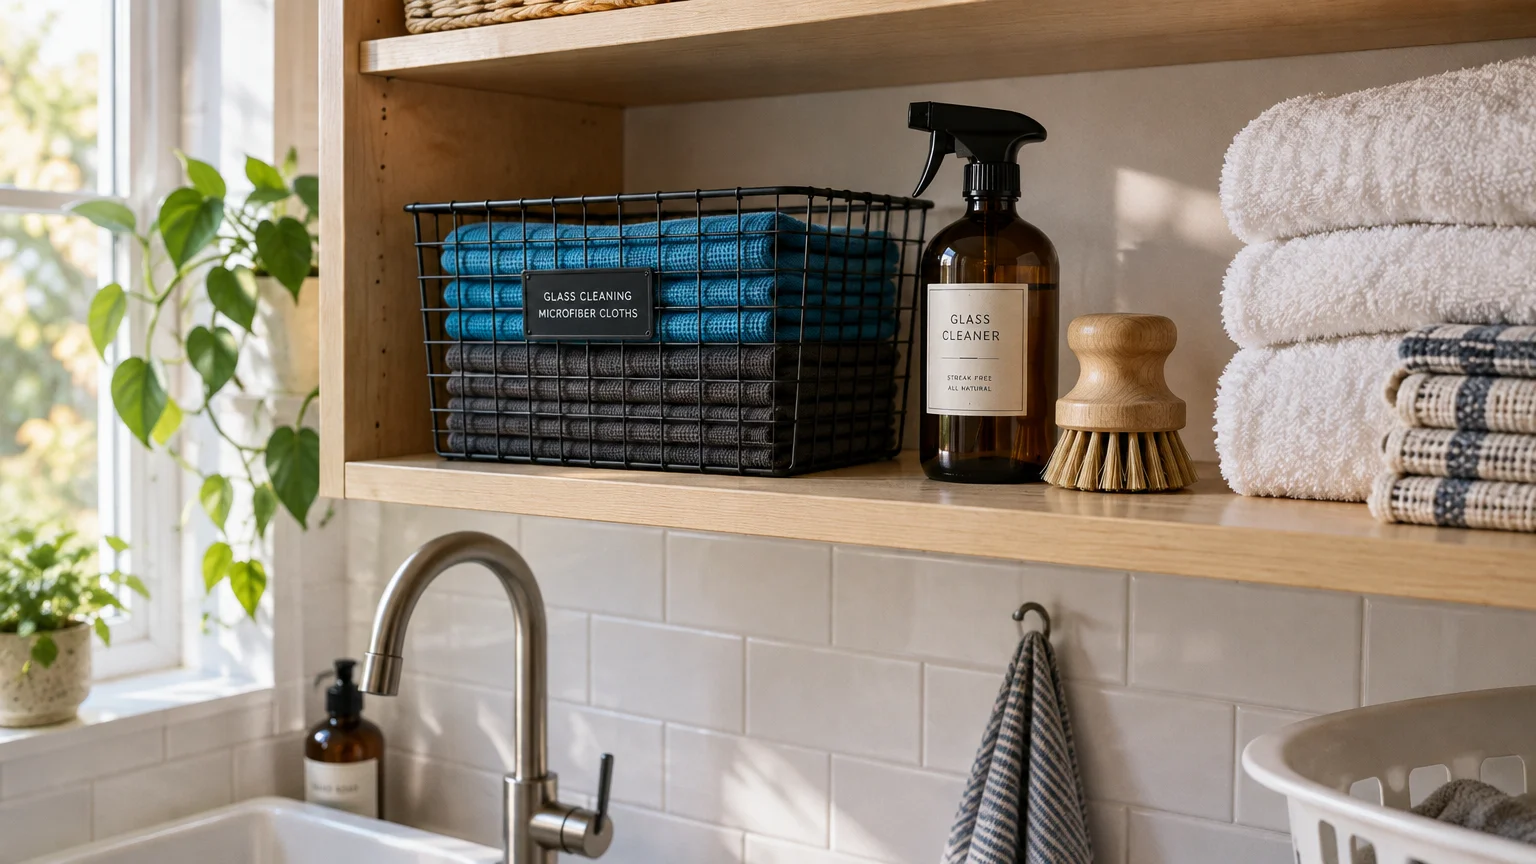
Keep a dedicated glass microfiber cloth tucked inside your bathroom vanity drawer. Giving the mirror a five-second dry wipe after you wash your face prevents water droplets from drying into spots.
Shield the mirror with your free hand or step back when applying hairspray and aerosol deodorants. Blocking airborne mist at the source prevents stubborn polymer resins from settling on the glass.
Turn on your bathroom exhaust fan before running hot shower water, and let it run for fifteen minutes afterward. Ventilating humid air stops mineral-laden steam from condensing against cool mirror surfaces.
Your Next Step for Crystal-Clear Mirrors
Walk into your bathroom today and inspect your mirror from a side angle under good lighting. Identify whether your current smudges stem from lint fibers, dried droplet rings, or oily residue.
Grab two fresh microfiber cloths and a bottle of rubbing alcohol to reset the glass. Once you strip away old cleaning films, keeping your mirrors flawless takes less than two minutes a week.