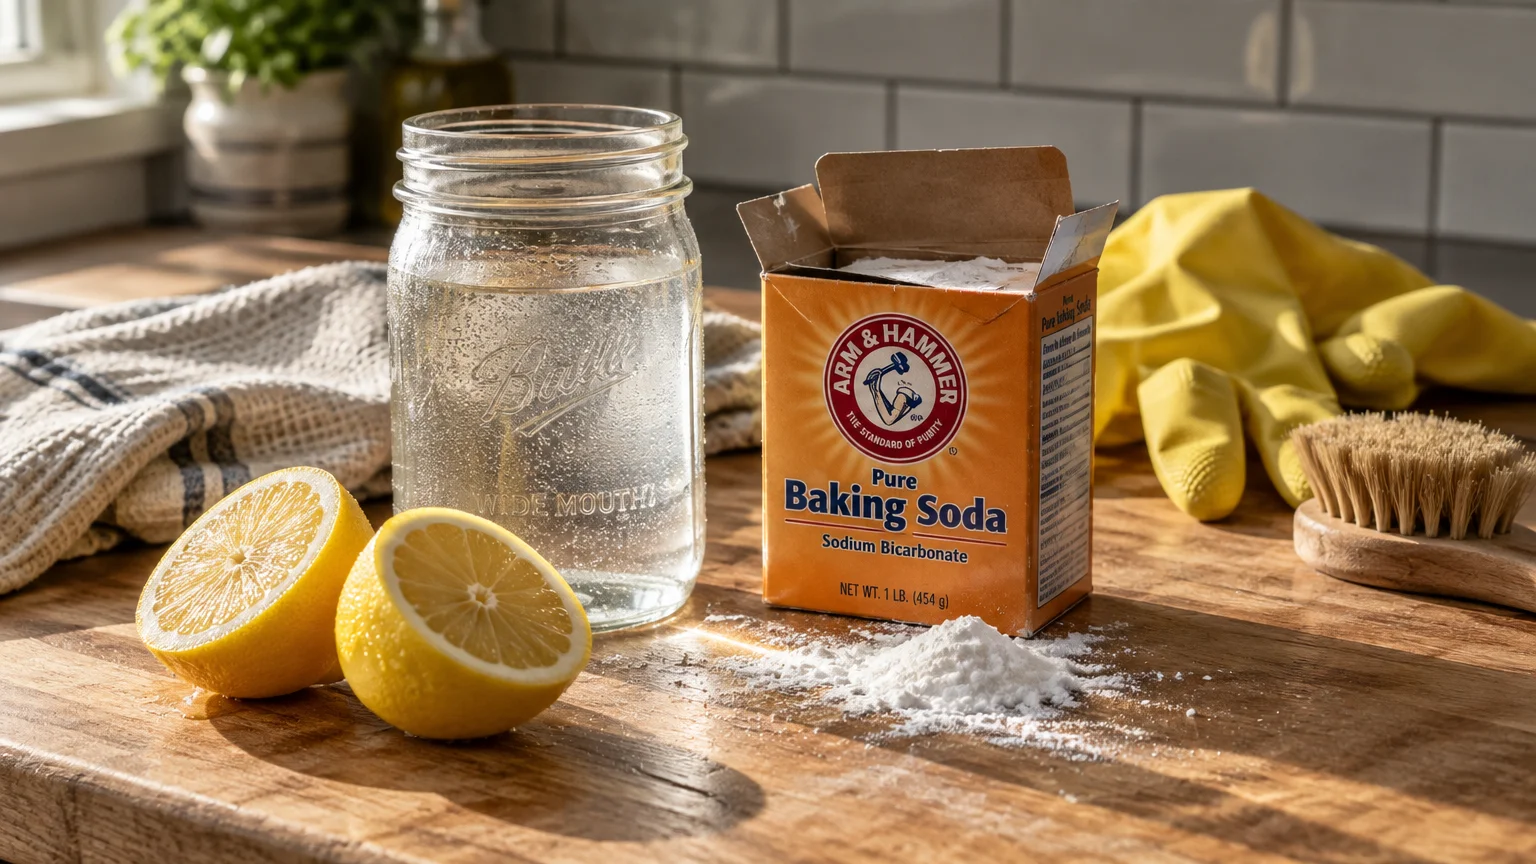
You can eliminate stubborn grime, greasy residue, and mineral stains without spending money on specialty commercial cleaners. Your kitchen pantry already holds powerful, versatile ingredients that clean your living spaces quickly and safely.
Everyday staples like distilled white vinegar, baking soda, and lemons tackle tough messes across every room. These natural cleaning hacks simplify your daily chores while protecting your household budget.
Put down the expensive chemical sprays and grab a few basic supplies from your cupboards. These six practical methods will streamline your routine and leave your home spotless today.
01 Steam-Clean Your Microwave with Lemon Slices and Water
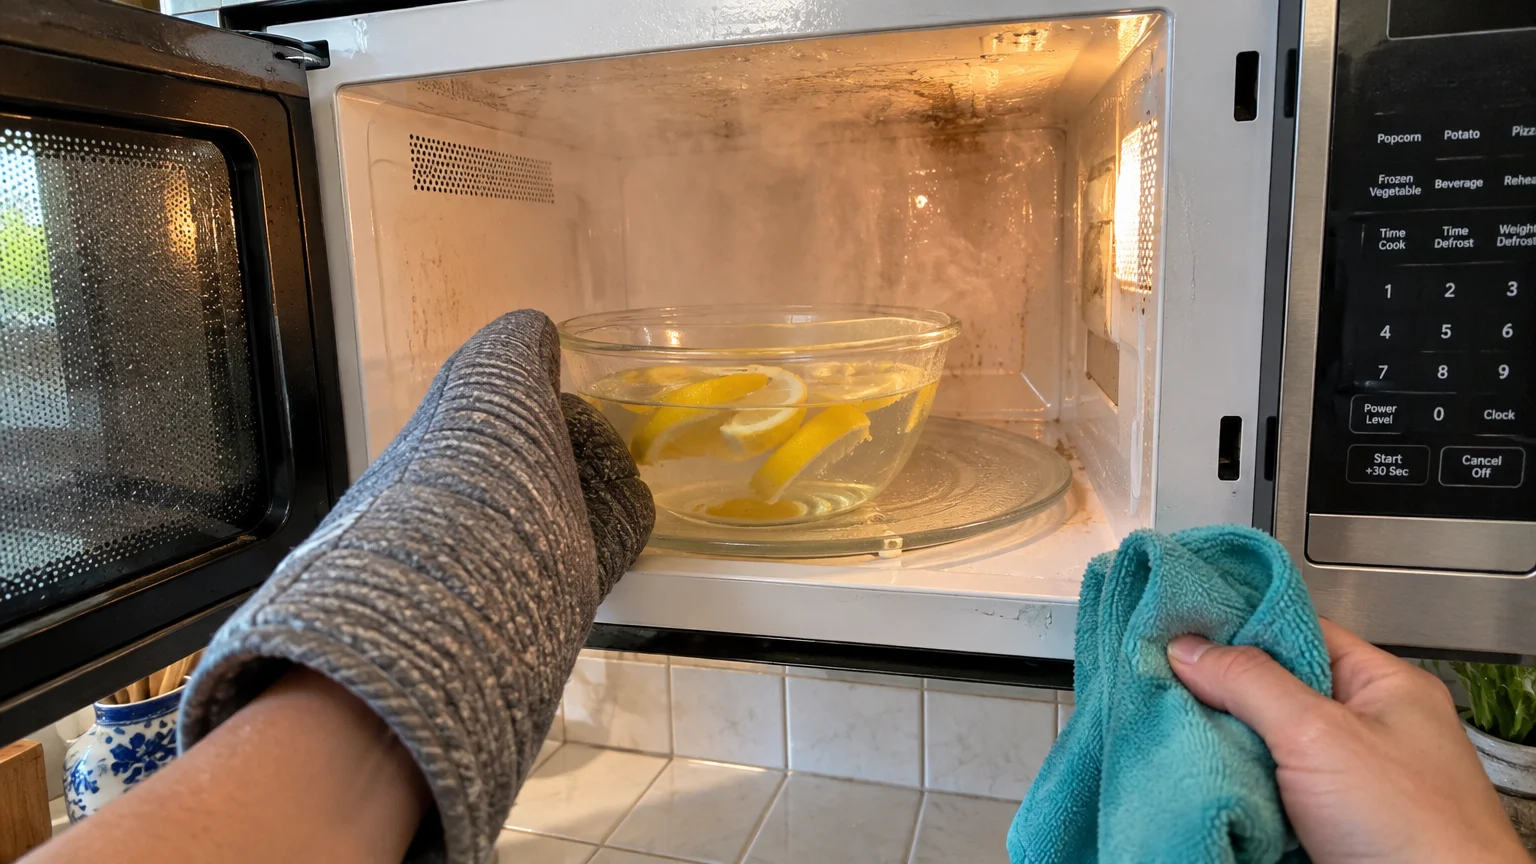
Baked-on sauce splatters inside a microwave usually require aggressive scrubbing with harsh chemicals. You can avoid that hard physical labor by using natural steam and citric acid instead.
Lemons contain high concentrations of citric acid, a natural solvent that dissolves organic grease. When water boils inside the appliance, the trapped moisture softens hardened food particles in minutes.
This technique stands out as one of the easiest budget cleaning tips for a busy kitchen. You only need a microwave-safe bowl, tap water, and a fresh lemon.
- Fill a ceramic or glass microwave-safe bowl with one cup of clean tap water.
- Slice one fresh lemon in half and squeeze the juice directly into the water.
- Drop the remaining lemon rinds directly into the bowl to release natural citrus oils.
- Microwave the mixture on high power for five consecutive minutes until the liquid boils vigorously.
- Leave the microwave door closed for an additional three minutes to trap the circulating steam.
- Open the door carefully, remove the hot bowl using oven mitts, and wipe the interior walls clean with a damp microfiber cloth.
The softened grease wipes away effortlessly with zero heavy pressure. The natural lemon oils also neutralize lingering odors from reheated fish or pungent leftovers.
If you lack fresh lemons, two tablespoons of distilled white vinegar produce the exact same degreasing result. The vinegar aroma dissipates completely once the microwave interior dries.
02 Dissolve Mineral Deposits on Fixtures with Distilled White Vinegar
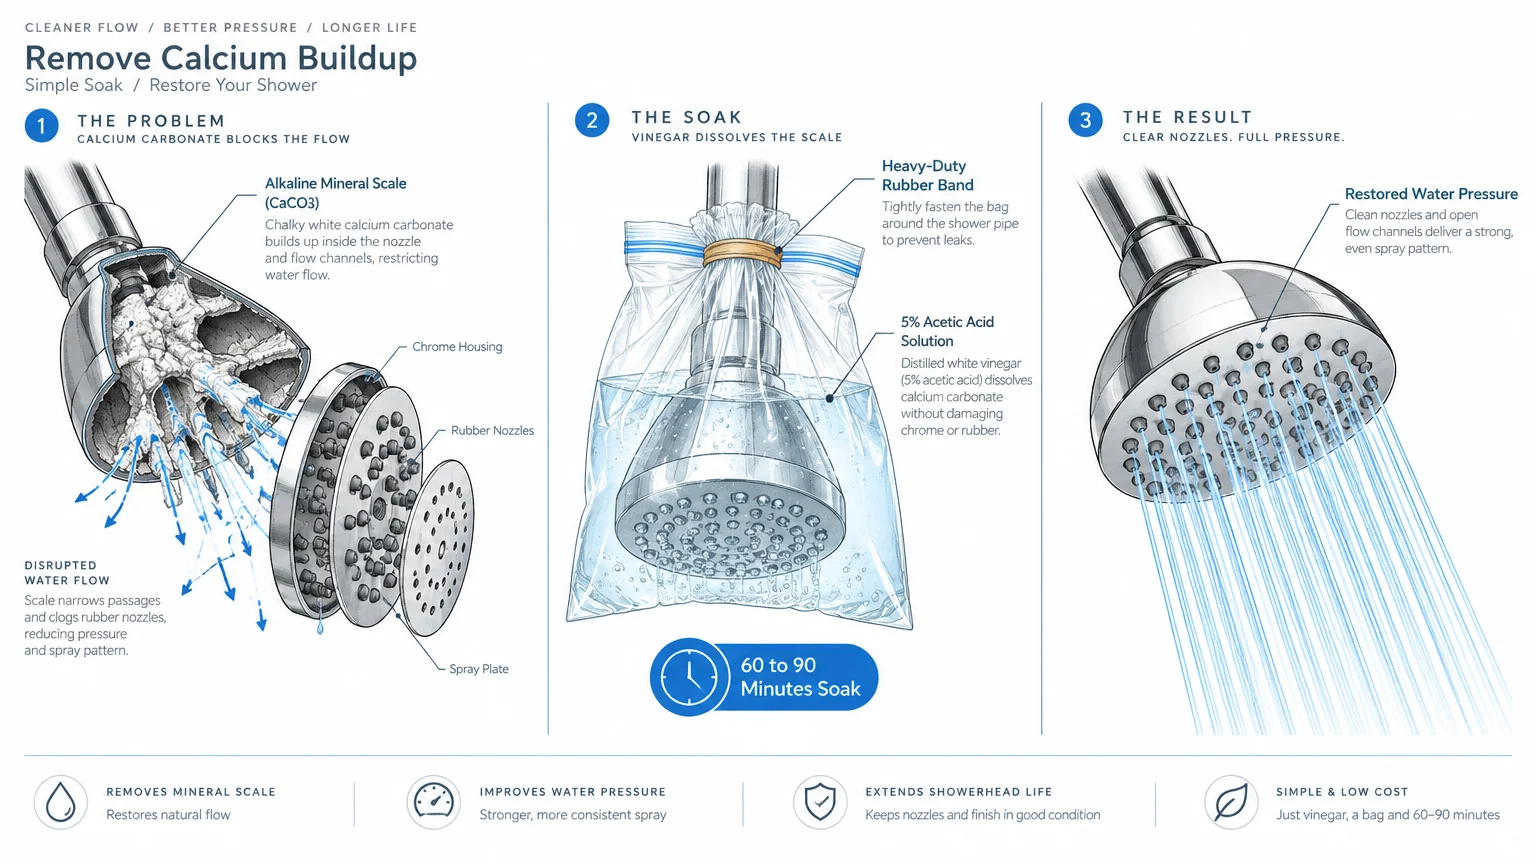
Hard tap water leaves stubborn white crusts known as calcium carbonate around bathroom faucets and showerhead nozzles. These chalky mineral deposits clog tiny spray jets and dramatically reduce your water pressure.
Standard household cleaners rarely dissolve these alkaline mineral bonds. Distilled white vinegar contains roughly five percent acetic acid, which actively breaks down mineral scale on contact.
According to the Clemson University Cooperative Extension, mild acetic acid solutions dissolve stubborn alkaline mineral scale without damaging chrome plating. You do not need to unscrew or dismantle your plumbing fixtures to perform this repair.
- Inspect your showerhead nozzles to locate the heaviest mineral crusting and clogs.
- Pour one cup of distilled white vinegar into a sturdy, leak-proof gallon plastic sandwich bag.
- Submerge the showerhead completely into the vinegar solution inside the plastic bag.
- Secure the top of the bag tightly around the showerhead pipe using a thick rubber band or zip tie.
- Allow the fixture to soak undisturbed for sixty to ninety minutes.
- Remove the bag, discard the liquid, and scrub the rubber nozzles lightly with an old toothbrush.
- Run hot water through the showerhead for sixty seconds to flush out loosened internal grit.
This hands-off treatment restores full water pressure without demanding any manual scraping. It works equally well for aerator caps on your kitchen and bathroom sink faucets.
Avoid using vinegar on gold-plated, brass, or nickel fixtures with damaged clear-coat finishes. The acid can cause surface discoloration if left unattended on sensitive metal alloys.
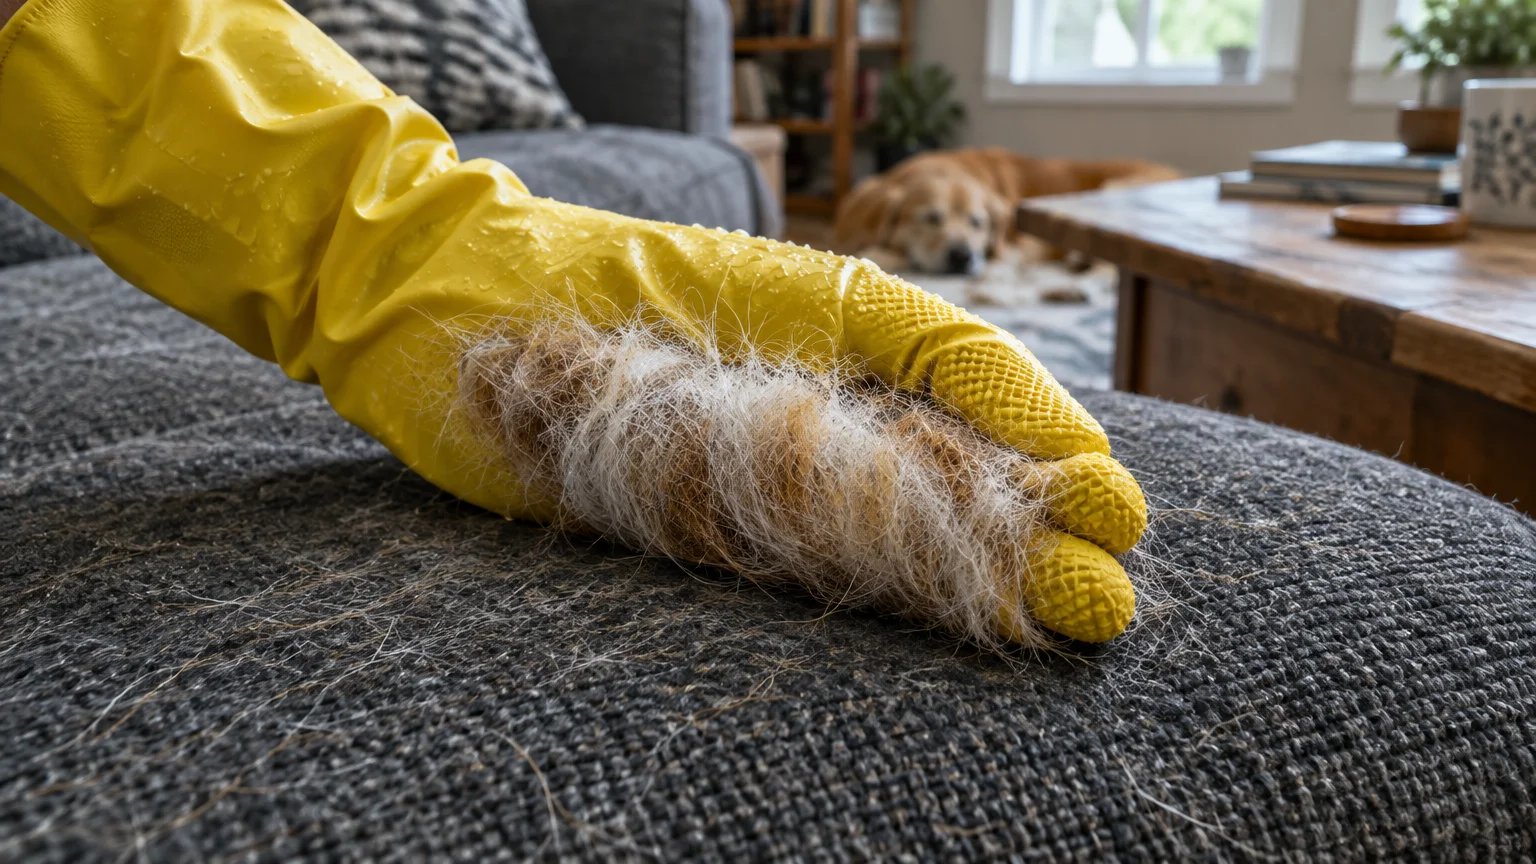
03 Lift Embedded Pet Hair with a Damp Rubber Dishwashing Glove
Standard vacuum attachments often slide right over pet hair trapped in woven fabric fibers. Cat and dog fur develops a weak electrostatic bond that anchors individual strands deep into furniture cushions.
An ordinary rubber dishwashing glove removes this hair faster than disposable sticky rollers. Rubber creates immediate mechanical traction against upholstery fabrics when you brush across the surface.
This is one of the most cost-effective household cleaning hacks for pet owners who want cleaner living spaces. You eliminate the recurring cost of purchasing adhesive lint roller refills.
- Slip a clean, textured rubber dishwashing glove onto your dominant hand.
- Dampen the palm of the glove lightly with tap water; shake off any excess drops.
- Sweep your flat palm firmly across the fabric in one consistent, downward direction.
- Watch the rubber grip the stubborn fur and roll it into neat, condensed ribbons.
- Peel the collected fur balls off the fabric and toss them straight into the trash can.
- Rinse the glove under running water when finished to remove fine dander and dust.
The light moisture combined with textured rubber generates high surface friction. This combination pulls hair out of tightly woven sofas, fabric headboards, and carpeted stair treads.
Work in small sections to keep the fabric neat and smooth. For velvet or delicate microfiber, test a hidden corner first to verify that the friction does not distort the delicate nap.
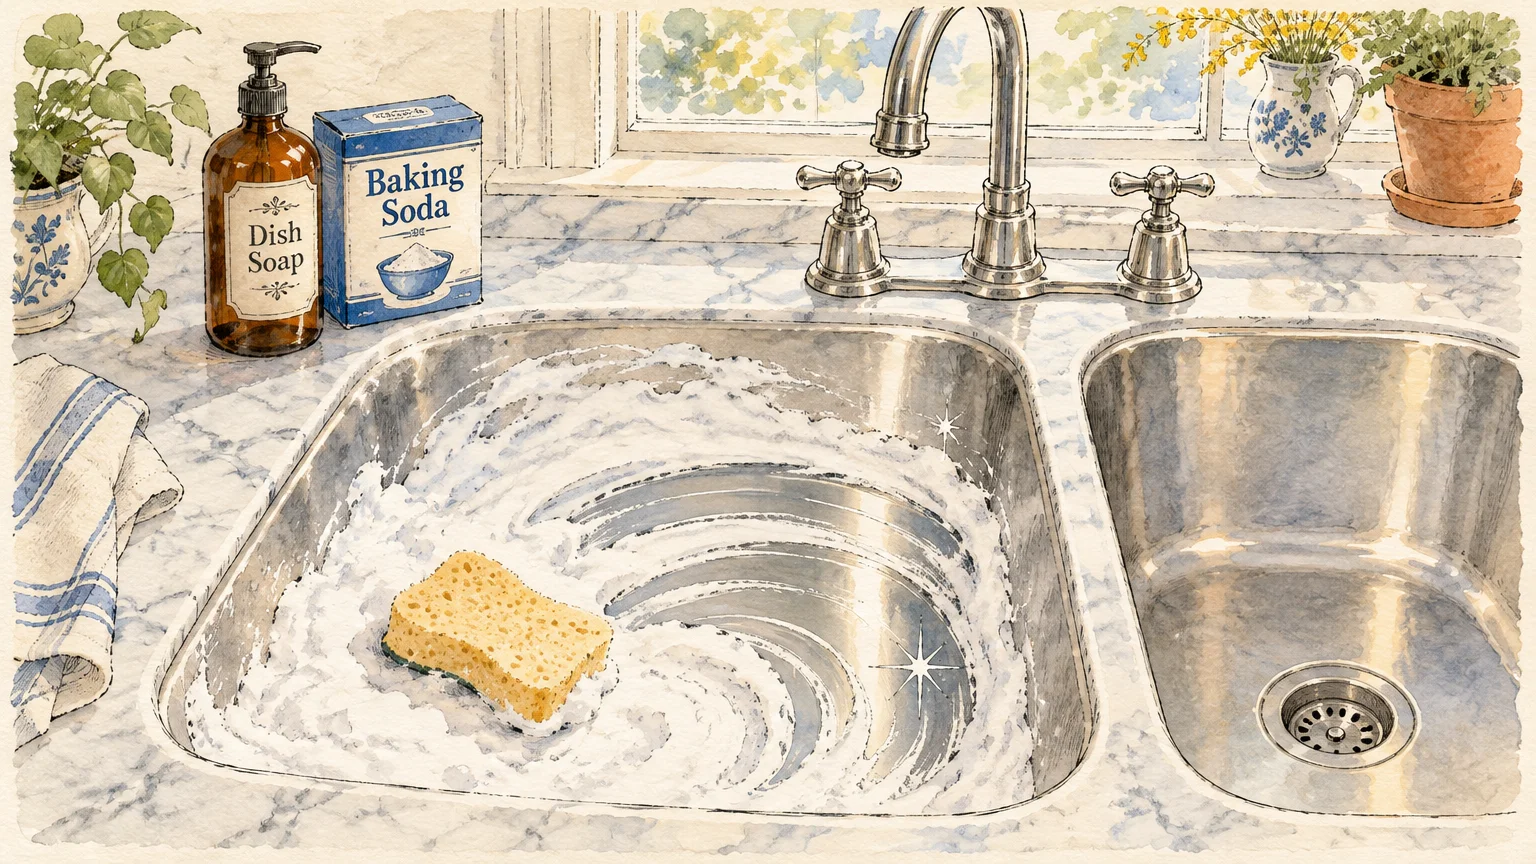
04 Scour and Brighten Sinks with Baking Soda and Dish Soap
Kitchen sinks collect a murky blend of cooking grease, coffee stains, and soap scum. Harsh abrasive scouring powders can scratch delicate sink surfaces and leave permanent cloudy swirls.
Baking soda, known scientifically as sodium bicarbonate, provides the perfect mechanical balance for deep scrubbing. It registers a gentle 2.5 on the Mohs mineral hardness scale, meaning it will never scratch stainless steel or porcelain.
The U.S. Environmental Protection Agency highlights sodium bicarbonate as an effective, safer cleaning alternative to harsh industrial scouring powders. Paired with a concentrated liquid dish soap, it forms an unbeatable degreasing paste.
- Rinse your sink basin with warm water to leave the entire surface slightly damp.
- Dust a generous, even coating of dry baking soda across the bottom and sides of the basin.
- Squirt three to four drops of standard liquid dish soap directly onto a damp sponge.
- Scrub the basin in small circular motions, working systematically from top rim to bottom drain.
- Pay close attention to the greasy perimeter around the drain collar and faucet base.
- Rinse the sink thoroughly with scalding water until all powdery residue vanishes completely.
- Buff the dry stainless steel with a clean microfiber cloth to produce a radiant, streak-free shine.
Baking soda acts as a mild alkaline buffer that neutralizes acidic odors lingering in your drain. Dish soap breaks the surface tension of oily grease films, carrying them safely down the pipes.
This paste cleans porcelain tubs and ceramic tile backsplashes with the same gentle efficiency. It delivers a showroom finish without releasing irritating chemical fumes into your home.
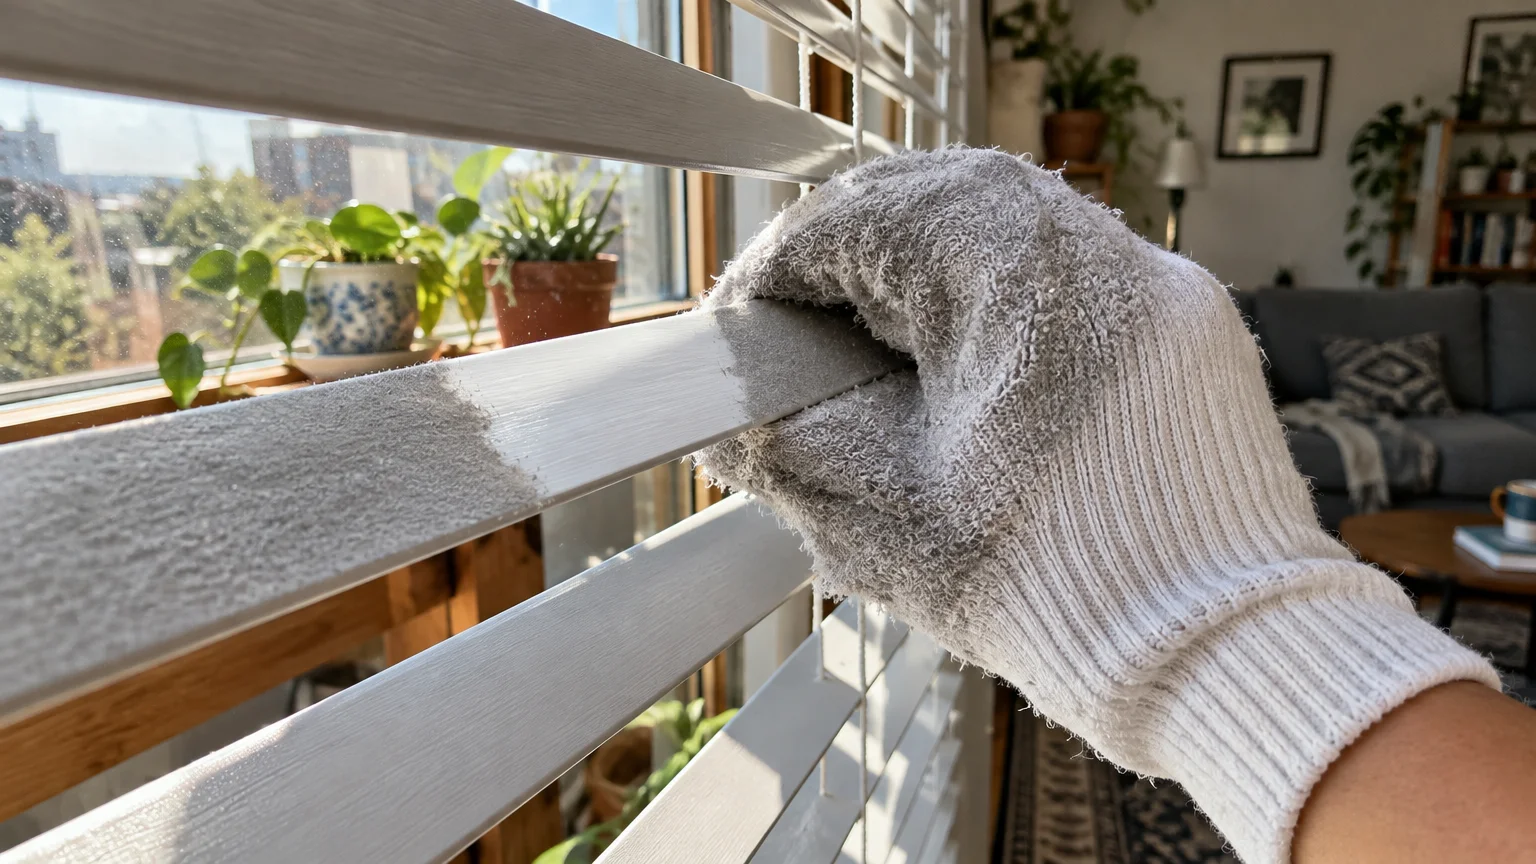
05 Dust Slatted Blinds and Baseboards with an Old Cotton Sock
Traditional feather dusters do not clean surfaces; they merely fling settled dust particles into the air. Those airborne allergens eventually settle right back onto your tables, floors, and furniture.
A worn-out cotton crew sock slipped over your hand acts as a precision dust magnet. Cotton fibers naturally grab and hold dry particles instead of scattering them across the room.
You can also slide an old sock over kitchen tongs to pinch both sides of horizontal window blinds simultaneously. This simple DIY cleaning tip cuts your window-cleaning time completely in half.
- Select an old, clean cotton athletic sock that has lost its mate.
- Slip the sock directly over your hand like a mitten, keeping the looped terrycloth side facing out.
- Mist the palm lightly with plain tap water or a drop of vegetable-based castile soap.
- Grip individual blind slats between your thumb and fingers, sliding your hand from left to right.
- Rotate the sock around your hand periodically to expose fresh, clean fabric surfaces as dust accumulates.
- Walk the perimeter of the room, running your sock-covered hand directly along the tops of baseboards.
- Toss the dusty sock straight into your laundry machine for a hot wash cycle when finished.
Wiping baseboards with a slightly damp cotton fiber traps fine pet dander and pollen instantly. You achieve a deeper clean without spending cash on single-use disposable dusting sheets.
For high ceiling fan blades, slide an old cotton pillowcase over each blade one by one. Pulling the fabric back traps all the accumulated dust bunnies inside the case rather than dropping them onto your floor.
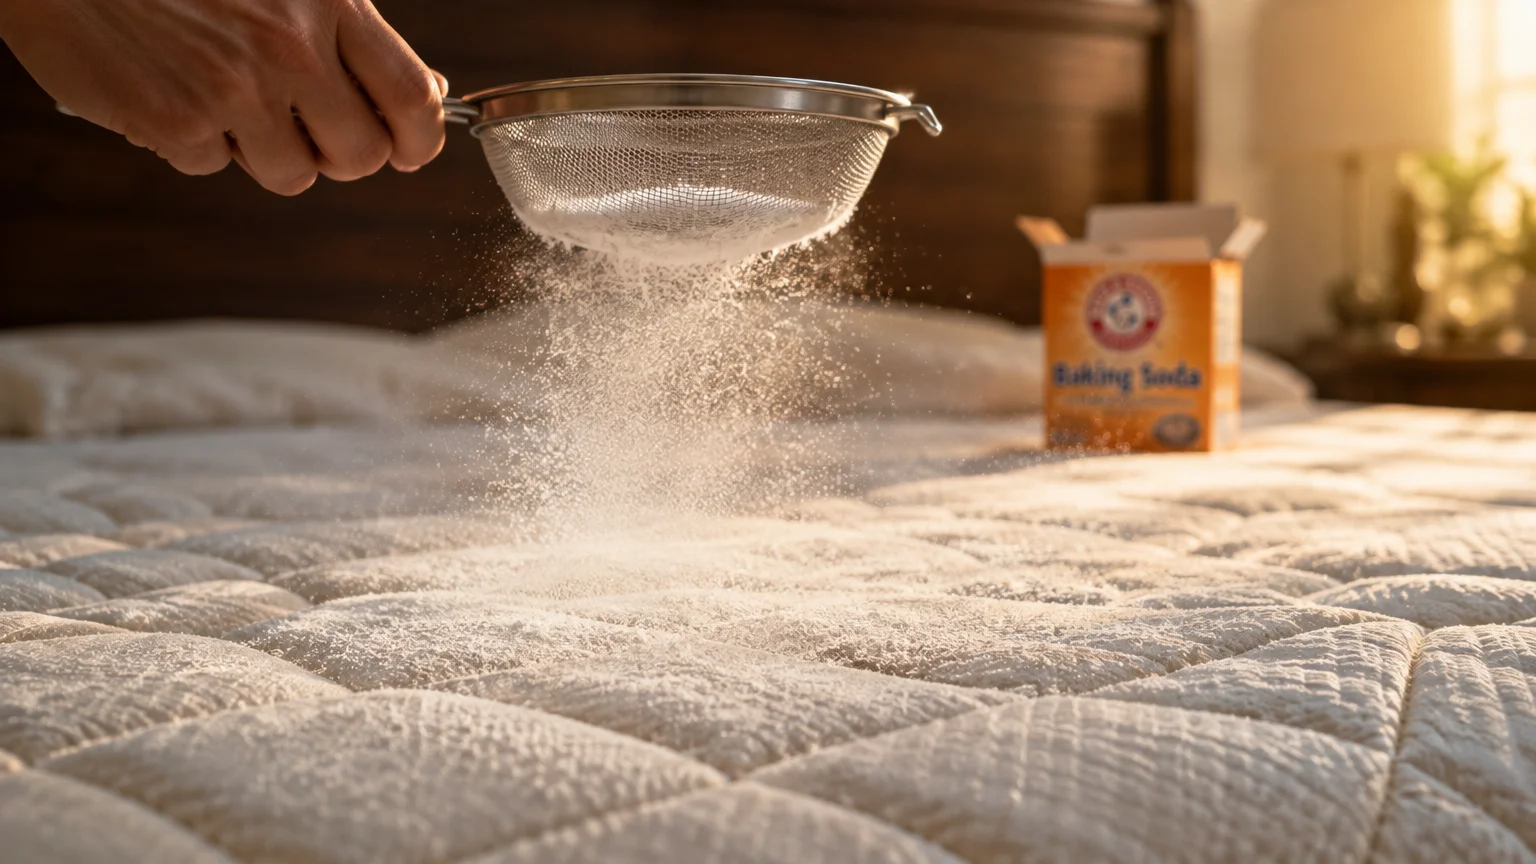
06 Deodorize Mattresses and Carpets with Baking Soda and a Mesh Sieve
Mattresses and living room area rugs trap body oils, dead skin cells, and stale ambient humidity over time. While you cannot run a mattress through the washing machine, you can still refresh it thoroughly.
Dry baking soda pulls trapped moisture and volatile organic compounds directly out of porous fabrics through adsorption. It changes the pH balance of odors, neutralizing them rather than masking them with artificial perfumes.
Using a standard kitchen flour sieve distributes the powder evenly without dumping wasteful clumps in single spots. This approach ensures maximum surface contact across the entire textile weave.
- Strip all sheets, blankets, and mattress pads off the bed, placing them directly into the laundry.
- Pour one cup of plain baking soda into a standard fine-mesh kitchen flour sieve.
- Hold the sieve twelve inches above the mattress and shake it gently to apply a thin, snowy veil.
- Leave the powder undisturbed for at least forty-five to sixty minutes to absorb deep odors.
- Open a bedroom window if possible; circulating fresh air accelerates the natural deodorizing process.
- Vacuum the mattress thoroughly using a clean upholstery attachment, moving in slow, overlapping passes.
This dry technique freshens heavily used dog beds, living room rugs, and fabric car seats. It lifts stale odors without soaking the interior batting or risking mold growth.
If you have pets, avoid adding concentrated essential oils to the dry baking soda mixture. The ASPCA Animal Poison Control Center cautions that many common essential oils, including tea tree and citrus, can cause adverse neurological reactions in cats and dogs.
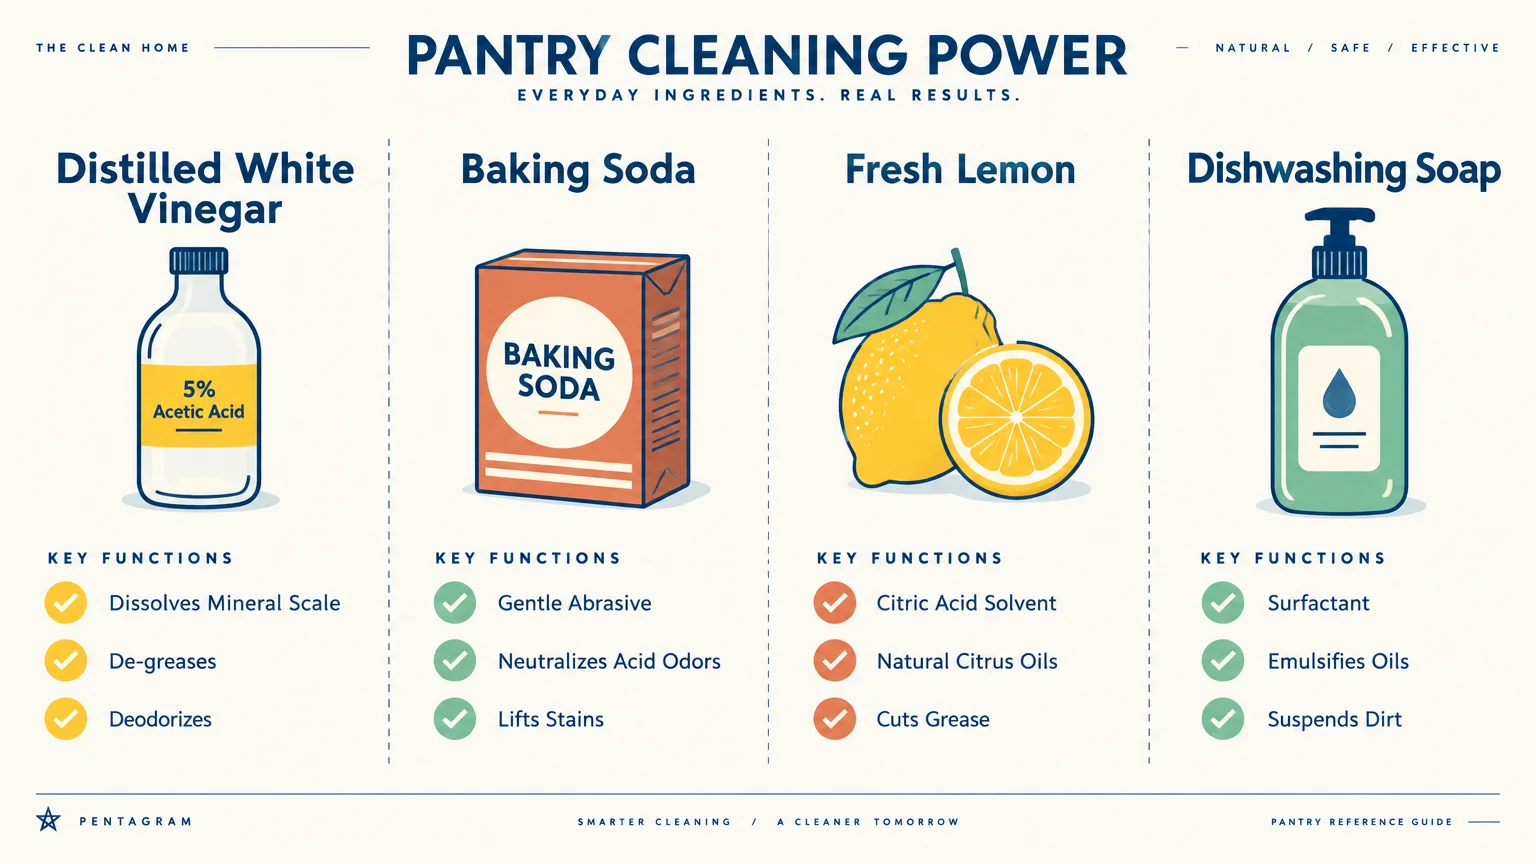
Household Pantry Cleaning Ingredients at a Glance
Cleaning with household items requires knowing which pantry staples match specific materials. The reference guide below details where each natural ingredient excels and where you must avoid using it.
| Pantry Staple | Primary Action | Ideal Surfaces | Surfaces to Avoid |
|---|---|---|---|
| Distilled White Vinegar | Acidic descaler; dissolves hard water scale and soap scum. | Glass, chrome fixtures, ceramic tile, showerheads, plastic bins. | Natural marble, granite, unsealed hardwood, cast iron pans. |
| Baking Soda | Mild alkaline abrasive; neutralizes acidic odors and lifts grease. | Stainless steel sinks, porcelain bathtubs, ovens, mattresses, carpets. | Raw aluminum cookware, antique silver, unsealed stone surfaces. |
| Fresh Lemons | Citric acid solvent; cuts through organic fat and lightens stains. | Microwaves, wooden cutting boards, copper pots, garbage disposals. | Polished limestone, engineered quartz countertops, colored silks. |
| Rubber Gloves | Mechanical static friction; gathers trapped animal fur and lint. | Upholstered couches, car seats, fabric headboards, carpeted stairs. | Wet fabrics, delicate open-weave lace, unstitched embroidery. |
| Cotton Socks | Static dust collector; traps fine dander without scratching. | Horizontal window blinds, painted baseboards, ceiling fan blades. | Hot light fixtures, wet electronics, computer monitor displays. |
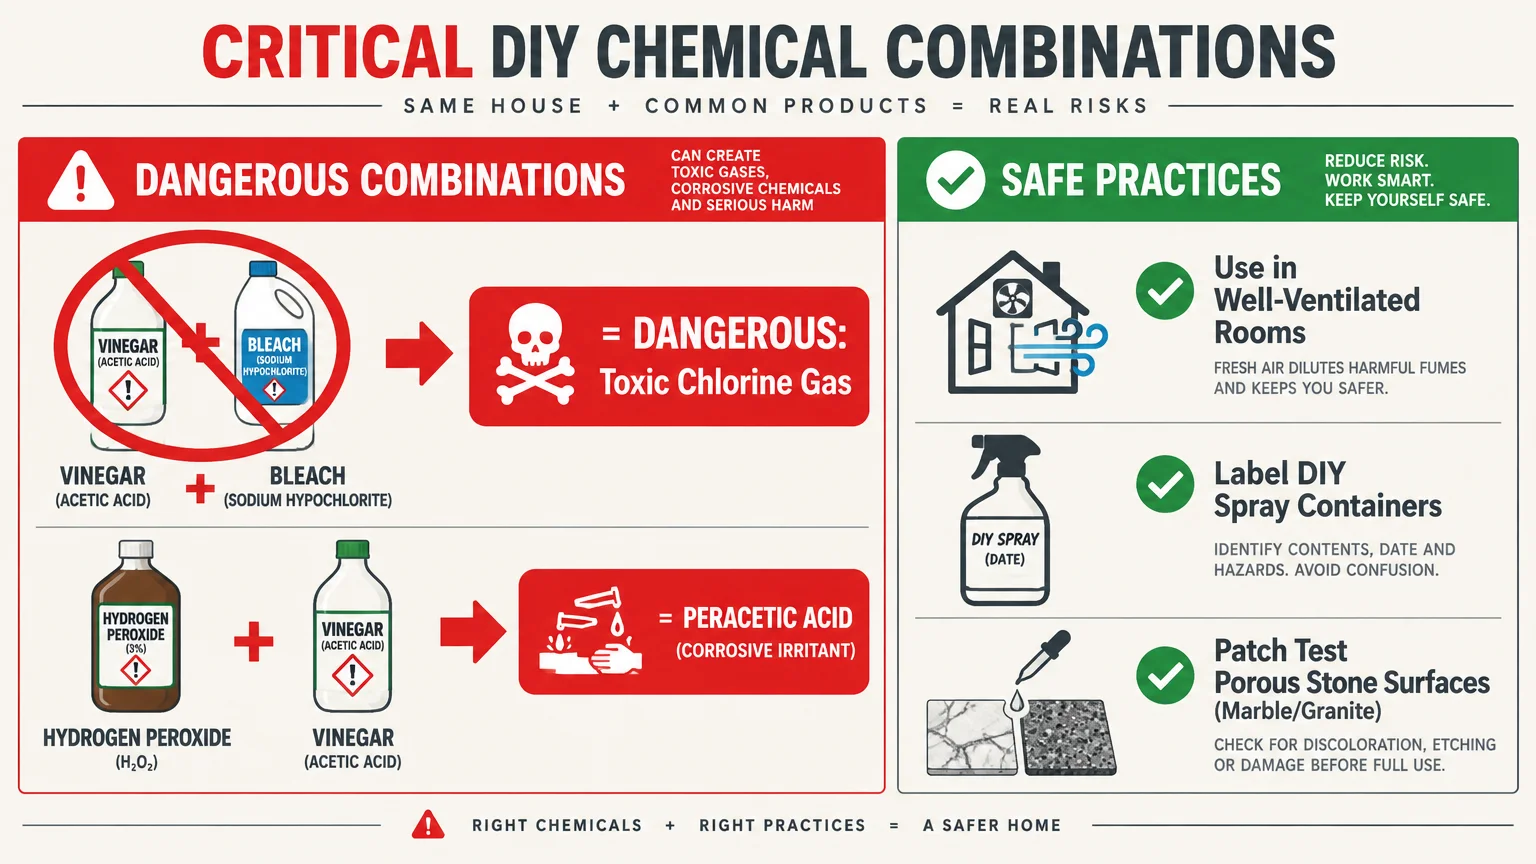
Essential Safety Rules for DIY Cleaning Solutions
Natural cleaning ingredients are remarkably safe when used alone, but mixing them haphazardly can produce hazardous chemical reactions. You must understand basic household chemistry before blending pantry supplies.
Many homeowners believe combining vinegar and baking soda creates a miraculous cleaner due to the vigorous bubbling. In reality, that fizzing reaction produces carbon dioxide gas, water, and sodium acetate—neutralizing the cleaning power of both ingredients.
Use baking soda first to scrub away physical grime, rinse the surface, and follow with vinegar if you need to dissolve mineral scale. Applying them sequentially preserves the distinct chemical properties of each substance.
Never mix distilled white vinegar or any acidic agent with chlorine bleach. The Centers for Disease Control and Prevention warns that combining acid with bleach produces dangerous chlorine gas, which causes immediate respiratory damage.
You must also avoid mixing hydrogen peroxide with white vinegar in the same spray container. This specific combination creates peracetic acid, a corrosive chemical that irritates your eyes, skin, and respiratory tract.
Always label your homemade cleaning spray bottles clearly with permanent marker. Store your household solutions in cool, secure cabinets well out of reach of young children and curious household pets.
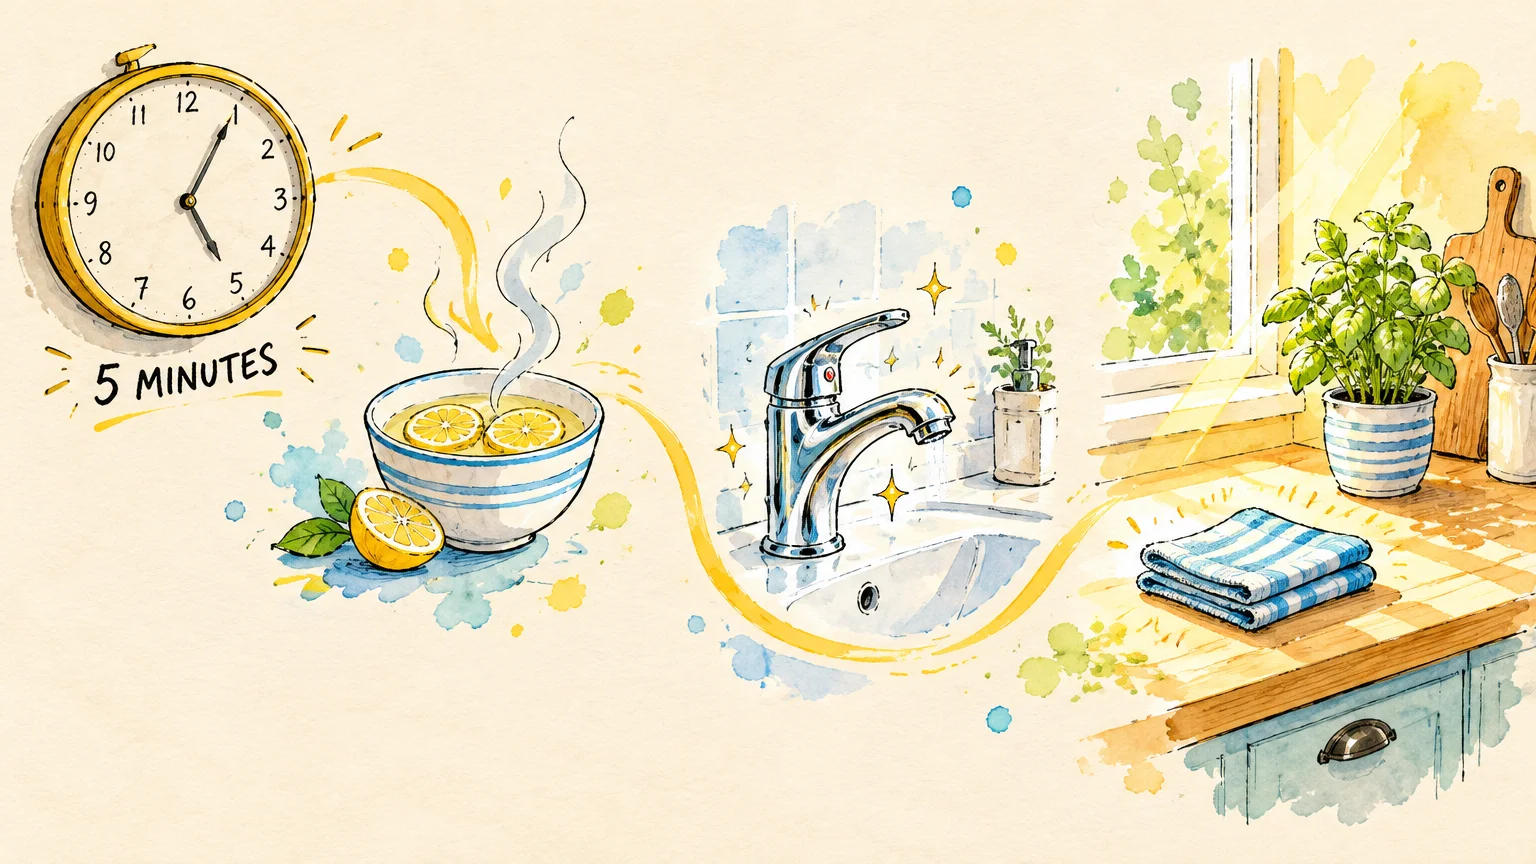
Take Your First Five-Minute Cleaning Step
You do not need an entire afternoon or an expensive shopping trip to make a noticeable difference in your living environment. Simplifying your home routines begins by mastering one small, manageable task at a time.
Walk into your kitchen right now, grab a single lemon or a splash of white vinegar, and steam-clean your microwave. In less than ten minutes, you will enjoy a fresh, gleaming appliance using simple supplies you already keep on hand.