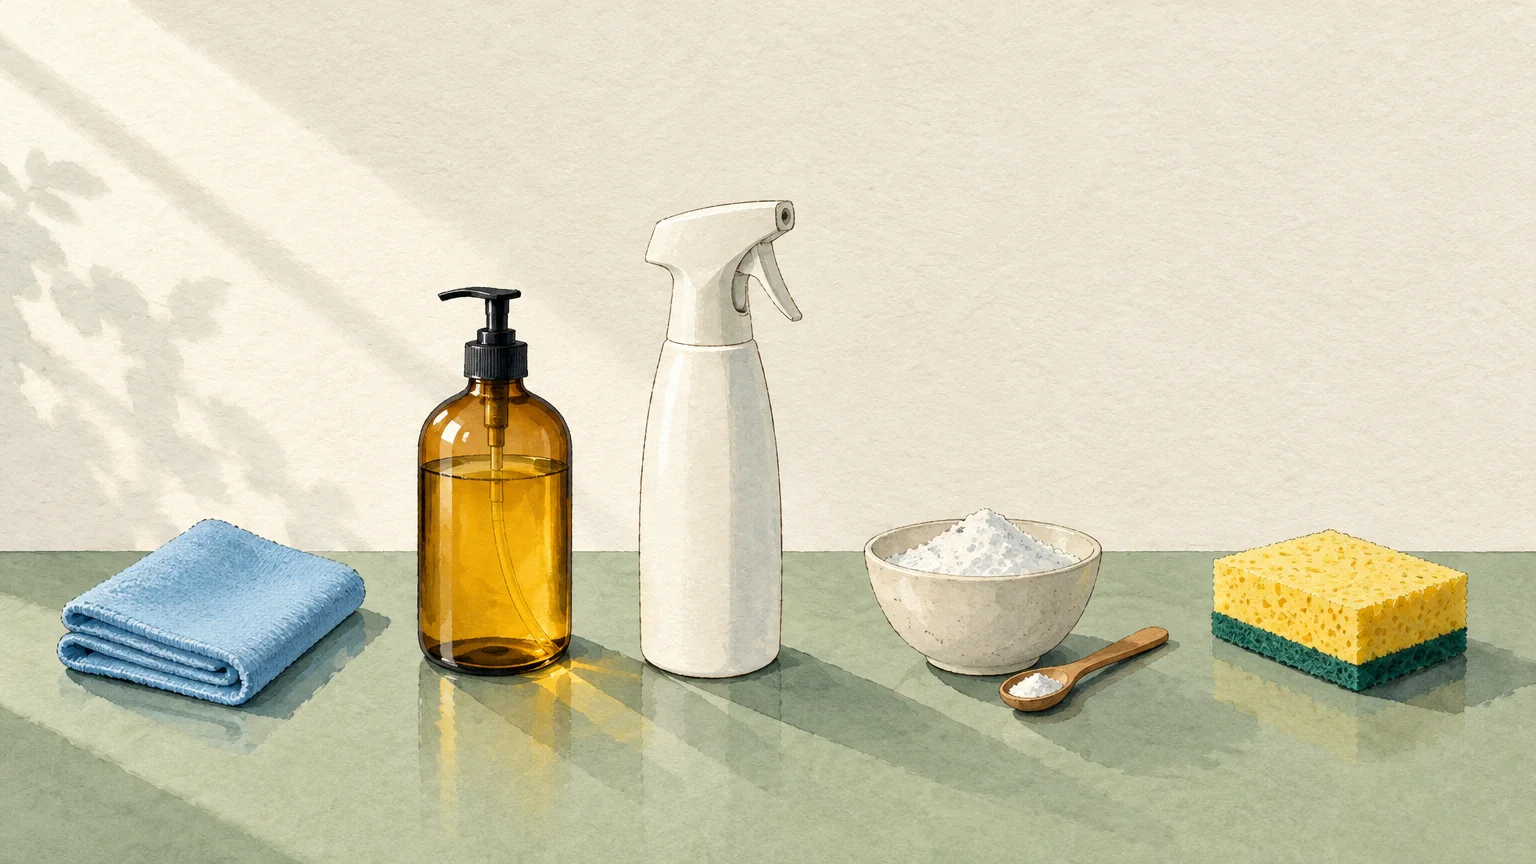
You can achieve a sparkling kitchen without crowding your cabinets with dozens of specialty bottles. A curated set of five versatile essentials handles grease, grime, and daily spills faster while saving valuable storage space.
Streamlining your supplies cuts down decision fatigue and protects delicate countertops from damaging chemical reactions. When you pair the right tools with smart techniques, daily kitchen upkeep feels virtually effortless.
Investing in these core items ensures every surface—from greasy stovetops to cloudy stainless steel—shines brightly every single day.
Why Fewer Kitchen Cleaning Essentials Outperform a Crowded Cabinet
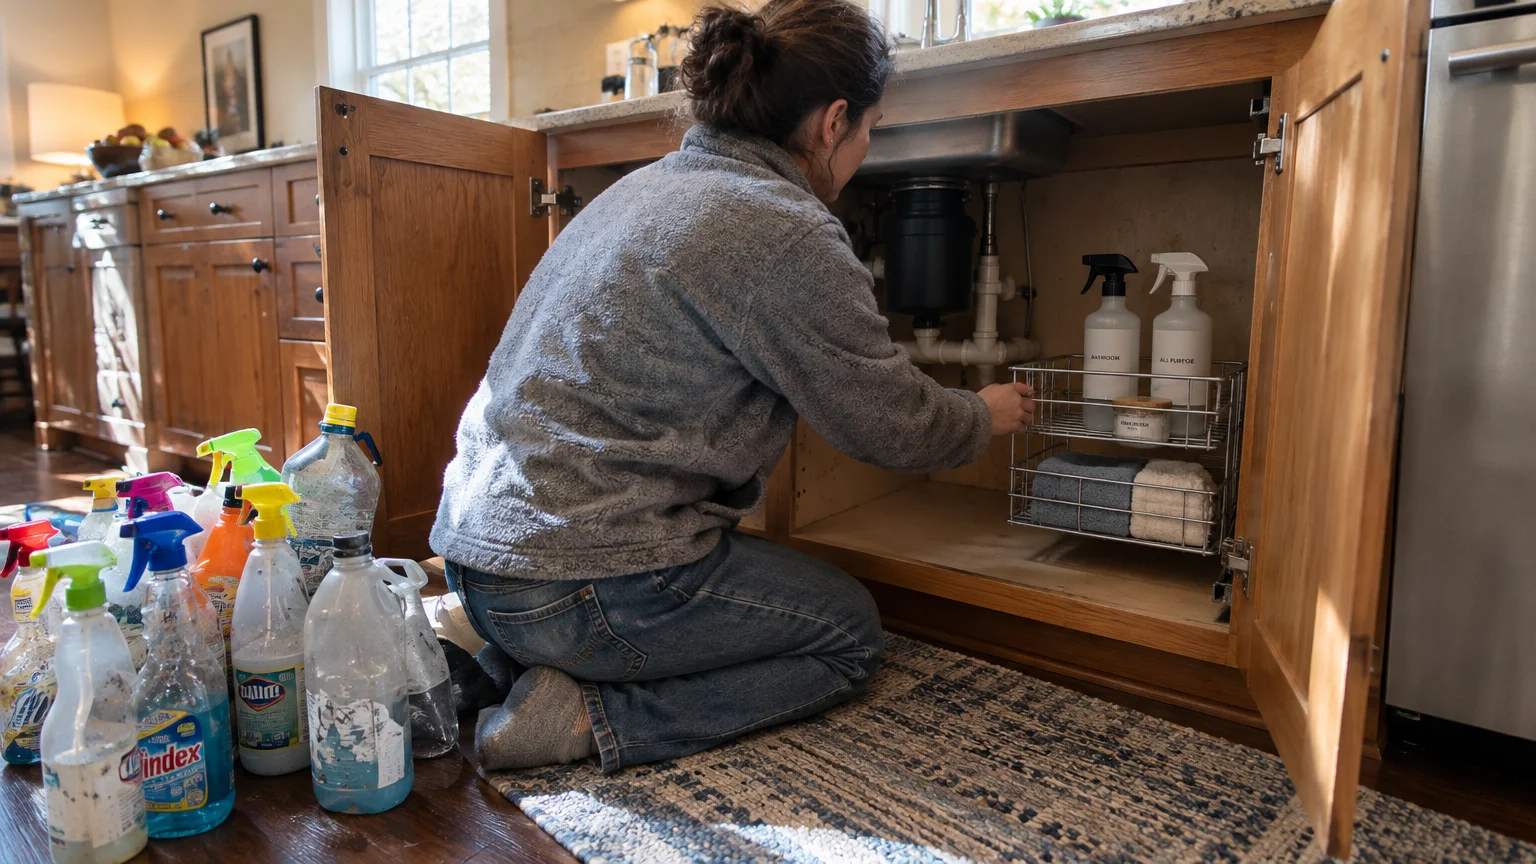
A cluttered under-sink cabinet slows down your daily routine. Shuffling through dozens of specialized spray bottles creates unnecessary friction when you simply want to wipe down a counter.
Most commercial sprays duplicate functions while introducing harsh synthetic fragrances into your meal-prep areas. Excess residue can build up on surfaces over time, attracting more dust and cooking grease.
Using a tightly curated kit of reliable kitchen cleaning products simplifies your chores. You protect your surfaces, keep your indoor air cleaner, and significantly reduce your household spending.
Mastering five foundational tools allows you to handle everything from routine spills to stubborn baked-on grime. Simplicity delivers speed, consistency, and professional-grade results.
01 Split Microfiber Cloths: The Mechanical Workhorse
Split microfiber cloths serve as the true backbone of efficient kitchen maintenance. Unlike conventional cotton rags or paper towels, these engineered cloths trap dirt rather than pushing it around.
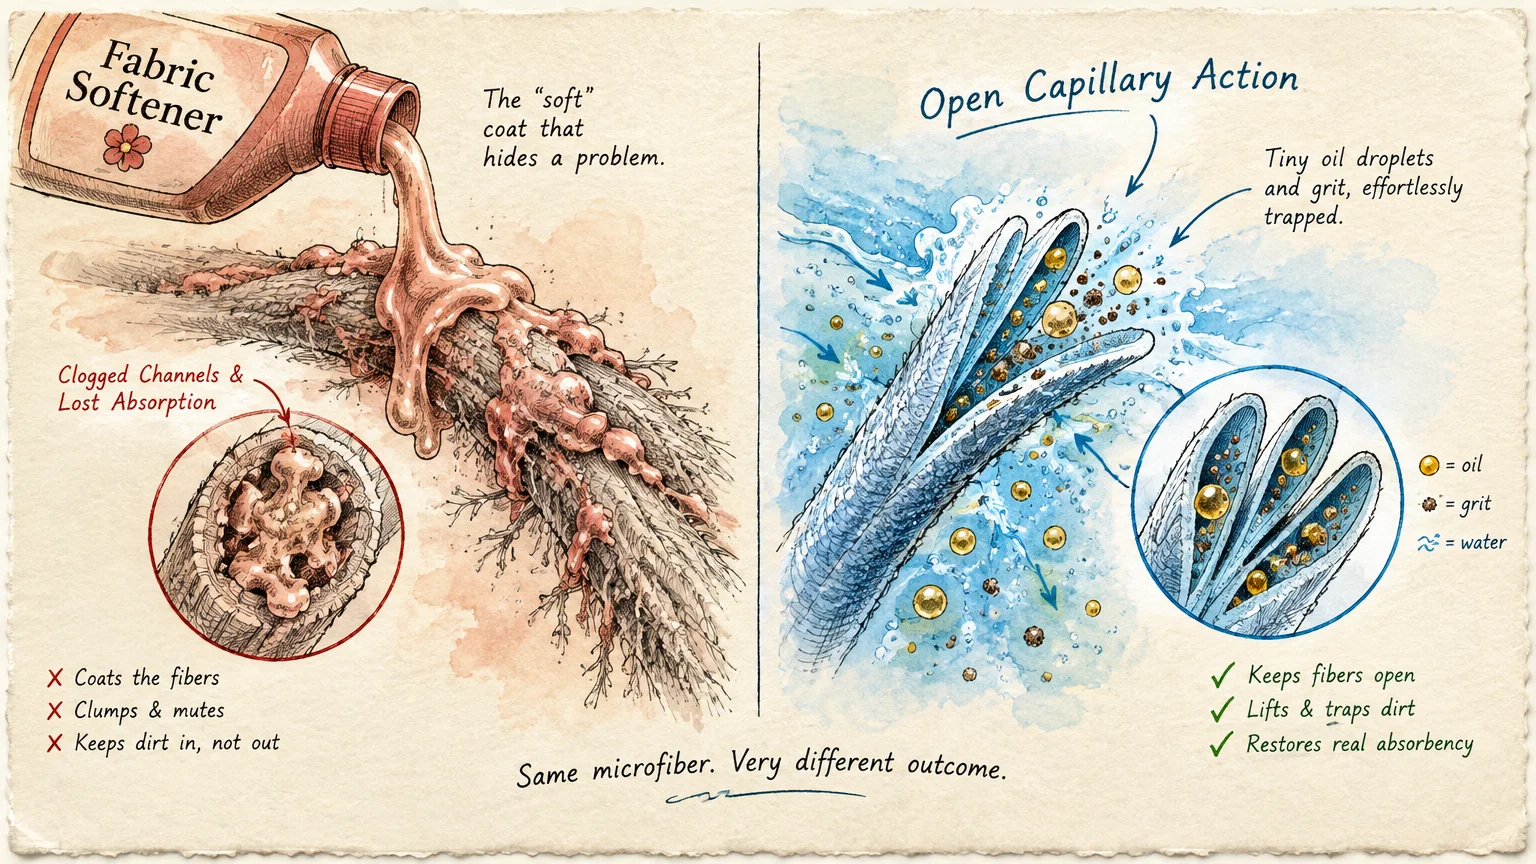
The individual fibers are split during manufacturing to create microscopic hooks. These tiny channels grab dust, grease, and microscopic food particles using natural capillary action.
High-density cloths clean effectively with nothing more than plain warm tap water. For routine dust and light oil splatters, you rarely need to spray added chemicals.
Guidance from the CDC home cleaning guidelines highlights the importance of physical soil removal before applying any sanitizing solution. Split microfiber removes grease barriers so sanitizers can work effectively.
Choosing the Right Cloth Weight
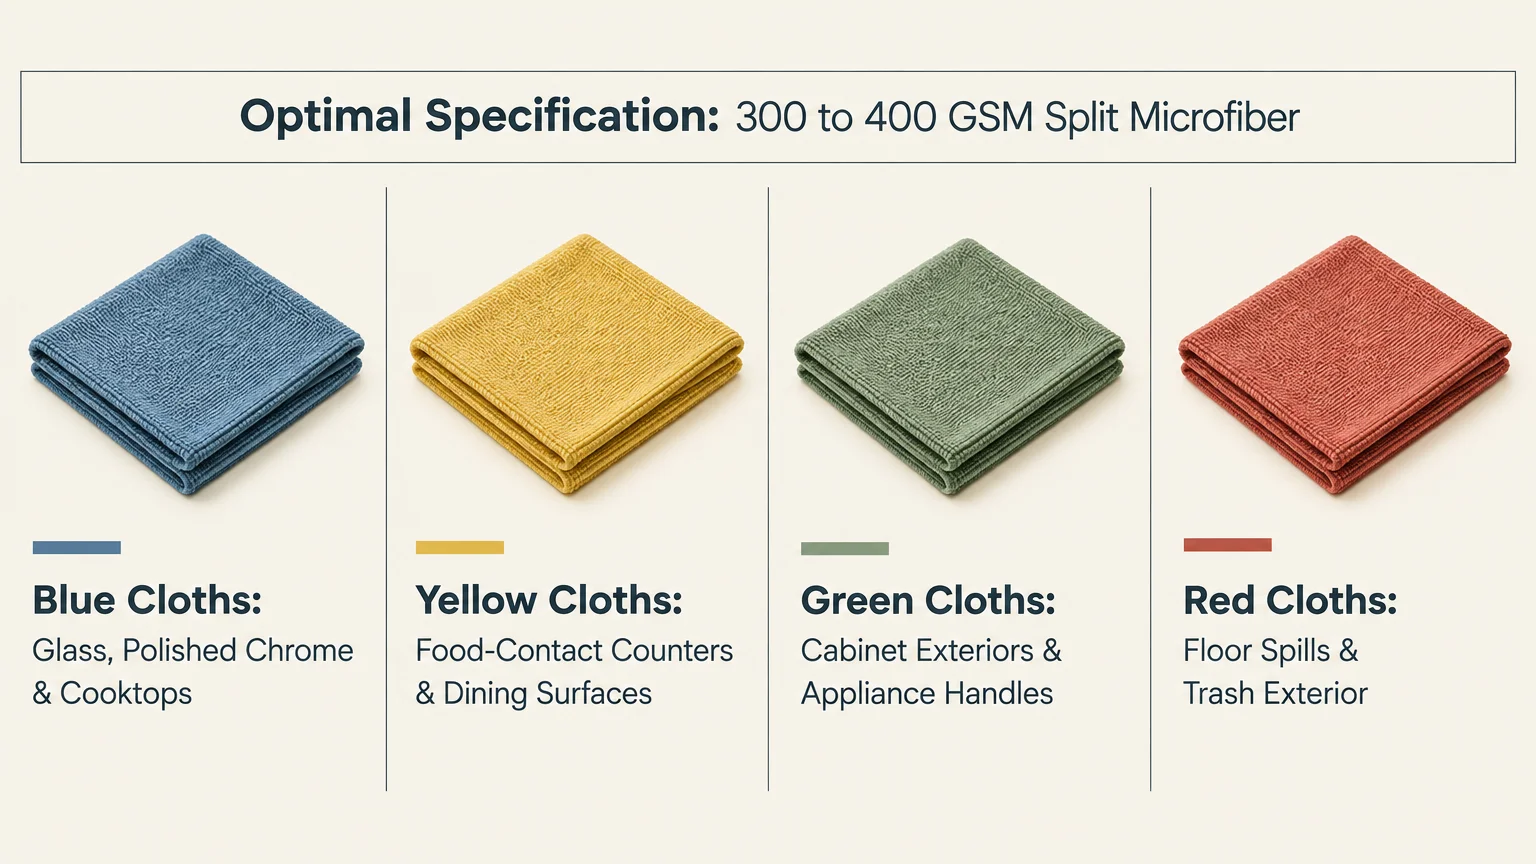
Look for cloths rated between 300 and 400 grams per square meter (GSM). This weight provides enough plush thickness to absorb liquids without becoming unwieldy or slow to dry.
Avoid cheap, ultra-thin bargain rags that snag on rough skin or frayed cabinet edges. A well-constructed edgeless or satin-bordered microfiber towel prevents scratching on polished lacquer and glossy acrylics.
Establishing a Color-Coded Routine
Cross-contamination presents a genuine risk when you clean food preparation areas. Establishing a dedicated color-coding system ensures kitchen hygiene remains airtight.
- Blue cloths: Reserve exclusively for glass, polished chrome fixtures, and reflective cooktops.
- Yellow cloths: Designate for general food-contact countertops and dining surfaces.
- Green cloths: Use for cabinet exteriors, appliance handles, and drawer pulls.
- Red or orange cloths: Restrict to floor spills and trash can exteriors.
Microfiber Care and Maintenance
Launder your microfiber cloths separately from lint-shedding cotton towels. Wash them in warm water using a mild liquid laundry detergent.
Never add fabric softeners or chlorine bleach to the wash cycle. Softeners coat the synthetic polyester and polyamide filaments, permanently destroying their natural dirt-trapping abilities.
Air-dry your cloths on a drying rack or tumble dry on your machine’s lowest heat setting. High heat melts the microscopic synthetic fibers, turning soft towels rough and abrasive.
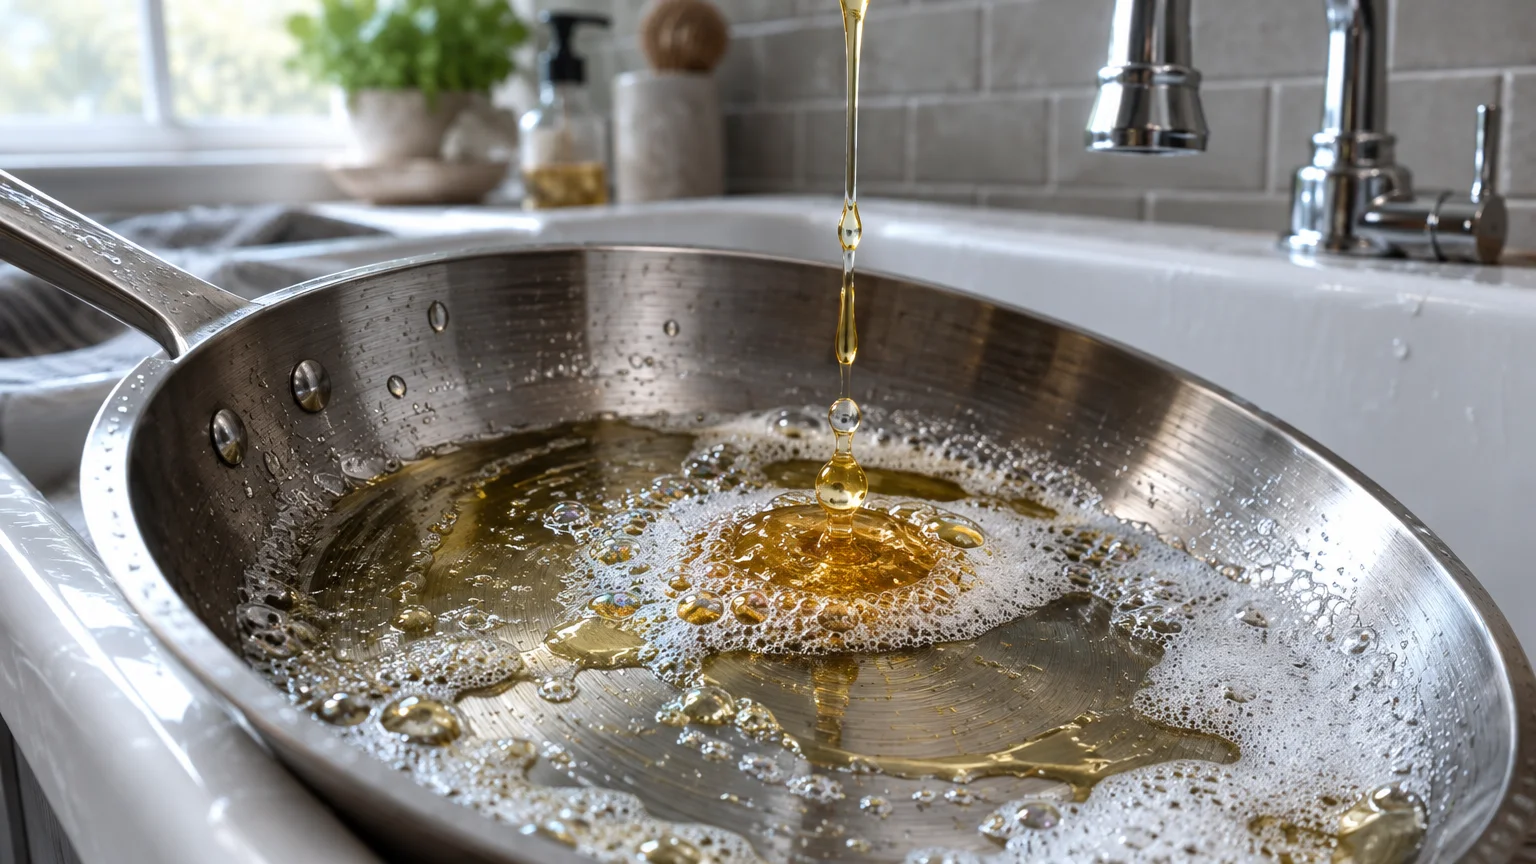
02 Concentrated Liquid Dish Soap: The Ultimate Degreaser
Concentrated liquid dish soap is arguably the most versatile chemical cleaner in your home. While formulated primarily for plates, its surfactant chemistry dissolves household cooking grease across nearly every hard surface.
Cooking oil creates an invisible film across cabinets, range hoods, and tile backsplashes. Standard all-purpose sprays frequently lack the concentrated surfactants needed to lift cured cooking oils.
Dish soap molecules feature a dual-ended structure with hydrophilic and lipophilic properties. One end binds to oily grease, while the opposite end binds to water, lifting grease cleanly away.
A few drops mixed with warm water in a spray bottle creates an exceptional everyday cleaner. This mild solution cleans painted wood cabinets safely without degrading durable polyurethane clear coats.
Safe Usage on Delicate Countertop Materials
Natural stone surfaces like marble, travertine, and quartzite react poorly to acidic formulations. Vinegar and citrus sprays etch polished calcium carbonate, leaving permanent dull spots.
Mild dish soap maintains an almost neutral pH, making it completely safe for daily stone care. It cleans thoroughly without stripping protective penetrating sealers from granite slabs.
Engineered quartz counters also benefit from this gentle, balanced chemistry. Harsh solvents or abrasive scouring powders can permanently cloud the synthetic resin binders used in engineered stone.
Mixing an All-Purpose Degreasing Solution
Create a dedicated degreaser spray by mixing one teaspoon of concentrated liquid dish soap with two cups of warm distilled water. Distilled water prevents mineral spots on dark countertops.
Shake the spray bottle gently to integrate the solution without creating excess foam. Spray directly onto grease-splattered surfaces, let it sit for two minutes, and wipe clean with microfiber.
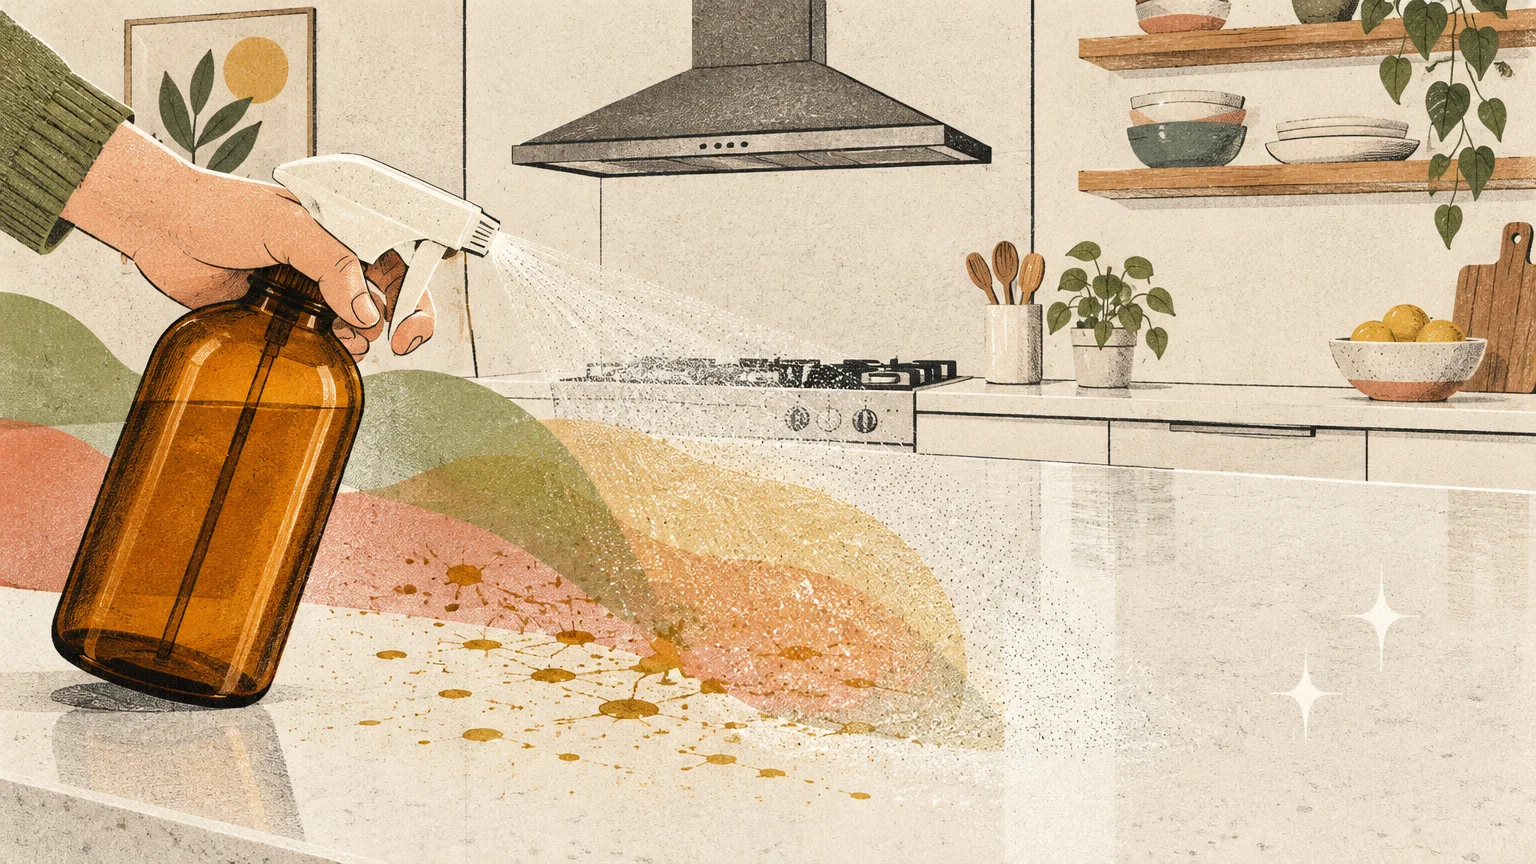
03 EPA Safer Choice Multi-Surface Spray: Rapid Daily Cleanup
While soapy water handles heavy grease, a commercial multi-surface spray delivers quick evaporation and streak-free convenience. It remains an indispensable part of your must have cleaning supplies for daily maintenance.
Modern plant-derived formulations provide remarkable cleaning power without relying on harsh fumes. They leave food-contact surfaces clean without leaving behind toxic chemical residue.
When selecting your spray, look for certifications through the EPA Safer Choice program. This independent standard guarantees the product uses ingredients safer for human health and indoor air quality.
A balanced multi-surface spray dissolves light sugar spills, water rings, and sticky condiment drips in seconds. It provides the exact balance of wetting agents needed to lift dirt quickly.
Proper Spray Technique for Better Results
Avoid misting large volumes of liquid directly onto kitchen surfaces. Excess liquid seeps into countertop seams, wood joints, and the delicate control electronics of modern appliances.
Instead, mist your multi-surface spray directly onto a folded microfiber cloth until it feels lightly damp. This technique controls moisture distribution and prevents wasted product pooling on floors.
Fold your cloth into quarters to provide eight clean, distinct cleaning faces. Flip to a fresh face as soon as one side shows soil to prevent redepositing grime.
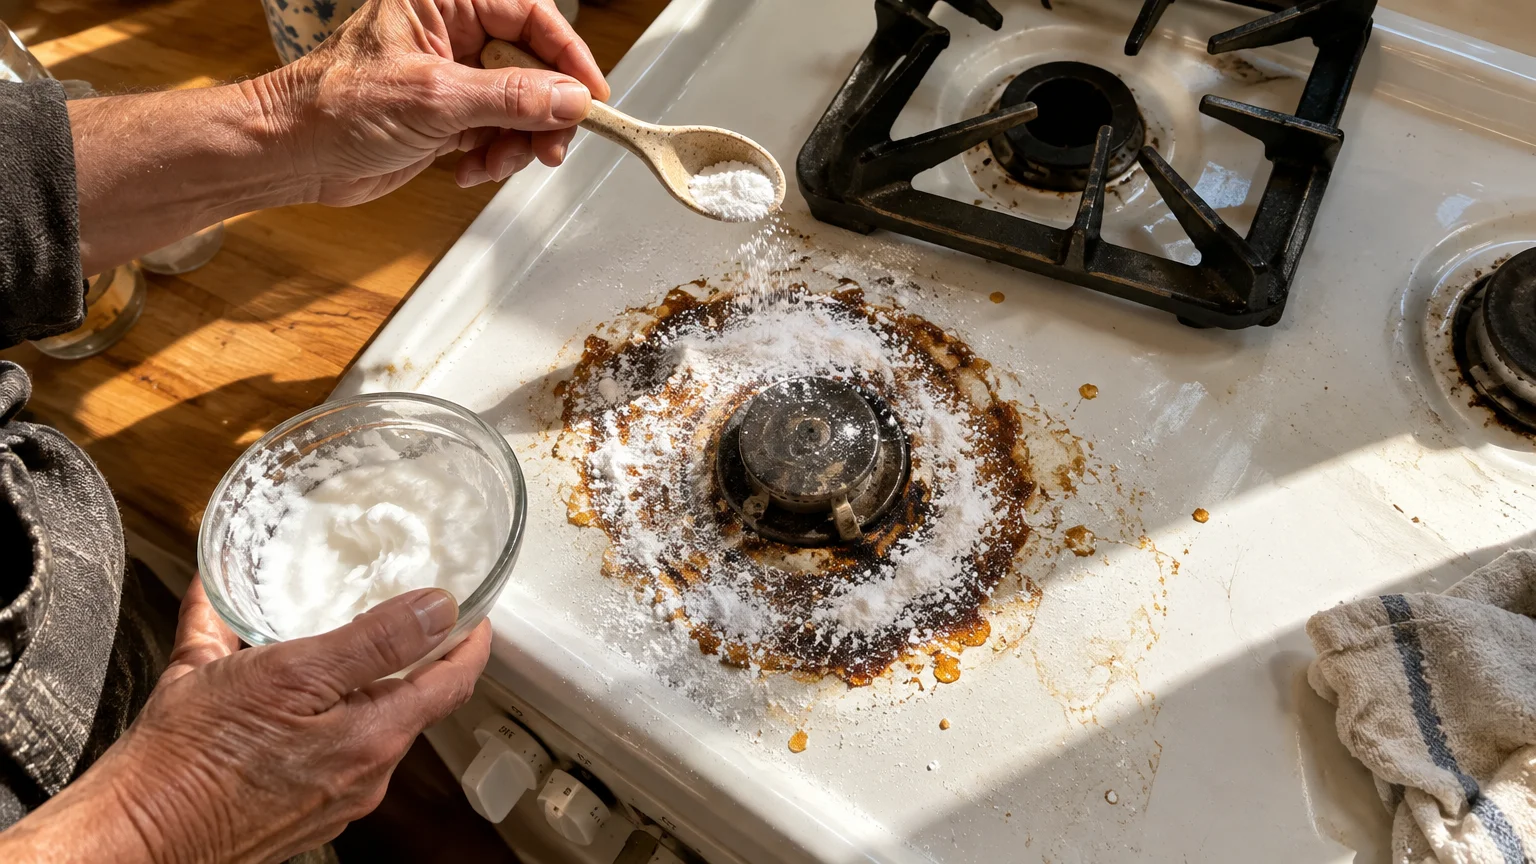
04 Pure Baking Soda: Gentle Mineral Agitation
Every home needs an effective abrasive cleaner for stubborn, baked-on kitchen residues. Commercial scouring powders often contain harsh silica minerals that permanently scratch stainless steel, porcelain, and glass.
Pure sodium bicarbonate—ordinary baking soda—serves as the safest manual scrubbing agent in your kitchen. It ranks low on the mineral hardness scale, providing effective agitation without abrading hard surfaces.
Baking soda features a Mohs hardness rating of approximately 2.5. Stainless steel sinks and cookware measure around 5.5, meaning baking soda cannot scratch the metal surface.
Its natural alkalinity also helps dissolve stubborn grease accumulations. Fatty acids in cooking grease transform into soluble soap salts upon contact with alkaline baking soda.
Reviving Stainless Steel Cookware and Sinks
To restore a scorched stainless steel pan, sprinkle a generous layer of baking soda across the interior. Add just enough warm water to produce a thick, spreadable paste.
Allow the alkaline paste to rest on the scorched areas for twenty minutes. Scrub gently along the metal grain using a damp cellulose sponge to lift carbonized food.
This paste works wonders inside porcelain enamel and composite granite sinks. It lifts stubborn coffee and tea stains effortlessly without emitting chemical fumes into your living space.
The Vinegar and Baking Soda Myth
Many cleaning blogs recommend mixing baking soda and white distilled vinegar together in a spray bottle. While the resulting bubbling reaction looks impressive, chemistry proves it largely ineffective.
Baking soda is a base, while white vinegar is an acetic acid solution. When mixed directly, they neutralize each other, producing carbon dioxide gas, water, and sodium acetate salt.
The bubbling action can briefly dislodge loose mechanical debris inside narrow sink drains. However, the resulting leftover liquid has virtually no degreasing or sanitizing power.
Use these two items sequentially rather than simultaneously. Scrub greasy grime away with baking soda first, rinse thoroughly, and finish with vinegar to dissolve residual hard water marks.
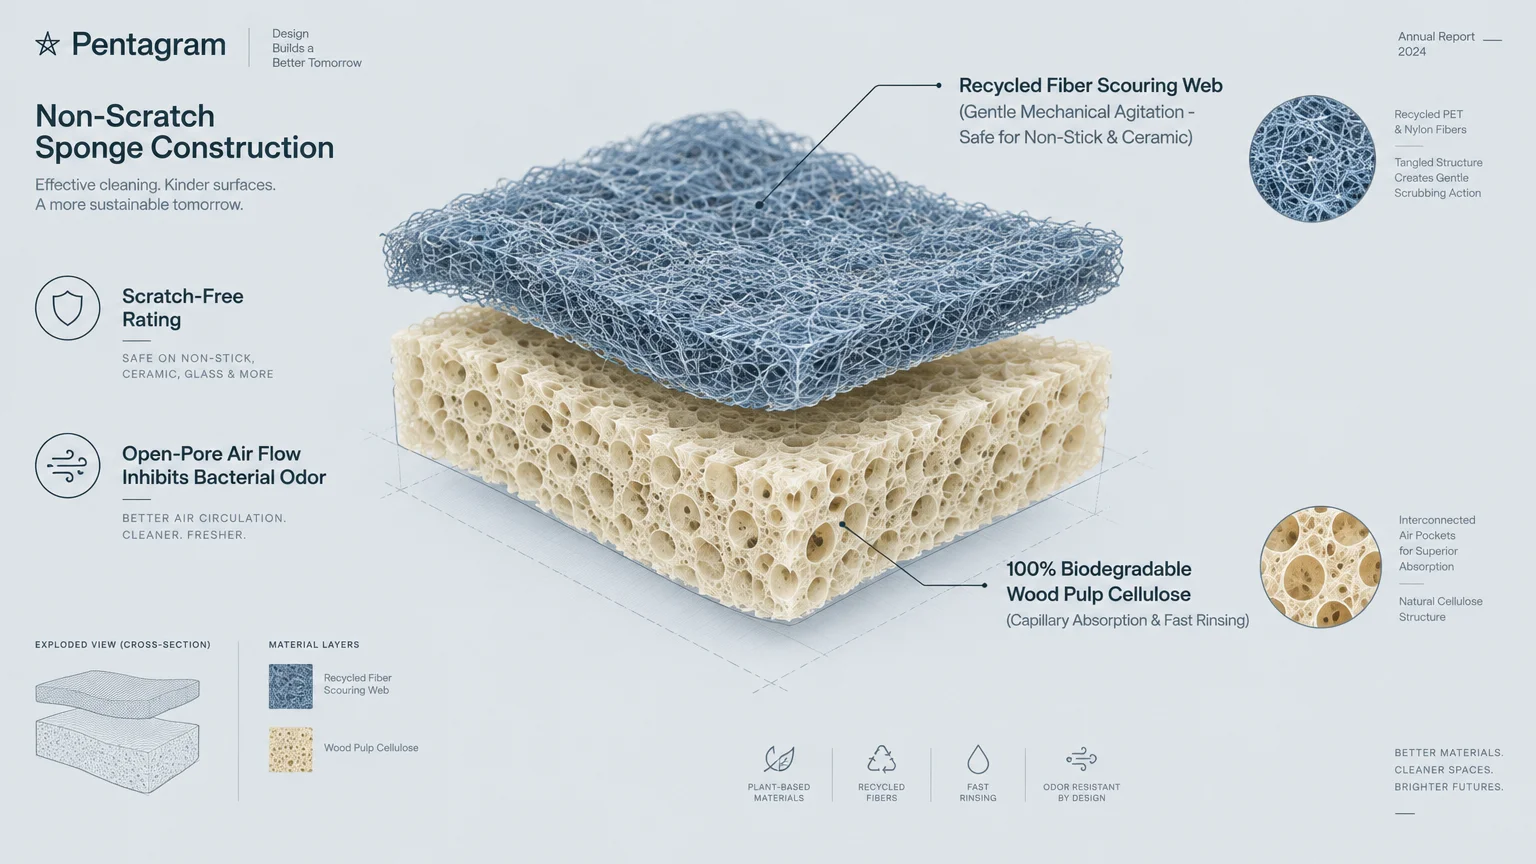
05 Non-Scratch Cellulose Scrub Sponges: Controlled Scrubbing Power
The final component of your essential cleaning arsenal is a durable, dual-sided scrub sponge. These tools provide the mechanical friction required to loosen dried sauces, gravies, and starchy messes.
Choose sponges made from natural cellulose rather than synthetic polyurethane foams. Cellulose holds substantially more water and releases trapped suds smoothly across kitchen surfaces.
Look specifically for non-scratch scouring pads permanently bonded to the cellulose sponge. These scouring sides typically utilize recycled plastics, walnut shells, or acrylic webbing instead of metal fibers.
Non-scratch pads preserve expensive nonstick cookware coatings, seasoned cast-iron pans, and delicate enameled Dutch ovens. They deliver substantial scrubbing friction without gouging sensitive nonstick surfaces.
Sanitizing and Replacing Your Sponges
Kitchen sponges harbor microscopic bacteria quickly if stored wet inside dark sink basins. Data from public health research highlighted by NSF International identifies the kitchen sponge as a prime reservoir for household microbes.
Rinse your sponge thoroughly with hot running water after every single cleaning task. Squeeze out excess moisture completely and store the sponge upright in a ventilated holder.
Never leave wet sponges lying flat on countertop edges or inside the damp sink bottom. Lack of airflow prevents drying and accelerates foul-smelling bacterial growth.
Sanitize sponges every two days by washing them on your dishwasher’s hottest cycle with heated dry. Replace kitchen sponges every two to three weeks, or immediately if they develop an unpleasant odor.
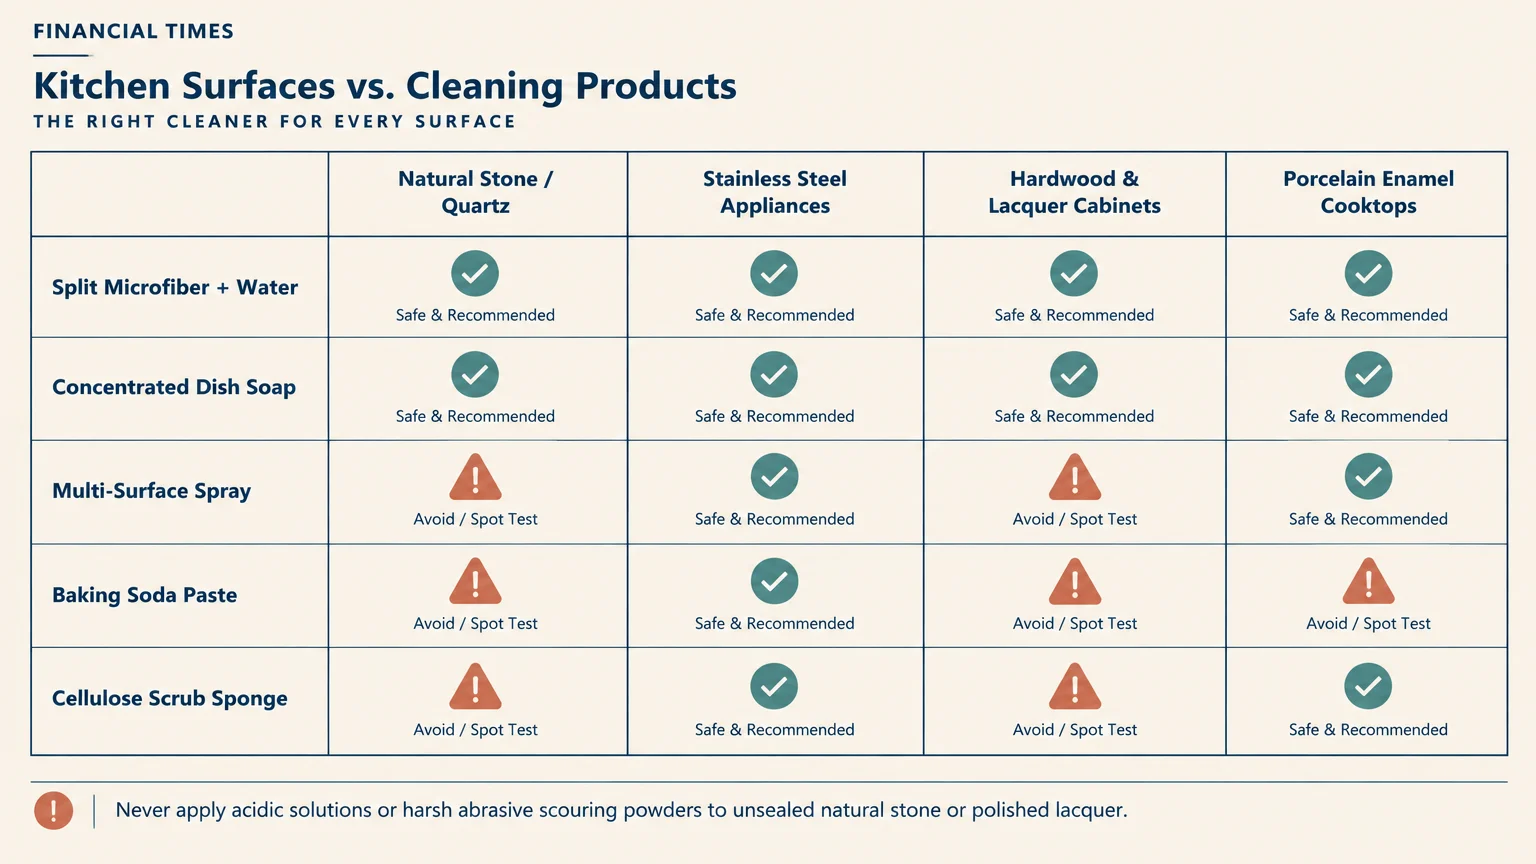
Kitchen Surface Compatibility and Product Matrix
Using the wrong cleaning tool on delicate finishes can cause costly, irreversible damage. Reference this practical matrix to match your cleaning essentials to each specific surface in your home.
| Kitchen Surface | Primary Cleaner | Recommended Tool | Items to Avoid |
|---|---|---|---|
| Polished Granite & Marble | Diluted dish soap solution | Plush microfiber cloth | Vinegar, lemon juice, acidic sprays |
| Engineered Quartz | EPA Safer Choice spray | Damp microfiber towel | Bleach, abrasive scouring powders |
| Stainless Steel Appliances | Multi-surface spray or plain water | Edgeless microfiber cloth | Steel wool, circular scrubbing patterns |
| Nonstick Cookware | Concentrated dish soap | Non-scratch cellulose sponge | Metal scouring pads, abrasive powders |
| Painted Wood Cabinets | Warm soapy water | Wring-out microfiber cloth | Excess water, harsh chemical solvents |
| Porcelain Sinks | Baking soda paste | Cellulose scrub sponge | Coarse wire brushes, industrial acids |
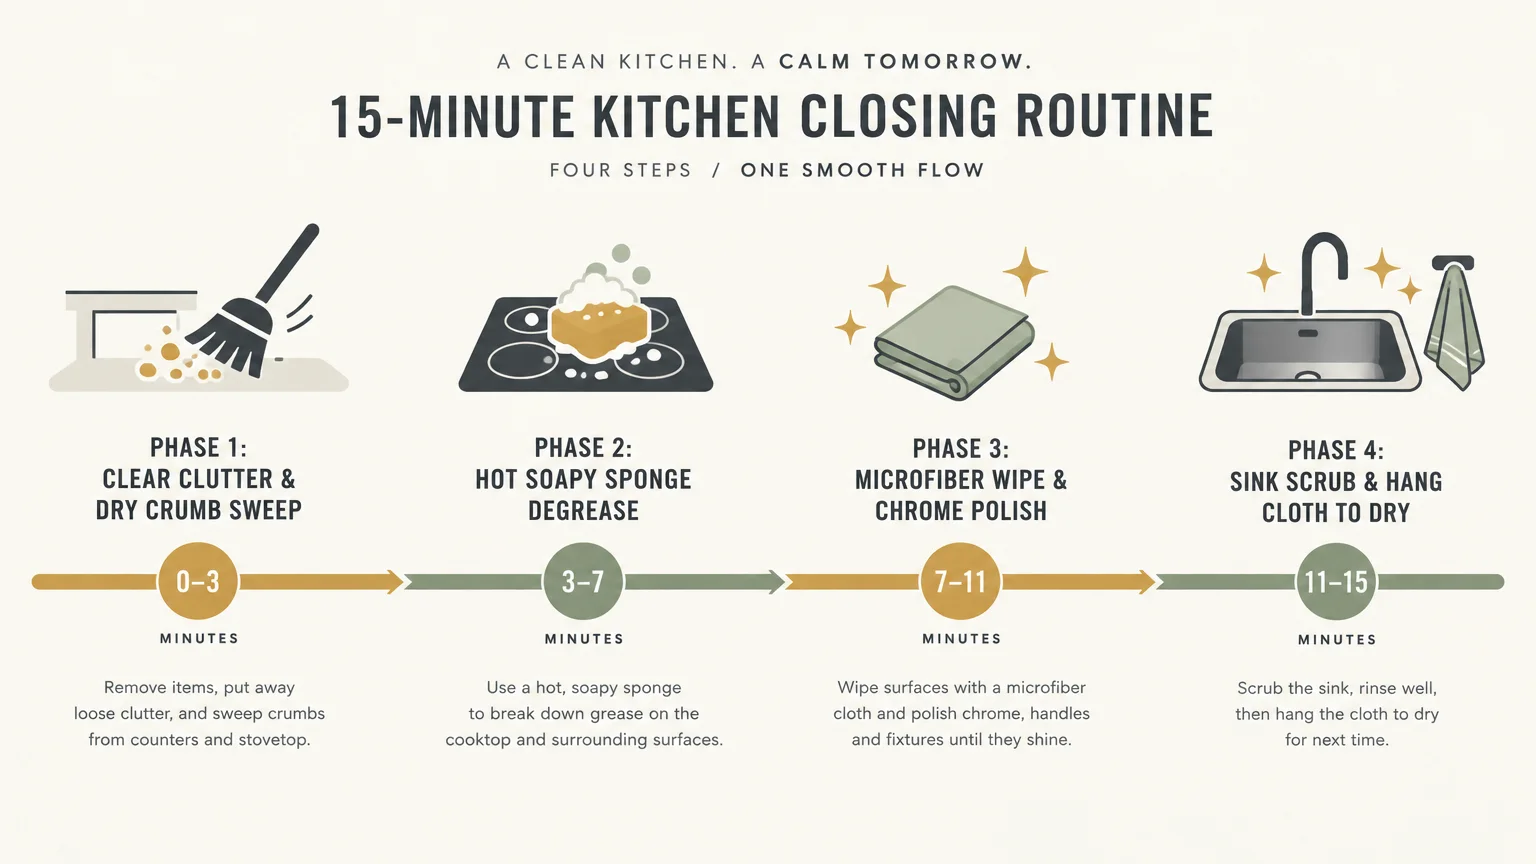
A Streamlined 15-Minute Daily Kitchen Reset
Having the best kitchen cleaners matters little if your cleaning routine lacks organization and structure. Execute this structured 15-minute reset every evening to maintain a sparkling kitchen with minimal effort.
- Clear the workspace: Load all lingering dishes into your dishwasher and clear dirty items out of the sink basin entirely.
- Wipe high surfaces first: Mist your folded microfiber cloth with multi-surface spray and wipe table surfaces, island counters, and perimeter worktops.
- Attack stovetop splatters: Apply your diluted dish soap solution to the cooktop to dissolve fresh cooking oils before they harden.
- Spot-clean cabinet fronts: Use a barely damp microfiber cloth to remove sticky fingerprints around handles and upper cabinet edges.
- Scrub the sink basin: Sprinkle baking soda directly across the damp stainless steel or porcelain sink walls and floor.
- Agitate and rinse: Buff the sink surface with your cellulose sponge, rinse with hot water, and dry the fixtures with a fresh cloth.
Working top-to-bottom ensures crumbs and stray debris fall naturally to the floor before you perform your final sweep. This logical sequence prevents repeating steps or wiping surfaces twice.
Wiping your sink dry at the end of the routine prevents mineral scale from dulling chrome fixtures. It leaves the kitchen visually complete and ready for the next morning.
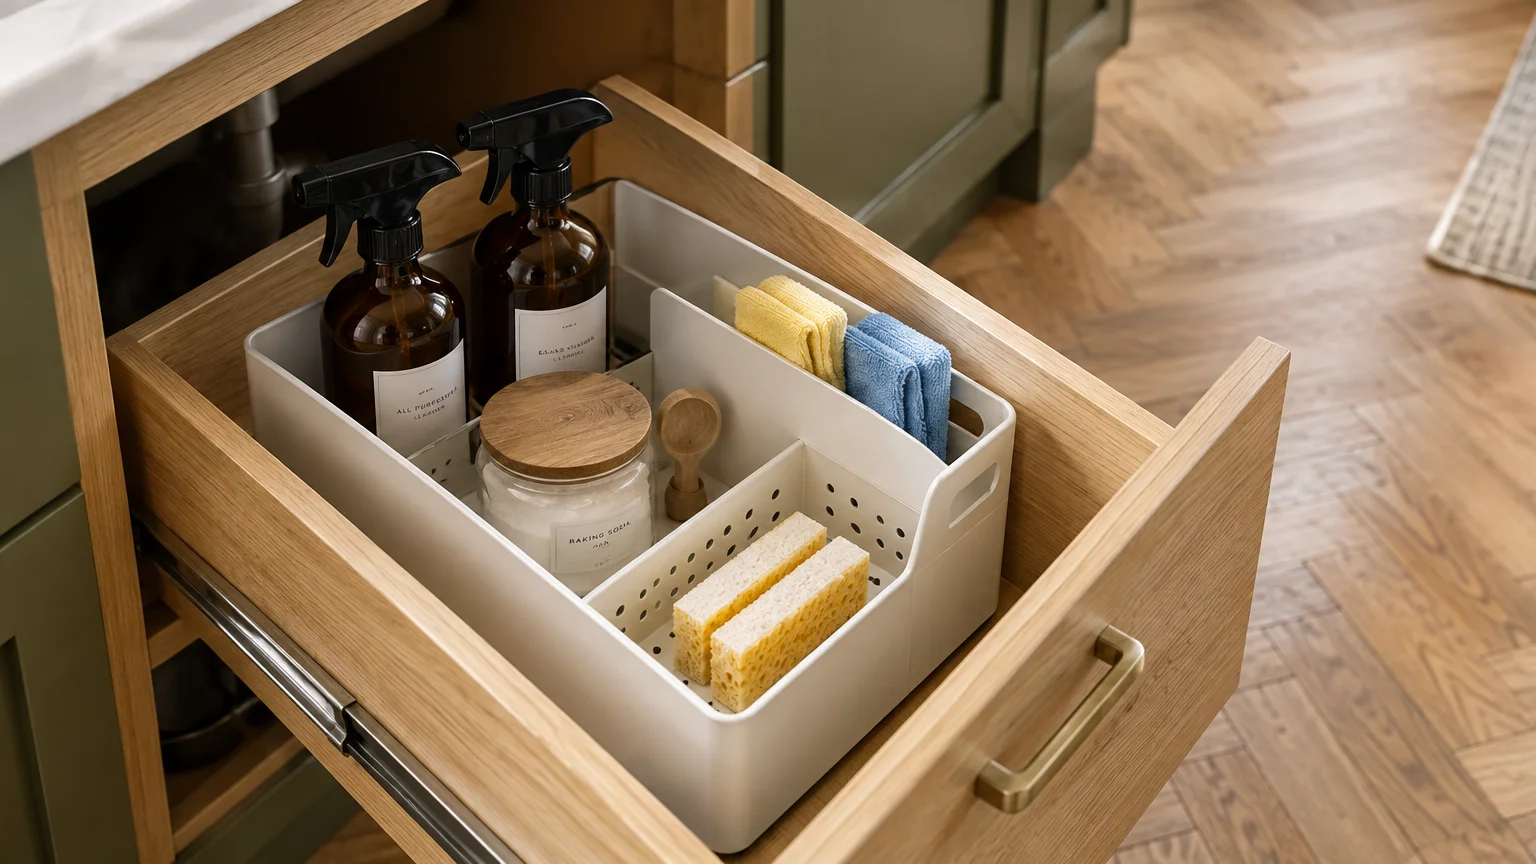
Smart Storage Strategies for Your Cleaning Arsenal
Keep your cleaning supplies organized in an accessible location to encourage consistent daily habits. Storing your essentials properly also prolongs their operational lifespan significantly.
Mount a small caddy or wire basket on the inside of your under-sink cabinet door. Storing daily sprays and folded microfiber cloths within arm’s reach prevents rummaging through cluttered shelves.
Invest in an open-air suction sponge basket attached to the inside wall of your sink basin. Suspending your sponge ensures complete 360-degree air circulation, preventing bacterial buildup.
Store your bulk baking soda in an airtight shaker container near the sink. A shaker container allows precise application without introducing wet hands or dirty spoons into your main dry supply.
Designate a breathable mesh hamper or small bin for soiled microfiber cloths. Never leave damp microfiber bundled inside dark closets where mildew can thrive.
Avoiding Common Kitchen Cleaning Mistakes
Many homeowners unintentionally degrade expensive kitchen finishes by rushing through chores or combining mismatched products. Awareness of common pitfalls saves time and prevents costly home repairs.
One widespread error involves spraying cleaning chemicals directly into the digital touchpad consoles of modern ovens and dishwashers. Moisture seeps behind the glass faceplates, corroding delicate circuit boards over time.
Always spray liquid cleaners directly onto your microfiber cloth first when cleaning electronic control panels. Wiping with a barely damp cloth protects internal circuitry while safely removing greasy smudges.
Another common mistake is scrubbing stainless steel across the grain rather than with it. Stainless steel features directional microscopic brush lines created during sheet metal manufacturing.
Rubbing across the grain creates micro-scratches that trap grease and permanently dull the reflective factory finish. Always inspect the appliance surface closely to locate the grain direction before scrubbing.
Avoid using paper towels for everyday kitchen surface maintenance. Paper towels cost significantly more over time and leave fine wood-pulp lint across dark granite and glass cooktops.

Maintaining a Calmer, Easier-to-Manage Home
A sparkling kitchen does not demand complex industrial chemicals or arduous weekend scrubbing marathons. Maintaining order comes down to having the right supplies paired with small, intentional habits.
When you limit your cabinet to these five core products, you reclaim valuable physical storage space. More importantly, you eliminate the mental friction associated with complicated household chores.
Each of these five essentials complements the others perfectly. The dish soap emulsifies heavy grease, the baking soda lifts scorched food, and the microfiber cloths buff everything dry.
Simplifying your cleaning toolkit makes daily kitchen maintenance predictable, calm, and satisfying. You protect your home investments while enjoying a clean, welcoming environment every day.
Your Practical Next Step
Empty your under-sink cabinet completely today and discard any expired, duplicated, or harsh chemical cleaners you rarely use.
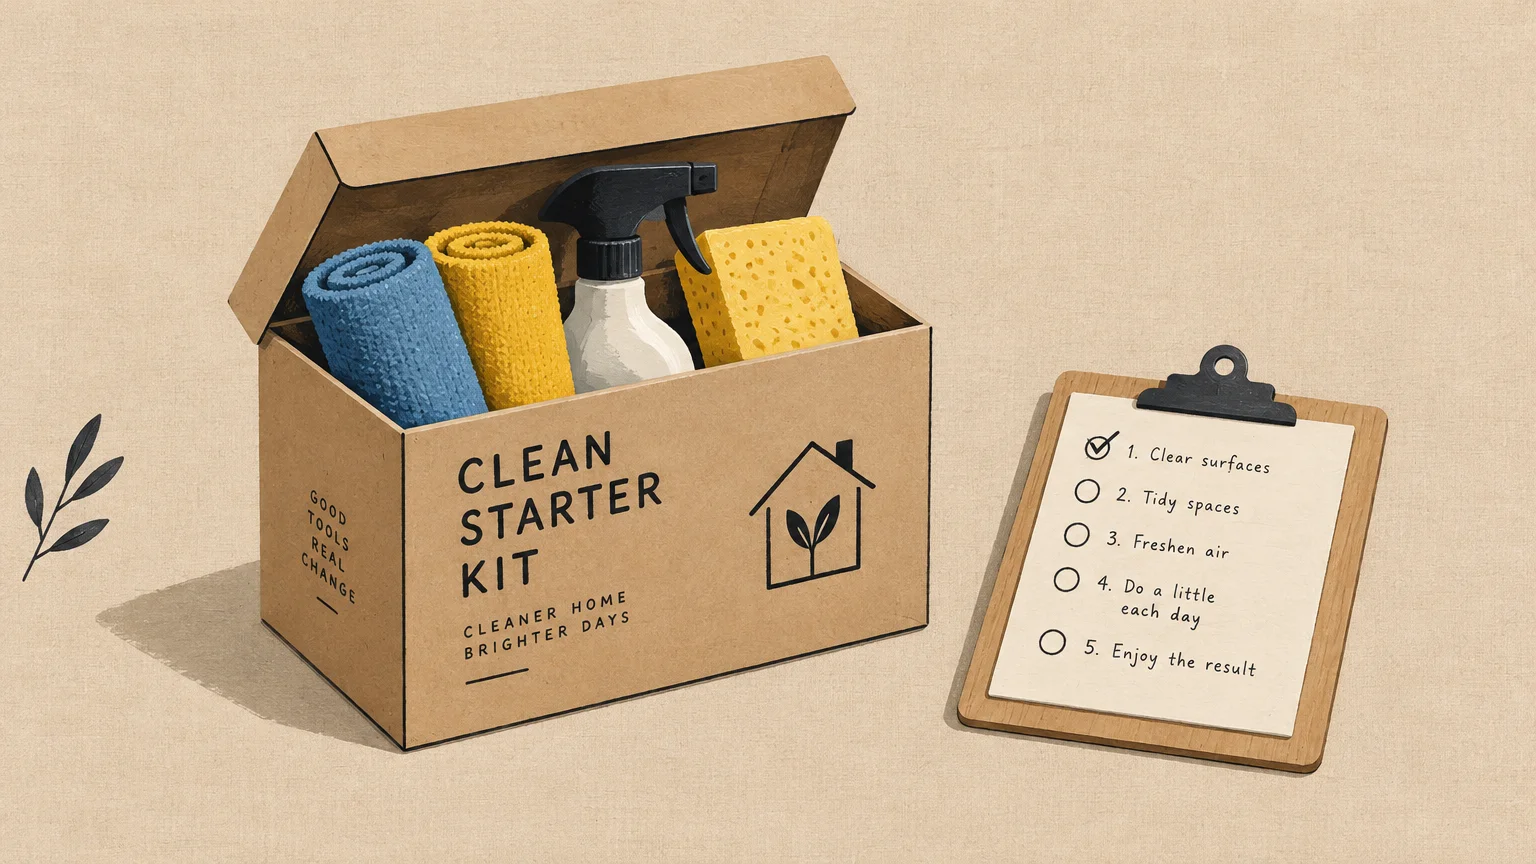
Arrange your five core essentials—microfiber cloths, dish soap, multi-surface spray, baking soda, and a non-scratch sponge—front and center in an accessible caddy. Put your simplified kit to work tonight with a fast, rewarding 15-minute kitchen reset.