Preparing your kitchen before Thanksgiving eliminates holiday cooking chaos and keeps your family safe. A targeted deep clean removes stubborn grease hotspots so your appliances perform reliably under heavy holiday cooking demands.
Dust, rancid oils, and stray crumbs collect quietly in neglected corners throughout the year. Scrubbing these hidden grime zones now prevents acrid smoke, appliance breakdowns, and cross-contamination during your big dinner.
Work through these ten essential kitchen corners today to create a sanitary workspace that makes holiday meal preparation effortless.
Essential Supplies for Your Holiday Kitchen Deep Clean
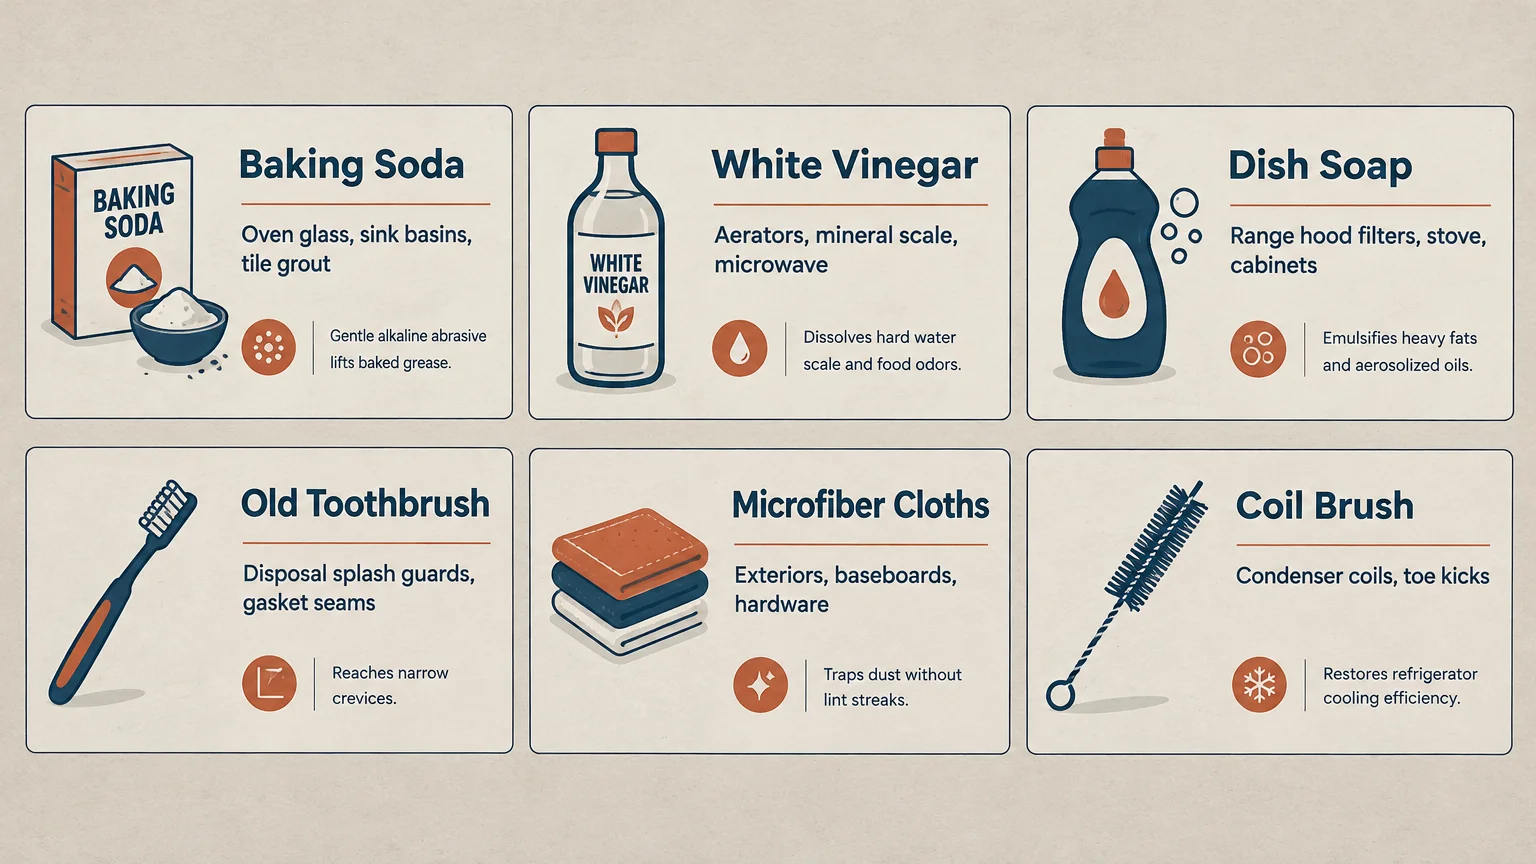
Gathering your supplies beforehand saves time and eliminates frustrating interruptions. Basic household staples tackle grease and burned food deposits without generating harsh chemical fumes.
Inspect your cloths and scrubbers before starting. Clean, undamaged tools protect delicate appliance finishes from unwanted scratches.
| Cleaning Supply | Best Application | Practical Purpose |
|---|---|---|
| Baking Soda | Oven window glass, sink basins, and tile grout | Provides gentle, alkaline abrasive action to lift baked grease. |
| White Vinegar | Faucet aerators, mineral scale, and microwave interiors | Dissolves chalky hard water deposits and cuts lingering food odors. |
| Dish Soap | Range hood filters, stove surfaces, and cabinet fronts | Emulsifies heavy animal fats and aerosolized cooking oils quickly. |
| Old Toothbrush | Disposal splash guards, gasket seams, and hinges | Reaches narrow crevices where standard cleaning brushes cannot fit. |
| Microfiber Cloths | Appliance exteriors, baseboards, and hardware pulls | Traps fine dust and polishes surfaces without leaving lint streaks. |
| Coil Brush | Refrigerator condenser coils and toe kicks | Sweeps away compact dust mats to restore cooling efficiency. |
01 The Range Hood and Vent Filters
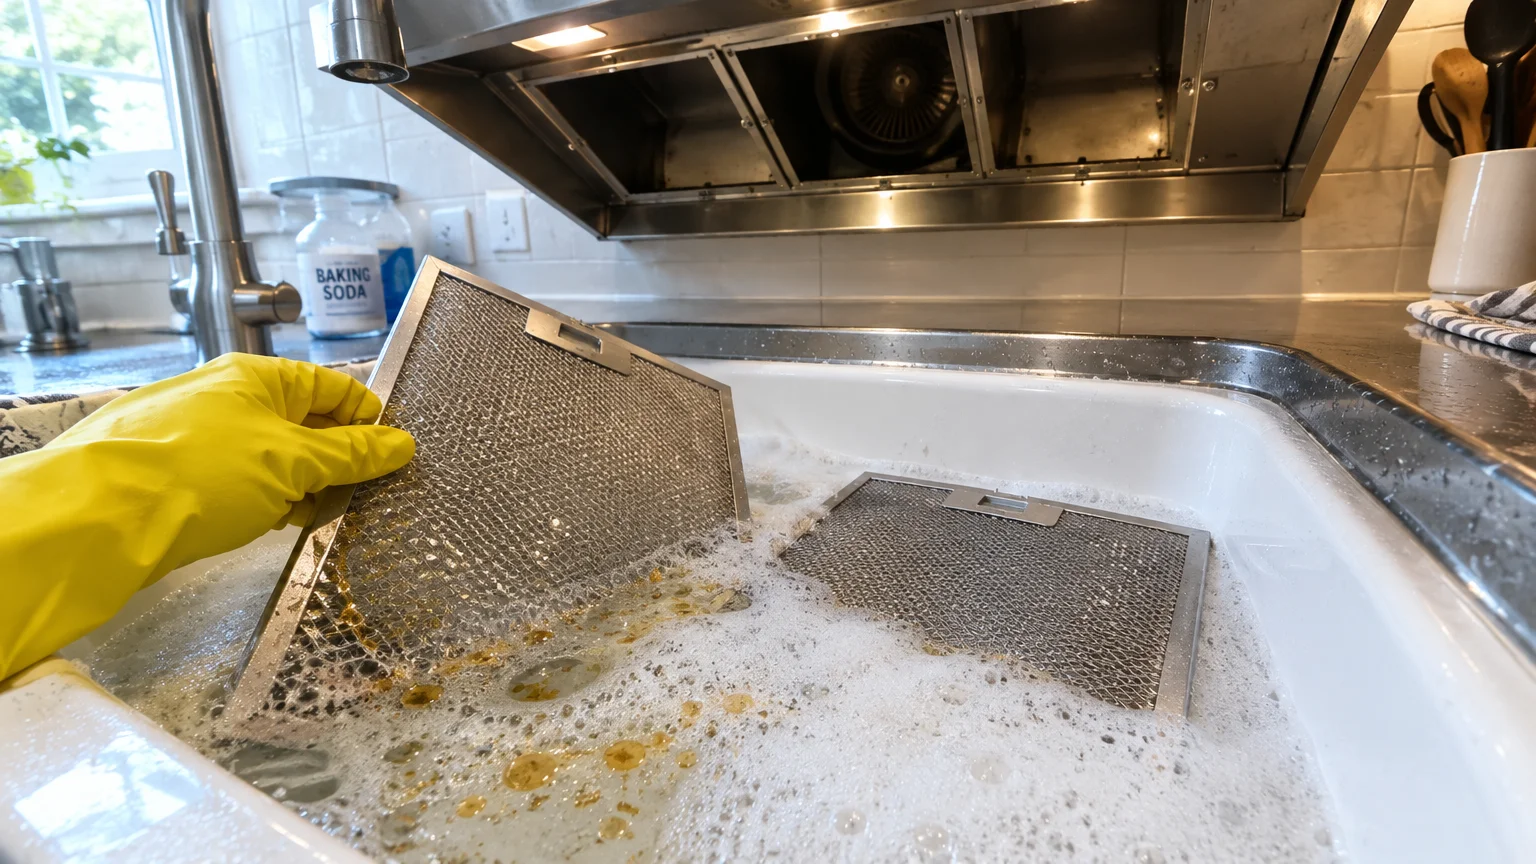
Your range hood captures airborne oils and steam during intense stovetop searing. When grease saturates the mesh filters, ventilation drops and fire hazards increase dramatically.
The National Fire Protection Association notes that cooking equipment and accumulated grease represent primary sources of home fires.
Slide the wire mesh filters out from underneath the hood canopy. Fill your sink with hot water, half a cup of baking soda, and generous squirts of dish soap.
Submerge the filters for fifteen minutes; the bubbling bath dissolves hardened fats without continuous manual scrubbing. Rinse thoroughly under hot water and let them dry completely on a towel.
Wipe down the underside of the hood canopy using a microfiber cloth moistened with warm, soapy water. This quick step prevents rancid oil droplets from falling onto your Thanksgiving side dishes.
- Slide filter latches inward to release the screens without bending the frames.
- Soak filters in hot water, baking soda, and dish soap for 15 minutes.
- Rinse filters thoroughly with hot tap water and dry on clean towels.
- Wipe the metal housing beneath the hood with soapy microfiber cloths.
02 Refrigerator Coils and Door Gaskets
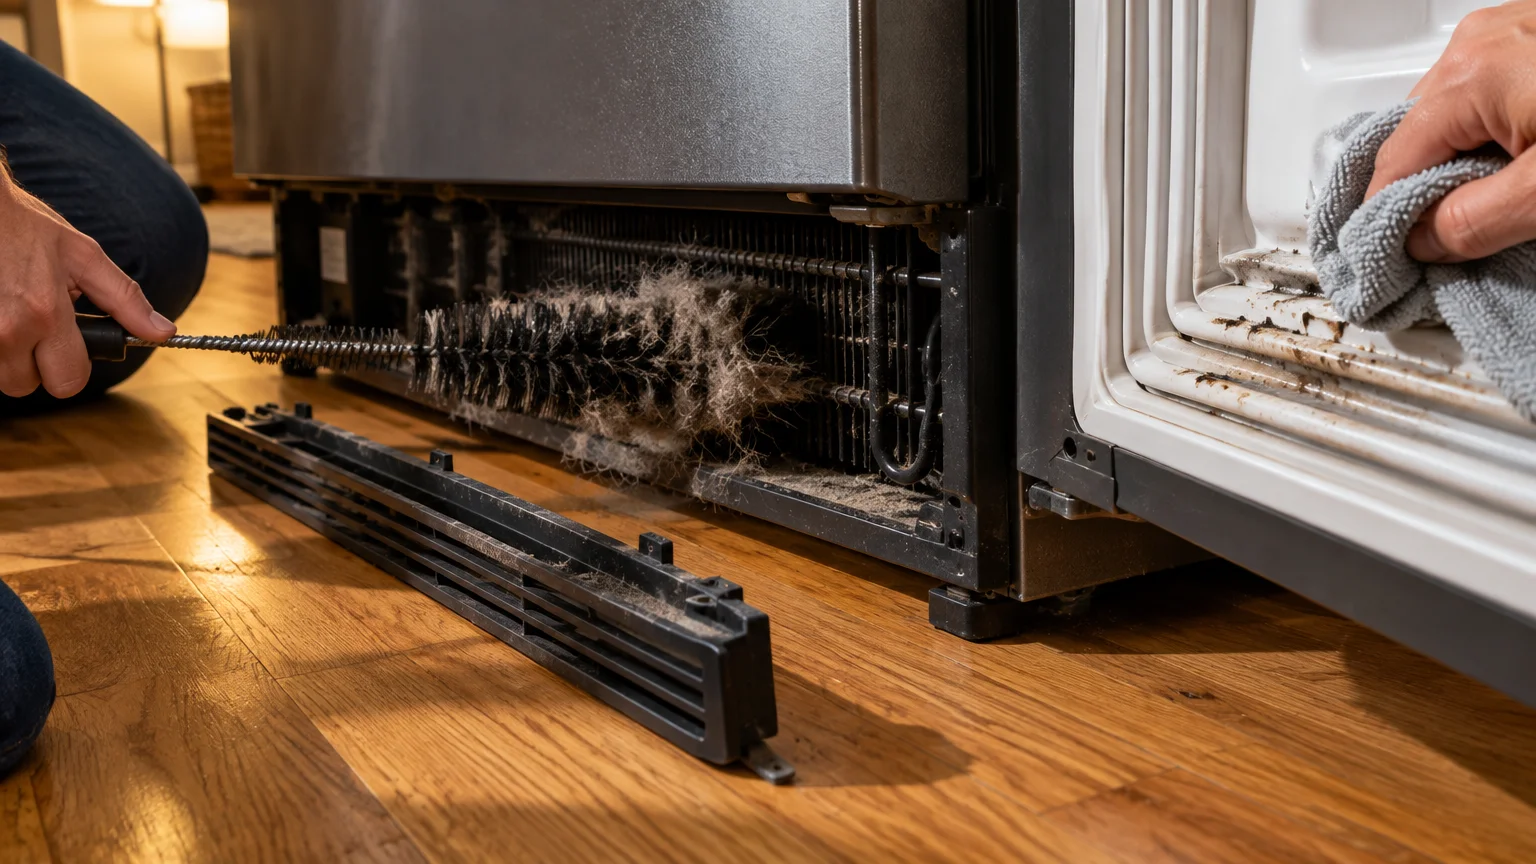
Your refrigerator works overtime during the holidays to hold large turkeys, casseroles, and chilled desserts. Heavy dust blanketing the condenser coils forces the compressor to run hotter and expend excess electricity.
Unplug the refrigerator or flip its dedicated circuit breaker before servicing the coils. Carefully roll the refrigerator forward, or unclip the front bottom grille to reach the coils.
Guide a specialized coil brush between the metal fins to dislodge matted pet hair and dust bunnies. Vacuum the loose debris immediately using a crevice hose attachment.
Inspect the flexible rubber gaskets sealing the refrigerator doors. Trapped crumbs and dried spills break the magnetic seal, letting cool air leak out into your kitchen.
According to the USDA Food Safety and Inspection Service, maintaining your refrigerator below 40°F stops rapid bacterial growth on holiday perishables.
Wipe inside the gasket folds with warm water and mild dish soap, then dry thoroughly with a towel. Never apply harsh bleach to rubber gaskets, as it causes brittle cracks.
- Disconnect appliance power before brushing rear or bottom coils.
- Sweep dust loose using a long, flexible condenser coil brush.
- Vacuum freed lint piles using a narrow crevice wand.
- Clean the rubber door gasket folds with warm soapy water and dry them.
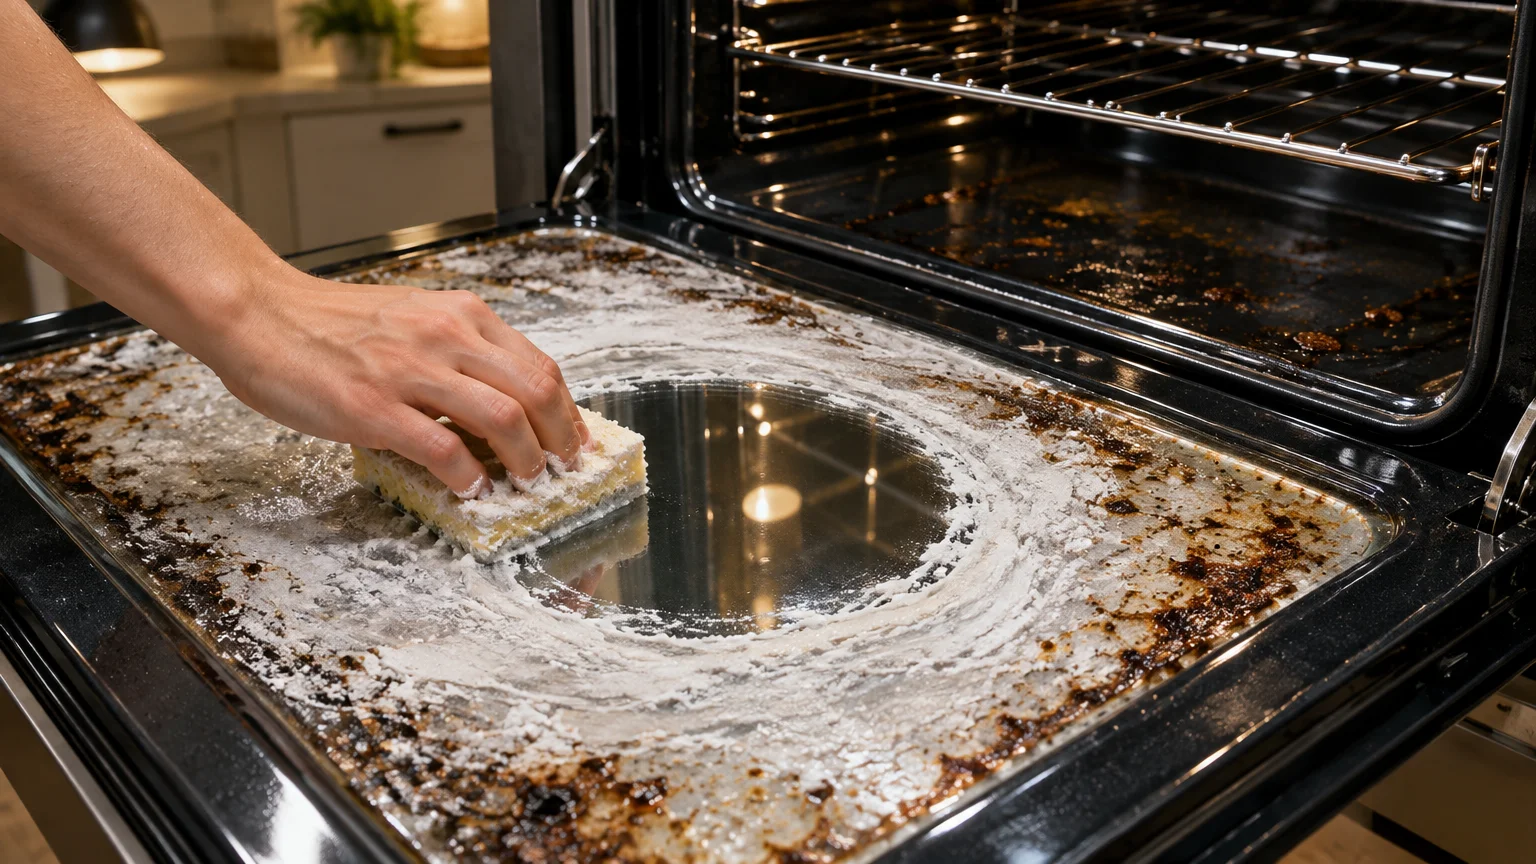
03 The Oven Door Glass and Cavity Crevices
A cloudy oven window tempts you to open the door repeatedly while roasting your turkey. Opening the door vents critical heat, dropping internal temperatures and extending cooking times unpredictably.
Mix baking soda and warm water into a thick paste with a spreadable consistency. Coat the interior window glass with the paste, steering clear of the perimeter gasket seal.
Allow the paste to rest undisturbed for thirty minutes while you work on other tasks. The alkaline solution softens baked-on sugars and caramelized drippings naturally.
Scrub the glass gently using a non-scratch scrub pad or a damp microfiber cloth. Stubborn carbon flecks release easily with light, circular hand pressure.
Check the bottom corners inside the oven cavity for charred crusts from previous meals. Scraping away loose debris stops acrid smoke from flavoring your holiday pies.
- Apply a baking soda and water paste across the interior door glass.
- Let the paste dissolve grease deposits for 30 minutes.
- Scrub the window with a non-scratch pad and wipe clean with damp rags.
- Remove loose, charred crumbs from bottom oven seams using a handheld vacuum.
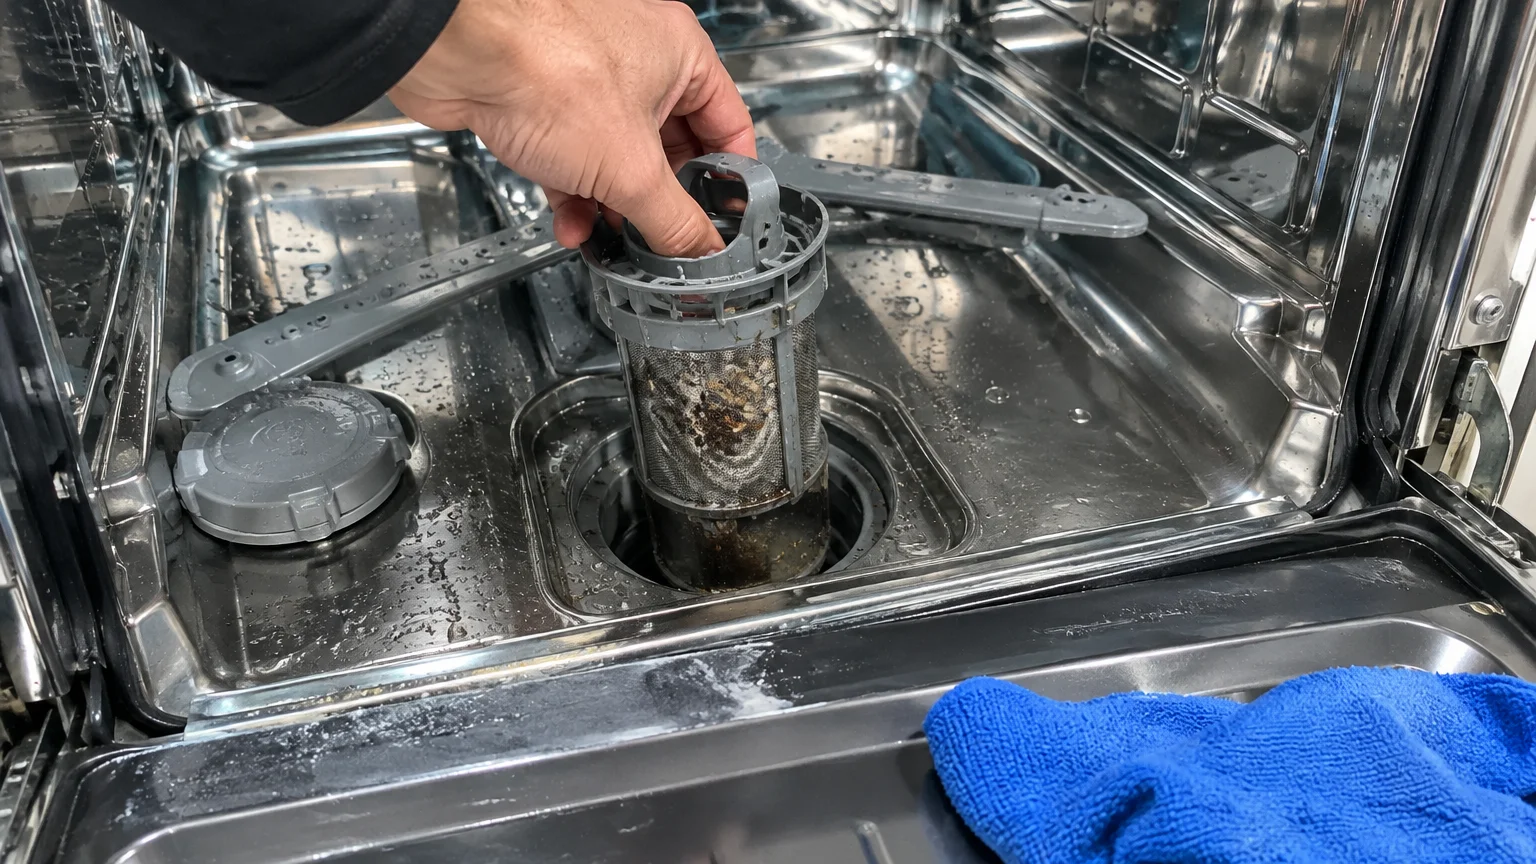
04 Dishwasher Filter and Door Lip
Your dishwasher carries its heaviest burden on Thanksgiving night as plates and cookware pile up. If the interior cylindrical filter is clogged with old food debris, dishes emerge gritty and cloudy.
Locate the circular filter assembly at the bottom of the tub underneath the lower spray arm. Turn the assembly counterclockwise to unlock and lift out the mesh screen.
Rinse the filter under warm running tap water to wash away trapped seeds and sediment. Scrub the fine mesh using an old toothbrush and a drop of dish soap.
Examine the lower rubber seal running along the bottom rim of the dishwasher door. Greasy film, decaying food scraps, and dark mold thrive inside this damp crevice.
Wipe this bottom lip clean with a microfiber cloth dipped in warm, soapy water. Reinstall the filter securely before running a hot maintenance cycle.
- Unlock the cylindrical drain filter by turning it counterclockwise.
- Wash trapped food particulates off the mesh under running water.
- Scrub the bottom door edge and seal with a soapy microfiber cloth.
- Lock the clean filter assembly back into the tub base.
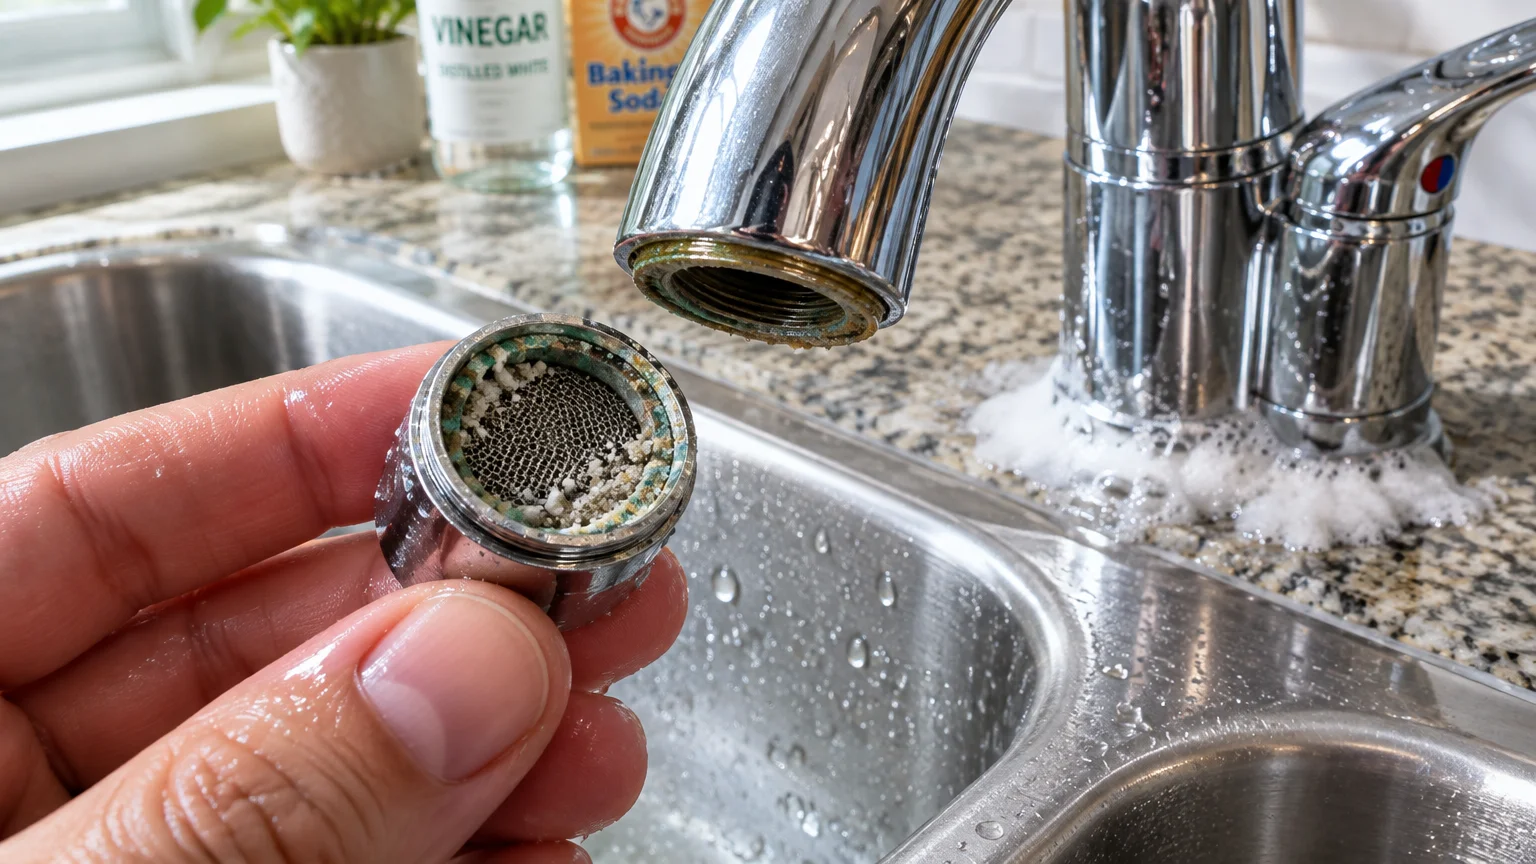
05 Kitchen Sink Aerator, Basin, and Splash Zone
The kitchen sink serves as ground zero for poultry prep, vegetable washing, and continuous handwashing. Lingering biofilm and splash zones around the faucet harbor bacteria that threaten food safety.
The Centers for Disease Control and Prevention highlights that sanitizing food-contact surfaces and prep sinks actively prevents cross-contamination across raw ingredients.
Unscrew the faucet aerator tip counterclockwise by hand or with a pair of wrapped pliers. Soak the tiny screen in white vinegar for twenty minutes to dissolve chalky mineral buildup.
Scrub around the faucet base and handles with an old toothbrush dipped in baking soda paste. This lifts stubborn lime scale where moisture and mildew hide.
Disinfect the entire basin surface, paying close attention to the rim where the sink meets your countertop. Rinse the basin with hot water to leave a spotless workspace.
- Unscrew the faucet aerator and soak it in vinegar to restore full flow.
- Scrub faucet seams and handles with baking soda paste and a toothbrush.
- Scour the basin walls and bottom with an abrasive sponge.
- Sanitize the caulk seam behind the faucet using hot water and soap.
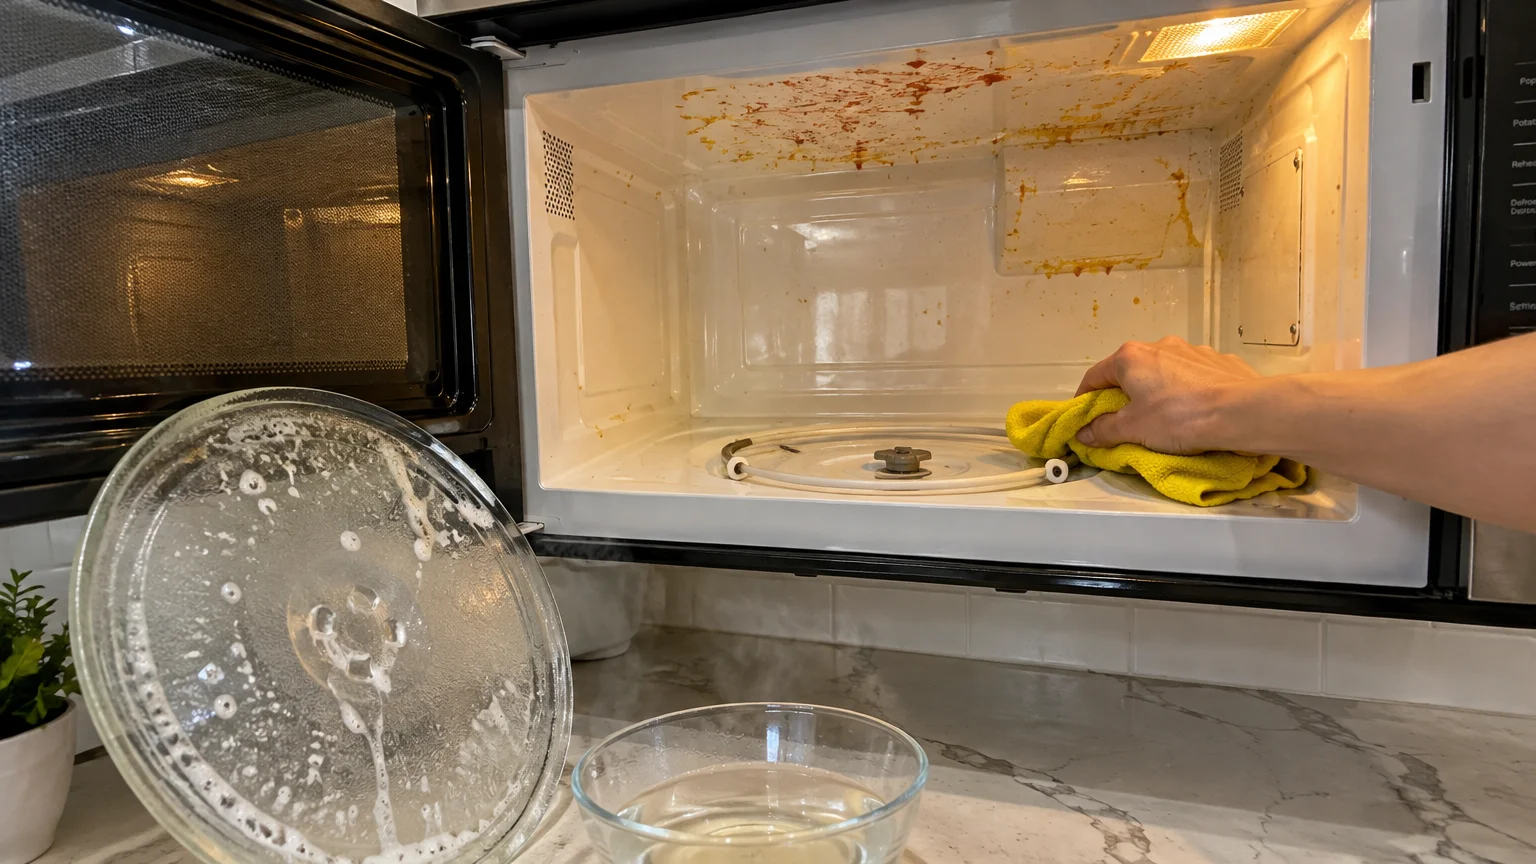
06 Under the Microwave and Turntable Assembly
Microwaves warm appetizers, melt butter, and reheat gravies throughout Thanksgiving afternoon. Dried food splatters on the ceiling and roller track create stale odors whenever the appliance runs.
Place a microwave-safe bowl with two cups of water and two tablespoons of lemon juice inside the unit. Microwave on high for five minutes, then let the steam sit for five additional minutes.
The condensation softens crusty residues on all interior walls and the ceiling. Lift out the glass turntable tray and the rotating roller ring underneath.
Wash the tray and roller assembly in your sink using warm water and dish soap. Wipe the interior cavity clean with a dry microfiber towel.
Inspect the exterior underside if your microwave hangs directly over your cooktop. Wipe away sticky grease deposits using a damp cloth and mild degreaser.
- Steam the interior for five minutes using water and lemon juice or vinegar.
- Remove the glass plate and roller ring for sink washing.
- Wipe the ceiling, walls, and door seal with a damp cloth.
- Degrease the exterior bottom surface facing your cooktop burners.
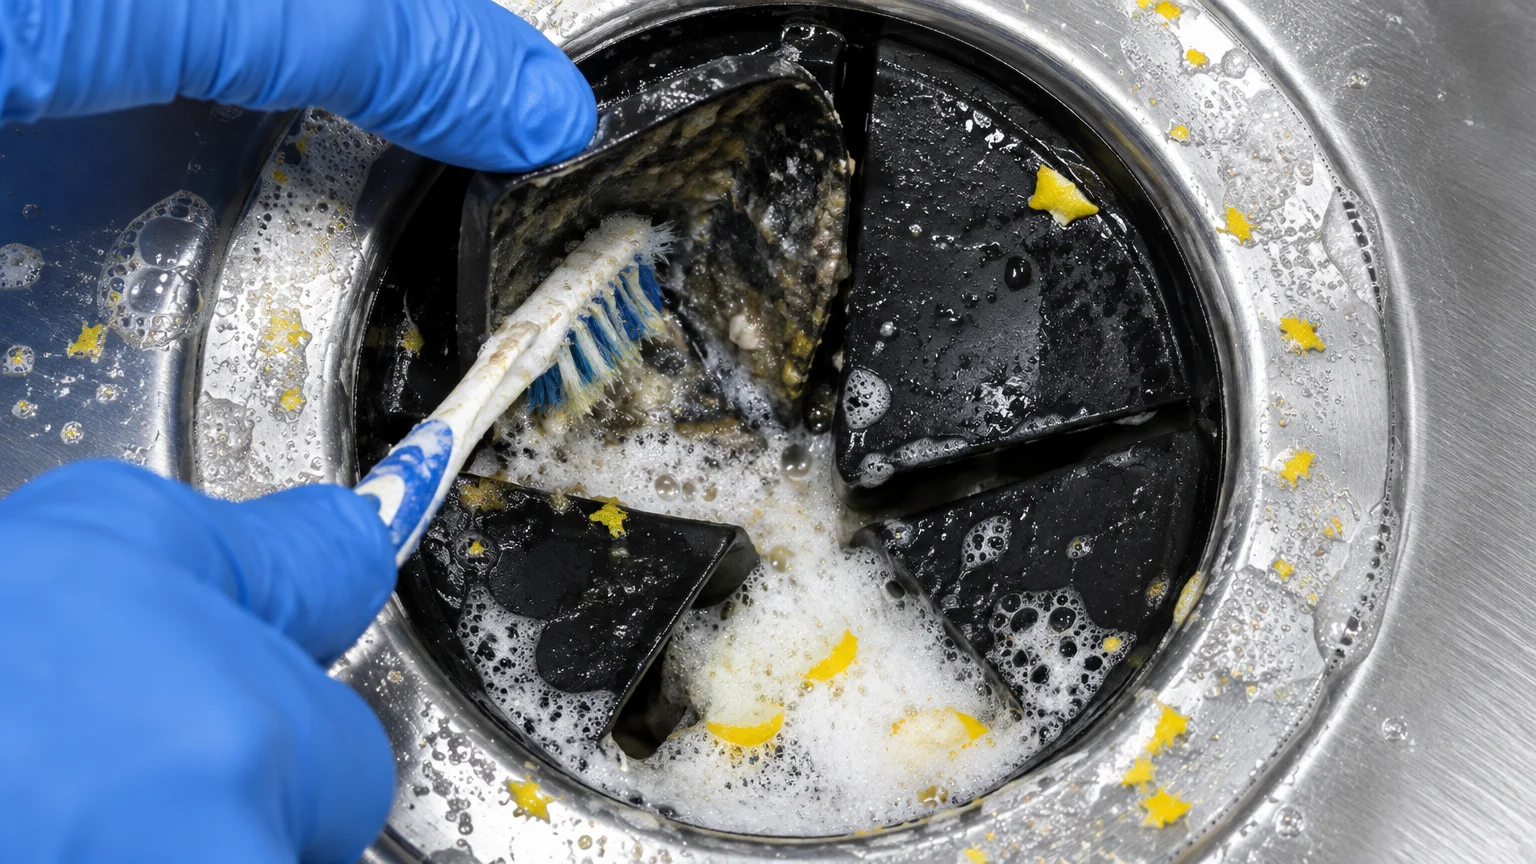
07 Garbage Disposal Splash Guard and Flange
A sour drain odor can overpower the comforting scent of roasting turkey and baked bread. Rotting peelings and grease collect on the hidden underside of the rubber splash guard.
Verify that your disposal switch sits in the off position before working near the opening. Put on cleaning gloves and peel back the flexible flaps of the rubber collar.
Scrub the underside of each flap with a stiff brush saturated in dish soap. You will remove a dark layer of trapped organic matter that ordinary water flushes miss.
Toss two cups of ice cubes and half a cup of coarse salt into the disposal chamber. Turn on cold water and run the disposal for thirty seconds.
The ice and salt knock stubborn residue off the grinding teeth and balance ring. Feed halved citrus peels into the disposal to leave a clean, vibrant aroma.
- Switch off power to the garbage disposal unit before touching the opening.
- Scrub food film off the underside of the rubber baffle flaps.
- Grind two cups of ice cubes and coarse salt under cold running water.
- Grind citrus peels through the disposal to deodorize the drain piping.
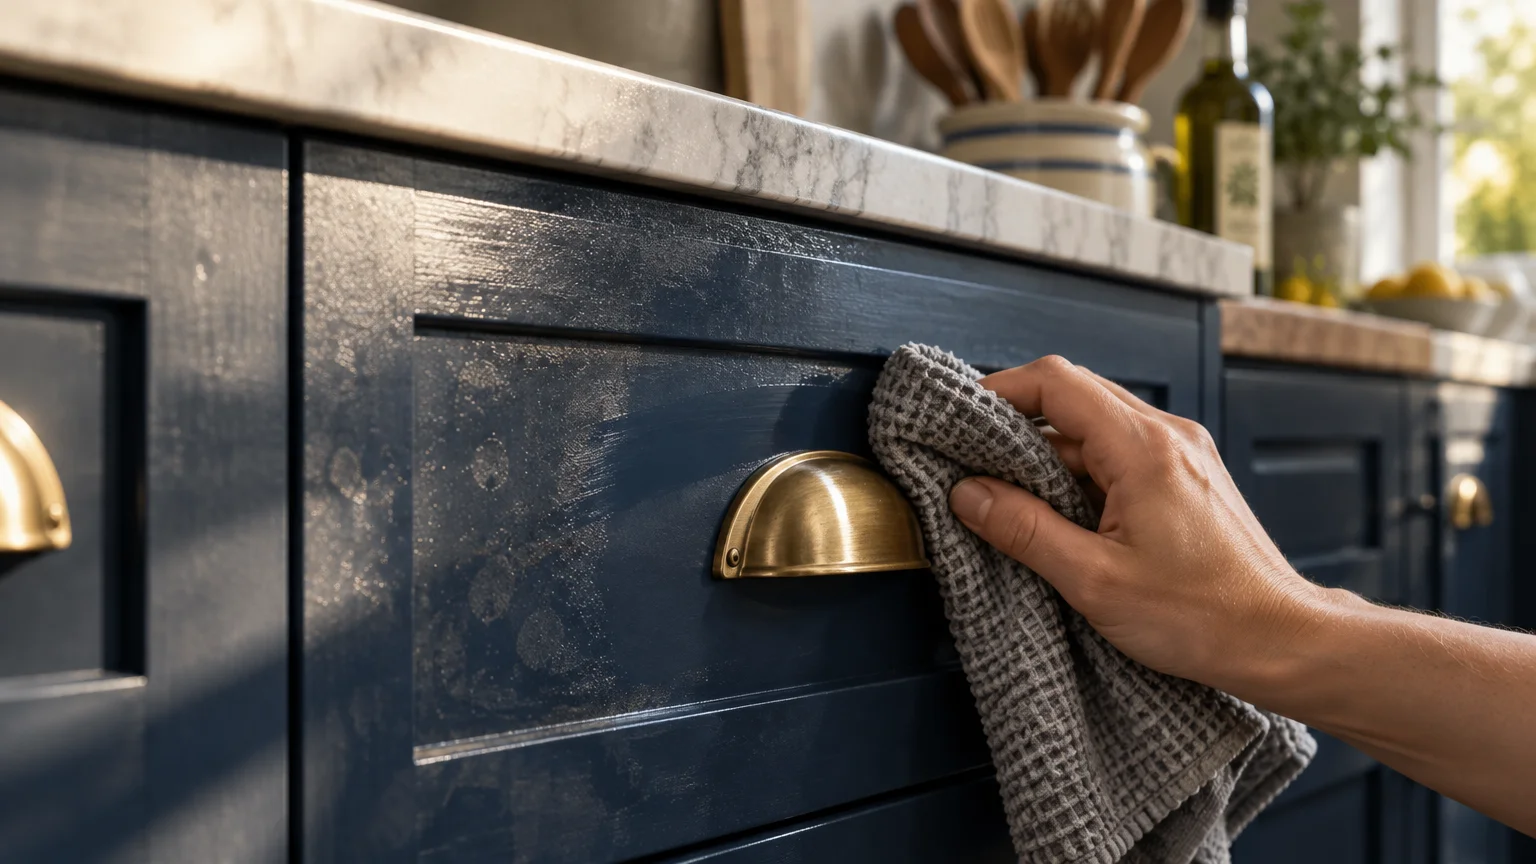
08 Cabinet Faces and High-Touch Handles Near Prep Zones
Cabinet knobs and drawer fronts endure constant contact from hands coated in poultry juices, cooking oil, and flour. Greasy handles quickly transfer bacteria across multiple kitchen workstations.
Focus on the cabinetry surrounding your sink, prep counter, and garbage can pullout. These high-contact zones carry the heaviest concentration of household grime.
Choose household cleaners meeting the EPA Safer Choice standard to break down greasy films safely. Warm water blended with mild dish soap protects painted finishes and stained wood from dulling.
Dampen a soft microfiber cloth with your solution and wipe down every handle and cabinet edge. Follow with a clean, dry cloth immediately to prevent wood moisture damage.
Sanitize the trash bin lid and pullout mechanism with extra care. Eliminating bacteria here keeps your hands clean as you discard turkey packaging and vegetable scraps.
- Wipe drawer pulls and cabinet handles using warm, soapy water.
- Degrease cabinet doors located beside the primary stovetop burners.
- Disinfect the trash bin handle, rim, and surrounding cabinet surfaces.
- Dry all wood surfaces immediately with a clean towel to prevent warping.
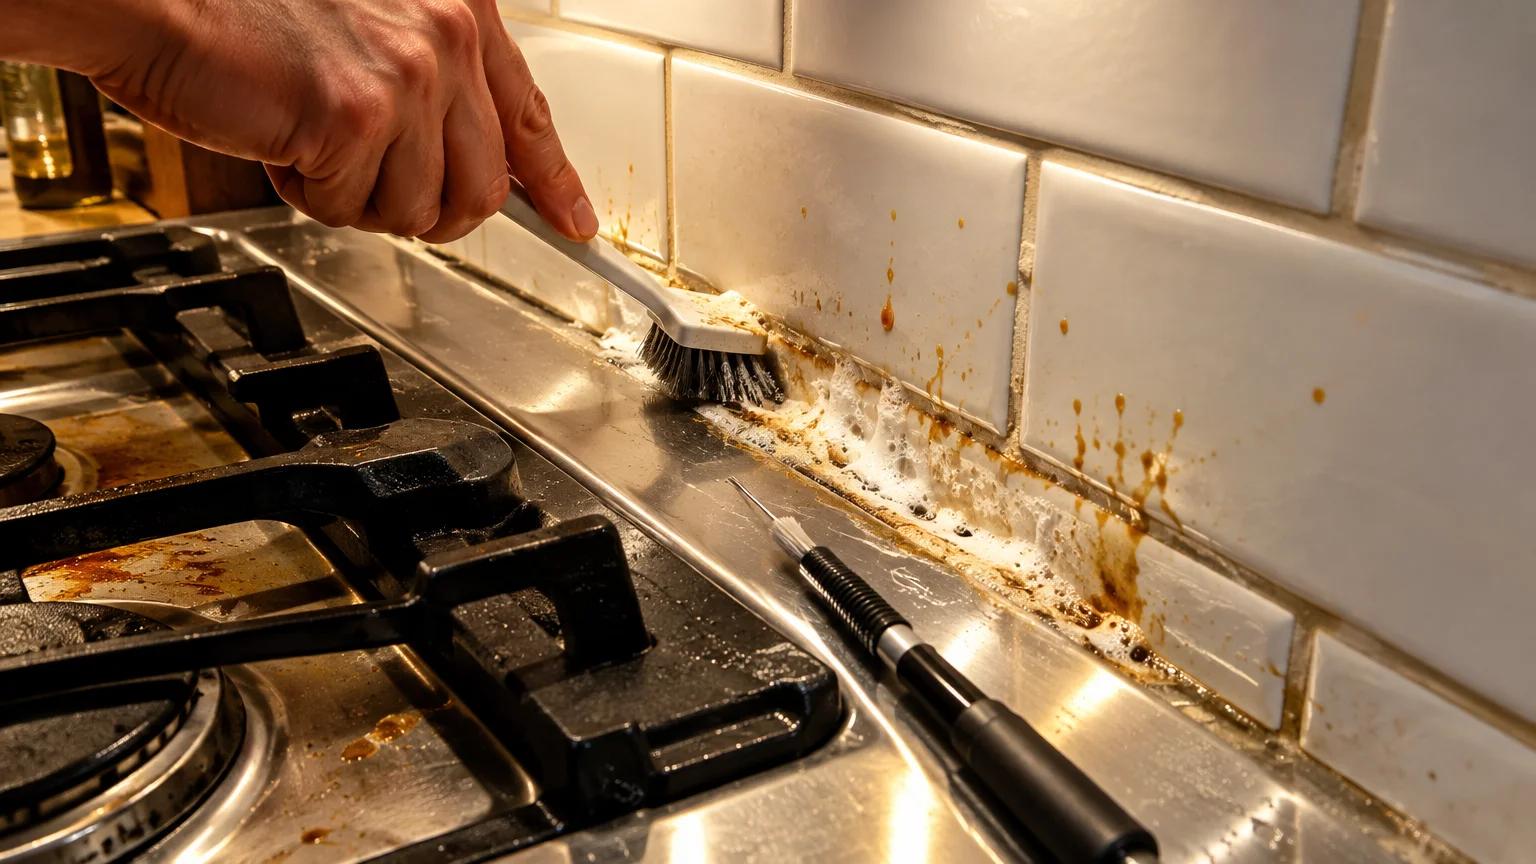
09 Backsplash Tile Grout and Stove Crevices
The narrow gap between your freestanding stove and adjacent counters catches dropped crumbs, sugar, and stray drippings. These hidden accumulations draw insect pests and generate foul odors near hot burners.
Wrap a thin silicone spatula or a ruler with a damp, soapy microfiber towel. Slide the wrapped tool down the crevice to retrieve trapped debris and sticky residue.
Slide flexible silicone stove gap covers into place after cleaning. These covers block stray food from falling into the opening during hectic holiday meal prep.
Inspect the tile backsplash directly behind your main cooking burners for yellowing grease splatter. Mist the tile with warm soapy water to loosen the sticky film.
Scrub grout lines gently using an old toothbrush and a paste made from baking soda. Wipe the tiles with a damp cloth to restore their clean, glossy appearance.
- Clear debris from side counter gaps using a cloth-wrapped spatula.
- Install silicone stove gap guards to prevent future food drops.
- Apply baking soda paste along grease-stained tile grout lines.
- Scrub the grout lines with a stiff brush and wipe the backsplash clean.
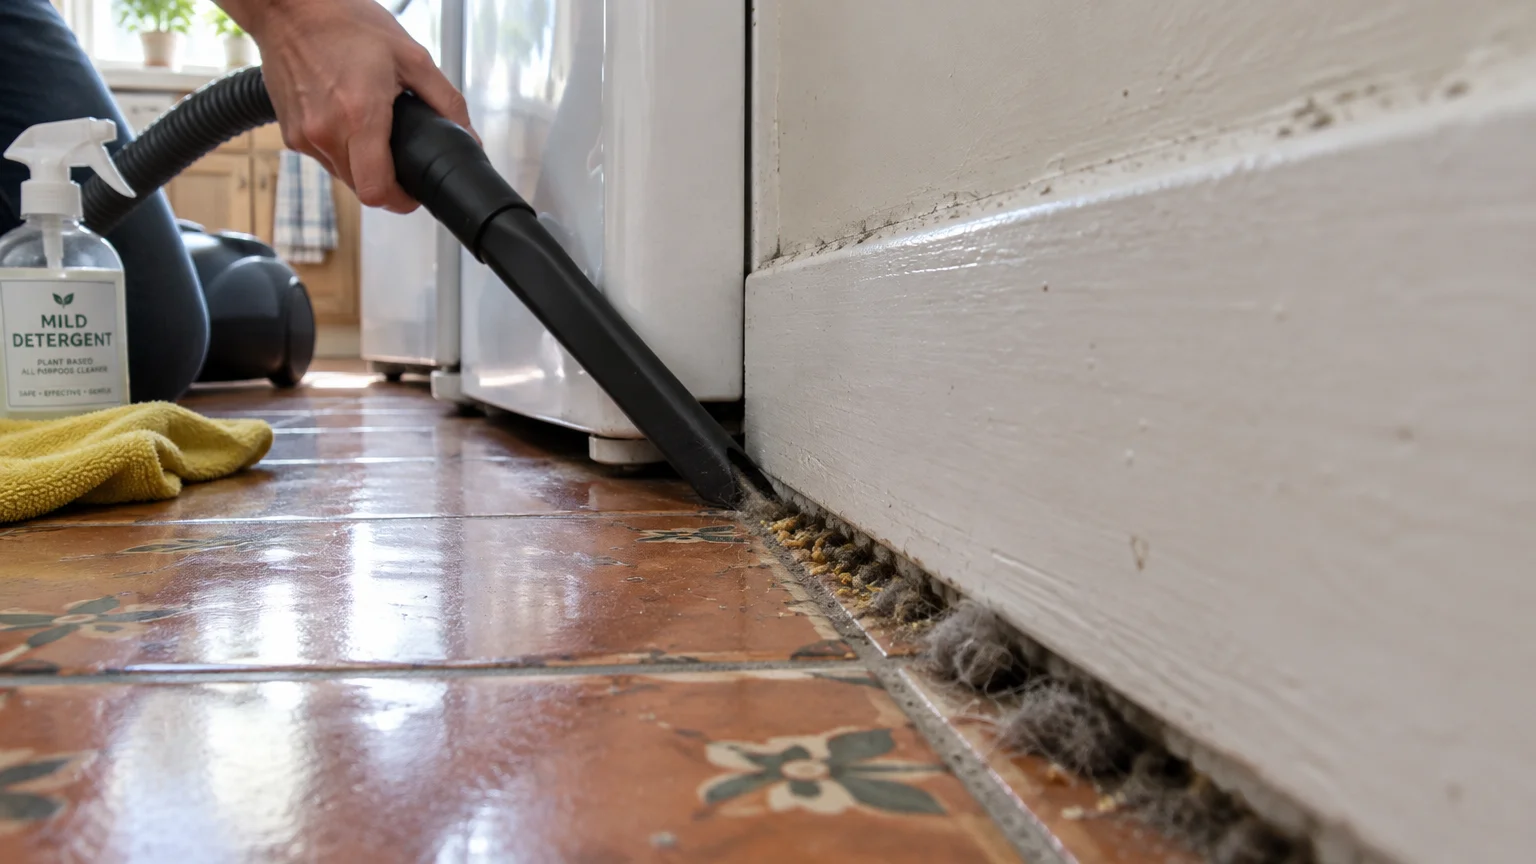
10 Baseboards and Floor Edges Surrounding Major Appliances
Kitchen floor perimeters gather sweeping dust, pet hair, and dried beverage splatters over time. Dusty baseboards subtly make an otherwise spotless kitchen appear neglected.
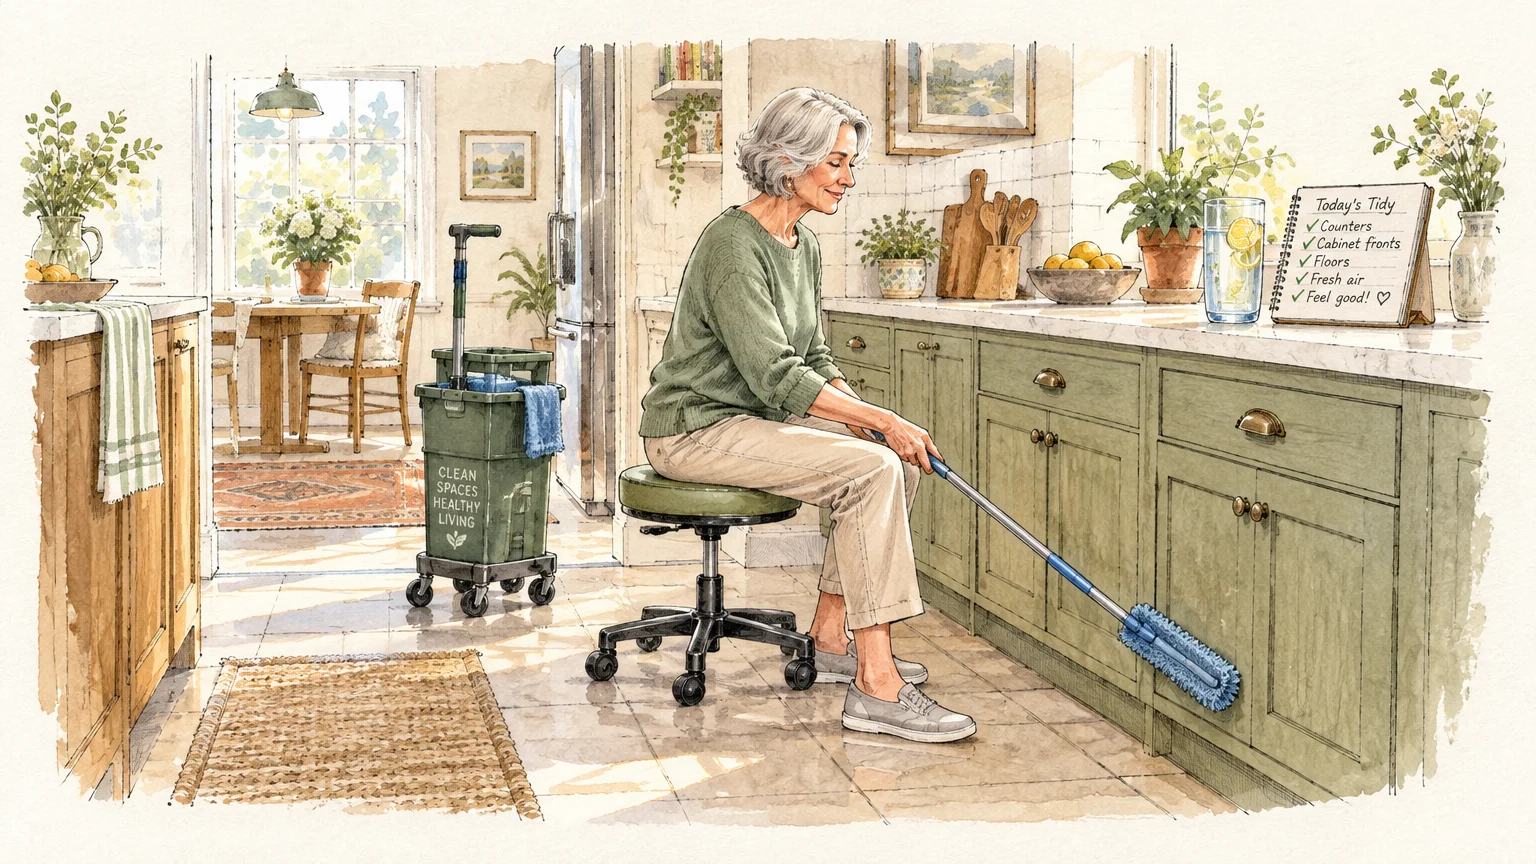
Kneeling on hard tile floors causes unnecessary strain on joints and lower backs. Protect your knees by sitting on a low rolling stool or using an extendable pole mop.
Vacuum along baseboards and appliance toe kicks using a crevice attachment with a soft dusting brush. Removing dry debris first prevents muddy streaks when you wipe the surface.
Dampen a flat microfiber mop pad with warm water and a splash of multi-surface cleaner. Run the mop smoothly along the trim, cleaning the seam where baseboard meets flooring.
Pay special attention to floor corners around the refrigerator water dispenser and dishwasher. Clearing mineral deposits and dried drips now prevents permanent floor stains.
- Vacuum baseboards and appliance toe kicks using a brush attachment.
- Use an extendable pole mop or rolling stool to avoid painful kneeling.
- Wipe trim seams with a damp microfiber pad and mild floor cleaner.
- Remove water marks around refrigerator dispensers and dishwasher bases.
Ergonomic Cleaning Strategies for Older Adults and Busy Cooks
Deep cleaning demands repetitive bending and reaching that quickly cause joint discomfort. Adopting smarter body mechanics protects your energy so you can enjoy Thanksgiving day.
Bring detachable parts like microwave trays and stove burner grates up to waist height. Cleaning items on your counter or island prevents prolonged back flexion over deep sinks.
Stand on a cushioned anti-fatigue mat while scrubbing items at the sink or stove. Supportive footwear with arch support reduces fatigue in your knees, hips, and feet.
Use long-handled tools to clean high cabinets and low floor trim without overextending. Staying grounded keeps your balance stable and prevents dangerous ladder falls.
Take a ten-minute break every forty-five minutes to hydrate and stretch your shoulders. Pacing your efforts keeps kitchen cleaning manageable and pain-free.
A Manageable 3-Day Kitchen Deep Clean Schedule
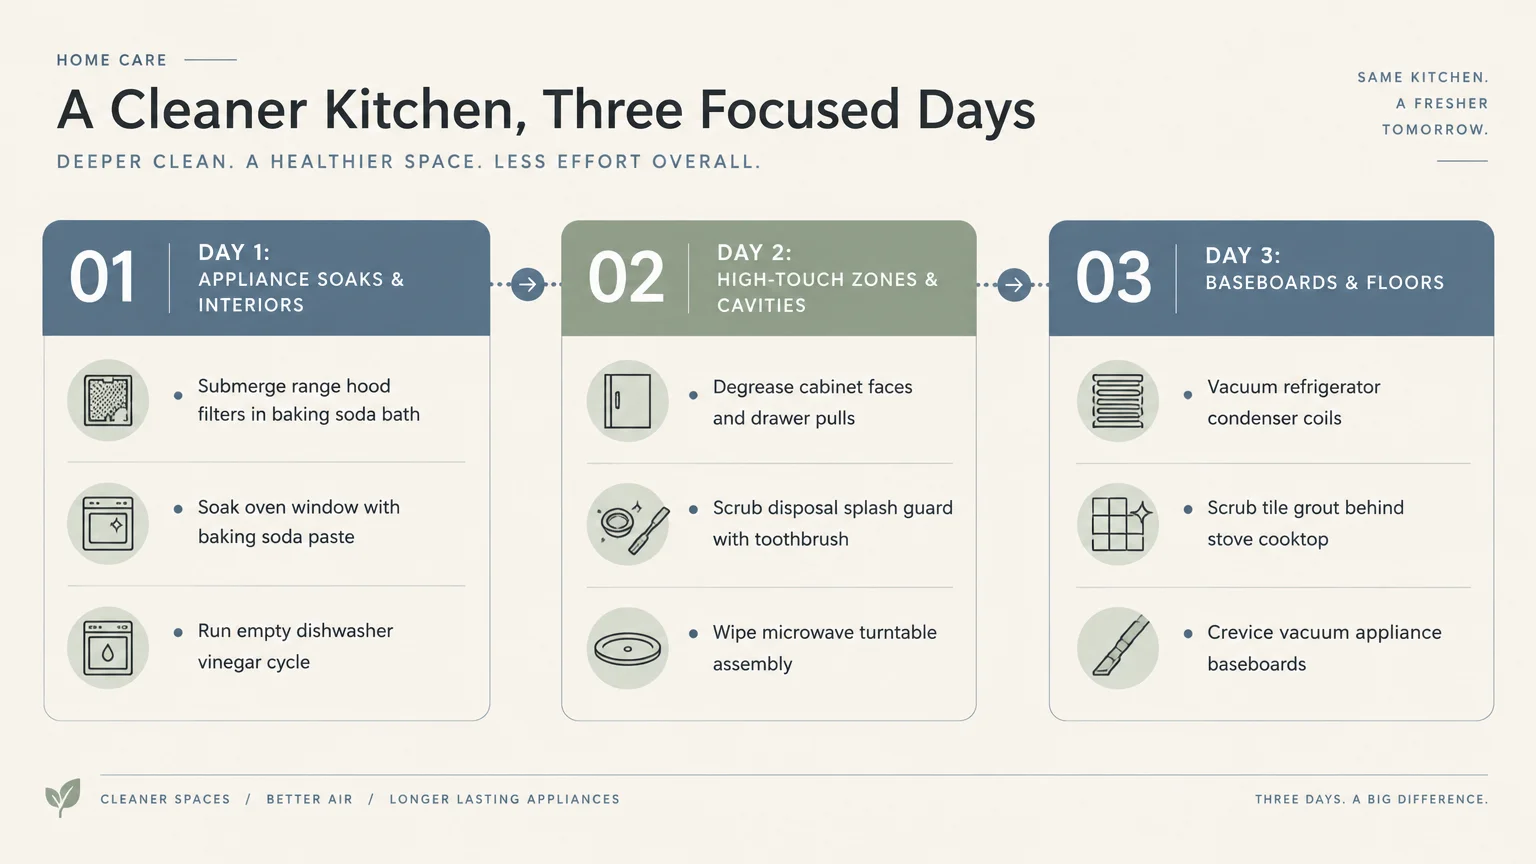
Attempting to scrub all ten corners in one marathon session leads to exhaustion. Splitting your cleaning checklist across three short days makes the project practical and calm.
Follow this phased schedule during the weekend before Thanksgiving to prepare your cooking space without feeling rushed.
Day 1: Heavy Appliances and Ventilation
Day one tackles the greasy mechanical components that require soaking and dwell time. Completing these tasks early ensures your appliances perform safely under heavy use.
- Clean range hood mesh filters and grease canopy.
- Brush and vacuum refrigerator condenser coils.
- Wash refrigerator door gaskets and check temperatures.
- Apply baking soda paste to the oven window and scrub clean.
Day 2: Sanitation Stations and Wet Zones
Day two focuses on water drainage and disinfection around primary prep areas. This phase establishes a sterile environment for thawing your turkey and chopping produce.
- Clean the dishwasher cylindrical filter and lower door lip.
- Descale the kitchen sink aerator screen in vinegar.
- Scrub the sink basin, faucet base, and caulk seam.
- Scrub the garbage disposal baffle and grind ice cubes.
Day 3: Surfaces, Detailing, and Floor Perimeters
Day three finishes the job with high-touch contact points and floor borders. Your kitchen will look radiant, organized, and ready for guests.
- Steam clean the microwave cavity and wash the turntable tray.
- Degrease cabinet doors, drawer pulls, and trash receptacles.
- Clear stove counter gaps and scrub backsplash tile grout.
- Vacuum and mop baseboards, appliance toe kicks, and corners.
Pre-Holiday Deep Clean vs. Thanksgiving Day Maintenance
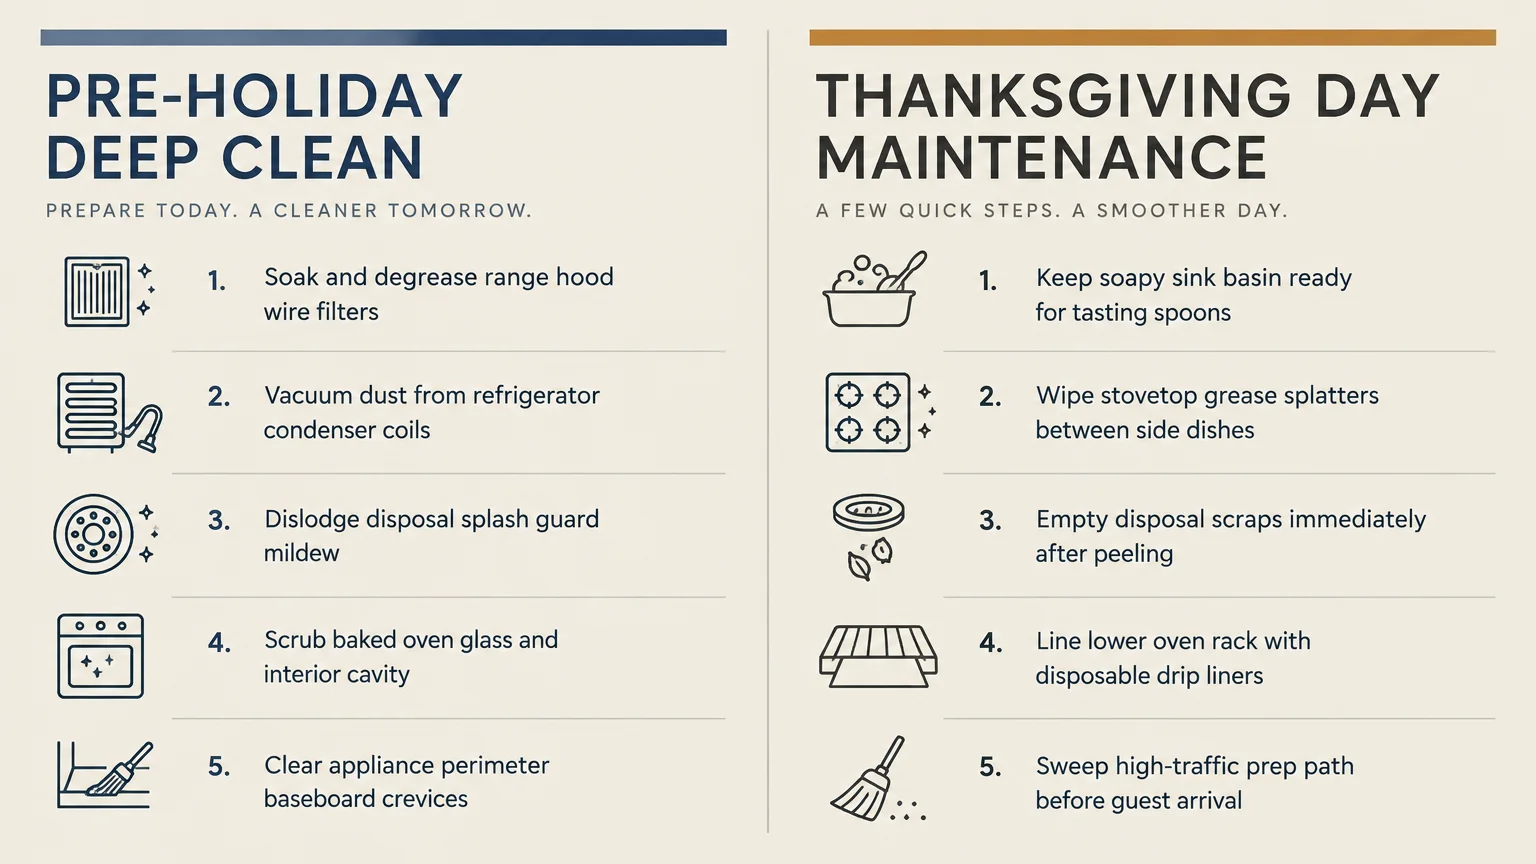
Knowing which tasks belong before the holiday and which belong on cooking day saves precious time. Refer to this quick guide to divide your efforts wisely.
| Kitchen Area | Pre-Thanksgiving Deep Clean Focus | Thanksgiving Day Quick Maintenance |
|---|---|---|
| Range Hood | Degrease mesh filters and scrub underside canopy. | Turn vent fan on high before searing or roasting begins. |
| Oven | Scour door window and vacuum charred base crumbs. | Wipe fresh stovetop spills immediately with a damp rag. |
| Refrigerator | Vacuum coils and wipe rubber door seals. | Check door closures to ensure full magnetic sealing. |
| Sink & Drain | Descale aerators and scrub disposal splash guard. | Keep disposal clear of fibrous celery stalks and poultry bones. |
| Cabinetry | Sanitize pulls, drawer edges, and trash lids. | Use clean paper towels to touch pulls when handling raw meat. |
Your Immediate Next Step
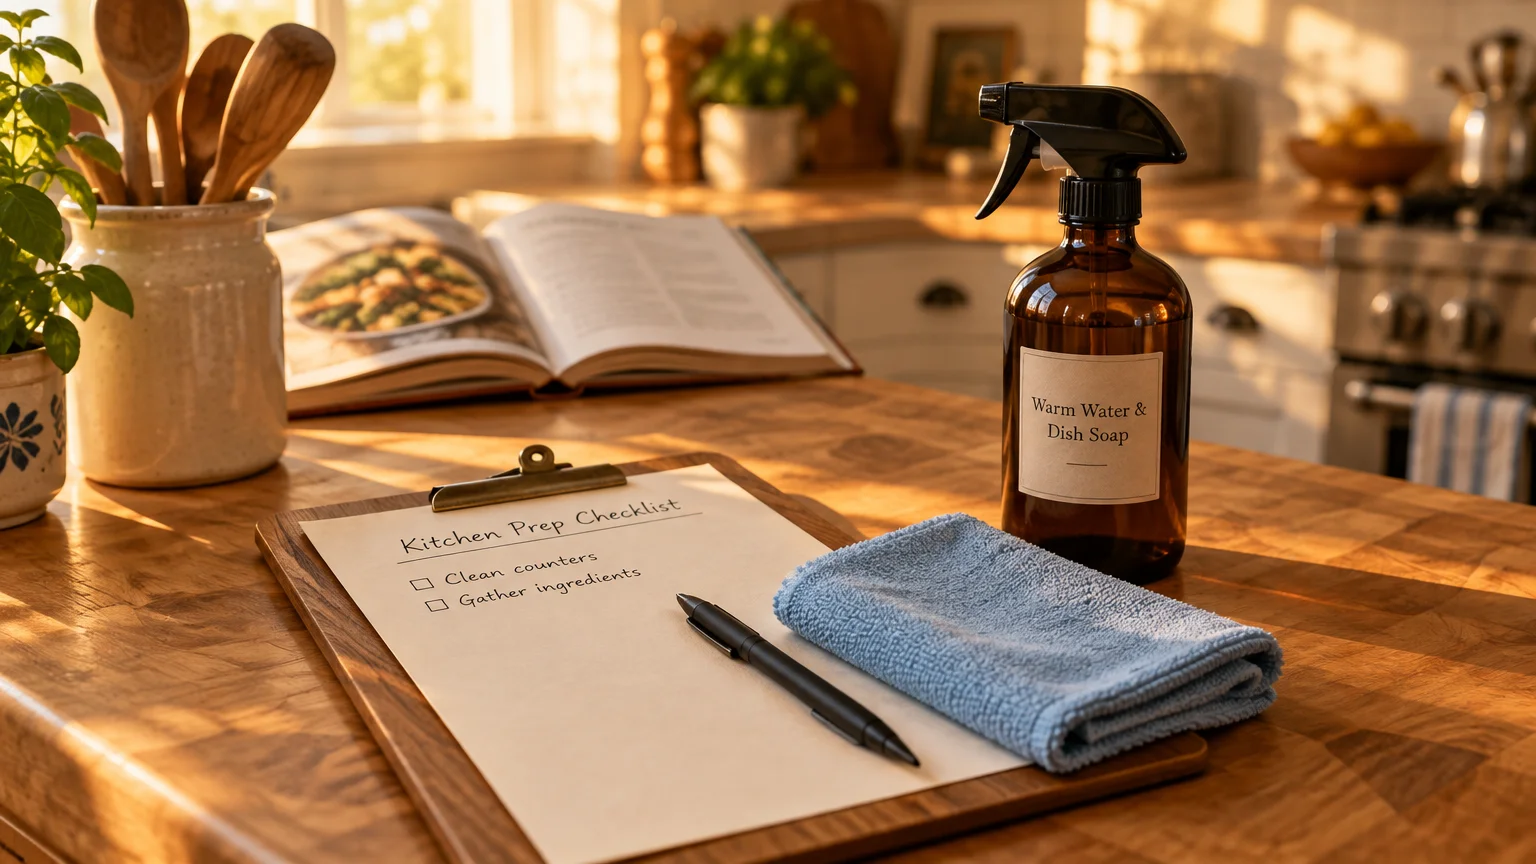
Take five minutes right now to inspect your range hood filter and check your cleaning supplies. Starting with this single simple step builds immediate momentum for a stress-free holiday feast.