Tackling smart fall home maintenance now saves you from exhausting chores once freezing weather arrives. A proactive winter prep cleaning routine also protects your household budget by preventing costly emergency repairs.
Drafty windows, overworked furnaces, and cluttered entryways make dark winter months feel chaotic. Investing a little time today transforms your living space into an energy-efficient, organized sanctuary.
Follow this focused fall cleaning checklist to prepare home for winter safely and systematically. You will enjoy lower utility bills, cleaner indoor air, and total peace of mind all season long.
01 Deep Clean and Service Your Heating System
Your heating system works hardest during freezing months, circulating air throughout every room. Giving it a thorough cleaning now keeps utility bills low and prevents hazardous breakdowns.
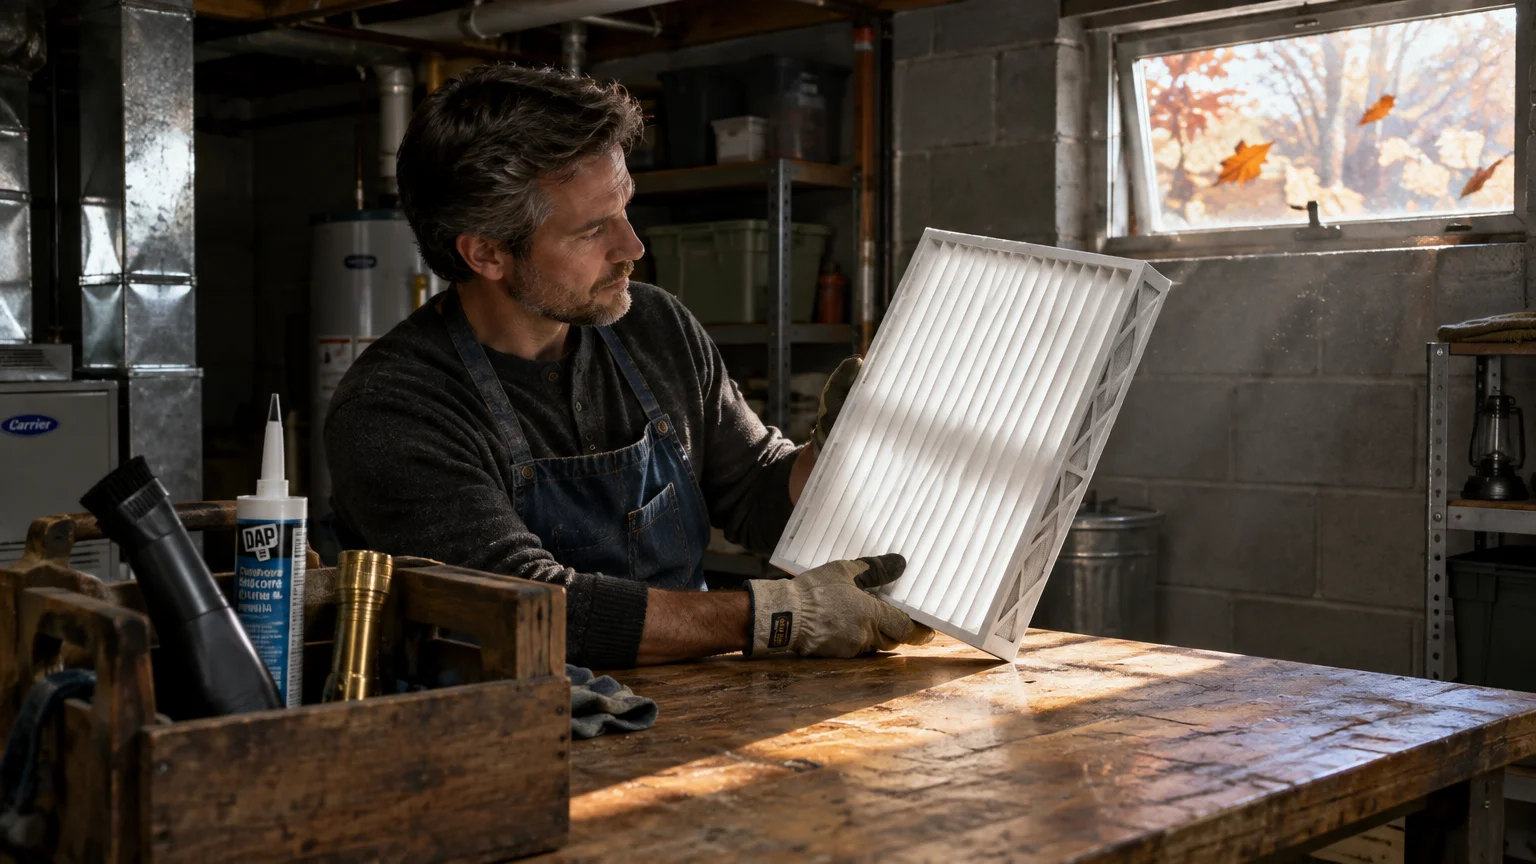
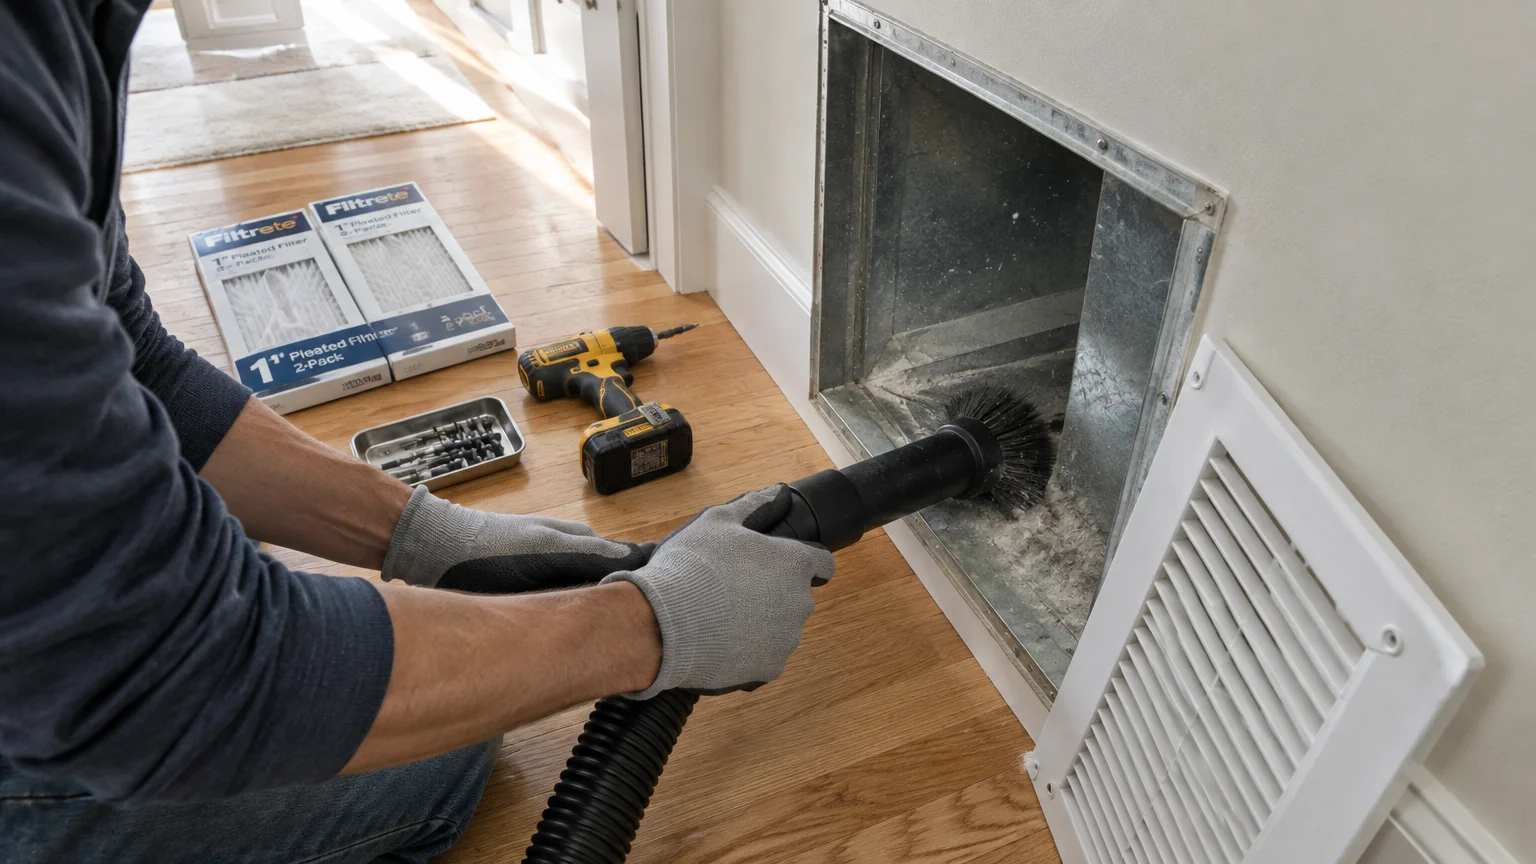
Start by pulling out your furnace filters. Vacuum away loose debris around the filter housing before sliding in fresh replacements.
According to the U.S. Department of Energy, replacing a dirty, clogged air filter can lower your system’s energy consumption by 5% to 15%. Clean filters also dramatically improve your indoor air quality.
ENERGY STAR recommends checking your filters monthly during peak winter use and swapping them out at least every 90 days. Keep two spare filters on hand so you never delay a replacement.
Inspect every supply register and return vent across your home. Unscrew the vent covers, wash them in warm soapy water, and vacuum deep inside the duct openings.
Schedule an annual tune-up with a certified technician before winter rushes in. A professional inspection ensures the heat exchanger remains crack-free, preventing dangerous carbon monoxide leaks.
02 Seal and Insulate Windows and Exterior Doors
Cold drafts force your heating system to run constantly, wasting energy and chilling your living spaces. Cleaning and sealing window frames and door perimeters creates an airtight, cozy barrier.
Scrub window sills, sash tracks, and door frames with a damp microfiber cloth to remove built-up summer dust. Caulk and weatherstripping adhere poorly to dirty, gritty surfaces.
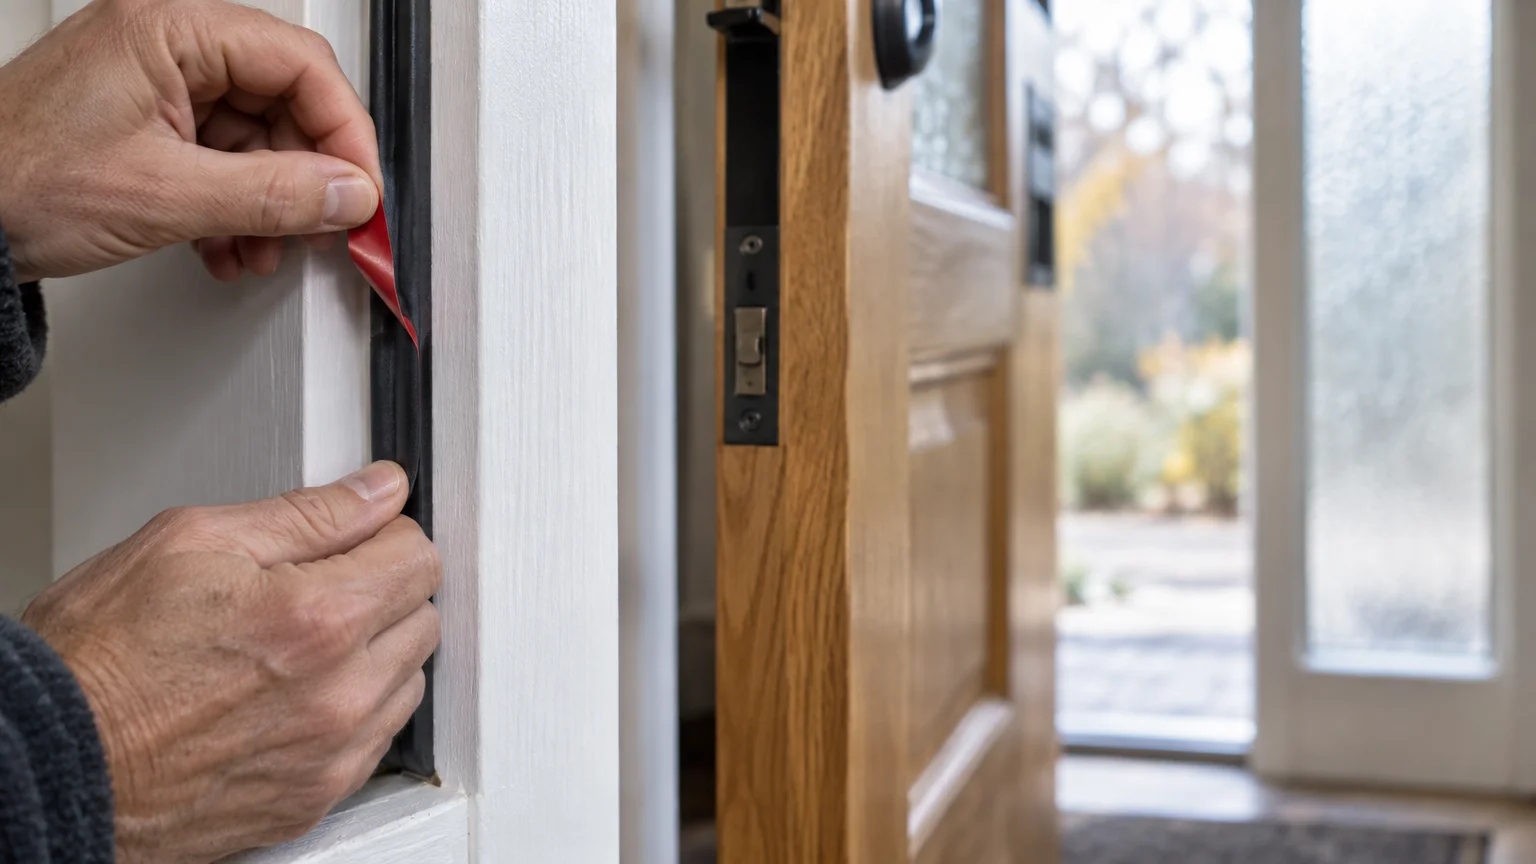
Examine the existing weatherstripping around exterior doors and operable windows. Replace any cracked, flattened, or brittle rubber strips with high-density foam or silicone seals.
Data from the EPA ENERGY STAR program shows that air sealing leaks and adding insulation saves homeowners an average of 15% on heating and cooling costs. That translates to roughly 11% in total energy bill savings.
Apply exterior-grade paintable caulk along exterior trim gaps and siding joints where cold air sneaks inside. Keep caulk lines smooth and uniform using a damp foam sponge.
Install a durable door sweep along the bottom of all exterior entryways. This simple physical barrier blocks chilly floor-level drafts and stops crawling pests from seeking winter shelter indoors.
03 Clear and Wash Gutters and Downspouts
Autumn leaves quickly choke drainage channels, creating heavy clogs that freeze solid once winter sets in. Standing water in clogged gutters expands into ice dams, destroying roof shingles and fascia boards.
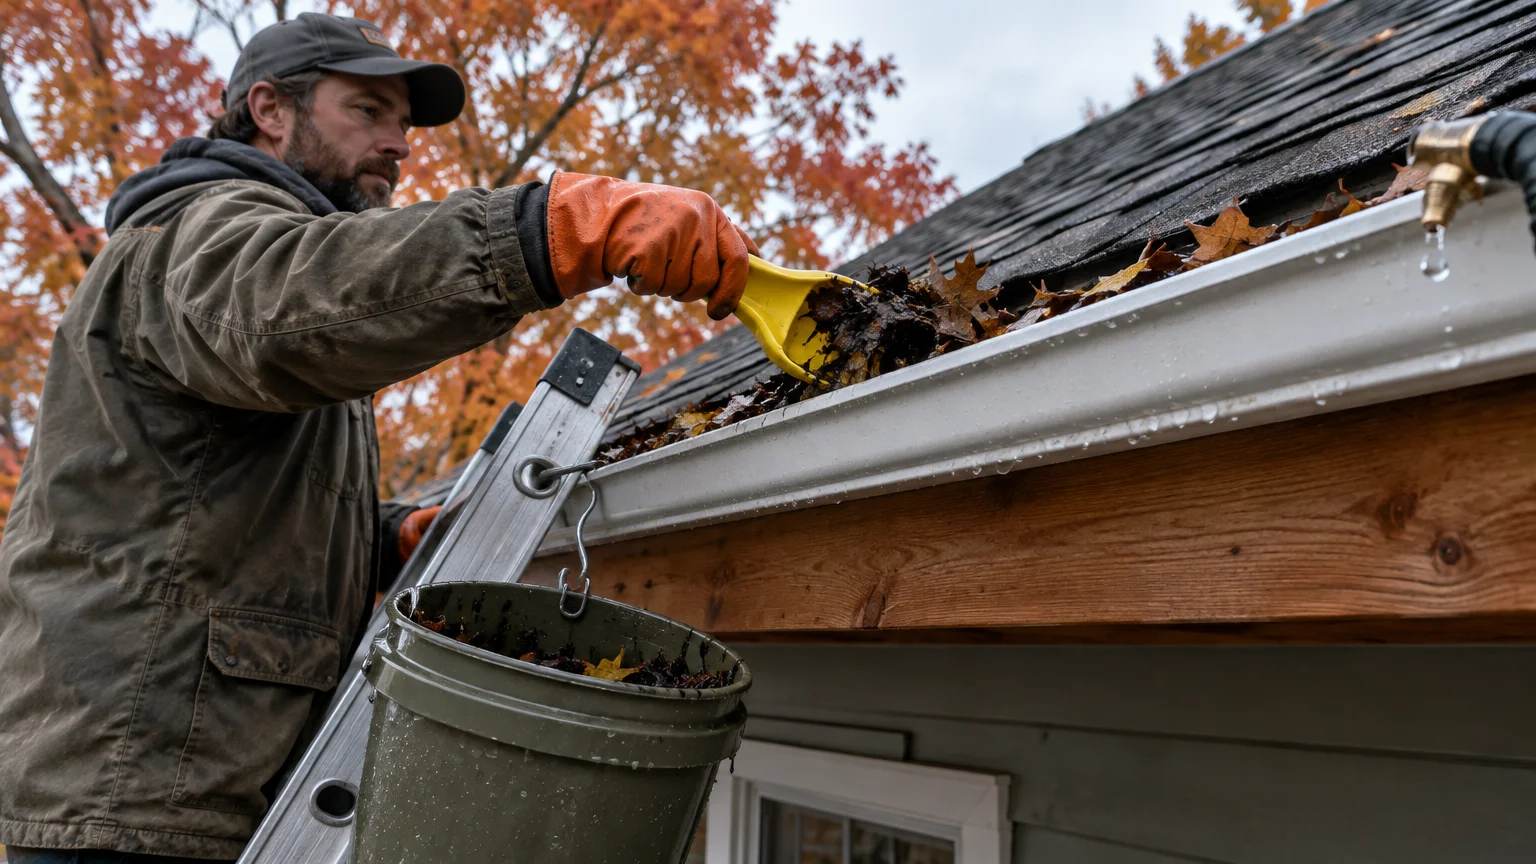
Scoop out decaying leaves, twigs, and mud using a handheld plastic gutter scoop. Drop the debris directly into a bucket rather than scattering it across your lawn.
Flush the gutters and downspouts with a high-pressure hose nozzle to ensure unrestricted drainage. Watch the downspout outlets at ground level to confirm water flows freely away from your foundation.
If you prefer professional help, residential gutter cleaning typically costs between $120 and $250 for a standard single-story home. This equates to roughly $1.00 to $2.25 per linear foot.
For two-story homes or steep roof pitches, hiring a licensed contractor eliminates dangerous ladder falls. Protecting your foundation and roofline is well worth the modest service investment.
04 Inspect and Sweep the Fireplace and Chimney
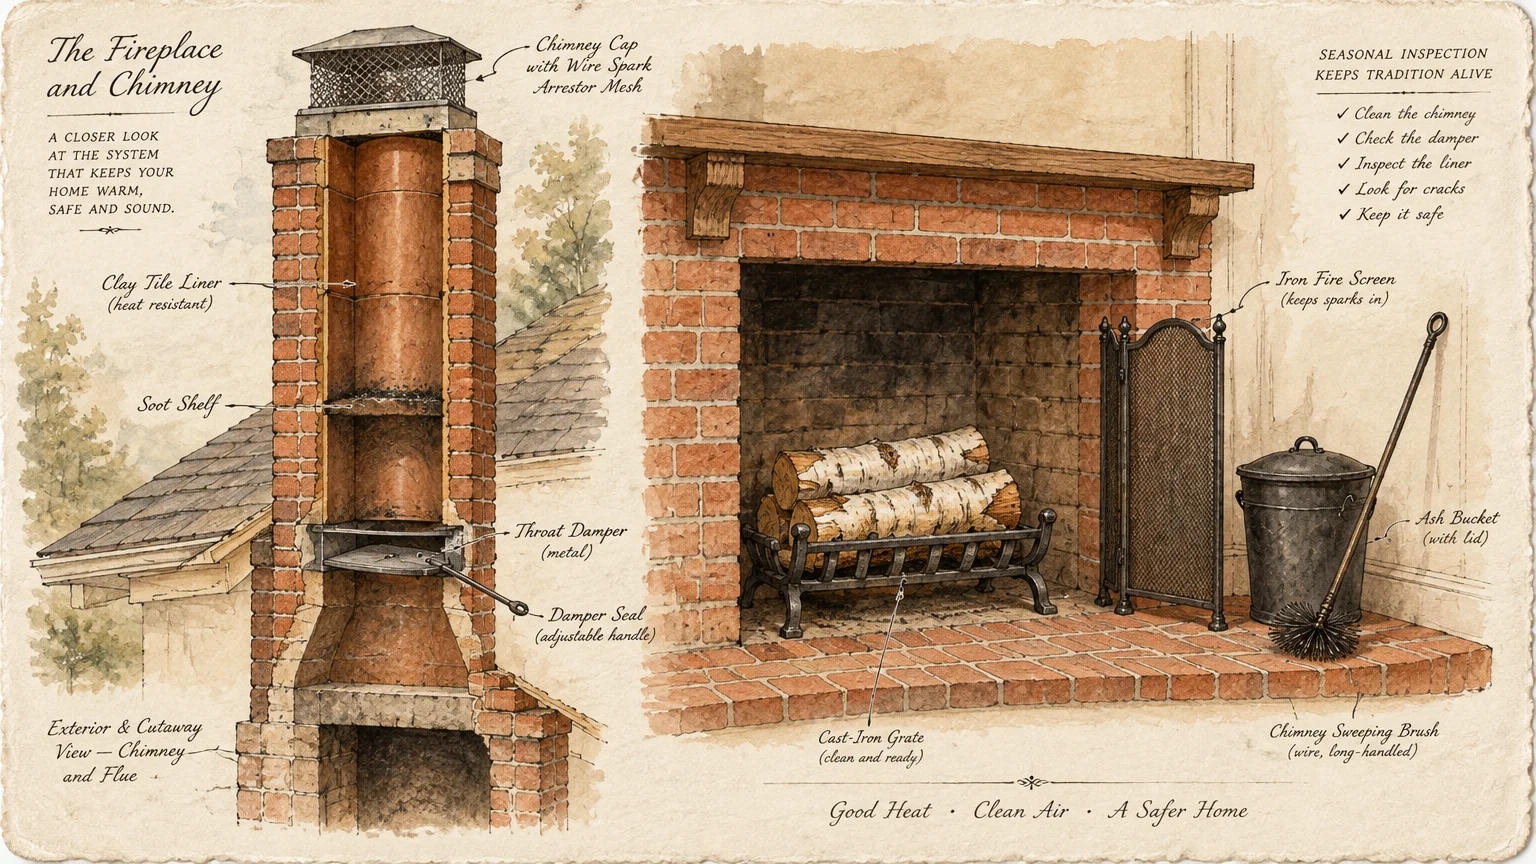
A crackling fire provides wonderful winter comfort, but dirty flues introduce catastrophic fire risks. Unburned wood gases condense inside your chimney flue as highly flammable creosote.
Reports from the National Fire Protection Association (NFPA) reveal that heating equipment is the second leading cause of U.S. home fires. Nearly half (46%) of these fires occur between December and February.
Under NFPA Standard 211, chimneys, fireplaces, and vents must be inspected at least once a year. Annual inspections prevent dangerous creosote accumulation from sparking an uncontrollable chimney fire.
A routine professional chimney sweep and safety inspection generally costs between $150 and $350. Certified sweeps possess specialized brushes, vacuum systems, and cameras to spot hidden flue liner cracks.
Clean the fireplace interior yourself by clearing out old ash with an ash-safe vacuum. Wipe down the hearth bricks, clean glass doors with soot remover, and check that the damper opens smoothly.
05 Test and Update Life Safety Alarms
Sealing your home tightly for winter traps indoor air, increasing the danger of smoke and carbon monoxide buildup. Reliable detectors serve as your primary defense during peak heating season.
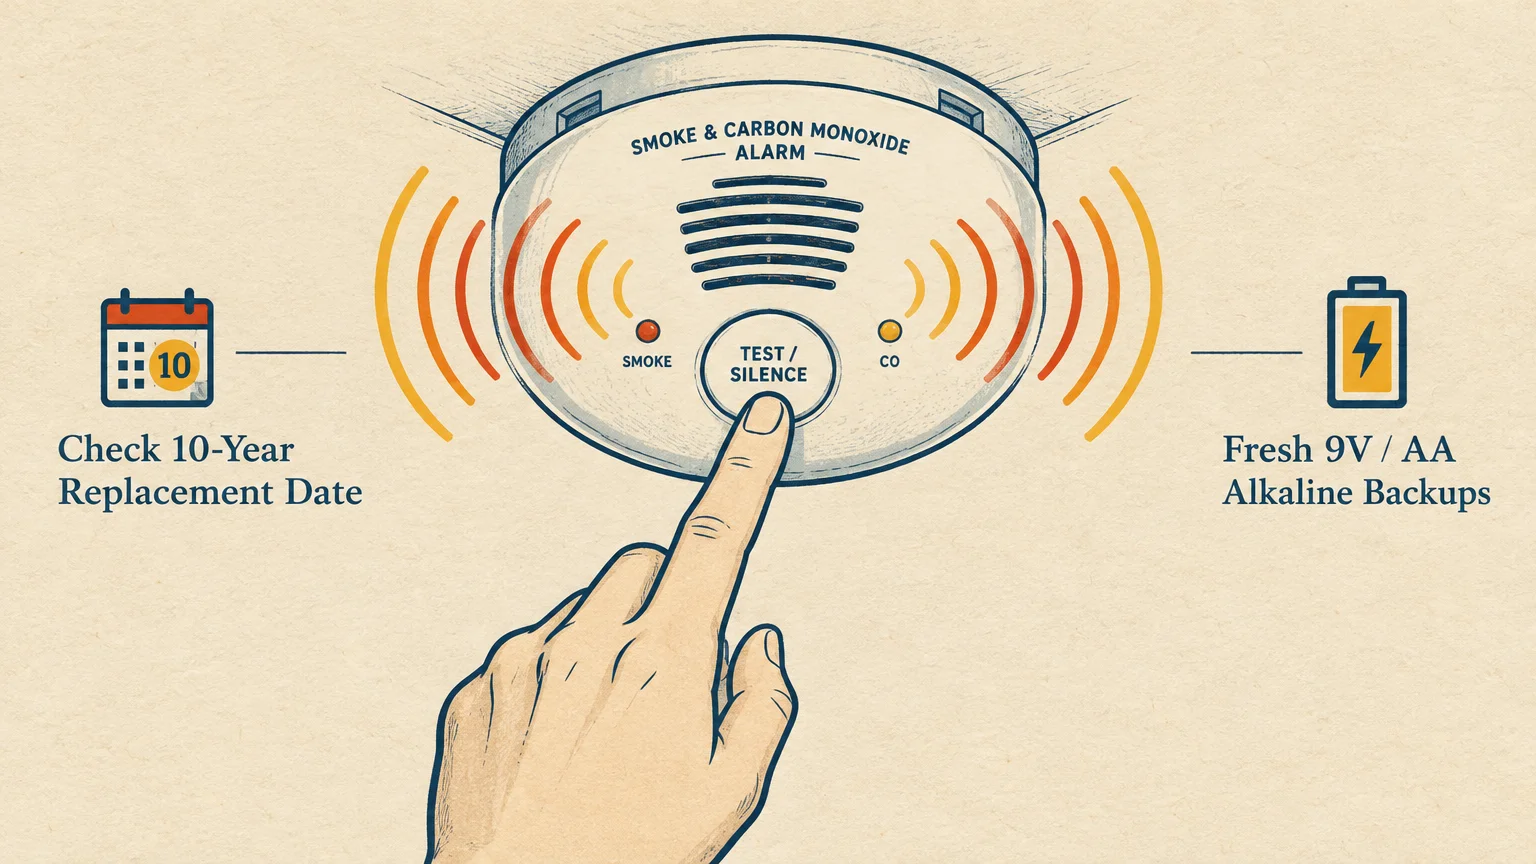
Press and hold the test button on every smoke and carbon monoxide detector in your home. Replace the backup batteries immediately if the alarm sounds faint or fails to activate.
The end of Daylight Saving Time on the first Sunday in November provides the ideal seasonal reminder for detector maintenance. Use this weekend to inspect expiration dates stamped on each unit.
Under U.S. Consumer Product Safety Commission and NFPA standards, smoke alarms require replacement every 10 years. Carbon monoxide detectors degrade faster and generally require replacement every 5 to 7 years.
Vacuum the detector covers using a soft brush attachment to remove insulating dust and cobwebs. Clean sensors detect smoke particles faster, giving your family crucial evacuation time during an emergency.
06 Clean, Dust, and Reverse Ceiling Fans
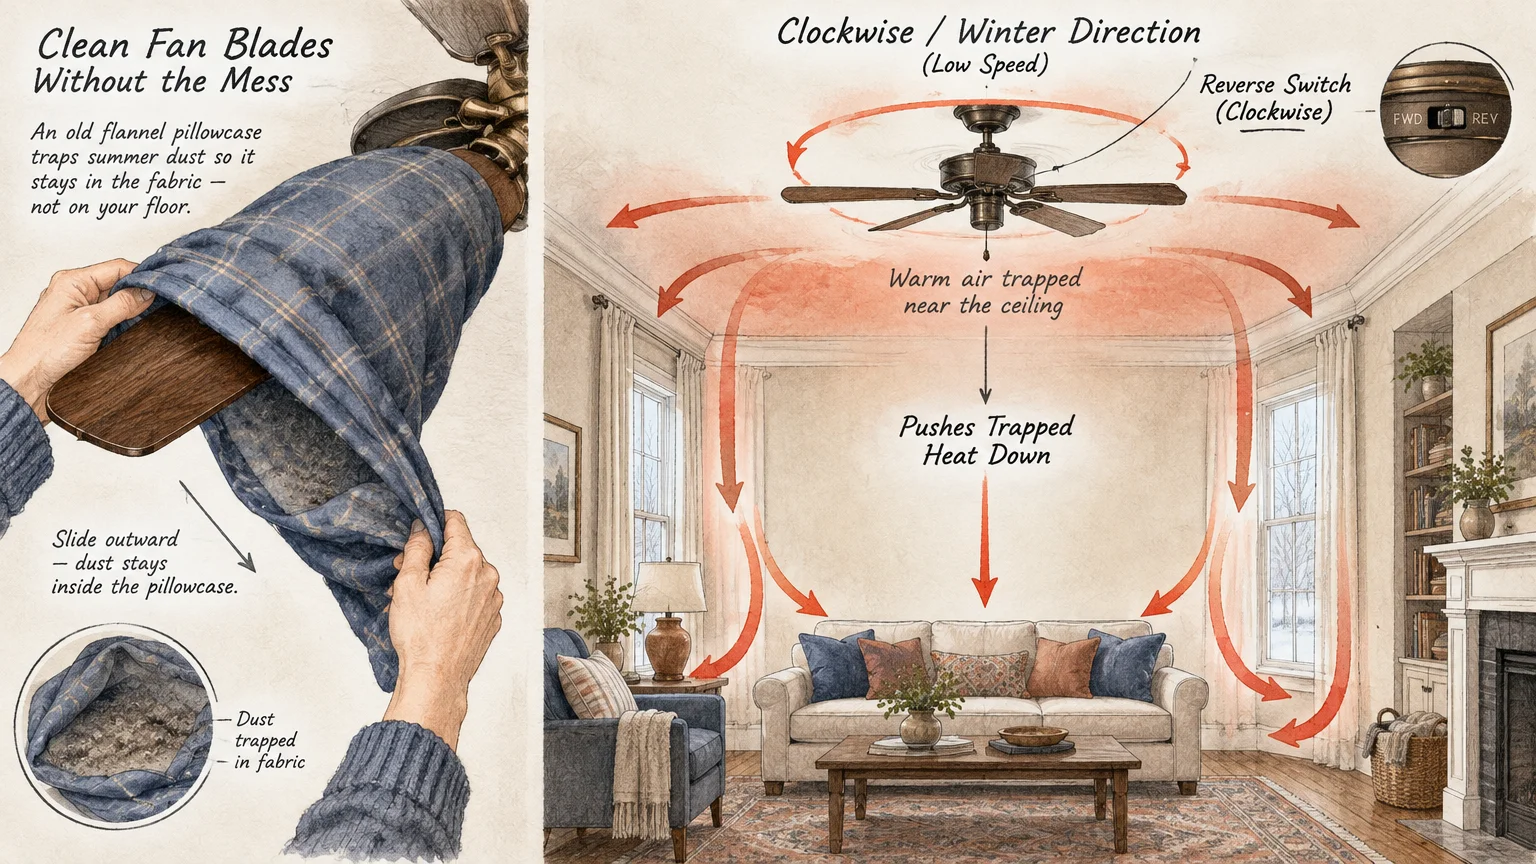
Ceiling fans collect significant quantities of dust, pollen, and pet dander during the summer months. Turning on a dirty fan in winter showers these accumulated allergens across your living spaces.
Slide an old pillowcase over each fan blade, pressing lightly as you pull it backward. This clever technique traps grime inside the fabric rather than dropping it onto your furniture.
Wipe down both sides of each blade with a warm microfiber cloth dampened with mild degreaser. Finish by wiping the central motor housing to prevent motor overheating.
Locate the small directional toggle switch on the side of the motor housing. Flip the switch so the fan blades rotate clockwise at the lowest speed setting.
Clockwise blade rotation creates a gentle updraft that redistributes warm air trapped against your ceiling down into your living areas. This even warmth eliminates cold spots without producing an uncomfortable draft.
07 Flush and Insulate Outdoor Faucets and Hoses
Water trapped inside exterior pipes freezes and expands, cracking copper lines and causing massive indoor floods when temperatures thaw. Preparing outdoor plumbing now protects your home from catastrophic water damage.
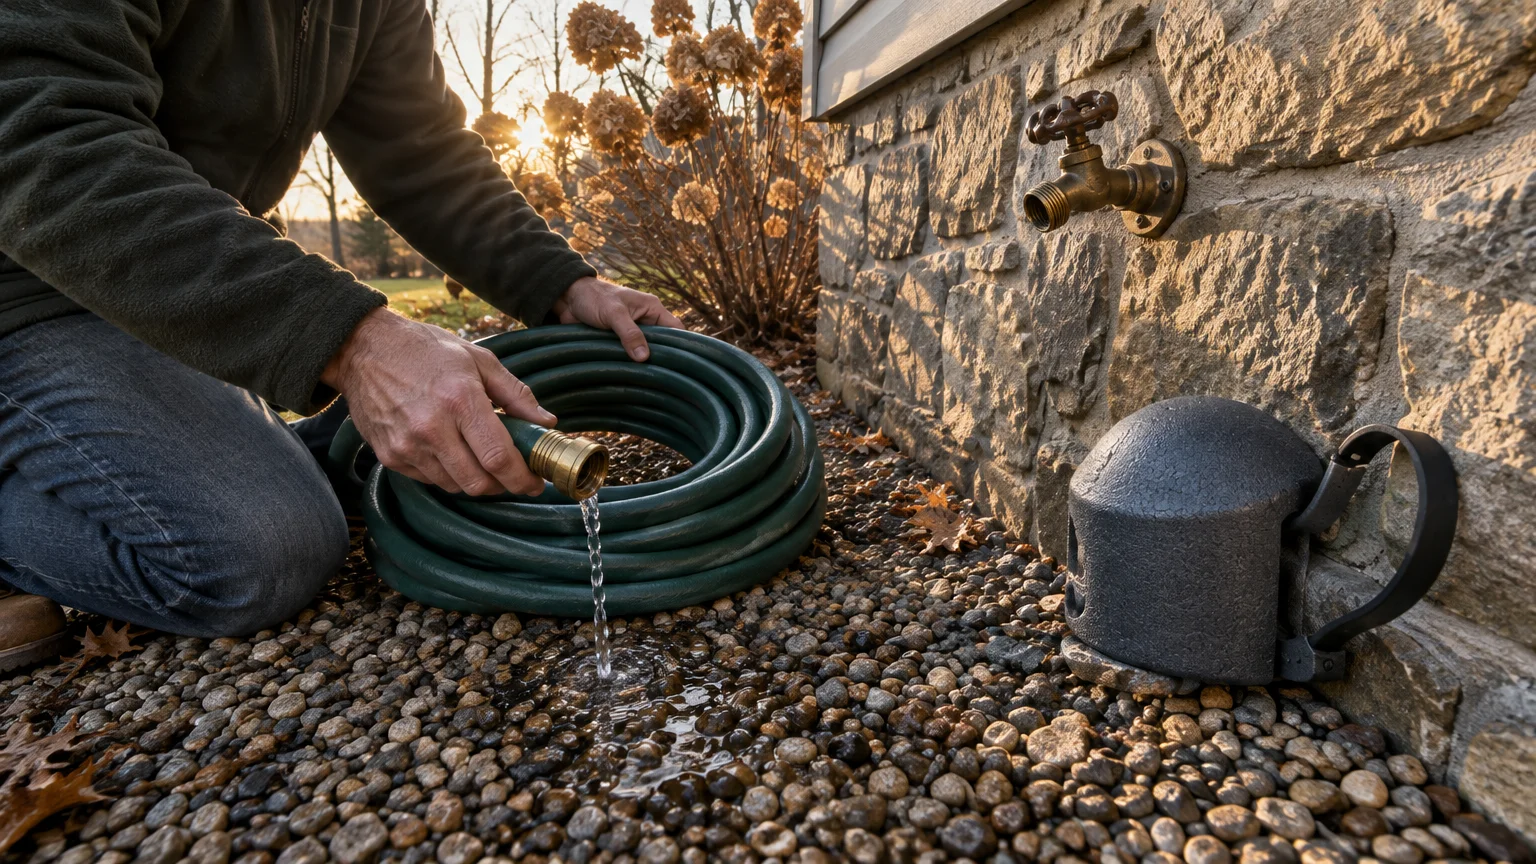
Disconnect all garden hoses, spray nozzles, and splitters from your outdoor spigots. Drain remaining water from hoses completely before coiling and hanging them inside a garage or shed.
Locate the interior shutoff valve for each exterior spigot, typically found in your basement or utility room. Turn the valve off, then open the outside spigot to drain residual line water.
Leave the outside tap open slightly through the winter so expanding residual moisture cannot rupture the pipe. Secure an insulated foam faucet cover tightly over each exterior spigot for extra thermal protection.
Rinse, sharpen, and lightly oil your garden tools before storing them away for the season. Clean, lubricated tools resist rust and stay sharp for spring planting chores.
08 Reset and Weatherproof the Entryway
Winter brings heavy boots, wet coats, road salt, and melting slush directly through your front door. Organizing this transition zone now prevents slippery floors and ruined interior flooring.
Wash down baseboards, entry doors, and nearby walls with an all-purpose cleaner to remove summer dirt. Apply a protective sealant or wax to hardwood floors near entrances to shield against salt damage.
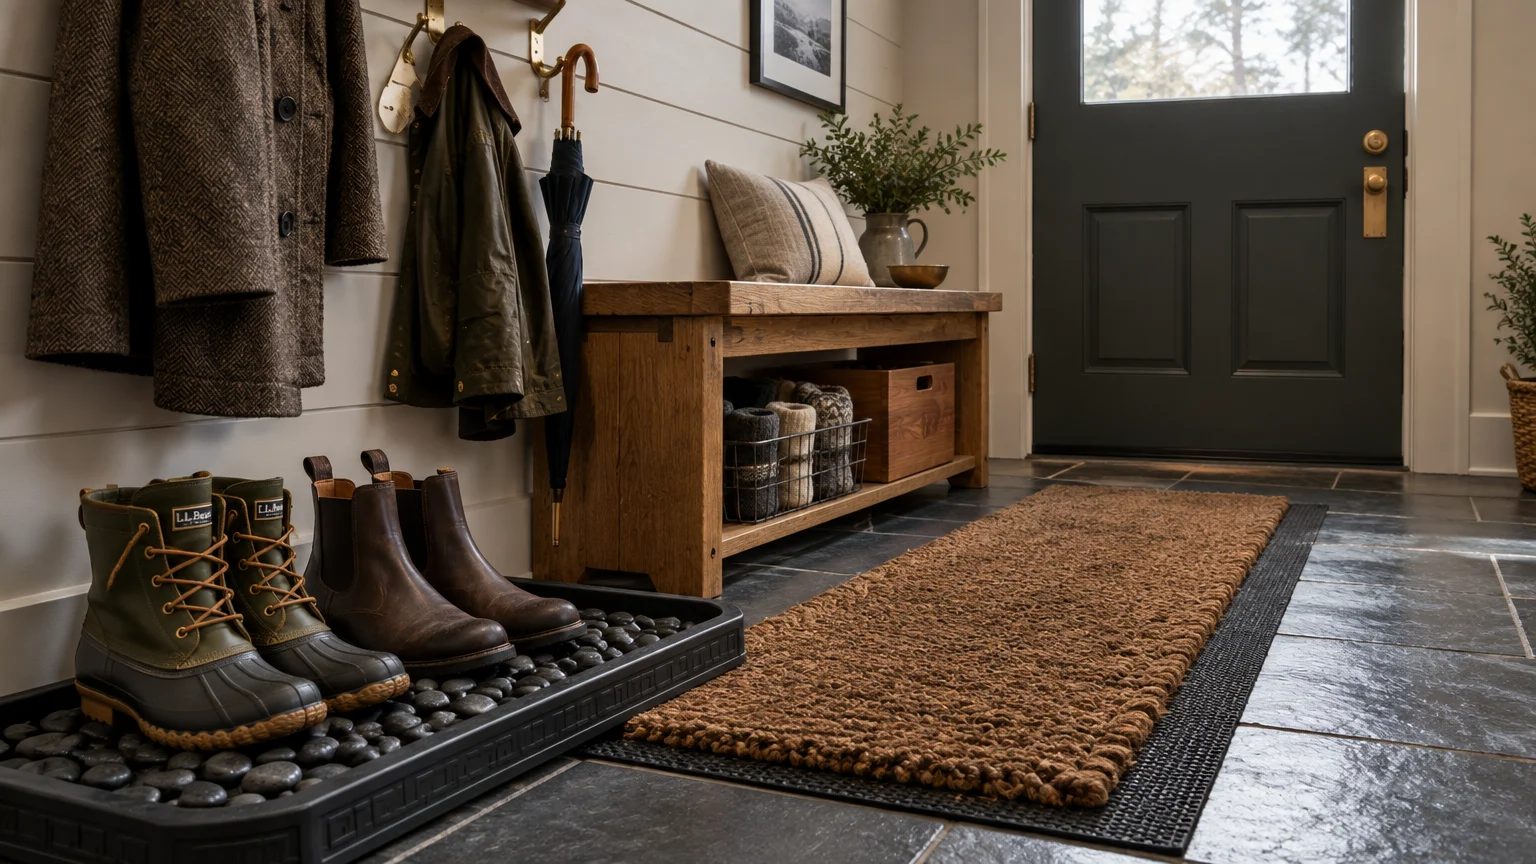
Place high-traction, absorbent walk-off mats both outside and inside every exterior door. Layering two mats captures abrasive grit and moisture before boots ever touch your primary flooring.
Set out deep, heavy-duty boot trays lined with smooth river stones. The stones elevate wet footwear above draining slush, allowing boots and shoes to dry significantly faster.
Mount sturdy wall hooks at varying heights so adults and children can hang heavy winter outerwear easily. Dedicate labeled baskets for gloves, scarves, and beanies to eliminate morning departure bottlenecks.
09 Clean Refrigerator Coils and Prep the Pantry
Cold weather brings holiday baking, family gatherings, and bulk winter grocery stocking. Prepping your kitchen appliances and dry storage areas ensures maximum efficiency and food safety.
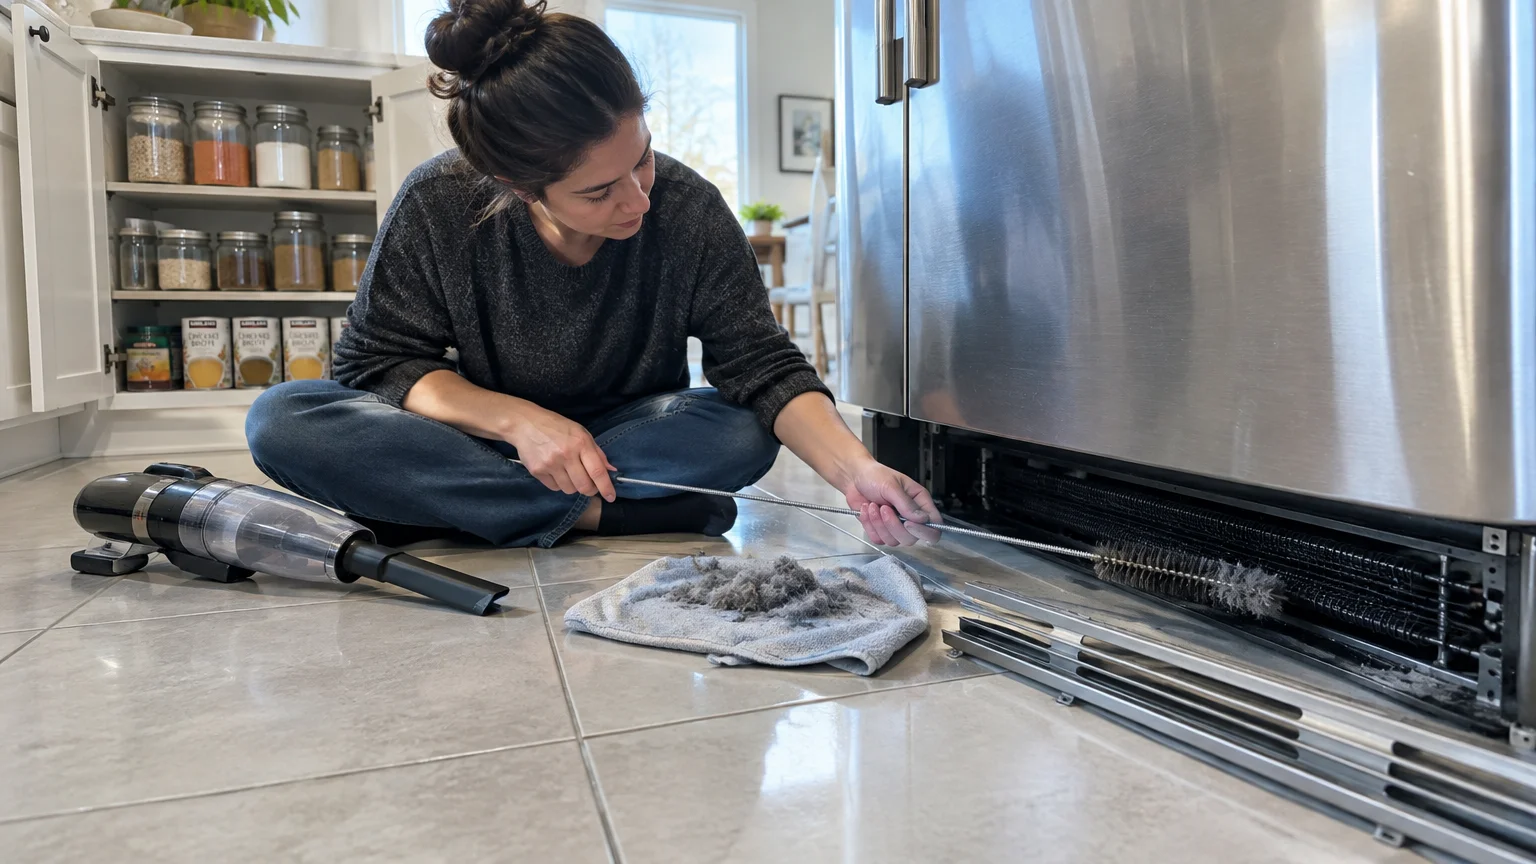
Unplug your refrigerator and pull it away from the wall to access the condenser coils. Vacuum the coils thoroughly with a narrow crevice wand or specialized condenser coil brush.
Dusty coils force the compressor to run hotter and longer, driving up electricity bills and shortening appliance life. Clean coils maintain stable temperatures easily, even when the fridge is packed with holiday leftovers.
Empty your pantry shelves completely and toss expired spices, stale snacks, and outdated canned goods. Wipe the shelving surfaces clean with warm soapy water to eliminate lingering crumbs and insect attractants.
Group your hearty winter staples—like soups, broths, grains, and baking supplies—into clear, labeled bins. Keeping frequently used winter items visible prevents duplicate purchases and speeds up weeknight dinner prep.

10 Deep Clean and Swap Heavy Winter Linens
Snuggling into a fresh, warm bed makes freezing winter nights deeply restful. Swapping out lightweight summer textiles for cozy winter bedding prevents nighttime chills and improves sleep quality.
Strip beds completely and wash light summer sheets, storing them in breathable fabric bags. Launder heavy winter duvets, wool blankets, and flannel sheets on gentle cycles with warm water.
Rotate your mattress 180 degrees from head to foot to promote even wear and prevent body impressions. Vacuum the entire mattress top and sides using an upholstery attachment to eliminate dust mites.
Sprinkle baking soda over the bare mattress, let it sit for an hour to absorb odors, and vacuum it thoroughly. This freshening routine creates a clean, hypoallergenic foundation for your warm winter bedding.
Wash or dry clean your heavy winter window drapes before hanging them up. Heavy curtains trap insulating dead air against window glass, reducing radiant heat loss on bitter winter nights.
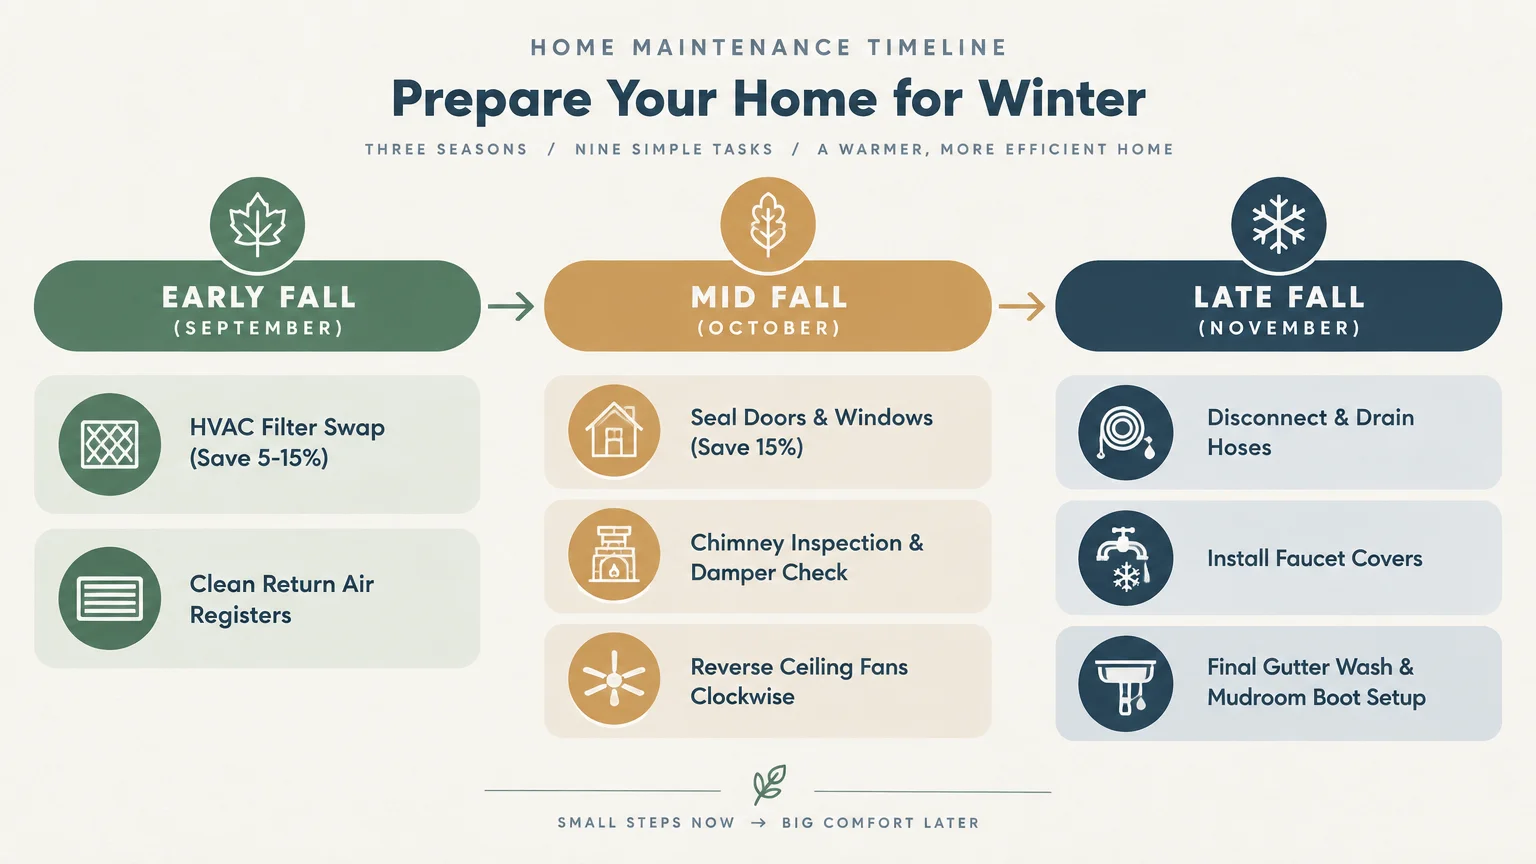
Fall Home Maintenance and Winter Prep Schedule
Planning your seasonal chores across several weekends keeps winter prep cleaning manageable and affordable. Use this operational schedule to allocate your budget and time effectively.
| Maintenance Task | Optimal Timing | DIY or Professional | Estimated Cost or Savings |
|---|---|---|---|
| HVAC Filter & Vents | Early Autumn (September) | DIY | 5% to 15% heating energy savings |
| Caulking & Weatherstripping | Early Autumn (September) | DIY | Averages 15% heating/cooling savings |
| Chimney & Flue Inspection | Mid-Autumn (October) | Professional (NFPA 211) | $150 to $350 service cost |
| Gutter & Downspout Cleanout | Late Autumn (After leaf drop) | DIY or Professional | $120 to $250 for professional cleaning |
| Outdoor Spigot Winterization | Mid-to-Late Autumn | DIY | Prevents thousands in burst pipe repairs |
| Alarm Testing & Battery Swap | First Sunday in November | DIY | $10 to $25 for fresh batteries |
| Ceiling Fan Direction Change | Late Autumn (November) | DIY | Reduces ceiling heat stratification |
| Entryway Mudroom Reset | Late Autumn (November) | DIY | Protects indoor floors from salt/water |

Comprehensive Fall Cleaning Checklist
Keep your household organized with this quick reference checklist. Check off each seasonal cleaning tips item as you move through your indoor and outdoor spaces.
- Inspect, vacuum, and replace the main furnace air filter.
- Remove, wash, and reinstall supply and return vent grates.
- Check exterior door sweeps and replace worn weatherstripping.
- Caulk gaps around exterior window trim and door jambs.
- Clear leaves, sticks, and sludge from gutters and downspout runs.
- Schedule a certified chimney sweep inspection before your first fire.
- Test all smoke and carbon monoxide alarms; install fresh backup batteries.
- Dust ceiling fan blades and toggle the directional switch clockwise.
- Disconnect garden hoses, drain outdoor spigots, and install insulated covers.
- Set up heavy-duty boot trays, boot brushes, and walk-off floor mats.
- Vacuum refrigerator condenser coils and organize pantry staples into bins.
- Wash flannel sheets, launder heavy winter duvets, and rotate mattresses.
Your Practical Next Step This Weekend
Do not attempt to tackle all ten chores in a single afternoon. Overextending yourself leads to burnout and half-finished maintenance projects.
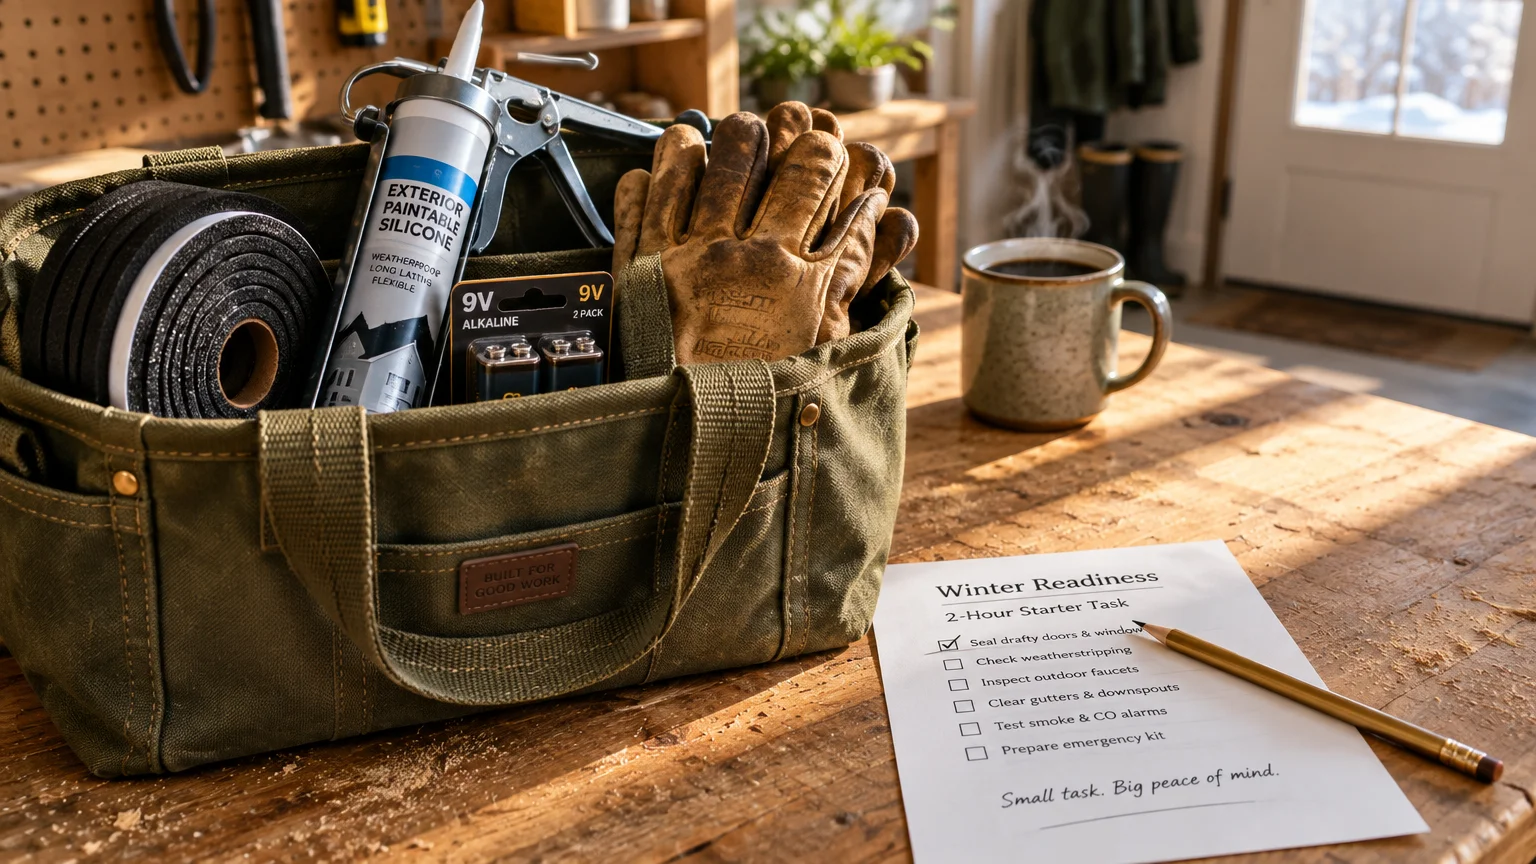
Walk through your home this Saturday morning with a notepad and complete task number two: inspecting your window and door weatherstripping. Sealing just one drafty exterior doorway takes twenty minutes and produces immediate, noticeable warmth.
Once you finish that quick win, pick two outdoor maintenance items for Sunday afternoon. Spreading these seasonal cleaning tips across the month keeps your home operating efficiently, safely, and comfortably all winter long.