Wiping down your windows and mirrors should leave your rooms feeling brighter and refreshed within minutes. Instead, stubborn streaks and cloudiness often force you to reclean the same surface three times.
You can achieve crystal-clear, streak-free glass by trading old paper towels and harsh formulas for targeted techniques. The secret lies in simple physical mechanics and balanced DIY cleaning solutions.
These ten reliable cleaning tricks eliminate haze, dissolve stubborn bathroom splatters, and cut your overall cleaning time in half. You will transform reflective surfaces throughout your home with minimal physical effort.
Why Glass and Mirrors Show Streaks
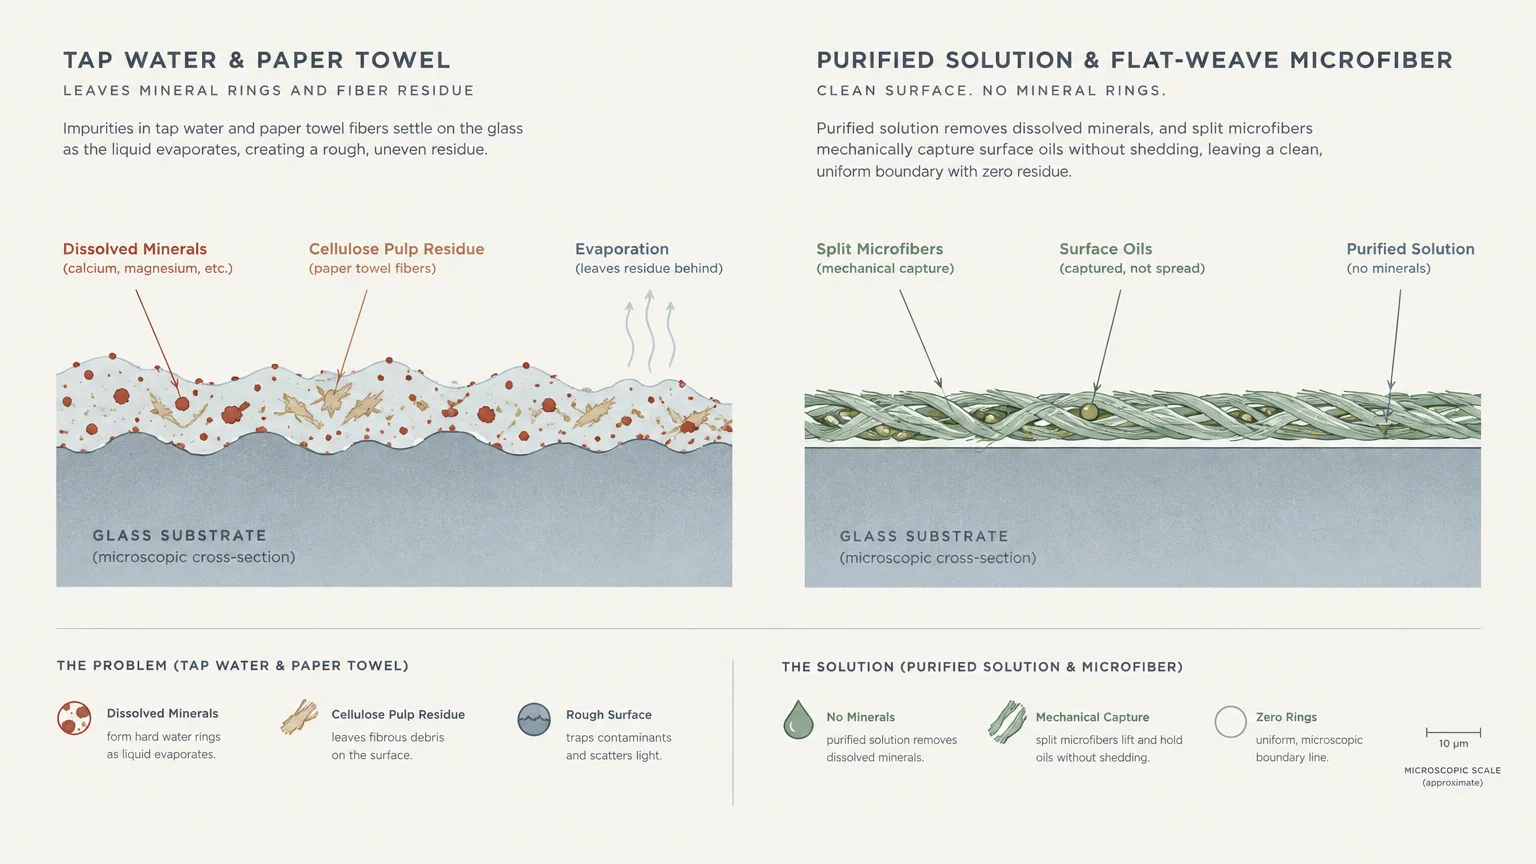
Streaks occur when evaporated water leaves suspended minerals or detergent residues behind on smooth panes. Commercial sprays often carry dyes and synthetic fragrances that redeposit onto your reflective surface as you wipe.
Furthermore, wood pulp from standard paper towels sheds microscopic lint across the glass. This debris creates a persistent cloudy film whenever natural sunlight hits the surface.
Changing your cleaning tools and balancing your liquids resolves this common frustration immediately. You will save valuable time while achieving genuine optical clarity throughout your living space.
01 Ditch Paper Towels for Flat-Weave Microfiber
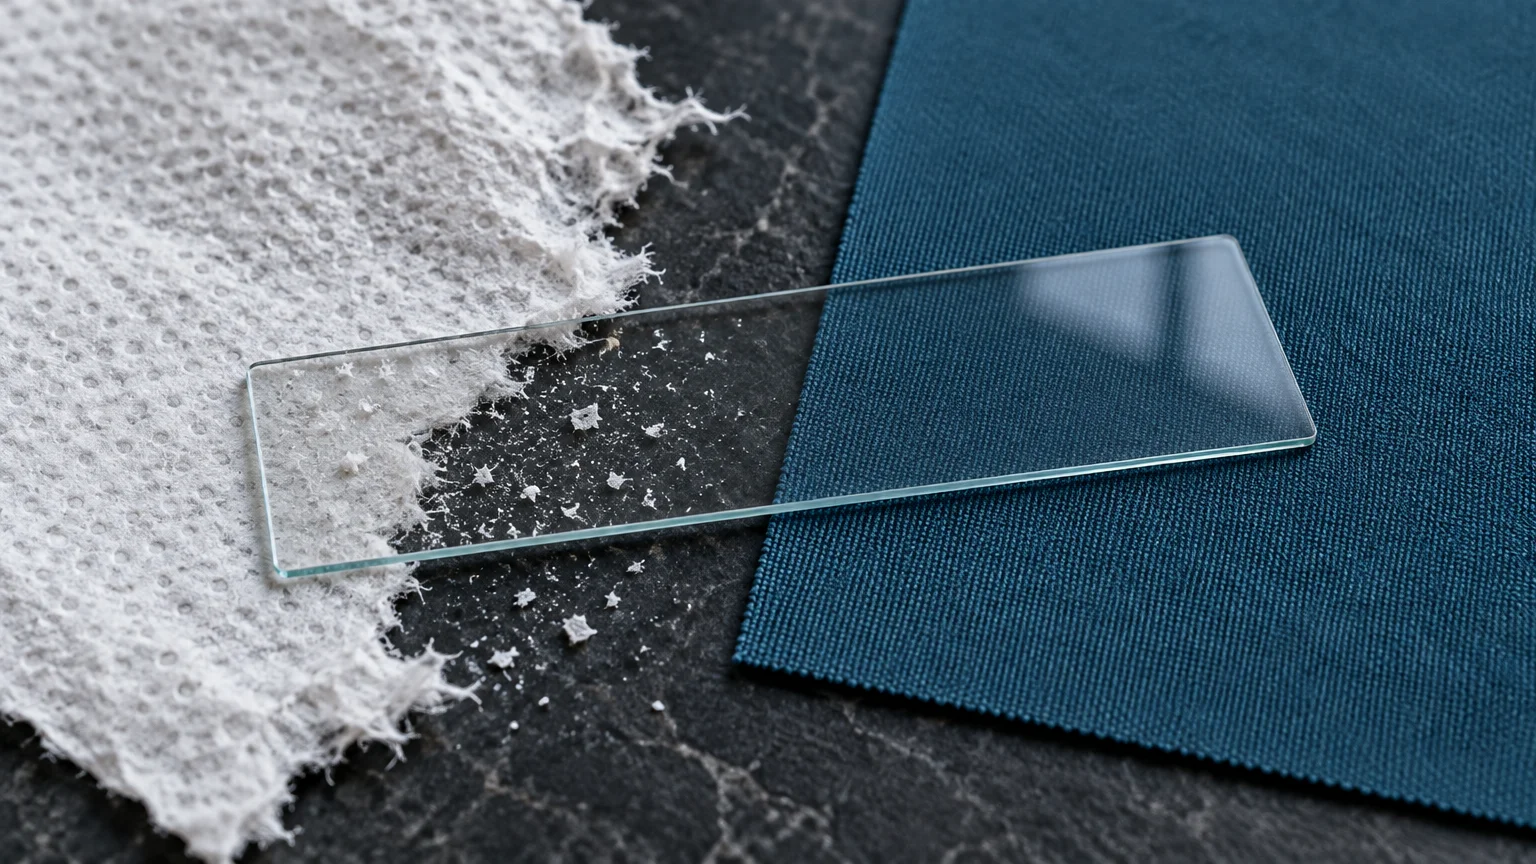
Standard paper towels feel convenient, but they shed tiny cellulose fibers across freshly washed glass surfaces. These loose fibers cling to residual moisture and leave a hazy film behind.
Switch to tightly woven, flat-weave microfiber cloths designed specifically for glass and electronic displays. Unlike plush microfiber towels, flat-weave cloths contain no loose loops that can trap dust or snag on corners.
Microfiber uses split synthetic threads to mechanically capture microscopic debris and oil without scratching the glass pane. The U.S. EPA Safer Choice Program promotes methods that cut down on harsh airborne pollutants during indoor surface maintenance.
Always wash your microfiber cloths separately from standard cotton towels. Never use liquid fabric softeners; they coat synthetic filaments with silicone wax and destroy their electrostatic cleaning capacity.
02 Master the Two-Cloth Cleaning System
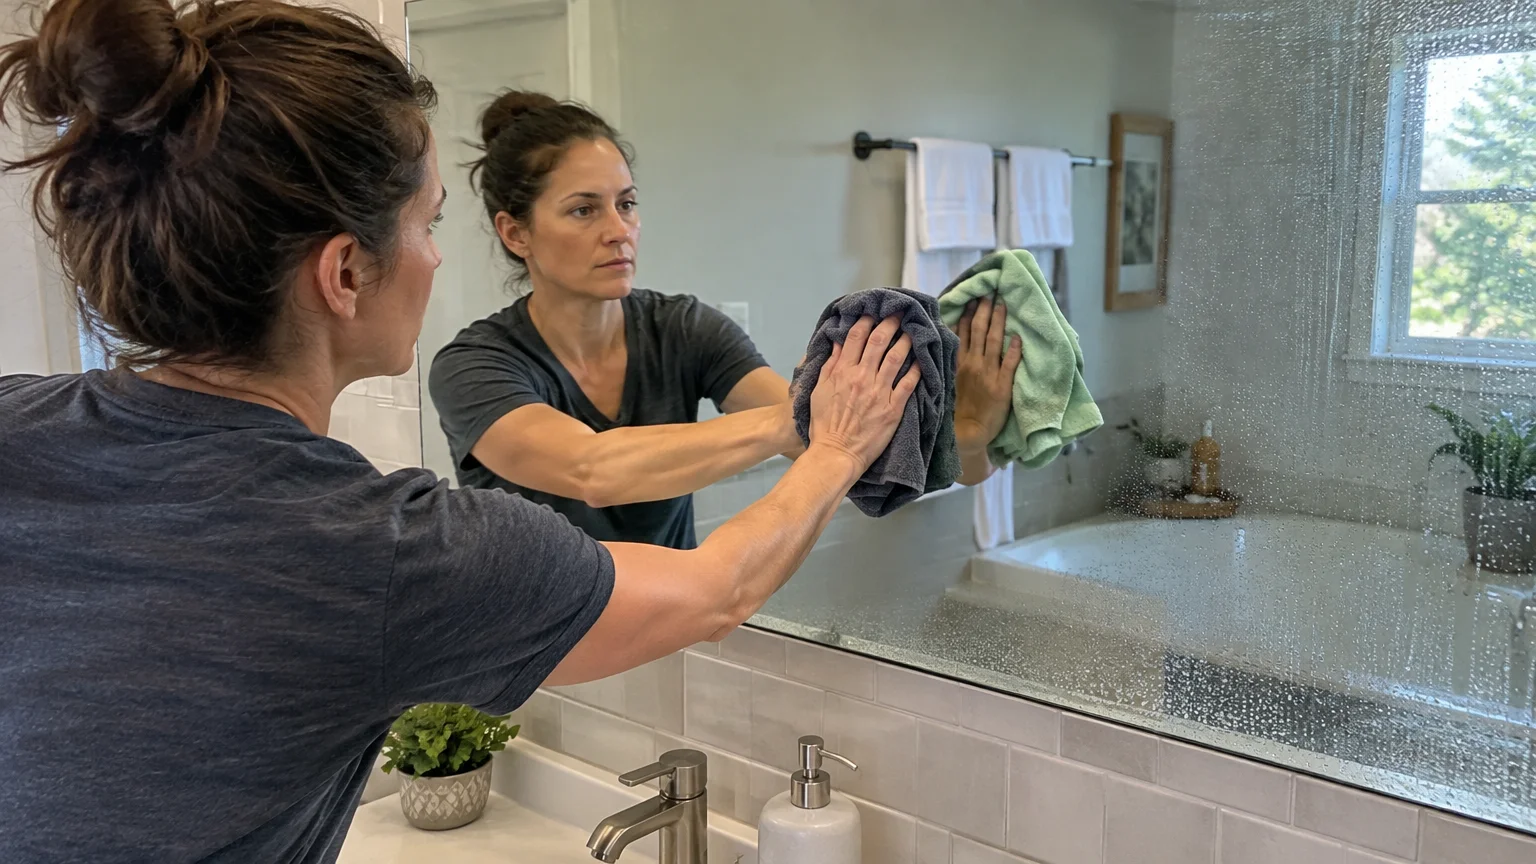
Wiping glass with a single damp rag merely spreads grease around before leaving dirty liquid to evaporate. You can eliminate this issue completely by adopting the two-cloth method.
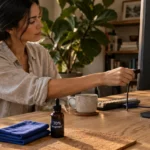
Dedicate your first cloth to loosening dust and dissolving surface oils with your chosen cleaning spray. Wring this working towel out so it remains damp rather than dripping wet.
Immediately follow behind with a completely dry, clean microfiber cloth in your opposite hand. Buff the pane using light strokes before remaining moisture droplets dry on their own.
This rapid drying step lifts suspended minerals before they settle on the surface. You will produce a crystal-clear finish in half the usual time while reducing arm fatigue.
03 Dissolve Heavy Splatters with Isopropyl Alcohol
Bathroom mirrors endure unique daily messes—particularly sticky hairspray resins and crusty toothpaste splatters. Standard water-based glass cleaners rarely dissolve these stubborn binders on the first wipe.
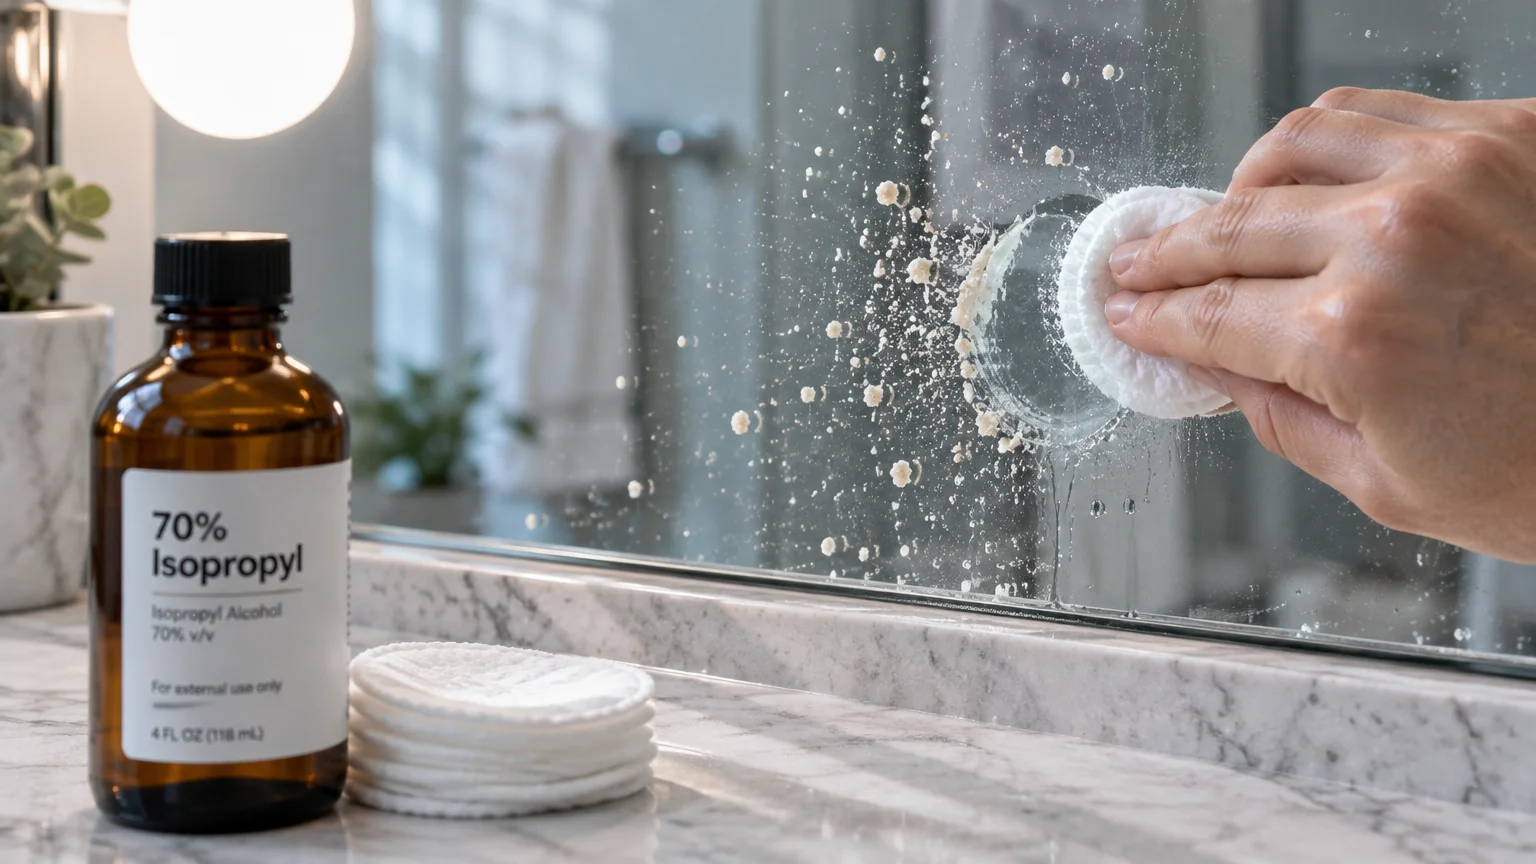
Dampen a cotton round or folded cloth with standard 70 percent isopropyl alcohol before cleaning the rest of the mirror. Rub the concentrated spots directly until the dried adhesive dissolves completely.
Alcohol functions as an effective solvent that breaks down styling polymers without requiring aggressive scrubbing. Treating these patches first prevents your main cleaning cloth from dragging sticky gunk across the entire pane.
Once you lift these targeted spots, clean the broader surface as usual. The entire mirror will dry cleanly without greasy halos around the vanity.
04 Blend Distilled Water and White Vinegar for Daily Cleaning
Tap water often contains high concentrations of calcium and magnesium that dry into visible white chalk lines. The USGS Water Science School notes that hard water deposits minerals onto household surfaces as moisture evaporates.
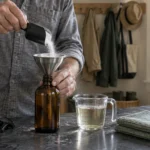
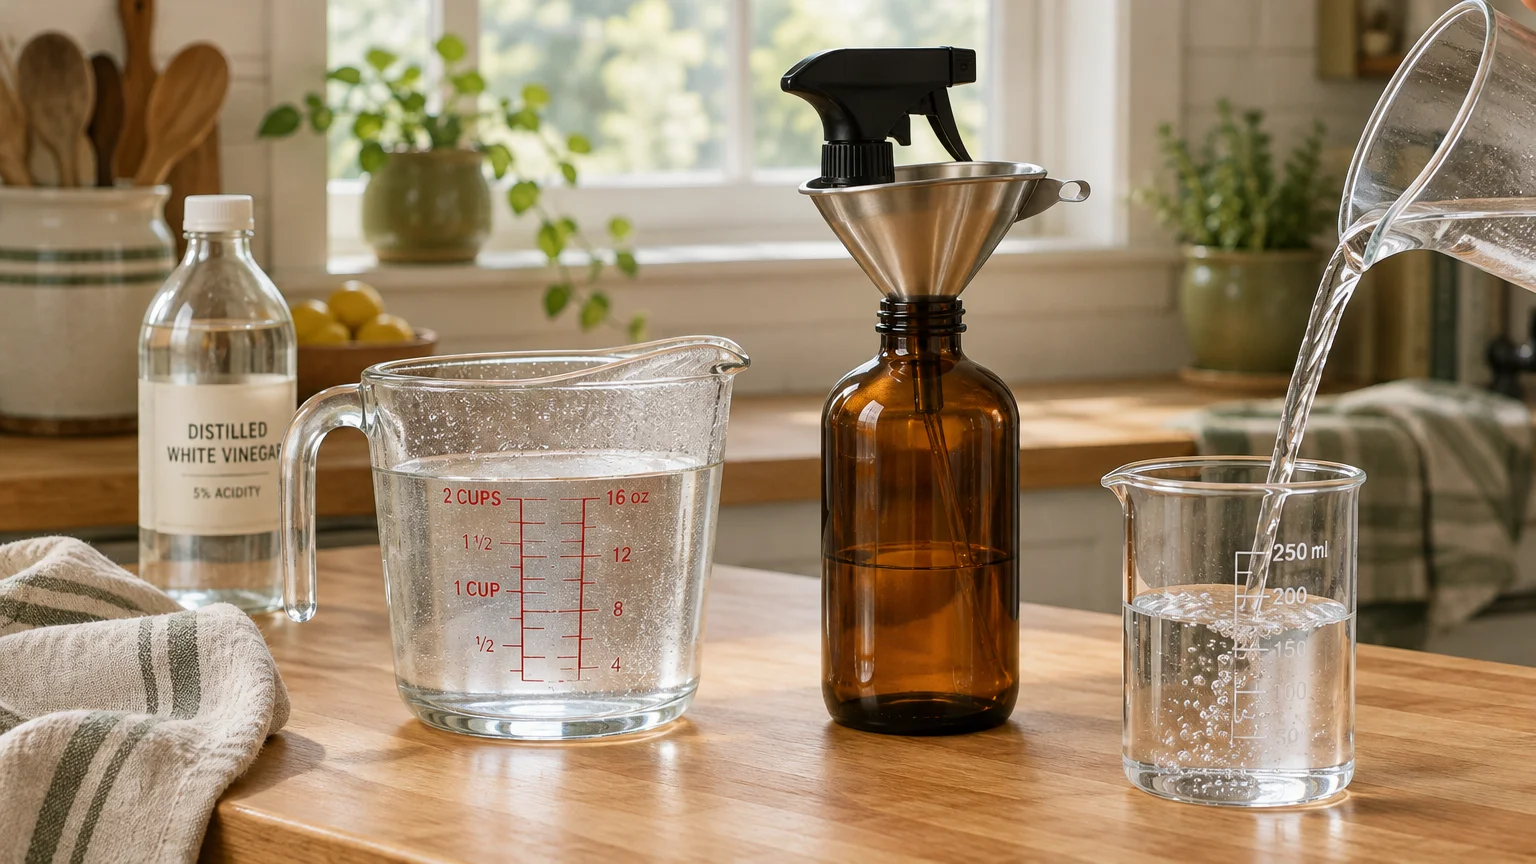
To avoid mineral scale, create a gentle DIY cleaner using equal parts distilled water and white vinegar. Distilled water lacks dissolved salts, while vinegar’s mild acetic acid dissolves body oils, light grease, and airborne dust.
Pour your mixture into a clean spray bottle with a fine-mist trigger. Mist your cleaning cloth directly rather than soaking the glass surface to keep excess liquid from pooling in the frame.
Never mix vinegar or acid-based cleaners with household bleach; doing so creates toxic chlorine gas. According to the National Capital Poison Center, combining acids with bleach poses severe respiratory risks.

05 Wipe Using the Continuous S-Pattern
Most people clean mirrors and windows by wiping in small, random circular motions. This habit simply moves grime across the glass and redistributes fine moisture lines along the perimeter.
Instead, begin in the top-left corner and pull your cloth horizontally across to the top-right edge. Sweep smoothly down and reverse direction, forming an unbroken “S” or snake shape across the pane.
Continue this sweeping pattern downward until you reach the bottom sill. Each pass overlaps the edge of the previous pass by roughly one inch, ensuring full coverage.
Finish by running a dry border pass along the outer frame to catch trapped droplets. This deliberate method prevents streaks and eliminates wasted, repetitive arm movements.
06 Time Window Cleaning for Overcast Skies
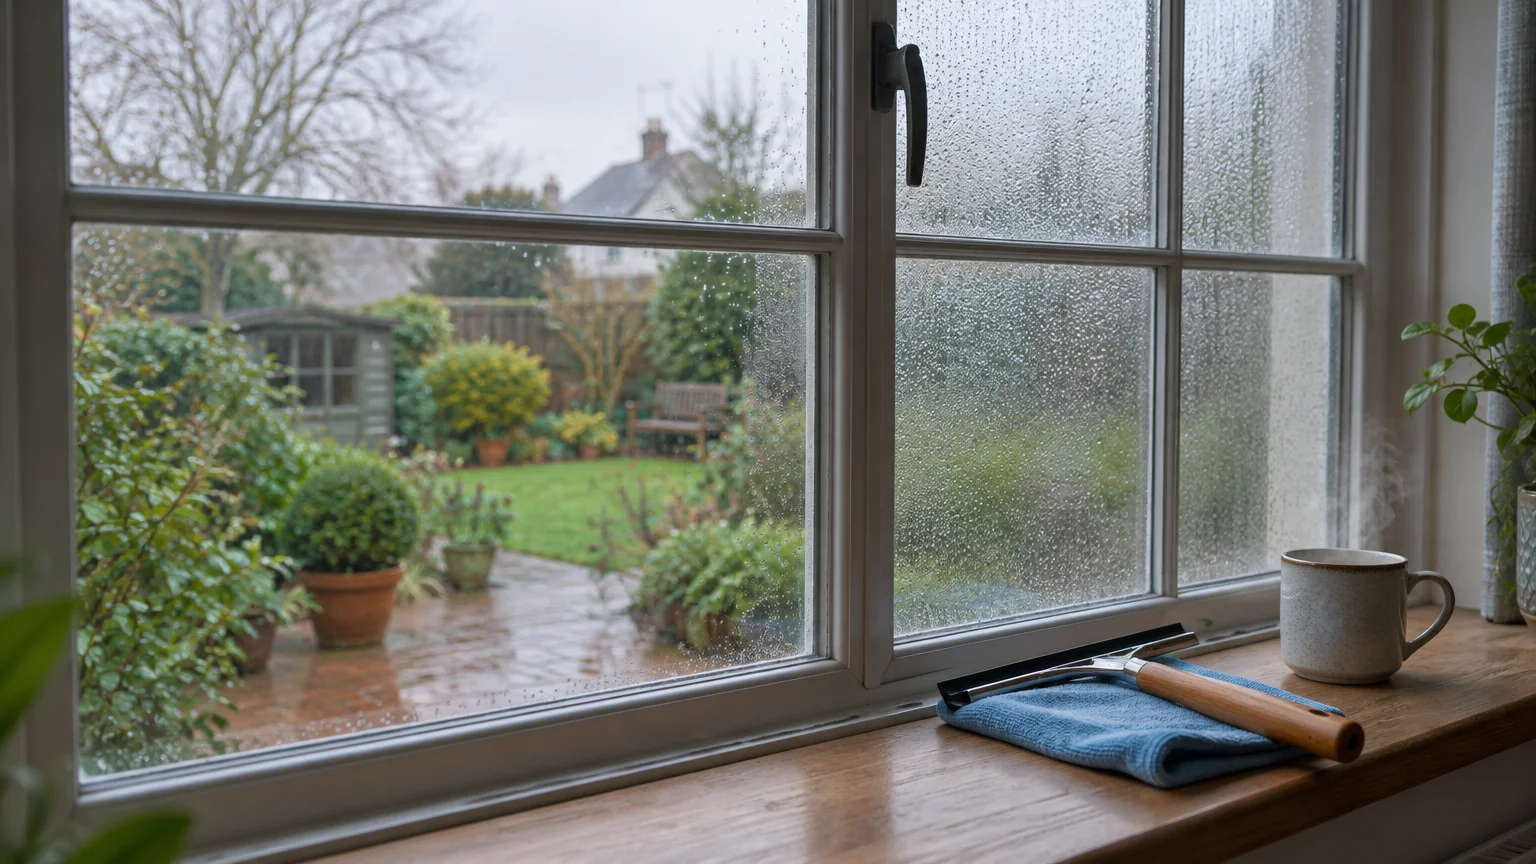
Direct sunlight warms windowpanes, causing water and liquid cleaning sprays to flash-dry within seconds. This rapid evaporation leaves detergent surfactants and mineral residue bonded to the warm glass before you can wipe them away.
Schedule your exterior and interior window cleaning for cool mornings or cloudy afternoons. Shaded glass stays damp longer, granting the cleaning solution adequate dwell time to emulsify grime.
If you must wash sunny windows, work in tiny sections of two square feet at a time. Spray, wipe, and buff each compact area before moving your ladder or shifting your stance.
Working on shaded glass also reduces harsh glare; you will spot faint smudges and missed streaks far more easily.
07 Vacuum and Wipe Frames Before Washing the Glass
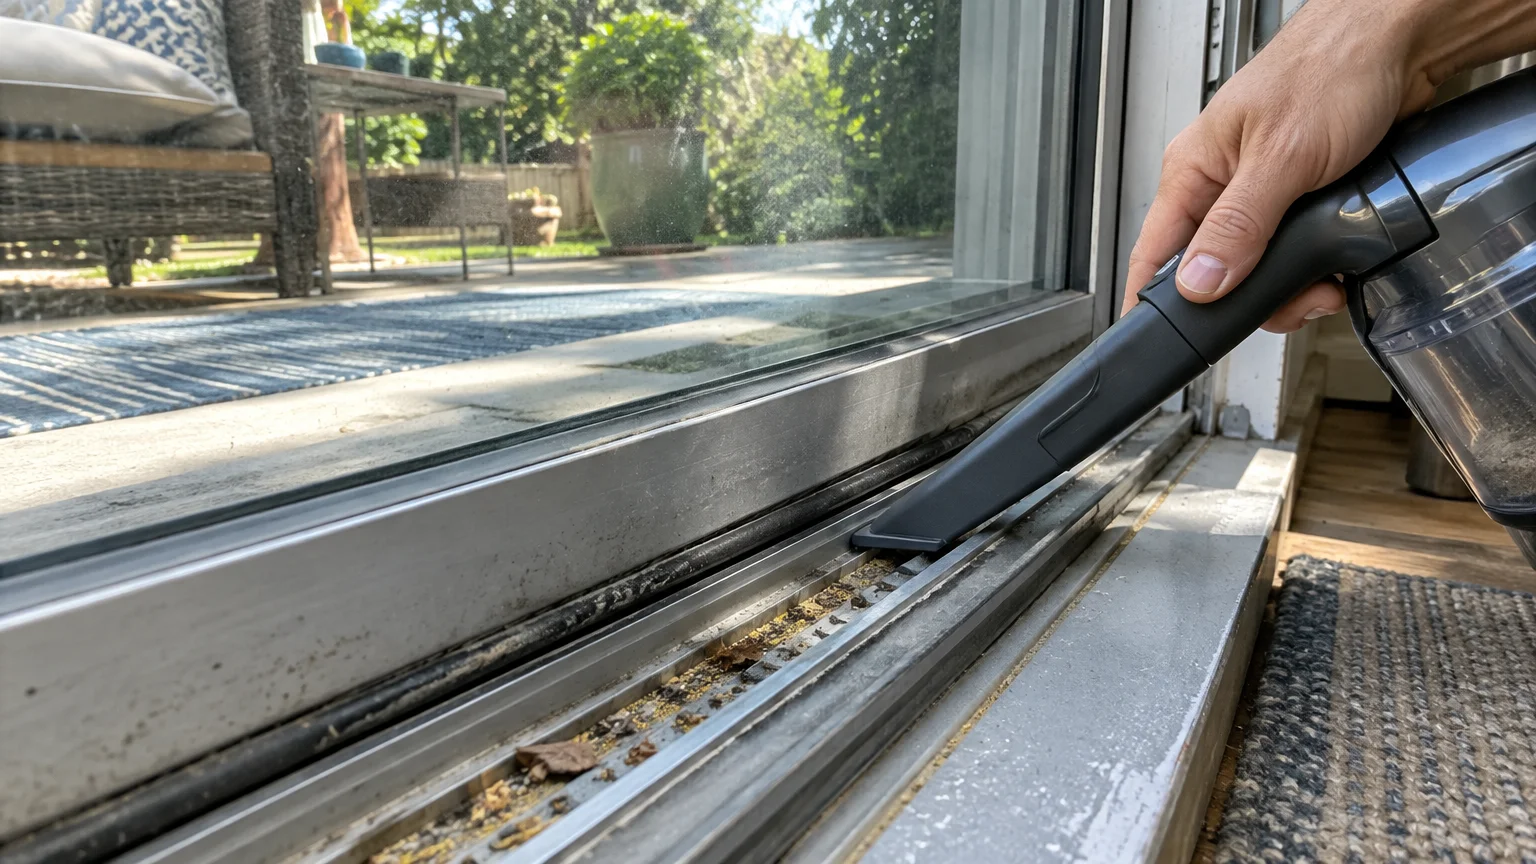
Dust, pollen, and pet hair naturally settle in the crevices of window tracks and mirror frames. If you spray liquid onto the glass first, overspray mixes with that dust and creates messy, muddy runoff.
Begin your routine by running a soft brush vacuum attachment along the upper frame, side moldings, and lower sill. Remove loose particles from corners before introducing any moisture to the area.
Next, wipe down the frame with a lightly damp utility rag. Allow the frame to dry for a minute before applying glass cleaner to the reflective surface.
By prepping the perimeter first, your cleaning cloths stay cleaner longer. You will not accidentally drag sill grit back onto polished glass.
08 Give Heavy Mirrors a Final Dry Buff with Waffle-Weave Cloths
Many people recall using old newspapers to polish mirrors; however, modern newspapers rely on soy-based inks that smear across damp frames. Waffle-weave microfiber cloths offer a superior, zero-mess alternative for final polishing.
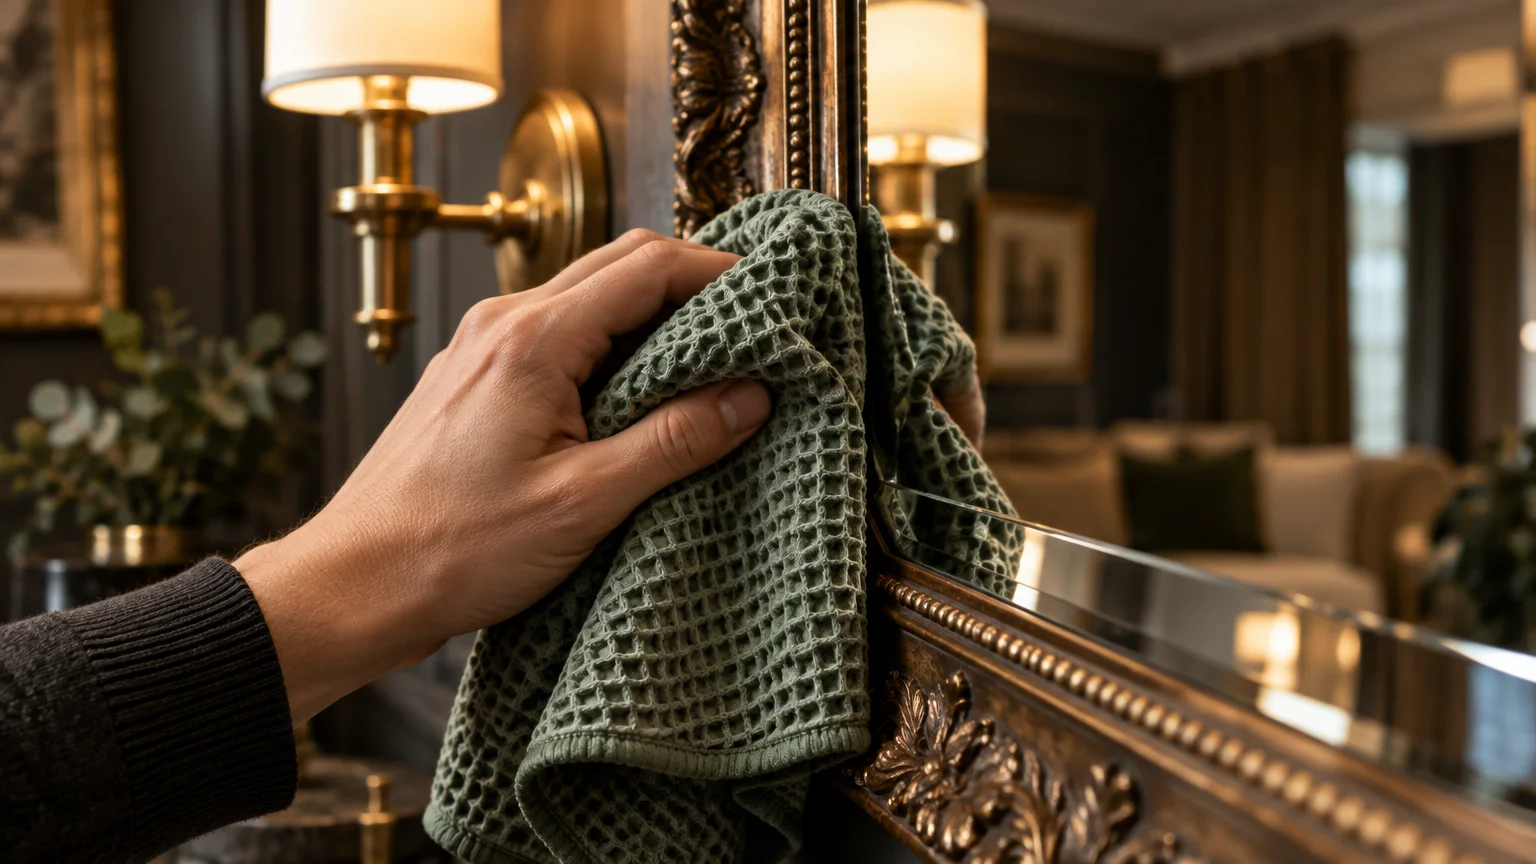
Waffle-weave fabric features a raised honeycomb pattern that traps lingering moisture pockets while gliding effortlessly across smooth surfaces. Its textured pockets lift faint haze without snagging on bevels or vintage mirror silvering.
If you do not have waffle-weave cloths, unprinted brown kraft paper works remarkably well. Kraft paper is dense, absorbent, and completely free of loose dyes that could stain your hands or baseboards.
Buff the glass using firm, sweeping strokes once your liquid cleaner dries. This step restores optical clarity and removes faint boundary lines left by damp towels.
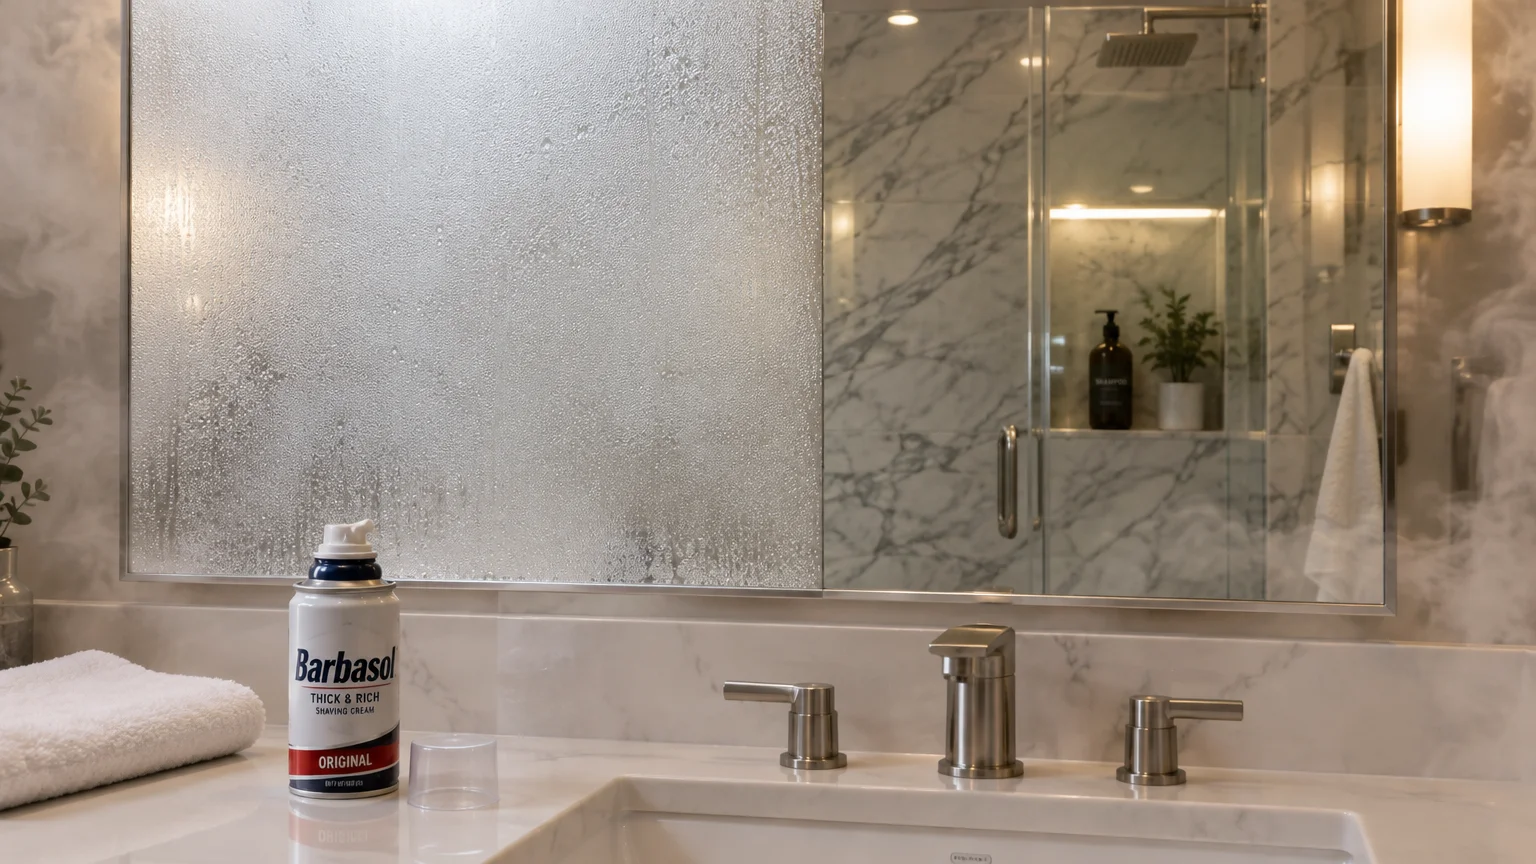
09 Apply a Thin Shaving Cream Barrier Against Steam
Warm, steamy showers turn bathroom mirrors opaque within minutes; wiping them with bath towels leaves stubborn grease and lint. You can prevent condensation buildup entirely using plain, traditional foamy shaving cream.
Squirt a small amount of foam onto a dry microfiber cloth and spread a thin film across the clean glass. Let the foam sit on the glass for approximately one minute.
Buff the surface clean with a second dry cloth until the mirror looks completely transparent. The mild surfactants in the shaving cream leave an invisible hydrophilic layer behind.
This micro-thin barrier lowers surface tension, forcing steam droplets to spread flat into an invisible film rather than gathering into reflective beads. A single treatment keeps mirrors fog-free for up to two weeks.
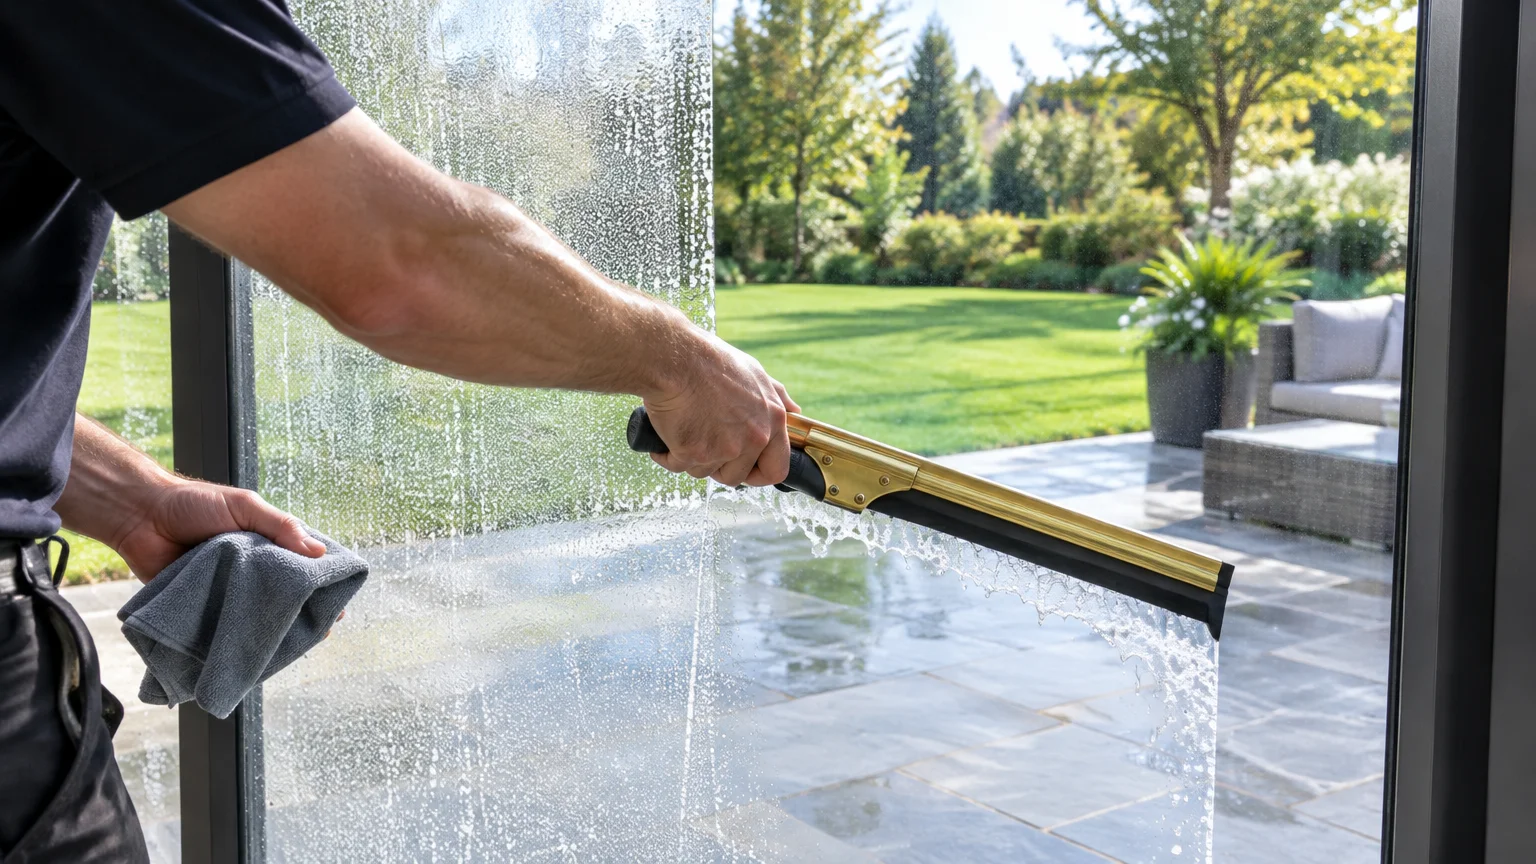
10 Clear Expansive Panes with a Rubber Squeegee
Large sliding doors, picture windows, and walk-in shower enclosures take too much time and energy to clean with hand cloths alone. Professional window cleaners rely on squeegees with sharp rubber blades to move liquid in single, clean sweeps.
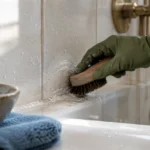
Mix warm water with a tiny squirt of gentle dishwashing liquid in a shallow bucket. The dish soap lubricates the glass and breaks environmental oil films without leaving sticky residues.
Wet the window using a soft microfiber wand or sponge scrubber. Angle your squeegee blade at 45 degrees against the top edge, pulling straight downward in smooth, even strokes.
Wipe the rubber blade dry with a lint-free cloth after every downward pass. This simple motion prevents dirty water lines from transferring onto the adjacent clean section.

Glass Cleaner Quick-Selection Chart
Different types of surface grime demand specific cleaning agents to avoid streaking and residue buildup. Match your cleaning fluid to the specific mess using this practical reference table.
| Grime Type | Recommended Solution | Application Tool | Key Advantage |
|---|---|---|---|
| Daily Dust & Fingerprints | 50/50 Distilled Water & White Vinegar | Flat-Weave Microfiber Cloth | Evaporates quickly without leaving mineral scale. |
| Toothpaste & Hairspray | 70% Isopropyl Rubbing Alcohol | Cotton Pad or Spot Cloth | Dissolves stubborn cosmetic resins in seconds. |
| Hard Water Deposits | Warm Undiluted White Vinegar | Non-Scratch Cellulose Sponge | Breaks down calcium carbonate bonds safely. |
| Exterior Dirt & Pollen | Water with a Drop of Mild Dish Soap | Rubber Squeegee & Washing Wand | Lifts dense environmental grit without scratching. |
| Bathroom Mirror Steam | Standard Foaming Shaving Cream | Dry Waffle-Weave Microfiber | Creates a surfactant shield against condensation. |
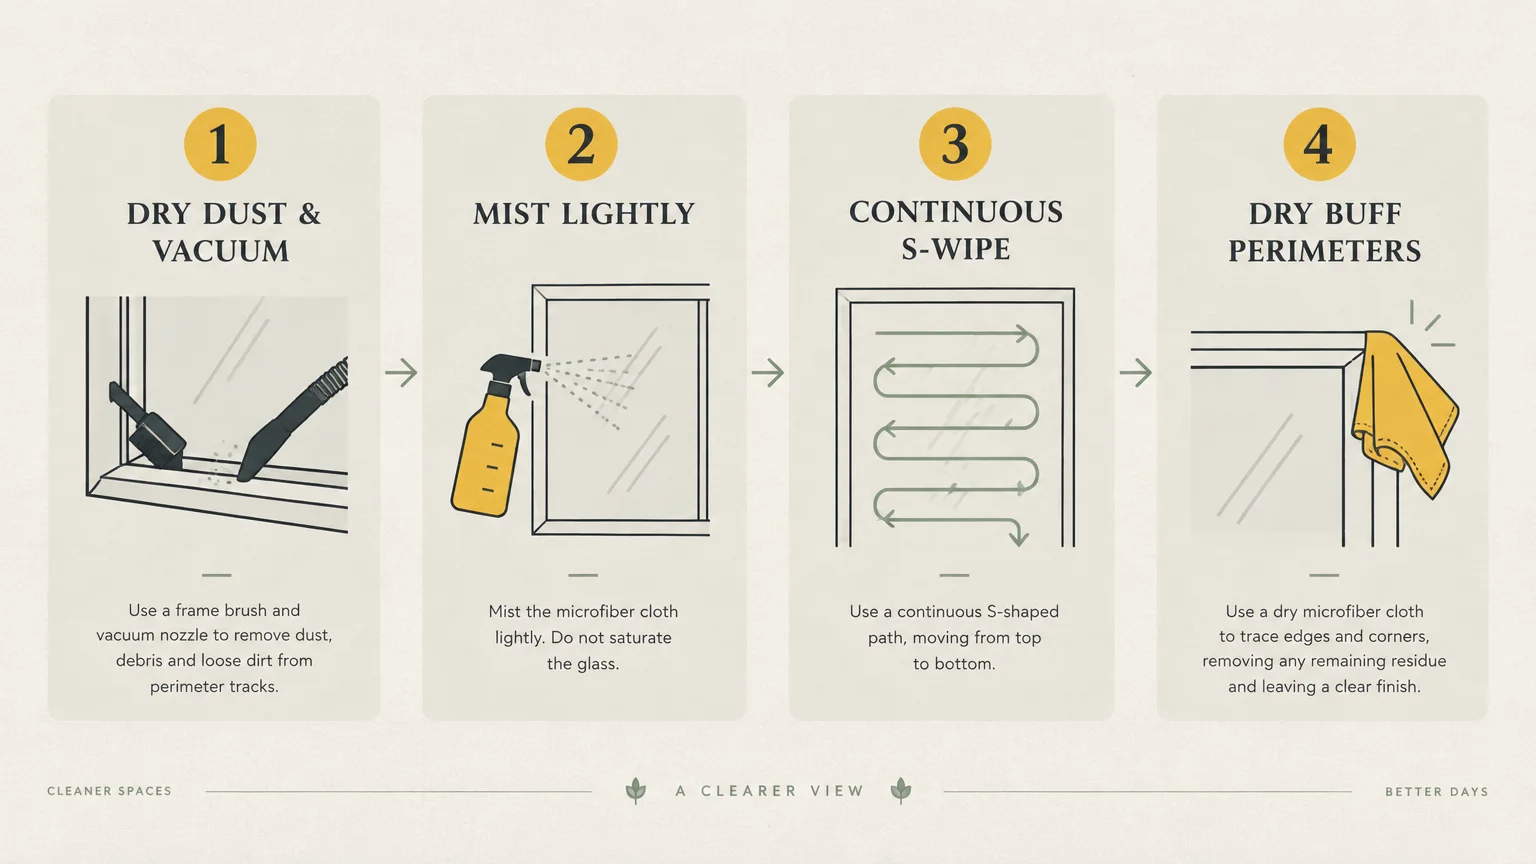
A Simple Step-by-Step Window Cleaning Routine
Establishing a repeatable sequence turns a frustrating chore into a quick, calm routine. Follow these six steps whenever you wash mirrors or windows in your home.
- Clear the Perimeter: Remove loose blinds, curtain ties, and decorative vanity accessories so you have unobstructed access to the entire glass area.
- Dry Vacuum the Frames: Use a soft dusting brush attachment to capture loose cobwebs, dirt, and pet dander from the tracks and upper trim.
- Spot-Treat Stubborn Debris: Dab alcohol onto sticky spots or spray undiluted vinegar on mineral spots before wetting the entire pane.
- Mist the Cleaning Cloth: Lightly spray your primary flat-weave microfiber cloth with your distilled cleaning solution instead of spraying the glass directly.
- Execute the Snake Wipe: Move your damp cloth in a sweeping S-pattern from top to bottom, keeping consistent contact with the pane.
- Buff Dry Immediately: Use your second dry cloth to polish edges and borders while the remaining moisture layer is still fresh.
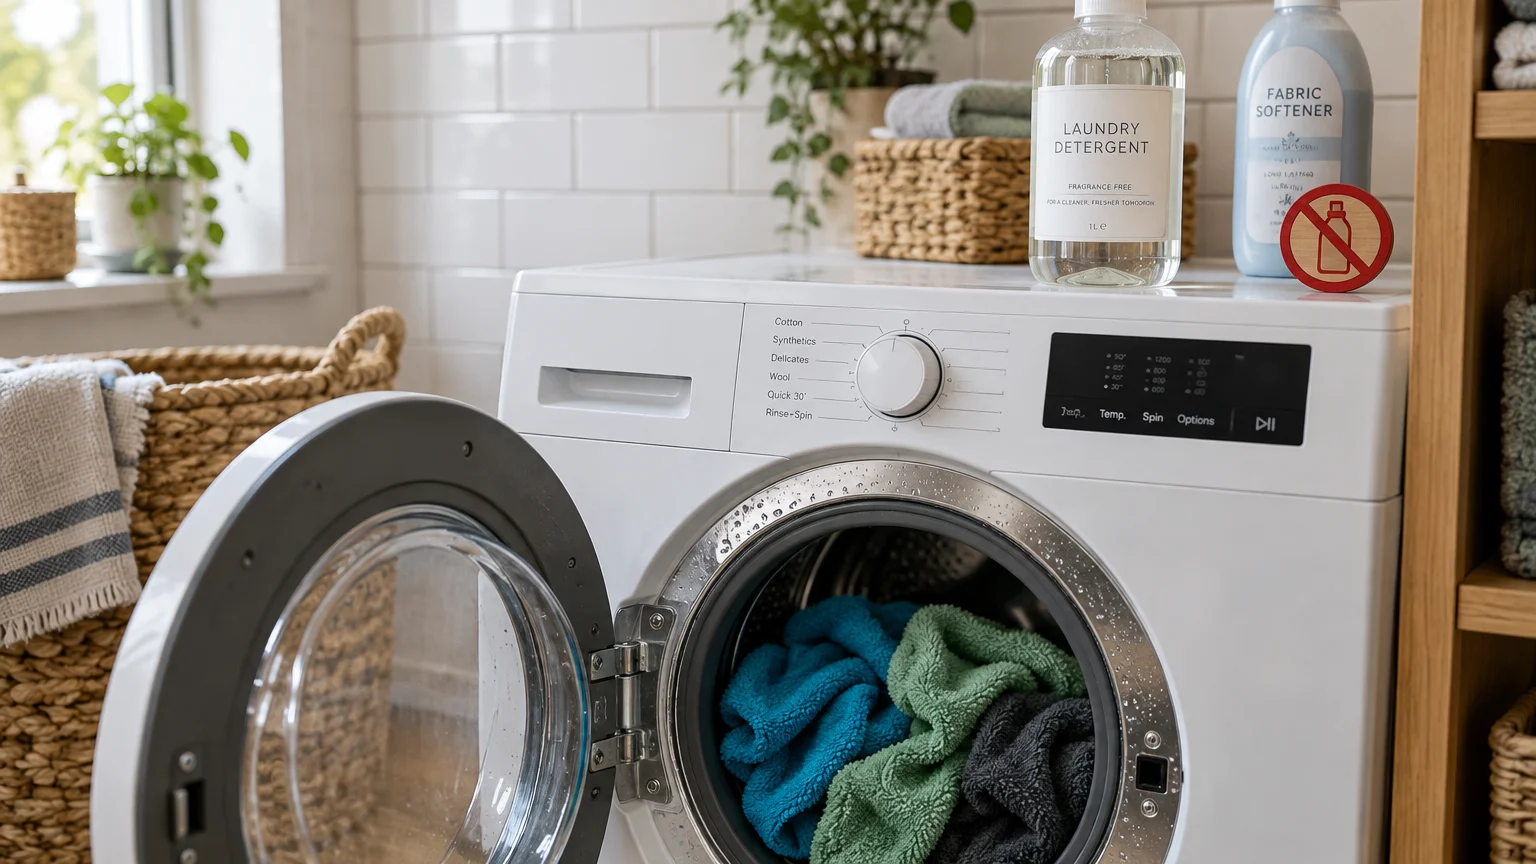
How to Wash and Maintain Microfiber Cloths
Dirty or improperly laundered microfiber cloths will ruin your glass cleaning efforts. Built-up laundry detergent or lint from other fabrics transfers directly onto the glass pane during wiping.
Launder your glass cloths in warm water using a small amount of liquid detergent free from fragrances. Never add powdered detergent, as undissolved granules can lodge in the synthetic split fibers.
Skip fabric softeners and dryer sheets under all circumstances. Softeners coat the fibers with a thin film of water-repellent wax, preventing the cloth from absorbing moisture and grabbing grease.
Tumble dry your cloths on low heat or hang them to air dry on a drying rack. Excessive dryer heat can melt delicate synthetic polymers, ruining their lint-grabbing capability.
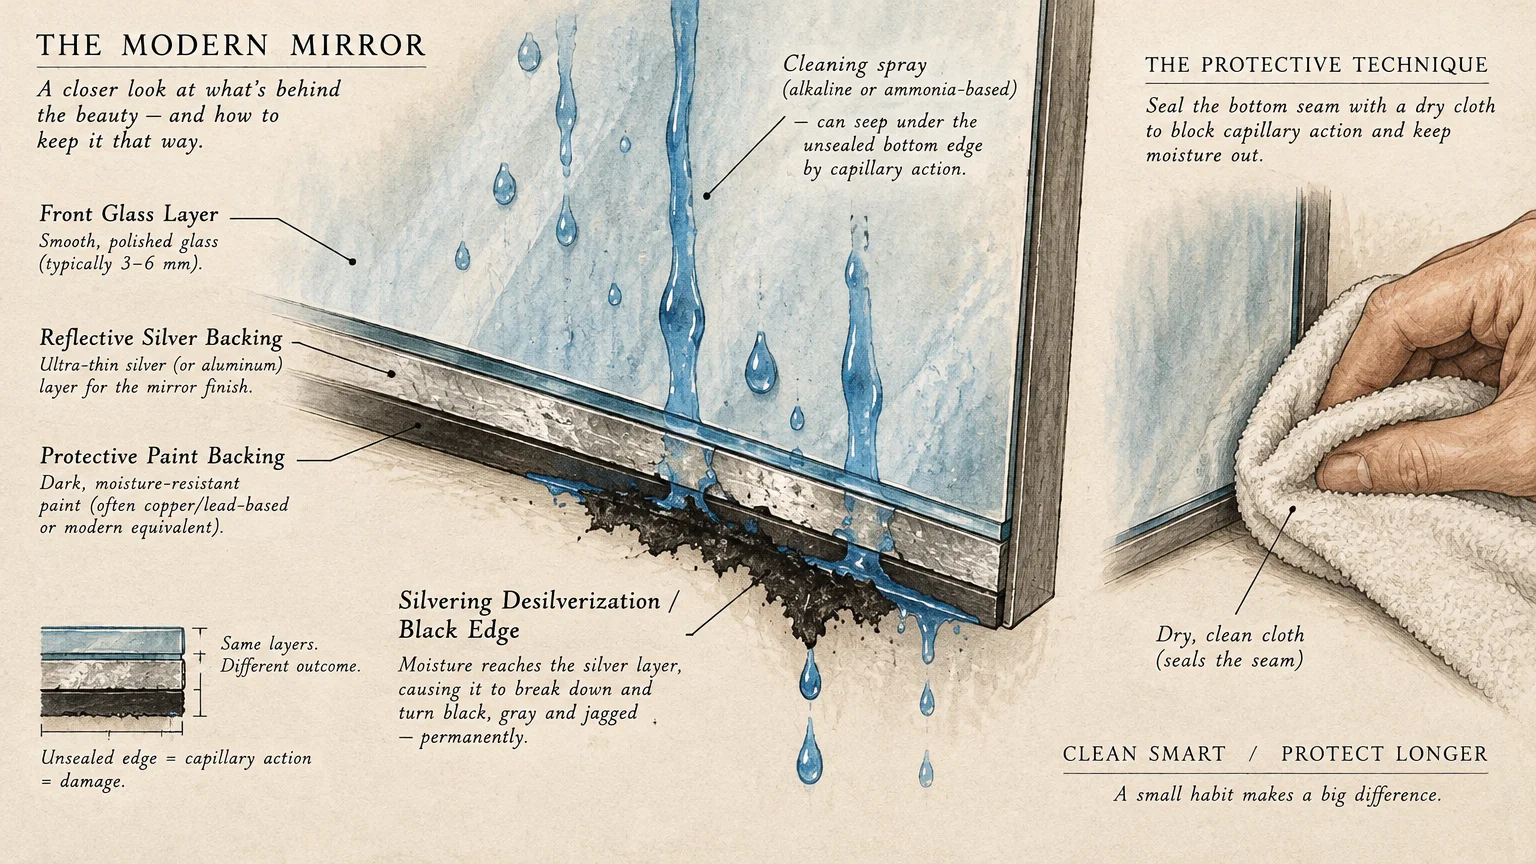
Protecting Mirror Silvering and Tinted Glass
Household mirrors consist of a glass sheet backed by a delicate silver or aluminum reflective coating. Moisture that seeps behind the edges can oxidize this backing, causing black spots known as mirror rot.
To prevent edge rot, never spray liquid directly onto the border seams of your mirror. Spray your cloth instead, ensuring liquid cannot pool along the bottom frame.
Avoid using ammonia-based cleaners on tinted home windows or decorative antique mirrors. Ammonia can degrade specialty tint films, causing bubbling, discoloration, and premature peeling over time.
The CDC Guidelines on Hygiene and Cleaning emphasize keeping residential cleaning practices simple and non-toxic. Choosing balanced solutions protects your home fixtures and promotes healthier indoor air quality.

Your Next Step
Pick one high-traffic mirror in your entryway or bathroom today. Test the two-cloth method using distilled water and vinegar to experience how effortless streak-free cleaning can be.