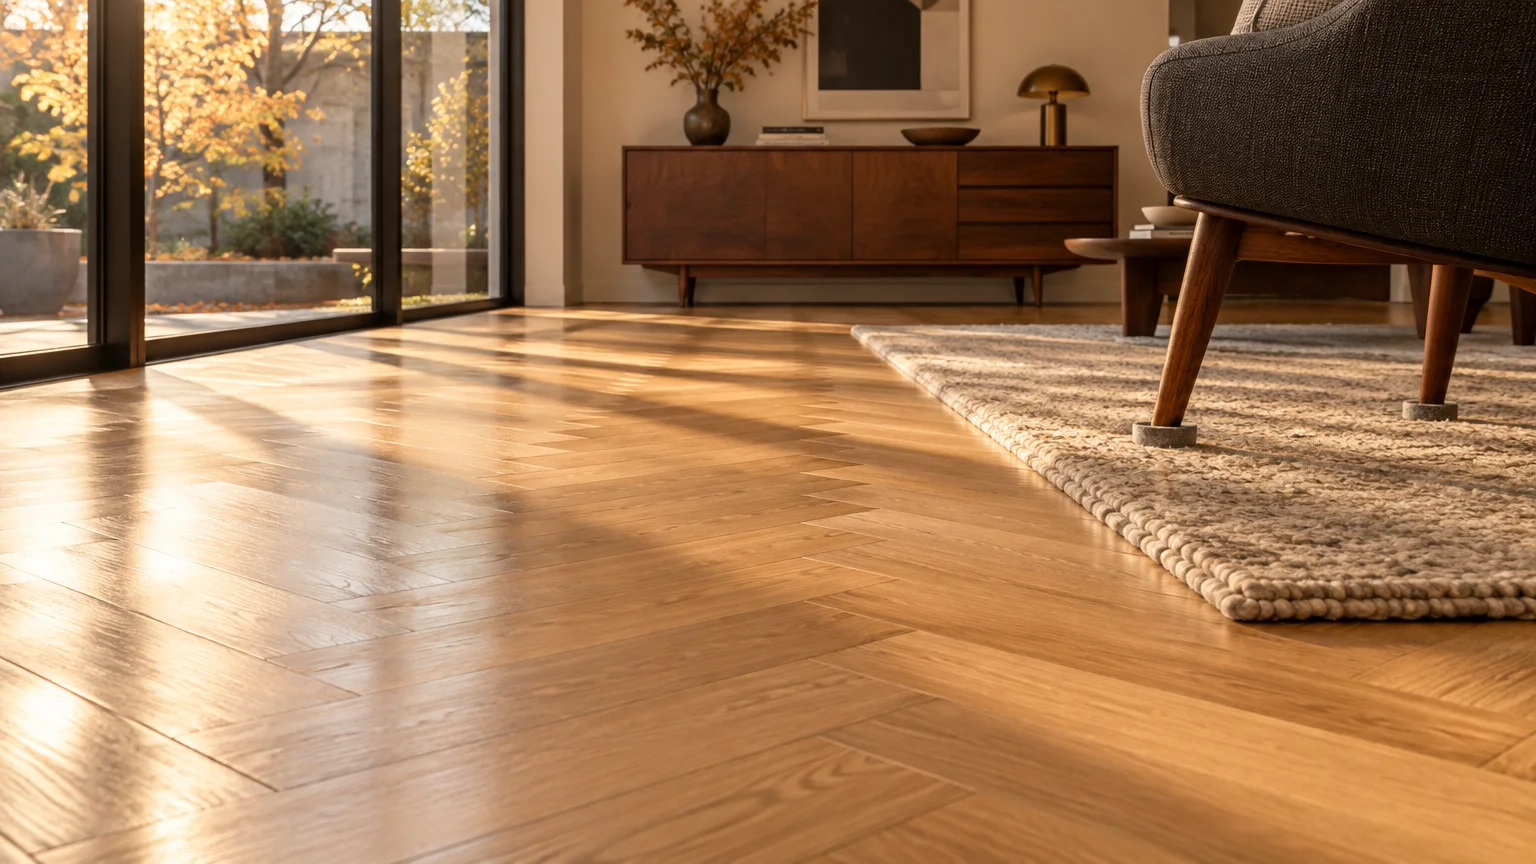
Proper hardwood floor care preserves your home’s character while preventing thousands of dollars in premature refinishing bills. Adopting simple, modern techniques keeps your planks gleaming without requiring exhausting physical labor.
Unfortunately, many traditional cleaning habits quietly strip away protective polyurethane sealants and warp delicate boards. What looks like a thorough scrub often creates dull patches, cloudy films, and irreversible moisture damage.
By correcting these ten widespread hardwood floor cleaning mistakes, you will protect wood floors, simplify your chores, and keep your living spaces immaculate for decades to come.
01 Soaking the Boards with a Wet String Mop
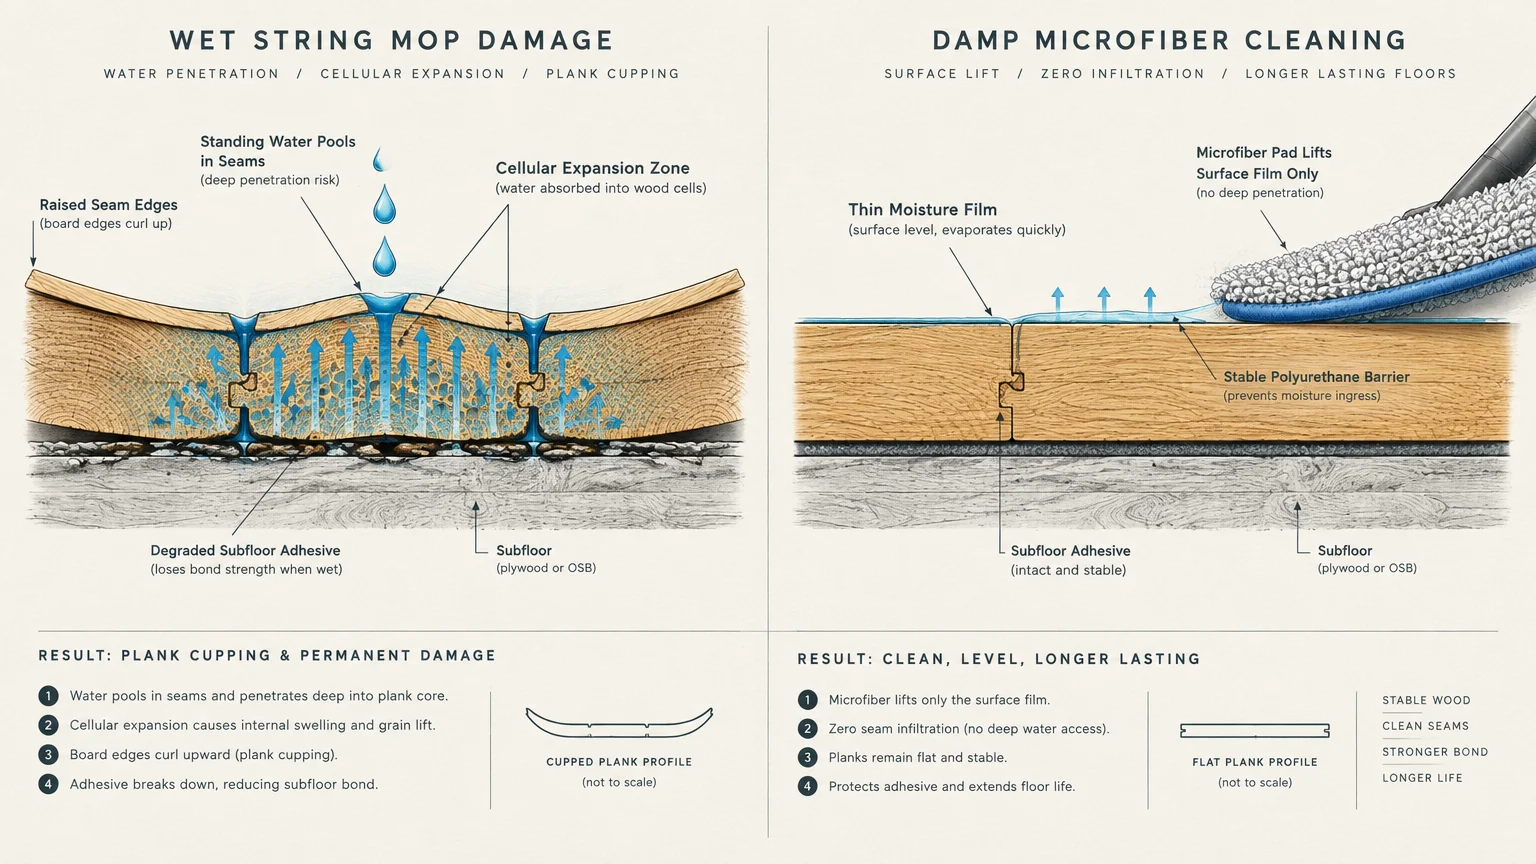
Traditional cotton string mops hold excessive amounts of dirty water. Sloshing saturated fibers across your floors forces moisture deep between the planks.
Natural wood is cellular and porous; it expands rapidly whenever it absorbs liquid. This moisture triggers cupping, where the plank edges curve upward permanently.
The National Wood Flooring Association (NWFA) warns that standing water causes irreversible structural damage. Moisture also deteriorates the subfloor adhesives underneath your boards.
Replace heavy buckets with a flat microfiber mop. A lightly dampened pad lifts soil without leaving standing puddles behind.
02 Relying on Vinegar and Acidic Homemade Solutions
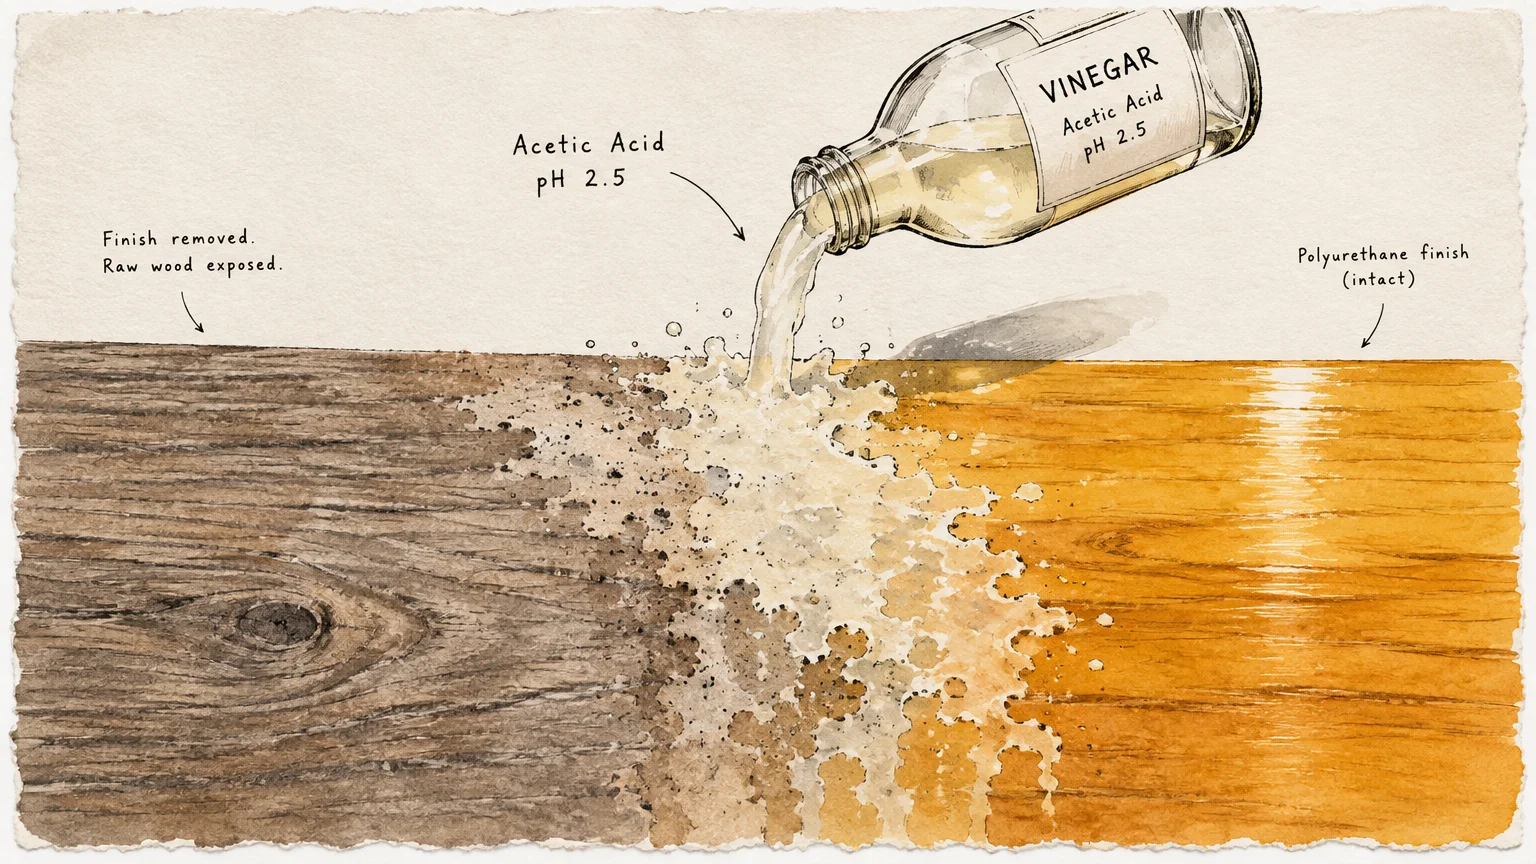
Many popular DIY cleaning recipes recommend mixing white vinegar with warm water. While vinegar cuts grease on glass, it ruins natural wood finishes.
Vinegar contains acetic acid with a low pH of approximately 2.5. This potent acid chemically etches your protective polyurethane coating over time.
The continuous chemical reaction strips away the factory shine, leaving your boards dull and hazy. Once this clear coat wears away, dirt penetrates the bare timber.
Use dedicated pH-neutral formulas designed specifically for sealed wood. A balanced cleaner removes grime without stripping away essential protective sealers.
03 Using Steam Mops on Wood Floors
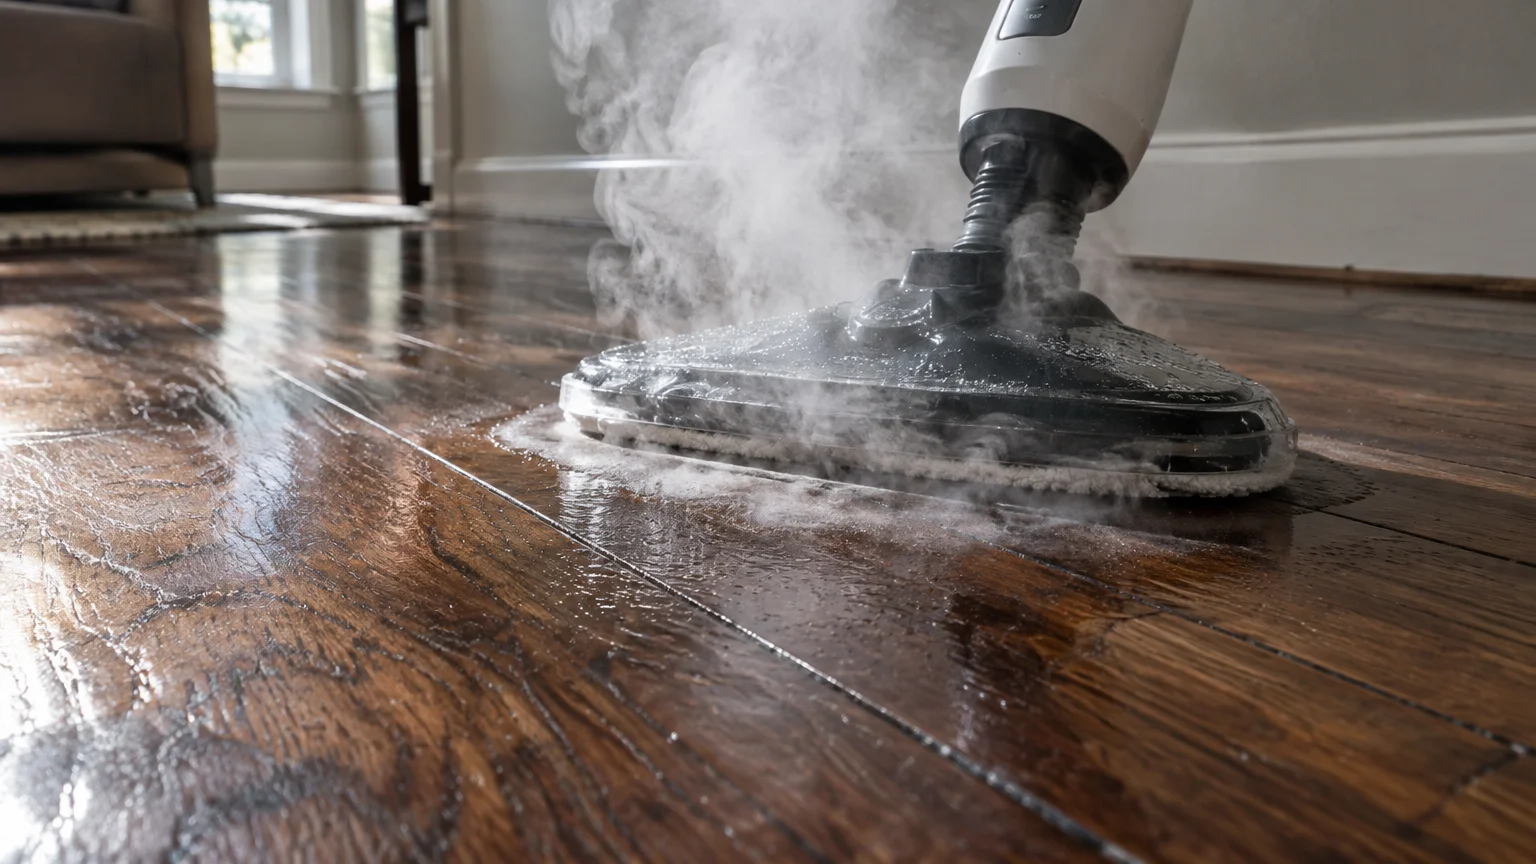
Steam mops sanitize tile and stone effectively, but they destroy hardwood flooring. The appliance forces high-pressure vapor deep into microscopic wood pores.
Intense heat opens up hairline cracks in the polyurethane finish. Pressurized vapor then condenses into trapped water beneath the clear seal.
Trapped steam causes milky white discoloration across the floor surface. Over time, the repeated thermal shock breaks down plank adhesives and buckles board edges.
Stick with ambient-temperature liquids and dry-dusting tools. No major hardwood manufacturer approves steam devices for genuine wood installations.
04 Vacuuming with Rotating Beater Bars or Hard Plastic Wheels
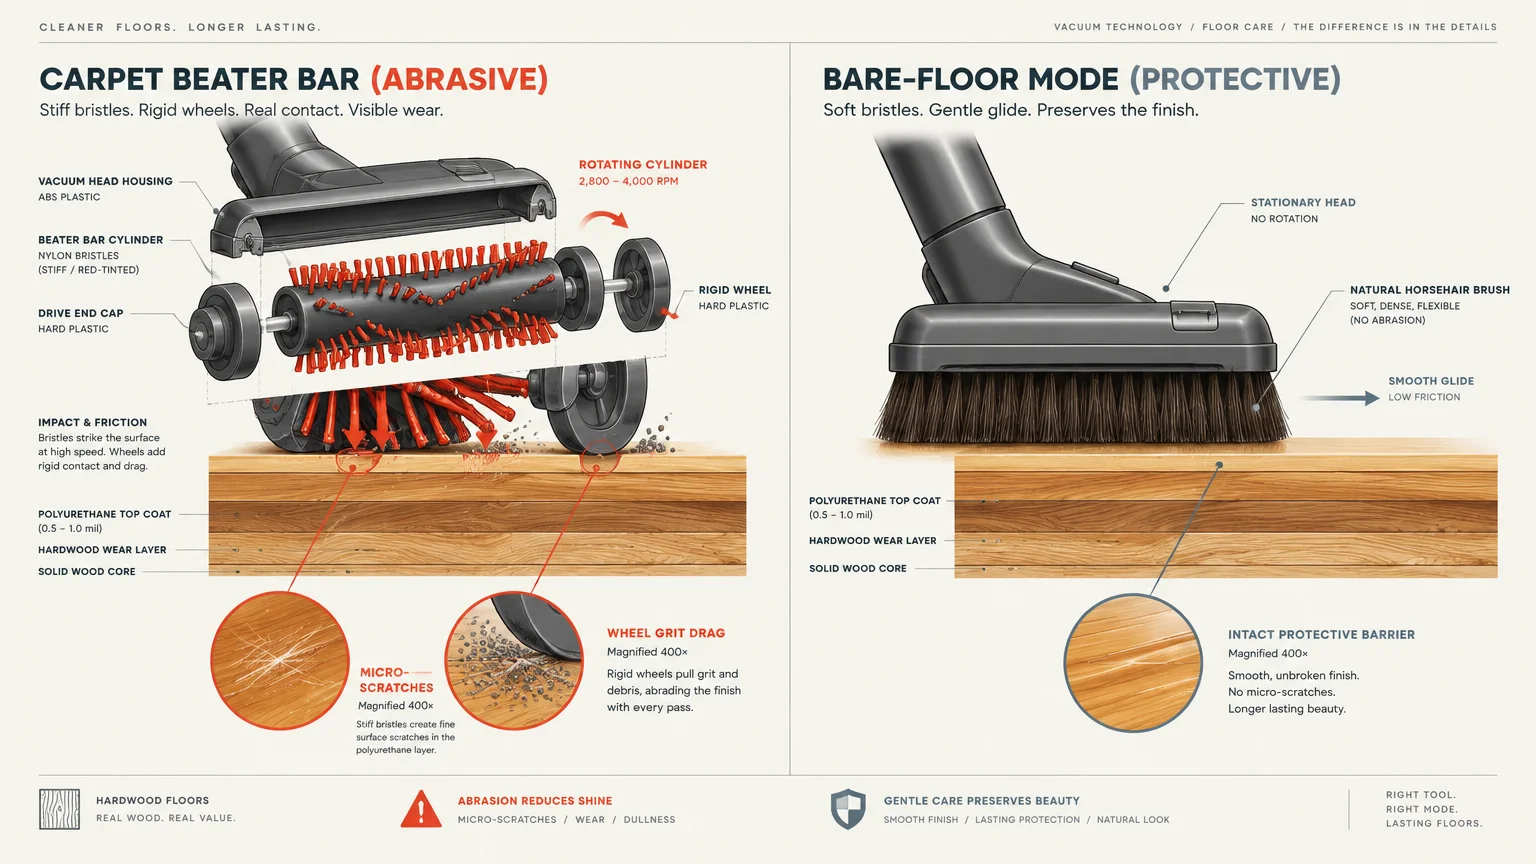
Heavy vacuums with rotating beater bars are designed to pull grit out of thick carpets. Those stiff nylon bristles spin at thousands of revolutions per minute against your wood.
The bristles repeatedly strike the surface, creating thousands of microscopic scratch marks. Worn plastic vacuum wheels also drag sharp grit directly across your planks.
Independent testing from Consumer Reports floor cleaning research highlights the necessity of turning off brush rollers on hard surfaces. Always engage bare-floor mode before vacuuming.
You can also attach a soft horsehair floor brush to your vacuum wand. For daily maintenance, a wide microfiber sweep pad gathers loose dust safely.
05 Spraying Liquid Cleaners Directly onto Floor Seams
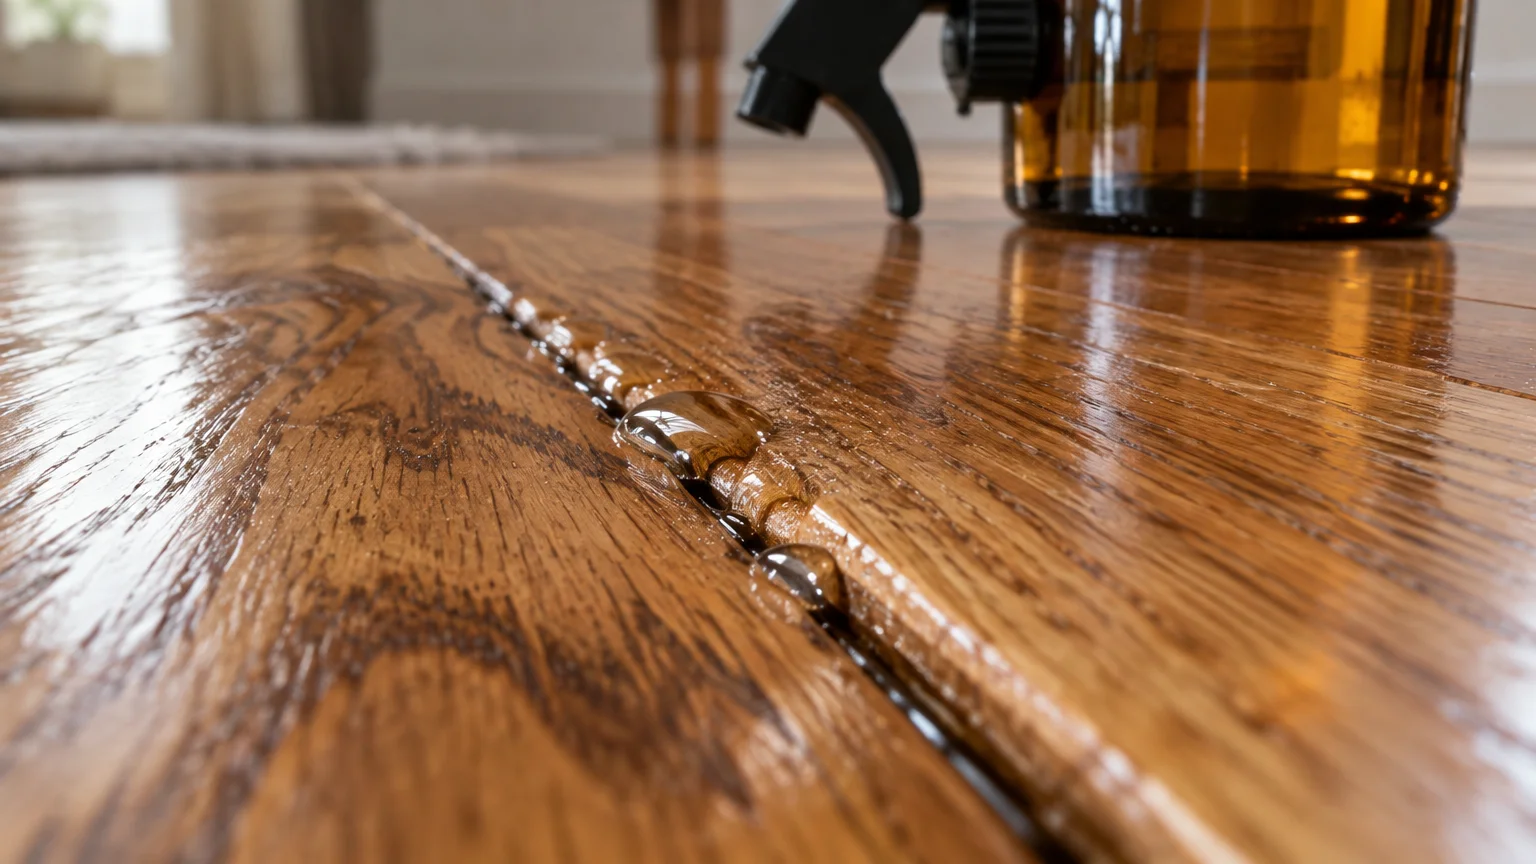
Squirt bottles seem convenient, but spraying liquid directly onto floorboards invites trouble. Droplets immediately pool inside the beveled edges between adjacent planks.
Excess liquid seeps downward into raw tongue-and-groove joints before your mop reaches them. These hidden moisture reservoirs cause dark joint staining and swelling edges.
Direct spraying also concentrates too much cleaning chemical in random spots. This uneven distribution leaves behind sticky footprints and irregular drying rings.
Always mist your microfiber mop pad directly rather than wetting the floor. The pad should feel barely damp to the touch before wiping.
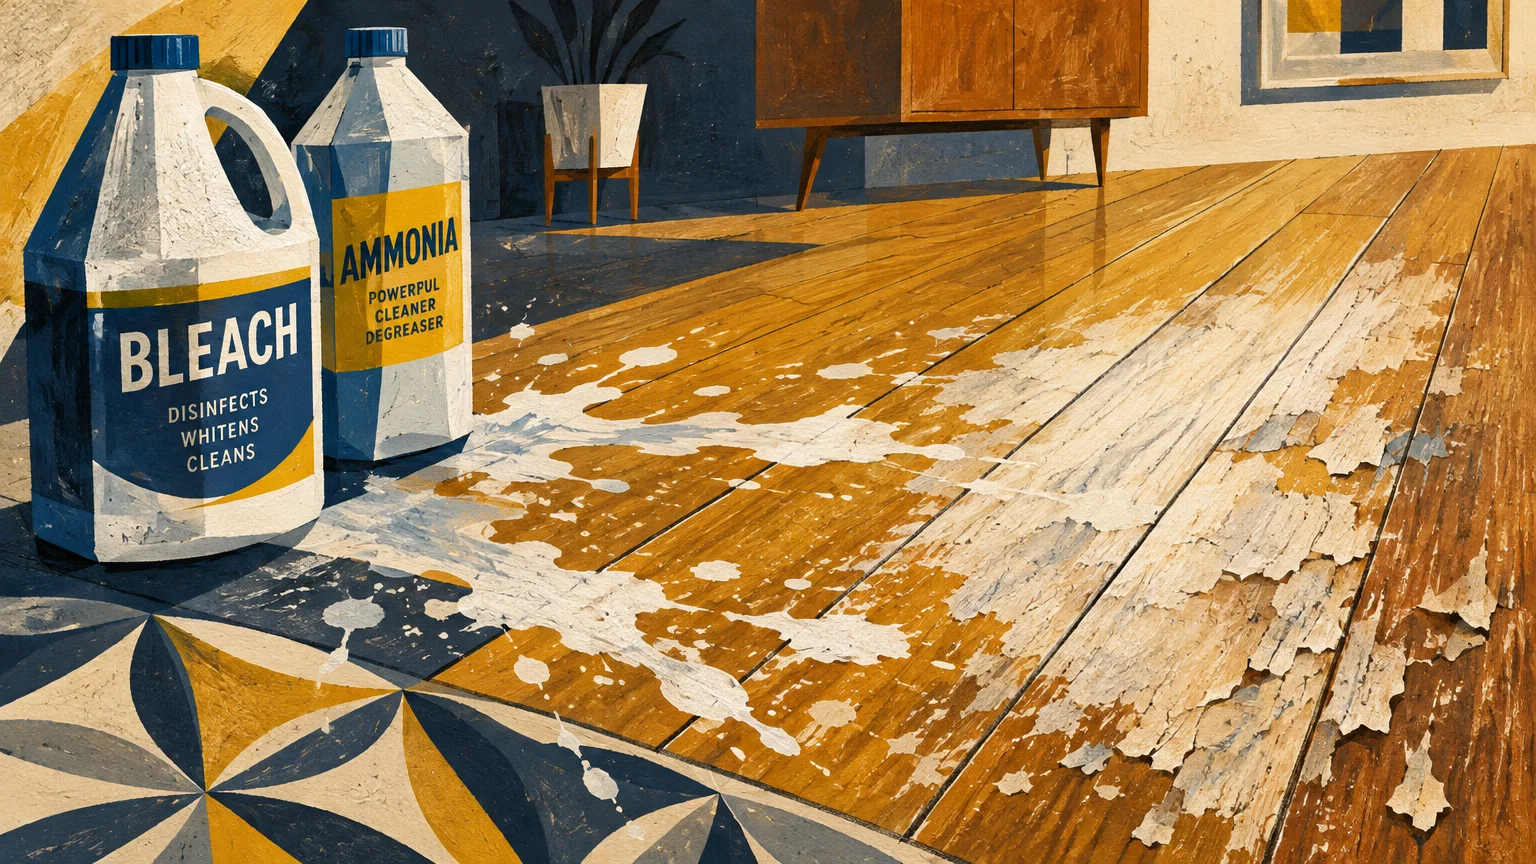
06 Using Bleach, Ammonia, or All-Purpose Degreasers
Household degreasers and bathroom sprays contain harsh alkalis such as ammonia or sodium hypochlorite. These aggressive chemicals sit at a harsh pH between 11 and 13.
Highly alkaline solutions dissolve polyurethane polymers on contact. They soften the protective barrier and leave your wood completely unprotected against scratches.
Ammonia reacts chemically with the natural tannins inside white oak and other hardwoods. This chemical reaction creates permanent gray or blackened blotches across the timber.
Look for products certified under the EPA Safer Choice standard for home surfaces. Neutral cleaners preserve finish integrity while protecting indoor air quality.
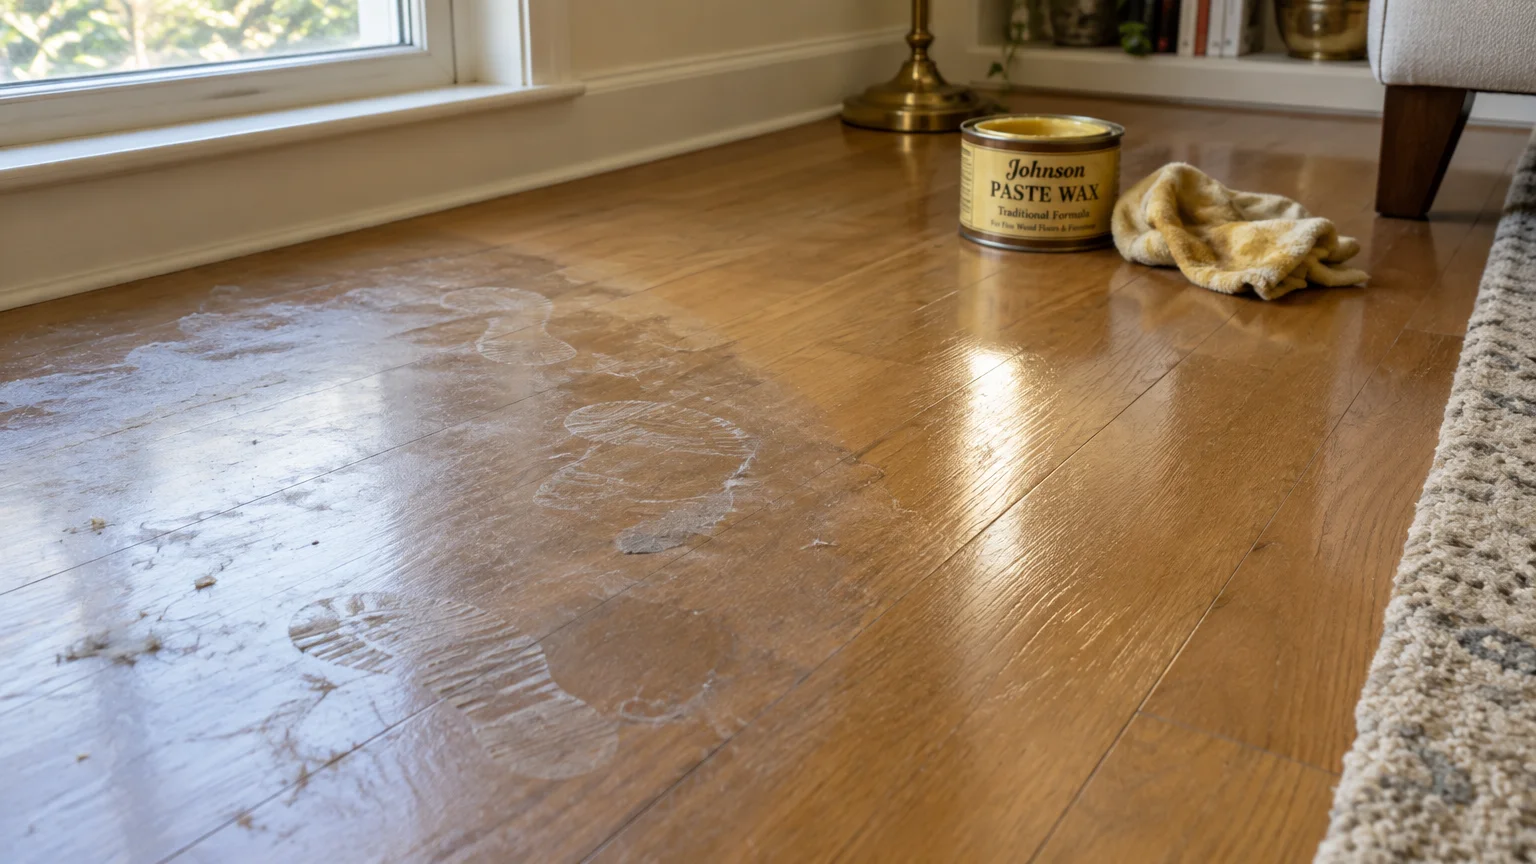
07 Applying Paste Wax or Furniture Polish to Polyurethane
Generations ago, homeowners rubbed paste wax onto unsealed wood to prevent dry rot. Today, more than ninety percent of modern hardwood floors feature durable polyurethane finishes.
Applying liquid waxes or silicone furniture polishes creates a gummy, sticky film over polyurethane. This soft barrier attracts pet hair, dust, and outdoor grit.
Silicone polishes also contaminate the wood surface permanently. This oily residue prevents future fresh coats of polyurethane from bonding properly during routine maintenance.
Once contaminated with wax, you cannot simply recoat the floor; contractors must grind away valuable wood layers. Avoid all wax products on modern factory finishes.
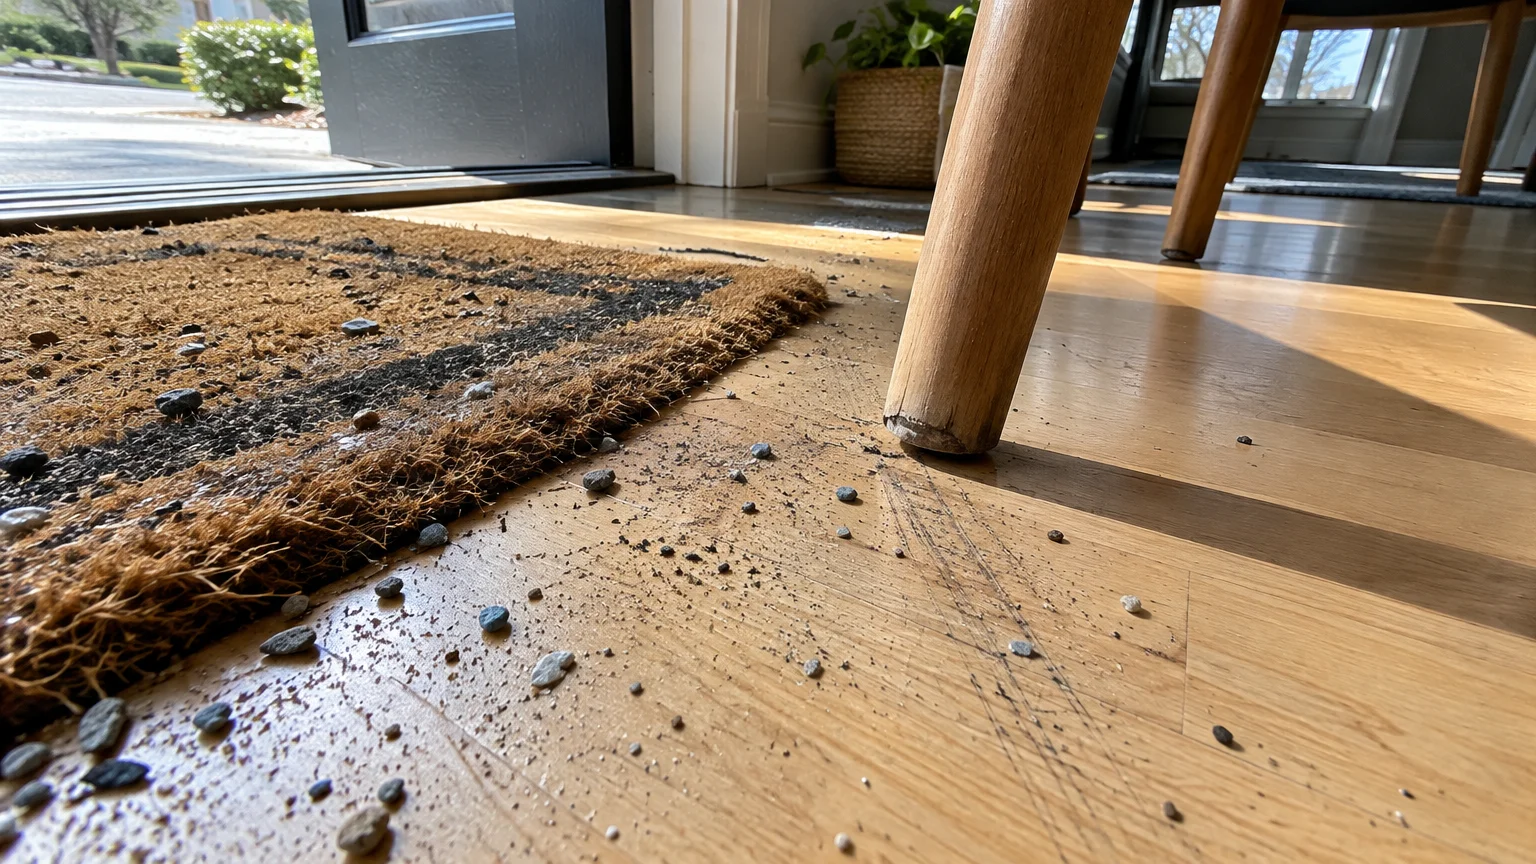
08 Neglecting Gritty Entryways and Unprotected Furniture
Outdoor soil consists of jagged silica and quartz particles. When you walk across unwashed floors, shoe friction turns loose grit into coarse sandpaper.
Unprotected chair legs compound this abrasive damage every time someone sits down. Heavy furniture drags grit directly into the grain, cutting through clear sealers.
Educational resources from the American Hardwood Information Center emphasize stopping dirt at your exterior doors. Trapping dirt outside cuts wear patterns dramatically.
Position high-traction walk-off mats at every exterior entrance. Attach thick, self-adhesive felt pads beneath every chair, table, and couch leg in your home.
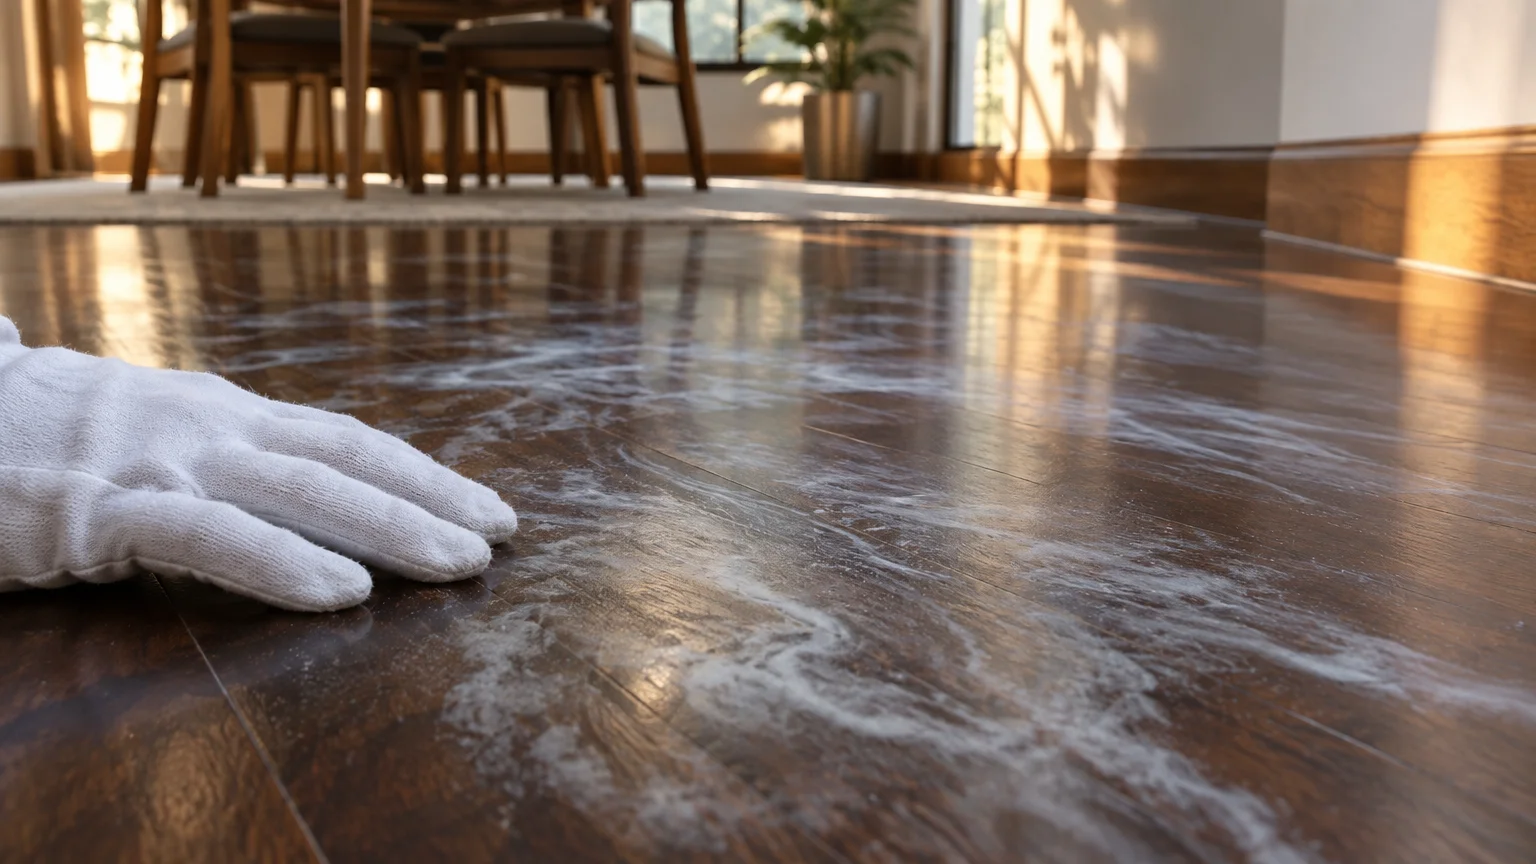
09 Overusing Soaps and Leaving Heavy Chemical Residue
Pouring extra cleaning concentrate into your wash water does not make floors cleaner. Heavy doses of soap leave a thick film of surfactant on your planks.
This invisible, tacky film acts like a magnet for airborne dust, pollen, and pet dander. Floors that look dull hours after mopping usually suffer from product buildup.
Many homeowners mistakenly assume their floor finish is fading, so they apply even more soap. This creates a vicious cycle of sticky buildup and visible footprints.
Use minimal cleanser and follow manufacturer dilution ratios precisely. A clean, warm-water microfiber rinse removes existing soap residue without harming the floor.
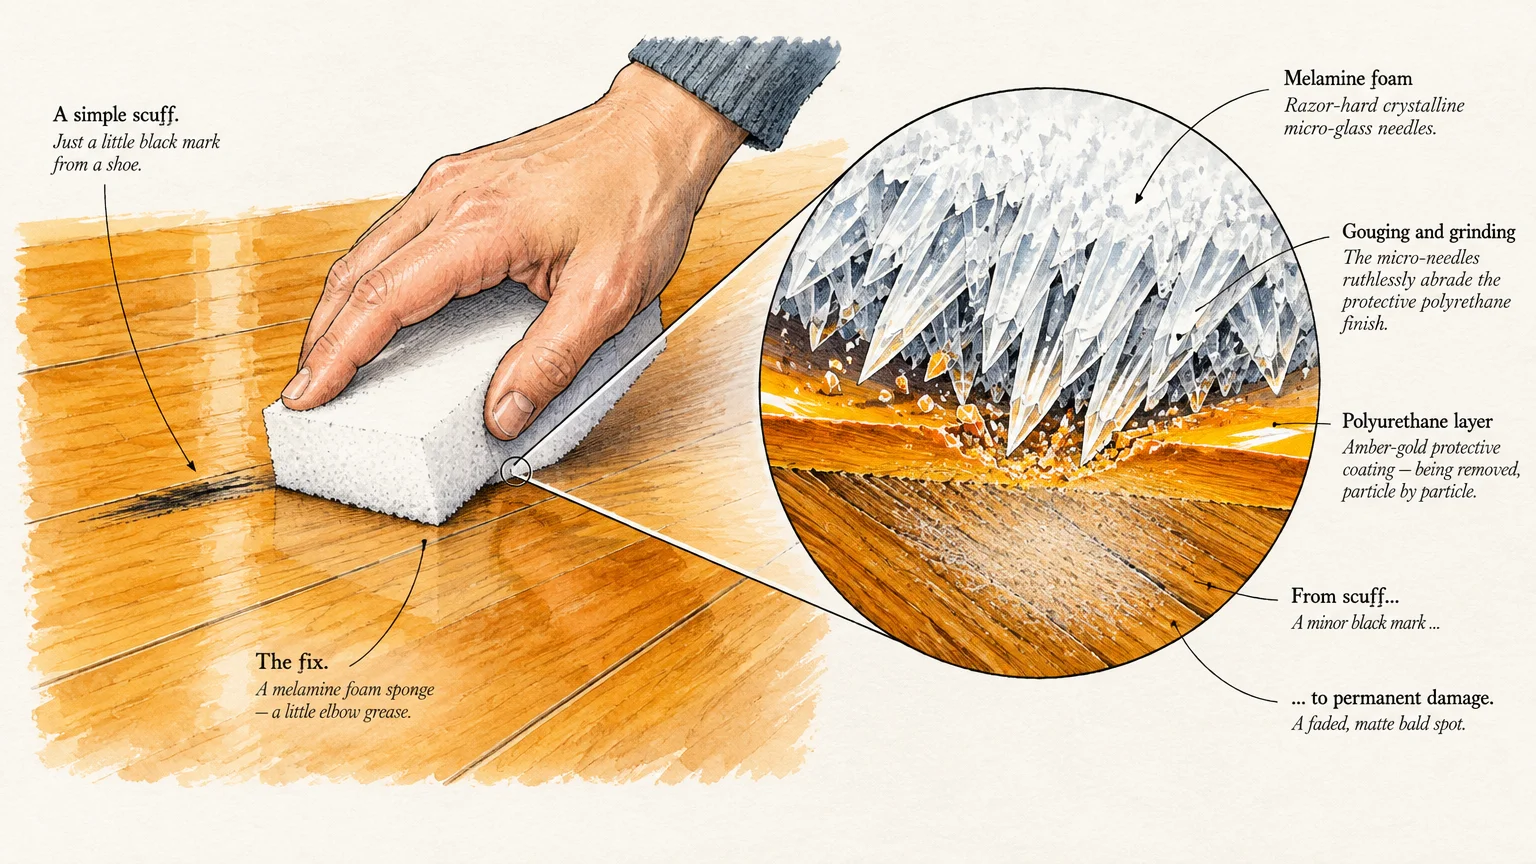
10 Scrubbing Scuffs with Melamine Sponges or Wire Pads
Dark shoe heel scuffs and food splatters can tempt you to grab abrasive scouring pads. Melamine sponges and kitchen scrubbers seem gentle, but they act like ultra-fine sandpaper.
Rubbing polyurethane with melamine foam sands down the factory sheen in seconds. You will eliminate the black shoe scuff, but you will create a permanent dull spot.
Steel wool and green nylon scouring pads cause even more catastrophic damage. They scratch deep through the finish coat and expose bare wood fibers to spills.
Rub stubborn shoe scuffs with a dry microfiber cloth and a drop of neutral cleaner. A clean tennis ball rubbed gently over scuffs also lifts shoe rubber safely.
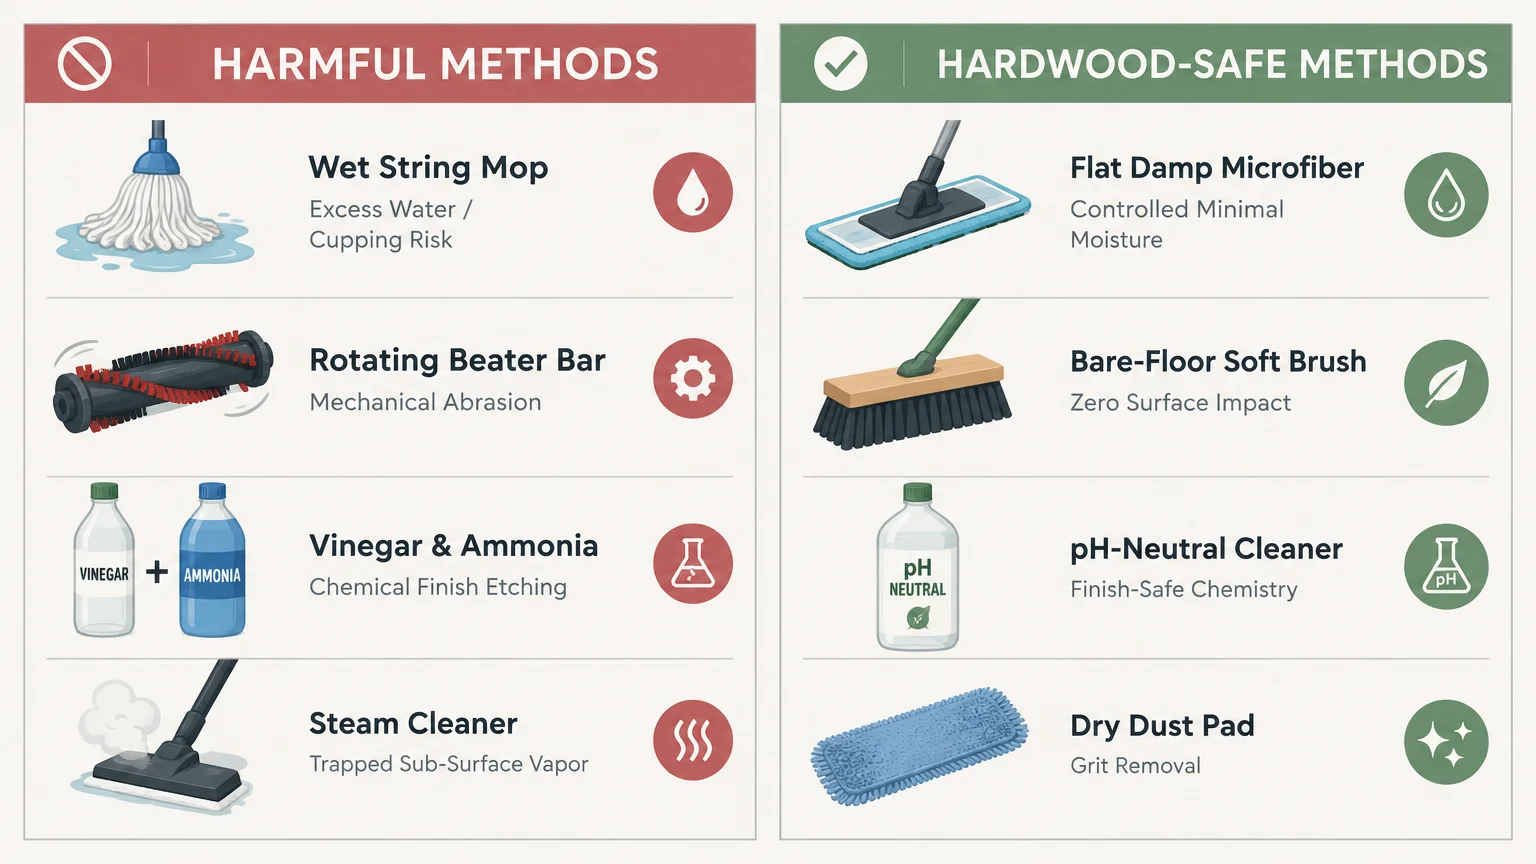
Essential Tool Comparison: Safe vs. Damaging Cleaning Methods
Evaluating your cleaning tools prevents accidental surface degradation. Small equipment adjustments eliminate the primary causes of premature wood wear.
The following comparison table outlines common floor care tools and their long-term impact on wood finishes.
| Cleaning Tool or Solution | Common Risk Factor | Impact on Wood Finish | Recommended Safe Alternative |
|---|---|---|---|
| Wet Cotton String Mop | Standing liquid water | Cupping, plank swelling, dark joints | Damp microfiber flat mop |
| Diluted White Vinegar | Acidic pH level (2.5) | Chemical etching, cloudy finish | pH-neutral hardwood floor cleaner |
| Household Steam Mop | High heat & pressurized vapor | Blanched finish, adhesive delamination | Ambient-temperature microfiber spray mop |
| Rotating Beater Bar Vacuum | High-speed bristle impact | Micro-scratches, abraded clear coat | Bare-floor mode or horsehair nozzle |
| Paste Wax or Silicone Polish | Gummy synthetic accumulation | Cloudy buildup, recoating failure | Residue-free maintenance spray |
| Melamine Foam Eraser | Micro-abrasive resin | Stripped sheen, localized matte patches | Soft microfiber cloth with spot cleaner |
Selecting the right tool simplifies your chores while safeguarding your floorboards. Modern microfiber technology captures dirt effectively without requiring harsh mechanical friction.
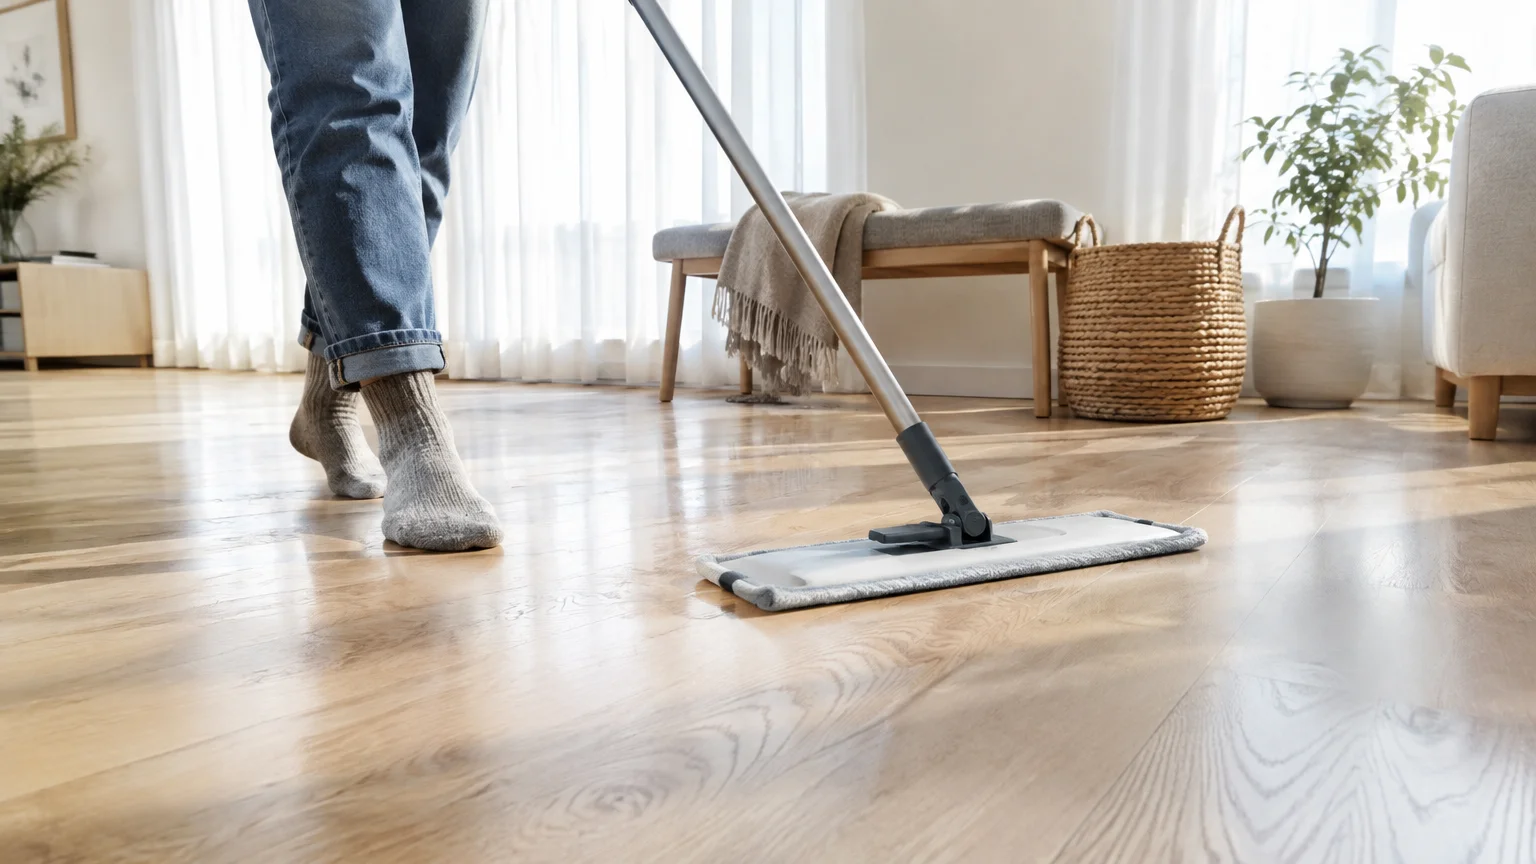
How to Clean Hardwood Floors: A Safe, Step-by-Step Routine
Establishing a simple cleaning routine keeps your floors immaculate without excessive scrubbing. Follow these sequential steps to maintain your hardwood surfaces properly.
Step 1: Clear the Surface of Loose Grit
Begin every cleaning session by removing dry abrasive particles. Dust, sand, and pet hair act like sandpaper under foot traffic.
Glide a dry microfiber dust mop across your rooms in smooth, overlapping paths. Alternatively, use a canister vacuum fitted with a soft felt or horsehair floor attachment.
Step 2: Spot-Treat Persistent Spills and Scuffs
Address sticky spots and shoe marks individually before damp-mopping the entire room. Target treatment reduces overall moisture exposure across your floorboards.
Dampen a corner of a soft microfiber cloth with pH-neutral cleaner. Gently rub the scuff mark in circular motions until the mark lifts away completely.
Step 3: Lightly Damp-Mop with a Microfiber Pad
Attach a clean, fresh microfiber pad to your flat mop head. Spray your pH-neutral floor cleaner directly onto the pad until it feels evenly damp.
Move across the room following the direction of the wood grain. Working parallel to the boards ensures that any residual cleaner dries cleanly along natural lines.
Step 4: Allow for Rapid Air Drying
Good airflow prevents moisture from lingering inside narrow plank seams. Open interior doors or run an overhead ceiling fan to speed up the evaporation process.
Your hardwood floors should dry completely within two to three minutes. If water beads remain visible after five minutes, your mop pad was too wet.
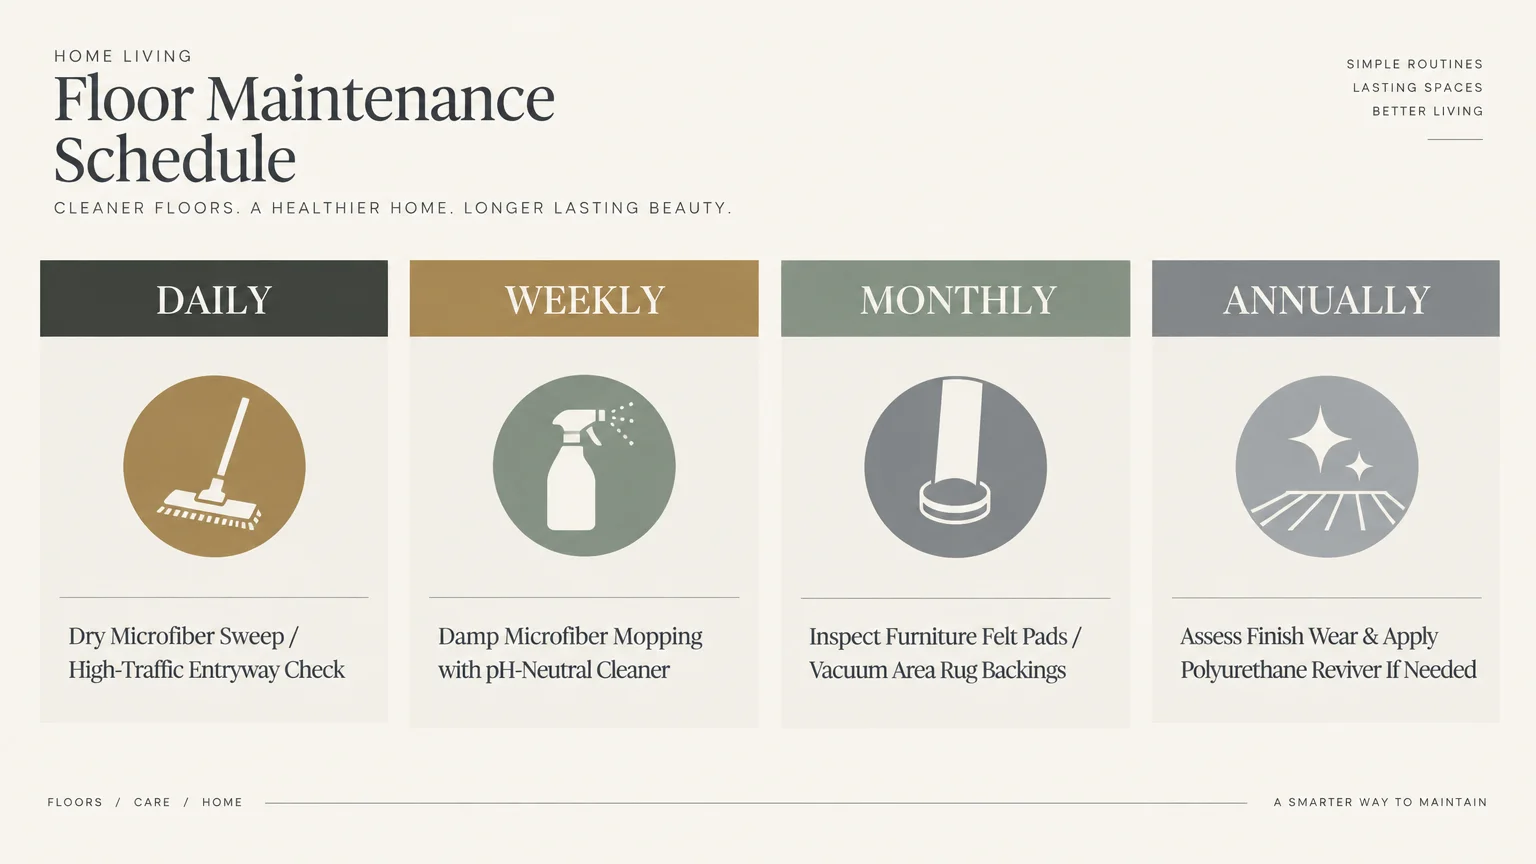
A Simple Hardwood Maintenance Schedule for Busy Homeowners
You do not need hours of daily chores to preserve gleaming floorboards. Breaking maintenance into manageable intervals keeps your home organized and stress-free.
- Daily: Sweep high-traffic hallways and kitchen prep zones with a dry microfiber dust mop to collect abrasive grit.
- Weekly: Vacuum rugs and perform a light damp-mop routine across primary living spaces using a neutral cleaner.
- Monthly: Inspect furniture felt pads for wear, replacing compressed pads before bare metal screws touch the wood.
- Quarterly: Wipe along baseboards and underneath large area rugs where fine grit accumulates unseen.
- Annually: Assess high-traffic paths for finish thinning, scheduling a professional recoating before bare wood emerges.
Following this steady cadence protects your investment while conserving your physical energy. Consistent light maintenance always outperforms harsh, infrequent deep scrubs.
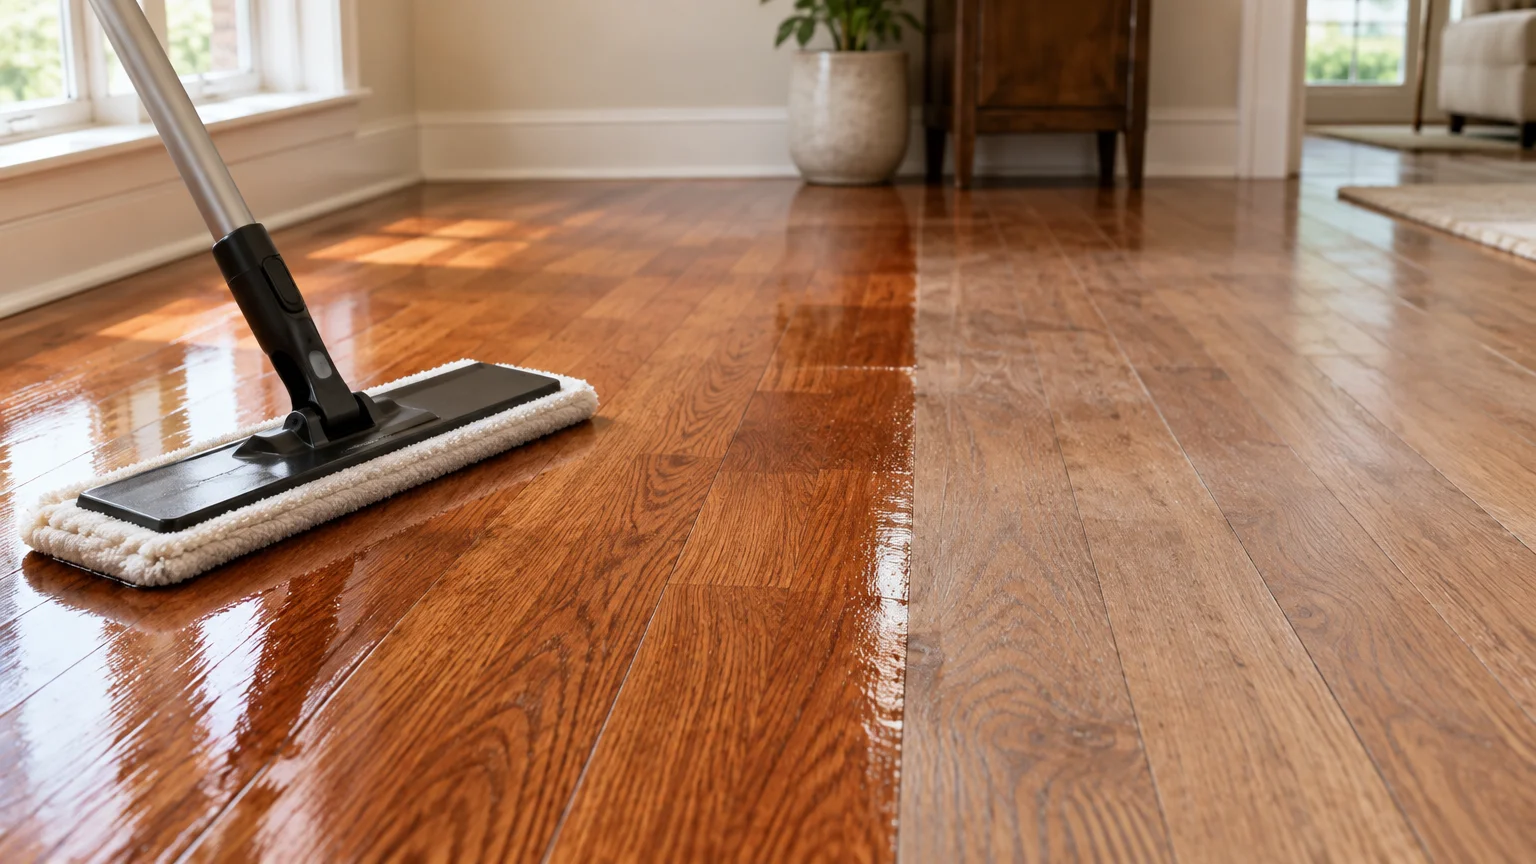
How to Restore Floor Luster Without Sanding
If years of improper cleaning have left a cloudy haze on your floors, you might not need professional refinishing. Many dull floors simply suffer from dried detergent accumulation.
You can remove surfactant residue using a clean microfiber cloth dampened with plain, warm distilled water. Rub a small test patch firmly to see if the natural sheen returns.
If stubborn wax buildup causes persistent haze, use a specialized hardwood residue remover. Test the solution inside an inconspicuous closet before treating an entire room.
When your finish has genuinely worn down to raw wood, schedule a professional screening and recoat. This dustless process applies a fresh polyurethane coat without complete sanding.
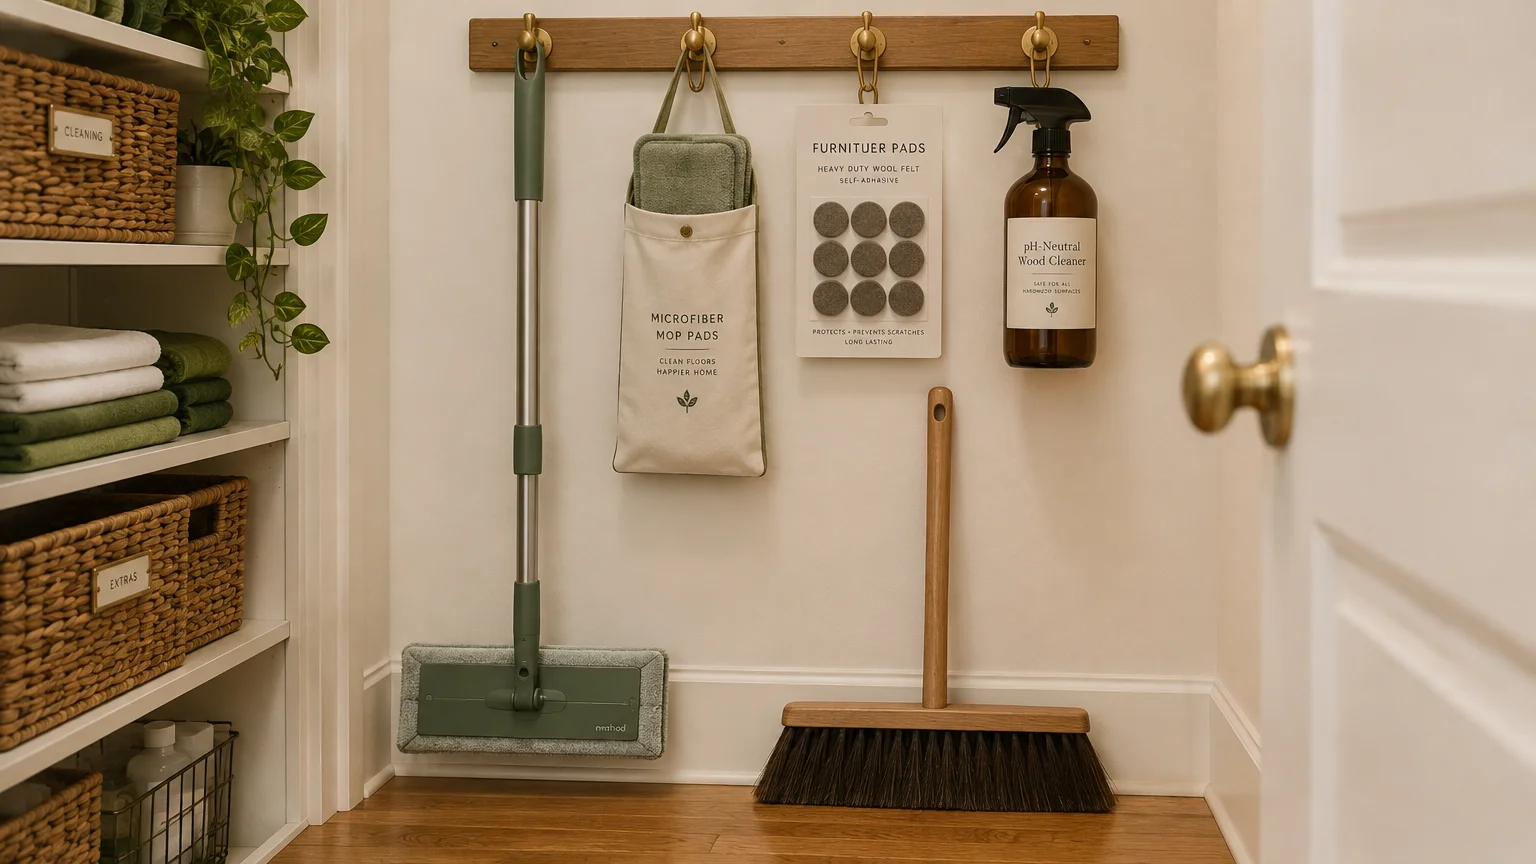
Actionable Next Steps for Effortless Floor Care
Take a moment today to inspect your cleaning supplies and discard acidic vinegar sprays, harsh chemicals, and abrasive scouring pads. Check your vacuum cleaner to confirm the rotating brush turns off completely on bare wood.
Next, place high-traction walk-off mats at exterior entryways and attach fresh felt pads beneath your kitchen chairs. These practical floor cleaning tips protect wood floors and keep your home beautiful for years to come.