You can slide your windows effortlessly and eliminate stubborn grime by correcting a few simple habits. A clean track stops dust from entering your living spaces and prevents mechanical jams.
Most homeowners accidentally convert loose dust into sticky sludge during regular cleaning routines. Standard wiping techniques often pack grit deeper into hidden corners rather than lifting it out.
Window track cleaning does not require aggressive scrubbing or expensive tools. Sidestep these ten common blunders to protect your frames and maintain smooth, immaculate tracks throughout the year.
01 Adding Liquid Before Vacuuming Away Dry Dust
Spraying liquid cleaner directly onto dry dust creates an immediate muddy paste. This messy sludge seeps beneath the sliding rails and packs tightly around internal assembly screws.
Outdoor pollen, dead insects, pet dander, and soot sit loosely on the track surface. The moment moisture touches these dry particles, capillary action pulls the grime into inaccessible frame crevices.
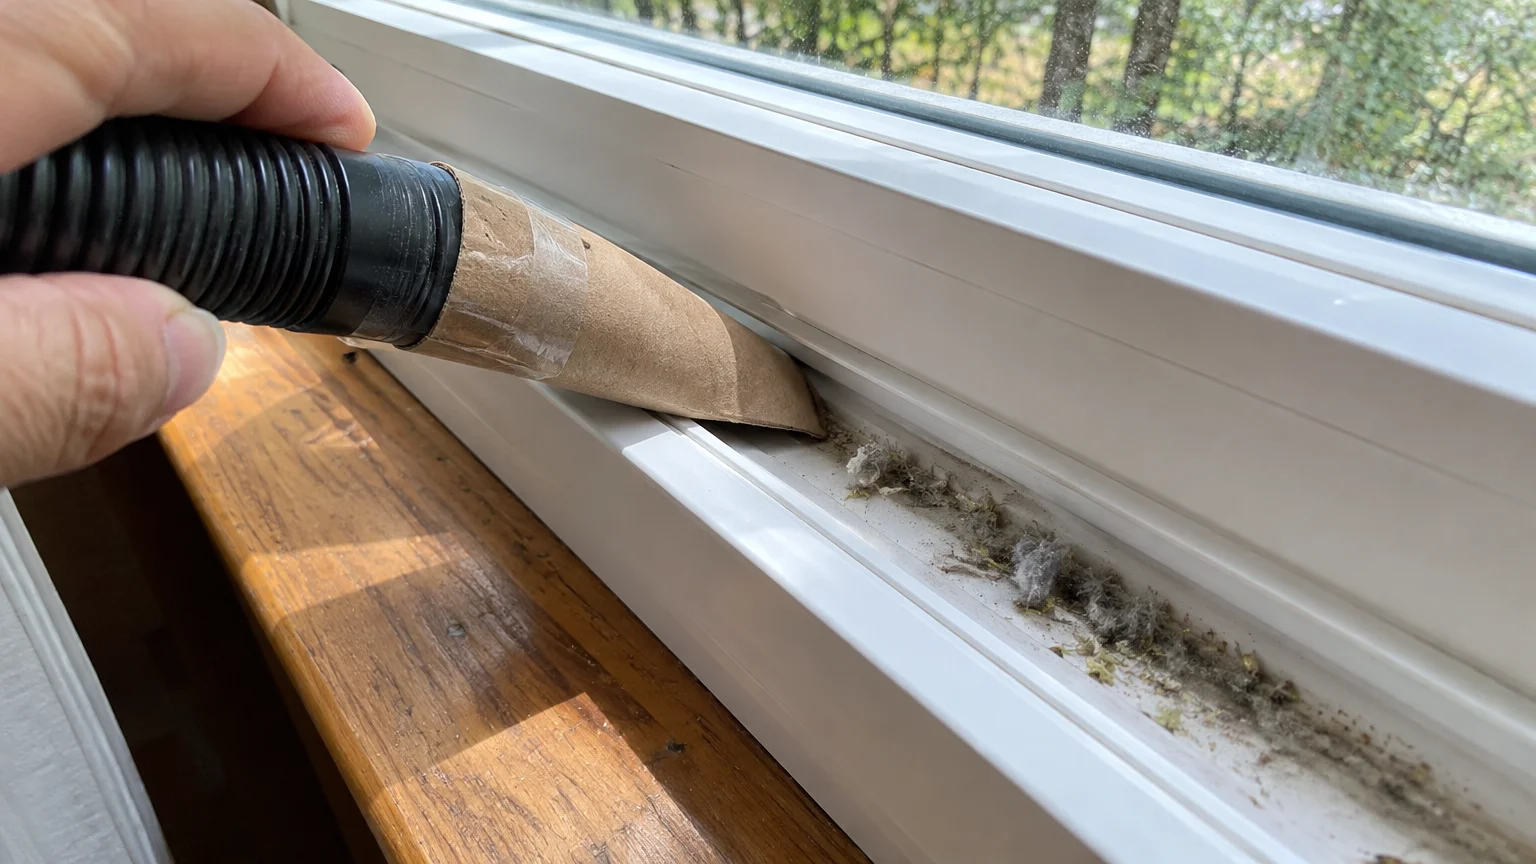
Always extract dry debris before introducing cleaning solutions to the channel. A narrow vacuum crevice attachment removes the bulk of contaminants in seconds without creating mud.
If your vacuum nozzle is too wide, modify an empty cardboard toilet paper tube. Tape the cardboard cylinder to your hose and flatten the end to fit tight tracks.
02 Lubricating Tracks with Oil-Based Sprays
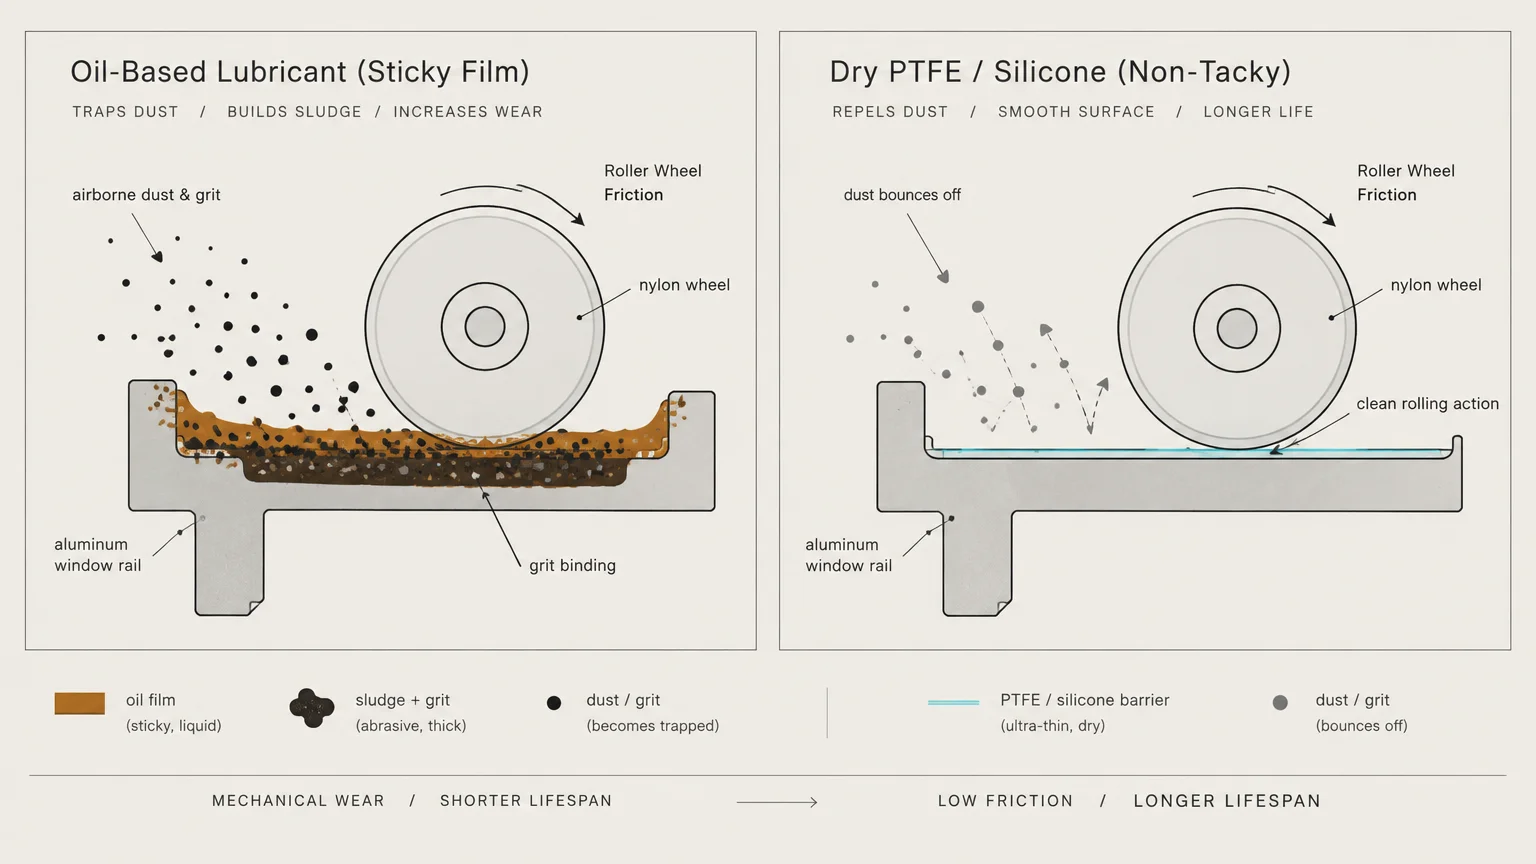
When a sliding sash sticks, homeowners often reach for standard WD-40 or penetrating household oils. While oil creates immediate slickness, standard spray lubricants remain wet and tacky on the metal surface.
That oily film acts as a magnet for airborne dust, sand, and pet hair. Within weeks, the oil binds with debris to form a thick, abrasive black sludge.
This grinding paste damages nylon roller wheels and strips protective coatings from aluminum frame channels. It also makes subsequent sliding door track cleaning significantly more difficult and messy.
Clean the track completely to bare metal or vinyl and allow it to dry. If the sash needs lubrication, apply a dry PTFE or silicone spray that cures without stickiness.
03 Pouring Undiluted Vinegar on Aluminum Frames
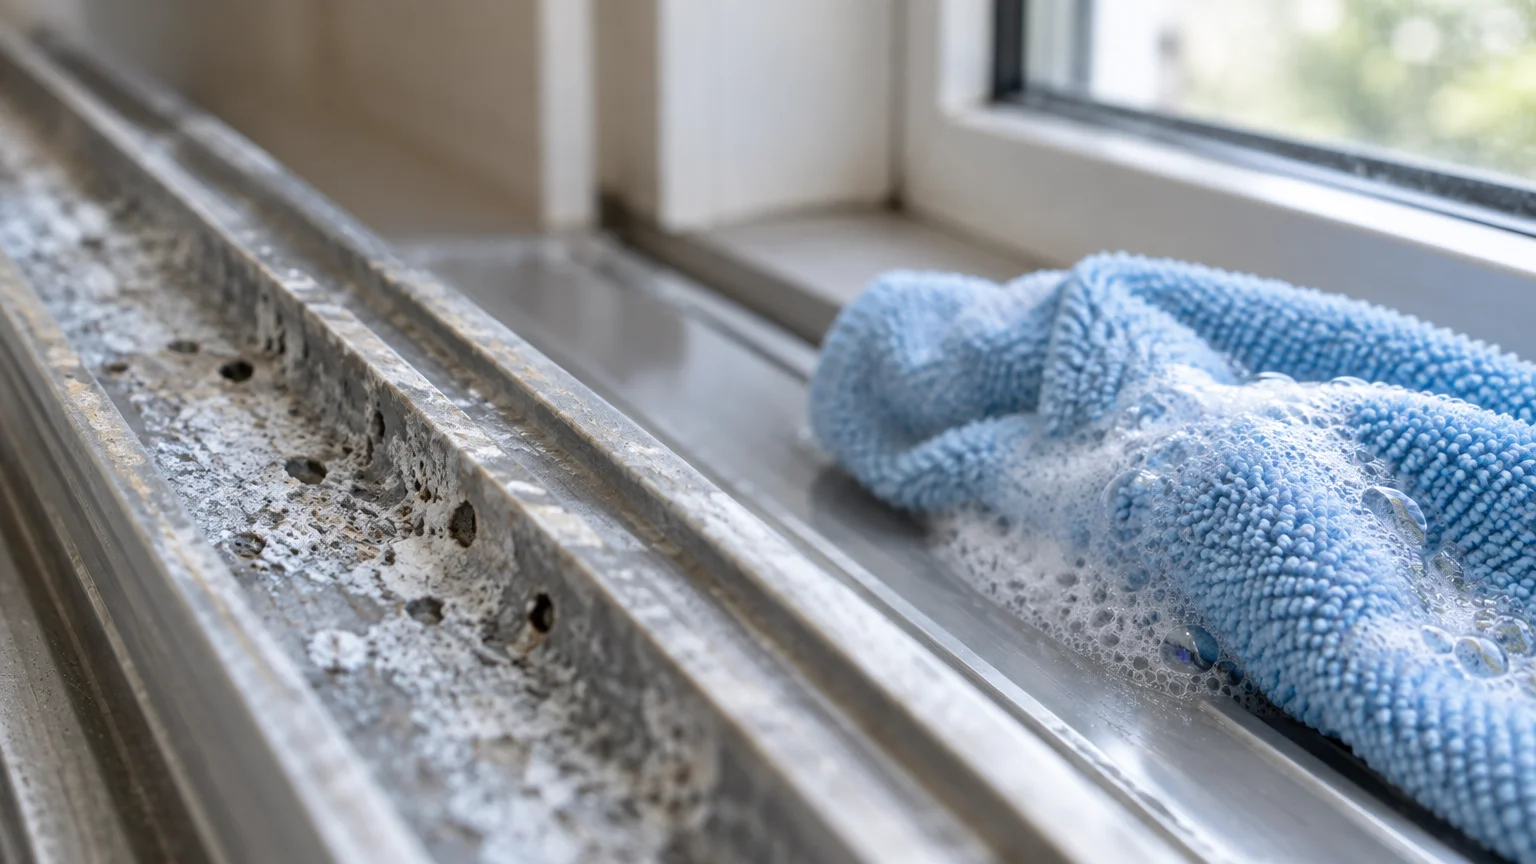
White vinegar is a celebrated household cleaner, but pure acidic solutions harm bare or unsealed aluminum. Acetic acid reacts chemically with raw metal upon prolonged contact.
This chemical reaction triggers oxidation and creates tiny pits across the aluminum surface. These microscopic pits ruin the smooth finish and trap dark dirt particles permanently.
While vinyl frames tolerate mild acids, aluminum tracks demand neutral cleaners. The Colorado State University Extension recommends pH-neutral cleaning formulas to protect delicate household metal surfaces.
Mix warm water with a few drops of mild liquid dish soap instead. This neutral blend breaks down organic residue and grease without compromising your aluminum tracks.
04 Ignoring the Exterior Weep Holes
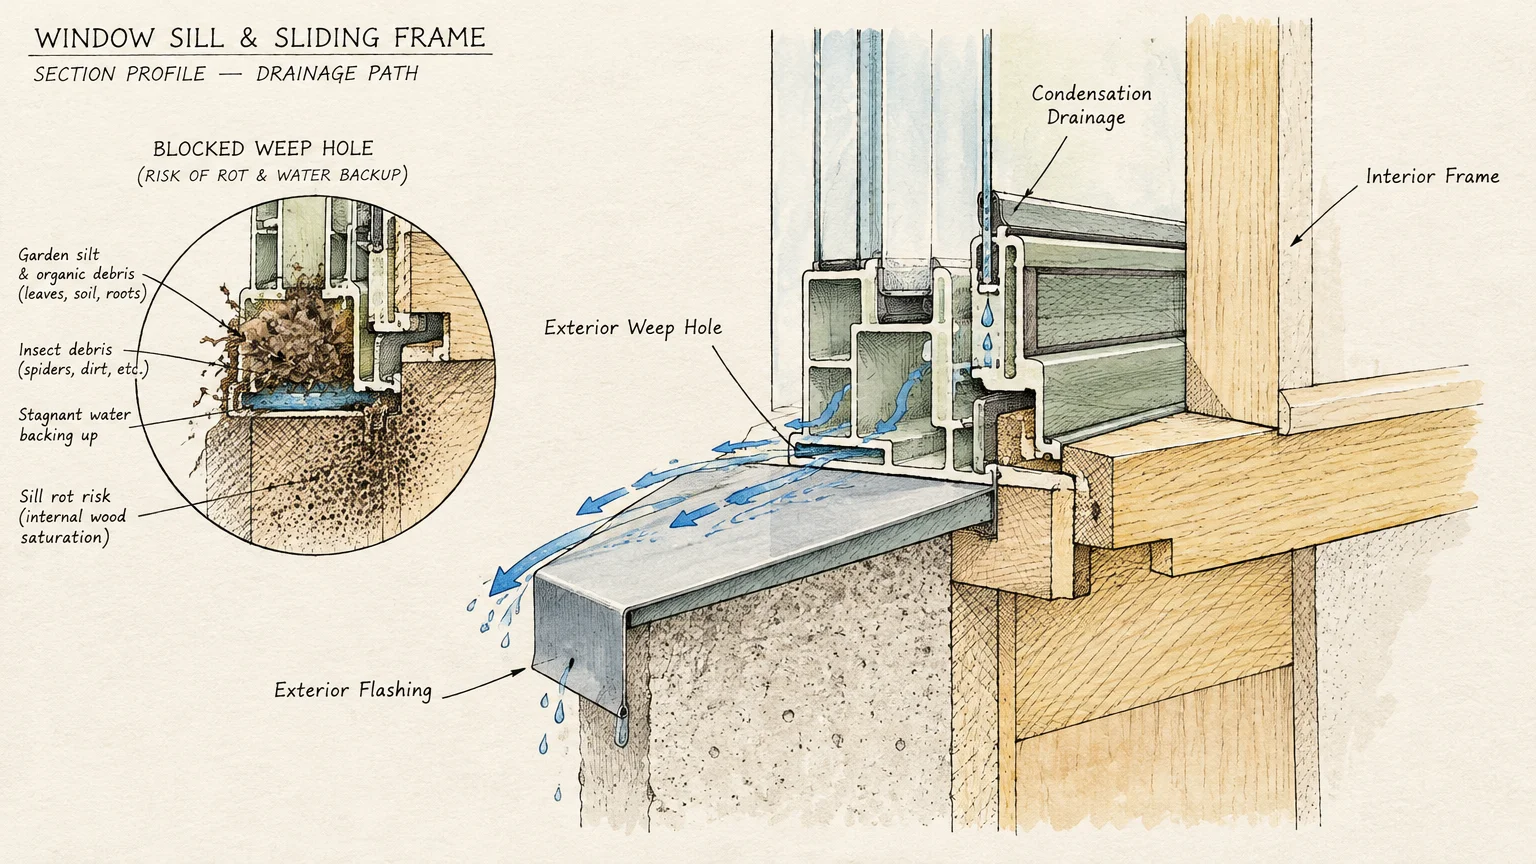
Modern window frames and patio sliders feature small exterior drainage openings called weep holes. These exterior slots channel wind-driven rain and condensation safely away from your home interior.
When dust, dead bugs, and garden debris plug these openings, moisture backs up inside the sill. Standing water quickly rots wooden framing and damages interior drywall beneath the window.
Stagnant water inside clogged tracks also creates an ideal breeding ground for microbial colonies. The U.S. Environmental Protection Agency (EPA) notes that controlling moisture is the most effective defense against indoor mold.
The International Association of Certified Home Inspectors (InterNACHI) highlights functioning weep holes as vital components of a moisture-safe building exterior.
Unclog these exterior slots using an unbent paperclip or a stiff piece of weed-trimmer line. Flush the channel with water to verify that moisture exits cleanly outside.
05 Using Chlorine Bleach on Vinyl and Rubber Gaskets
Spotting dark mildew in window corners often prompts people to apply heavy chlorine bleach. While bleach kills surface mold, it wreaks havoc on modern window materials.
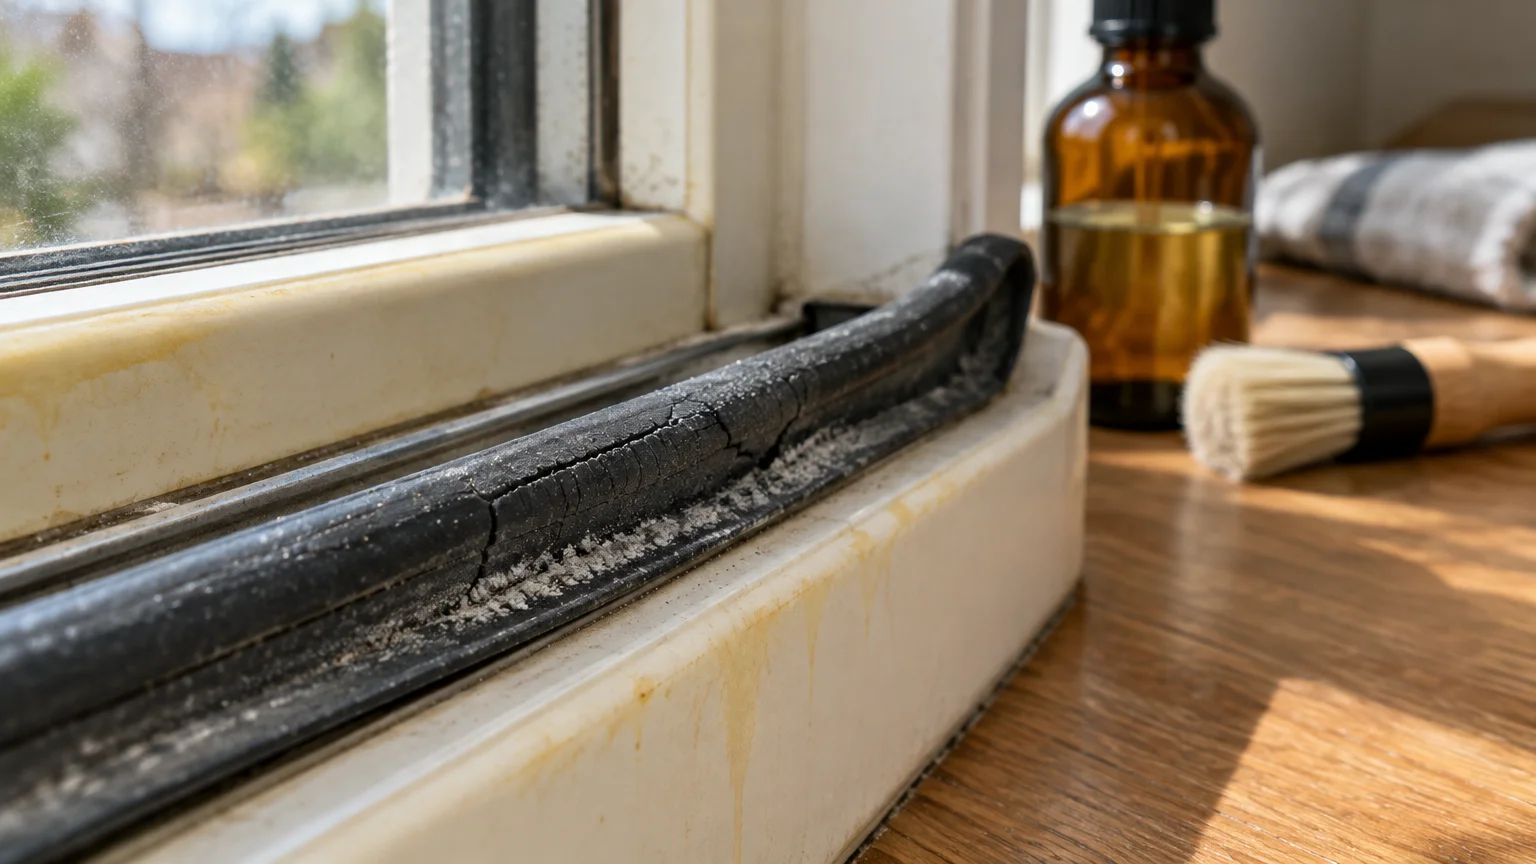
Chlorine rapidly degrades flexible rubber gaskets and neoprene weatherstripping. These seals turn brittle, crack, and shrink, creating severe drafts and driving up home heating expenses.
Harsh bleach solutions can also cause white vinyl framing to yellow prematurely. The Centers for Disease Control and Prevention (CDC) emphasizes using disinfectants safely to avoid material damage and health risks.
Use 3% hydrogen peroxide or mild soapy water to treat mildew instead. Hydrogen peroxide eradicates mold spores safely without deteriorating your window gaskets or emitting harsh chemical vapors.
06 Trusting Viral Carved-Sponge Cleaning Hacks
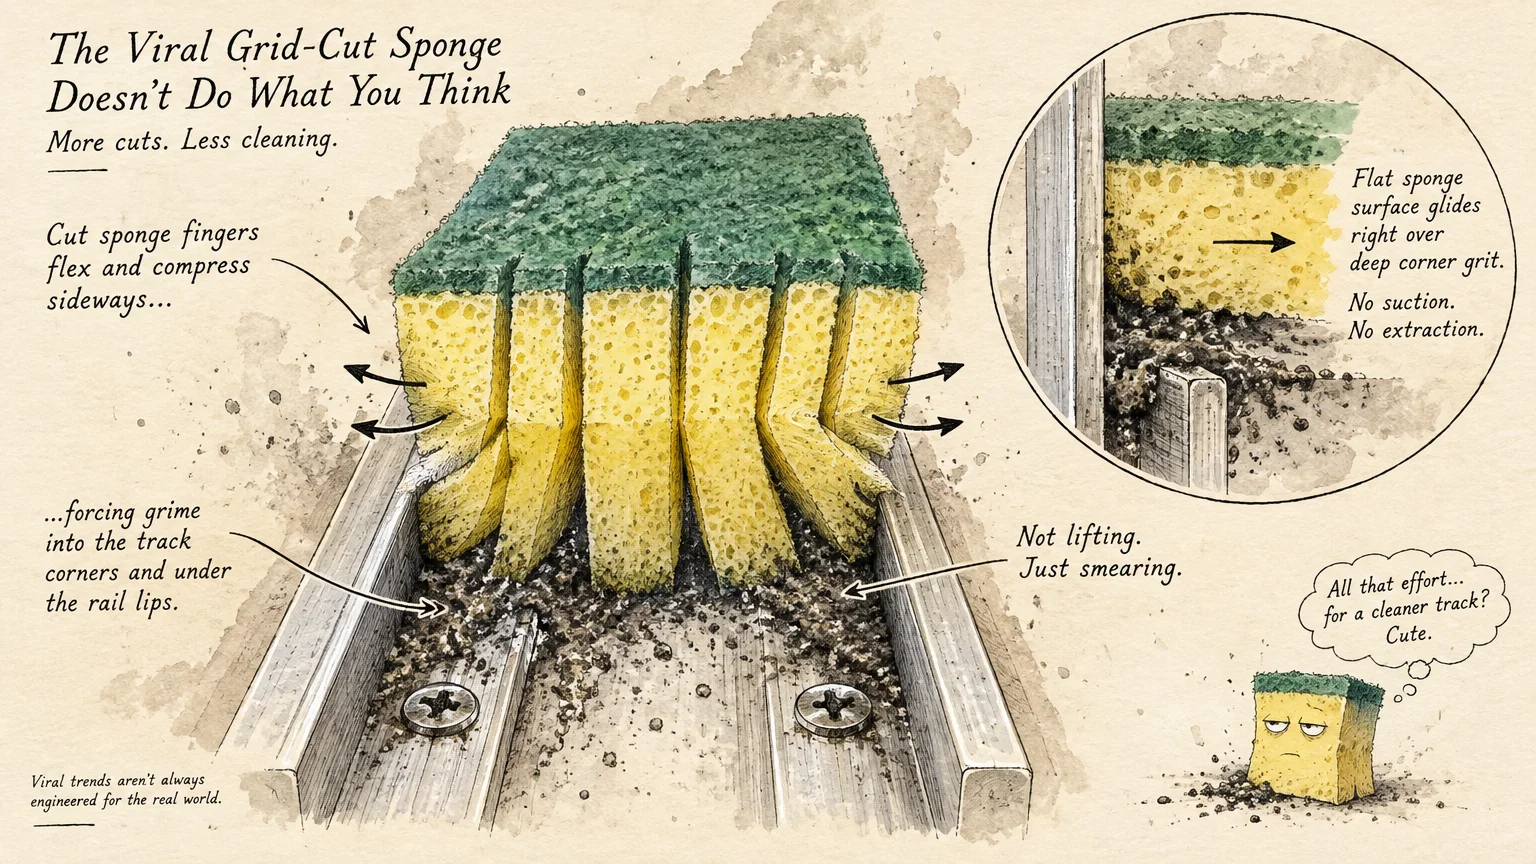
Popular social media videos frequently display kitchen sponges sliced with grid marks to clean window rails. Creators drag these sponges along the tracks, promising a one-second clean.
While visually satisfying, carved-sponge cleaning hacks routinely push gritty silt into tight corners. Soft polyurethane foam cannot provide the rigid scraping pressure required to dislodge impacted grit.
These sponges also hold excess water, releasing dirty runoff beneath the track where you cannot wipe it. The foam quickly becomes saturated, smearing dark residue across previously clean surfaces.
Choose targeted mechanical scrubbers over viral sponge shortcuts. A narrow nylon detailing brush or an old toothbrush lifts stuck debris from channel corners far more effectively.
07 Scrubbing Tracks with Steel Wool or Wire Brushes
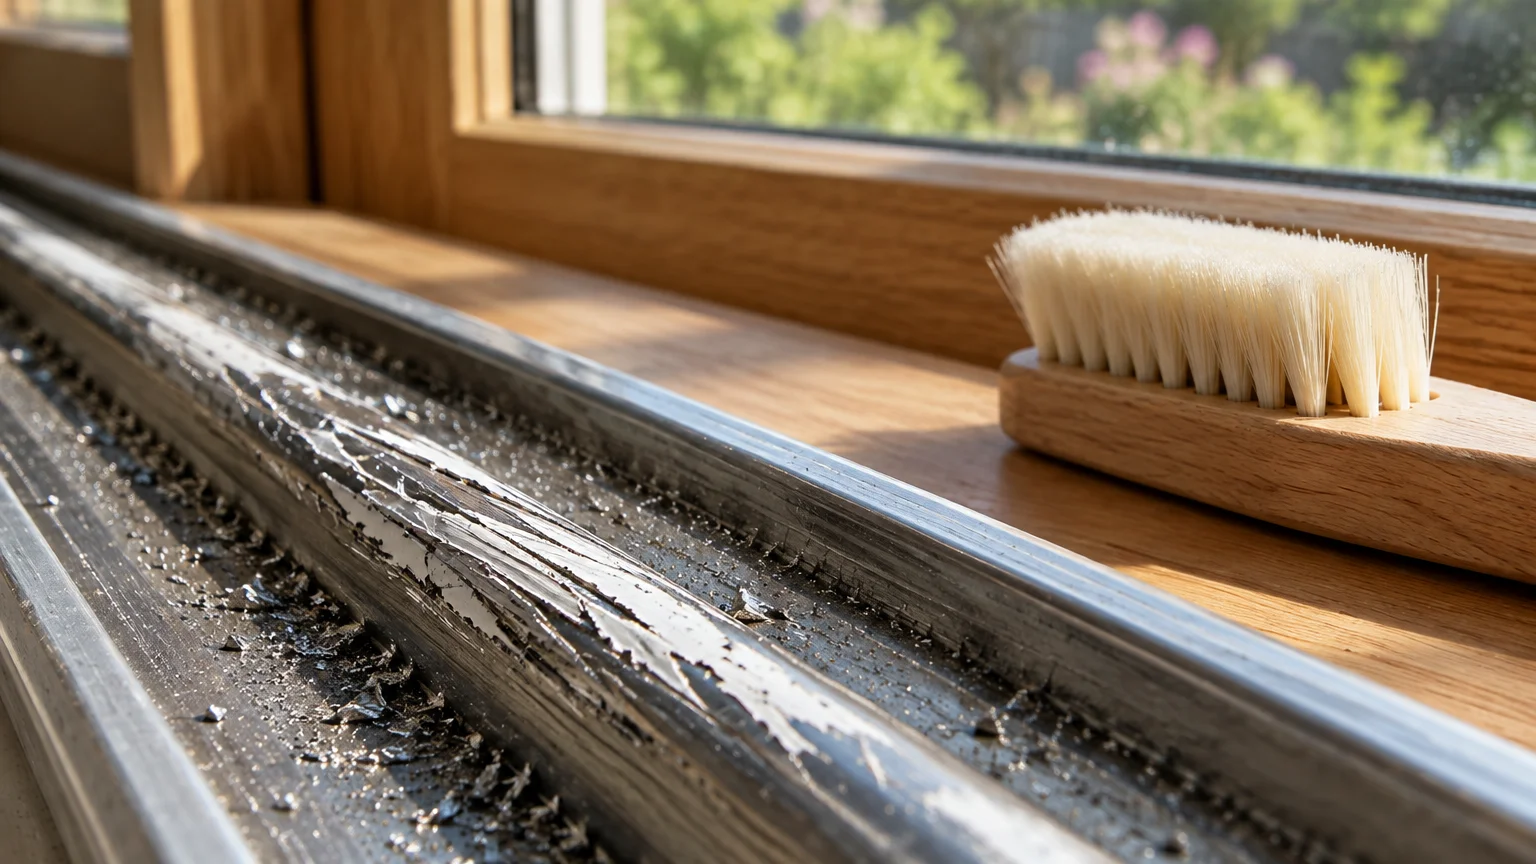
Using wire brushes, flathead screwdrivers, or steel wool to dislodge stubborn debris will ruin your window assemblies. Hard metal abrasives easily scratch paint coatings, vinyl frames, and anodized aluminum layers.
Scratches on vinyl create micro-grooves that trap future dust, making subsequent cleanings twice as hard. Gouged aluminum loses its protective barrier, exposing raw metal to rapid environmental corrosion.
Deep scratches on sliding door rails also chew up the nylon rollers on sliding screen doors. Damaged rollers stick, drag, and require costly replacement far sooner than expected.
Reach for firm non-marring tools to pry up hardened deposits. Wooden craft sticks, plastic scraper blades, and bamboo skewers wrapped in microfiber deliver excellent leverage without scratching finishes.
08 Leaving Rinse Water to Pool in the Corners
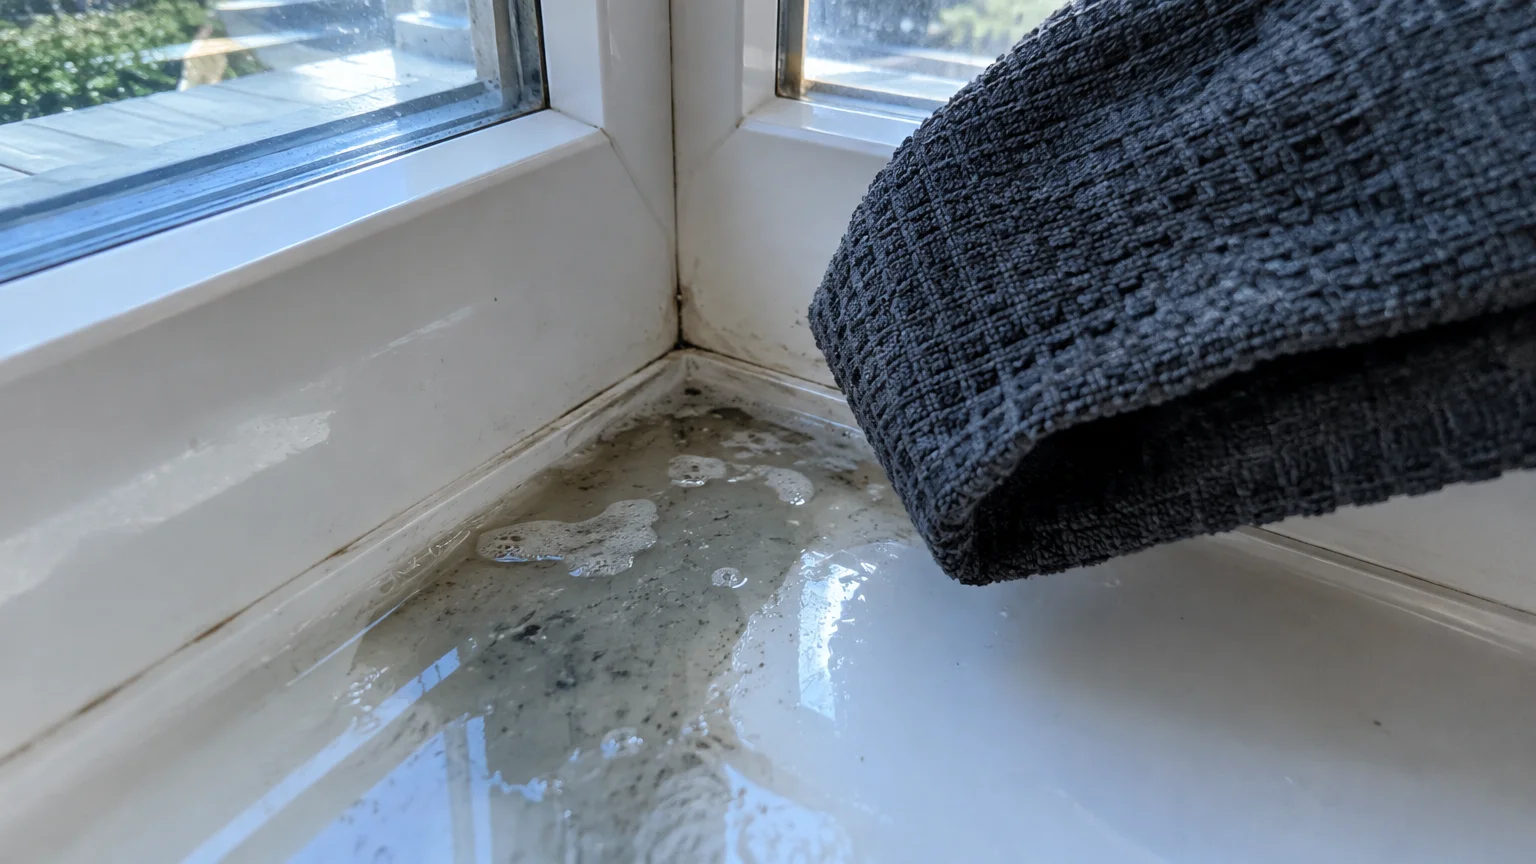
Rinsing loosened dirt with clean water is a normal cleaning step, but leaving that water behind causes fresh trouble. Evaporating water leaves unsightly mineral deposits and water spots across your sills.
Hard tap water leaves behind calcium and magnesium salts that bond firmly to window surfaces. This chalky residue attracts fresh airborne dust, turning your clean track grimy within days.
Standing water also seeps beneath frame joints, encouraging mold growth in hidden cavities. In humid weather, stagnant rinse water generates musty odors in less than forty-eight hours.
Always blot away moisture with a dry microfiber cloth immediately after rinsing. Guide the towel into narrow corners with a wooden chopstick to capture every trapped droplet.
09 Skipping the Underside of Sashes and Door Rollers
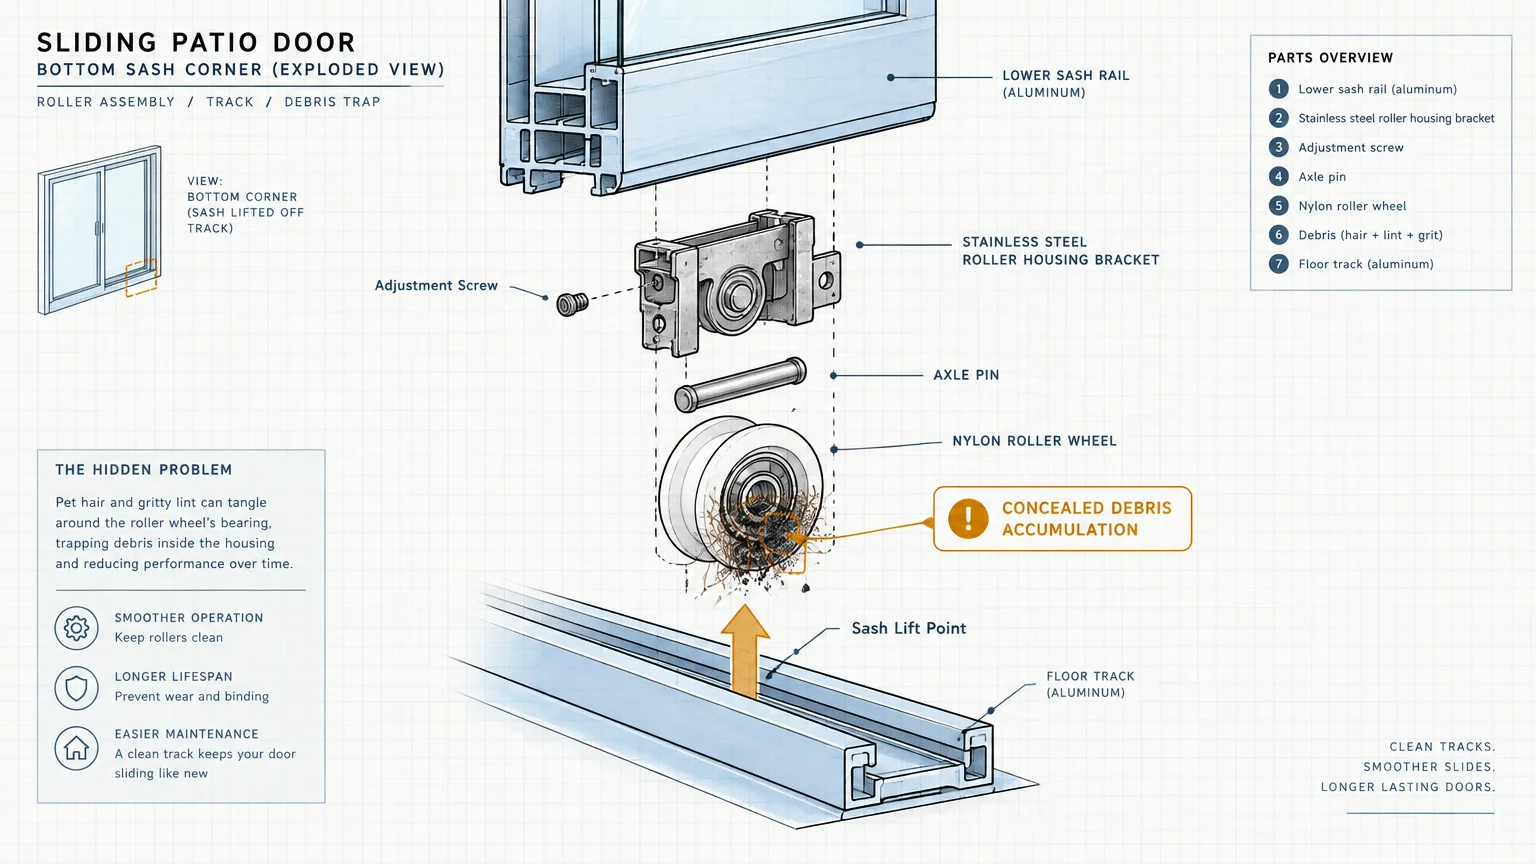
Many people scrub the bottom track until it shines, yet ignore the sliding sash directly above it. Dust, pet fur, and grease gather continuously along the underside of window panels.
Sliding patio doors harbor substantial grime around their internal roller wheels. When you open the door, these dirty wheels transfer debris straight back onto your pristine track.
Always incorporate the sliding sash and roller wheels into your sliding door track cleaning routine. Vacuum the sash underside and wipe roller housings clean before finishing your task.
Clean the vertical jamb channels as well. Debris sticking to vertical guides falls straight into your lower tracks each time you operate the window.
10 Waiting for an Annual Deep Clean
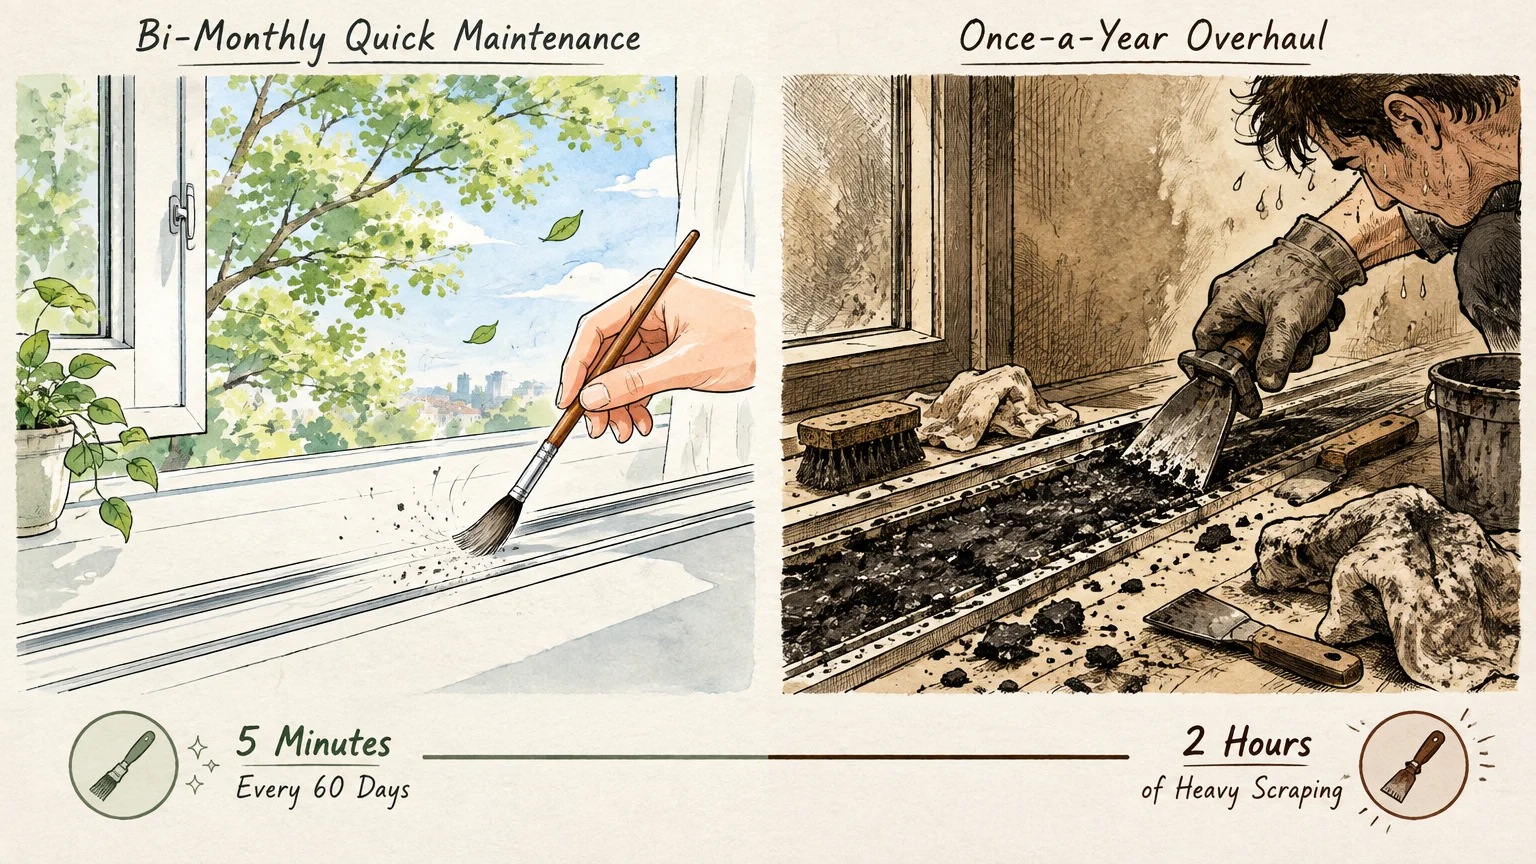
Treating window track maintenance as a once-a-year chore creates unnecessary physical strain. Over twelve months, humidity, dust, and pollen bake together into a rock-hard crust.
Breaking down aged, petrified debris demands heavy chemical soaking and frustrating scraping sessions. Gritty buildup also wears down weatherstripping and roller bearings continuously throughout the year.
Switch to a quick seasonal touch-up every three or four months. A brief two-minute vacuum pass during regular housework prevents loose dust from consolidating into stubborn grime.
Consistent maintenance keeps your windows gliding smoothly with zero physical resistance. Regular cleaning also protects the airtight weather seals that preserve indoor climate comfort and energy efficiency.
Essential Tool Comparison for Track Maintenance
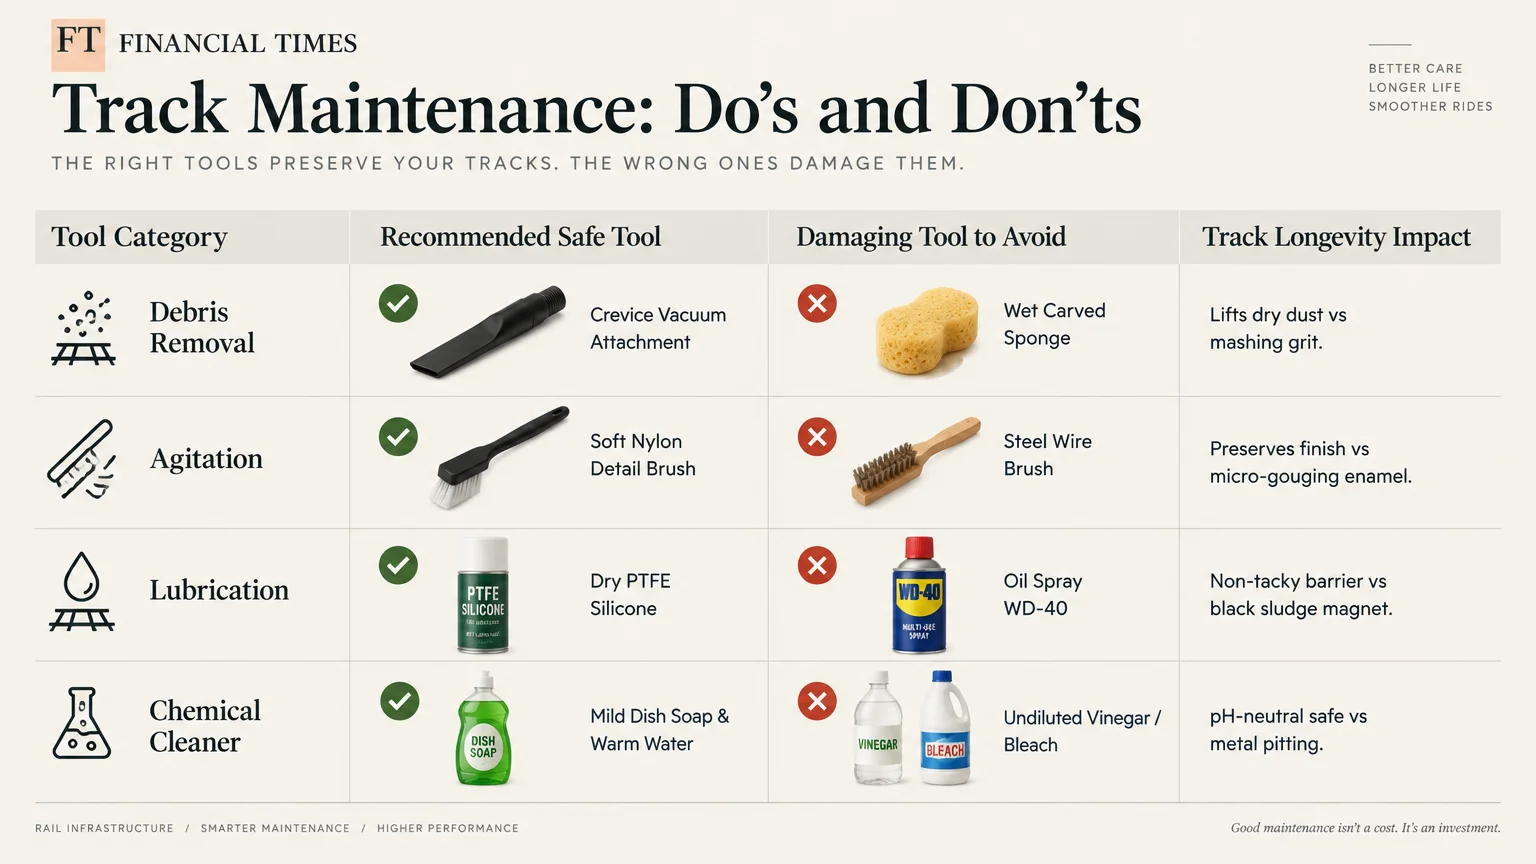
Selecting the appropriate tool protects your window finishes while reducing cleaning time. The comparison below pairs the right equipment with common track cleaning challenges.
| Cleaning Tool | Best Application | Surface Safety | Effectiveness Rating |
|---|---|---|---|
| Vacuum Crevice Tool | Removing dry dirt, pollen, and insect remains before wetting. | Safe for all vinyl, wood, and aluminum finishes. | Essential; prevents mud formation entirely. |
| Nylon Track Brush | Agitating corners and scrubbing vertical guide rails. | Non-scratch bristles protect factory coatings. | High; reaches tight grooves easily. |
| Bamboo Skewer with Microfiber | Detailing tight ninety-degree sill corners. | Will not scratch metal anodization or vinyl. | Superior; lifts impacted corner grime cleanly. |
| Carved Foam Sponge | Wiping wide, flat horizontal surfaces. | Soft surface causes no abrasion damage. | Low; compacts dirt and holds dirty runoff. |
| Brass or Steel Wire Brush | Stripping heavy rust from iron gate tracks. | Unsafe; gouges residential vinyl and aluminum frames. | Destructive; destroys coatings and weather seals. |
| Dry PTFE Spray | Lubricating tracks and roller wheels after washing. | Safe for metal, plastics, and moving nylon parts. | High; repels dust while reducing friction. |
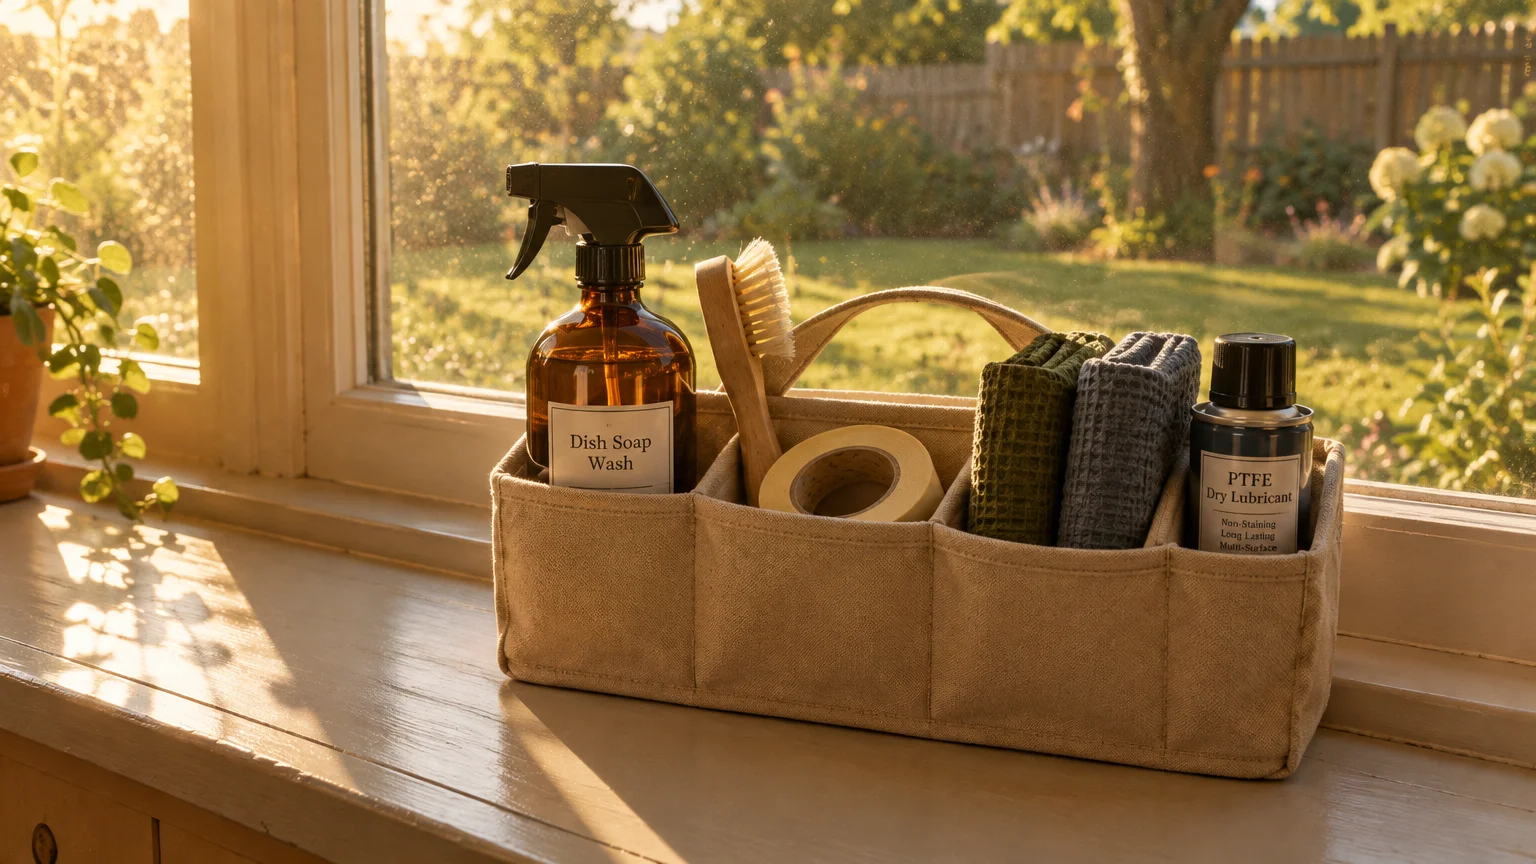
Keep these specialized tools in a dedicated cleaning caddy for quick seasonal access. Having the proper implements ready makes routine window track cleaning virtually effortless.
Step-by-Step Routine for Immaculate Window Tracks
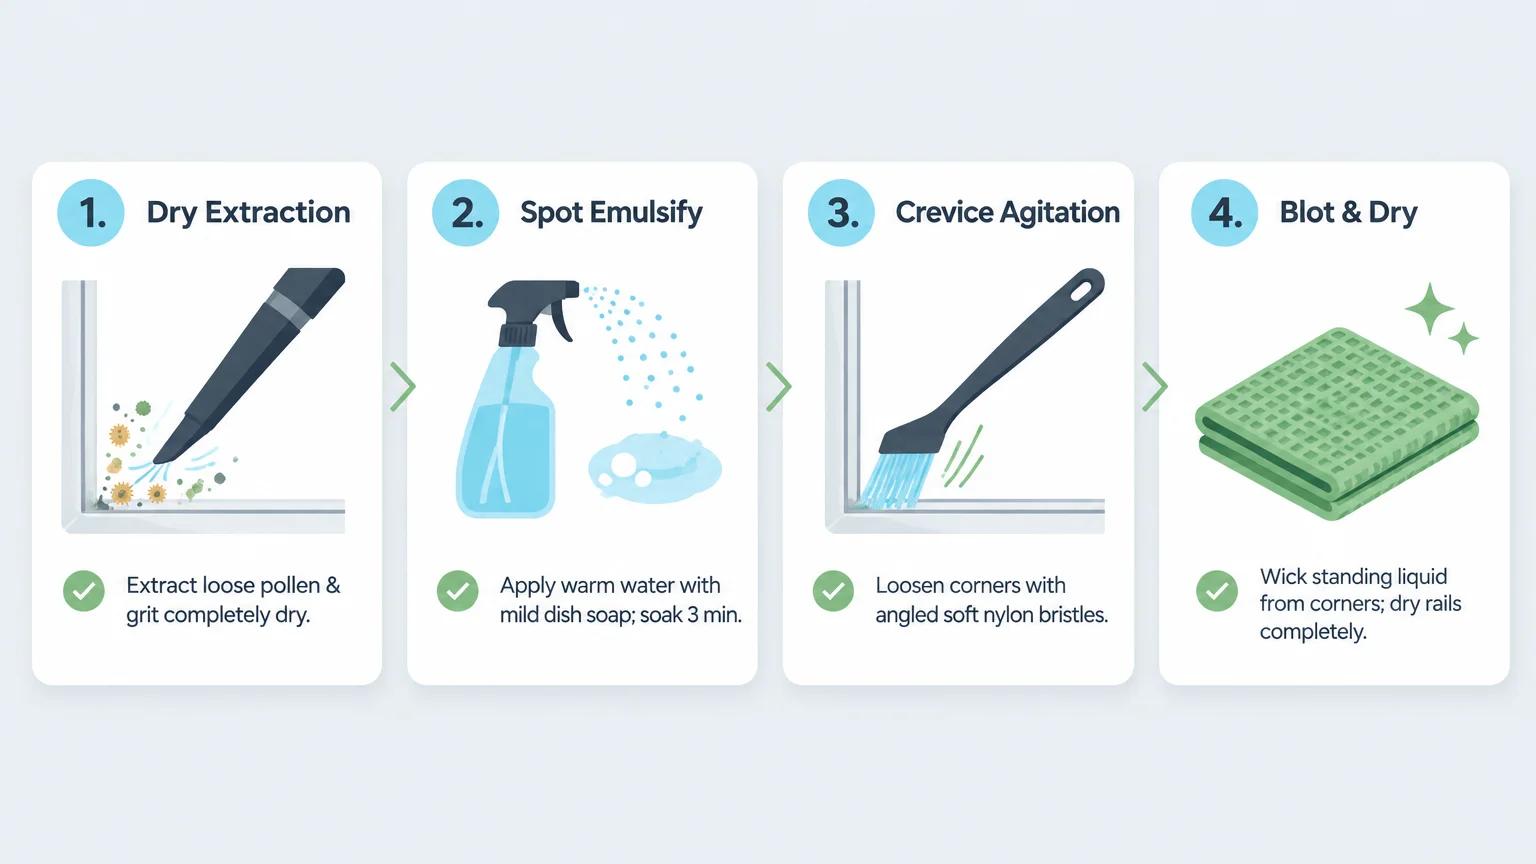
Following an orderly sequence saves energy and prevents messy rework. Use this proven five-step method to clean window tracks thoroughly and safely.
- Dry Vacuuming: Attach a narrow nozzle to your vacuum cleaner. Vacuum the entire channel, sliding the sash back and forth to extract dust hidden beneath the moving panel.
- Targeted Soap Application: Mix two cups of warm water with one teaspoon of mild dish soap. Dip a nylon detail brush into the solution and work the bristles into the corners to loosen sticky grease.
- Corner Detailing: Wrap a damp microfiber cloth around the tip of a wooden skewer or plastic scraper. Press the wrapped tip firmly into the track corners and pull forward to lift dislodged silt.
- Rinsing with Precision: Dampen a clean cloth with fresh water and wipe the track to remove soap residue. Avoid dumping water cups into the channel, which can overwhelm internal drainage channels.
- Complete Drying: Run a dry microfiber towel along the entire rail surface to wick away moisture. Press into corners to eliminate water puddles that invite mildew and mineral staining.
Work on one window at a time to keep cleaning solution from drying on the frame. This systematic approach ensures immaculate tracks without wasting time or physical effort.
Window Cleaning Tips to Simplify Your Routine
Simplifying your housekeeping methods protects your joints and saves valuable energy. These practical window cleaning tips make track maintenance comfortable and accessible for everyone.
Sit on a sturdy low stool rather than kneeling on hard flooring while working on patio sliders. Working at eye level reduces back fatigue and gives you superior cleaning leverage.
Use long-handled detailing brushes to clean hard-to-reach sliding patio door channels without bending. Ergonomic grip handles significantly decrease hand strain if you manage arthritis or reduced grip strength.
Consider a handheld steam cleaner if you want to avoid scrubbing altogether. Pressurized steam liquefies sticky grime instantly, allowing you to lift dirt away with a simple microfiber wipe.
Your Immediate Next Step
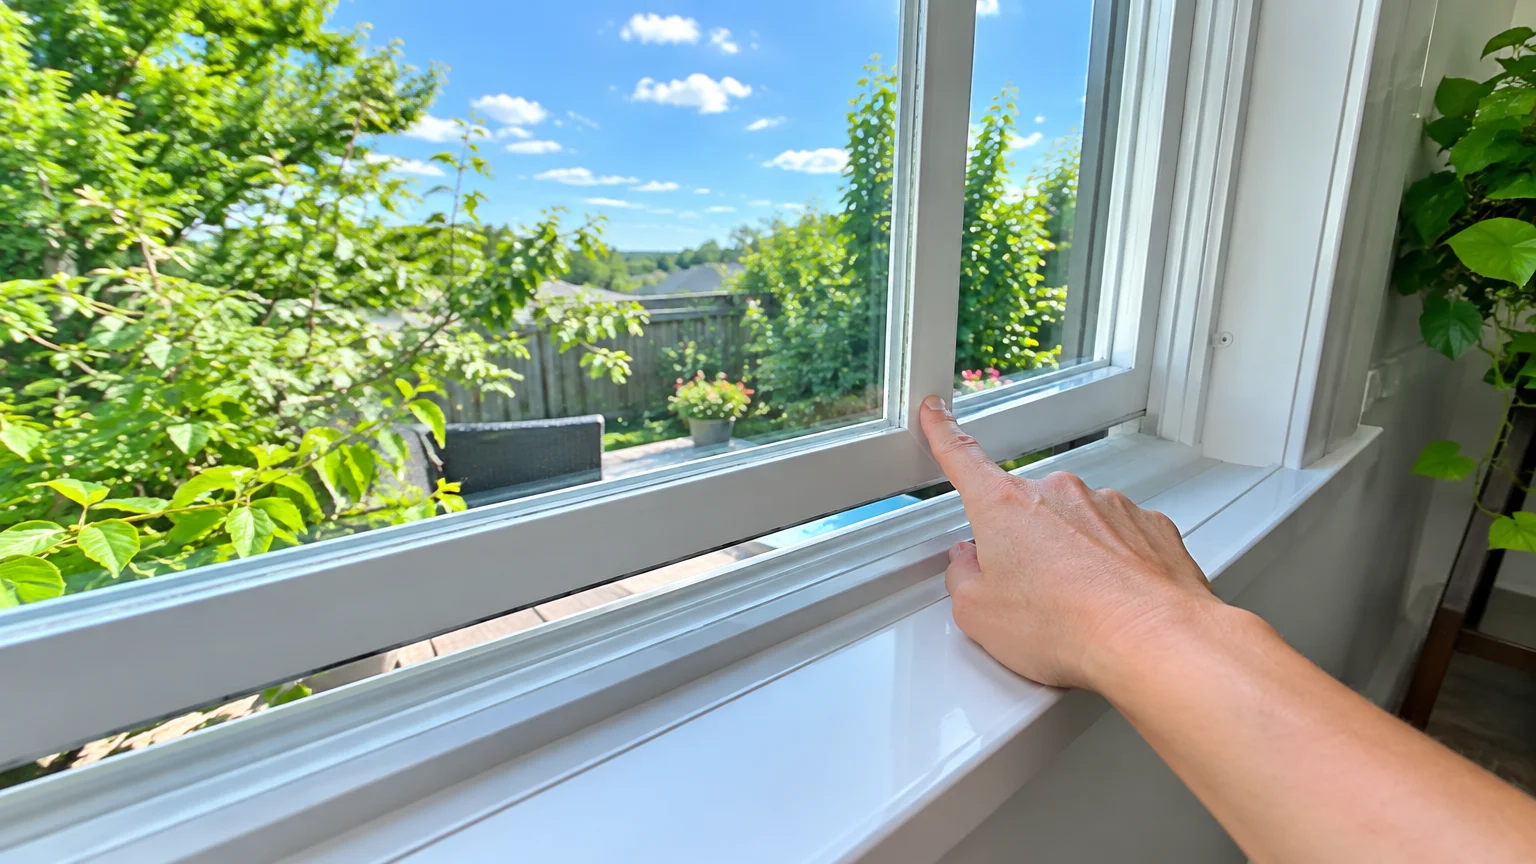
Walk to your most frequently opened window right now and inspect the bottom channel. Run your vacuum crevice tool along the track to lift loose dust before it turns into grime.
Clearing that dry debris today takes less than two minutes and immediately extends the life of your window seals. Add track vacuuming to your monthly dusting routine for effortless, smooth-sliding windows year-round.