You pull a glass from the cupboard, hold it toward the light, and notice an unappealing, cloudy haze over the surface. Cloudy glasses make your kitchen feel disorderly, even when your dishes have run through an intensive wash cycle.
You can eliminate that stubborn film without replacing your favorite drinkware. Pinpointing your exact washing habits helps you stop chalky residues from forming again.
Whether the issue comes from mineral deposits or detergent overload, small adjustments to your cleaning routine will deliver spotless glasses every single time.
Film Versus Etching: How to Spot the Difference
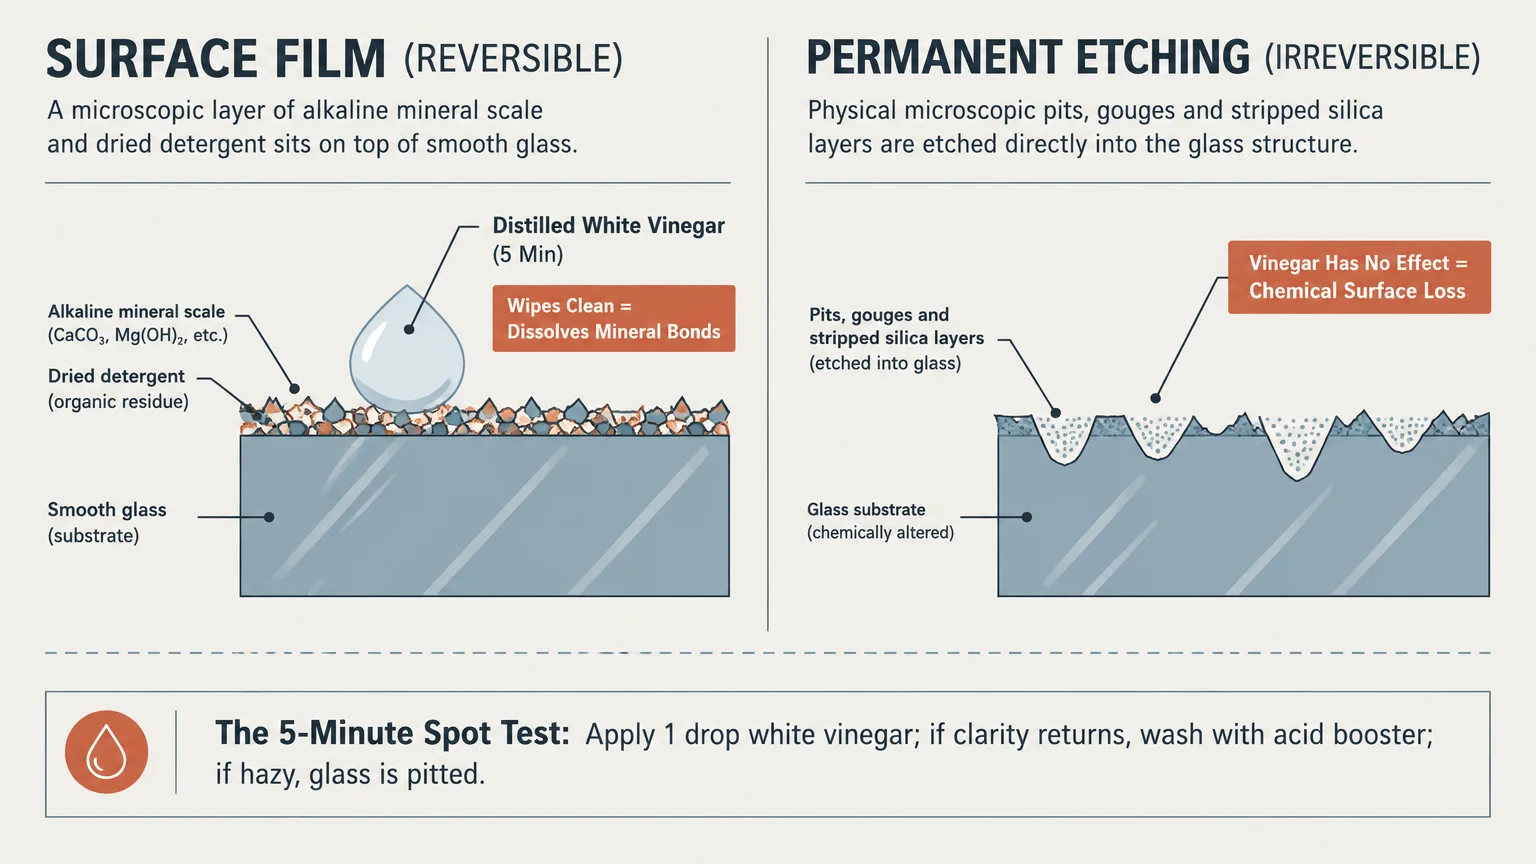
Before attempting any cleaning remedy, you must identify whether your glasses suffer from surface film or permanent etching.
Surface film consists of mineral accumulation or detergent buildup sitting on top of the glass. You can dissolve and remove this layer completely.
Etching occurs when chemicals and hot water physically pit and strip microscopic layers from the glass structure itself. This damage is irreversible.
To test your drinkware, dab a drop of distilled white vinegar onto the cloudy surface and wait five minutes. Wipe the area clean with a damp cloth.
If the spot clears, you are dealing with mineral scale or soap film that you can clean away. If the cloudy texture remains, the glass is permanently etched.
Mistake 1: Pouring Too Much Detergent into the Dispenser
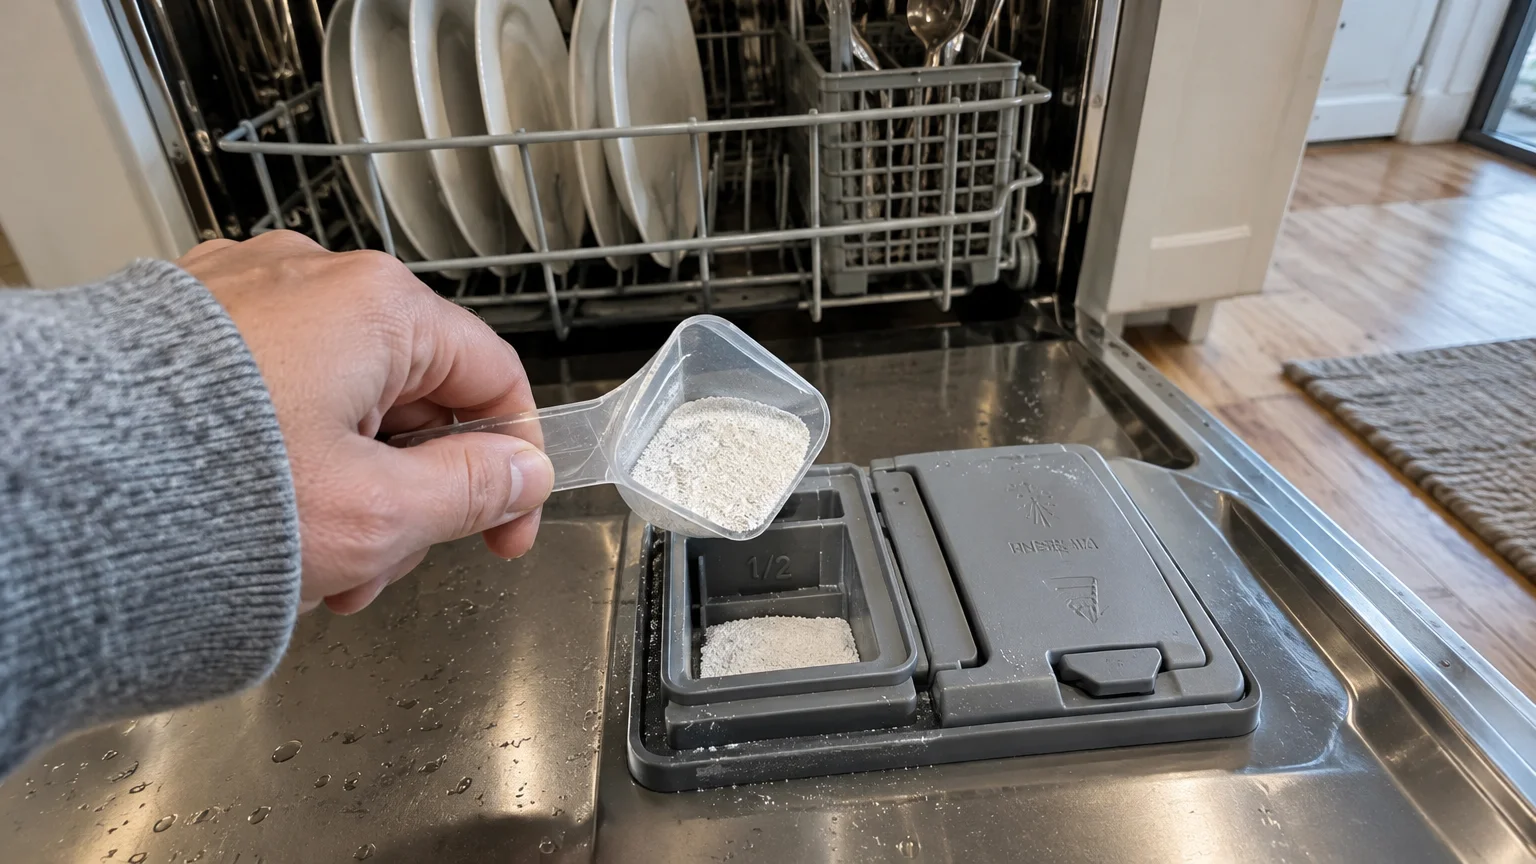
Using extra detergent feels like a natural way to ensure cleaner dishes, but it often produces the opposite result.
Modern dishwashing detergents contain concentrated alkaline salts and cleaning agents designed for specific water volumes. Excess soap cannot fully rinse away in a standard cycle.
This leftover detergent dries directly onto the glass, creating a chalky, slippery residue that dulls its natural sheen. Over time, that soap layer attracts additional dust and food oils.
If you use soft water, excess detergent poses an even greater risk. Concentrated builders strip ions from the glass surface, accelerating permanent chemical etching.
Detergent pods can also deliver too much soap for smaller or lightly soiled loads. Powder or liquid formulas allow you to adjust amounts based on load size.
Fill your dispenser cup only halfway if your water is naturally soft, or switch to pre-measured detergent tablets formulated for standard loads.
Mistake 2: Ignoring Hard Water Mineral Buildup
Hard water remains the primary culprit behind stubborn glassware film cleaning struggles in homes across the country.
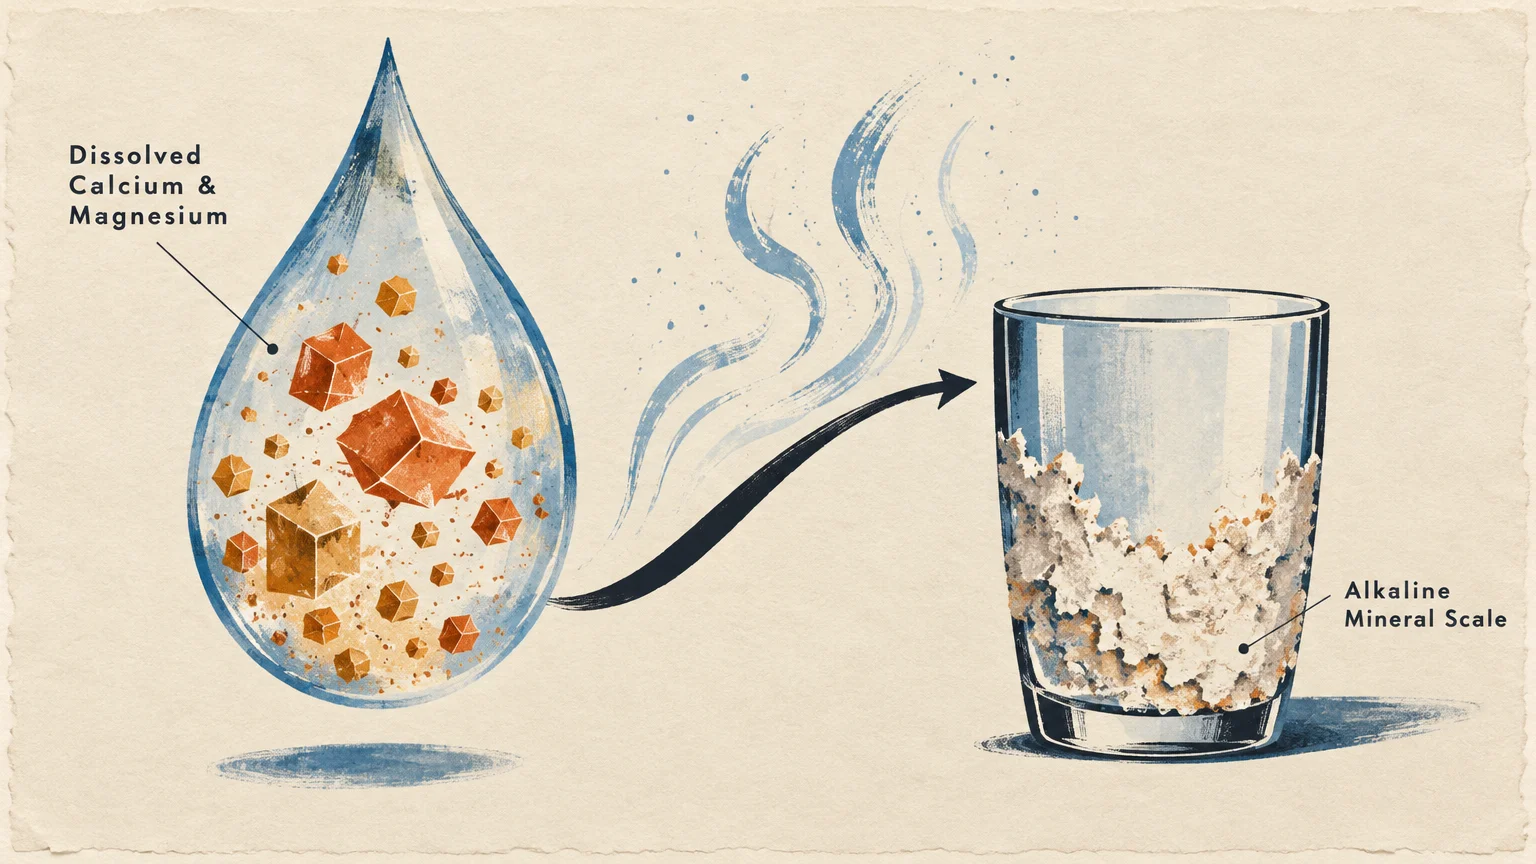
According to the United States Geological Survey, hard water contains dissolved calcium and magnesium carbonates that settle on surfaces during evaporation.
As wash water dries inside the machine, these dissolved rock minerals precipitate out and bond tightly to the glass. The resulting mineral scale creates an opaque, rough texture.
Standard dish soaps cannot dissolve these stubborn mineral bonds on their own. You need an acidic agent to neutralize the alkaline mineral deposits.
Installing a whole-home water softener eliminates these dissolved minerals before they reach your kitchen pipes. Citric acid additives also keep minerals suspended in the water so they drain away.
Adding a dedicated water softening booster to your wash cycle prevents hard water glassware buildup before it bonds.
Mistake 3: Skipping Rinse Aid in the Dishwasher
Many people view rinse aid as an optional cosmetic luxury, but it serves a critical mechanical purpose during dishwashing.
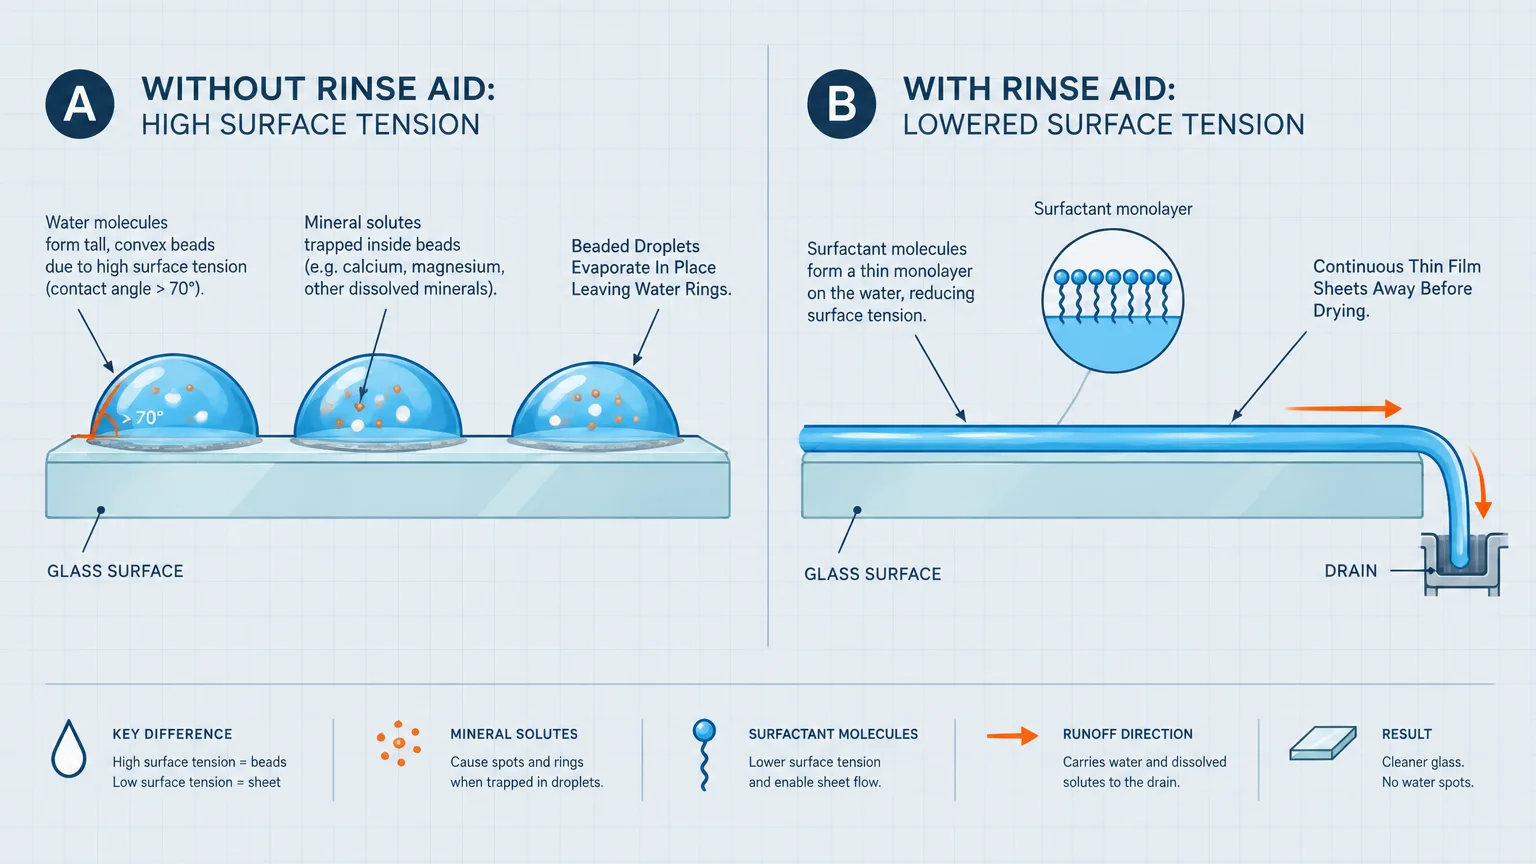
Rinse aid uses specialized surfactants to lower the surface tension of water molecules during the final rinse. Instead of forming beads, the water sheets off smoothly.
When water droplets bead on glass surfaces, they trap suspended minerals and detergent traces in place as they evaporate. Those dried droplet rings form noticeable cloudy patches.
Sheeting water slides straight down into the sump, carrying dissolved minerals away before the drying cycle begins. This rapid runoff drastically reduces drying time and surface spotting.
Modern dishwashers rely on rinse aid even more than older models because eco-friendly heating elements generate less intense drying heat.
Keep your rinse aid reservoir filled at all times, adjusting the dispenser dial upward if you notice lingering water spots.
Mistake 4: Washing at Inadequate Water Temperatures
Cool or lukewarm wash water cannot effectively dissolve modern detergents or melt stubborn culinary fats.
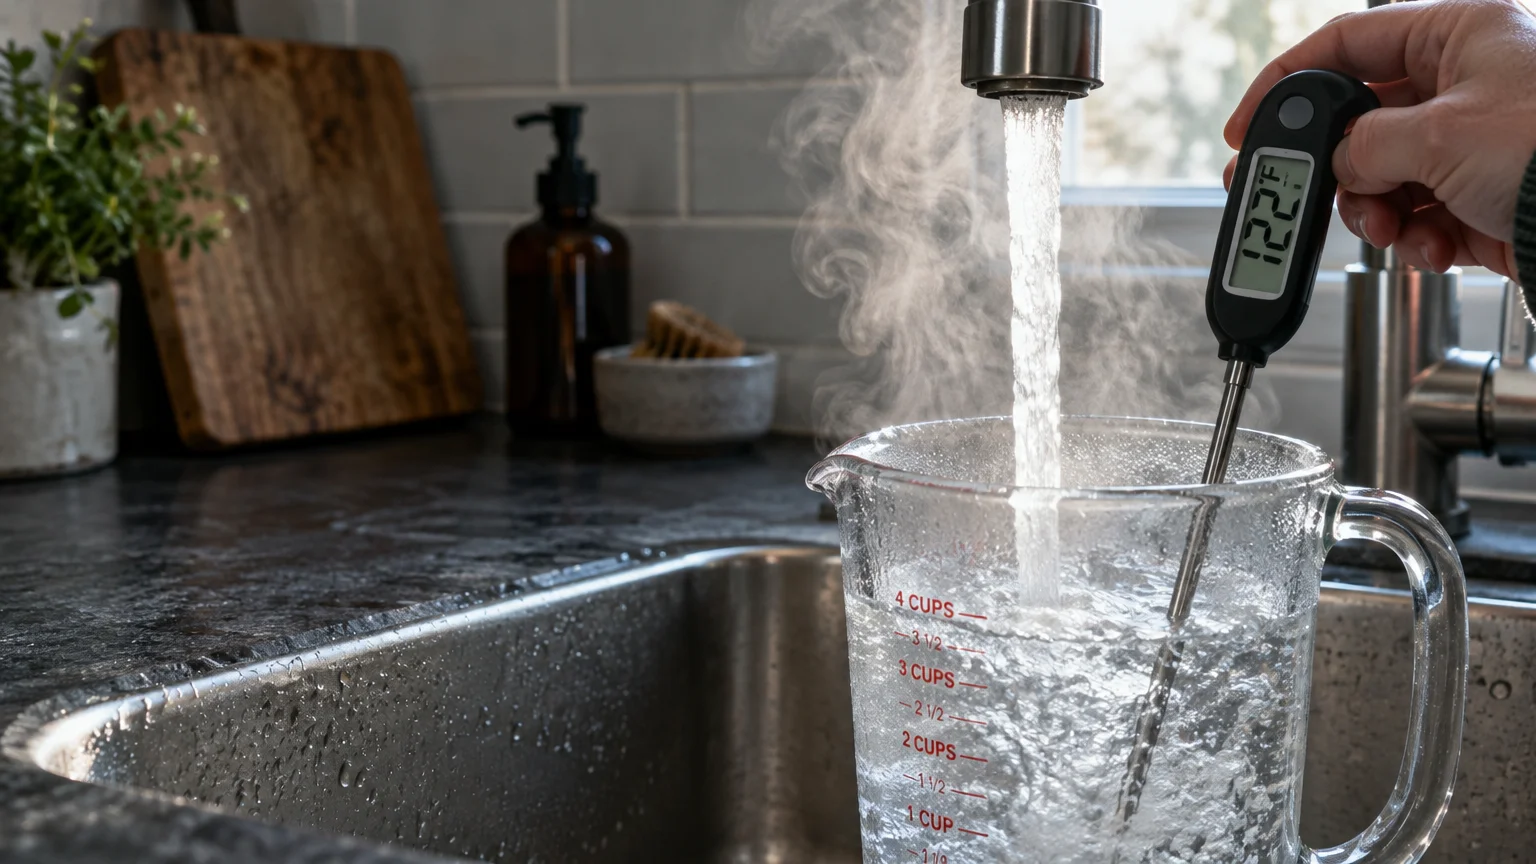
The U.S. Department of Energy recommends setting your home water heater to deliver water between 120 and 125 degrees Fahrenheit for optimal appliance performance.
When water enters your machine below this threshold, powdered and compacted detergents fail to dissolve completely. Tiny granules remain suspended in the spray and settle onto your glasses.
Grease from plates also fails to emulsify in cooler water. It redeposits across your drinkware, creating a greasy, fingerprint-prone film.
Most modern dishwashers include an internal heating element, but heating incoming cold water extends the wash cycle considerably.
Run your kitchen sink faucet until the water feels hot before starting your dishwasher cycle. This simple step ensures hot water fills the machine immediately.

Mistake 5: Pre-Rinsing Dishes Too Thoroughly
Scrubbing your plates clean before loading them into the machine feels tidy, but it actually harms your glassware.
Modern dishwasher detergents contain specialized enzymes designed to break down starch and protein food soils. If no food particles exist, those active agents have nothing to consume.
The unspent, aggressive alkaline ingredients circulate freely through the cabinet and attack the surface of your glasses. This chemical aggression leaves a milky film and eventually causes permanent cloudiness.
In addition, soil sensors in newer dishwashers measure water clarity during early rinse stages. Spotless plates fool the machine into running a shorter, less thorough wash cycle.
This abbreviated cycle leaves residual detergent on your glasses because the machine cuts rinse times short.
Scrape solid food scraps into your trash, but leave standard sauces and food residues on your plates. Letting the detergent do its intended job preserves the clarity of your glass.
Mistake 6: Overcrowding and Inverted Placement Errors
Packing as many glasses as possible onto the top rack saves time, but it ruins washing efficiency.
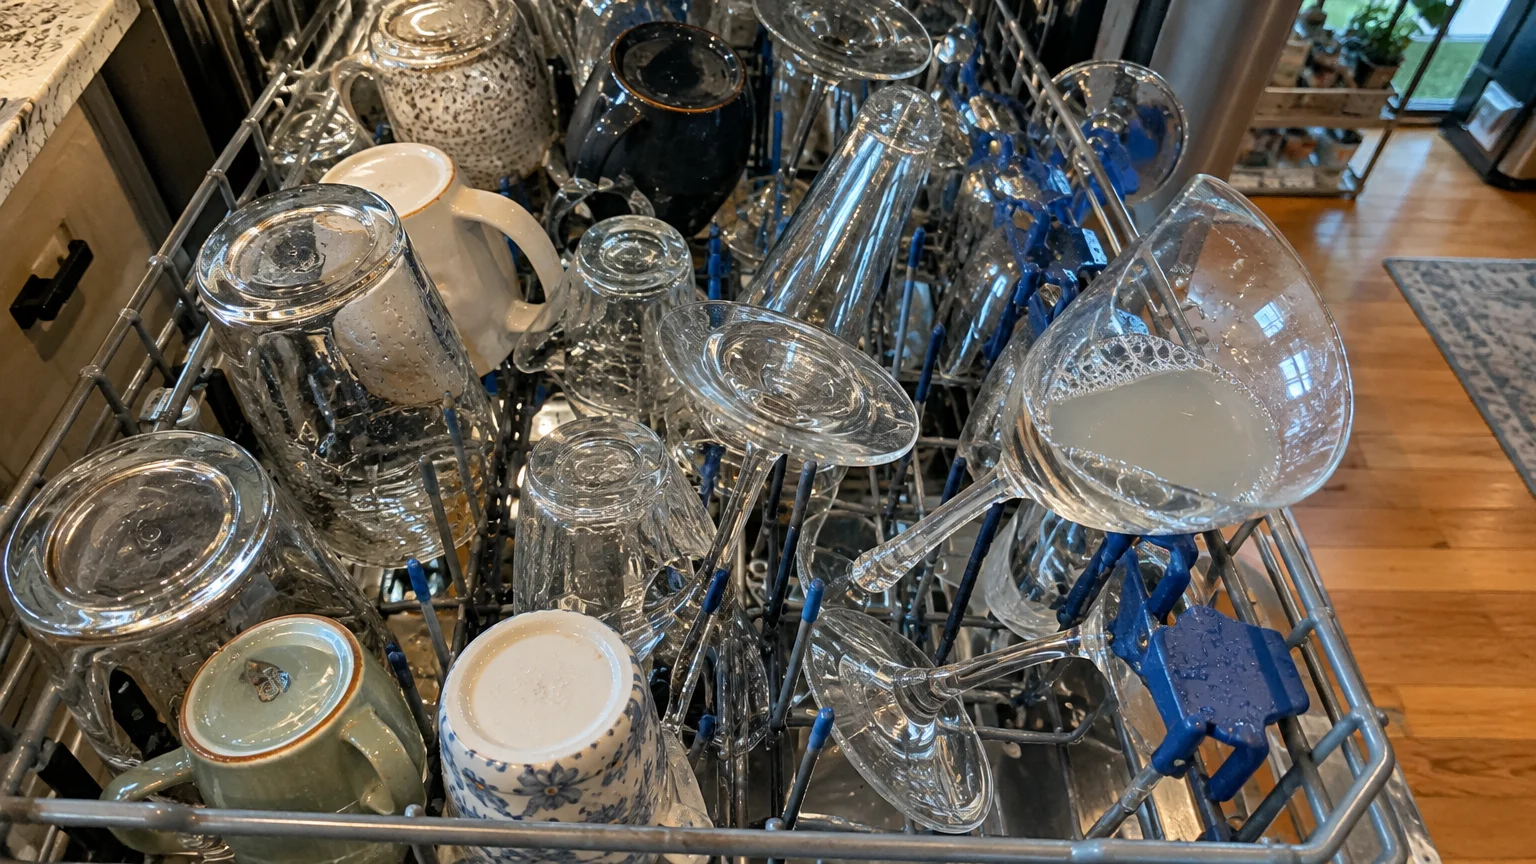
When glasses nest tightly against each other, the machine’s rotating spray jets cannot reach their interior and exterior surfaces. Dirty wash water becomes trapped in small pockets.
Vibrations during the wash cycle can also cause tightly packed rims to rub together, creating micro-abrasions that resemble film.
Placing glasses flat instead of slightly angled causes water to pool on concave glass bottoms. That standing pool holds dirt and dries into a dense mineral crust.
Tall tumblers placed near the rack edges can also block the upper spray arm from spinning freely. Check clearance by spinning the spray arm by hand before closing the door.
Angle every glass securely between the rack tines so water flows off freely and spray streams coat every surface.
Mistake 7: Scrubbing with Abrasive Sponges or Scouring Powders
When you see a persistent haze, your first impulse might be to attack it with a green scouring pad.
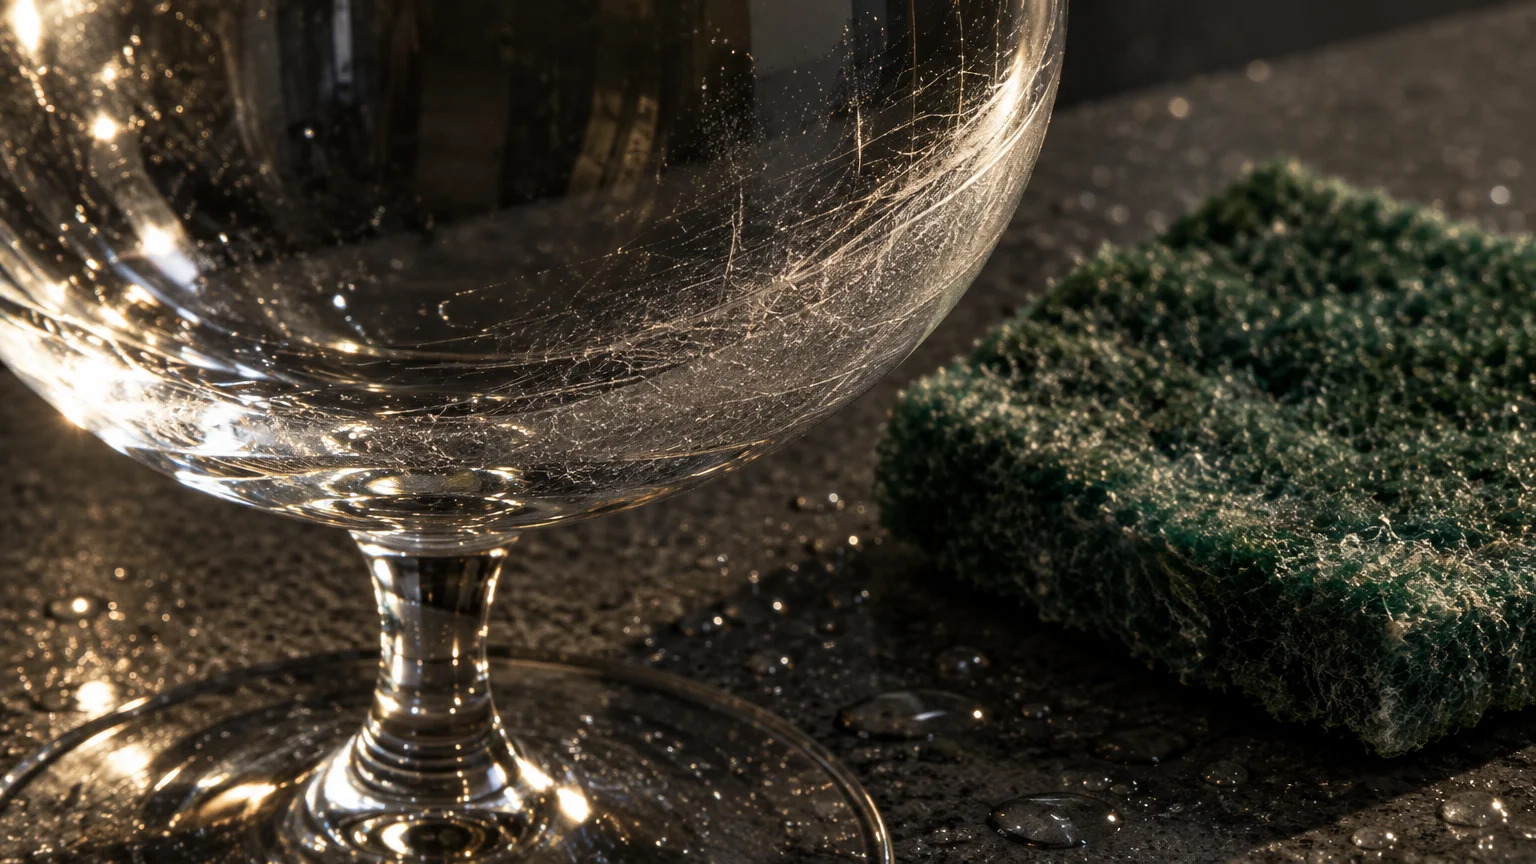
Abrasive pads, steel wool, and harsh scouring powders scratch soda-lime and crystal glass easily. These microscopic scratches scatter light and make the glass appear permanently milky.
Those tiny surface grooves collect soap residue and hard water minerals far faster than a smooth surface. Once scratched, your drinkware traps grime continuously.
According to the Clemson University Cooperative Extension, delicate glassware requires gentle handling, soft cloths, and mild, non-abrasive cleaners to maintain its original luster.
Never attempt to scrape mineral scale away with metal knives, razor blades, or abrasive baking soda pastes. Mechanical scraping will strip the delicate outer fire-polish of the glass.
Always clean your glassware using soft microfiber cloths, natural cellulose sponges, or non-scratch silicone dish brushes.
Mistake 8: Allowing Hard Water to Air Dry Slowly
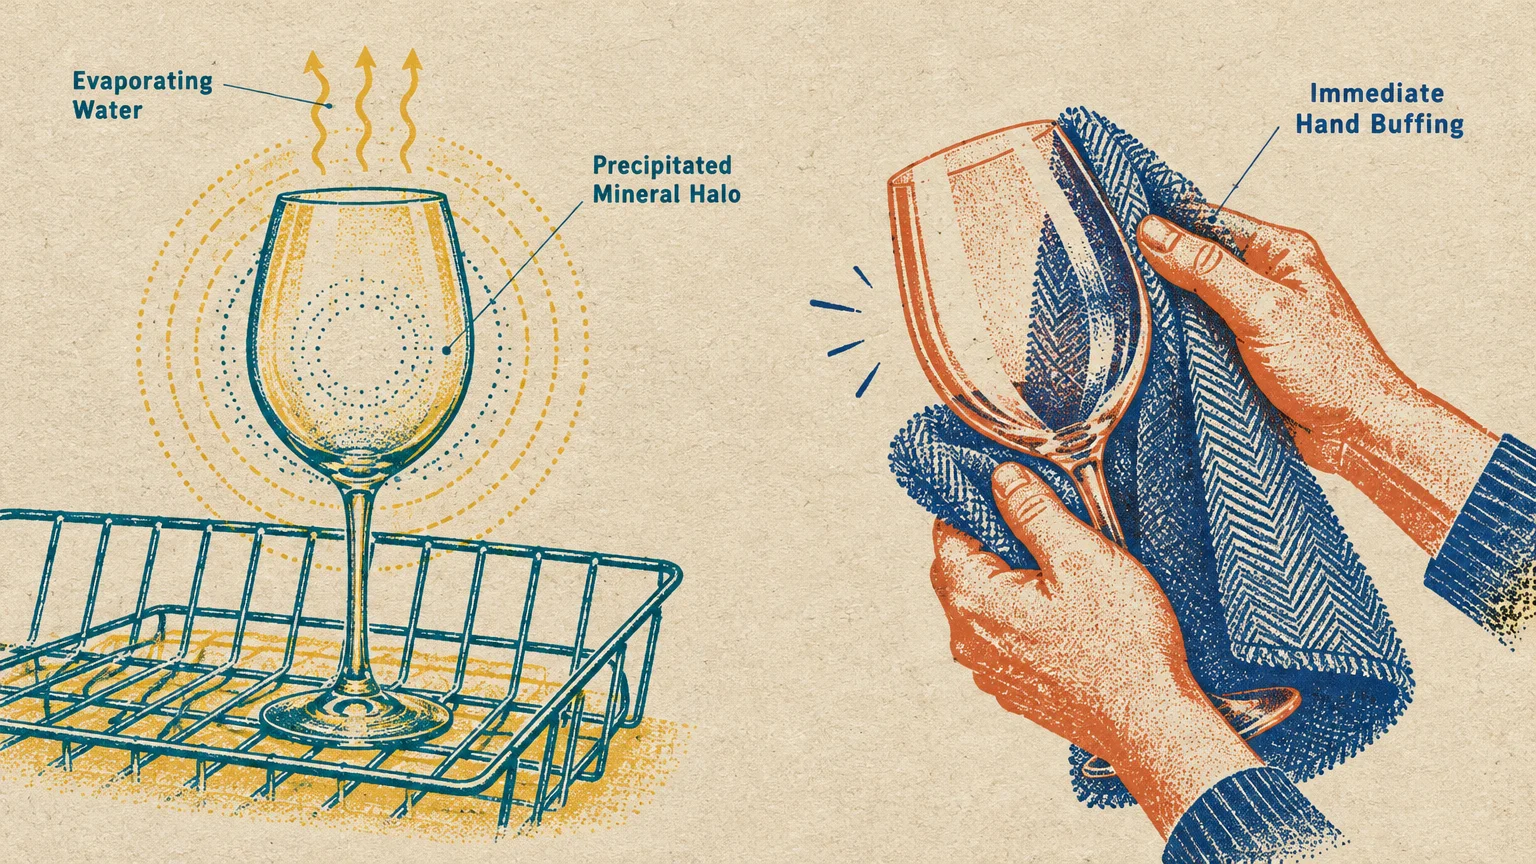
Letting glasses air dry naturally on a countertop rack seems gentle, but it invites mineral scaling in hard water areas.
As water droplets sit on vertical surfaces, ambient room air evaporates the liquid slowly. The water disappears, but its dissolved calcium content stays behind.
Slow evaporation gives minerals time to bond with the silica structure, creating stubborn water rings that resist standard washing.
If your dishwasher uses condensation drying, open the door slightly when the cycle completes to let trapped steam escape quickly. Trapped humidity condenses back into droplets that dry into dull spots.
Using heated drying cycles can also bake minerals onto the glass surface if rinse aid runs low.
For handwashed items, hand-dry them immediately using a clean, lint-free flour sack towel or glass-polishing microfiber cloth.
Mistake 9: Neglecting the Dishwasher Filter and Spray Arms
Your dishwasher cannot deliver spotless glasses if its internal circulation components are coated in trapped food debris.
Most modern machines contain a manual-clean mesh filter located beneath the lower rack. This cylindrical filter catches food fibers, grease, and mineral chunks.
When this filter clogs, the machine recirculates dirty, oil-laden water over your dishes throughout the rinse cycle. The drying heat then bakes this greasy slurry directly onto your glassware.
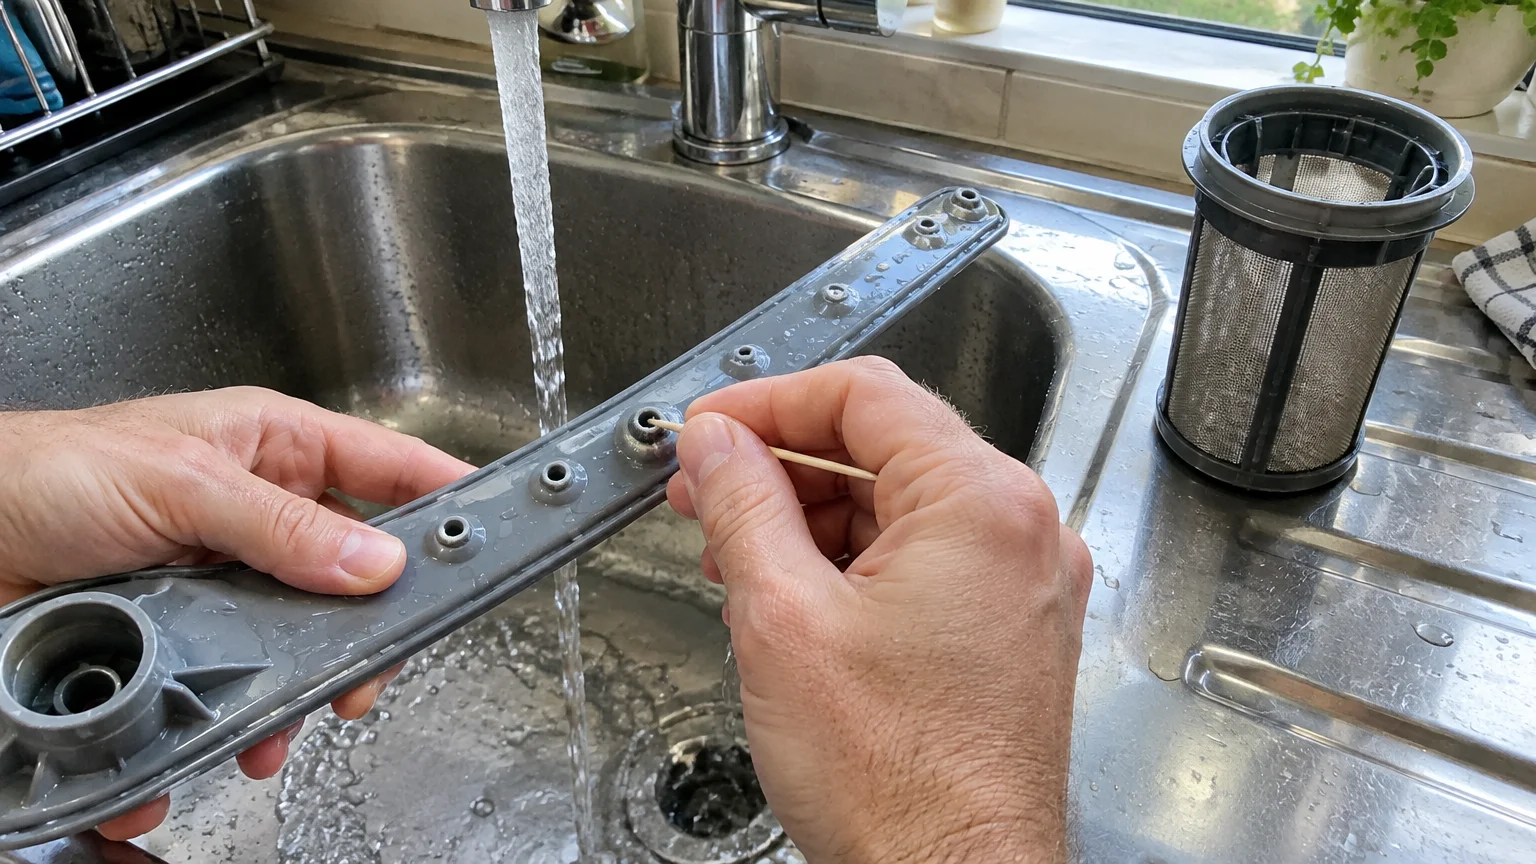
Similarly, small mineral flakes frequently lodge inside the tiny nozzle holes along the rotating spray arms. Obstructed spray arms lose water pressure and leave dead zones where glasses remain unwashed.
Food debris caught in spray arm jets can also rot, creating foul cabinet odors and transferring bacteria to clean drinkware.
Twist out your filter monthly to rinse it under warm water, and poke a toothpick through any clogged spray arm holes.
Mistake 10: Handwashing with Greasy Sponges or Standard Hand Soaps
Handwashing your delicate stemware requires the right tools, yet many people grab whatever soap sits nearest the sink.
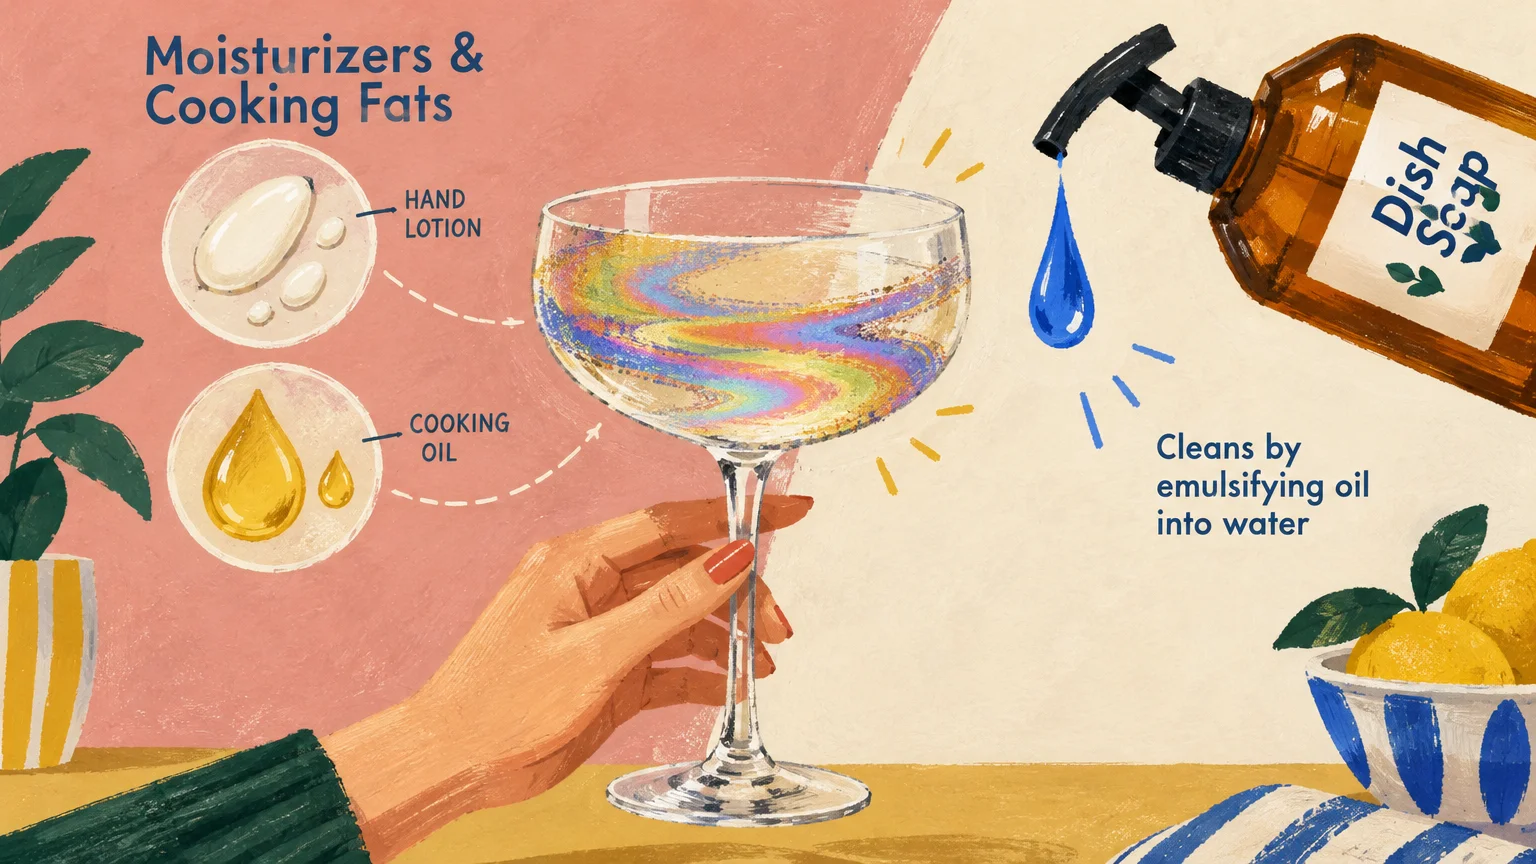
Liquid hand soaps and decorative bar soaps contain skin-conditioning emollients, fragrances, and moisturizing oils. While great for your hands, these additives cling stubbornly to glass and leave an oily film.
Using a shared kitchen sponge that has wiped greasy pots transfers trapped animal fats and cooking oils directly to your glasses.
Once transferred, this lipid film resists basic rinsing and smears into a greasy blur whenever you touch the glass.
Wash glasses first before washing greasy dinner plates or heavy cookware. This order keeps your wash water clean and free of suspended grease.
Reserve a dedicated, clean cellulose sponge or microfiber cloth exclusively for drinkware, and always use pure, additive-free dishwashing liquid.
Quick Diagnostic Guide: Identifying Glassware Haze
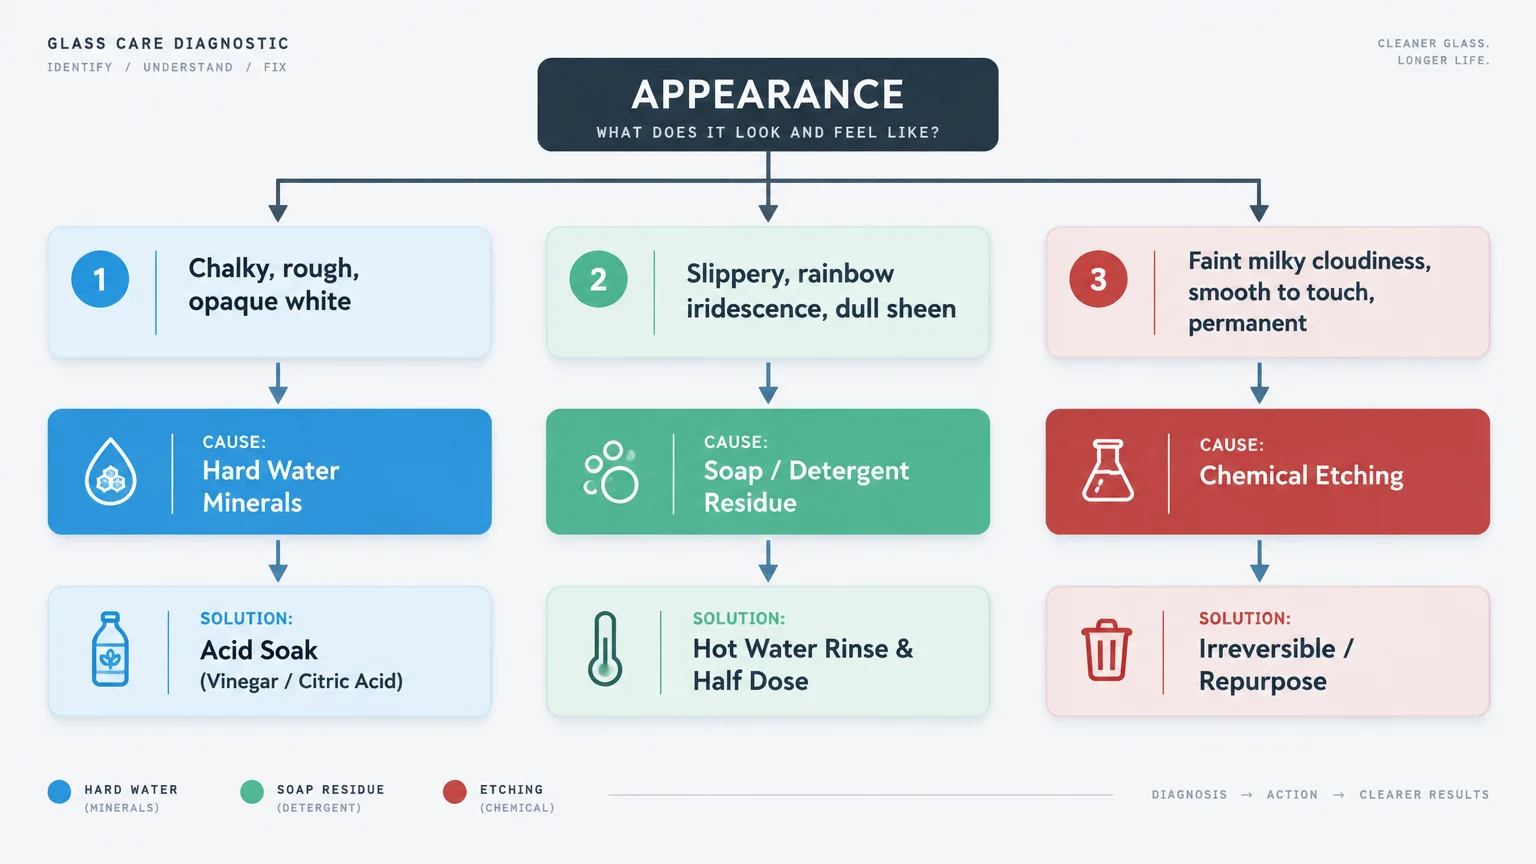
Use this reference table to evaluate cloudy glasses dishwasher issues and select the appropriate remedy for your drinkware.
| Appearance | Physical Feel | Vinegar Test Result | Primary Cause | Remediation Strategy |
|---|---|---|---|---|
| Chalky white haze or rings | Rough, chalky, or gritty | Fizzes or clears within minutes | Hard water mineral deposits | Vinegar soak or citric acid booster wash |
| Uniform dull milky film | Slippery or waxy to the touch | Wipes clean with firm pressure | Detergent residue buildup | Reduce soap dose and replenish rinse aid |
| Iridescent rainbow sheen | Completely smooth surface | No change after soaking | Chemical surface etching | Irreversible; lower heat and use less soap |
| Smudged, gray, greasy cast | Tacky or fingerprint-prone | Smears but does not dissolve | Recirculated cooking oils | Clean dishwasher filter and degrease racks |
| Isolated circular spots | Slightly raised crust rings | Dissolves after direct rubbing | Slow air drying of droplets | Hand-dry items or adjust rinse aid levels |
Testing a single glass first saves time and ensures your cleaning method matches the underlying cause of the haze.
Step-by-Step Restoration: How to Clean Glassware with Film
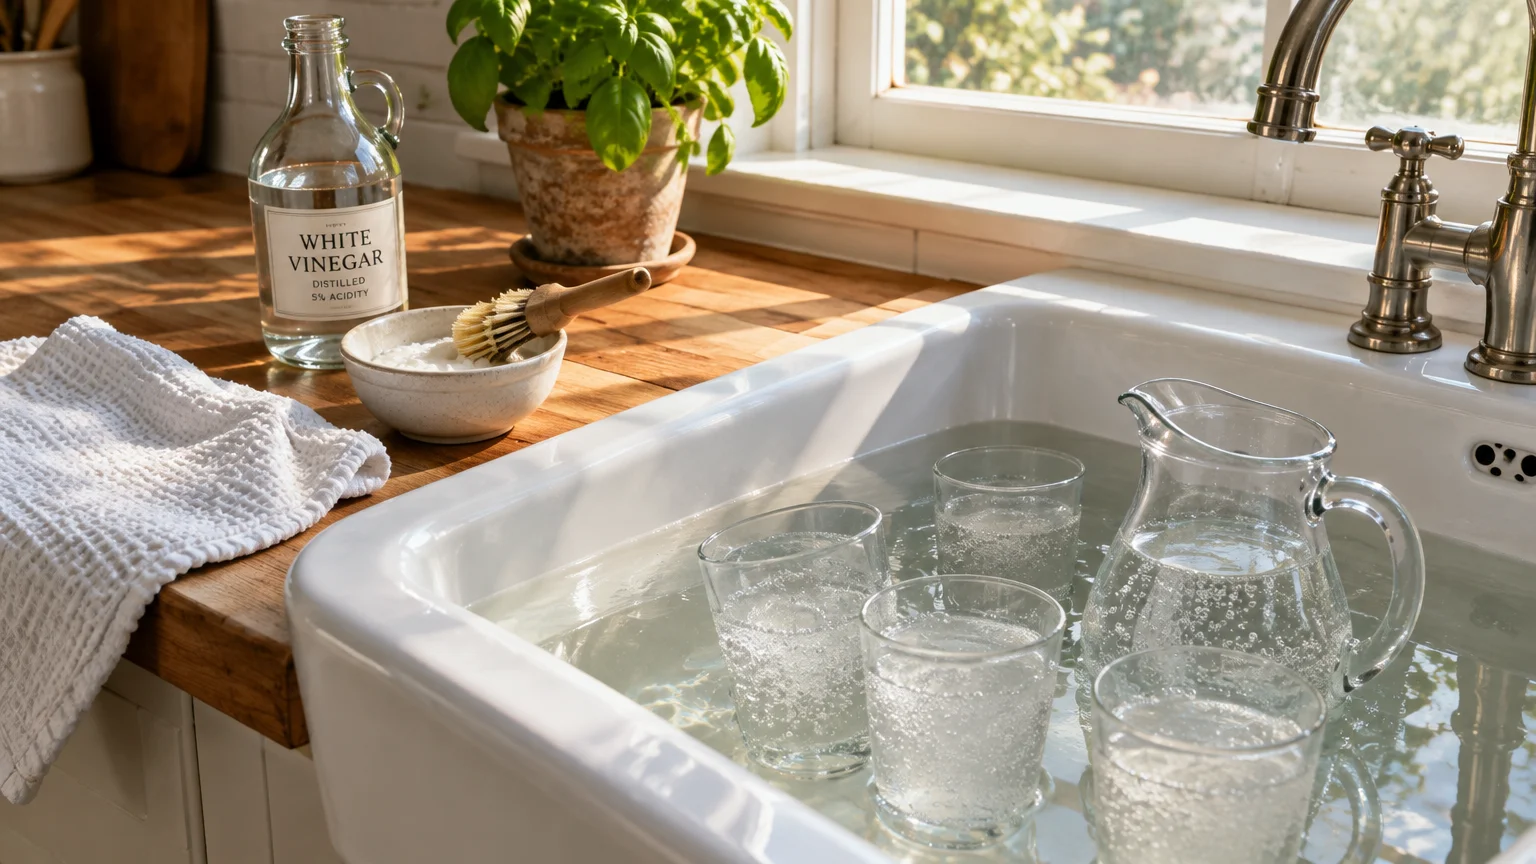
If your drinkware has developed a stubborn mineral haze, you can restore clarity using basic household supplies.
This gentle acid-soak technique dissolves calcium carbonate and soap scum without risking surface scratches or harsh chemical exposure.
The process relies on mild acetic acid to break the chemical bond between dissolved minerals and the glass silica.
- Fill a plastic dish basin or clean sink with equal parts warm water and distilled white vinegar.
- Submerge your cloudy glasses completely in the vinegar solution, verifying that no trapped air pockets remain inside the bowls.
- Allow the glasses to soak undisturbed for twenty to thirty minutes so the acid can penetrate the mineral crust.
- Remove one glass from the bath and scrub the interior and exterior gently using a soft microfiber cloth.
- Re-submerge any heavily coated glasses for an additional fifteen minutes if stubborn residue clings to the base.
- Rinse each item thoroughly under clean, warm running tap water to remove all loosened minerals and vinegar odors.
- Dry each piece immediately using a clean, lint-free flour sack towel to prevent new water spots from setting.
Avoid soaking glassware with gold leaf, painted rims, or delicate enamel patterns in vinegar solutions, as mild acid can degrade decorative finishes.
For dishwasher restoration, place a dishwasher-safe bowl containing two cups of white vinegar upright on the top rack and run a normal cycle without detergent.
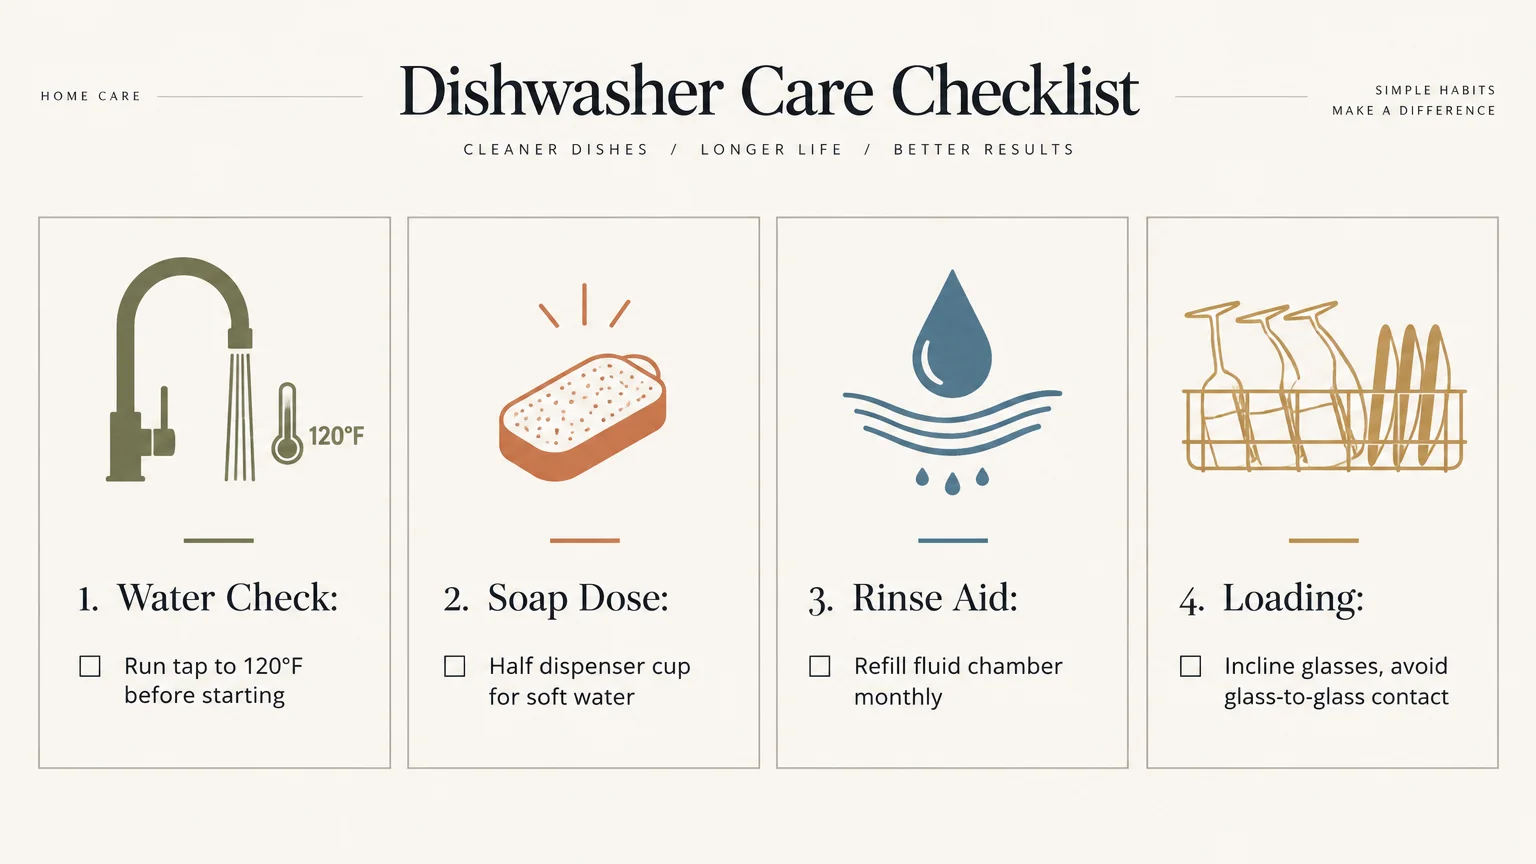
Essential Checklist for Spotless Glasses Every Wash
Incorporate these practical habits into your kitchen routine to maintain flawless glassware with minimal extra effort.
- Check your local municipal water report to understand your home water hardness rating.
- Refill your dishwasher rinse aid dispenser on the first day of every month.
- Scrape large food scraps into the garbage without pre-washing plates clean.
- Clean the dishwasher mesh filter cylinder under warm running water every thirty days.
- Inspect rotating spray arms for lodged seeds or mineral scale blocking the jet holes.
- Tilt glasses downward at an angle on the upper rack so water drains off bottoms.
- Reserve a dedicated, clean sponge exclusively for handwashing glassware and drinkware.
Consistency prevents minor mineral deposits from crystallizing into thick layers that require intensive restoration.
Reviewing your water hardness also helps you adjust detergent quantities accurately across changing seasons.
Your Practical Next Step
Take one cloudy glass from your cupboard right now and run the five-minute vinegar test on its rim.
Once you confirm whether your issue stems from removable mineral film or permanent etching, check your dishwasher rinse aid reservoir.
Filling that small dispenser today will give you noticeably clearer, brighter glassware by your very next load.