Ceramic tile floors withstand decades of heavy foot traffic, but common cleaning habits quietly strip away their protective finish. The right maintenance routine protects your investment and keeps your home looking pristine without exhausting labor.
Many homeowners reach for everyday staples like vinegar or scouring pads without realizing these tools cause lasting tile floor damage. Over time, acidic solutions dissolve porous grout while abrasive scrubbers scratch smooth glazes.
Avoid these ten ceramic tile cleaning mistakes to preserve your floor’s structural integrity, brighten your grout lines, and cut your weekly cleaning time in half.
01 Using Vinegar, Lemon Juice, and Acidic Cleaners
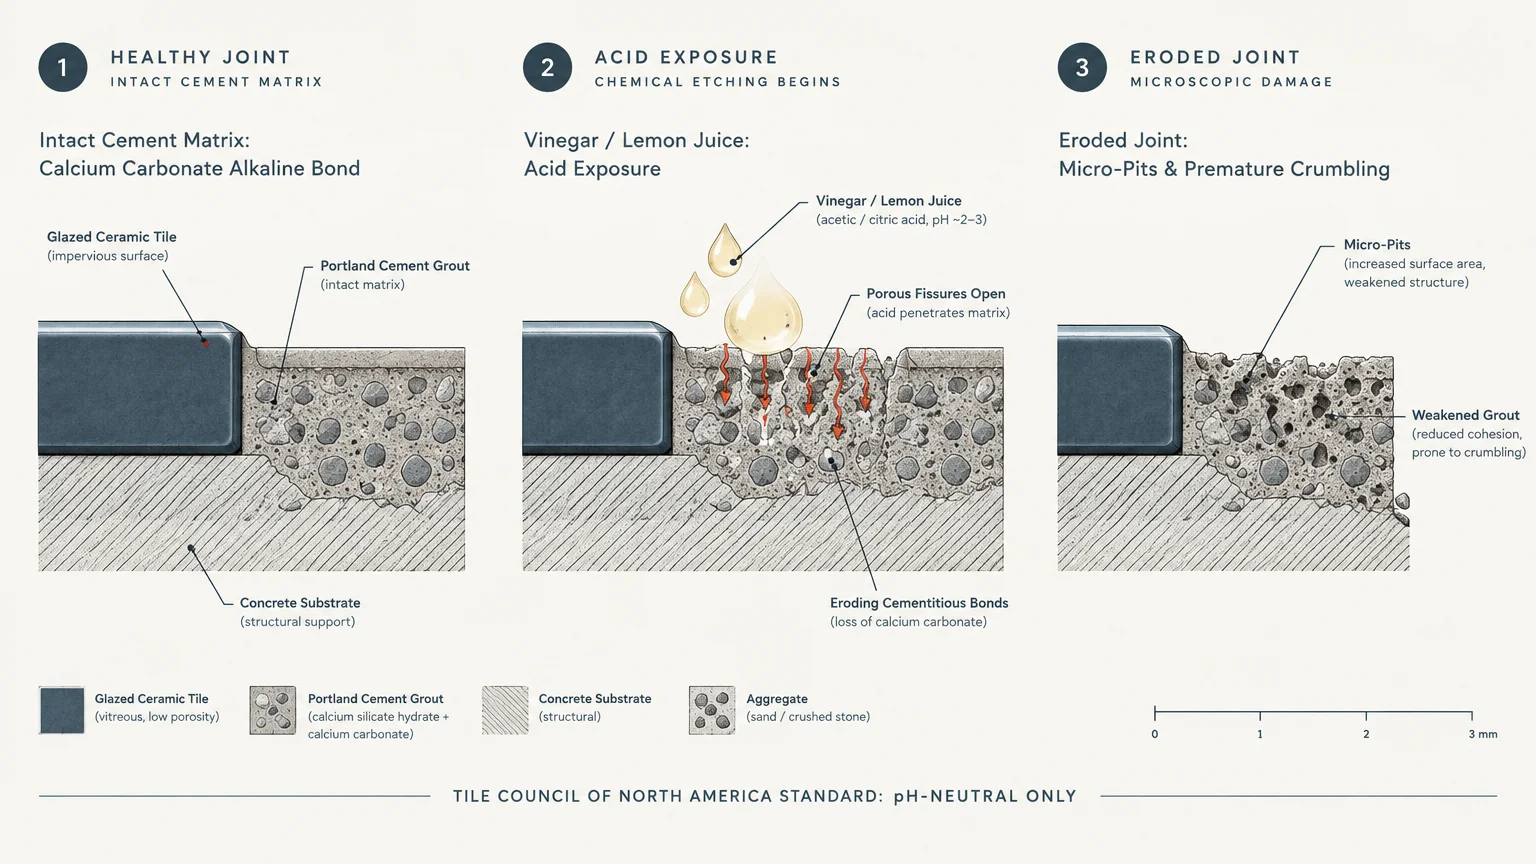
White vinegar remains a celebrated green cleaner, but its high acidity spells disaster for ceramic installations. Standard grout contains Portland cement, an alkaline material that chemically reacts with acid on contact.
Every time you mop with vinegar or lemon juice, the acid leaches essential calcium carbonate from the grout joints. This erosion creates microscopic pits that attract soil and cause grout lines to crumble prematurely.
Glazed tiles can also suffer over time. Acidic residues gradually etch high-gloss finishes, stripping the protective sheen and leaving dull, cloudy patches across high-traffic walkways.
According to the Tile Council of North America, you should never clean cementitious grout with acidic solutions. Instead, choose a dedicated pH-neutral tile cleaner to protect your investment.
02 Scrubbing Surfaces with Steel Wool or Wire Brushes
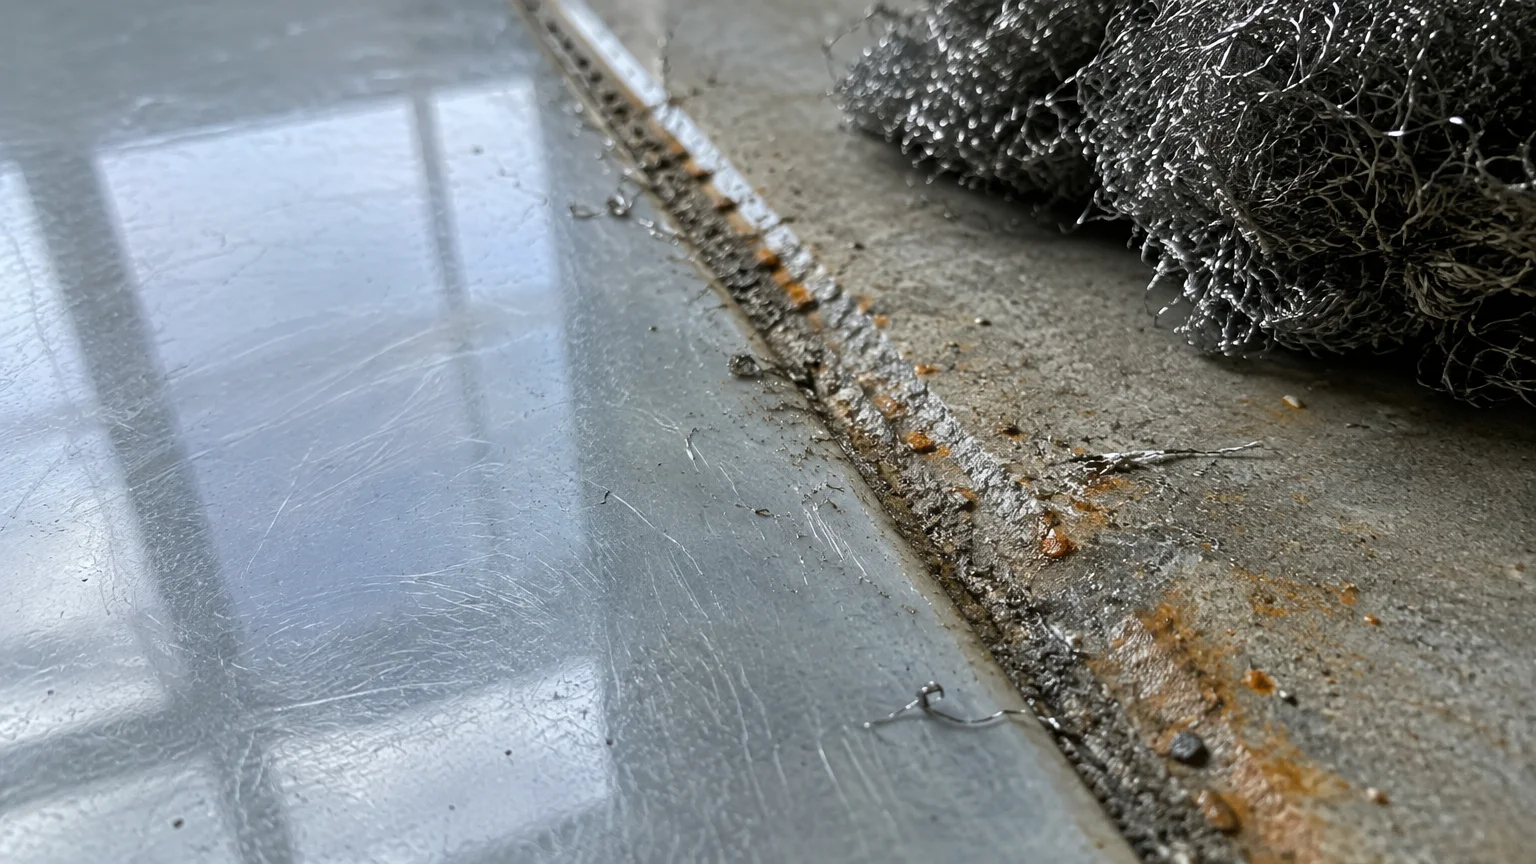
Tough stains often tempt homeowners to grab stiff wire brushes, steel wool, or heavy-duty scouring pads. Unfortunately, these aggressive tools permanently scratch the glazed surface of ceramic tiles.
A scratched glaze loses its glossy reflection and allows moisture to penetrate the clay body beneath. Dirt settles into these fine abrasions, creating dark, dingy pathways that regular mopping cannot lift.
Metal scrubbers also shred grout joints and leave behind microscopic metal fragments. Over time, these tiny metal particles oxidize in damp environments, creating stubborn rust stains inside your grout lines.
Replace harsh scouring pads with soft nylon-bristle brushes for detailed grout cleaning. For broad surface mopping, use microfiber pads that lift dirt through friction rather than harsh abrasion.
03 Applying Wax, Acrylics, and Oil-Based Soaps
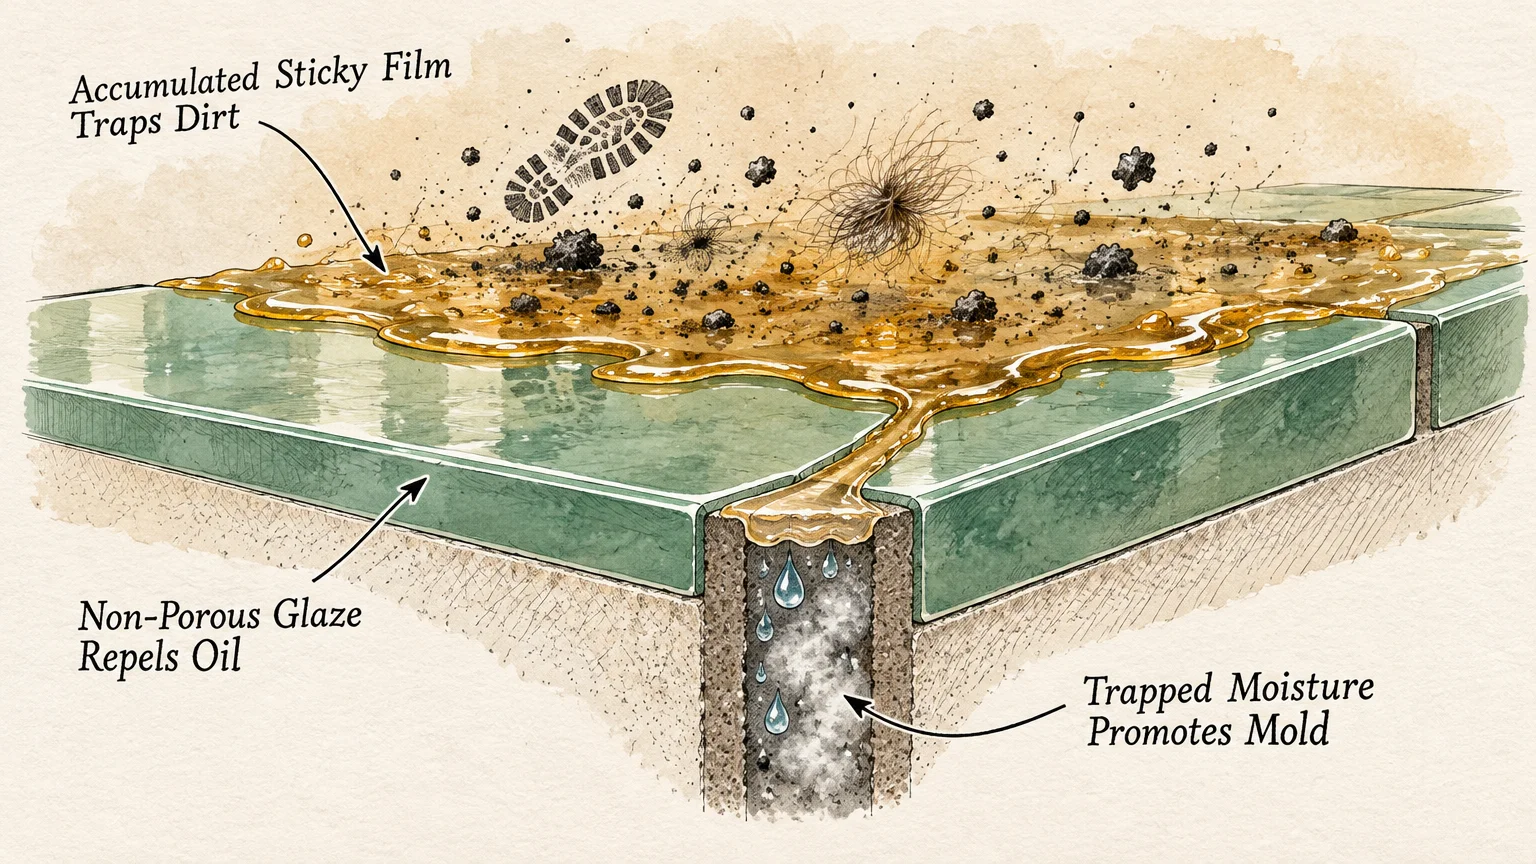
Oil soaps and paste waxes produce a rich luster on hardwood floors, but they ruin ceramic installations. Glazed ceramic tiles feature a non-porous glass surface that cannot absorb conditioning oils or topical waxes.
Because the glaze cannot absorb these products, they pool on the surface as a sticky, greasy film. This residue acts like a magnet for shoe dirt, pet dander, and cooking oils.
Wax coatings also trap moisture inside porous grout lines, preventing natural evaporation and encouraging mold growth. In addition, wax layers become dangerously slick underfoot whenever wet shoes touch the floor.
Stripping off this accumulated grime requires harsh degreasers that risk additional tile floor damage. Avoid any cleaning product labeled with words like “shine restorer,” “oil,” or “wax.”
04 Flood Mopping with Excessive Standing Water
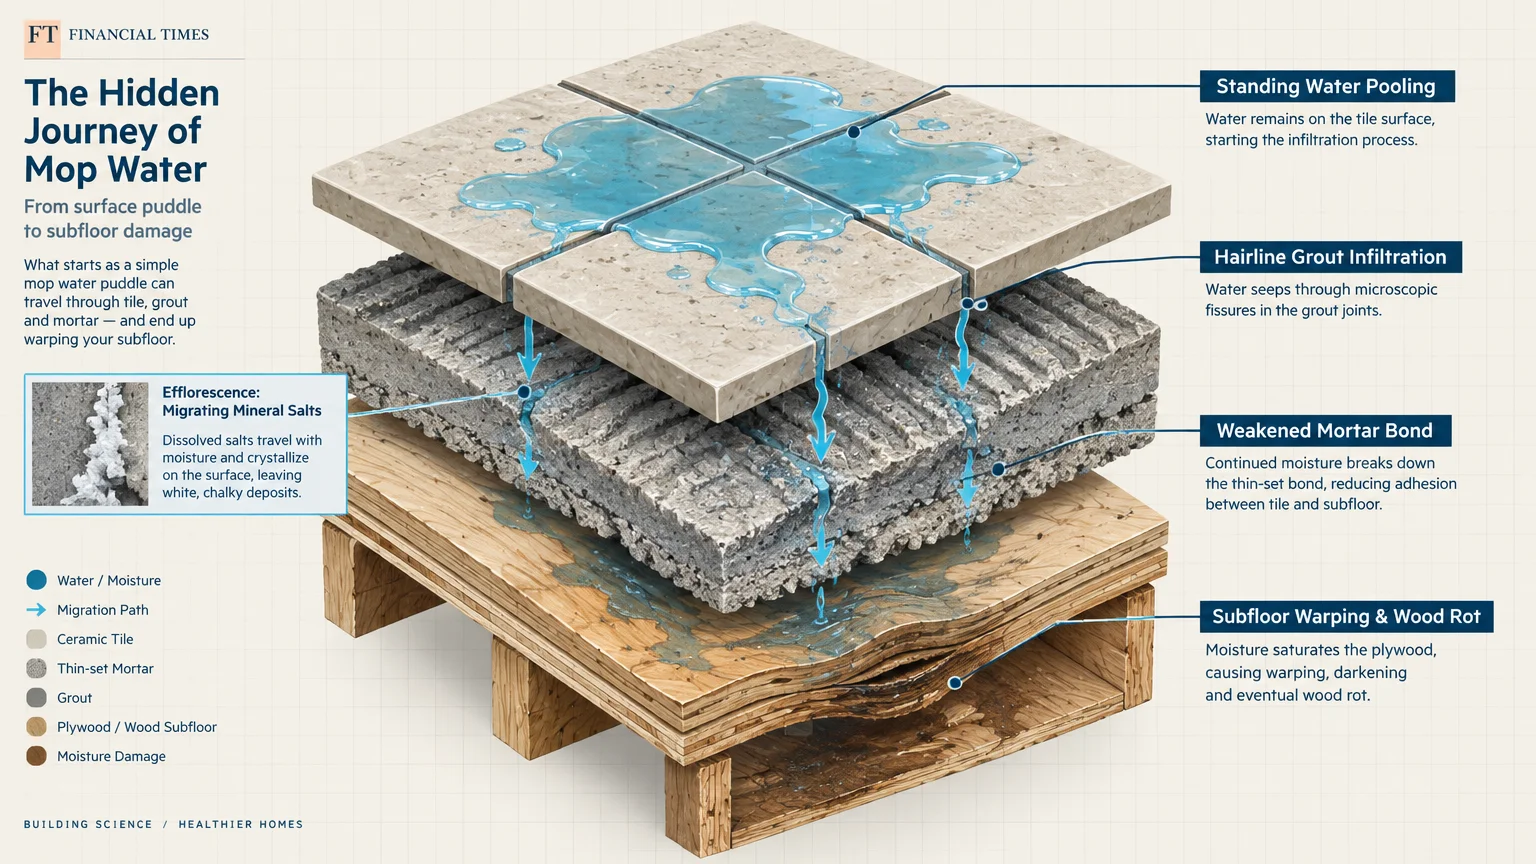
Dumping buckets of soapy water onto the floor might feel thorough, but standing water creates hidden structural nightmares. Excessive water quickly penetrates hairline fractures in grout joints and seeps along baseboards.
Subsurface moisture gradually rots wood subflooring, warps underlayment, and weakens the thin-set mortar holding your tiles down. Over time, tiles detach, sound hollow underfoot, and crack under normal walking pressure.
Standing moisture also triggers efflorescence, a powdery white mineral salt deposit that leaches up through the grout. Once water evaporates, these crusty mineral deposits remain trapped on the surface.
Always wring your mop head thoroughly until it is barely damp before touching the floor. A damp mop delivers plenty of moisture to dissolve grime without saturating your subfloor.
05 Allowing Dirty Mop Water to Settle in Grout
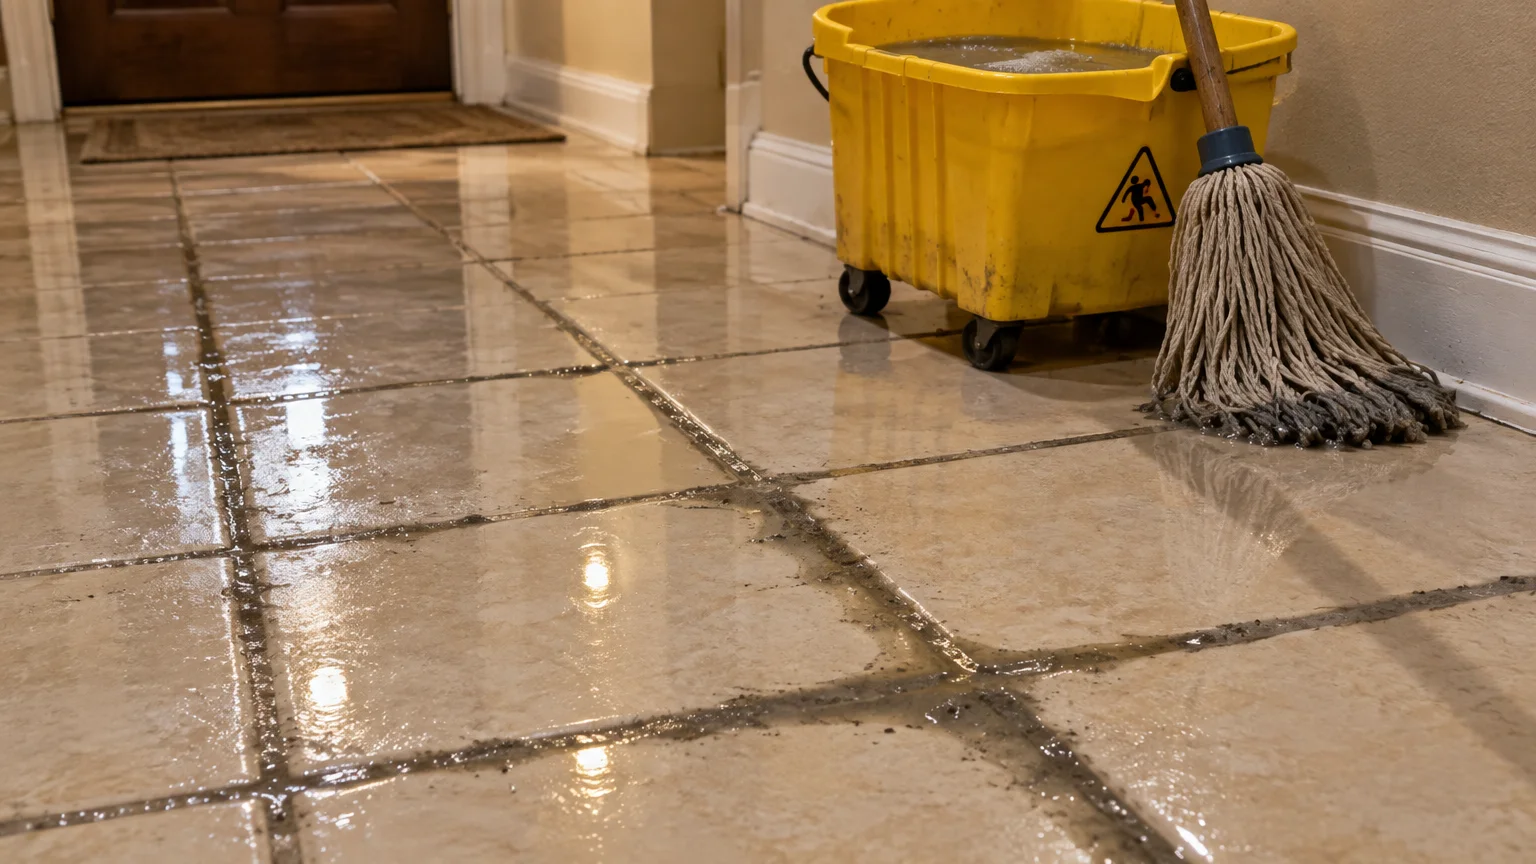
A single bucket of cleaning solution becomes murky after washing just one room. Continuing to mop with this cloudy liquid simply redistributes suspended soil and bacteria across your floor.
Grout joints sit slightly lower than tile faces, creating natural drainage troughs for dirty water. As the liquid dries, muddy sediment settles into the open pores of the grout.
This evaporative cycle explains why white or gray grout lines gradually turn an unsightly brown or black over time. The floor looks clean initially, but the grout gets dirtier with every wash.
Adopt a two-bucket cleaning technique: keep one bucket for clean detergent solution and a second bucket for rinsing. Empty and refresh both containers as soon as the water loses its clarity.
06 Mopping Without Sweeping or Vacuuming First
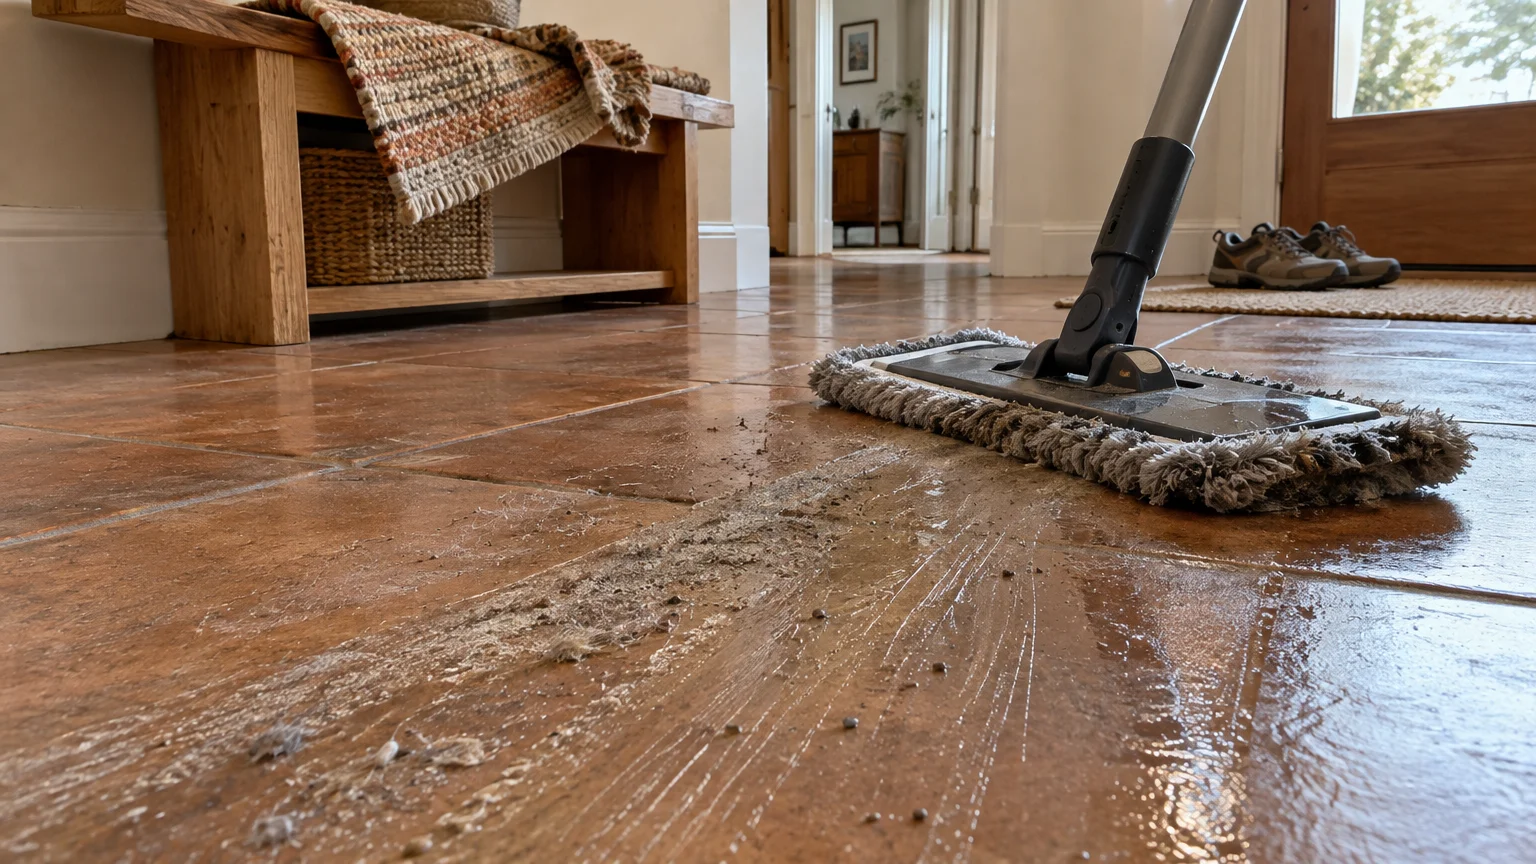
Dragging a wet mop over loose grit, crumbs, and pet hair causes avoidable tile floor damage. Sharp sand grains act like micro-sandpaper beneath the pressure of your mop head.
This abrasive friction dulls factory glazes and creates microscopic scratches that collect grime. Furthermore, combining loose dust with soapy water creates a wet slurry that lodges deep inside grout lines.
Before introducing any water, remove loose debris with a dry microfiber dust mop or soft-bristle broom. Alternatively, use a canister vacuum cleaner equipped with a bare-floor brush attachment.
Never run a vacuum with a spinning beater bar over ceramic tile. Stiff rotating bristles and hard plastic wheels can chip delicate tile corners and scratch glaze coatings.
07 Disinfecting with Undiluted Bleach or Ammonia
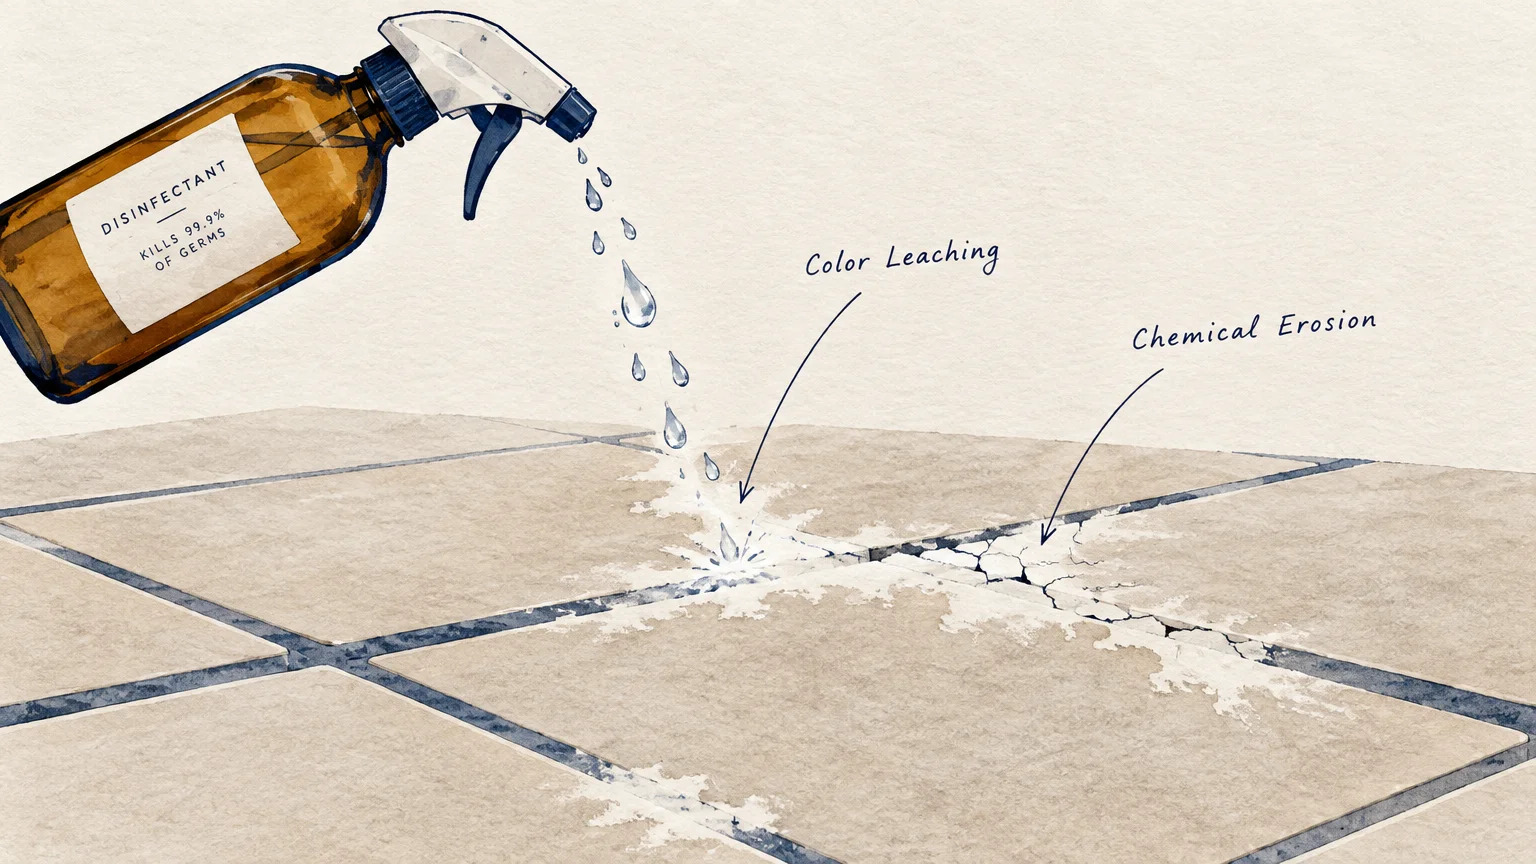
Pure chlorine bleach whitens dingy grout quickly, but it creates severe structural consequences down the road. Harsh bleach breaks down the polymer binders that give modern grout its strength and flexibility.
Repeated bleach applications leave grout brittle, porous, and prone to crumbling away during routine cleaning. Chlorine bleach can also strip color pigments from dyed grout, leaving behind splotchy, uneven patches.
The EPA Safer Choice program recommends avoiding aggressive caustic agents in favor of safer, pH-balanced formulas. Mild formulations protect both your tile investment and your household air quality.
When you need extra whitening power, choose oxygen bleach powder mixed with warm water. Oxygen bleach breaks down stubborn organic stains without eroding cement binders or fading colored pigments.
08 Neglecting Routine Grout Sealer Maintenance
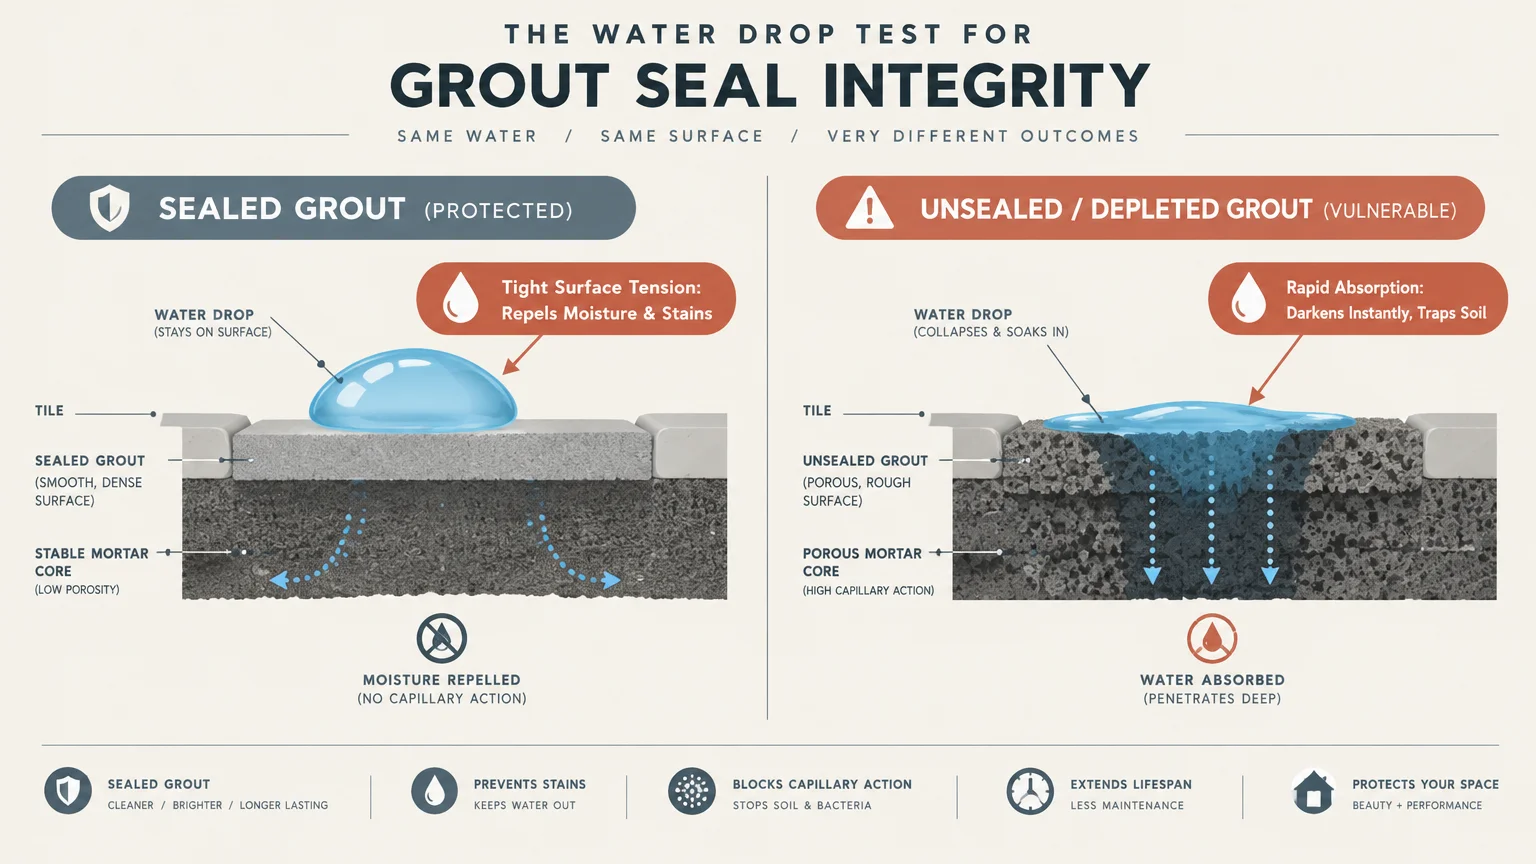
Standard cementitious grout behaves like a hard sponge, readily absorbing oils, dirty rinse water, and cooking spills. Without a barrier, liquids penetrate deep into the material, causing permanent discoloration and bacterial growth.
Applying a quality penetrating sealer creates a microscopic barrier that prevents liquids from entering the grout pores. Spills remain beaded on the surface, giving you ample time to wipe them away cleanly.
Sealers naturally degrade over time from foot friction, routine washing, and detergent exposure. Most residential tile installations require a fresh coat of grout sealer every twelve to twenty-four months.
Check your seal integrity by splashing several drops of clean water onto your grout lines. If the water beads up, your protection remains intact; if it darkens the joint, reseal immediately.
09 Relying on High-Pressure Steam Cleaners Incorrectly
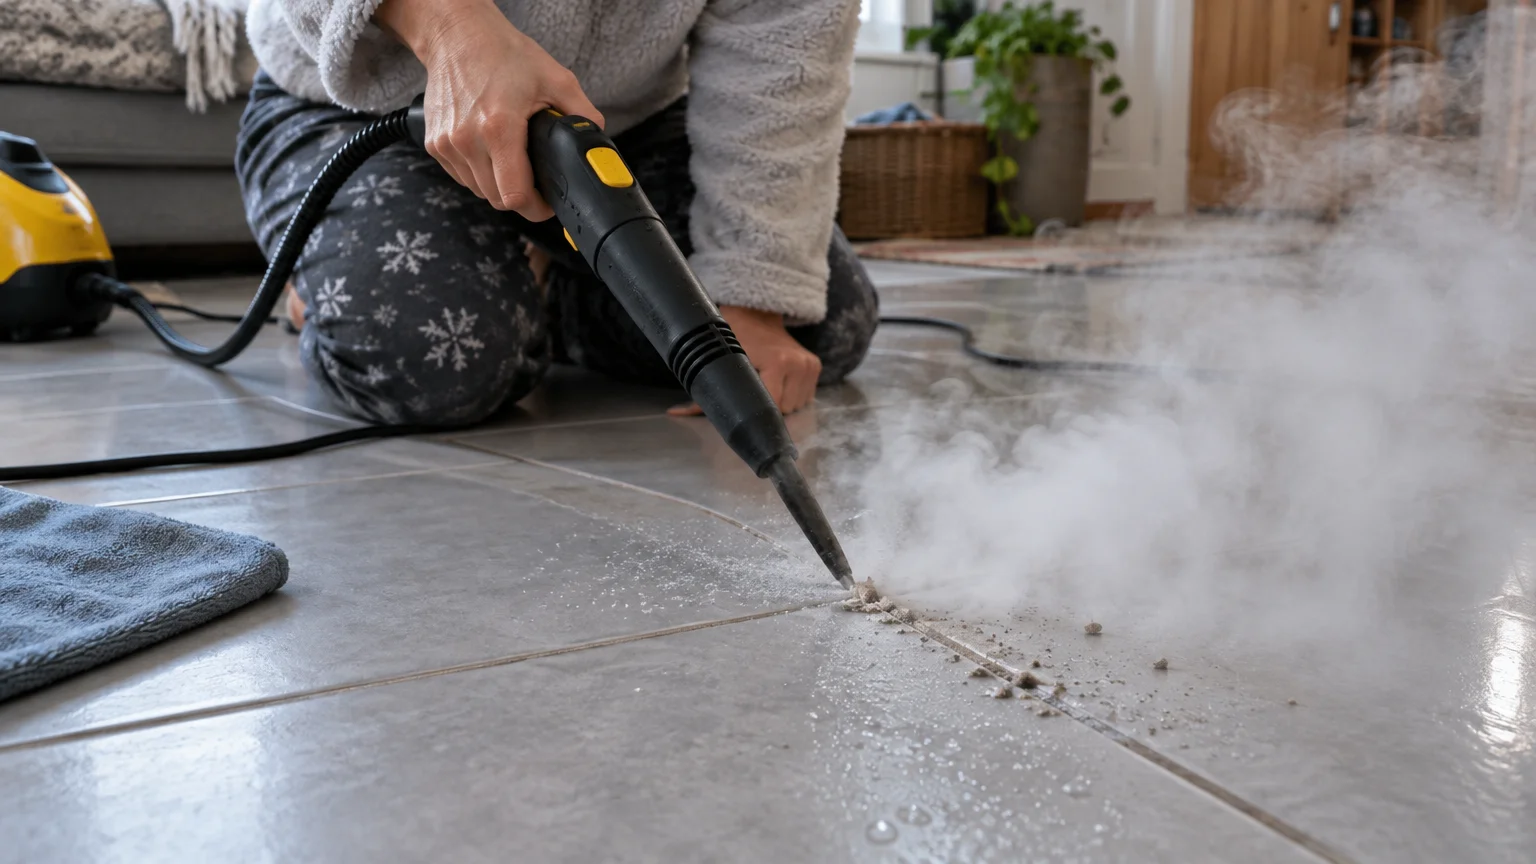
Steam mops offer appealing chemical-free sanitization, but pressurized high heat can damage ceramic floors. Boiling steam forces intense moisture into hairline cracks, aging grout, and perimeter caulking.
Trapped steam loosens moisture-sensitive adhesives beneath the tiles and strips away protective grout sealers. In extreme cases, thermal shock causes micro-cracking across brittle glazed surfaces.
Older homes and installations with unsealed grout are particularly vulnerable to steam-induced tile floor damage. The high-pressure vapor drives moisture beneath the tile layer, where it cannot easily evaporate.
If you use a steam mop, select the lowest steam output and keep the head moving smoothly. Never park a running steam mop stationary over a single spot or grout line.
10 Letting Food Spills and Pet Accidents Dwell
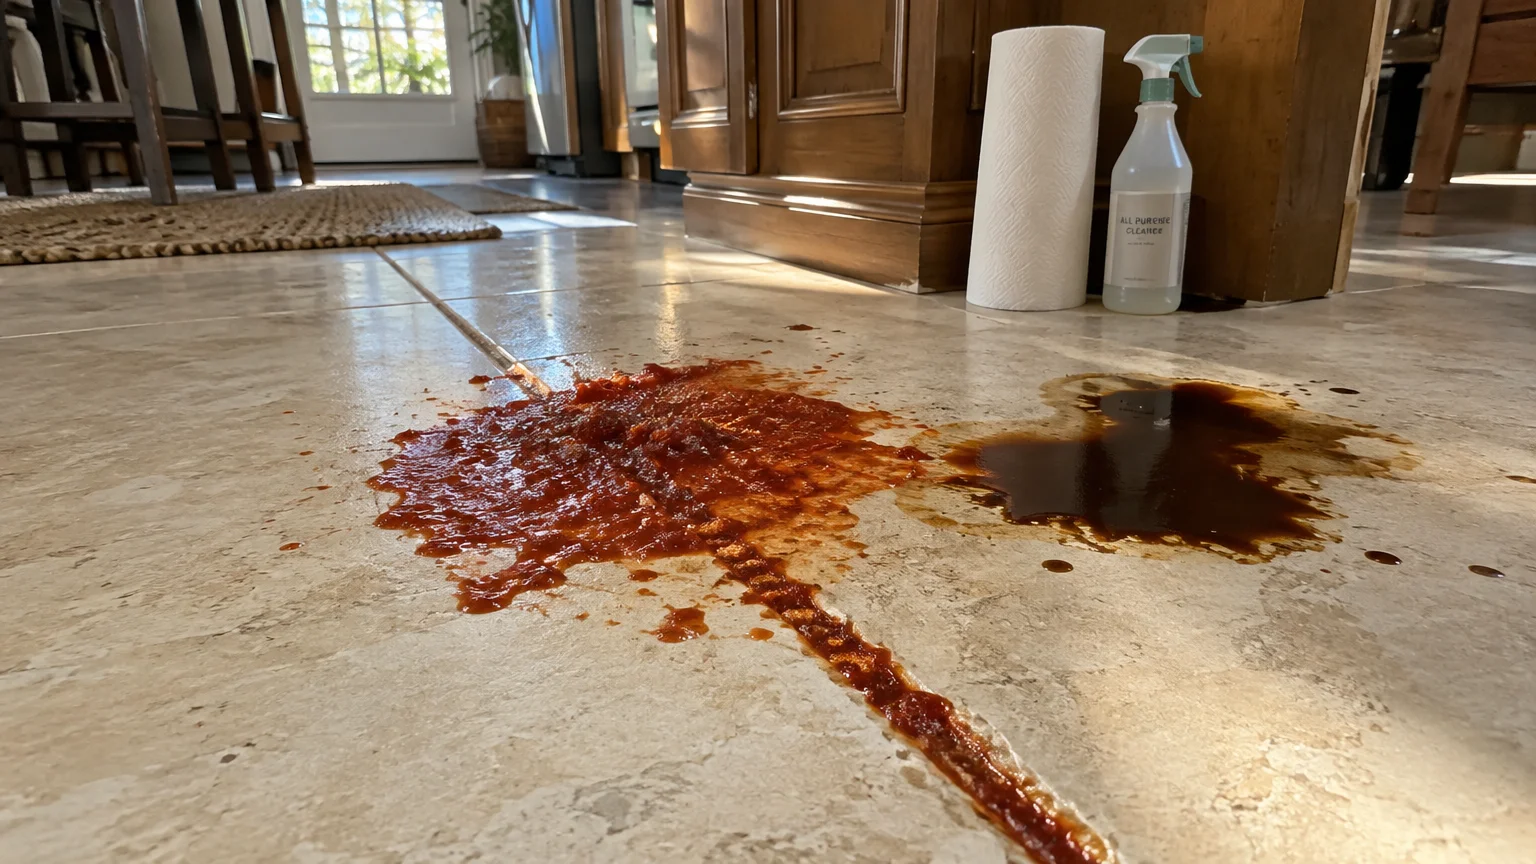
Allowing kitchen spills, red wine, coffee, or pet accidents to dry on your floor invites permanent damage. Organic acids in foods and pet waste aggressively etch cement grout within hours.
These acidic compounds dissolve topical sealers and bind chemically with the minerals inside unsealed grout. Once pigments penetrate the core of the grout matrix, surface cleaning cannot extract them.
Blot spills immediately with an absorbent microfiber cloth rather than dragging the liquid into adjacent grout channels. Dragging a wet rag simply spreads the staining agent across a wider floor surface.
Rinse the affected spot with clean water and a tiny dab of mild dish soap to neutralize acids. Dry the area completely with a fresh towel to protect your grout seal.
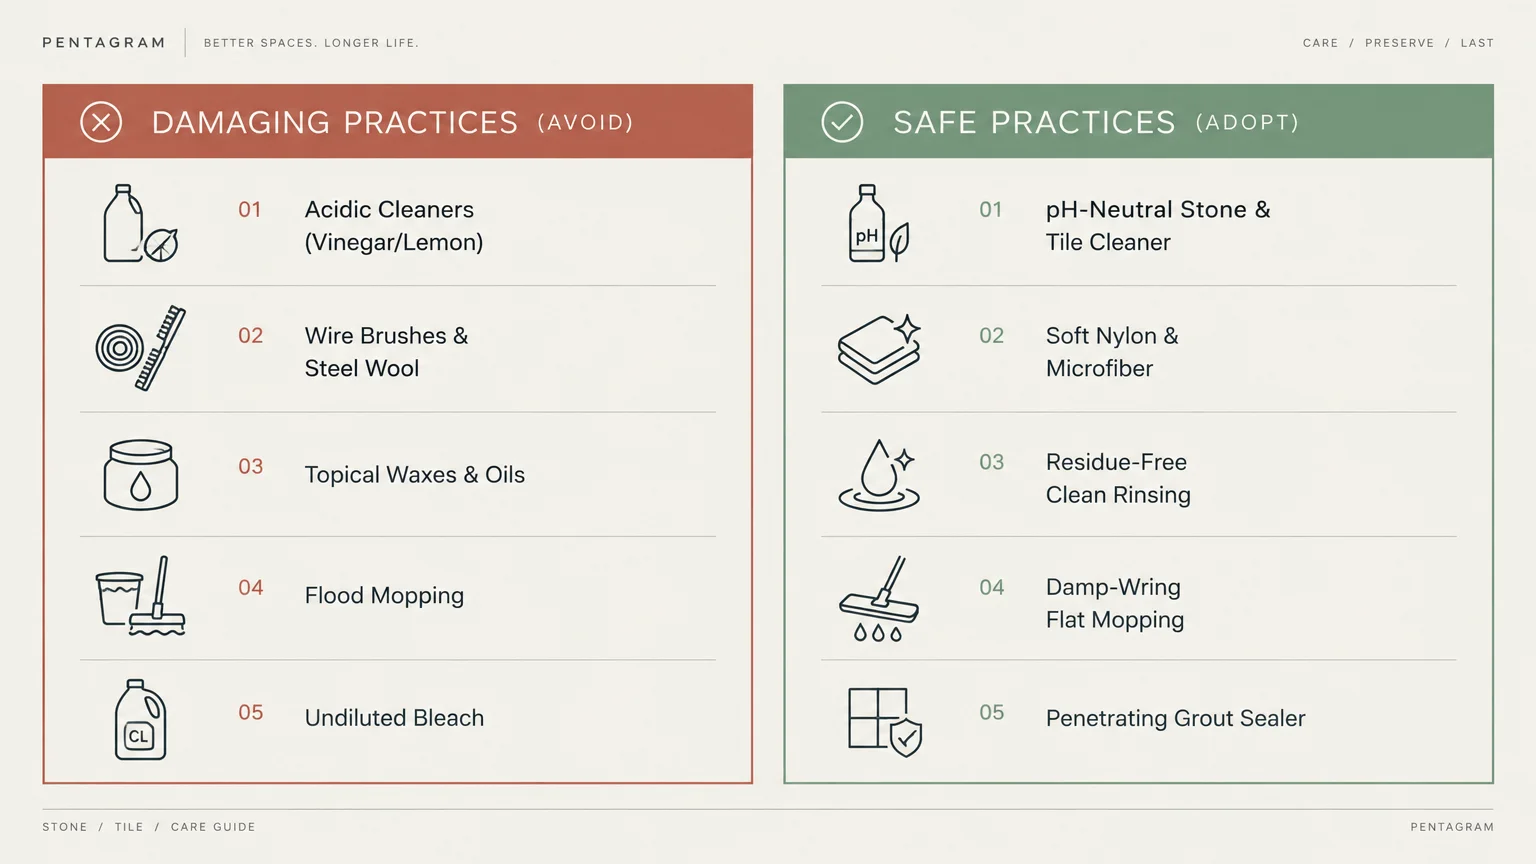
Safe vs. Damaging Cleaning Methods: At a Glance
Selecting appropriate tools makes a tremendous difference in extending the lifespan of your flooring. Review this comparison to ensure your cleaning cabinet contains only surface-safe supplies.
| Cleaning Method | Common Justification | Hidden Risk | Recommended Safe Alternative |
|---|---|---|---|
| Distilled White Vinegar | Natural acid cuts mineral deposits | Dissolves cement binders; erodes grout | pH-neutral ceramic tile cleaner |
| Steel Wool or Wire Brushes | Removes stubborn stains quickly | Scratches glazed finish; leaves rust specks | Soft nylon-bristle grout brush |
| Oil-Based Soaps and Waxes | Adds artificial shine to dull tiles | Creates sticky residue; traps dirt; slip hazard | Residue-free neutral cleaner; microfiber buffing |
| Flood Mopping with Sloshing Water | Cleans large areas quickly | Rots subfloors; loosens thin-set mortar | Damp microfiber flat mop |
| Chlorine Bleach | Whitens stained grout immediately | Weakens grout matrix; bleaches colored dyes | Oxygen bleach powder mixed with warm water |
| High-Pressure Steam Mops | Sanitizes without chemicals | Blisters sealers; forces water under tile | Warm water mopping with neutral detergent |
Replacing harmful supplies with neutral cleaners protects your floor from expensive structural repairs. Safe alternatives preserve both your tile glaze and grout joints for decades.
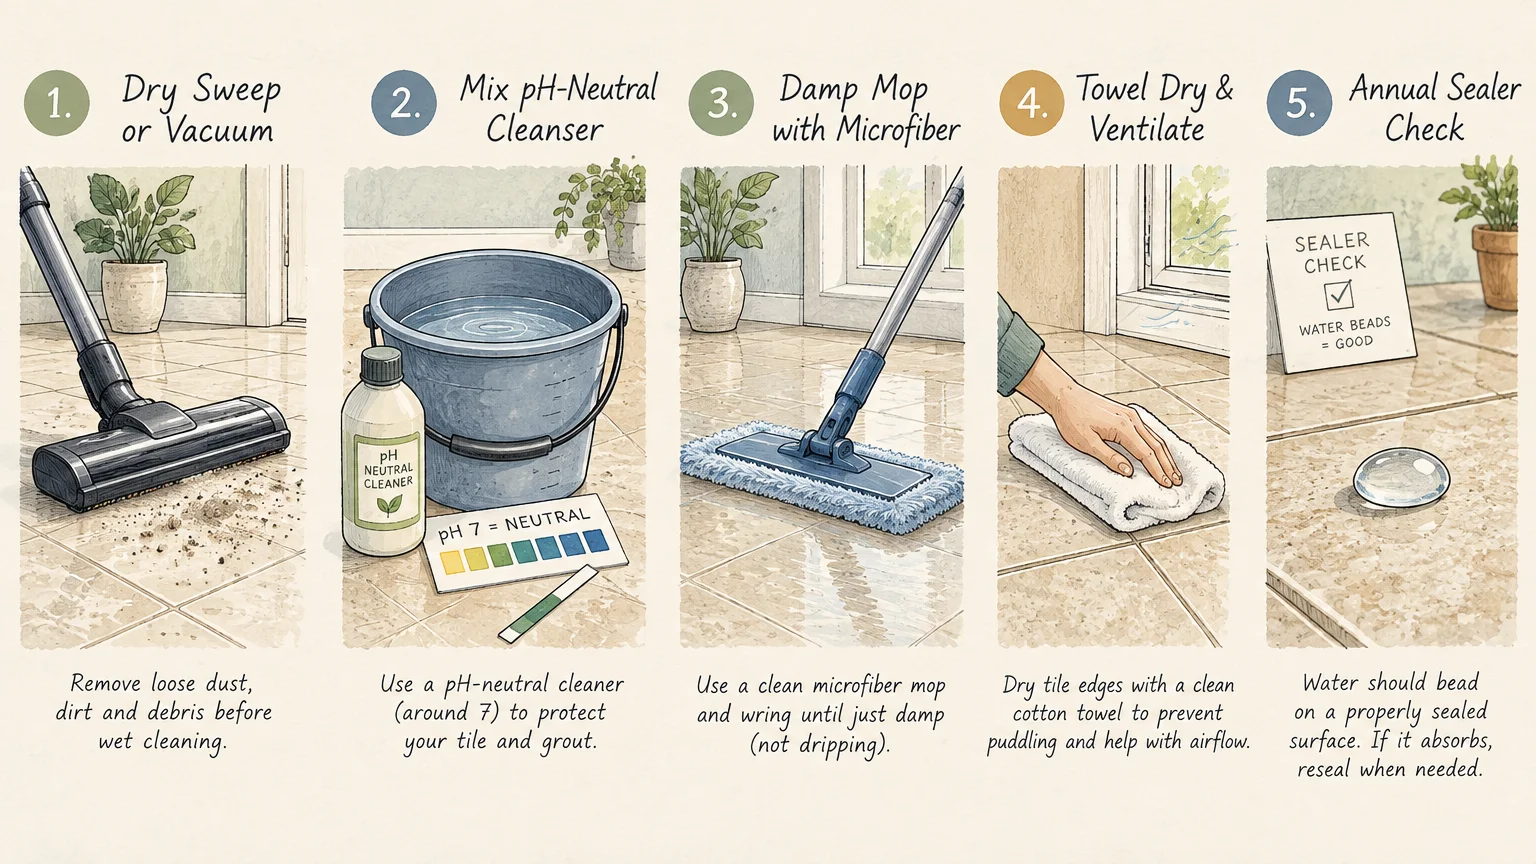
The Gentle 5-Step Routine for Tile Floor Care
Maintaining immaculate tile does not require aggressive scrubbing or caustic chemicals. Follow this simple weekly routine to keep your floors spotless and structurally sound.
-
Dry Soil Removal:
Clear all surface debris before introducing any water to the floor. Use a soft-bristle broom, a microfiber dust mop, or a canister vacuum on a hard-floor setting.
-
Prepare Your Neutral Solution:
Fill one bucket with warm water and mix in a manufacturer-recommended dose of pH-neutral cleaner. Fill a second bucket with clean, lukewarm water for rinsing your mop head.
-
Mop with a Barely Damp Microfiber Pad:
Submerge your mop in the detergent solution and wring it out until no water drips. Work in small sections, moving the mop in gentle overlapping figure-eight strokes.
-
Tackle Stubborn Grout Lines:
For high-traffic grout paths, spray a dedicated pH-neutral cleaner directly onto the joint. Agitate gently with a soft nylon brush, allowing the bristles to lift ground-in dirt.
-
Rinse and Dry Thoroughly:
Rinse your mop in the clean water bucket and pass it over the cleaned area to lift detergent residue. Finish by wiping high-traffic areas with a clean, dry microfiber towel.
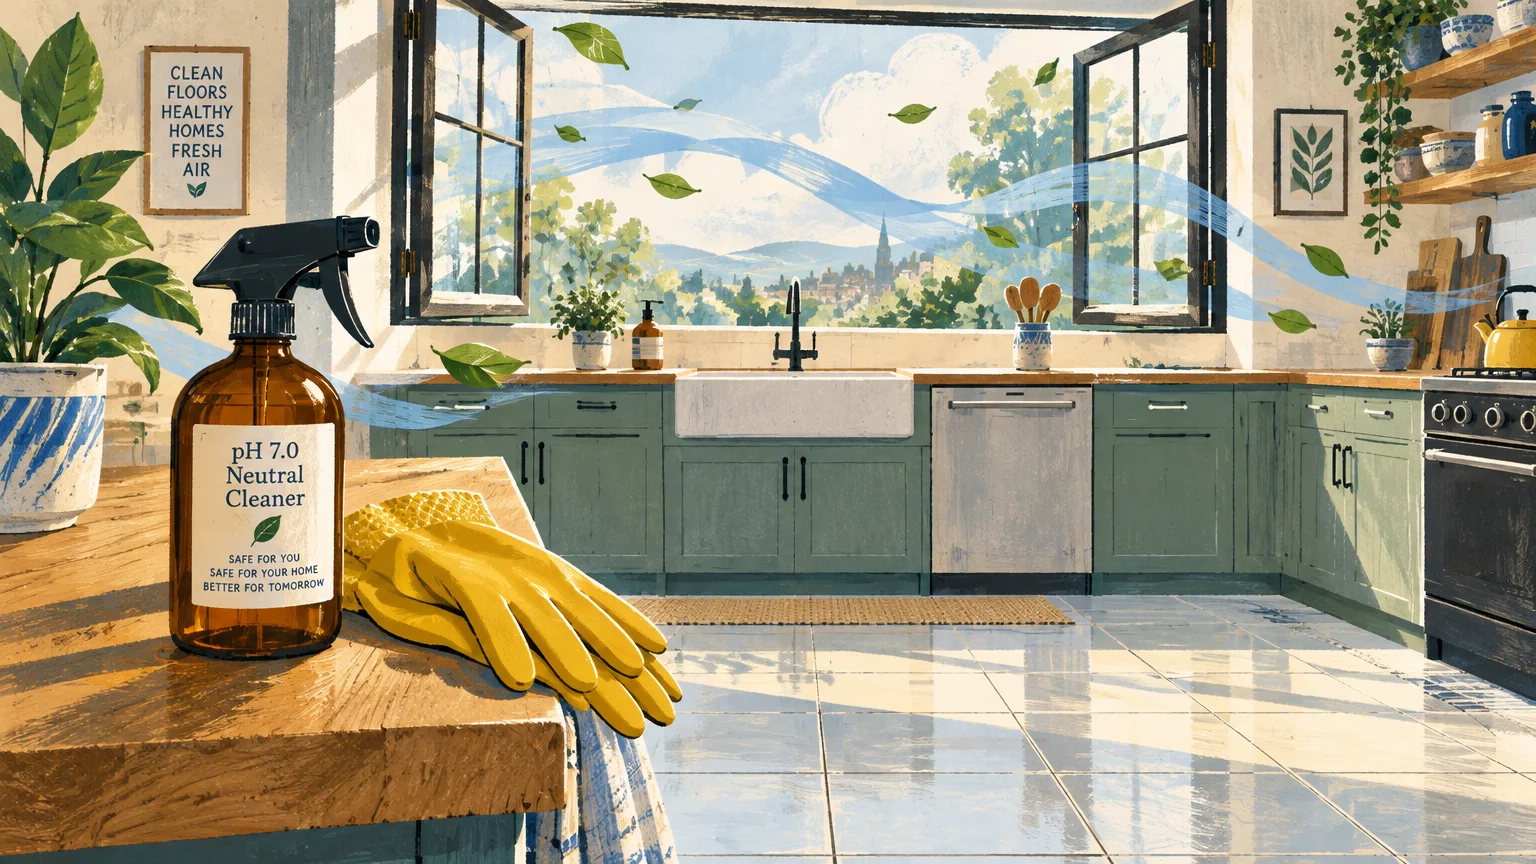
Chemical Safety and Healthy Cleaning Habits
Cleaning products release vapors that quickly accumulate in enclosed rooms like bathrooms and laundry areas. Maintaining proper ventilation protects your respiratory health while you care for your floors.
Open nearby windows and run exhaust fans whenever you perform deep tile floor care routines. Adequate airflow speeds up floor drying times and reduces your exposure to cleaning vapors.
The Centers for Disease Control and Prevention (CDC) stresses never mixing ammonia-based products with chlorine bleach. Combining these chemicals produces dangerous chloramine gas, which causes acute respiratory distress.
Always inspect product labels carefully before introducing a new cleaner to your household. Sticking to certified neutral formulas eliminates these dangerous chemical interactions entirely.
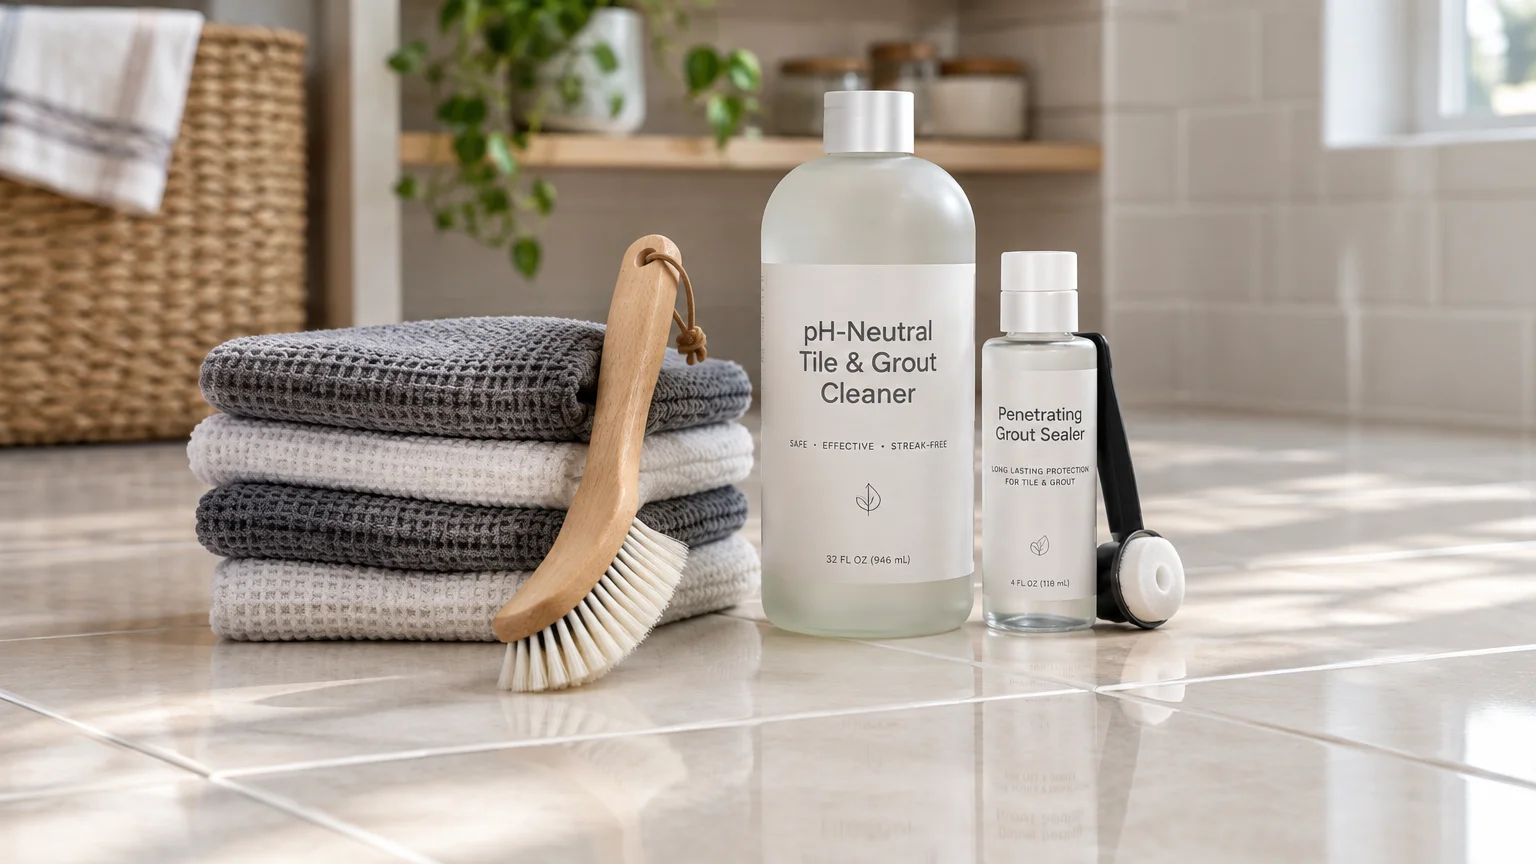
Your Next Practical Step for Pristine Floors
Take five minutes today to audit the cleaning supplies stored under your kitchen and bathroom sinks. Set aside any acidic formulas, oil soaps, or wire scrubbers that cause tile floor damage.
Perform the simple water droplet test on three different grout joints across your home. If the water absorbs immediately, schedule a grout sealing session this weekend to protect your investment.