
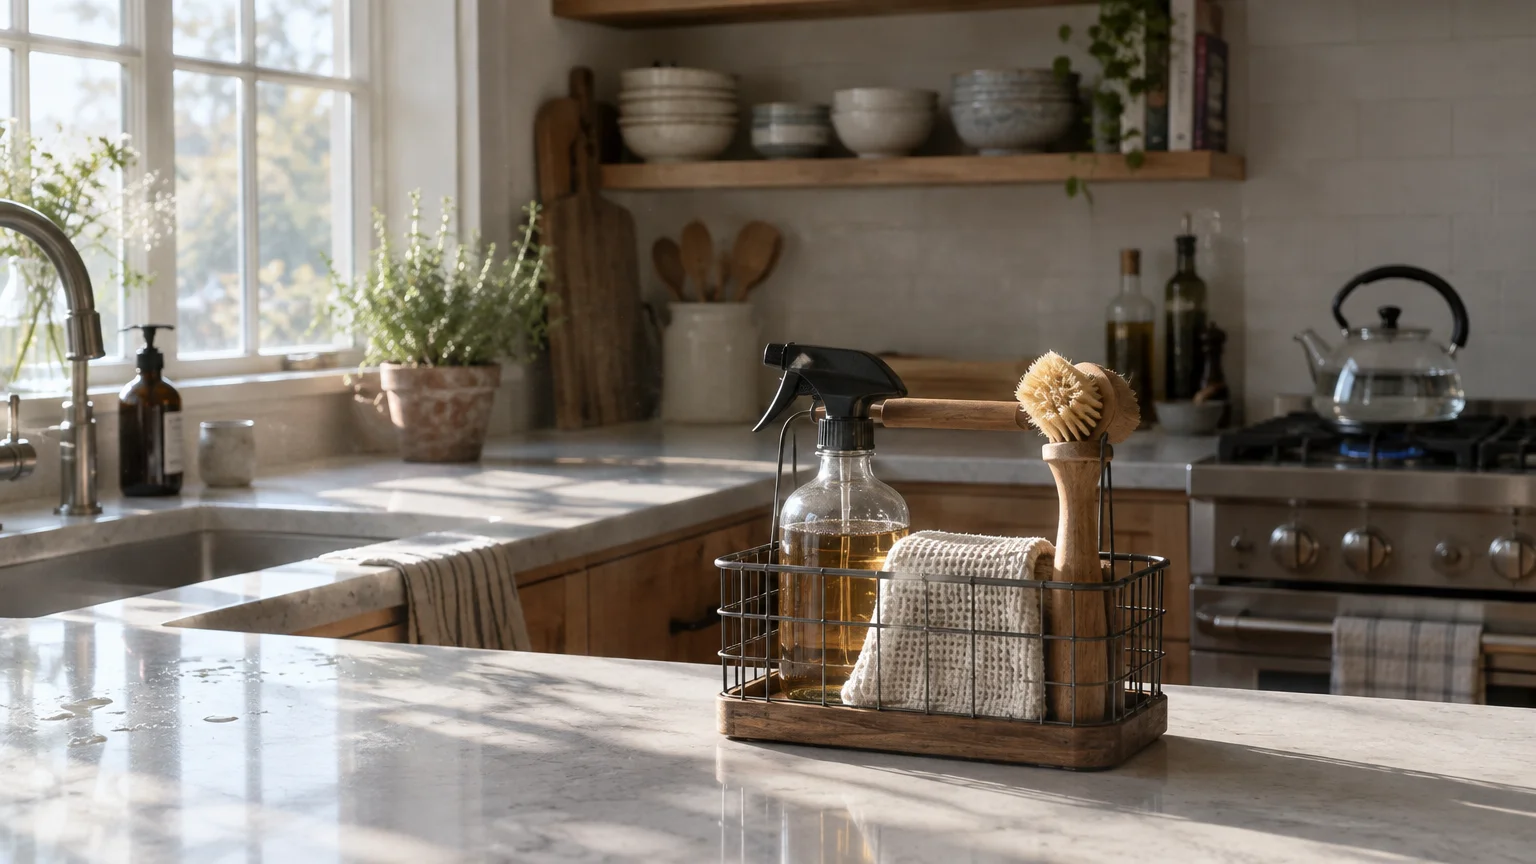
You probably vacuum your floors, scrub your toilets, and wipe down your kitchen counters every week. Yet several germ-laden hotspots quietly escape your notice, silently gathering grease, microbes, and dead skin cells.
Overlooking these hidden zones can undo your hardest housework and spread allergens across your living spaces. Bringing them into your regular house cleaning schedule protects your health without demanding hours of extra labor.
Here are seven essential things to clean weekly to keep your home genuinely fresh, hygienic, and easier to manage every day.
01 Kitchen Sponges and Scrub Brushes
You wash your dinner plates and cookware with them daily, assuming the dish soap keeps them spotless. In reality, wet sponges harbor more active bacteria than almost anything else in your home.
According to microbiological studies conducted by NSF International, kitchen sponges and dish rags represent the single most contaminated surface in the typical household.
Moisture, trapped food debris, and warm room temperatures create an ideal breeding ground for pathogens like Salmonella and E. coli. When you wipe a counter with an unwashed sponge, you simply spread those microbes across your prep surfaces.
Sanitizing your dish tools takes only two minutes each week; you do not need harsh specialty chemicals to achieve hospital-grade results.
How to Sanitize Your Dish Tools
Run sponges and silicone scrubbers through your dishwasher on a normal cycle that includes a heated dry phase. The sustained high heat destroys trapped bacteria and melts away stubborn residual grease.
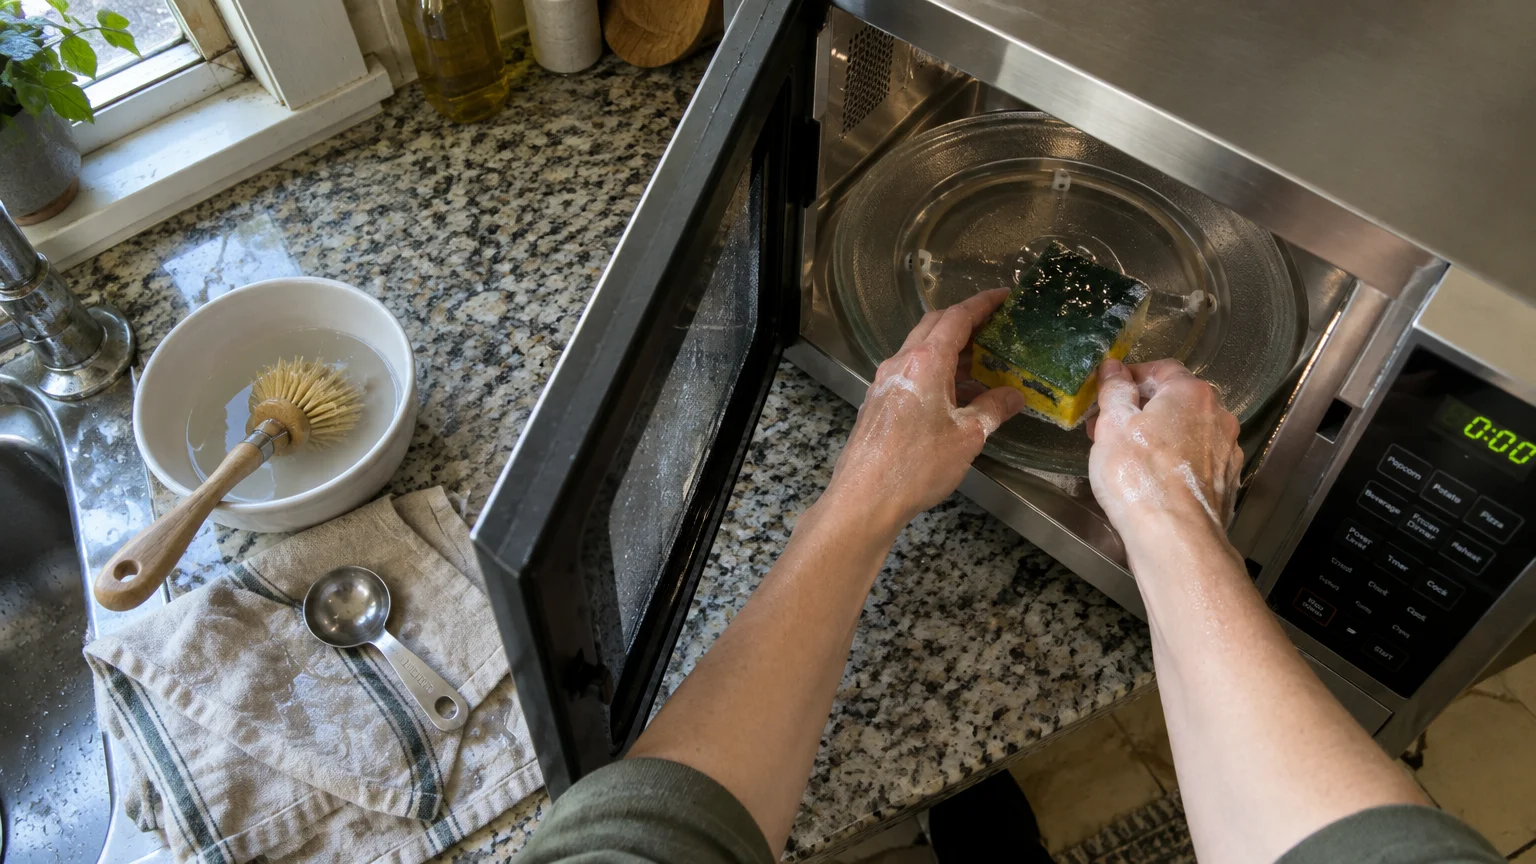
Alternatively, saturate your cellulose sponge thoroughly with water and microwave it on high for 60 to 90 seconds. Never microwave a dry sponge, and never place metal scrub pads in the microwave.
For plastic-bristled dish brushes, soak the head in a small bowl containing hot water and two tablespoons of household bleach for ten minutes. Rinse the bristles thoroughly under tap water before setting the brush upright to air-dry.
02 Television Remotes, Keyboards, and Handheld Electronics
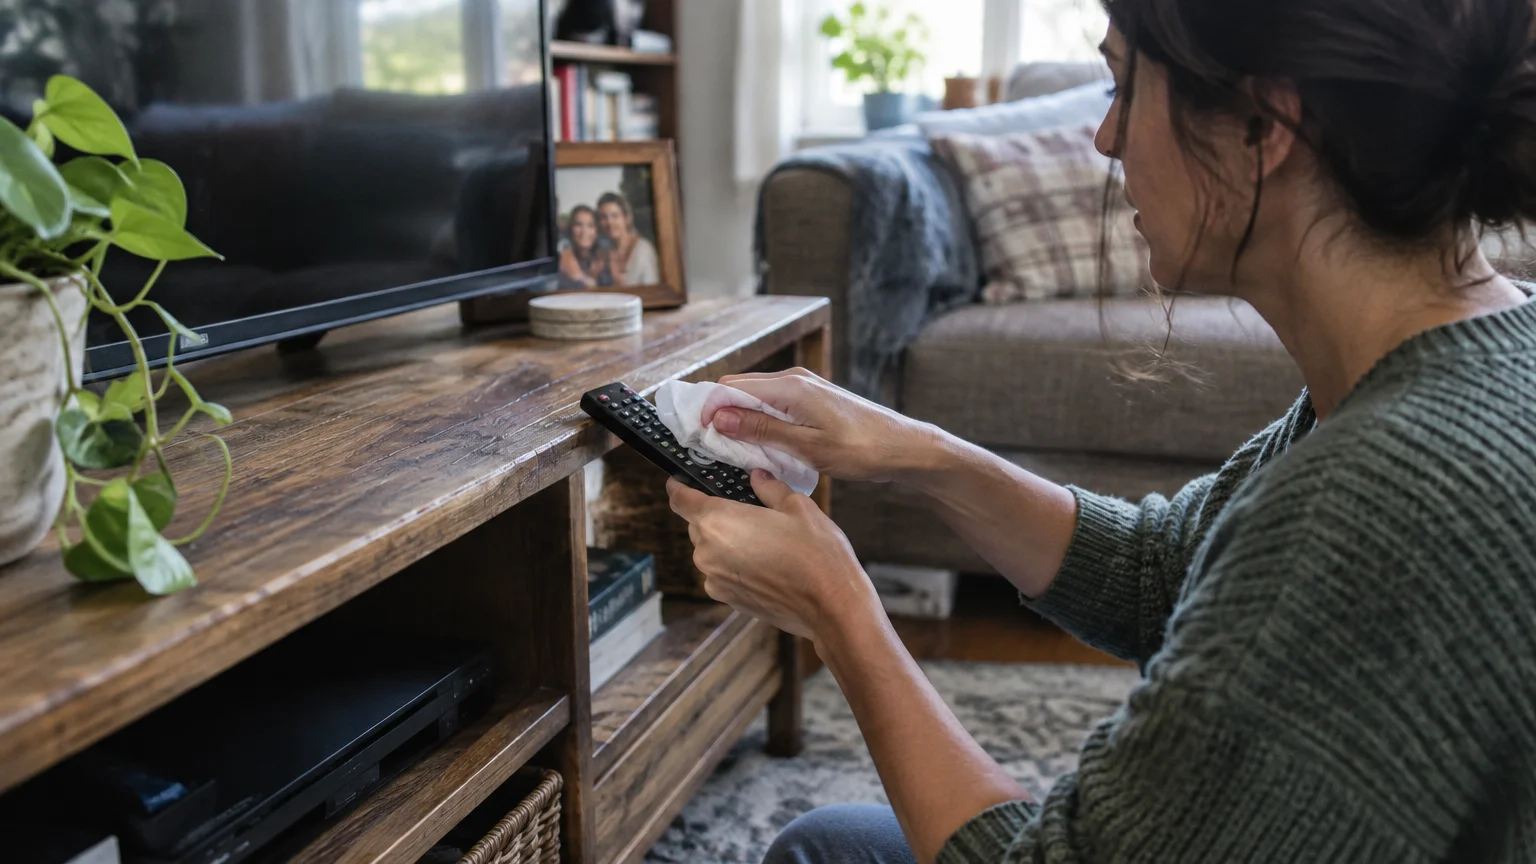
Think about how many hands touch your television remote every evening while people enjoy snacks on the sofa. These plastic surfaces quickly accumulate body oils, food crumbs, and airborne dust particles.
Family members pass remotes back and forth while recovering from seasonal head colds, turning handheld electronics into viral hubs. Despite this constant exposure, remotes rarely appear on a standard weekly cleaning checklist.
You can sanitize delicate devices quickly without risking internal liquid damage or stuck electronic buttons.
Safe Sanitizing Steps for Electronics
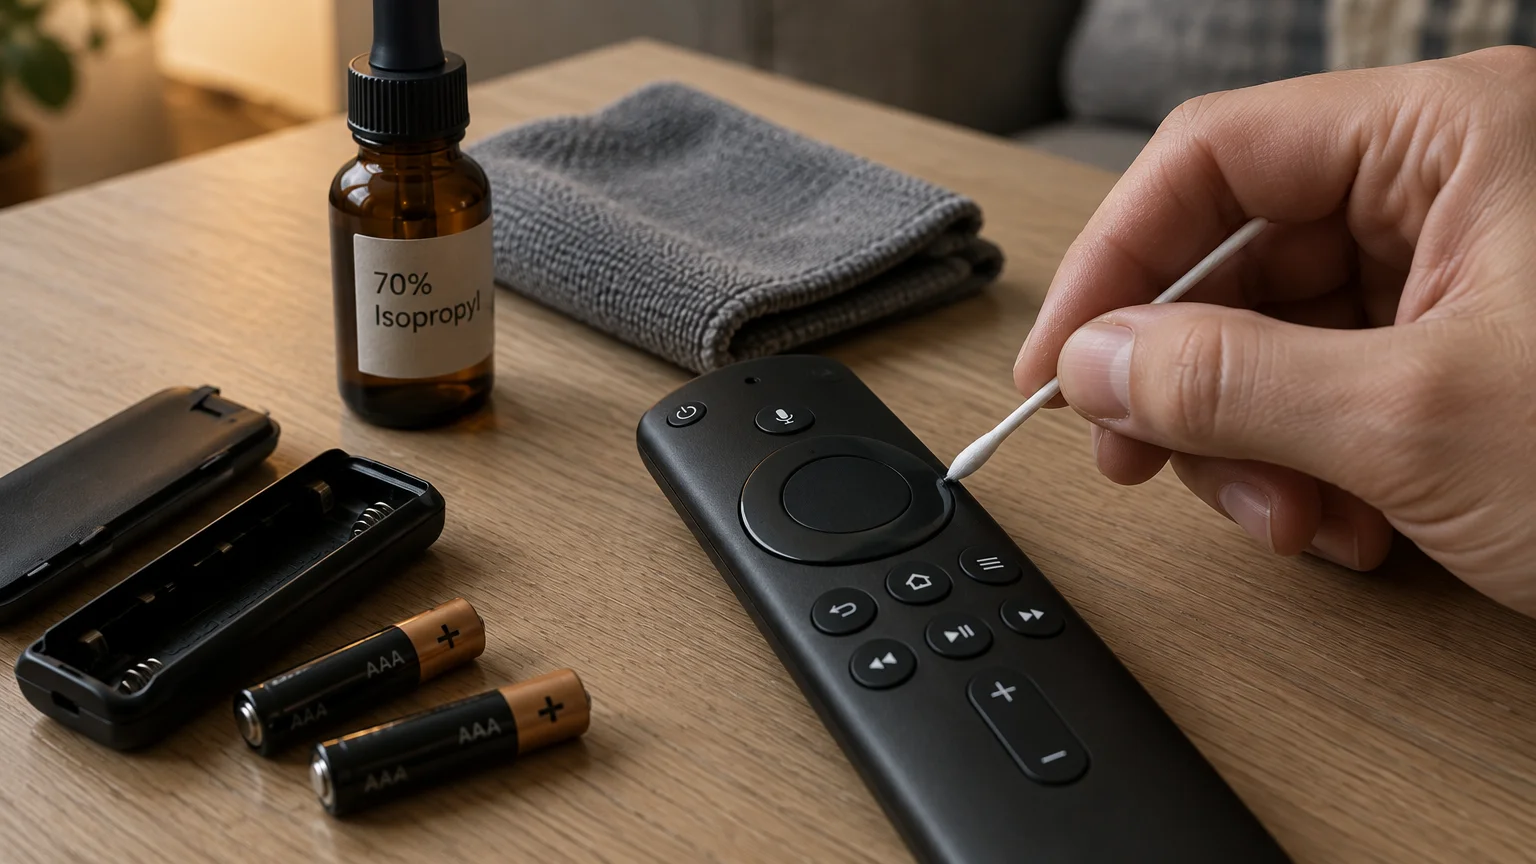
Remove the batteries or disconnect the power cable before you begin cleaning your devices. This precaution prevents accidental input errors and protects delicate internal circuitry from short circuits.
Lightly dampen a soft microfiber cloth with 70% isopropyl alcohol; never spray cleaning liquids directly onto electronics. Wipe down the entire surface, paying special attention to the spaces between raised buttons.
Dip a cotton swab into alcohol to extract grime from tight seams and navigation arrows where skin oils settle. Let the device air-dry for five minutes before reinserting the batteries.
03 Toothbrush Holders and Bathroom Counter Caddies
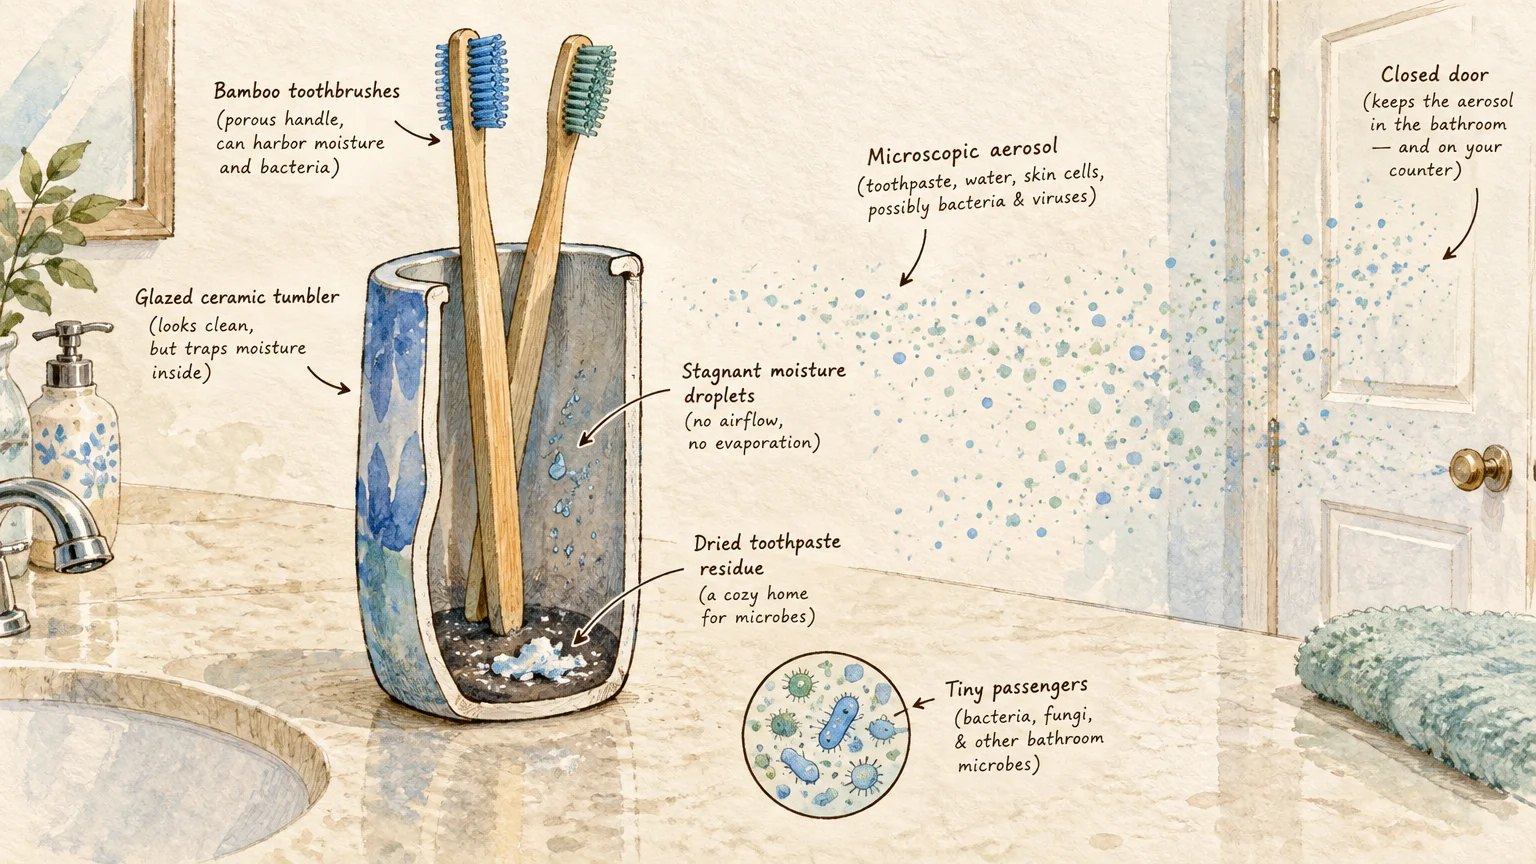
Your toothbrush cleans your teeth twice a day, but where does it spend the rest of its time? The container holding your toothbrush collects dark pools of stagnant rinse water and toothpaste runoff every single week.
Flushing toilets launch microscopic aerosol droplets that drift across bathroom countertops and settle onto open vessels. If you leave your toothbrush holder unwashed, mold and coliform bacteria flourish along the damp interior bottom.
Public health resources, including the CDC’s home hygiene recommendations, emphasize regular disinfection for high-moisture bathroom fixtures.
Restoring a Hygienic Bathroom Caddy
Check whether your toothbrush holder is dishwasher-safe; most ceramic, glass, and rigid plastic models clean thoroughly on the top rack. The high-temperature wash cycle strips away biological film without requiring manual scrubbing.
If you wash by hand, fill the holder with warm water and liquid dish soap, then scrub the base with a small bottle brush. Rinse the vessel thoroughly under running water to remove soap foam.
Disinfect the empty cup by swirling distilled white vinegar inside for five minutes before a final rinse. Invert the holder on a clean hand towel to air-dry completely before replacing your toothbrushes.
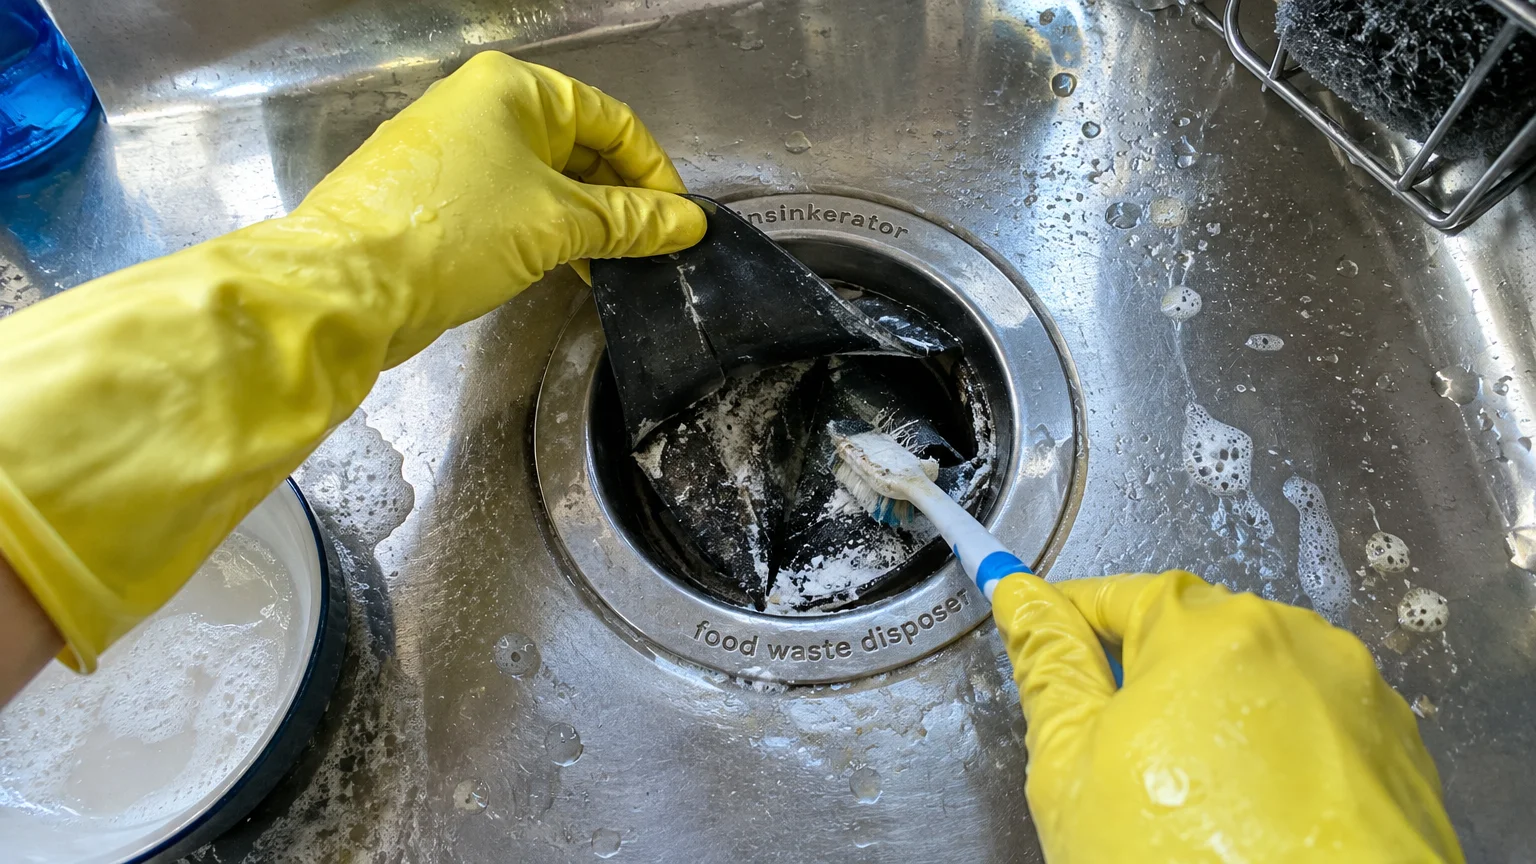
04 Kitchen Sink Basins and Rubber Drain Flanges
Many homeowners believe that rinsing soapy dishwater down the drain keeps the sink basin clean. In truth, meat proteins, vegetable scraps, and grease cling to sink walls, forming a slick biological film.
The underside of your garbage disposal’s rubber splash guard collects rotting food debris within days. This trapped grime breeds foul odors, cultivates fruit flies, and contaminates clean dishes soaking in the basin.
Adding your sink basin to your weekly house cleaning schedule takes five minutes and keeps your kitchen smelling clean.
Step-by-Step Basin and Drain Refresh
Rinse the basin with hot water to wash away loose crumbs and soft debris. Sprinkle baking soda generously over the bottom and sides of the stainless steel or porcelain basin.
Scrub the entire basin using a damp microfiber cloth with a drop of liquid dish soap, moving in small circular strokes. Focus extra attention on the seam surrounding the drain collar and the base of your faucet.
Lift each flap of the garbage disposal splash guard using an old toothbrush dipped in dish soap to scrub away hidden black sludge. Turn on cold tap water and run your garbage disposal for thirty seconds to flush the loosened debris.
Sanitize the clean basin by spraying an EPA-registered household disinfectant over the surface; let it stand for the full contact time before rinsing.
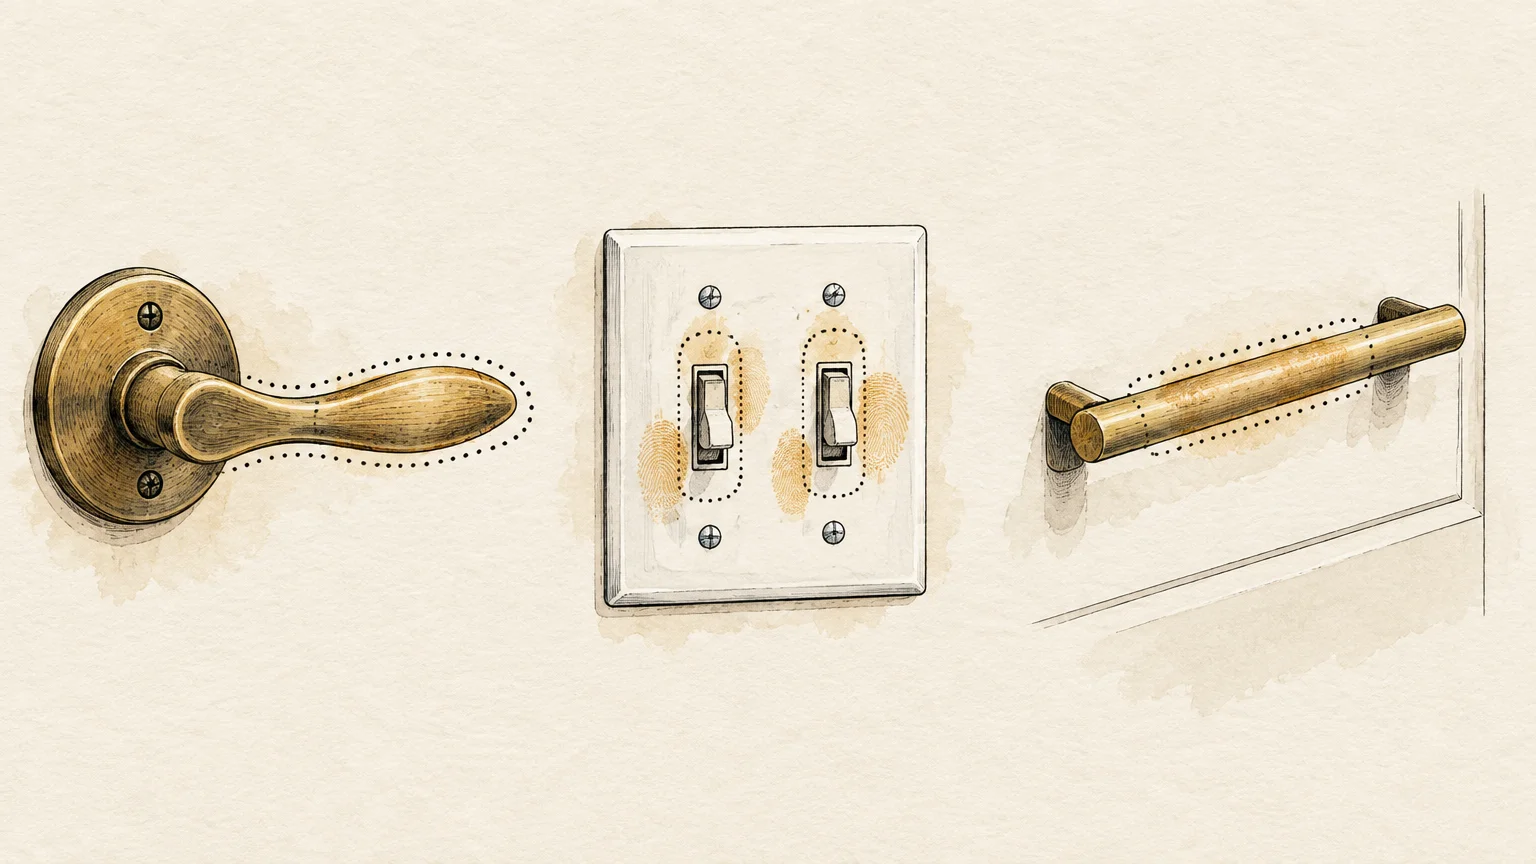
05 Light Switches, Door Handles, and Cabinet Hardware
Every time you enter a room, close a door, or open a cupboard, your hands leave microscopic deposits behind. Light switches and cabinet knobs receive dozens of touches daily, yet they often get skipped during routine dusting.
Kitchen cabinet pulls attract extra grease because family members grab them while preparing meals with oiled hands. Over several days, these layers of oil attract floating dust and create sticky, unsightly patches.
Disinfecting high-touch surfaces breaks the chain of household infection, particularly during winter illness outbreaks.
Quick Disinfecting Routine for Hardware
Moisten a microfiber cloth with an all-purpose cleaner or grab an EPA-approved disinfectant wipe. Avoid spraying cleaning solutions directly onto wall switch plates to prevent dangerous electrical moisture penetration.
Wipe the switch plate, the toggle switch, and the adjacent wall area where fingers frequently create smudges. Ensure the surface remains visibly moist for the disinfectant’s label-recommended dwell time.
Wrap your damp cloth completely around each doorknob and drawer pull, twisting your wrist to coat all contact points. Use a dry cloth to buff brass or chrome fixtures to prevent water spotting.
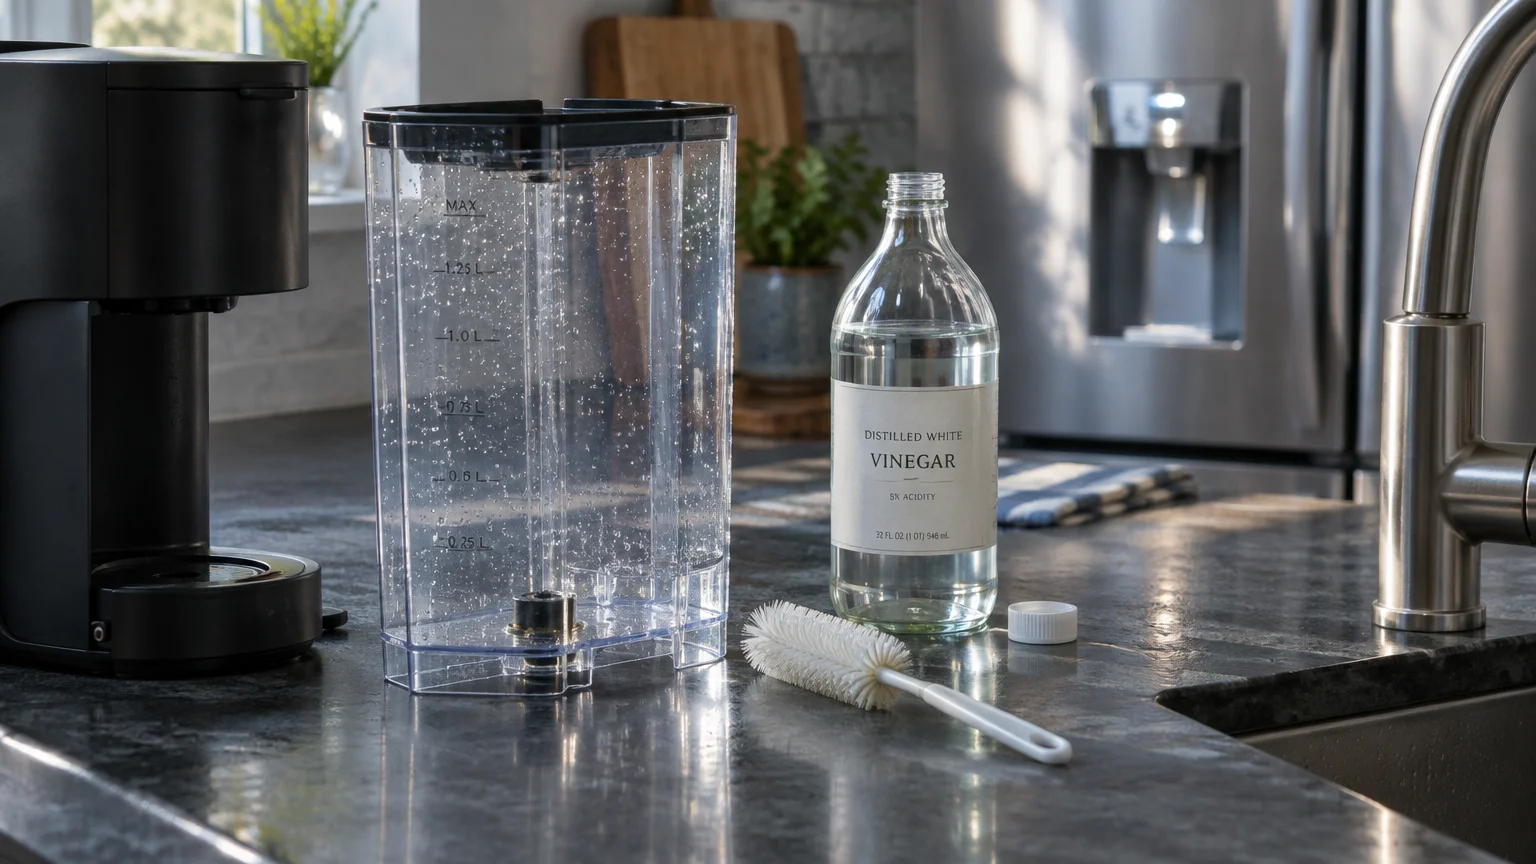
06 Coffee Maker Reservoirs and Water Dispenser Spouts
Your morning cup of coffee or cool glass of water should taste crisp and clean. However, the dark, damp interior of beverage appliances encourages yeast, algae, and mold growth.
Refrigerator door water dispensers and ice chutes endure constant moisture exposure alongside circulating kitchen odors. Drops of standing water dry into white mineral rings that harbor dust and airborne bacteria.
Wiping down these beverage outlets each week maintains appliance efficiency and keeps your drinking water tasting pure.
Weekly Beverage Station Cleaning Steps
Empty any stagnant water from your drip coffee maker or single-serve reservoir each weekend. Wash the removable tank and its lid in warm, soapy water, rinsing thoroughly to eliminate detergent fragrance.
Wipe down the coffee pod holder and puncture needle using a damp paper towel to dislodge compressed coffee grounds. Leave the water reservoir lid open overnight so the interior dries out completely.
Clean your refrigerator dispenser spout by dipping a cotton swab into distilled white vinegar and rubbing the nozzle opening. Finish by wiping the drip tray with a microfiber towel to remove standing water.

07 Bed Pillowcases and Living Room Throw Blankets
You spend seven to eight hours every night resting your head directly against your pillowcase. Over seven days, that fabric absorbs facial moisturizers, scalp oils, saliva, sweat, and thousands of shed skin cells.
According to sleep health specialists at the Sleep Foundation, unwashed bedding quickly collects dust mites and biological irritants that trigger allergies and acne breakouts.
Living room throw blankets experience similar abuse; pets curl up on them and family members use them while fighting colds. Despite this heavy traffic, throw blankets often sit folded on sofa arms for months without laundering.
Laundering Routine for Optimal Freshness
Strip all pillowcases once a week and wash them in hot water using your favorite laundry detergent. High wash temperatures dissolve natural body oils and destroy dust mite populations efficiently.
Place sofa throw blankets into the washing machine on a gentle cycle using warm water and mild liquid detergent. Tumble dry fleece on low heat, or hang knitted blankets over a drying rack to protect delicate yarn fibers.
Keep a backup set of pillowcases in your linen closet so you can swap them out instantly on busy mornings. This simple rotation ensures your skin rests on fresh, clean fabric every night of the week.
Weekly Cleaning Checklist for Forgotten Hotspots
Incorporating these overlooked tasks into your cleaning routine ideas does not require a grueling weekend marathon. When you tackle them in a structured sequence, all seven tasks take less than twenty-five minutes combined.
Refer to this simple weekly cleaning checklist to track your supplies and budget your time effectively.
| Forgotten Item | Weekly Cleaning Action | Recommended Tools & Cleaners | Time Needed |
|---|---|---|---|
| Kitchen Sponges & Brushes | Run through dishwasher heated cycle or microwave wet for 60 seconds | Dishwasher or microwave-safe bowl | 2 minutes |
| Electronics & Remotes | Wipe exterior casings and cotton-swab crevices between buttons | 70% isopropyl alcohol, microfiber cloth, cotton swabs | 3 minutes |
| Toothbrush Holders | Run on top rack of dishwasher or soak in hot soapy water | Bottle brush, dish soap, white vinegar | 3 minutes |
| Kitchen Sink & Drain | Scrub basin with baking soda; clean under disposal splash guard | Baking soda, dish soap, old toothbrush, disinfectant | 5 minutes |
| Switches & Door Handles | Wipe handles and switch plates with disinfectant cloth | Microfiber cloth, EPA-registered disinfectant spray or wipes | 4 minutes |
| Coffee Tank & Water Spouts | Wash removable reservoir; swab mineral buildup from water nozzle | Warm soapy water, white vinegar, cotton swab | 4 minutes |
| Pillowcases & Throws | Launder in warm or hot water cycle to eliminate oils and allergens | Washing machine, laundry detergent | 3 minutes (active) |
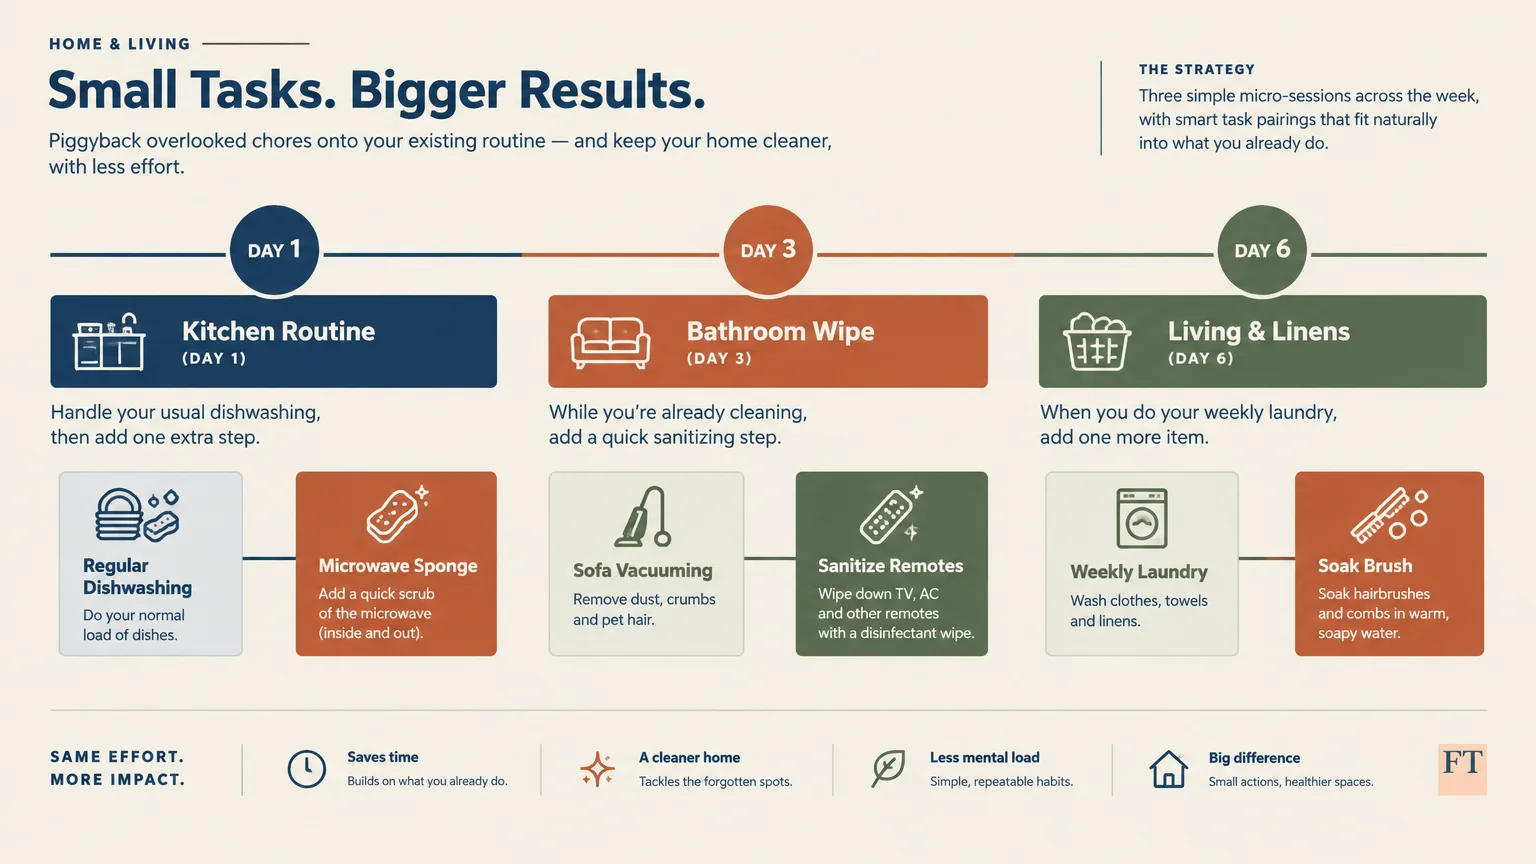
How to Integrate These Tasks Into Your House Cleaning Schedule
Trying to complete every household chore in one massive session causes physical fatigue and leads to skipped steps. Spreading these forgotten zones into manageable daily habits preserves your energy and produces lasting order.
Pair these seven neglected areas with chores you already complete without thinking. Cleaning experts refer to this approach as habit stacking; it removes the mental burden of remembering extra tasks.
Practical Home Cleaning Tips for Easy Maintenance
Clean your kitchen hotspots on grocery shopping day before unpacking fresh produce. When you put away food, sanitize the sponge, scrub the sink basin, and rinse the coffee reservoir in one quick ten-minute sweep.
Assemble a compact cleaning kit for each level of your home containing microfiber cloths and disinfectant spray. Keeping supplies where you use them eliminates unnecessary trips up and down stairs, protecting your joints.
Strip your pillowcases on the day you launder bath towels. Tossing pillowcases into the same hot wash cycle adds zero active effort to your morning laundry routine.
Focus on consistency rather than spotless perfection throughout your living spaces. A clean home should support your daily comfort, not create endless physical strain or emotional stress.
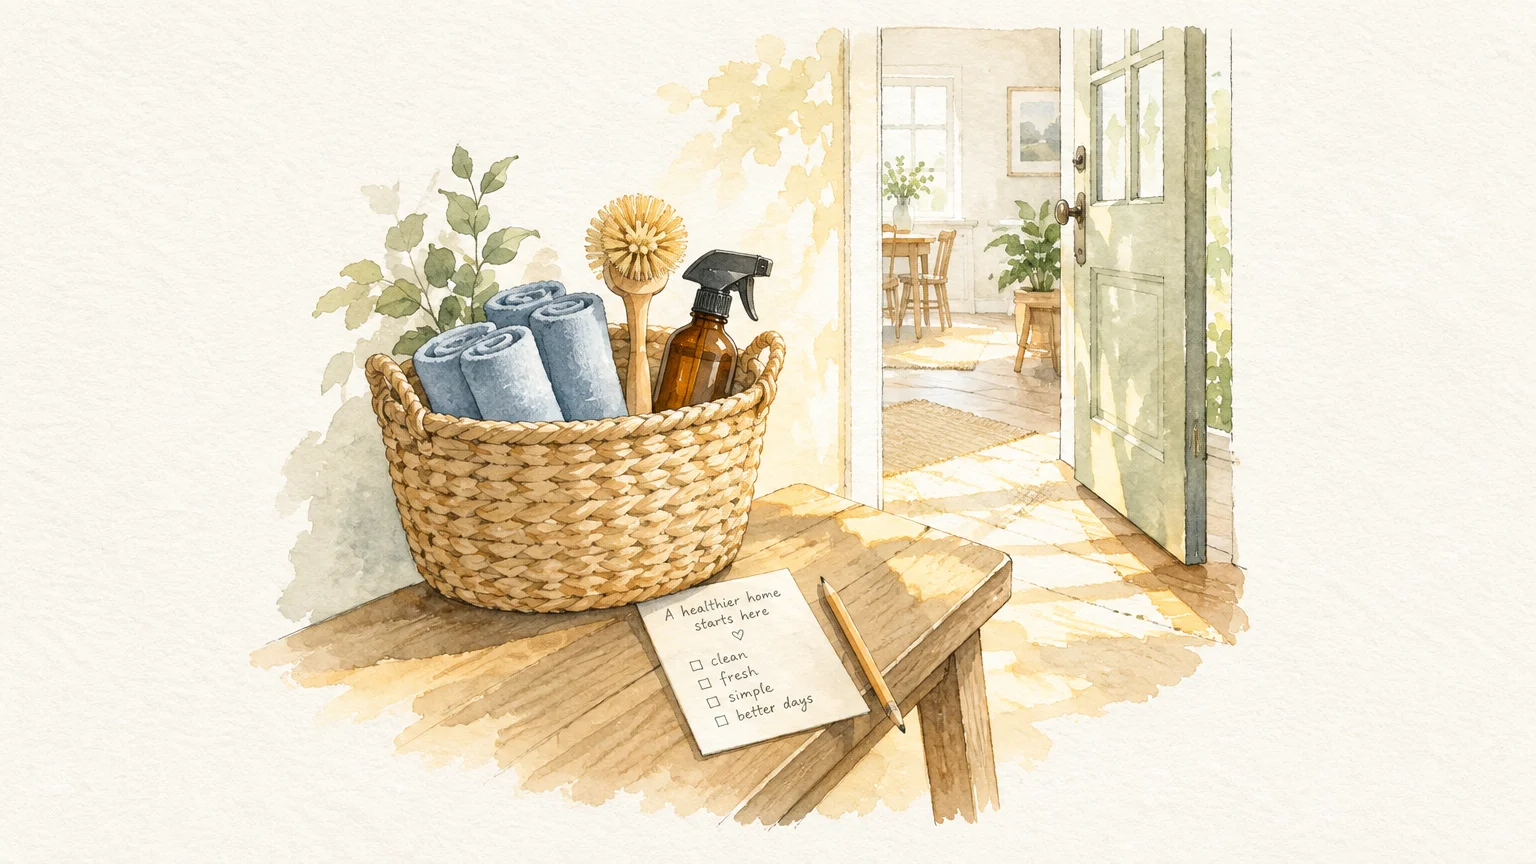
Your Next Step
Select just two neglected items from this guide today—such as your television remote and your kitchen sponge—and give them a quick sanitizing wipe right now.
Once you see how simple these short resets feel, incorporate the remaining tasks into your weekly house cleaning schedule one week at a time.


I wish the list was printable. Thank you for all the wonderful ideas!!