You can prevent dust from raining down across your living room every time you turn on your ceiling fan. A few strategic adjustments to your regular routine will keep fan blades clean for months.
Most homeowners wipe blades with dry rags or feather dusters, which creates a static electrical charge that actively attracts airborne debris right back onto the edges.
Incorporating these ten practical habits will slash your dusting workload, safeguard your indoor air quality, and keep your ceiling fans turning smoothly year-round.
1. Trap Loose Grime with an Enclosed Pillowcase
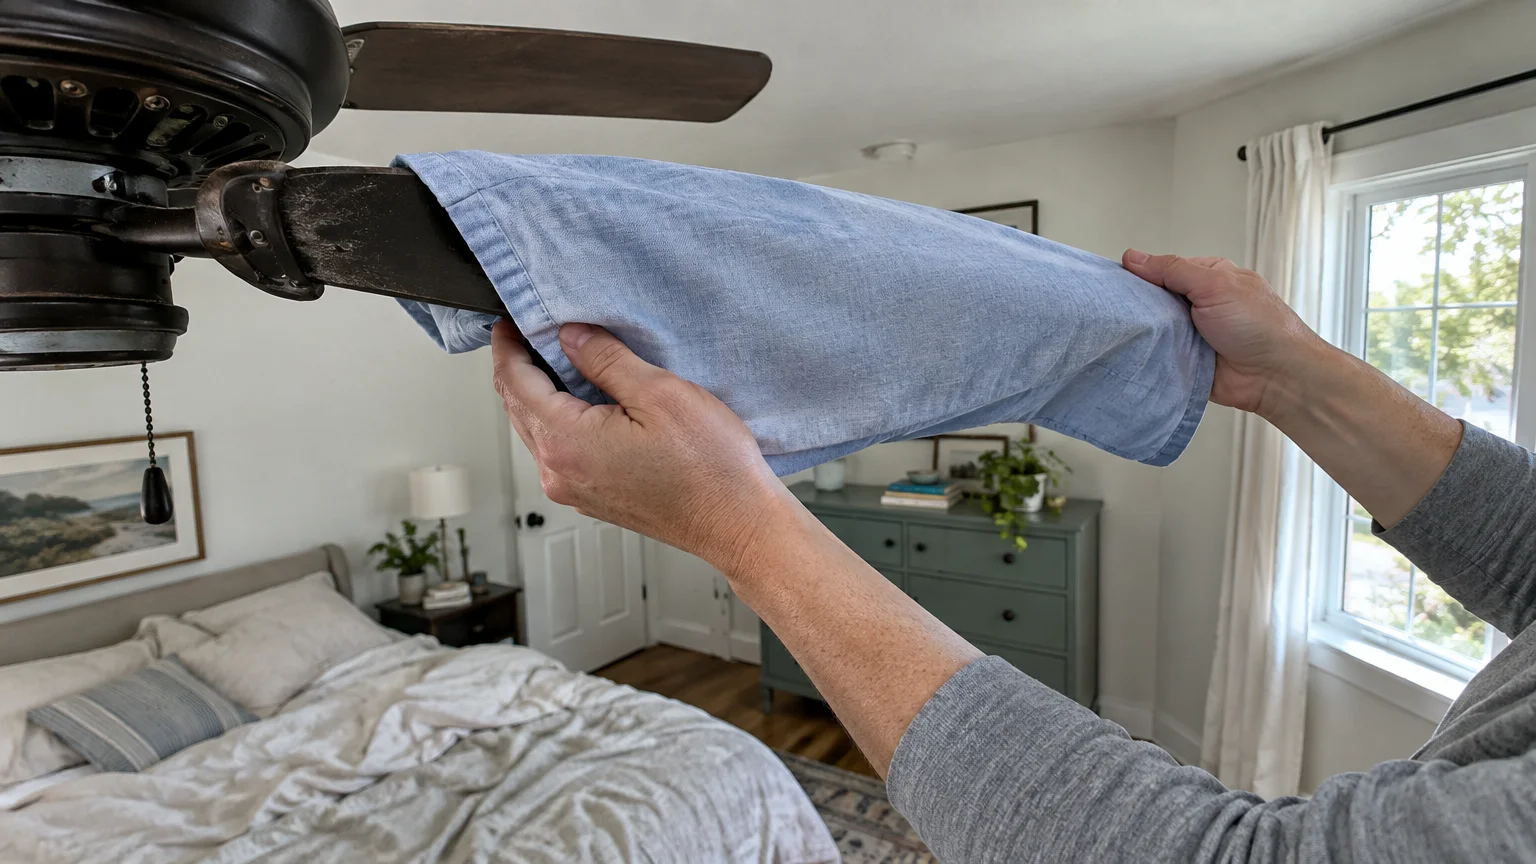
Sliding an old pillowcase over each blade traps grime completely. When you pull the fabric back, trapped debris stays inside the case instead of showering your furniture.
Dampen the inside of the pillowcase lightly with warm water or a gentle multi-surface spray. That light moisture captures fine particulate matter before it escapes into the air.
Position the pillowcase at the blade base near the motor. Press your hands gently against the top and bottom surfaces as you draw the fabric toward the tip.
Empty the gathered debris directly into your outdoor trash bin. Launder the pillowcase immediately on a hot wash cycle to sanitize the fabric for future use.
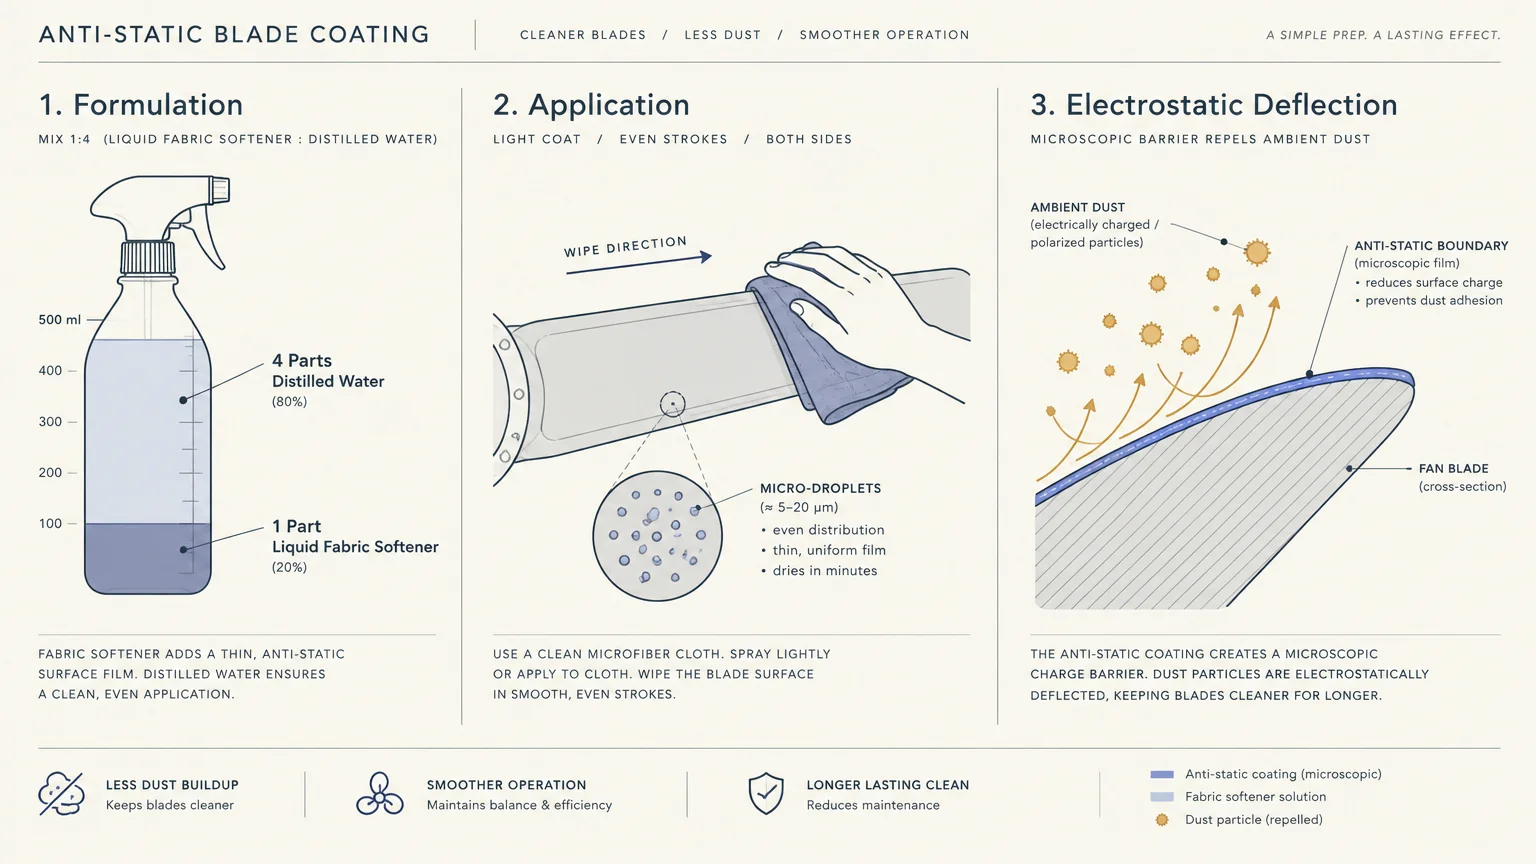
2. Coat Blades with an Anti-Static Shield
Rapid blade rotation generates friction against room air. This friction creates an electrostatic charge that pulls floating dust particles directly to blade surfaces.
Neutralizing that static charge prevents dust from adhering to the edges. You can craft a reliable static guard using common household products.
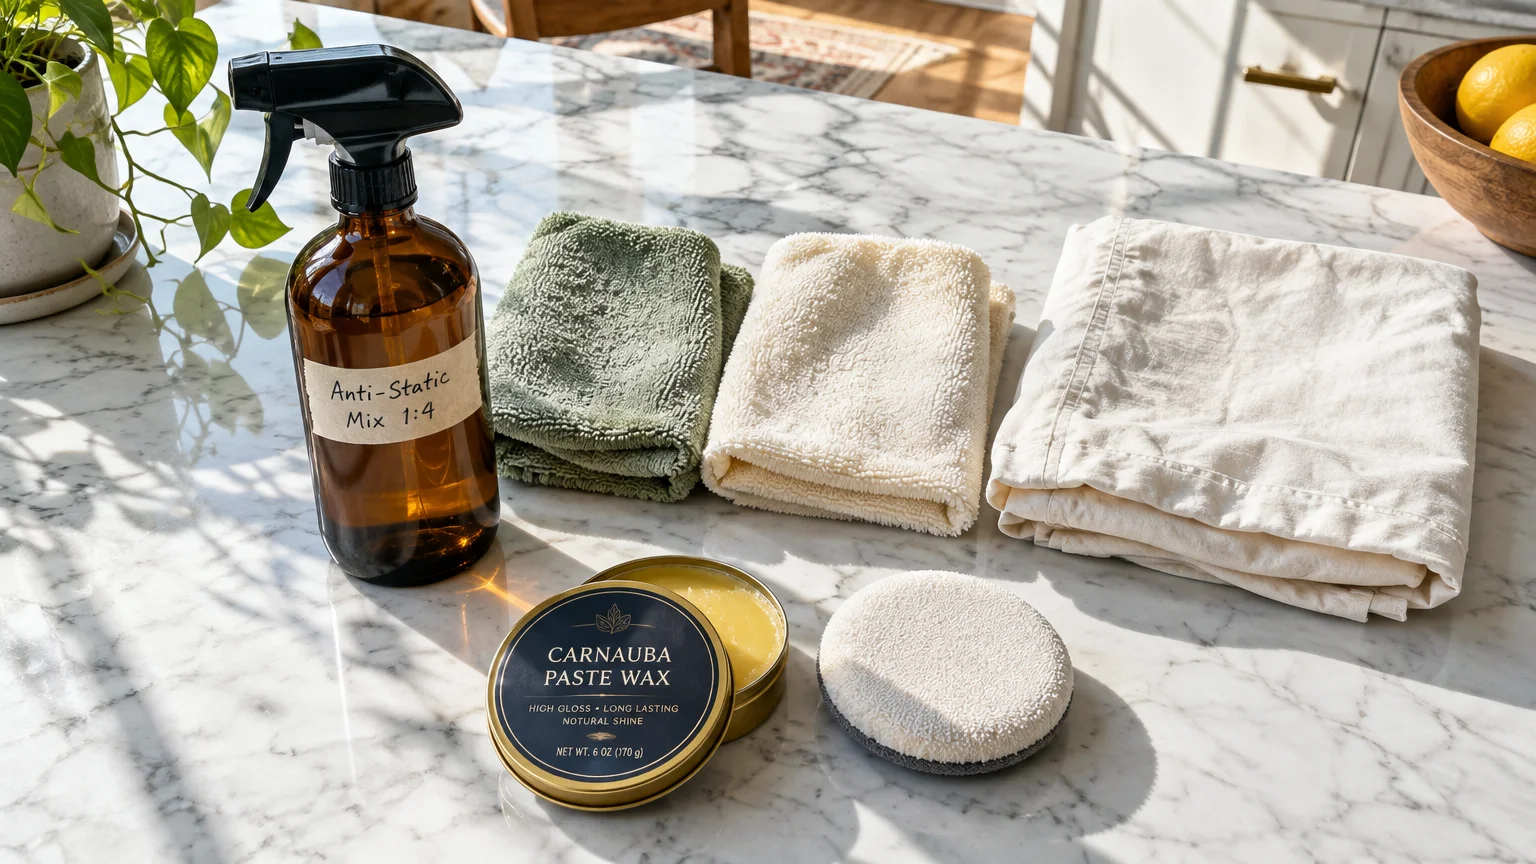
Mix one part liquid fabric softener with four parts warm distilled water in a spray bottle. Shake the bottle gently until the liquids blend thoroughly.
Lightly mist a clean microfiber cloth with the mixture and wipe both sides of every blade. The conditioning agents leave behind a slick microscopic barrier that deflects dust.
For high-gloss or sealed wood blades, car paste wax offers even longer protection. Buffing a small dab onto each blade keeps dust away for months.
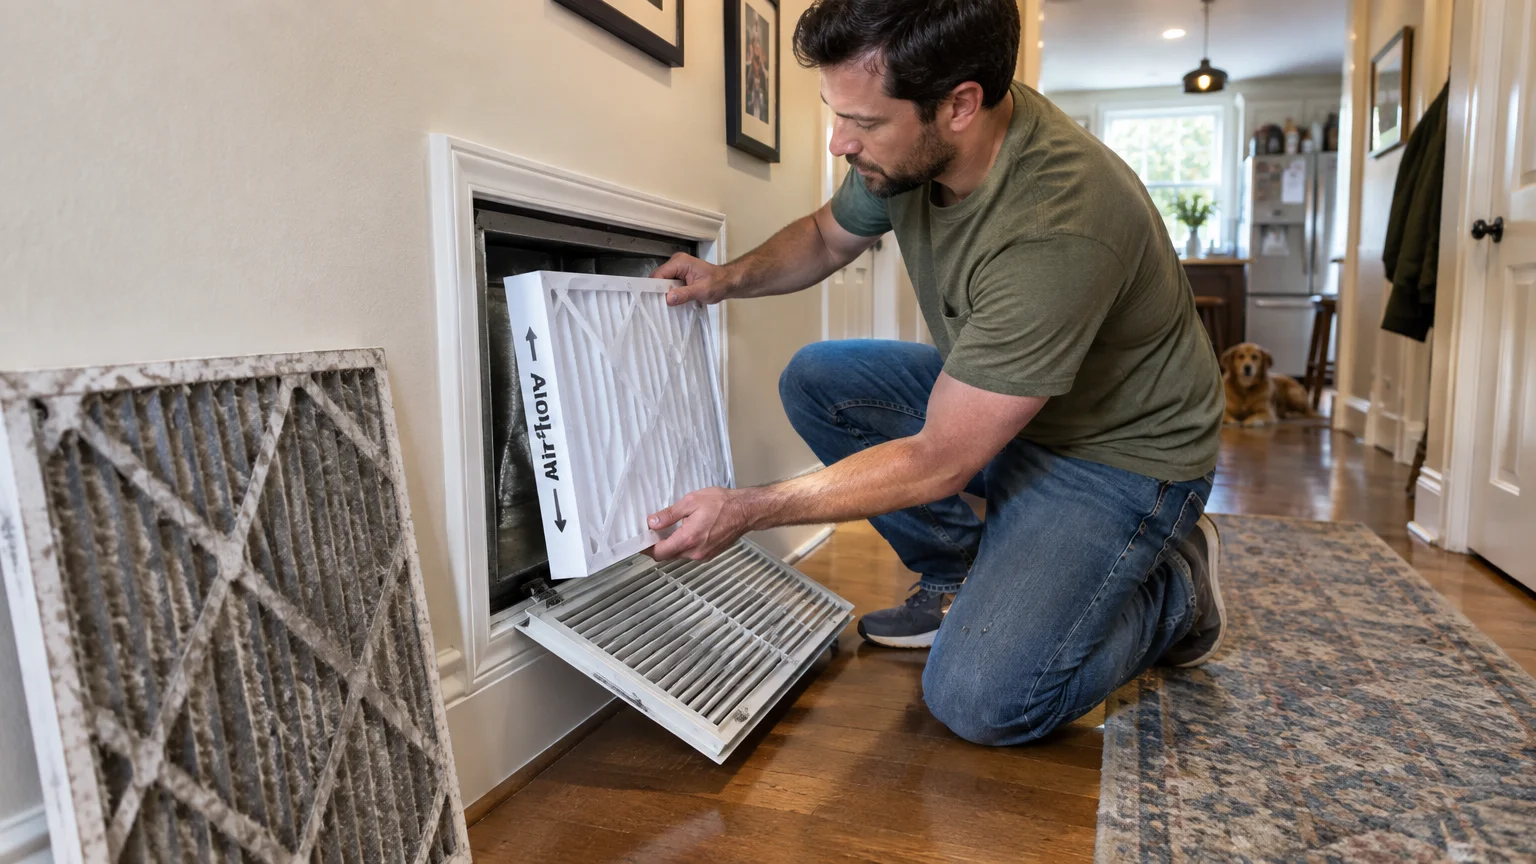
3. Replace Central HVAC Air Filters Every 60 to 90 Days
Ceiling fans do not produce dust; they simply circulate particles suspended in your living spaces. When your central heating and cooling filters clog, ambient dust levels skyrocket.
Inspect your HVAC filters once a month to verify that airflow remains unobstructed. Replace standard pleated filters every 60 to 90 days without fail.
Homes with shedding dogs, long-haired cats, or smokers require filter swaps every 30 to 45 days. Clogged filters force dirt back into your living areas.
Review the EPA guide to home air cleaners and filters to choose the optimal MERV rating for your system. A balanced filter traps fine debris without overworking your blower.
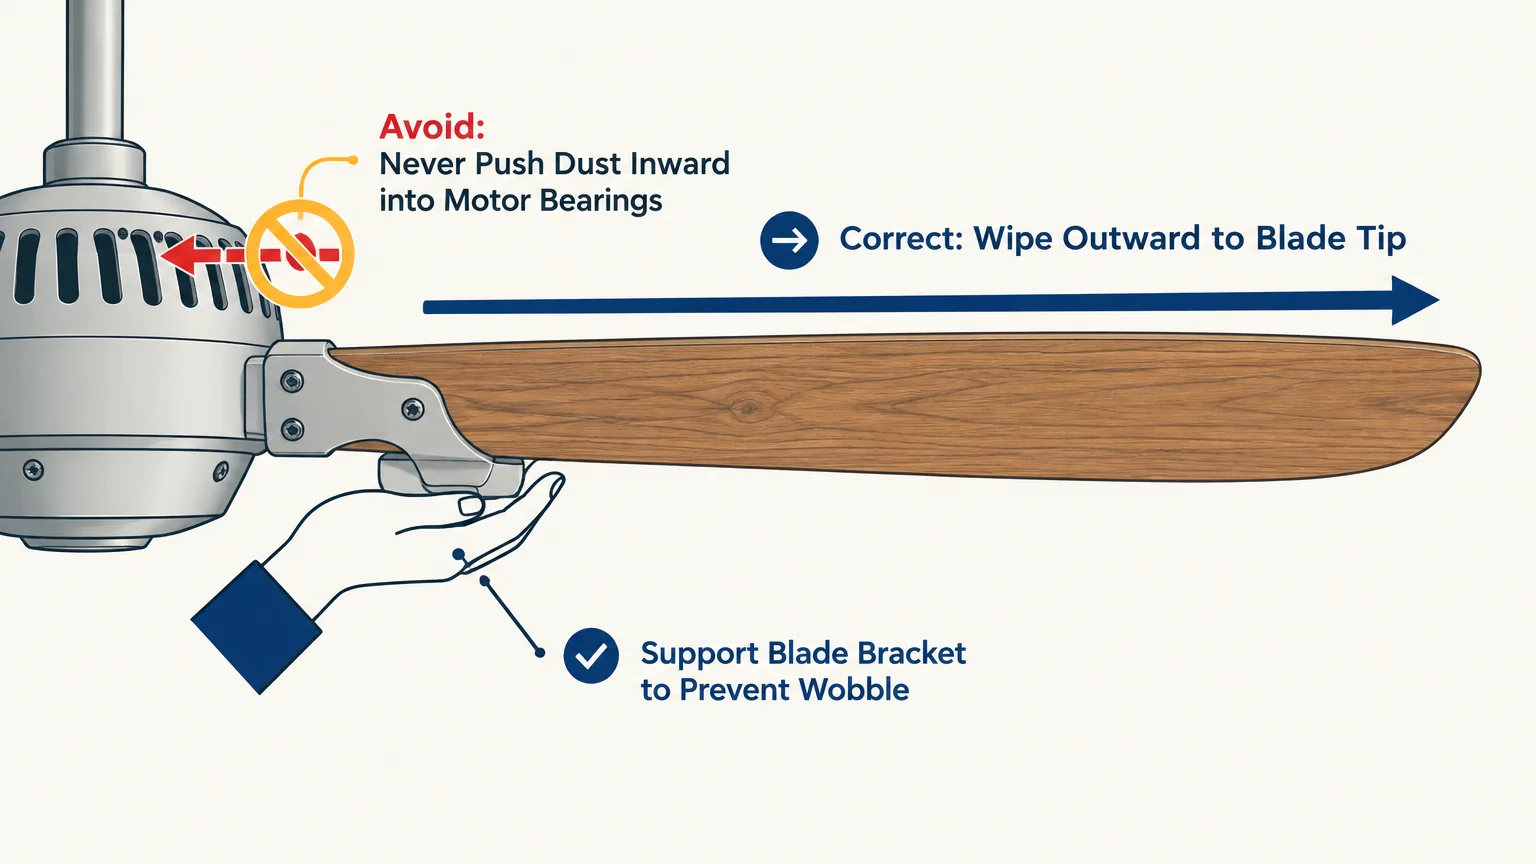
4. Wipe Blades Outward from the Motor Casing
Directional wiping plays a significant role in fan longevity and cleanliness. Always clean each blade starting from the motor hub and moving outward toward the tip.
Wiping inward shoves gritty particles directly into the motor housing. Those fine particles degrade bearings, create friction, and lead to annoying squeaks over time.
Support the blade arm securely with your free hand while wiping. Excessive downward leverage can bend the metal mounting bracket, creating an off-balance wobble during operation.
Steady support protects your ceiling mount and preserves silent motor performance. Gentle, consistent pressure removes grime without stressing the fan hardware.
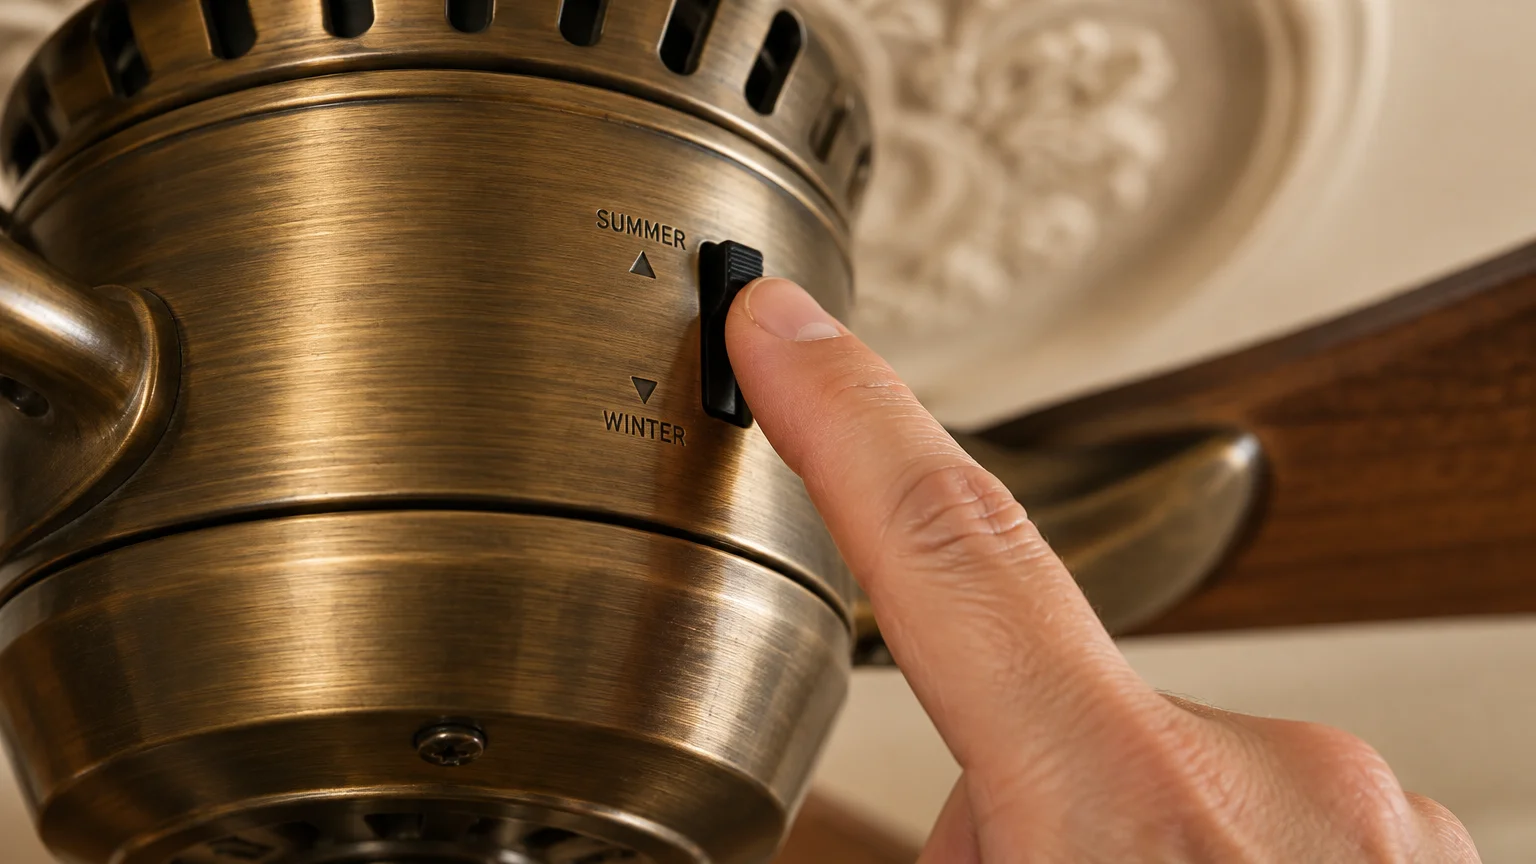
5. Switch Seasonal Blade Rotation Directions
Rotating your ceiling fan in the correct direction balances household temperatures and changes how dust collects on blade edges.
Set your fan to rotate counterclockwise during summer to push a cool downdraft into the room. In winter, set blades to rotate clockwise at low speed to redistribute warm air.
You can review seasonal efficiency standards via Energy.gov guidelines on ceiling fan cooling. Proper rotation lowers household energy strain and maintains steady air movement.
Always clean the blades thoroughly before toggling the directional switch on the motor. Flipping the switch on dusty blades immediately flings accumulated edge debris across the room.
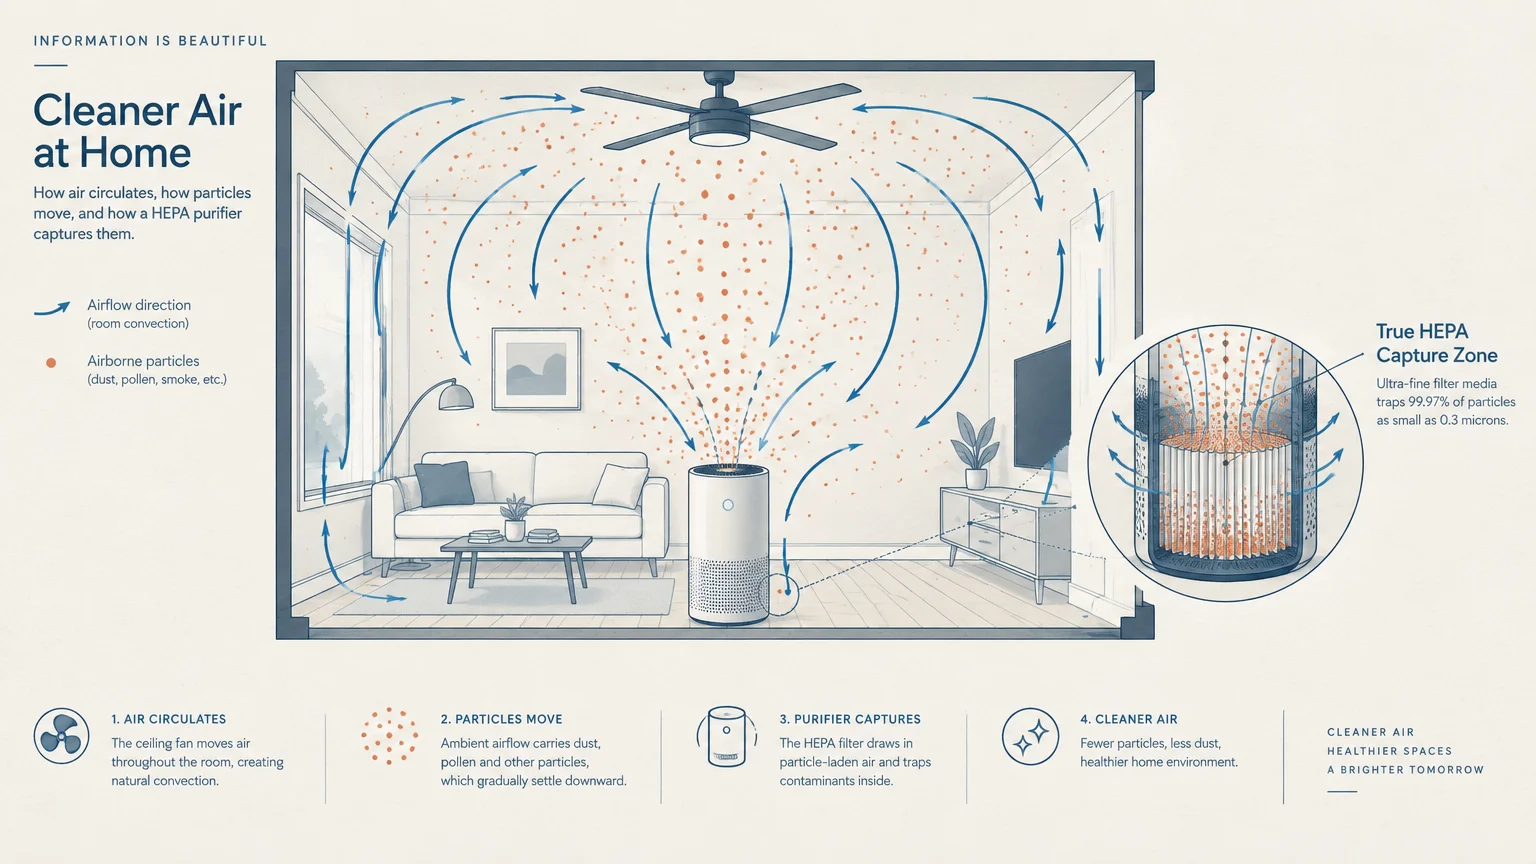
6. Run a High-Efficiency HEPA Air Purifier
Overhead fan blades act as giant dust collectors because room air constantly moves across them. Installing a dedicated HEPA air purifier extracts particles before they settle overhead.
The Asthma and Allergy Foundation of America highlights that dust mites flourish in areas where shed skin cells and household debris collect unchecked.
A certified HEPA filter captures at least 99.97 percent of airborne dust, pollen, and pet dander. Removing these particles keeps them from coating your ceiling fan blades.
Position your purifier across the room from your fan rather than directly beneath it. The circulating fan current drives suspended dust straight toward the purifier intake filter.
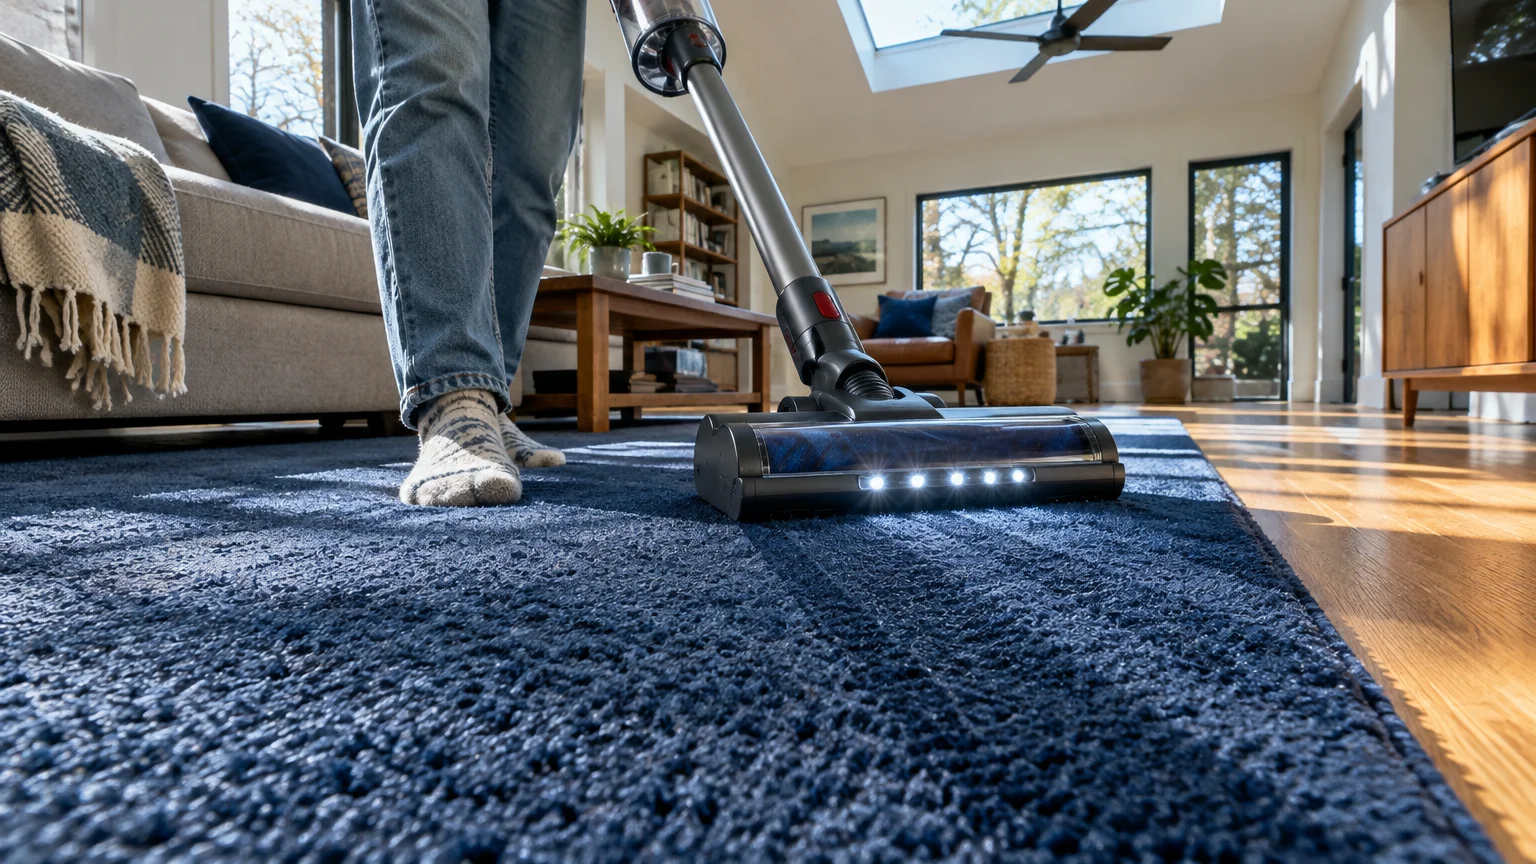
7. Vacuum Flooring Thoroughly Before Dust Settles
Dust cycles continuously between your floors and your ceiling fans. Every footstep on carpet or area rugs tosses tiny particles back into the ceiling fan draft.
Vacuum carpets and rugs at least twice weekly to keep loose fibers and grit under control. A vacuum equipped with a sealed HEPA exhaust prevents dust from escaping.
Avoid dusting your ceiling fan immediately after vacuuming your floors. Wait approximately twenty minutes for lingering airborne particles to settle before wiping blade surfaces.
Following this sequence keeps newly vacuumed floors clean while capturing the final remnants of airborne dust.
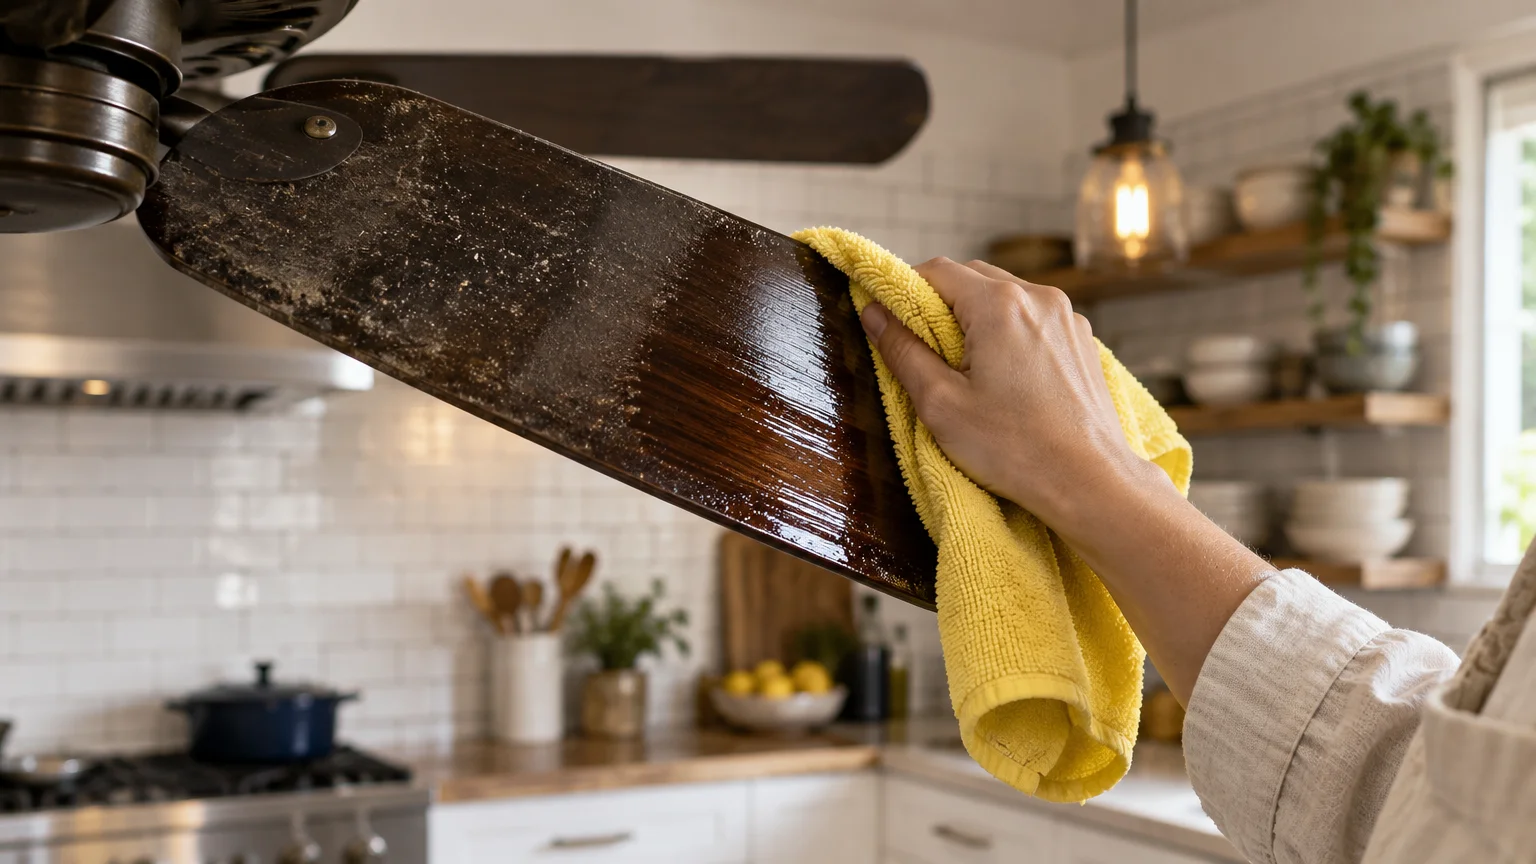
8. Degrease Kitchen and Dining Area Blades Monthly
Ceiling fans installed near kitchens face a unique cleaning obstacle. Microscopic grease particles mix with ambient dust, creating an adhesive coating that regular dusting cannot lift.
Wipe kitchen fan blades monthly with a gentle degreasing solution. Mix equal parts distilled white vinegar and warm water, adding three drops of liquid dish soap.
Dampen a microfiber rag with the mixture, avoiding direct sprays onto electrical components. The vinegar breaks down grease while the soap lifts stubborn organic particles.
Dry each blade with a fresh cloth immediately after cleaning. Removing lingering moisture protects natural wood veneers and painted finishes from warping or blistering.
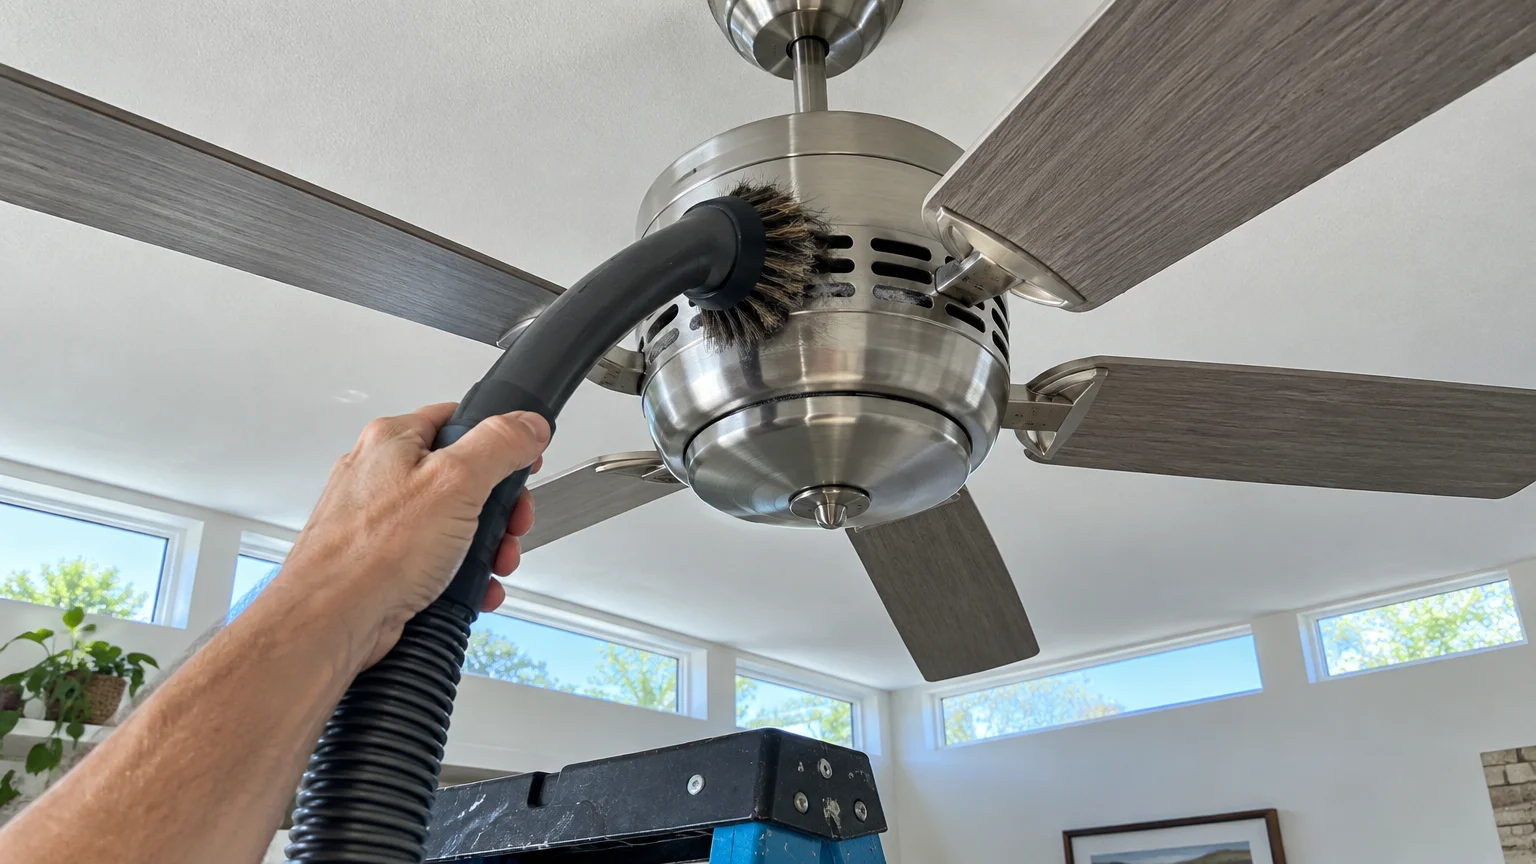
9. Vacuum Motor Housing Vents and Downrods
Dust does not settle exclusively on fan blades; it also packs inside motor vent slots. Trapped dirt acts as insulation, causing motor windings to run hot.
Attach a soft dusting brush to your vacuum wand once a month. Gently run the bristles over the upper and lower motor vents to suck away trapped grime.
Wipe the downrod and ceiling canopy with a microfiber cloth while standing on a sturdy stepladder. Dirt sliding down the rod often gathers directly on top of the motor.
Keeping the motor housing clean prolongs the motor’s operational life. It also stops internal grime from blowing outward across newly cleaned blades.
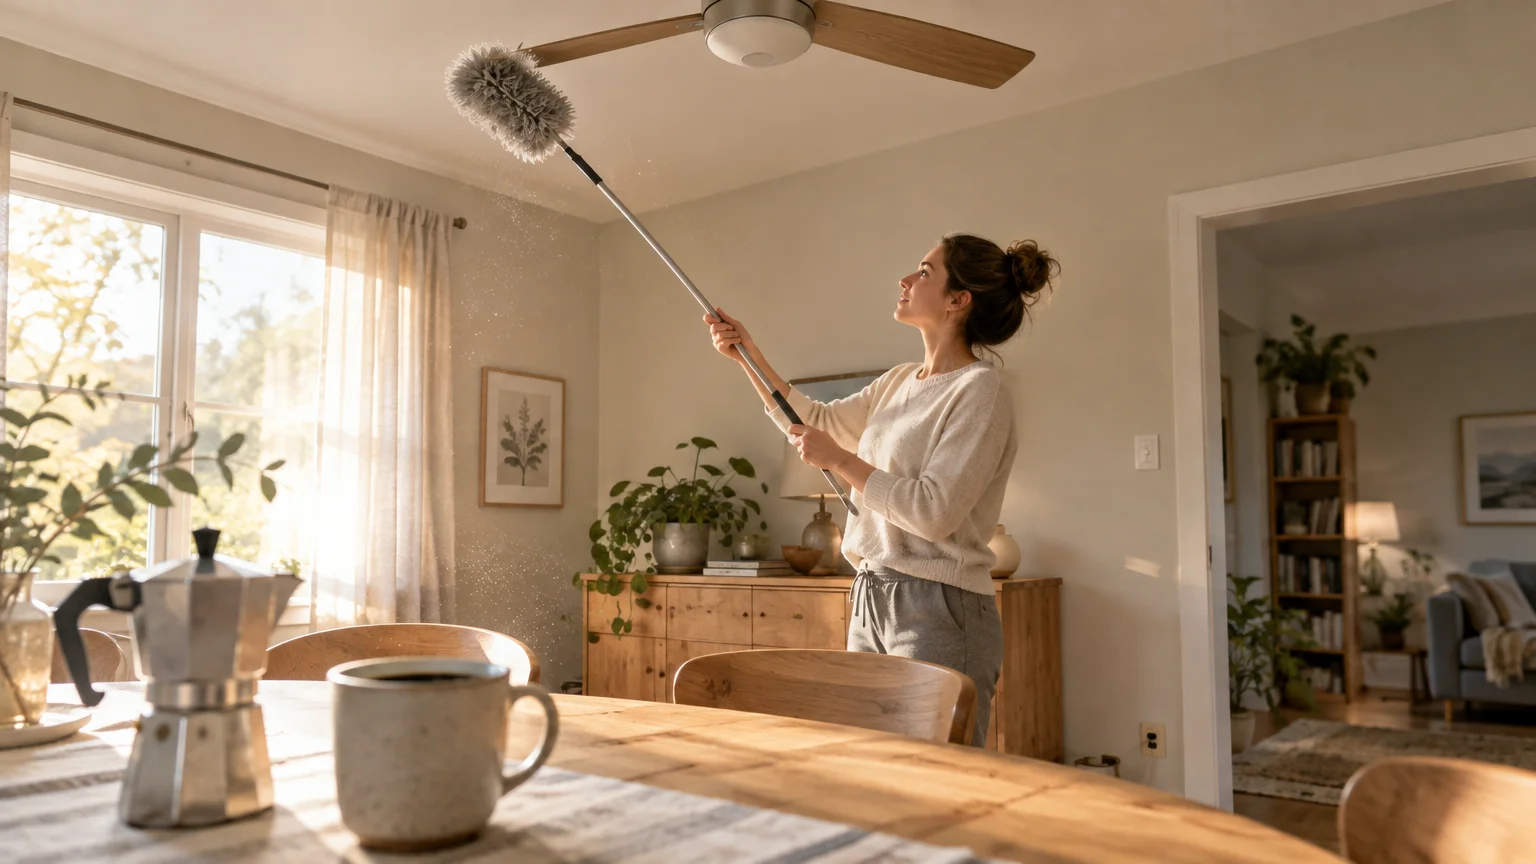
10. Perform a Quick 60-Second Weekly Dusting Touch-Up
Waiting months between cleanings allows dust layers to solidify into dense crusts. A weekly touch-up takes sixty seconds and keeps blades pristine indefinitely.
Invest in an extendable microfiber duster featuring a flexible, bendable core. Shape the head into an arched oval that matches the width of your fan blades.
Slide the curved duster head over each blade from floor level without climbing a ladder. The electrostatic microfiber fibers collect surface dust before it bonds to the blades.
Shake the duster head outside after cleaning each fan. This regular micro-habit prevents grime buildup and eliminates the dread of seasonal deep cleaning.
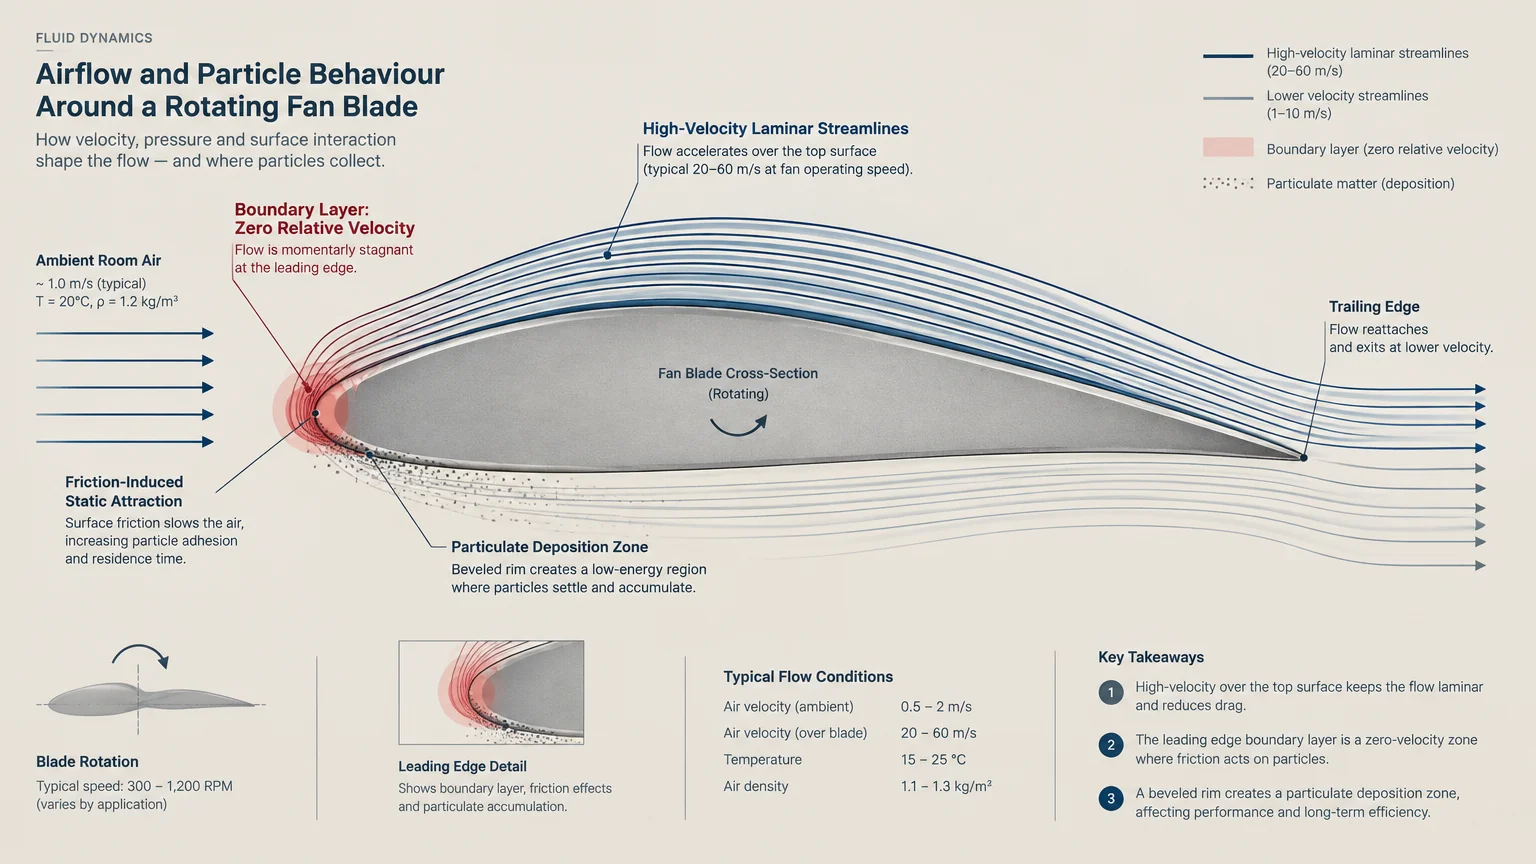
The Aerodynamics of Ceiling Fan Dust Buildup
Many homeowners wonder why ceiling fans accumulate thick dust layers while rotating at high speeds. The answer lies in fluid dynamics and static electricity.
As fan blades slice through room air, the leading edge pushes air outward, creating a pocket of stationary air right above the blade surface.
Floating dust particles enter this calm boundary layer and settle without being blown away. At the same time, friction generates static electricity that binds particles to the material.
The leading edge collects the thickest crust because it collides directly with airborne contaminants. Applying anti-static barriers neutralizes this dynamic, keeping the edges clean far longer.

Ceiling Fan Cleaning Routine by Room
Dust accumulation rates differ significantly across your home based on room activity and ventilation. Tailoring your cleaning schedule to each room saves time and energy.
Bedroom fans trap bedding lint and skin flakes, while kitchen fans accumulate cooking oils. High-traffic living rooms collect pet hair and outdoor grit.
| Room Location | Primary Dust Source | Cleaning Frequency | Recommended Cleaning Tool |
|---|---|---|---|
| Bedrooms | Clothing fibers, bedding lint, skin dander | Every 3 to 4 weeks | Damp pillowcase and anti-static spray |
| Kitchen & Dining | Cooking grease vapor, steam, airborne spices | Every 2 weeks | Vinegar-water degreaser and microfiber rag |
| Living Room | Carpet lint, pet hair, exterior soil | Every 2 to 3 weeks | Curved extendable duster and vacuum brush |
| Covered Porch | Pollen, insects, environmental grit | Every 1 to 2 weeks | Damp heavy-duty microfiber cloth |
| Home Office | Paper particles, electronics static dust | Every 4 to 6 weeks | Dry microfiber cloth and car wax buffer |
Refer to the EPA guide on indoor air quality to understand how airflow patterns distribute contaminants. Clean fans support healthier breathing environments throughout your home.
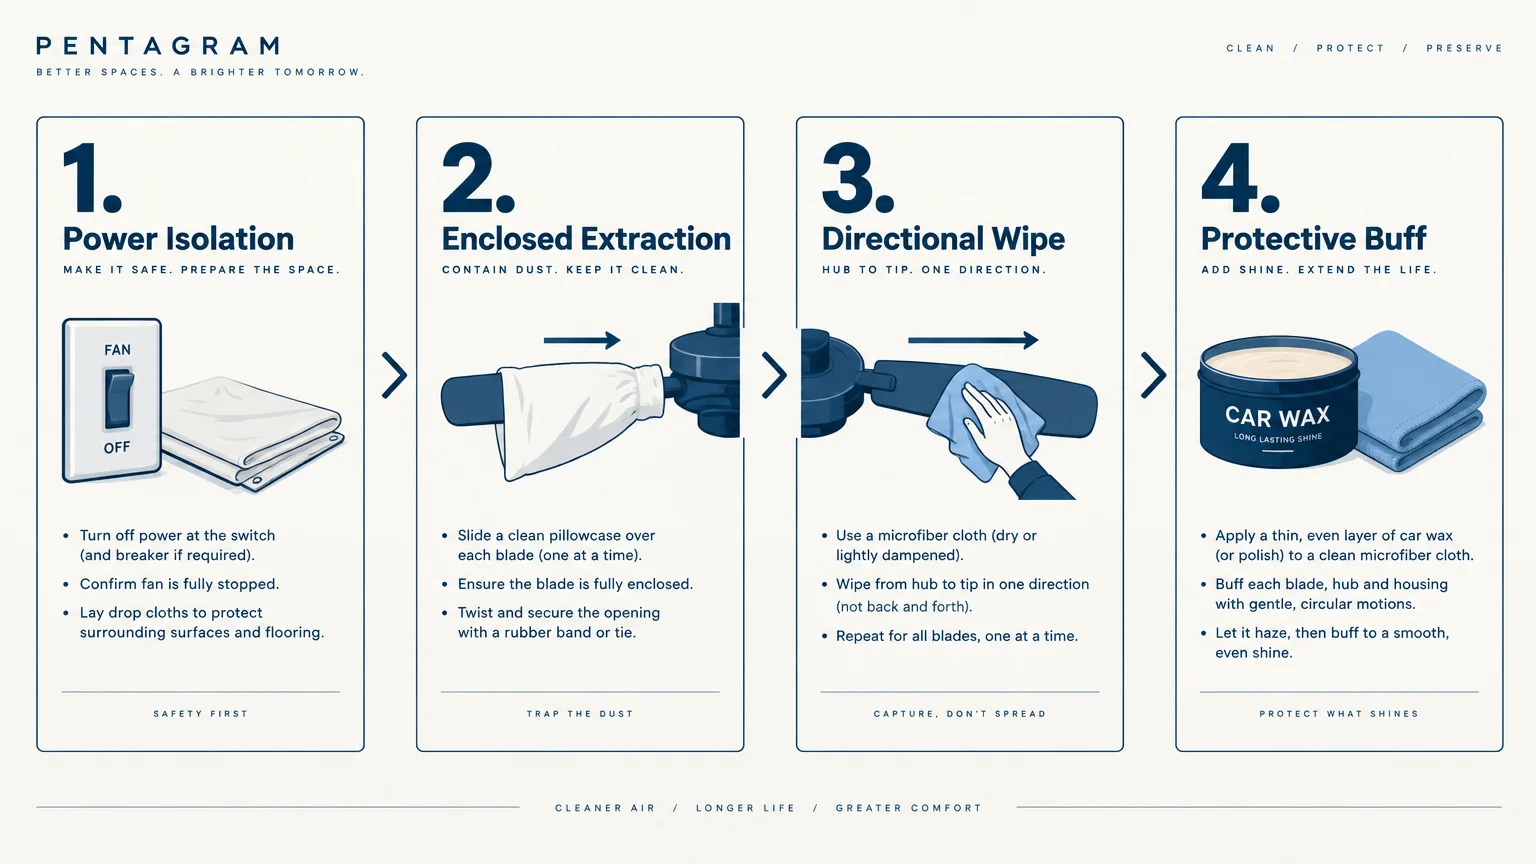
Step-by-Step Deep Cleaning Checklist for Heavy Grime
When fans go uncleaned for months, quick dusting cannot remove the hardened grime. Follow this step-by-step checklist to reset your ceiling fan safely.
- Cut Electrical Power: Switch off the fan wall control and trip the circuit breaker. Cutting power ensures the motor cannot spin accidentally while you work on the blades.
- Shield the Floor: Spread a drop cloth or old bedsheet directly beneath the fan. This catches any stray grime flakes that escape your cleaning rags.
- Vacuum Motor Openings: Clear top housing vents using your vacuum cleaner’s soft dusting attachment. Removing exterior grit prevents it from falling onto blades later.
- Enclose and Slide: Slip a damp pillowcase over each blade one at a time. Pull the case smoothly toward the tip to capture the heavy top layer of dust.
- Apply Degreasing Solution: Wipe both sides of the blade with a microfiber cloth dampened with mild vinegar water. Clean the metal mounting brackets where oily dirt bonds.
- Tighten Loose Screws: Inspect the blade bracket screws with a hand screwdriver. Tightening loose fasteners eliminates blade wobble and prevents motor noise.
- Buff with Anti-Static Coating: Apply a light mist of diluted fabric softener or a coat of car wax. Buff dry with a clean microfiber towel to seal the finish.
Complete this deep cleaning routine twice a year during seasonal rotation changes. Your weekly maintenance will take only seconds when the foundation remains clean.
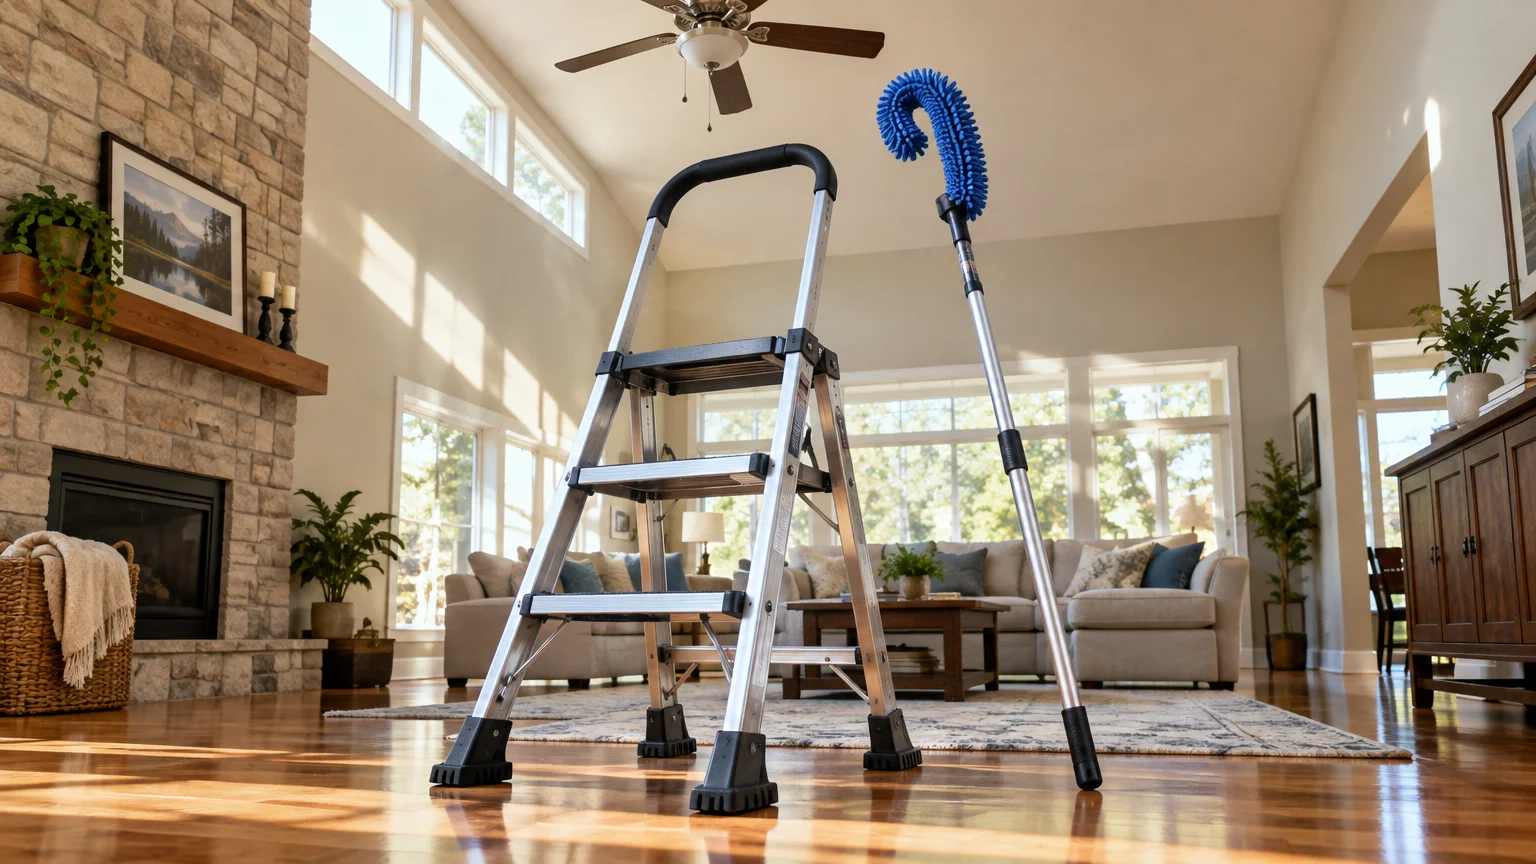
Safe Equipment for Older Adults and High Ceilings
Reaching high fixtures presents serious slip and fall risks, especially when balancing on step stools. Smart equipment choices allow you to clean safely from the floor.
Never stand on unstable furniture like dining chairs or sofas to clean a fan. Furniture cushions shift underfoot, leading to sudden loss of balance.
Choose an aluminum or fiberglass telescoping pole that extends comfortably to your ceiling height. Lightweight poles prevent shoulder strain during overhead cleaning.
If you must use a step stool, select a model with wide non-slip platforms and a high safety handrail. Maintain continuous three-point contact for maximum stability.
Wear lightweight wraparound safety glasses while dusting overhead. Protective eyewear stops dislodged grit and dust mites from falling directly into your eyes.
Immediate Next Step for Cleaner Fans Today
Select one ceiling fan in your home right now and inspect the leading blade edges.
Grab an old pillowcase and wipe down that single fan today. Once you experience how effortless the pillowcase habit feels, you can integrate the other habits into your regular routine.