Crystal-clear windows brighten your living space and bring an immediate sense of calm order to your home. Achieving spotless glass does not require relentless scrubbing or expensive industrial chemicals.
Most recurring smudges stem from simple technique errors, such as drying cleaning solutions unevenly or using mineral-heavy tap water. By adjusting a few small routines, you will keep your window panes pristine for months.
These eight practical habits eliminate frustration and cut your routine cleaning time in half. Here is how you can achieve lasting, streak-free clarity with minimal effort.

Why Window Glass Streaks in the First Place
Glass appears perfectly smooth to the naked eye, but its surface contains microscopic peaks and valleys. Dust, grease, and evaporated moisture readily lodge inside these tiny valleys.
When you wipe glass with an improper cleaner, you rarely lift all that trapped debris. Instead, you dissolve the grime into a thin liquid suspension and spread it across the pane.
Rapid evaporation leaves that dirty solution behind before your towel can absorb it. The resulting pattern of dried minerals, oils, and detergent forms the haze you see as streaks.
Environmental conditions accelerate this problem dramatically. Direct solar radiation turns standard cleaning fluid into dried surface residue within seconds.
Static electricity also plays an underappreciated role in window care. Vigorous rubbing with dry fabrics generates a static charge that pulls airborne dust directly back to the glass.
1. Clean Exclusively on Overcast Days
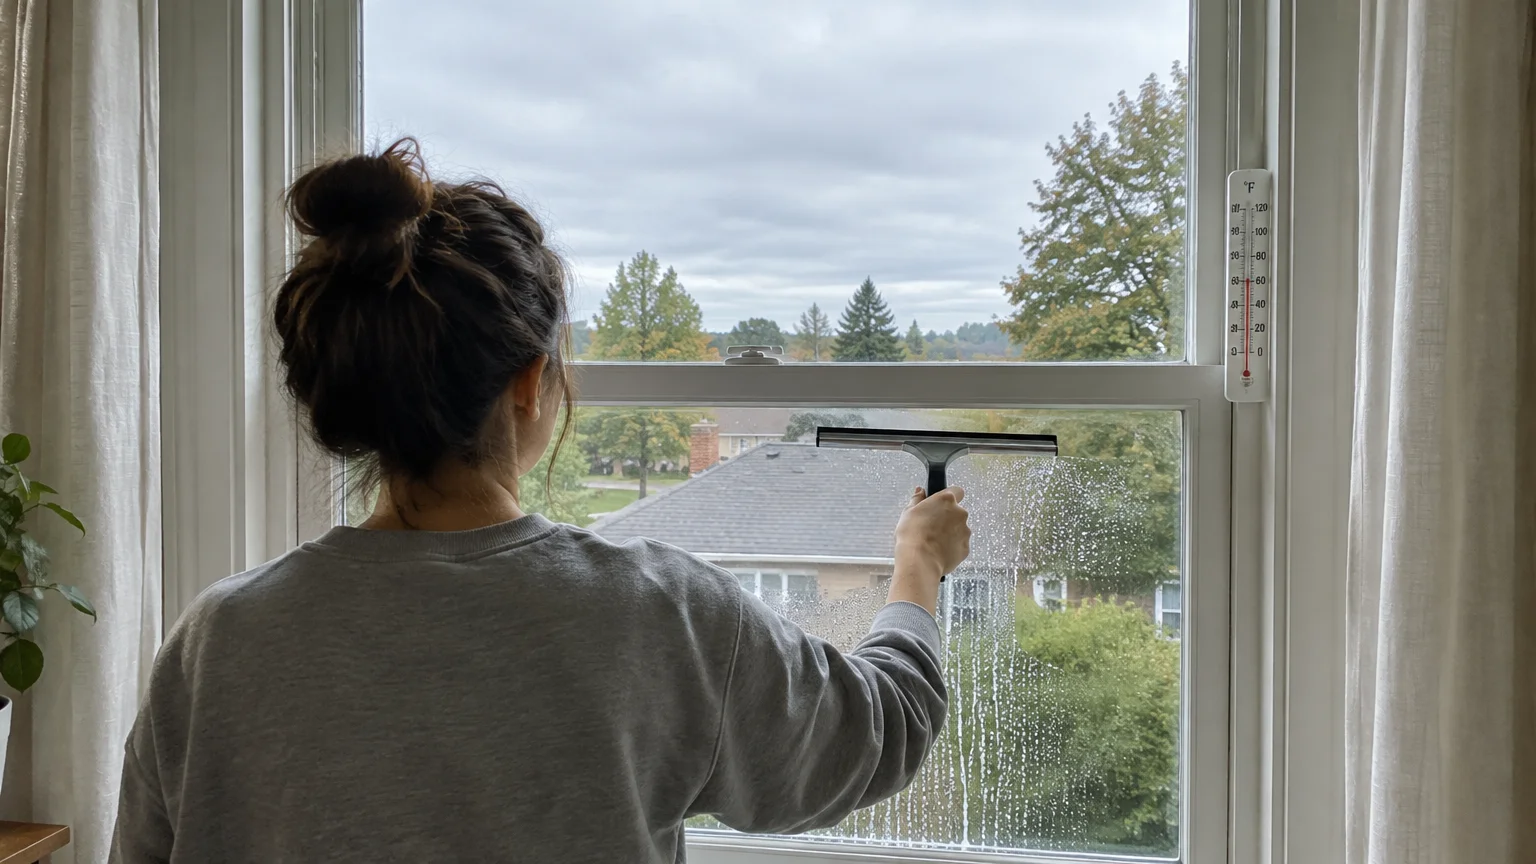
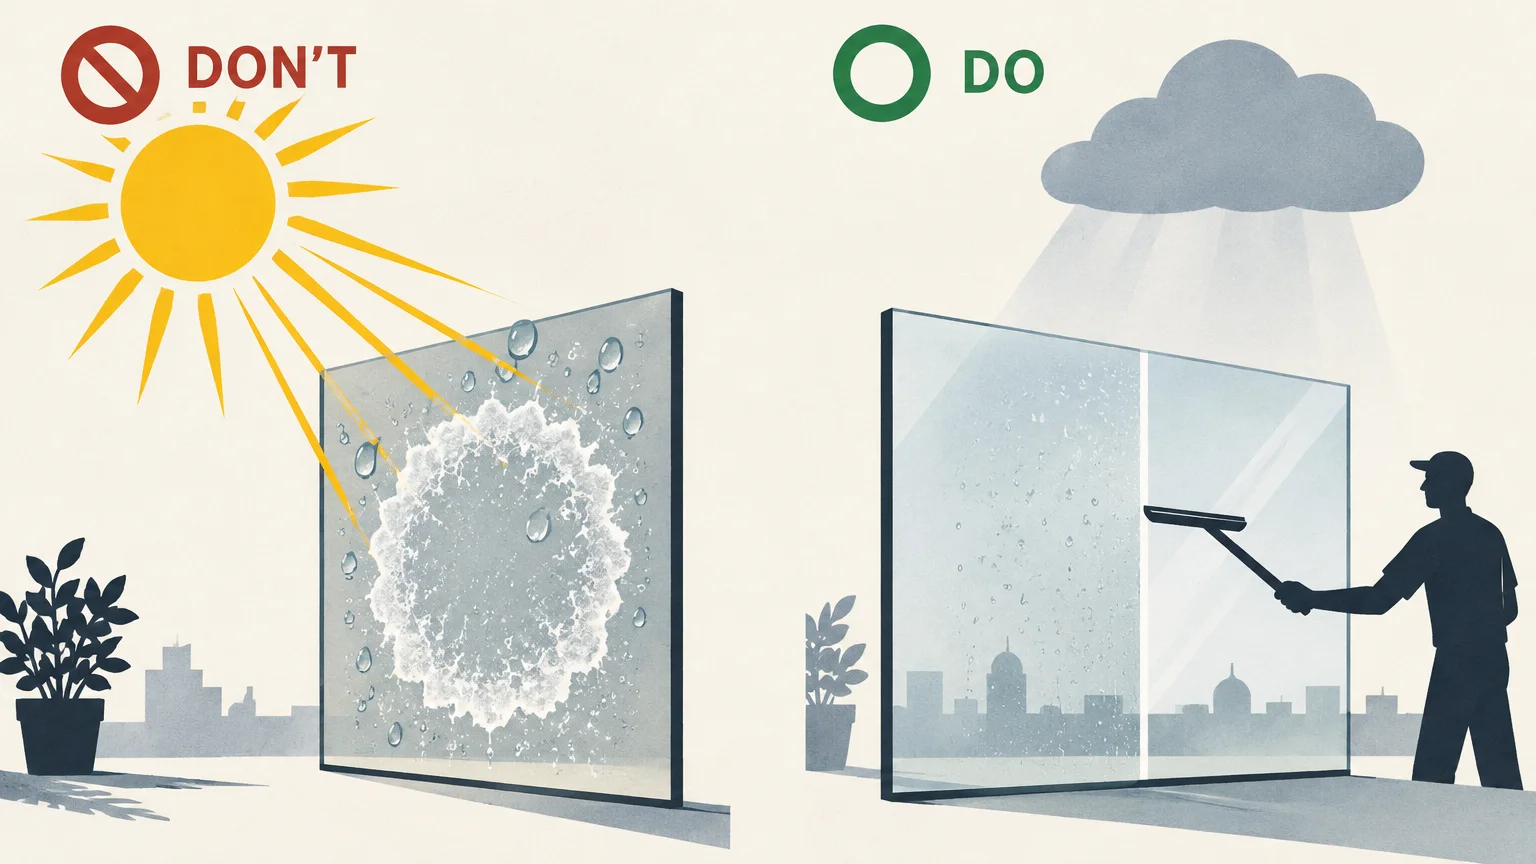
Direct sunlight is the greatest obstacle to streak-free glass. Solar heat warms window panes rapidly, which causes liquid solutions to evaporate before you can squeegee them away.
When moisture flashes off the hot surface, detergents and minerals bake directly onto the glass. This flash-drying leaves behind stubborn chemical rings that require heavy scrubbing to remove.
Cloudy skies provide consistent, diffused lighting that allows you to see smudges clearly. Bright sun creates blinding glares and deep shadows that hide greasy fingerprints until dusk.
Plan your window washing for a calm, overcast morning. Mild outdoor temperatures between 50 and 70 degrees Fahrenheit allow your cleaning solution to loosen grime properly without drying prematurely.
If you must wash windows on a sunny day, work systematically on the shaded sides of your home. Follow the shadow around your exterior walls to keep the sun off active panes.
2. Replace Tap Water with Distilled Water
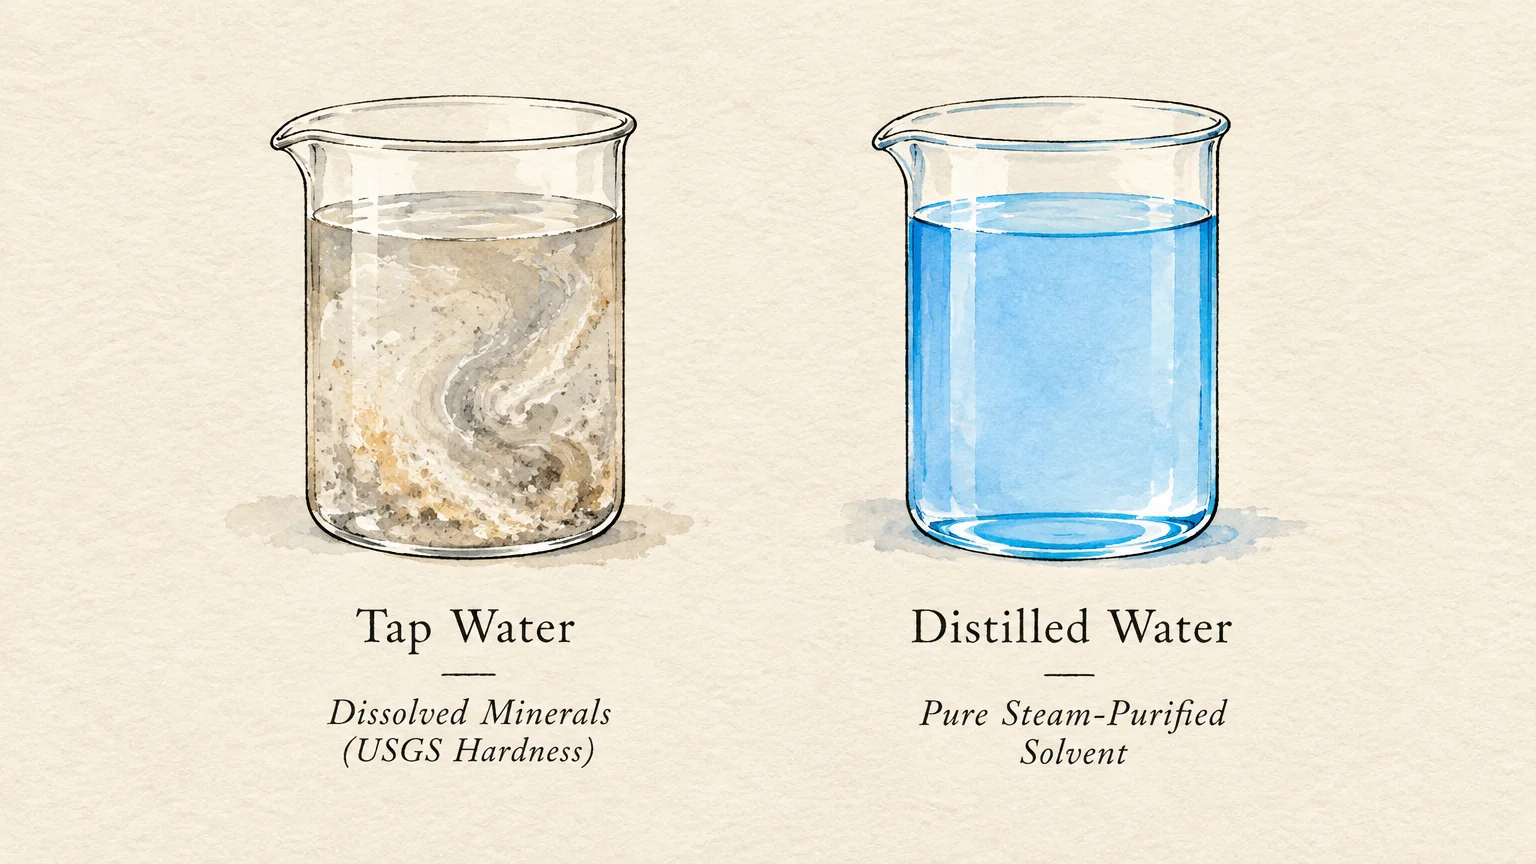
Most homeowners mix their cleaning solutions with standard tap water without realizing the consequences. Tap water carries dissolved minerals, primarily calcium, magnesium, and sodium compounds.
According to the USGS water hardness guidelines, hard water contains elevated concentrations of dissolved minerals that remain on surfaces after liquid evaporates. These dissolved rock particles leave behind cloudy, chalky smears.
Distilled water undergoes intensive steam purification to remove virtually 100 percent of dissolved solids. Because it lacks minerals, distilled water acts as a hungry solvent that attracts and holds dirt.
Using distilled water in your wash bucket prevents hard water spots from etching into exterior glass. It also ensures that homemade vinegar mixtures rinse away completely clean.
You can purchase distilled water for under two dollars per gallon at any grocery store. Storing two jugs in your cleaning closet provides enough purified liquid for an entire year of clean windows.
3. Retire Paper Towels for Waffle-Weave Microfiber
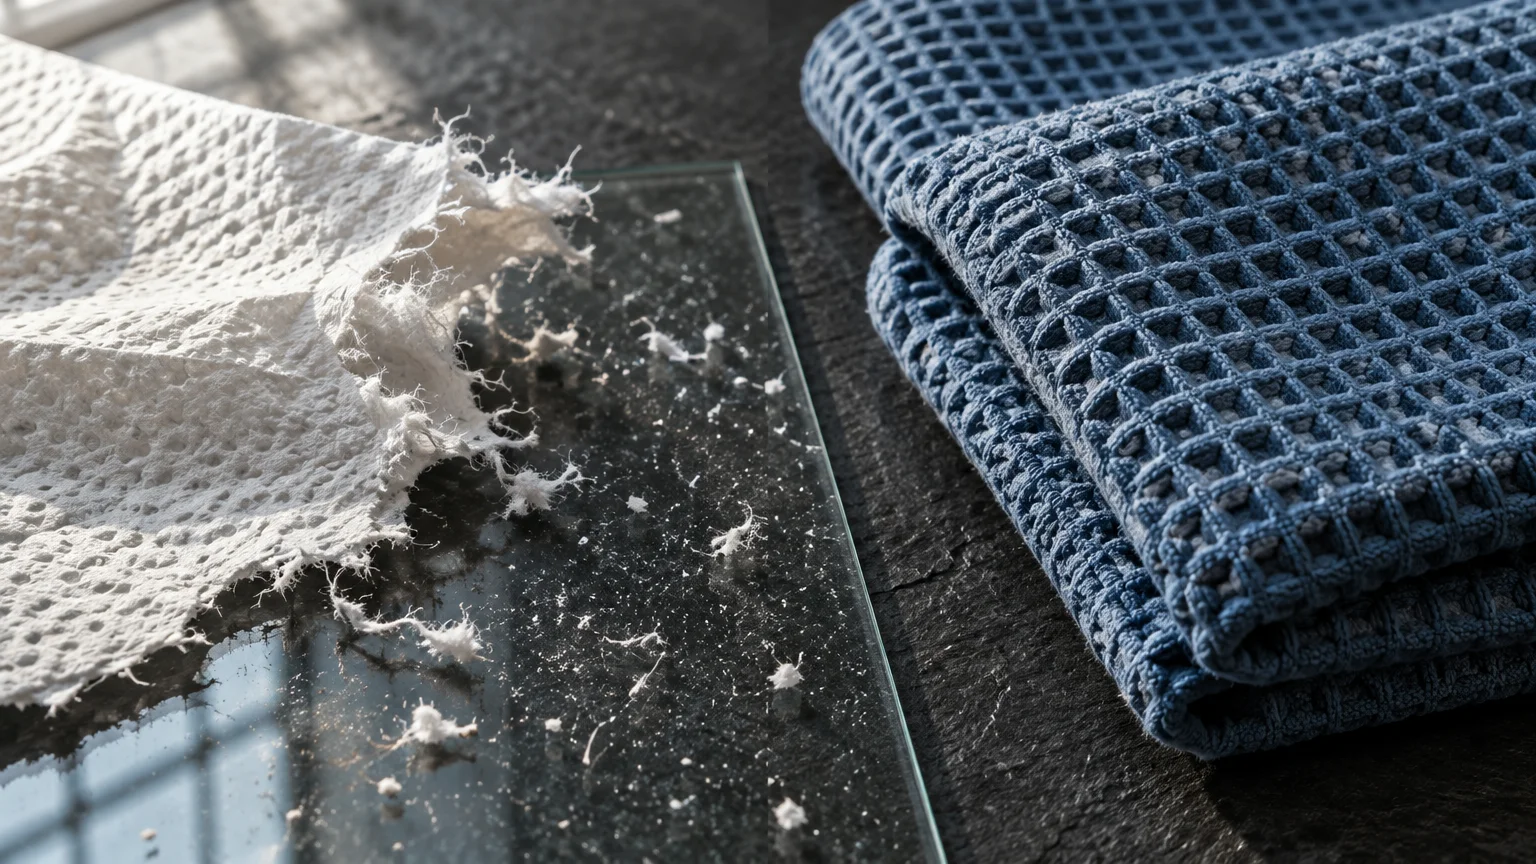
Paper towels seem convenient, but they represent one of the worst choices for washing glass. Wood pulp fibers break down during wiping, shedding fine cellulose lint across every square inch.
Many commercial paper towels also contain chemical binders and wet-strength resins. These additives dissolve upon contact with liquids and smear across the pane as a greasy film.
Newspaper is an outdated home remedy that modern cleaning professionals avoid entirely. Today’s petroleum- and soy-based inks can dissolve into solvents and stain your surrounding vinyl window frames.
Invest instead in high-density, waffle-weave microfiber cloths designed specifically for glass care. The honeycombed texture forms tiny friction channels that trap grime and lift stubborn oily smudges.
Wash your microfiber cloths separately using warm water and fragrance-free liquid detergent. Never add fabric softener or dryer sheets; these products coat microfiber strands in waxy silicones that produce instant streaks.
4. Master the Professional Squeegee S-Stroke
Wiping glass back and forth with cloths pushes dirty solution in circles. Professional window cleaners rely on squeegees because a supple rubber blade pulls moisture completely off the glass.
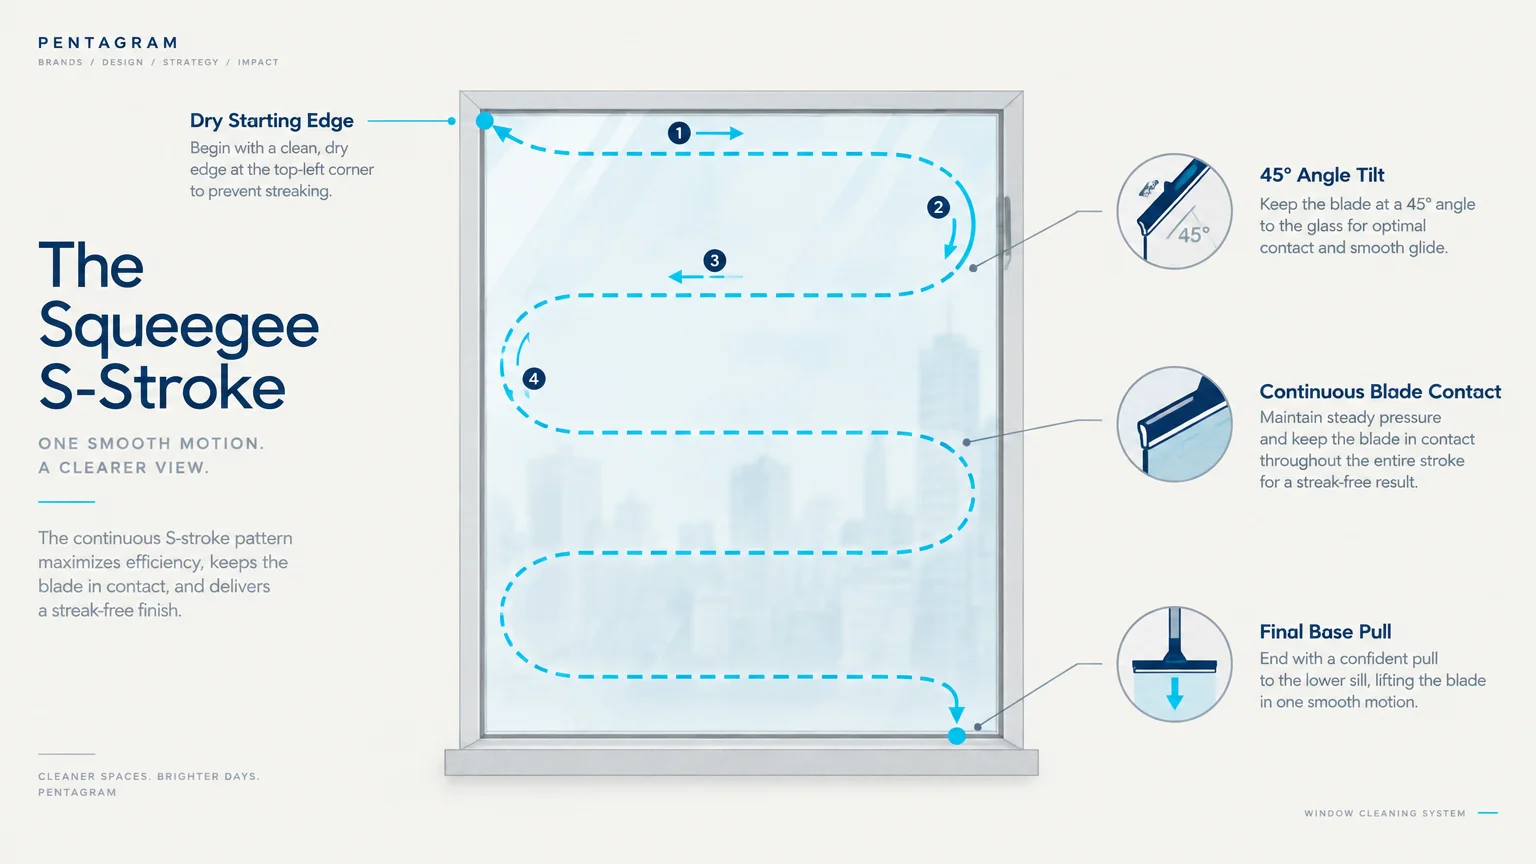
To use this professional window cleaning tips technique, start by wetting the glass thoroughly with an applicator wand. Place your squeegee blade at the top-left corner of the window.
Pull the tool smoothly across the top edge horizontally to create a dry starting strip. Then, angle the blade slightly downward and guide it in continuous, overlapping S-curves down the pane.
Keep the leading edge of the squeegee tilted in the direction of your movement. This orientation directs water down into the unwashed glass rather than letting it run over clean sections.
Inspect your rubber blade before you begin working. Replace any blade that shows nicks, cracks, or rounded edges; even microscopic blade defects leave thin water trails behind.
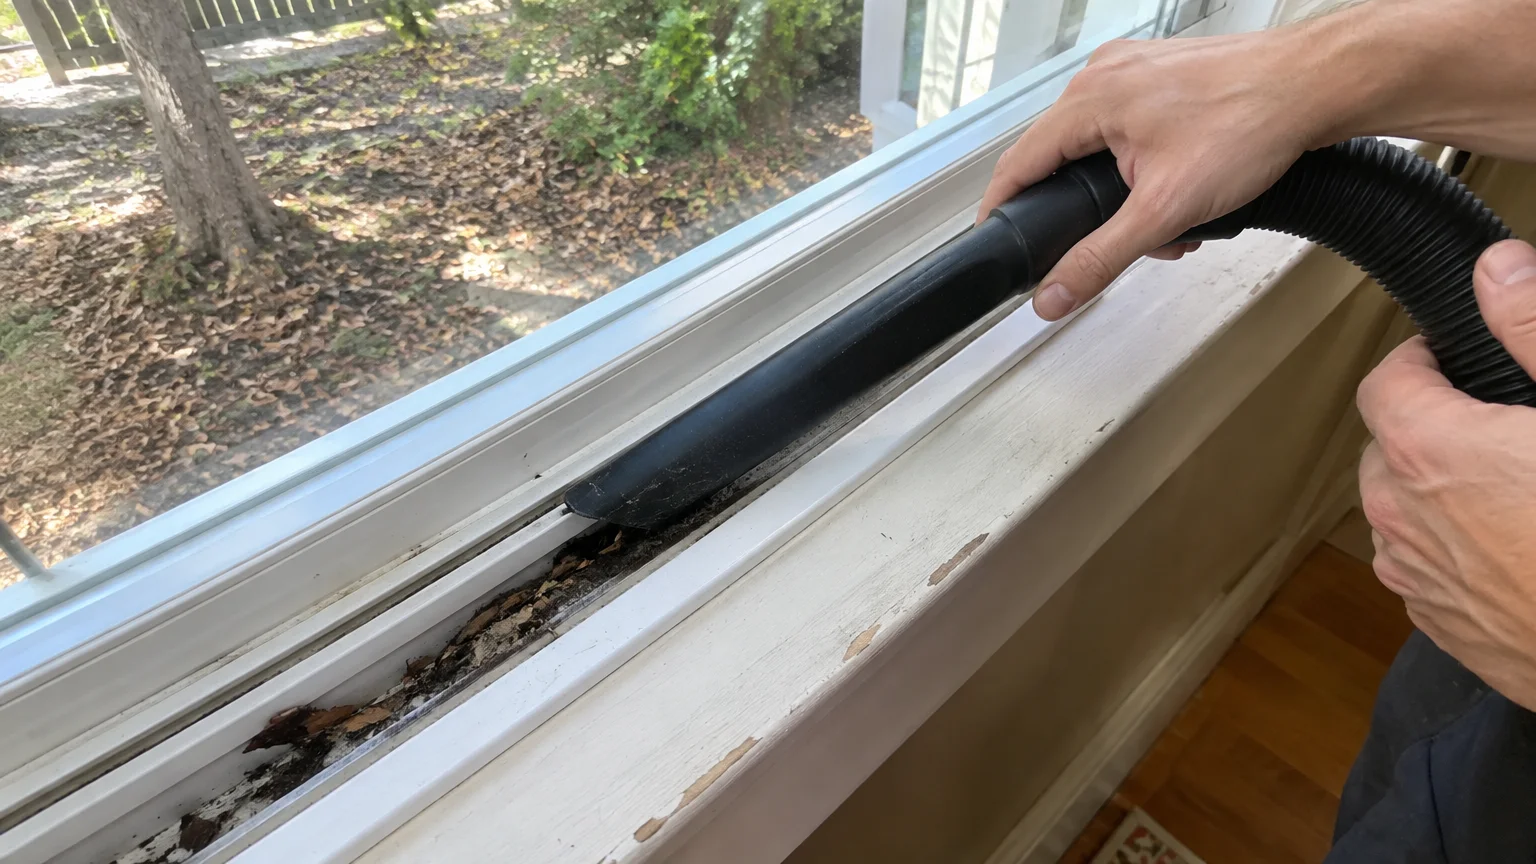
5. Vacuum Tracks and Sills Before Washing Glass
A pristine piece of glass can be ruined in seconds if your cleaning tools touch a dirty frame. Window sills, tracks, and frames collect dead insects, windblown dirt, and pollen throughout the year.
When you spray liquid near an uncleaned sill, that dry dirt instantly turns into liquid mud. Your squeegee or cloth will drag this muddy sludge straight back onto the clean glass.
Always vacuum interior and exterior tracks thoroughly before introducing any liquid. Use a narrow crevice tool or a soft dusting brush to pull loose debris out of tight corners.
Follow your vacuuming pass with a damp microfiber cloth to wipe the frame borders clean. Taking five minutes to sanitize the perimeter ensures your washing tools remain completely free of grit.
This simple habit protects your squeegee rubber from abrasive damage as well. Coarse sand particles in window tracks can slice micro-grooves into squeegee blades during normal cleaning strokes.
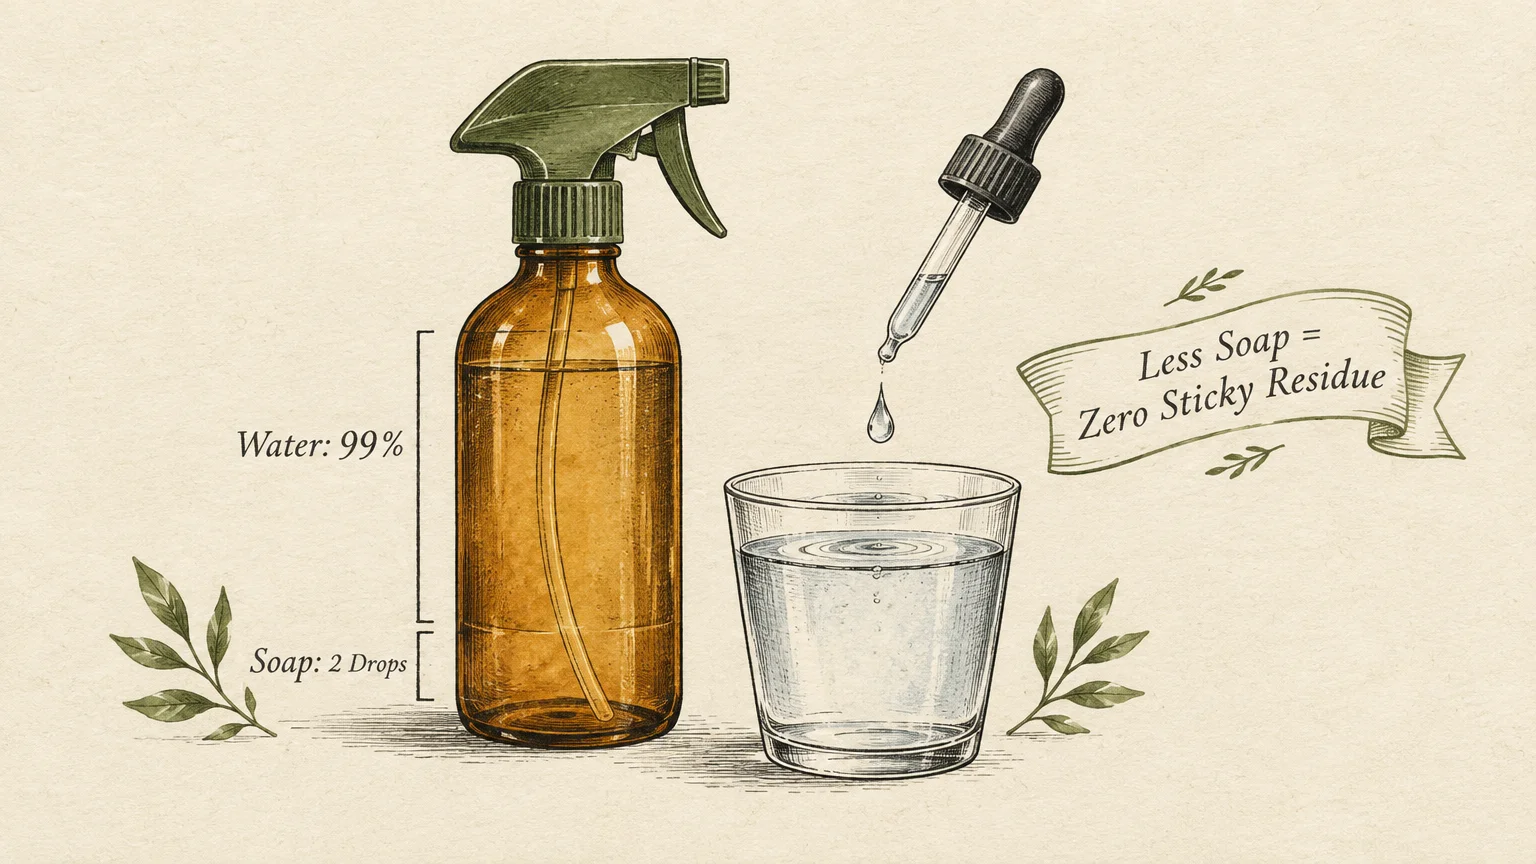
6. Minimize Cleaning Detergents to Prevent Film Buildup
Many people believe that more soap produces cleaner glass, but the opposite is true. Heavy concentrations of dish soap leave behind stubborn surfactant films that cling to the window.
These invisible soap residues dry on the glass and create a sticky, microscopic magnet for airborne dust. Windows washed with excess soap appear cloudy again within days of cleaning.
Review the EPA Safer Choice cleaning standards to select gentle, non-filming surface surfactants. A single teaspoon of liquid dish soap per two gallons of distilled water provides ample lubricating slip.
If you prefer an acidic cleaner for mineral-heavy glass, mix equal parts distilled white vinegar and distilled water. The acetic acid dissolves light grease and alkaline minerals without leaving surfactant residue.
Avoid heavily scented glass sprays filled with artificial dyes. Simple formulas evaporate cleanly and leave nothing behind on the glass to catch blowing pollen or household dust.
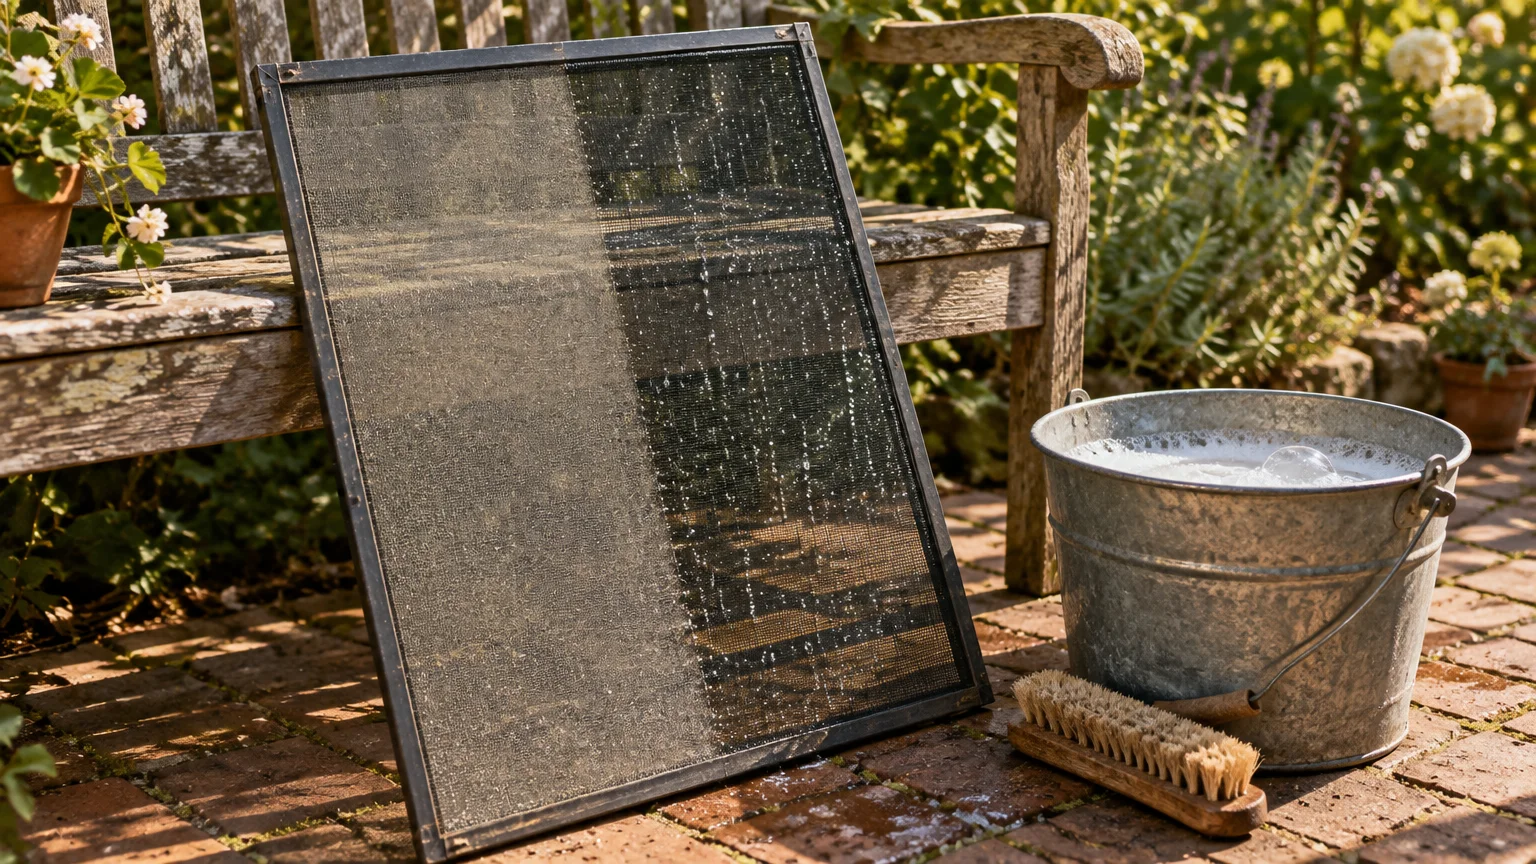
7. Wash Exterior Window Screens Twice a Year
Your exterior window screens act like furnace filters for your home. They catch flying pollen, dirt particles, and insect debris blowing in the breeze.
When rain falls against dirty screens, the droplets force trapped grime straight through the mesh. This muddy spray splatters against your exterior glass, producing prominent spots after the rain ends.
Remove your screens in spring and autumn for a quick, thorough wash on your patio or driveway. Spray them with a garden hose using low pressure to dislodge loose surface dust.
Scrub both sides gently with a soft-bristled utility brush dipped in warm, mildly soapy water. Rinse the screens completely and let them air-dry in the shade before reinstalling them.
Maintaining clean screens prevents exterior rain spots and dramatically improves your home’s indoor air quality. Clean mesh also lets significantly more natural light pass into your rooms.
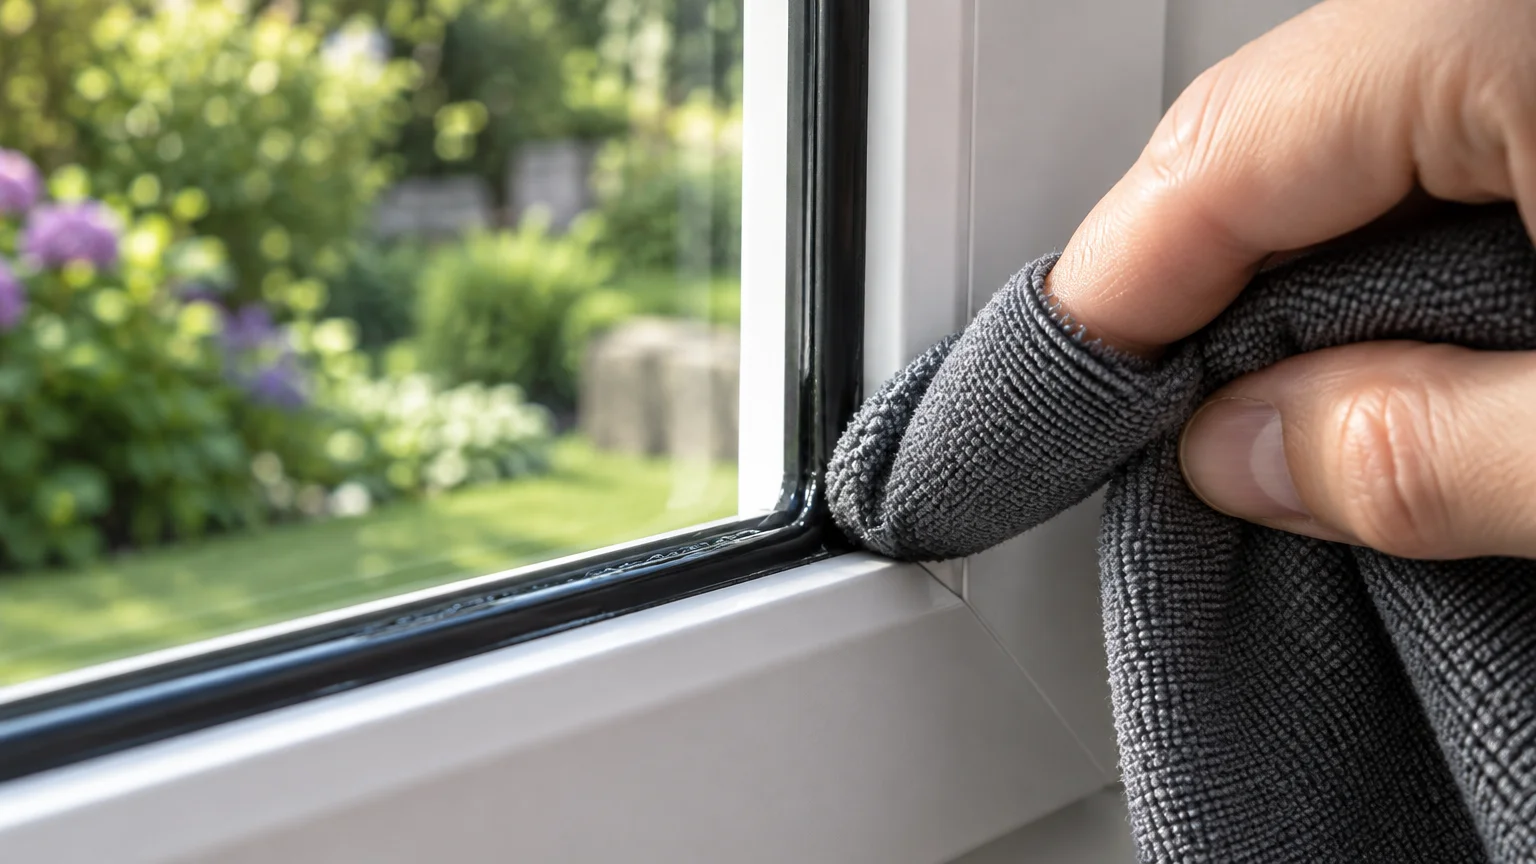
8. Detail the Glass Perimeter with a Dedicated Dry Cloth
Surface tension causes water to cling stubbornly to rubber gaskets, silicone seals, and window frames. Even a flawless squeegee pass leaves small beads of water resting along these exterior boundaries.
If you walk away without addressing the perimeter, that trapped water creeps back onto the dry pane. As it dries, it forms unsightly drip marks that ruin your hard work.
Keep a separate, bone-dry microfiber towel tucked into your back pocket specifically for perimeter detailing. Do not use this towel for washing or scrubbing the main glass pane.
Wrap the dry cloth tightly around your index finger. Run your finger along all four edges of the window frame, applying light pressure to blot up trapped water droplets.
Check the bottom corners with extra care, as gravity naturally pulls excess moisture downward. Removing edge moisture immediately locks in a crisp, frame-to-frame clarity that lasts.
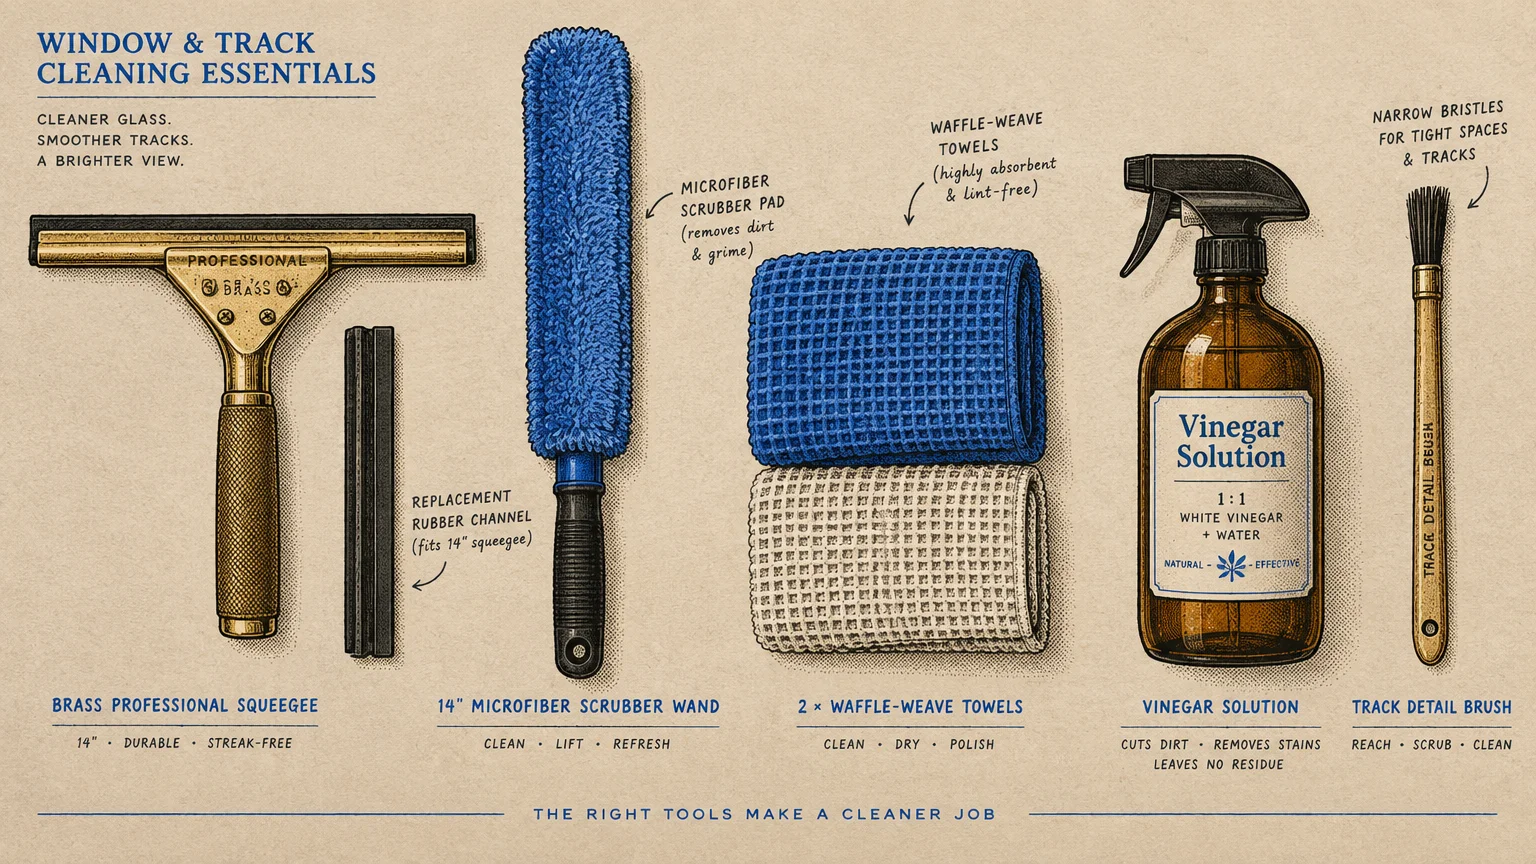
The Essential Window Cleaning Tool Kit
Using the best window cleaning method requires having the right tools ready before you begin. Quality equipment simplifies each task and prevents accidental surface scratches.
| Tool | Primary Function | Maintenance Tip | Mistake to Avoid |
|---|---|---|---|
| Brass or Steel Squeegee | Pulls wash water off panes cleanly without dragging dirt. | Store flat; wipe rubber clean after each window pass. | Using blades with nicks or dried, hardened rubber. |
| Waffle-Weave Microfiber | Details glass borders and buffs lingering moisture spots. | Wash with free-and-clear detergent; air-dry only. | Adding fabric softener or dryer sheets during washing. |
| Microfiber Strip Washer | Agitates surface soil and applies cleaning solution evenly. | Rinse thoroughly in clean water after every room. | Using abrasive scrub pads that scratch delicate coatings. |
| Distilled Vinegar Solution | Dissolves mineral haze, alkaline dust, and light grease. | Mix 1:1 with pure distilled water in a spray bottle. | Applying acidic solutions to porous natural stone sills. |
| Telescopic Extension Pole | Reaches high exterior panes safely from solid ground. | Check locking collars regularly for secure engagement. | Overreaching on ladders instead of working from the ground. |
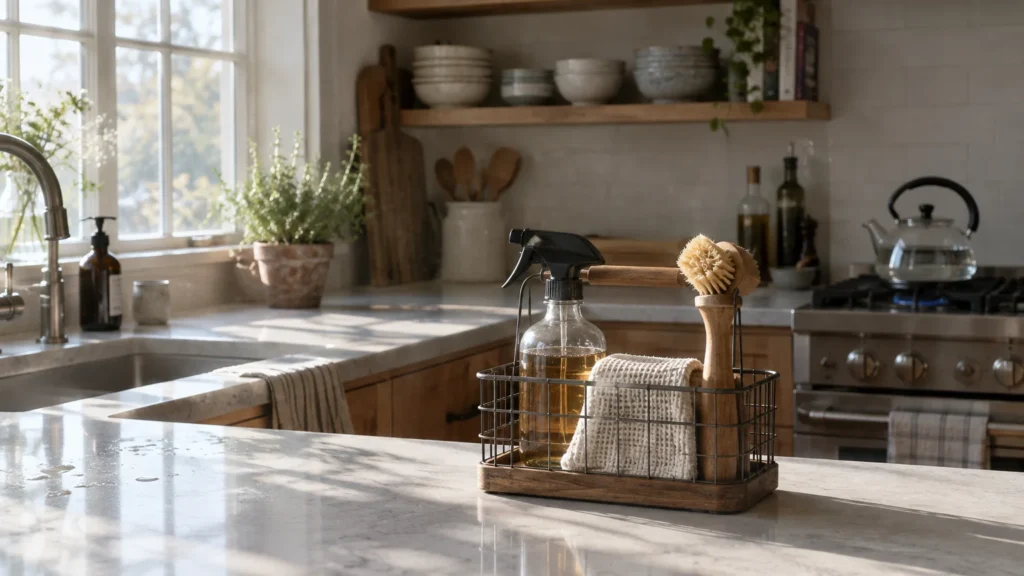
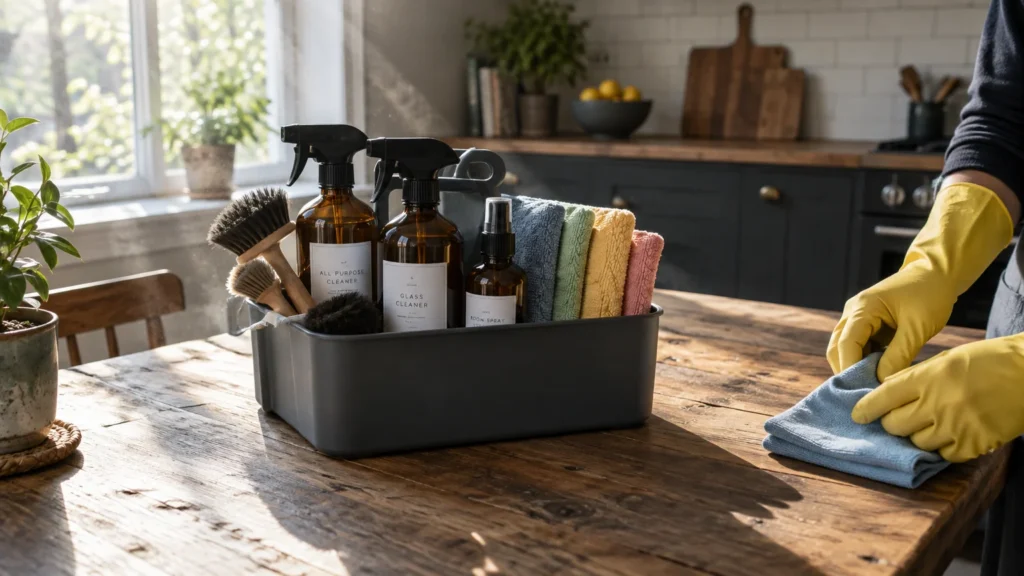
Investing in durable tools saves money over time by eliminating disposable cleaning wipes and paper products. Store your gear together in a dedicated cleaning caddy for quick access.
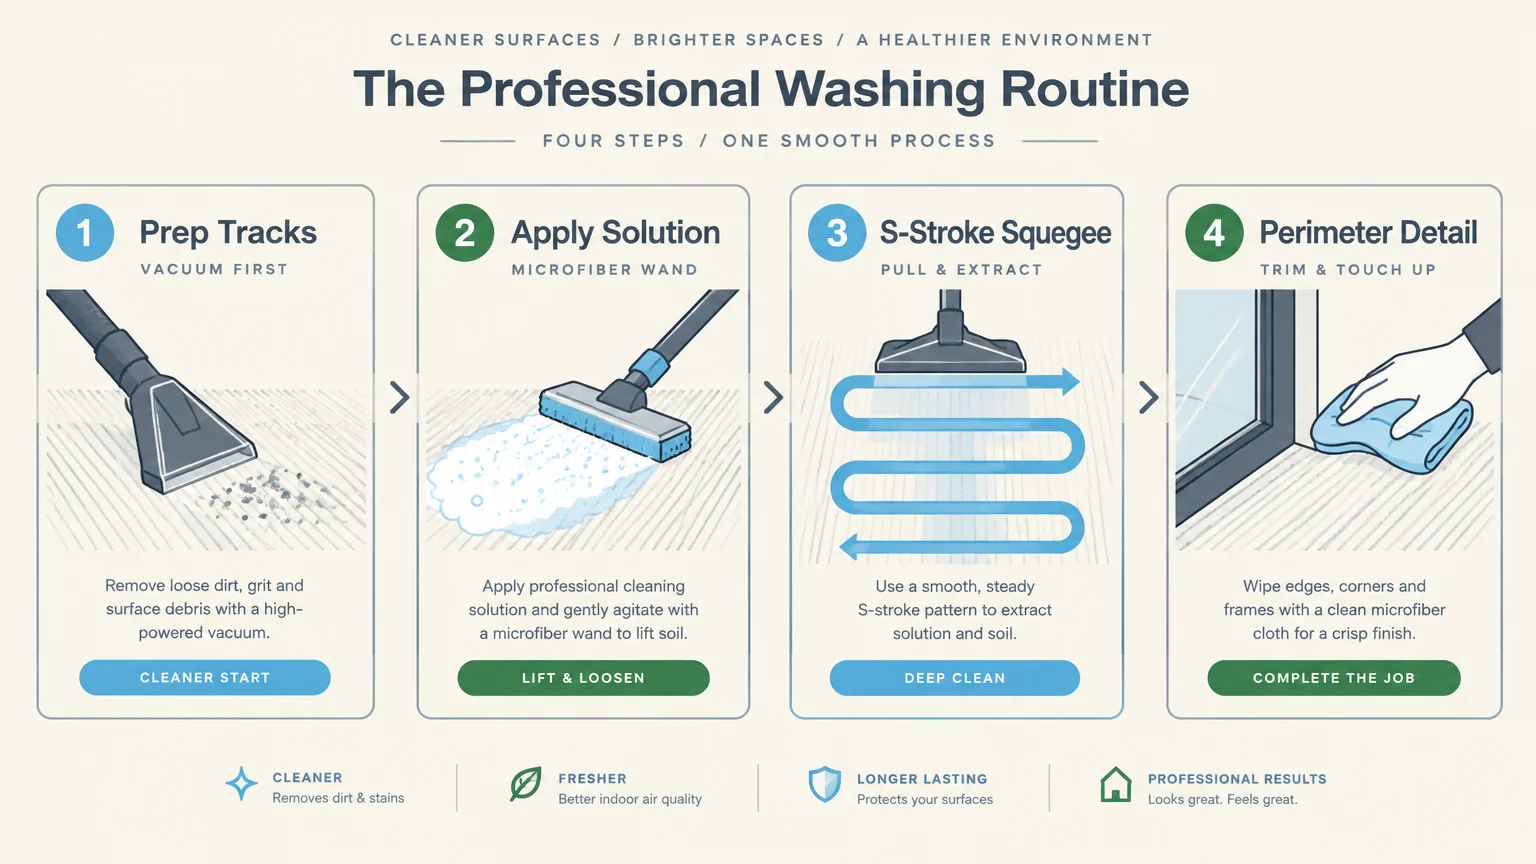
The Best Window Cleaning Method: Step-by-Step Routine
Following a deliberate sequence keeps you from re-cleaning panes you have already finished. Master this simple five-step process to achieve professional results on every window in your home.
-
Prep the surrounding space:
Vacuum dust, cobwebs, and grit from the sills, tracks, and window screens. Move furniture and pull back draperies so you have completely unobstructed access to the glass.
-
Wet and agitate the glass:
Dip your microfiber strip washer into your distilled cleaning solution and squeeze out excess water. Scrub the window using overlapping circular motions to loosen airborne pollutants and fingerprints.
-
Cut a dry edge:
Wipe a one-inch dry strip along the top edge of the glass using your dedicated detail cloth. Placing your squeegee blade into this dry zone prevents water from bleeding over the top.
-
Execute smooth squeegee strokes:
Pull your squeegee across the glass using continuous strokes, wiping the rubber blade with a damp cloth between passes. Maintain steady, light pressure against the pane throughout the stroke.
-
Detail all edges and inspect:
Trace the window perimeter with your dry microfiber finger wrap to absorb residual perimeter moisture. Step back at a 45-degree angle to inspect the glass against indirect light.
Following these steps systematically allows you to wash an entire average-sized window in under ninety seconds. Consistency in your technique prevents the skipped patches that cause obvious streaks.
Common Window Washing Mistakes to Avoid
Many well-meaning homeowners accidentally damage their glass or window tinting by using aggressive chemicals. Ammonia-based sprays can dissolve window tint adhesives and release harsh vapors into enclosed rooms.
The EPA cautions against high VOC exposure indoors, which can irritate sensitive airways. Choosing mild, fragrance-free solutions keeps your indoor air healthy while protecting delicate window treatments.
Never scrape dry glass with metal blades, scouring sponges, or steel wool. Modern window glass often features microscopically thin low-emissivity coatings that scratch permanently when abraded.
If you encounter stuck-on paint drips or dried bird droppings, saturate the spot thoroughly with warm water first. Allow the moisture to soften the debris for three minutes before lifting it gently with a plastic scraper.
Avoid washing windows while wearing jewelry such as rings or bracelets. A diamond or metal setting brushing against wet glass can leave permanent gouges across the surface.
Be mindful of personal ergonomics when cleaning high interior panes. The CDC home cleaning recommendations highlight the value of safe tools, such as extension handles, to minimize shoulder strain and fall risks.

How to Maintain Clarity Between Deep Cleans
Deep cleaning your glass twice a year is sufficient when you practice basic preventative habits. A few light touch-ups keep exterior environmental debris from bonding to the surface.
Inspect your exterior irrigation sprinklers during their morning watering cycle. Adjust any spray heads that blow water against exterior windows to avoid rapid mineral scale buildup.
Inside your home, use kitchen exhaust fans during cooking to capture airborne grease particles before they drift toward nearby windows. Grease creates a sticky foundation that traps dust on interior glass.
When pet noses or small hands leave smudges on lower panes, perform a targeted spot clean. Lightly mist a waffle-weave microfiber cloth with distilled water and buff the mark away immediately.
Dust your window blinds and valances regularly with a static-free microfiber duster. Removing dust from overhead window coverings stops loose particles from settling onto clean glass below.
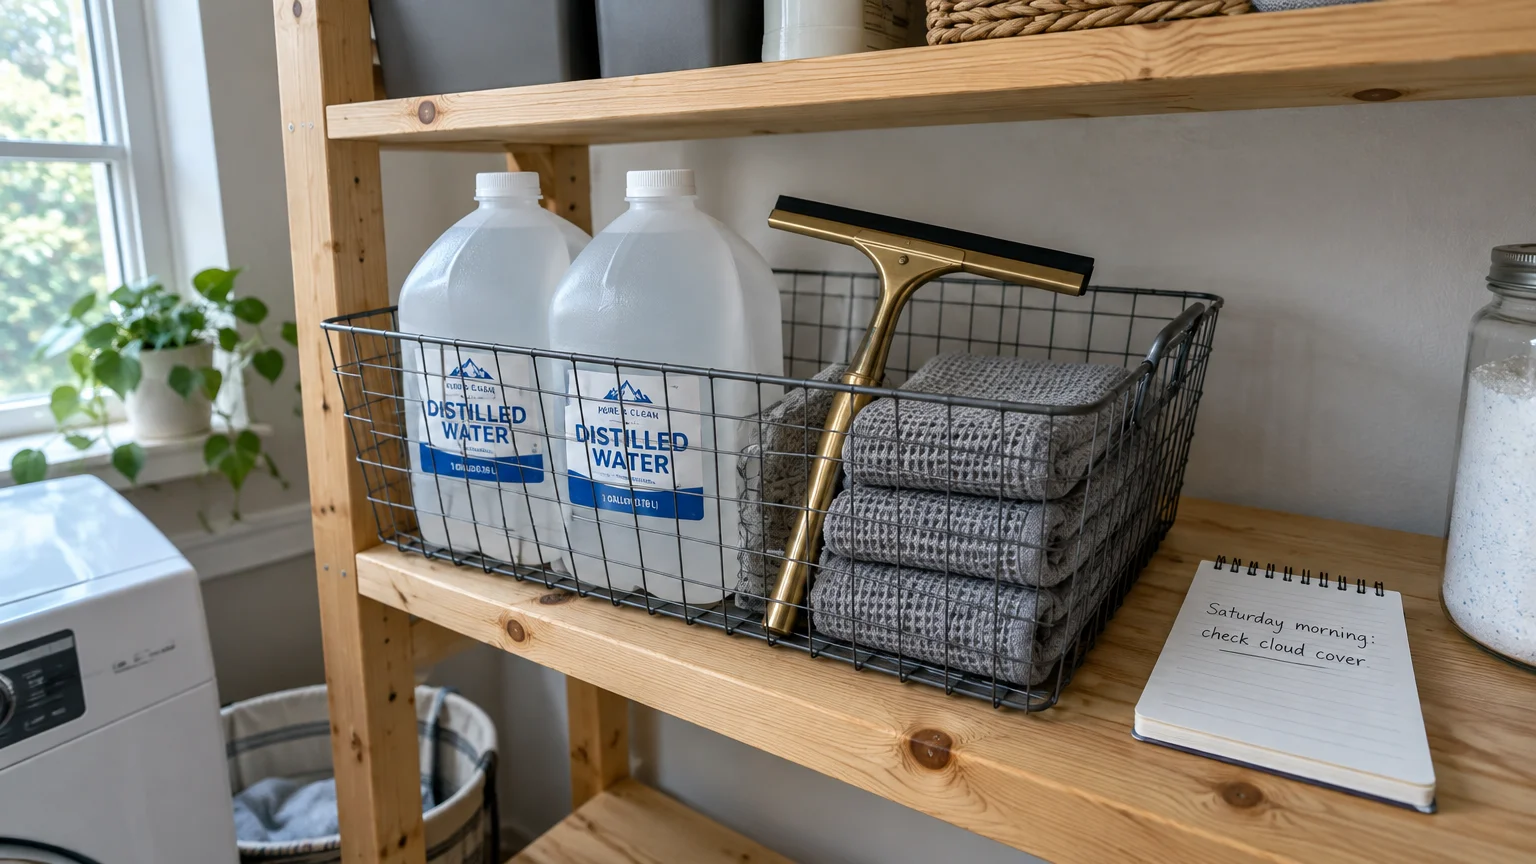
Your Practical Next Step
Choose one window in your main living space to test these habits today. Mix a simple batch of distilled water and white vinegar, vacuum the sill, and clean the pane on the next overcast afternoon.
Once you experience the lasting clarity of clean technique, expand the routine to the rest of your home. You will enjoy brighter rooms, clearer outdoor views, and windows that stay streak-free for months.