You can clean your entire bathroom in under fifteen minutes without sacrificing deep-clean results if you stop scrubbing blindly and start letting science do the heavy lifting. Spending an hour hunched over a fiberglass bathtub or frantically wiping down dusty baseboards drains your precious energy unnecessarily. By strategically pairing chemical dwell times with professional-grade tools, you eliminate friction and streamline your weekly chores. These ten battle-tested bathroom cleaning hacks transform your routine into a swift, systematic process that delivers sparkling surfaces while cutting your effort in half. Apply these efficient bathroom cleaning tricks today so you spend less time scrubbing and more time enjoying a serene home.
1. Harness Chemical Dwell Time to Dissolve Soap Scum
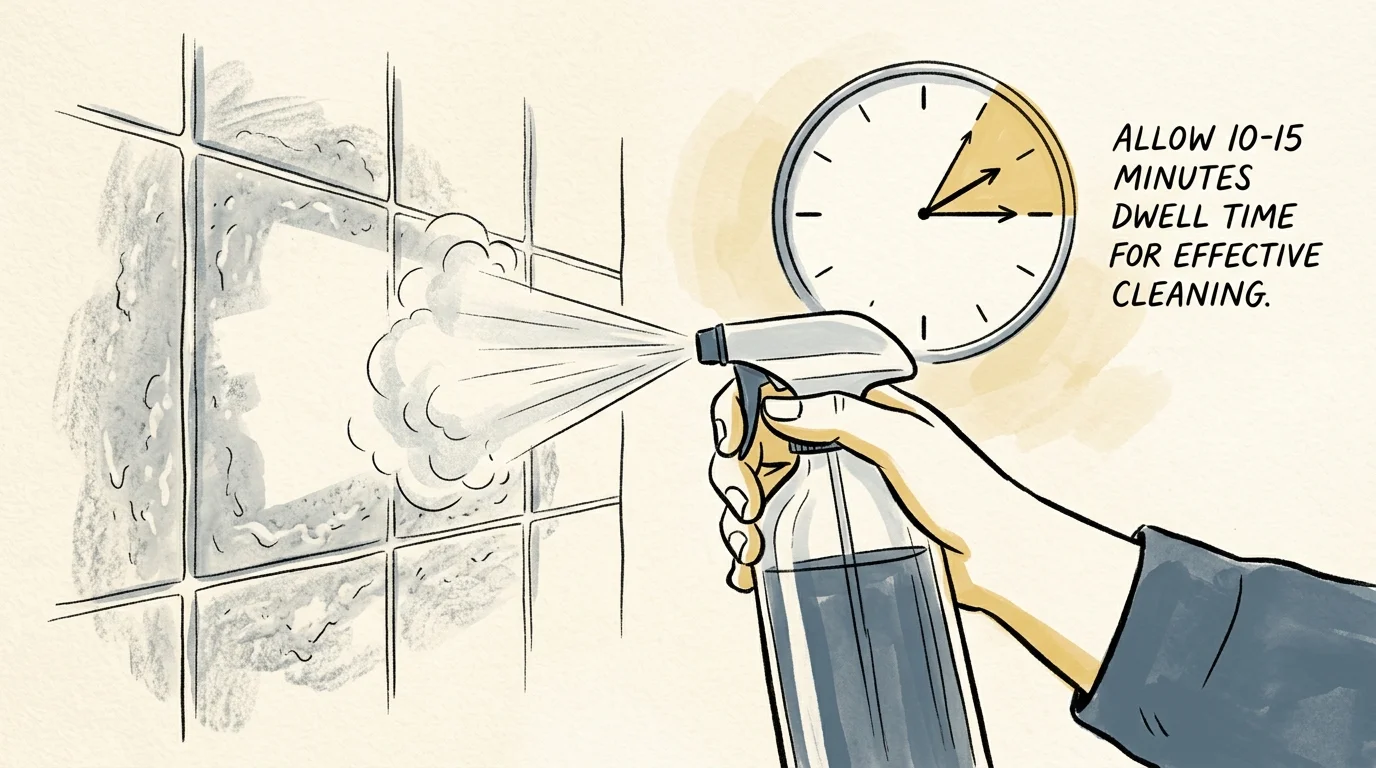
The biggest mistake most homeowners make involves spraying a surface and immediately scrubbing it. Spraying a cleaner and wiping it right away forces your muscles to do all the work; allowing the product to sit lets active ingredients dissolve mineral crust and body oils for you. Professional house cleaners rely on chemical dwell time to break down tough buildup with zero physical strain.
Soap scum consists of paraffin wax, animal fats from bar soaps, and calcium minerals from hard water. When you apply an acidic or enzymatic cleaner, the solution needs time to penetrate those bonded layers. Spray your shower walls, bathtub, and sink basin first, then walk away for ten to fifteen minutes. According to cleaning science guidelines from the American Cleaning Institute, active surface-agents require sufficient contact time to loosen structural grime before physical removal. When you return, the liquefied scum wipes away effortlessly with a damp cloth—saving your arms from exhaustion.
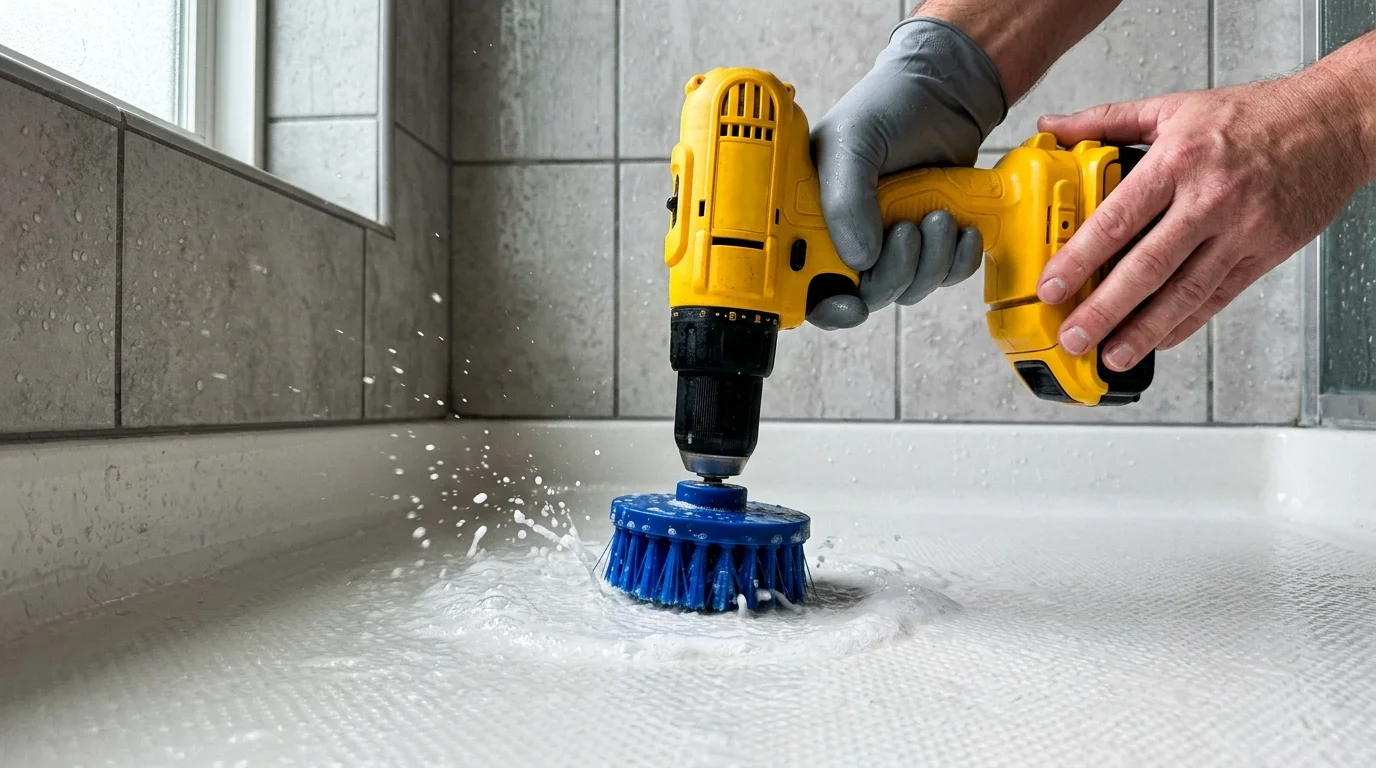
2. Convert a Cordless Drill into an Electric Power Scrubber
Manual scrubbing wastes time and puts unnecessary strain on your wrists, shoulders, and lower back. You can double your scrubbing power and finish in a fraction of the time by attaching a nylon brush head to a standard battery-powered drill. These inexpensive drill brush attachments turn a standard power tool into a high-speed scrubber that spins at over a thousand revolutions per minute.
Insert a medium-bristle nylon brush bit into your drill chuck and secure it tightly. Apply your favorite bathtub cleaner to textured fiberglass floors, heavy tile grout lines, or glass door tracks. Run the drill on a medium speed setting, holding it firmly as it glides across surfaces. The motorized rotation lifts embedded dirt, soap scum, and hard water rings within seconds. This high-efficiency method proves especially valuable for older adults looking to simplify physically demanding household chores while maintaining a spotless home environment.
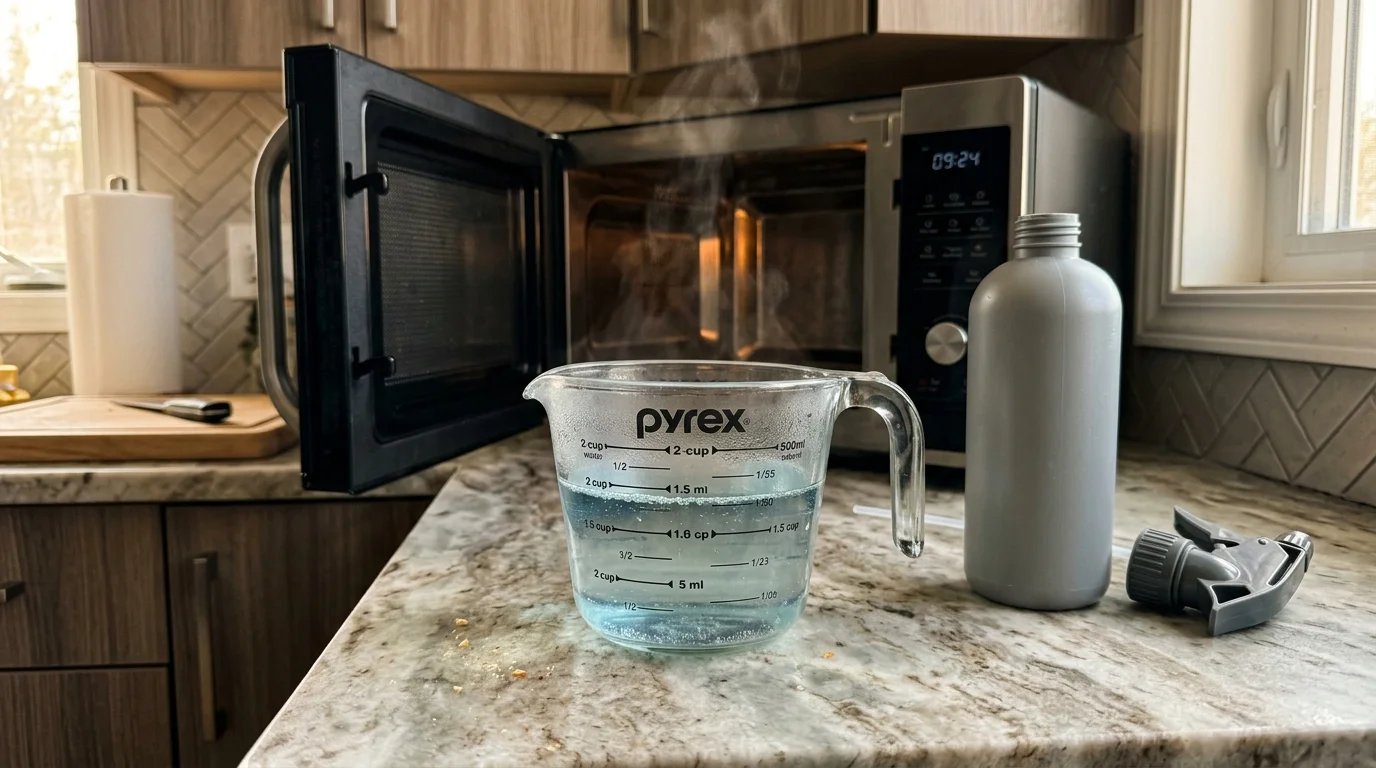
3. Heat Vinegar Solutions to Melt Hard Water Deposits Fast
Standard room-temperature cleaners often struggle against thick calcium carbonate deposits around faucets and glass doors. Heating your cleaning solution accelerates chemical reactions, allowing natural acids to dissolve mineral scale twice as fast. Distilled white vinegar contains acetic acid, which breaks down mineral deposits when warm.
Combine equal parts white vinegar and liquid dish soap in a microwave-safe measuring cup. Heat the mixture for forty-five seconds until warm, but not boiling, and pour it into a heavy-duty spray bottle. The warm vinegar breaks down calcium deposits instantly, while the dish soap adds viscosity, allowing the solution to stick to vertical glass doors instead of immediately dripping down to the drain.
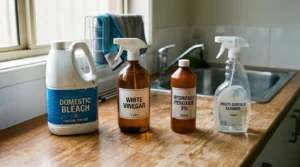
Always follow safety protocols when using household mixtures; review safety parameters established by the U.S. Environmental Protection Agency regarding household chemical safety. Never mix vinegar with chlorine bleach, as combining acid with bleach creates toxic chlorine gas.
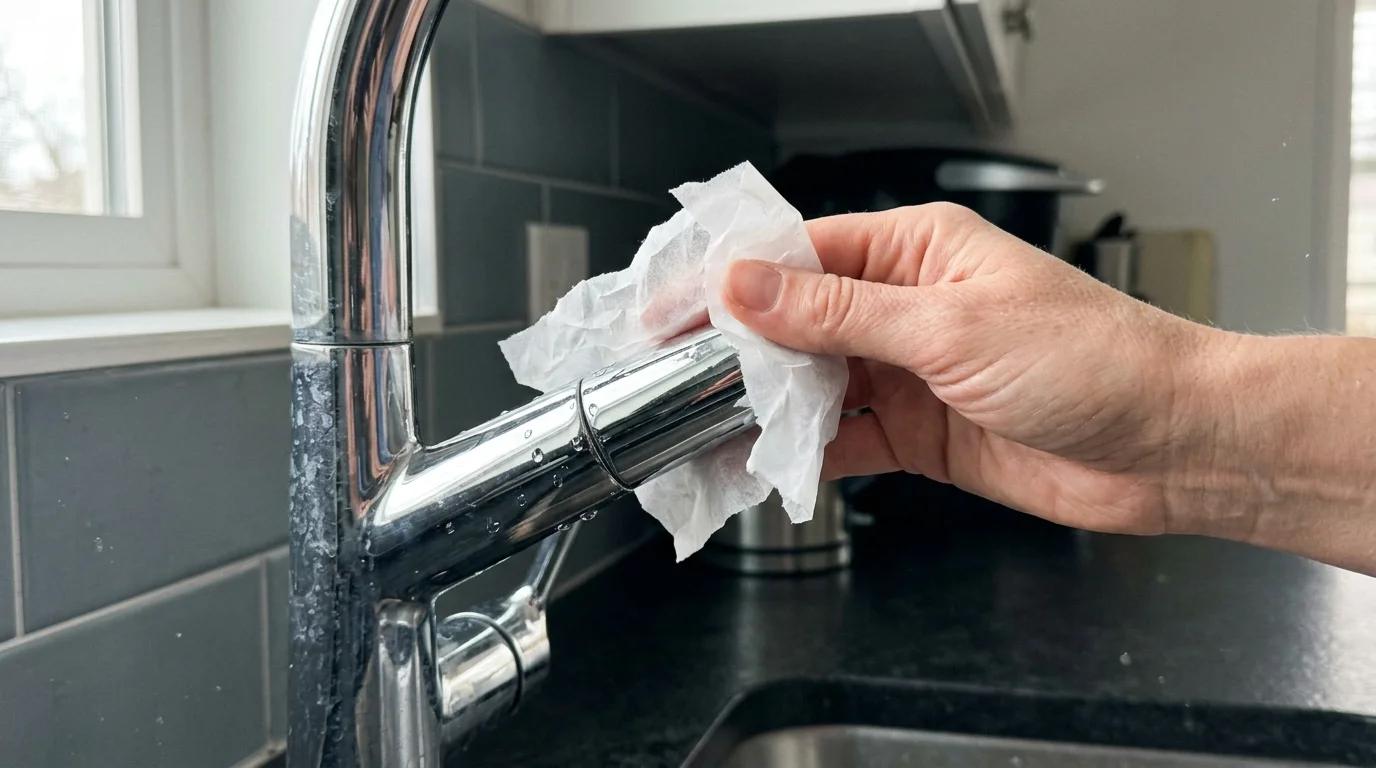
4. Coat Chrome Fixtures with Wax Paper to Repel Water Spots
Cleaning chrome faucets to a high shine feels satisfying, but water spots usually return after a single sink use. You can prevent water spots from sticking by applying a simple hydrophobic barrier using ordinary kitchen wax paper.
Clean and dry your chrome fixtures thoroughly using a microfiber towel. Tear off a sheet of wax paper, crumple it slightly, and rub the waxy side firmly over the chrome handles, spout, and trim. The friction transfers an invisible layer of paraffin wax onto the metal surface. Water will bead up and roll off the metal rather than pooling and drying into chalky spots. This quick habit keeps your hardware shining for up to a month with zero daily maintenance.
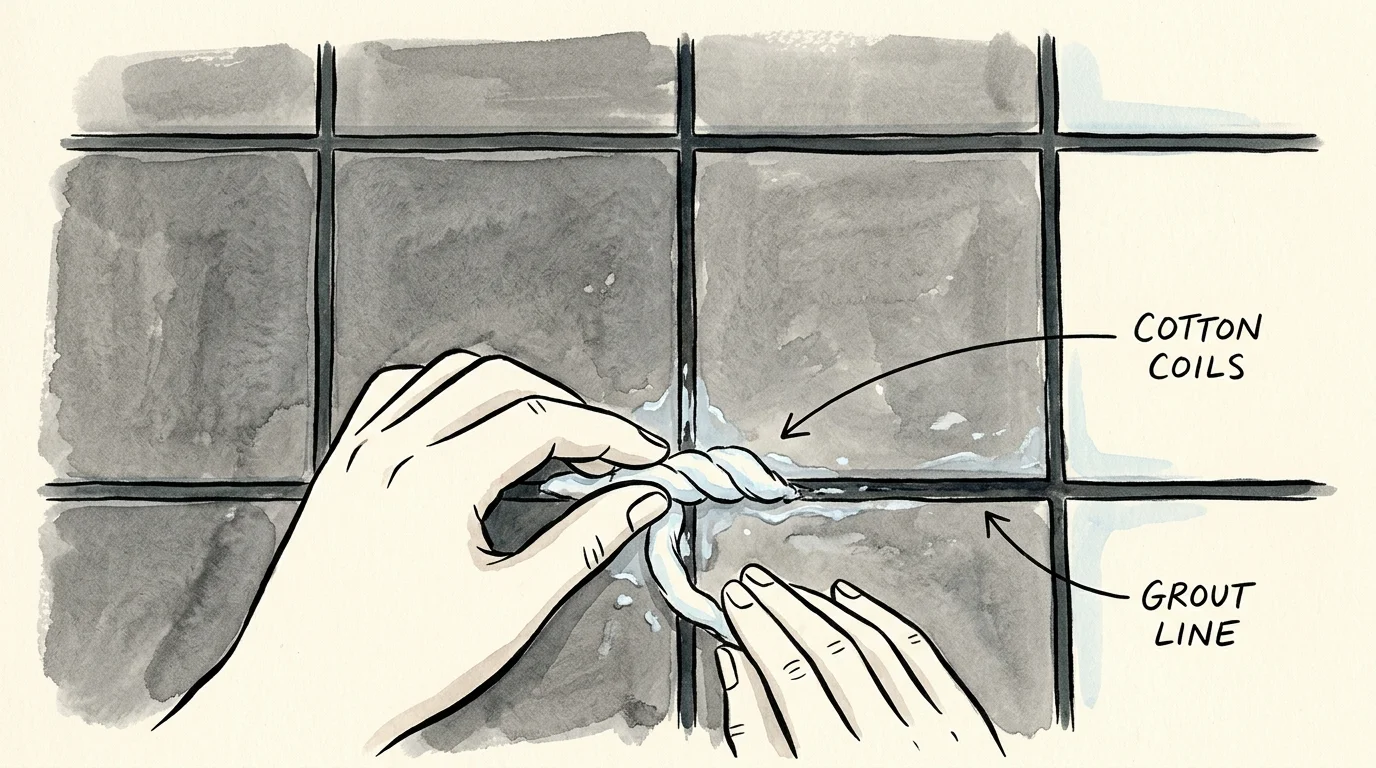
5. Eradicate Deep Grout Mold with Bleach-Soaked Cotton Coils
Liquid mold removers often run off vertical grout lines and corner caulking before they can kill stubborn fungal spores. To keep your cleaning solution locked directly onto discolored spots, use salon cotton coil—the long strips of cotton used in hair salons—or rolled paper towels soaked in liquid cleaner.
Pull a length of cotton coil and place it directly over the blackened caulk line along your bathtub seam. Saturate the cotton strip thoroughly with a mild bleach-based mold cleaner. The saturated cotton holds the liquid directly against the affected area, preventing evaporation and force-feeding the cleaner into porous grout. Leave the cotton in place for two to four hours; when you lift the strip away, the mildew will be gone without any scrubbing. Address indoor mold promptly to maintain home health; consult resources from the Asthma and Allergy Foundation of America to understand how airborne mold spores impact sensitive respiratory systems.
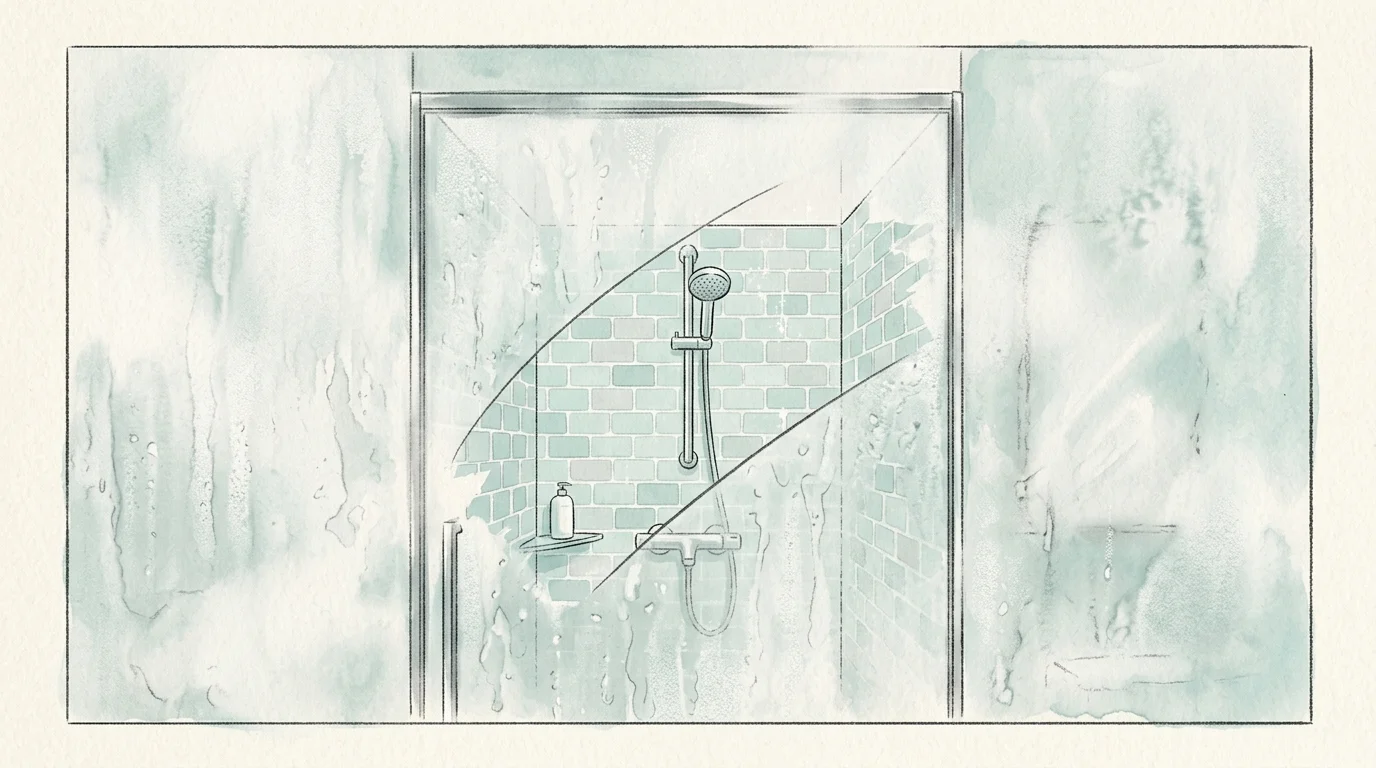
6. Steam the Room Before Cleaning to Soften Dirt
Professional housekeepers use high humidity to break up dried toothpaste splatters, hairspray residue, and dust build-up. You can easily duplicate this technique using your hot water tap before you start wiping down surfaces.
Close your bathroom windows and doors, turn your shower on high heat, and let the hot water run for five minutes to generate dense steam. Turn off the tap and let the steam fill the sealed room for three to five minutes. Moisture and ambient heat work together to soften hardened grime across mirrors, countertops, and porcelain fixtures. When you walk in to clean, dirty spots wipe away seamlessly with a single pass of a cloth, eliminating the need to scrub dry patches.
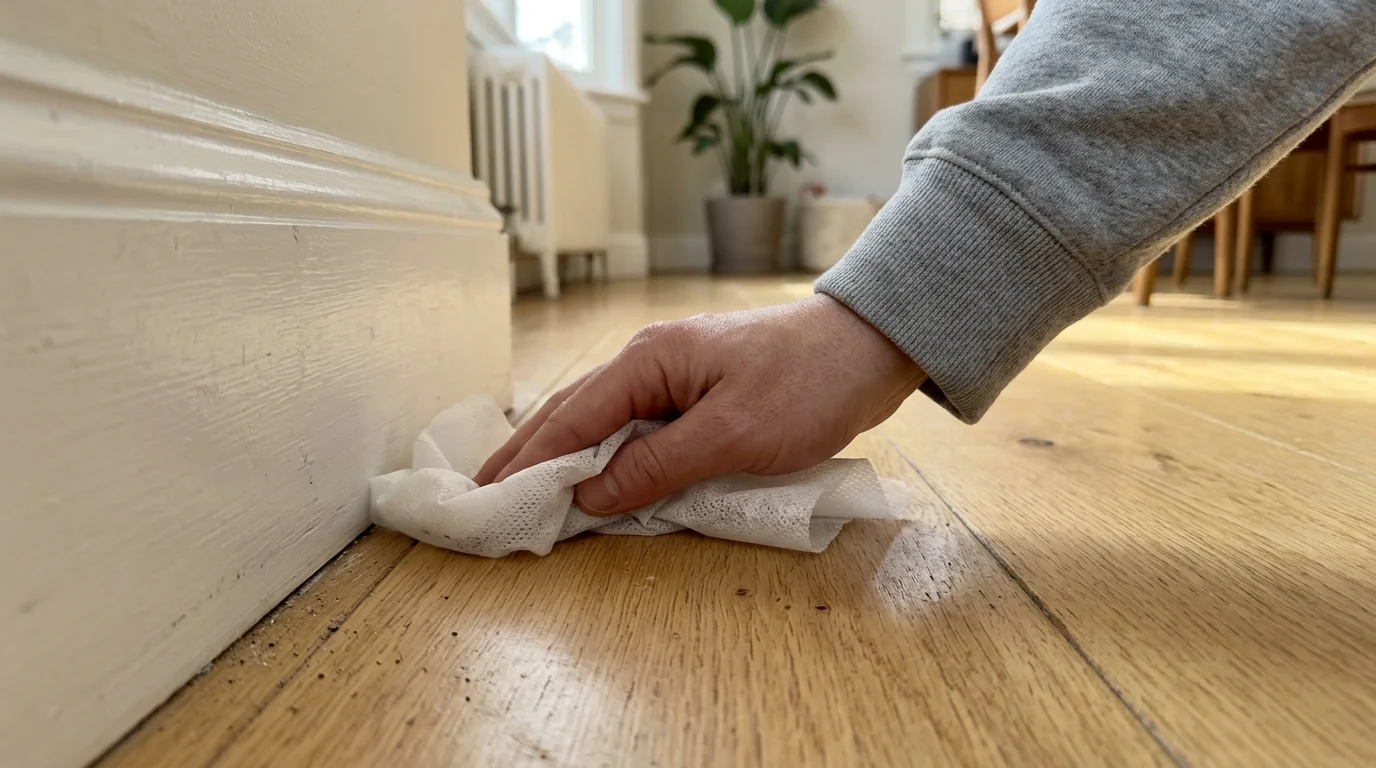
7. Protect Baseboards and Exhaust Fans with Anti-Static Dryer Sheets
Bathroom exhaust fan grilles attract thick layers of floating dust and lint due to static electricity and humdity. Baseboards suffer similar dust buildup, catching loose hair and debris on wet floors. You can easily clear fan covers and prevent dust from returning by using an anti-static treatment.
First, vacuum the heavy dust from the fan grille using a brush attachment, or blow it free using a quick burst from a canned air canister. Next, wipe down the fan cover and baseboards using a fresh anti-static dryer sheet. The dryer sheet leaves a microscopic anti-static coating that repels dust and floating hairs, keeping baseboards clean for weeks.
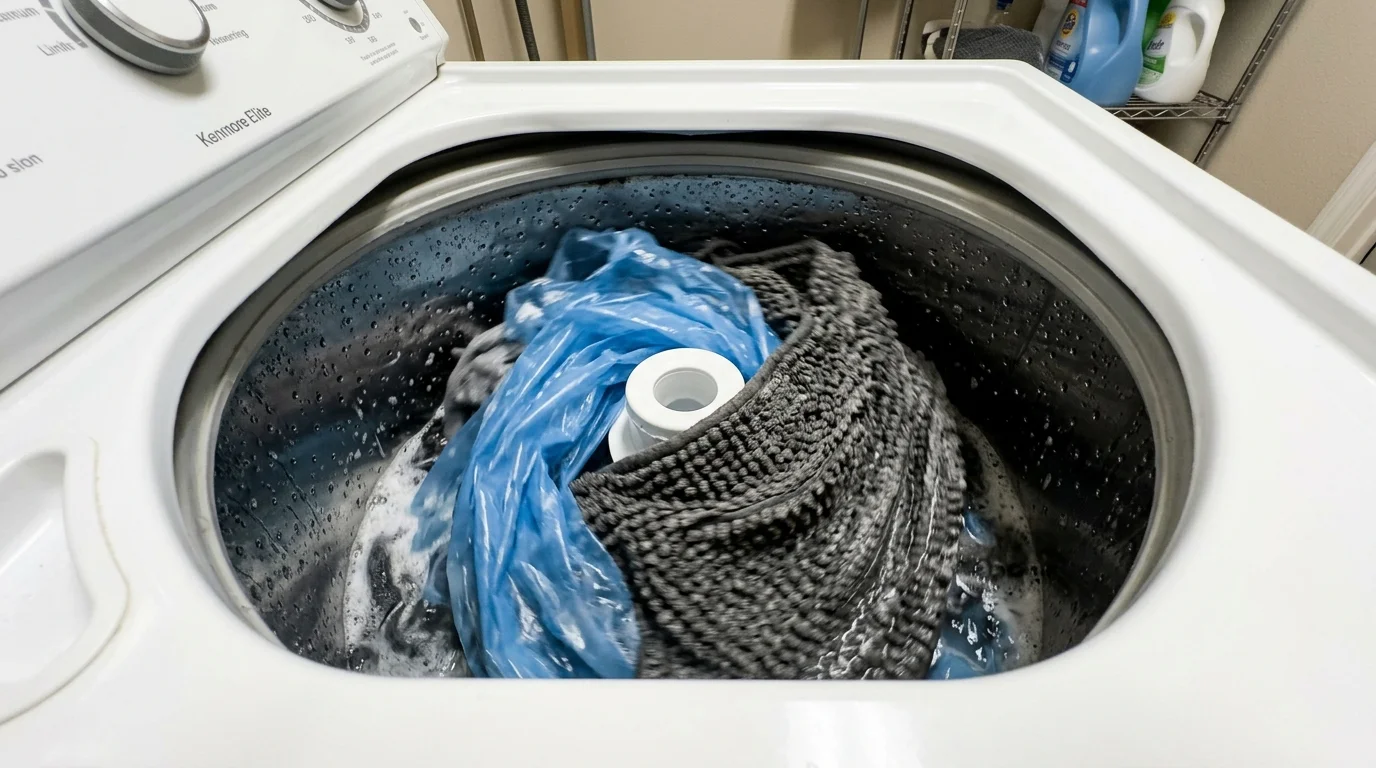
8. Launder Shower Liners and Bath Mats Simultaneously
Washing plastic shower curtain liners by hand in the tub takes up valuable time and creates a wet mess across your bathroom floor. You can let your washing machine do this job instead, cleaning bath mats and shower liners together without any manual effort.
Place your plastic shower liner, fabric curtain, and cloth bath mats into your washing machine together. Add your normal laundry detergent along with one cup of distilled white vinegar, and throw in two clean bath towels. The rough texture of the towels acts as a gentle scrubber during the agitation cycle, removing soap scum and mildew from the plastic liner without tearing it. Run the washer on a gentle cycle with warm water, then re-hang the plastic liner directly on the shower rod to air dry.
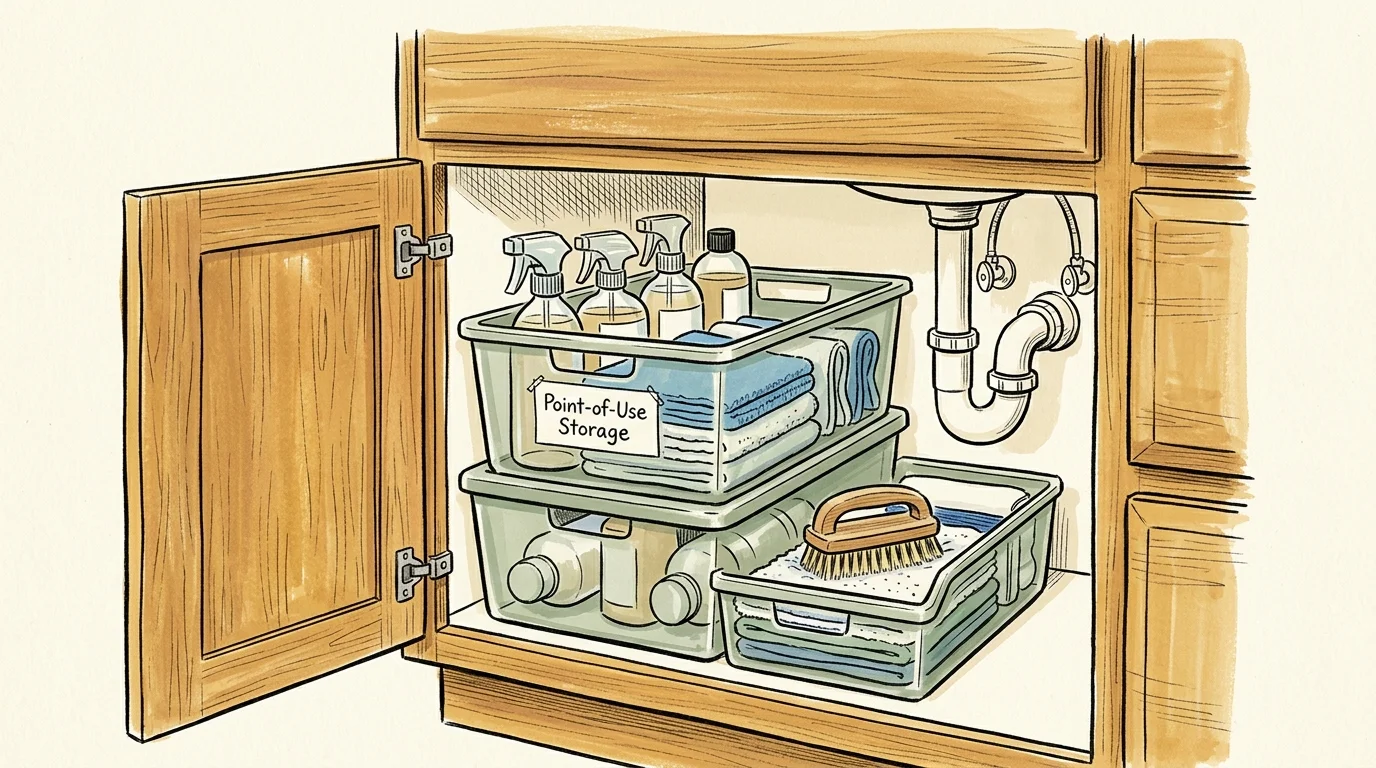
9. Store Point-of-Use Supplies inside Your Vanity
Walking back and forth to a hallway linen closet for supplies wastes time and ruins your momentum. Keep essential cleaning supplies directly inside each bathroom vanity so you can fix small messes immediately before they become tough stains.
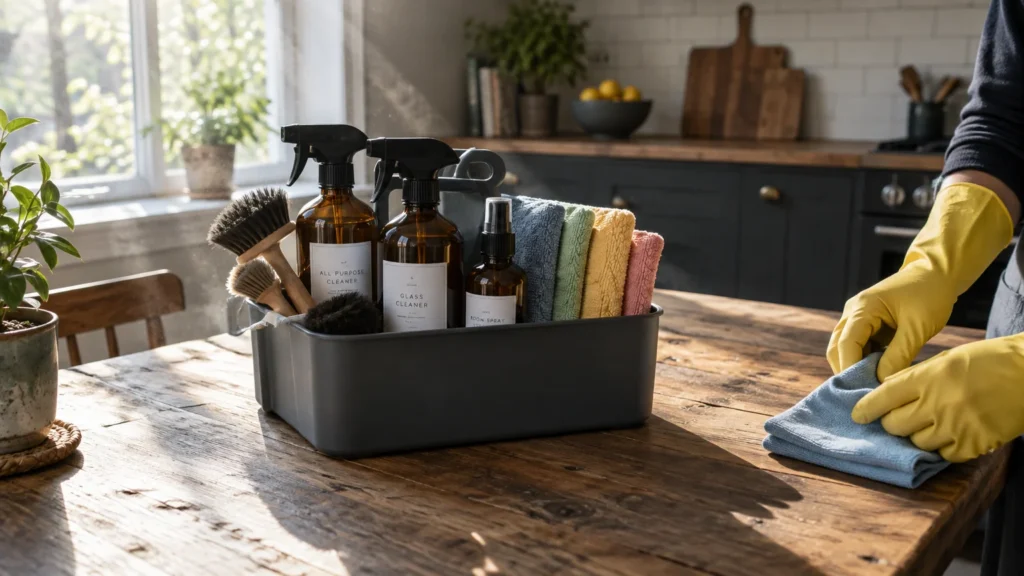
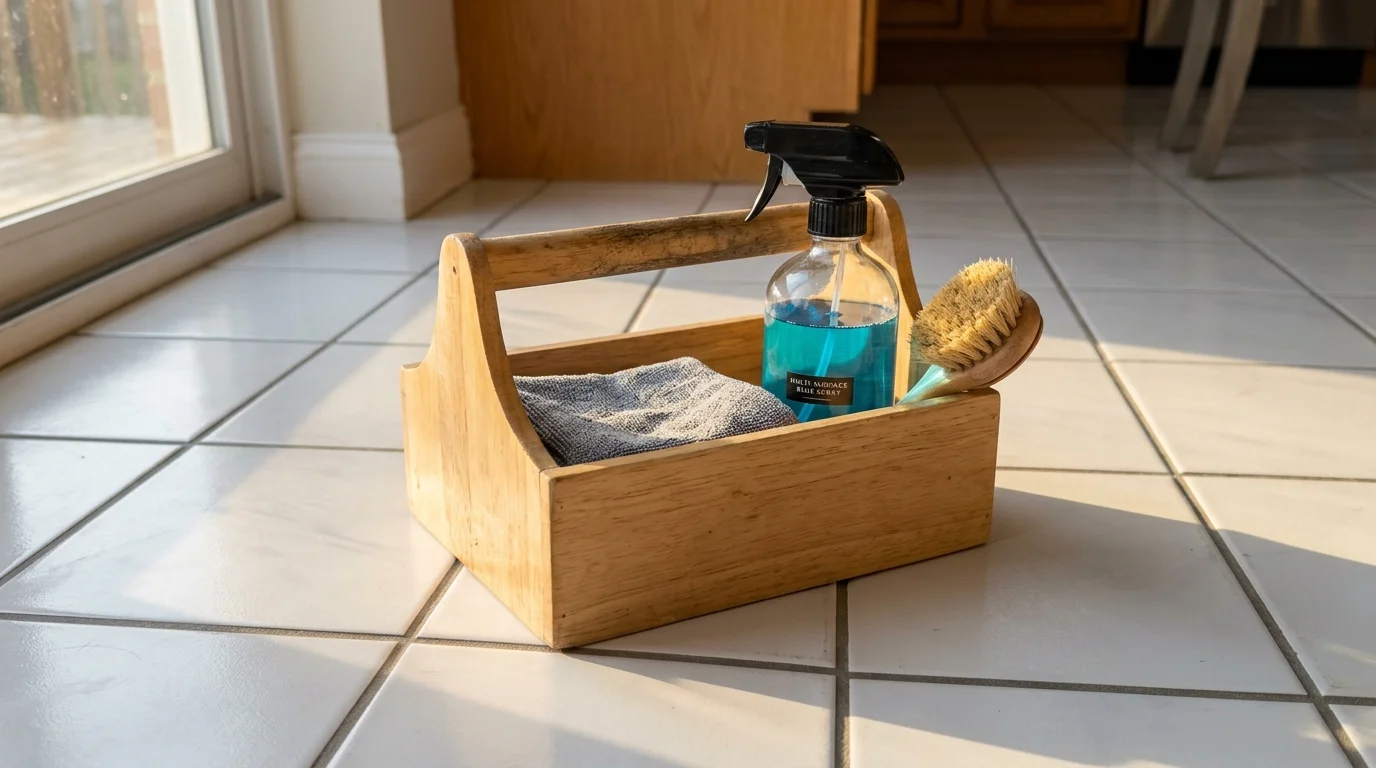
Place a small tote inside your cabinet containing a multi-surface spray, a dedicated glass cloth, and two fresh microfiber towels. Stashing these items right at the point of use makes fast bathroom cleaning tips easy to stick to. Wiping a toothpaste smudge off the mirror takes just five seconds when your glass cloth sits right beneath the sink, preventing mess from building up into a major weekend chore.
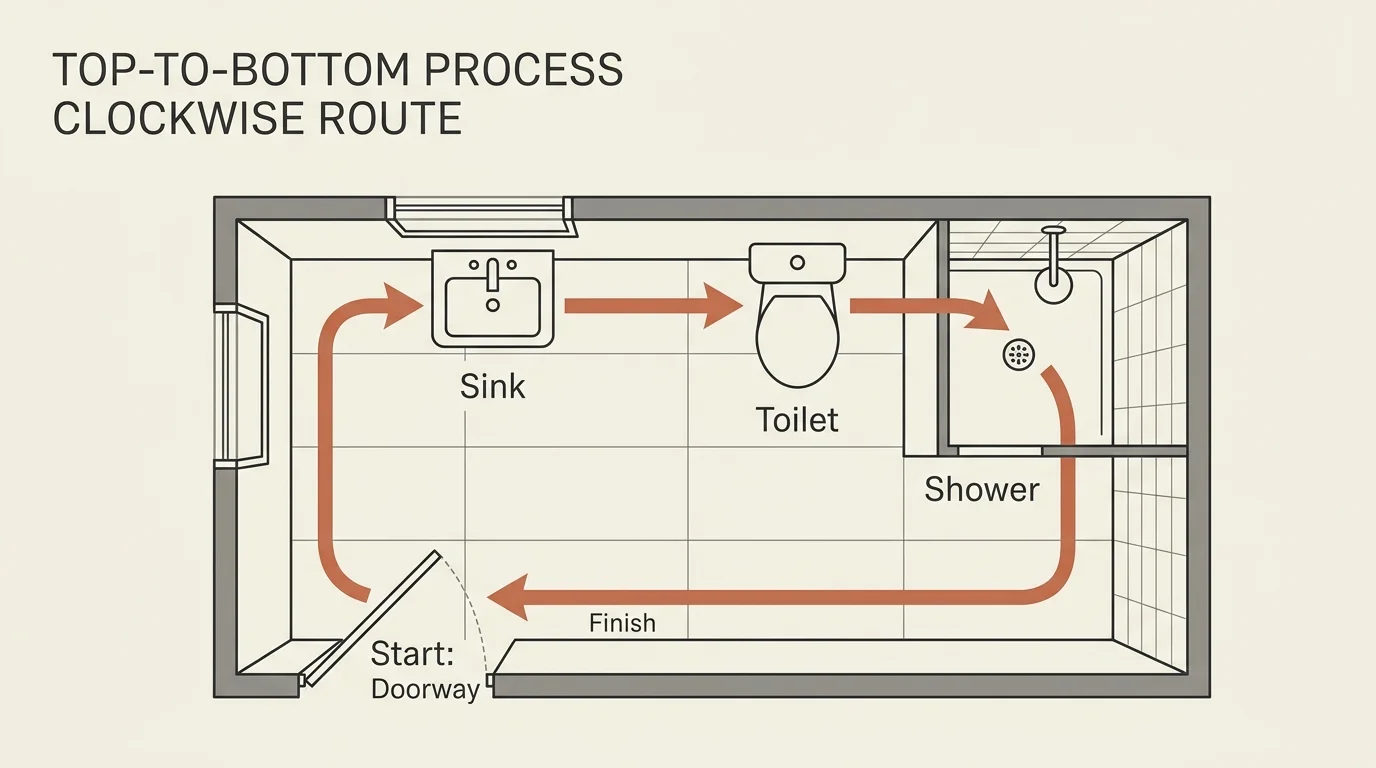
10. Follow a Top-to-Bottom, Clockwise Cleaning Route
Wandering around the room without a clear path leads to repeated work and missed spots. Establish a structured, efficient bathroom cleaning tricks routine by working top-to-bottom in a strict clockwise loop.
Start at the door frame and move clockwise around the perimeter of the room. Begin with higher elements—such as upper shelving and mirrors—before moving down to countertops, sink basins, toilets, and the bathtub. End your circuit back at the door by mopping the floor out toward the hallway. Because gravity carries dust and cleaner droplets down, working top-to-bottom ensures you never contaminate a surface you have already wiped clean.
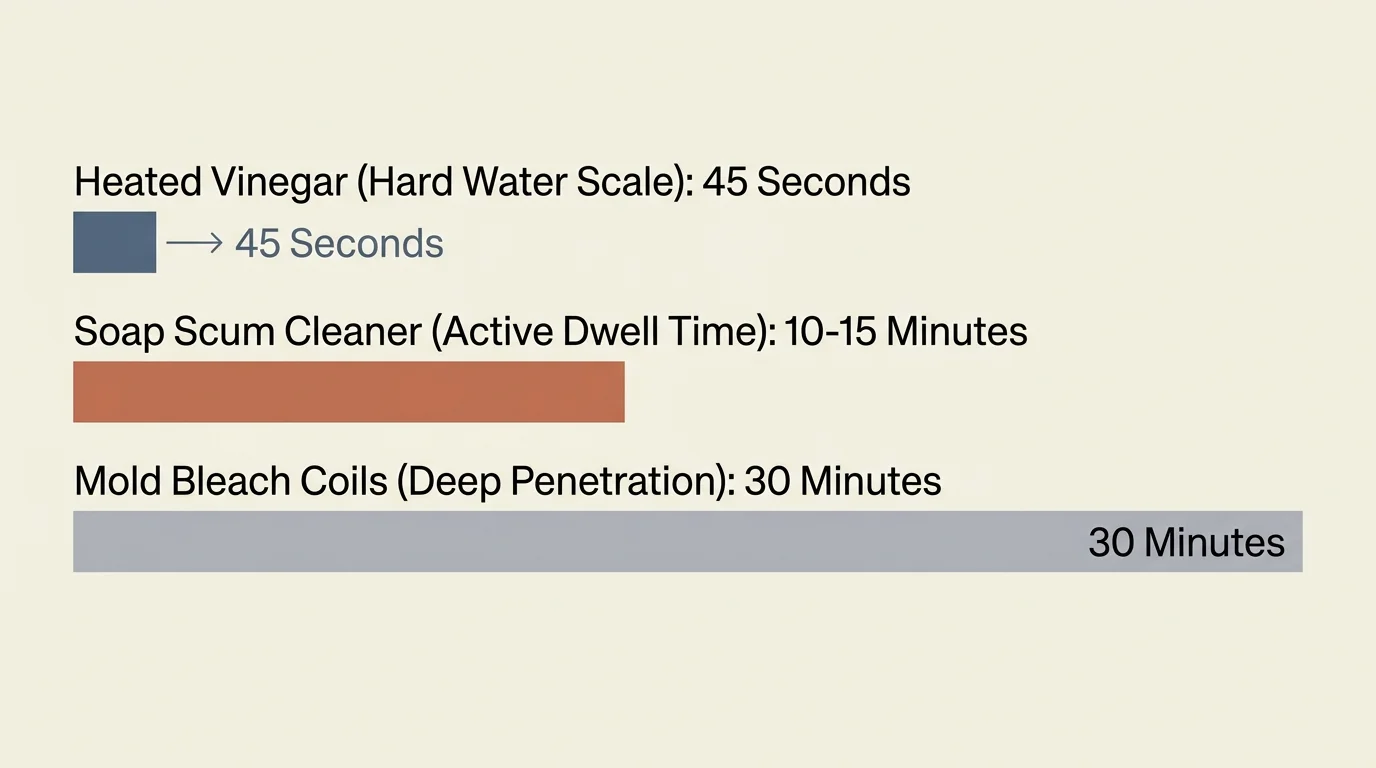
Chemical Dwell Time and Usage Reference Guide
Matching the right cleaning chemical to the correct surface—and allowing appropriate contact time—guarantees maximum cleaning performance with minimal physical effort. Use this quick reference guide to select the best approach for each surface:
| Surface / Target Area | Recommended Cleaning Solution | Minimum Dwell Time | Application Strategy |
|---|---|---|---|
| Glass Shower Doors | Warm Vinegar + Dish Soap Mixture | 10 to 15 Minutes | Spray evenly; wipe clean with a non-scratch sponge, then rinse. |
| Tile Grout Lines | Bleach Solution or Hydrogen Peroxide | 15 to 30 Minutes | Apply with a spray bottle or cotton coil strip; agitate gently before rinsing. |
| Porcelain Toilet Bowl | Acidic Bowl Cleaner or Commercial Disinfectant | 10 Minutes | Coat upper rim thoroughly; allow solution to run down into bowl water before scrubbing. |
| Chrome Fixtures | Mild Soap + Water (followed by Wax Paper) | 1 Minute | Wipe clean, dry completely, then rub with wax paper to seal surface. |
| Fiberglass Tub Basins | Enzymatic Degreaser or Mild Surfactant Spray | 10 Minutes | Steam room first; coat floor evenly, let sit, then scrub with a drill brush attachment. |
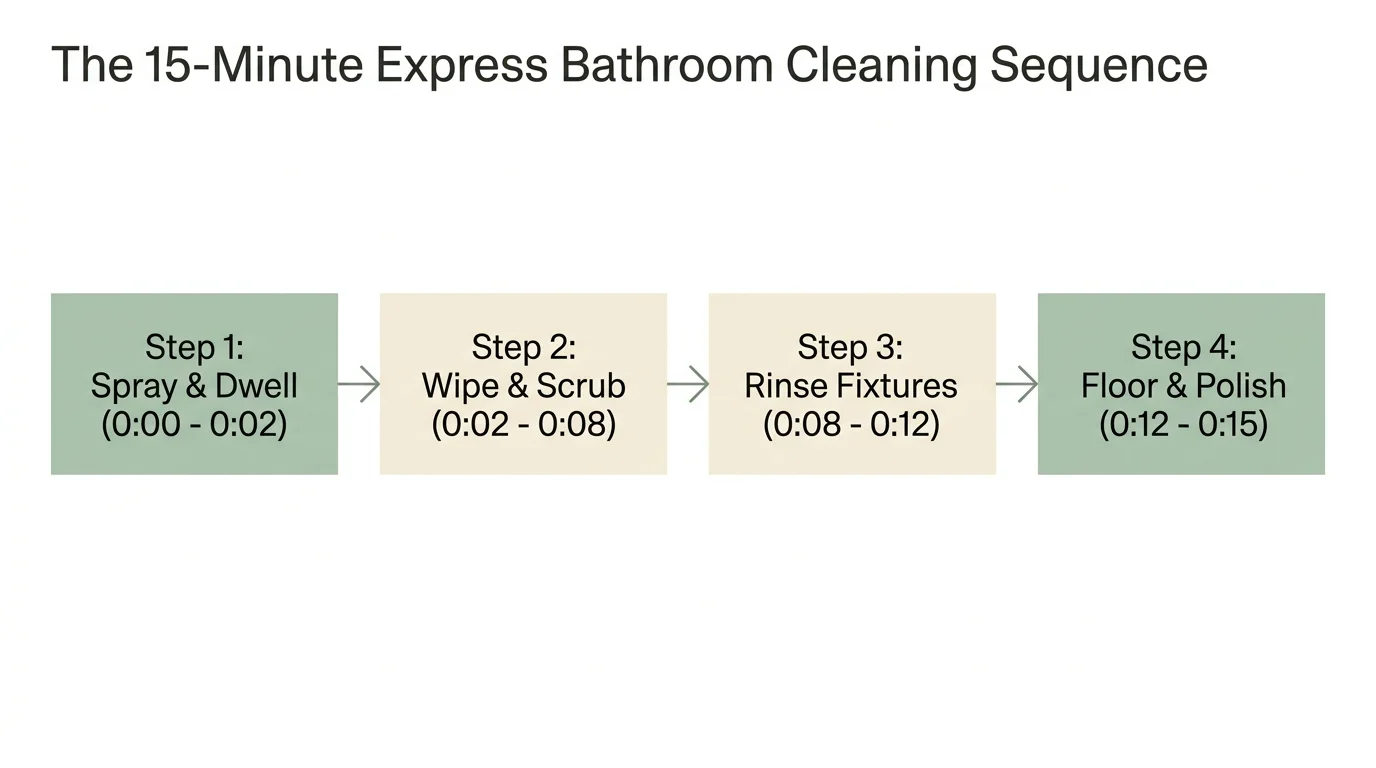
The 15-Minute Express Bathroom Cleaning Sequence
Use this simple, step-by-step checklist to complete your routine in fifteen minutes. This efficient structure helps you apply daily bathroom deep clean shortcuts without wasting time:
- Minute 0 to 2: Prep and Soak — Clear counters, remove bath mats, and coat the shower walls, tub, and toilet bowl with appropriate cleaners to begin chemical dwell time.
- Minute 2 to 5: High Surfaces and Mirrors — Dust light fixtures, wipe vanity mirrors with a dry microfiber glass cloth, and clean upper cabinet faces.
- Minute 5 to 8: Vanity and Sink Basin — Spray counter surfaces; wipe down faucet handles, sink bowl, and soap dishes, working dirty water down into the drain.
- Minute 8 to 11: Toilet Assembly — Wipe down the exterior tank, flush handle, seat, and base using a disinfected microfiber cloth; finish by brushing the bowl interior.
- Minute 11 to 14: Tub and Shower Rinse — Rinse away the loosened soap scum from shower walls using warm shower water or a hand-held sprayer head.
- Minute 14 to 15: Floor Sweep and Mop — Sweep loose hair toward the exit door, perform a quick wet-mop pass, and step out as the floor dries.
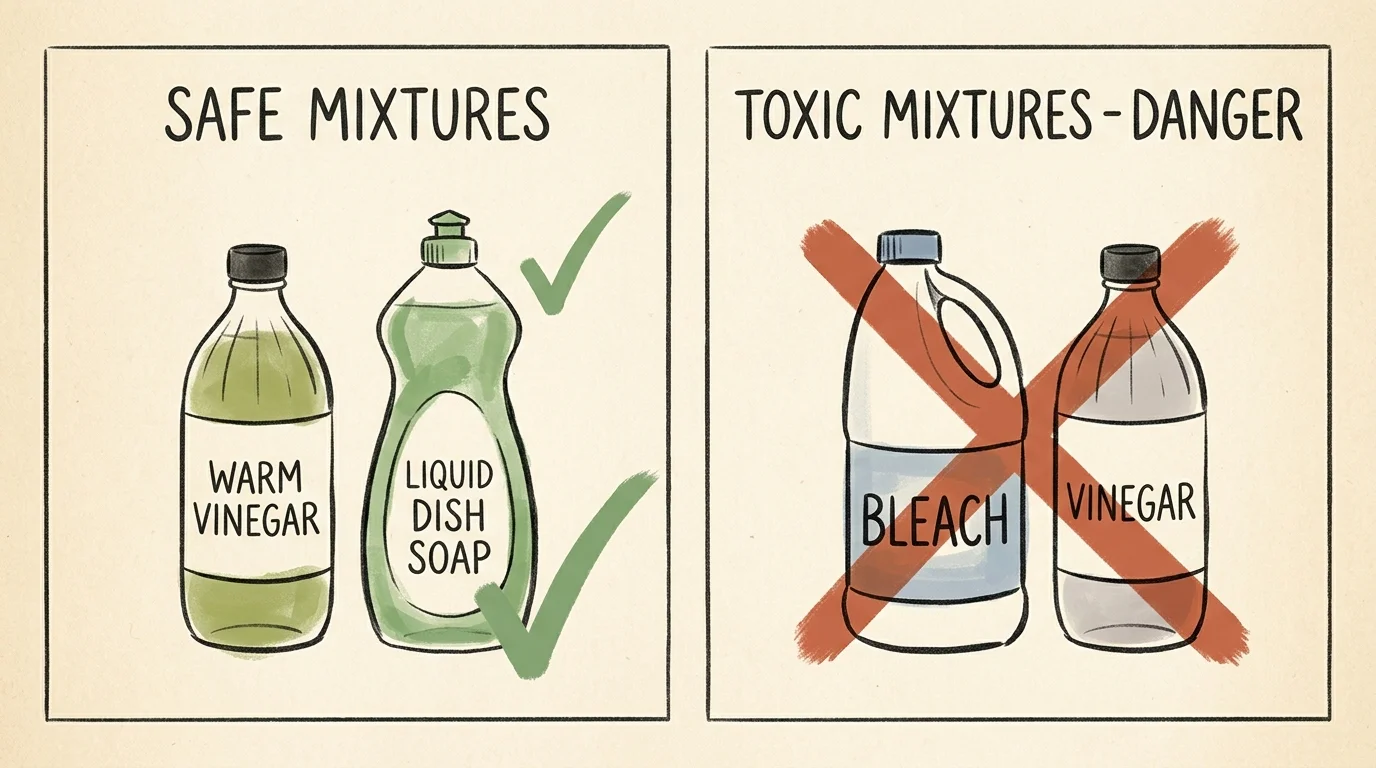
Essential Cleaning Safety and Chemical Compatibility
Speed should never compromise safety. Bathrooms are enclosed spaces where chemical fumes can quickly concentrate, making proper ventilation and safe chemical handling essential.
Always run your exhaust fan or open a window when using powerful bathroom cleaners. Never combine products containing chlorine bleach with products containing ammonia, acids, or vinegar. Mixing bleach and ammonia creates chloramine gas, while mixing bleach with acid creates hazardous chlorine gas. Both reactions can cause severe respiratory distress. For additional safety standards regarding domestic disinfection, consult the official CDC Infection Control Guidelines.
Take Your First Action Step Today
To cut your cleaning time in half right away, pick one hack from this list to try today. Mix up a simple batch of warm vinegar and dish soap, spray down your shower enclosure, and let dwell time do the scrubbing for you. Setting up these streamlined habits now will help you enjoy a pristine bathroom every week in fifteen minutes or less.