Cleaning your bathroom haphazardly wastes time and spreads harmful germs across surfaces you touch every day. To protect your household and streamline your routine, you need to clean your bathroom in a specific, top-to-bottom, dry-to-wet order. This simple sequencing prevents contaminated water from dripping onto freshly cleaned areas and stops bacteria from migrating from the toilet to your sink. A systematic approach also ensures your cleaning products have enough time to actually kill pathogens rather than just moving them around. By following the correct order, you can thoroughly sanitize your space, avoid dangerous chemical reactions, and leave every surface safely sparkling without doubling your workload.
The Logic Behind Top-to-Bottom and Dry-to-Wet Cleaning
Many people start their bathroom cleaning routine by wiping the mirror, only to spray the counter later and splash fluid right back onto the glass. Others scrub the bathtub first, then dust the light fixtures above it; this drops fresh debris directly into the damp tub. This backtracking is exhausting and avoidable. By adhering to a strict top-to-bottom and dry-to-wet cleaning order, you eliminate duplicate work entirely. Gravity dictates that dust falls downward. When you start at the ceiling and work your way down, you deal with dirt only once. Furthermore, the dry-to-wet rule is essential for basic efficiency and overall bathroom hygiene. If you introduce liquid cleaners to a surface covered in loose dust, you instantly create a muddy sludge that requires multiple passes to remove. Removing dry debris first allows your cleaners to target actual stains and germs rather than fighting through a layer of dust. For older adults—or anyone looking to simplify chores—this structured method conserves physical energy and significantly reduces time spent bending and scrubbing.
Phase One: Preparation and Dry Dusting
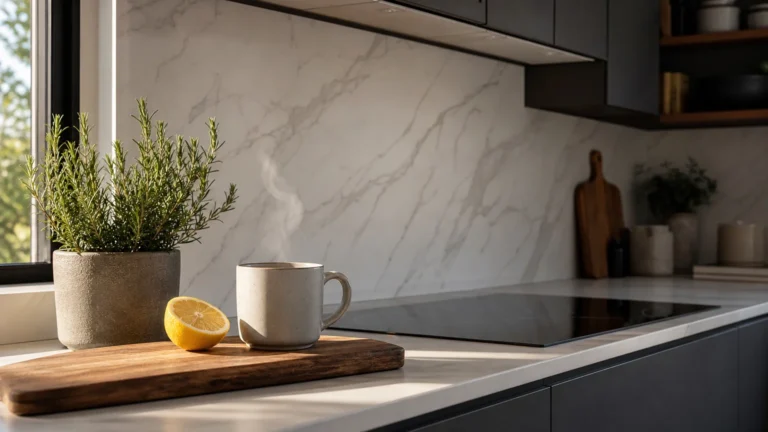
Before a drop of cleaner touches a surface, you must prepare the room. Think of this phase as clearing your canvas. Remove all soft goods, including towels, washcloths, and bath mats. Toss them directly into the laundry room so they do not catch airborne dust or chemical sprays. Next, empty the trash can and place the empty bin outside the room. Clear your vanity counters completely. Take hand soaps, toothbrushes, skincare bottles, and hair tools, and place them in a basket in the hallway. This ensures you can wipe the counter in one smooth motion rather than picking up individual items, which always slows your bathroom cleaning momentum.
Once the room is empty, begin your dry dusting. Grab a dry microfiber cloth or a long-handled duster. Start at the highest points. Dust the exhaust fan cover, the upper corners of the ceiling, and the light fixtures. Wipe down the medicine cabinet and window ledges. Finally, take a broom or vacuum and sweep the dry floor. Pay special attention to corners and the tight area behind the toilet, where hair accumulates heavily. Vacuuming the floor now—while it is bone dry—prevents loose hair from cementing to the floor later when you inevitably drip water.
Phase Two: Applying Disinfectants and Understanding Dwell Time
With the dry dust and loose hair removed, you are ready to apply your liquid cleaners. However, you are not going to wipe them away immediately. One of the most common mistakes in household cleaning is spraying a disinfectant and instantly wiping it off. Disinfectants do not work instantly on contact; they require a specific amount of time sitting wet on a surface to break down the cell walls of bacteria. This waiting period is known as the contact time or dwell time. According to the Environmental Protection Agency (EPA), registered disinfectants must remain visibly wet on the surface for the entire contact time listed on the product label to effectively kill pathogens. Depending on the formula, this dwell time ranges from thirty seconds to ten minutes.
To maximize efficiency, apply heavy-duty cleaners to the most soiled fixtures right now and let them work while you clean other parts of the room. Squirt toilet bowl cleaner under the rim and shut the lid. Spray tub and tile cleaner generously across the shower walls and bathtub basin. By giving these products minutes to dwell, you allow active chemicals to dissolve soap scum, loosen hard water stains, and eradicate germs. This shift in timing means far less physical scrubbing later.
Phase Three: Mirrors, Vanity, and Sinks
While your shower and toilet cleaners dwell, move your attention to the vanity area. You are transitioning into the wet cleaning phase, and you should always start with the cleanest surfaces and progress to the dirtiest ones. This strategy prevents cross-contamination. Begin with the mirror. Spray a glass cleaner directly onto the mirror, or apply it onto a microfiber cloth to avoid overspray. Wipe the mirror in a tight, overlapping S-pattern, starting from the top left corner and working down to the bottom right. This sweeping technique guarantees you cover the entire surface without leaving cloudy streaks.
Next, tackle the vanity counter. Spray your all-purpose cleaner and wipe down the surface, paying attention to edges and backsplashes where dust settles. Move into the sink basin next, scrubbing away dried toothpaste and soap buildup. The sink faucet and its handles require special attention. Faucet handles are notorious high-touch zones that harbor massive amounts of bacteria because you frequently grab them with unwashed hands. Use a small detail brush—or an old toothbrush—to scrub the tight seams around the base of the faucet where grime collects. Once the sink basin and counter are clean, dry the faucet hardware with a fresh cloth to leave it shining and free of water spots.
Phase Four: Scrubbing the Shower and Bathtub
Turn your attention back to the shower and bathtub. The cleaning product you applied earlier has had ample time to break down hardened soap scum and residual body oils. Grab a non-abrasive scrub brush or a heavy-duty sponge dedicated solely to the shower area. Start at the highest point of the shower walls and scrub in sweeping motions, moving deliberately downward toward the tub basin or shower floor. This ensures dirty water drips down onto areas you have not yet scrubbed, rather than running over a freshly cleaned section and ruining your work.
Scrub the bathtub basin next, paying close attention to the drain area and lower walls where soap residue leaves a stubborn ring. If you have glass shower doors, scrub them with a mixture formulated for hard water stains; then, use a squeegee to pull the liquid down from top to bottom. Once you scrub the entire enclosure, turn on the showerhead or use a large cup to rinse all walls and the tub basin with warm water. Ensure all chemical residue flows down the drain. If your shower utilizes a fabric curtain, take this opportunity to wash it with your towels to prevent mildew buildup.
Phase Five: Tackling the Toilet Safely
The toilet is the most heavily contaminated fixture in the room, which is why it must be the absolute last item you clean before mopping the floor. Cleaning the toilet last ensures bacteria from the bowl are not accidentally transferred to your sink or countertops. Never use the same cloth or sponge on your toilet that you use anywhere else. Begin by wiping the exterior of the toilet from top to bottom. Spray disinfectant on the top of the tank, the flush handle, the lid, and the outside of the bowl. The flush handle is a critical high-touch zone requiring thorough sanitization. Open the lid and wipe the top and bottom of the seat, as well as the porcelain rim underneath. Finally, take your toilet brush and scrub the inside of the bowl, where the cleaner has been dwelling. Scrub aggressively under the rim and deep into the drain hole. When finished, flush the toilet to rinse the brush bristles.
A crucial lesson in bathroom hygiene involves the physical act of flushing. Literature reviews featured by the Centers for Disease Control and Prevention (CDC) regarding aerosolized particles emphasize the reality of the toilet plume. When a toilet is flushed without the lid down, swirling water ejects microscopic droplets of contaminated water up to several feet into the air. These invisible droplets can land directly on your toothbrush and pristine countertops. Always close the lid before you flush the toilet—both during your cleaning routine and everyday life—to keep pathogens safely contained.
Phase Six: Mopping the Floor Out the Door
With the ceiling, counters, shower, and toilet completely sanitized, the only surface left to address is the floor. Because you already vacuumed or swept the room during the initial dry phase, you do not have to worry about pushing wet clumps of hair around the room. Prepare your mop and a bucket with your preferred floor cleaner and warm water, or use a spray mop fitted with a clean microfiber pad. Start at the corner of the bathroom farthest from the doorway. Mop your way backward, stepping deliberately out of the room as you go.
This technique ensures you never step on the freshly cleaned floor; stepping on wet tile leaves dirty footprints and forces you to mop the entire area over again. Pay close attention to the floor area immediately surrounding the base of the toilet, as this zone catches accidental splashes and requires thorough sanitization. Once you mop your way out the door, leave the room entirely and allow the floor to air dry. Do not replace your rugs, the trash can, or your countertop items until the floor is entirely dry to prevent trapping moisture, which can damage flooring over time and encourage mold growth.
Critical Bathroom Safety and Chemical Guidelines
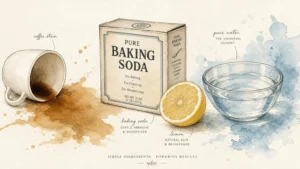
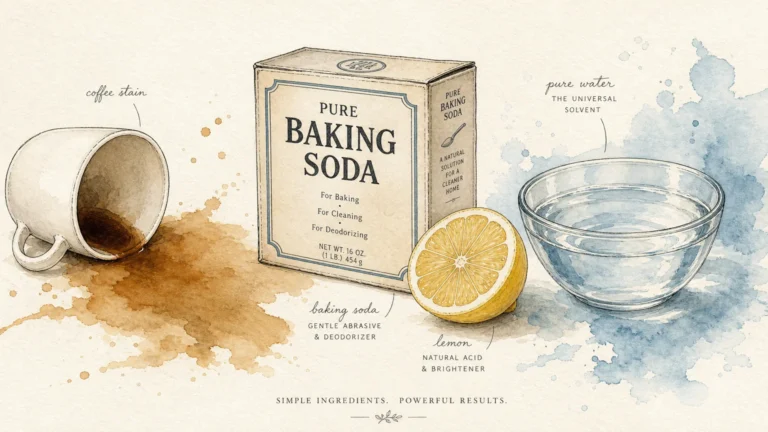
When striving for a pristine bathroom, you might be tempted to mix multiple powerful cleaning agents to tackle tough stains. However, combining certain household chemicals can be incredibly dangerous and even fatal. You must never mix chlorine bleach with ammonia. As the CDC warns in its chemical emergency guidelines, mixing bleach and ammonia produces toxic chloramine gas. Inhaling this gas causes severe coughing, shortness of breath, chest pain, and painful irritation to your throat and lungs. Ammonia is frequently found in commercial window cleaners, while bleach is an active ingredient in mildew removers and toilet bowl cleaners. If you spray a bleach-based cleaner on your vanity and immediately follow up with an ammonia-based glass cleaner on your mirror, the runoff can easily mix in the sink basin and create a hazardous chemical reaction. Similarly, never mix bleach with vinegar or any other household acid, as this combination creates chlorine gas, another highly toxic substance.
To protect yourself, always read manufacturer labels on your cleaning products, keep them stored safely in original containers, and thoroughly rinse away one cleaner with water before applying a different product to the exact same surface. In addition to chemical awareness, always ensure your bathroom is well-ventilated while you work. Turn on the exhaust fan and open a window to keep fresh air circulating. Wear rubber gloves to protect your skin from harsh detergents, and consider wearing safety glasses if spraying liquid chemicals overhead.
Your Step-by-Step Bathroom Cleaning Checklist
To help you memorize this sequence and make your next chore day seamless, reference this breakdown of the proper cleaning order. Keep this checklist in mind whenever you need quick cleaning tips for your home.
| Phase | Action Step | Tools & Products |
|---|---|---|
| 1. Prep & Dry Dust | Remove all items, dust from the ceiling down, and sweep the floor while dry. | Duster, broom, or vacuum. |
| 2. Apply & Dwell | Apply heavy-duty cleaners to the toilet and shower. Let them sit to kill germs. | Toilet bowl cleaner, tub/tile spray. |
| 3. Mirrors & Sinks | Wipe mirrors in an S-pattern. Clean the vanity counter, sink basin, and faucet. | Glass cleaner, all-purpose cleaner, microfiber cloths. |
| 4. Shower & Tub | Scrub the shower walls from top to bottom. Clean the tub basin and rinse thoroughly. | Scrub brush, squeegee. |
| 5. The Toilet | Wipe the tank, handle, lid, and seat. Scrub the bowl and flush with the lid down. | Disinfectant spray, toilet brush, dedicated cloth. |
| 6. The Floor | Mop starting from the farthest corner and work your way out the door. Let dry. | Mop, floor cleaner, warm water. |
Simple Daily Habits to Maintain a Sanitary Space
Deep cleaning your bathroom requires time and energy, but you can drastically reduce how often you need to perform this routine by adopting a few simple daily habits. Small maintenance tasks prevent grime from taking hold, ensuring your bathroom remains hygienic between major scrubbing sessions. Keep a container of disinfecting wipes or a clean microfiber cloth stored conveniently under your sink. Every morning, after you finish brushing your teeth and washing your face, take ten seconds to quickly wipe down the sink basin and faucet handles. This instantly removes toothpaste splatters and water spots before they harden into concrete-like drops.
In the shower, keep a rubber squeegee hanging on a suction hook. After turning off the water, spend thirty seconds squeegeeing the glass doors and tile walls. This pushes standing water down the drain and removes mineral deposits that cause hard water stains. Finally, actively manage the moisture in the room. Mold and mildew thrive in damp environments. Leave your exhaust fan running for at least twenty minutes after you shower to pull humid air out of the room, keeping your walls and grout lines dry.
Grab a trash bag and a laundry basket, head to your bathroom, and clear off all your counter surfaces right now to prepare for your easiest, most efficient cleaning session yet.