Stubborn discoloration on bathroom surfaces dulls your entire space, but restoring clean tile does not require harsh commercial chemicals. You can easily lift mineral buildup, soap scum, and dark spots using affordable pantry ingredients.
Different materials—such as glazed ceramic, resilient porcelain, and porous natural stone—react uniquely to acidic and alkaline cleaners. Selecting the correct household compound protects your tile glaze while effectively dissolving grime without damage.
These ten tested methods will help you clean bathroom tiles efficiently without unnecessary scrubbing, chemical fumes, or physical strain.
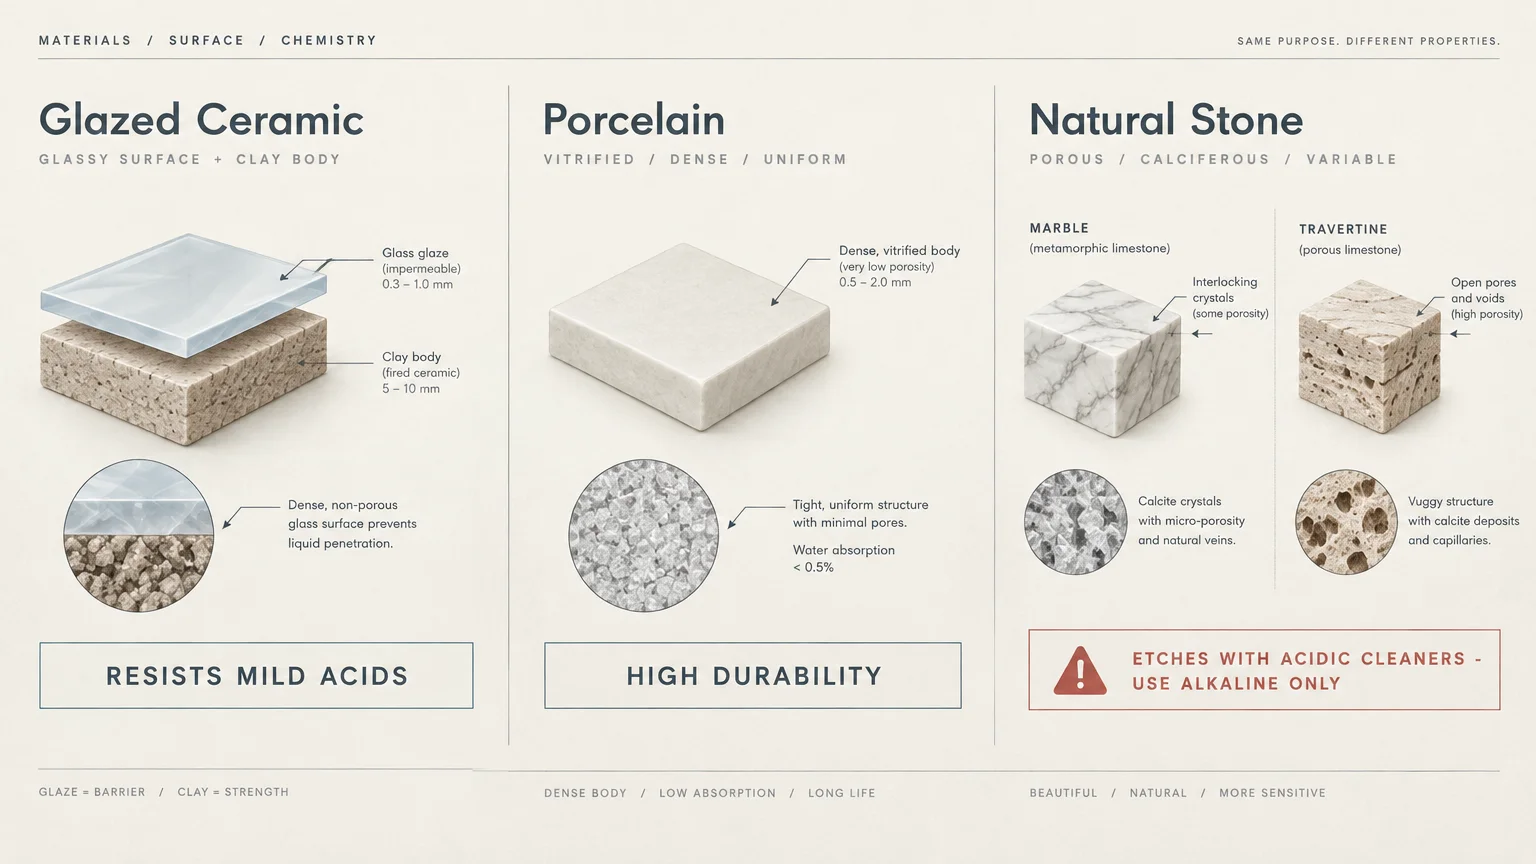
Assessing Your Tile Material Before Cleaning
Before applying any cleaner, identify whether your bathroom features ceramic, porcelain, or natural stone. Glazed ceramic and porcelain withstand mild acids, whereas stone surfaces like marble, travertine, or slate etch easily when exposed to acidic liquids.
Check the condition of your grout lines as well. Unsealed cementitious grout absorbs colored liquids quickly, turning simple spills into stubborn grout stains.
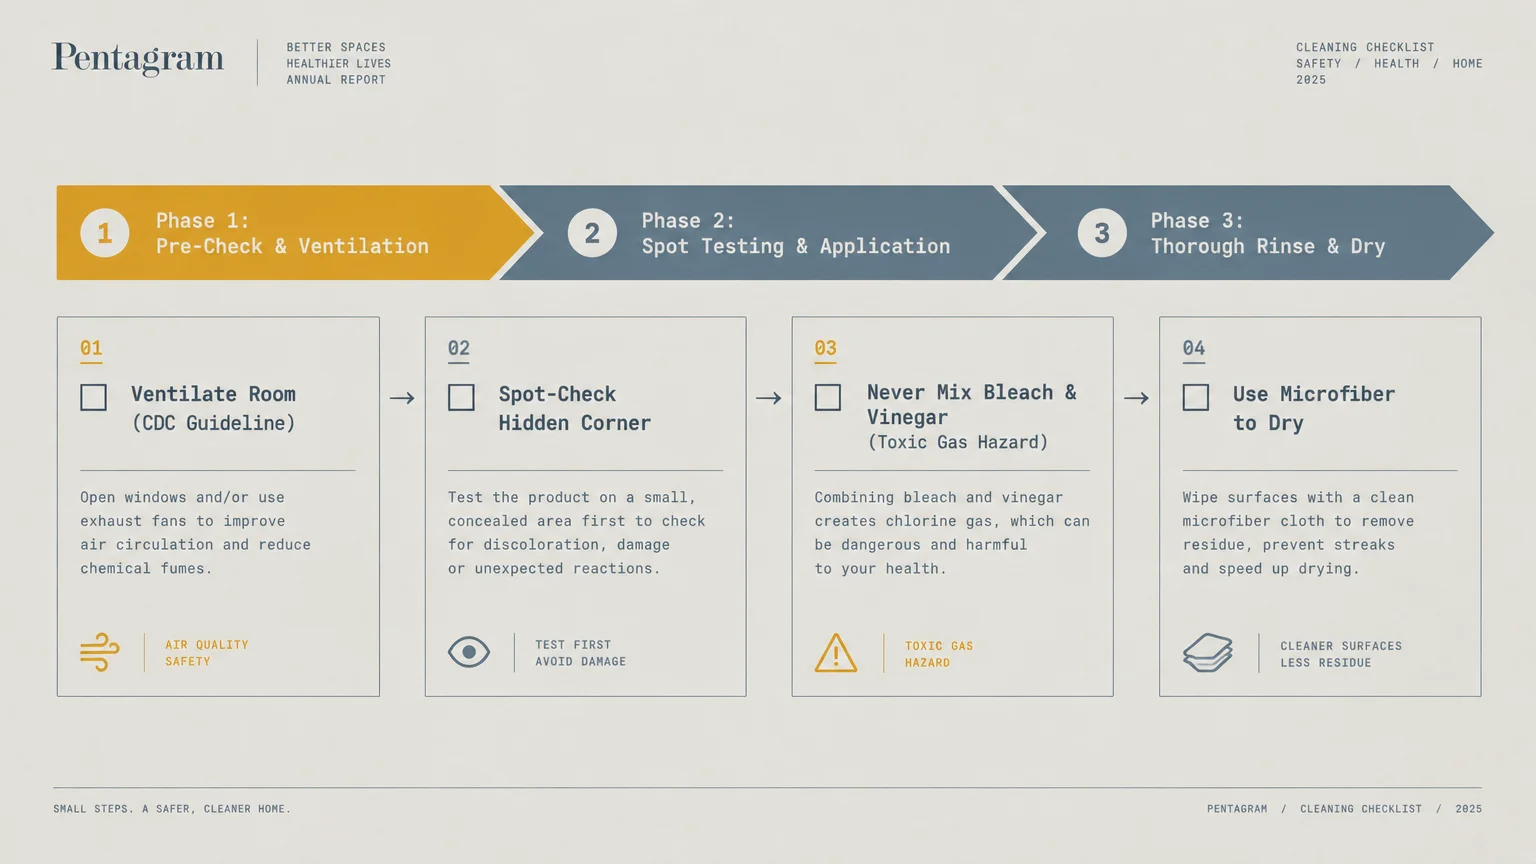
Always test any DIY tile cleaning solution on a hidden corner before treating visible areas. This quick spot check prevents unexpected discoloration or dull spots across your walls and floors.
Never mix household cleaning agents haphazardly. Combining chlorine bleach with acidic compounds like vinegar produces toxic chlorine gas, which causes severe respiratory damage.
Review the CDC guidelines on safe indoor cleanup to ensure your workspace remains well-ventilated and secure during any deep-cleaning project.
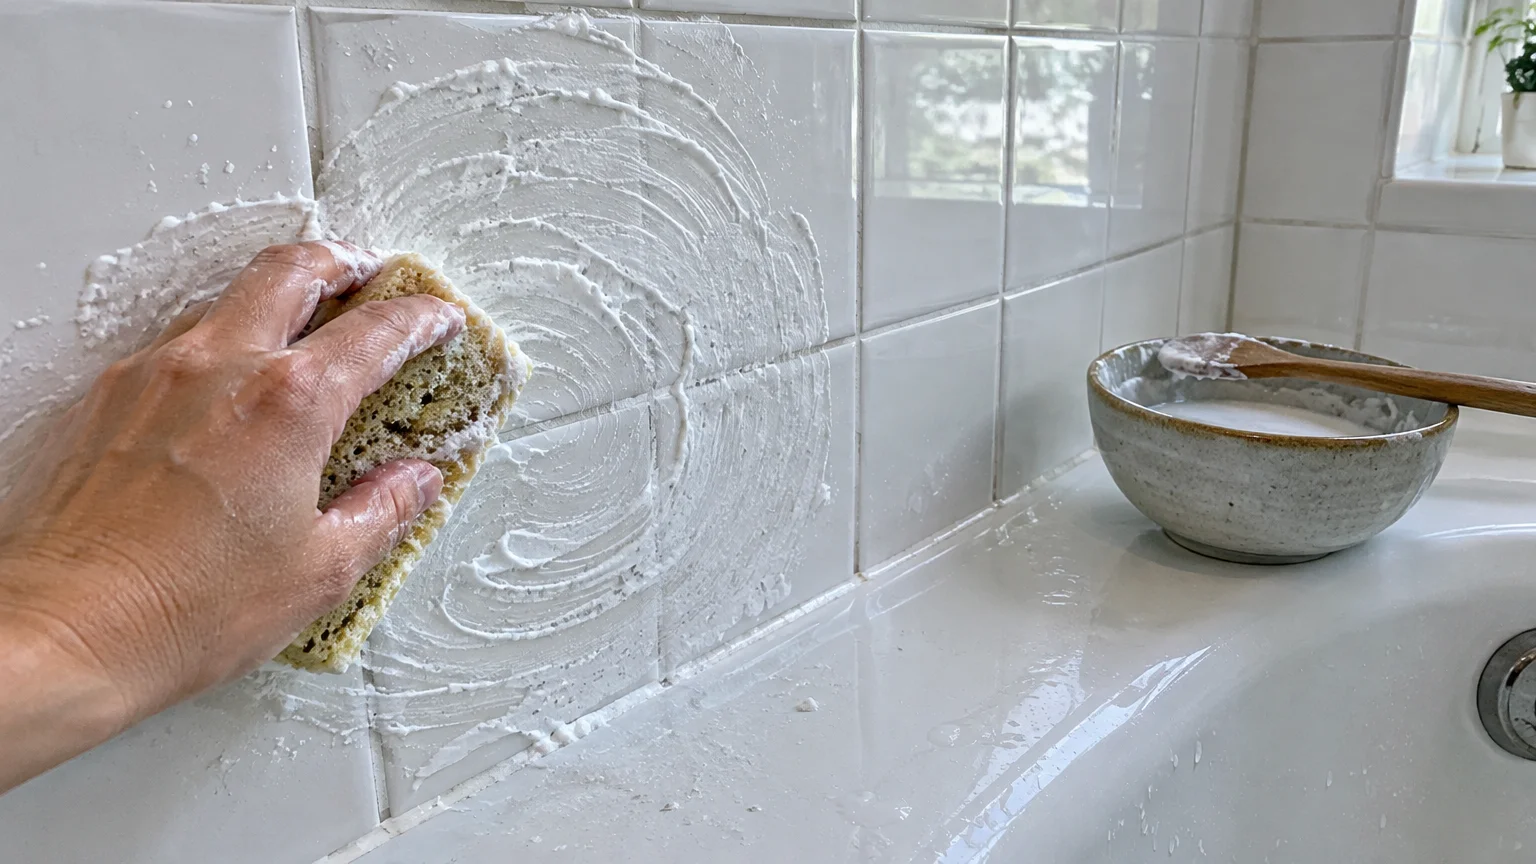
01 Baking Soda and Water Paste for Surface Grime
Sodium bicarbonate provides a mild alkaline base that cuts through grease without scratching glossy surfaces. Its gentle abrasive texture physically dislodges dried residue while remaining completely safe for both ceramic and porcelain surfaces.
This low-cost method works wonders on everyday soap residue, light grime, and oily body wash splatters. It requires no specialized protective gear and produces zero harsh fumes.
- Best for: Light soap scum and surface grime on ceramic or porcelain.
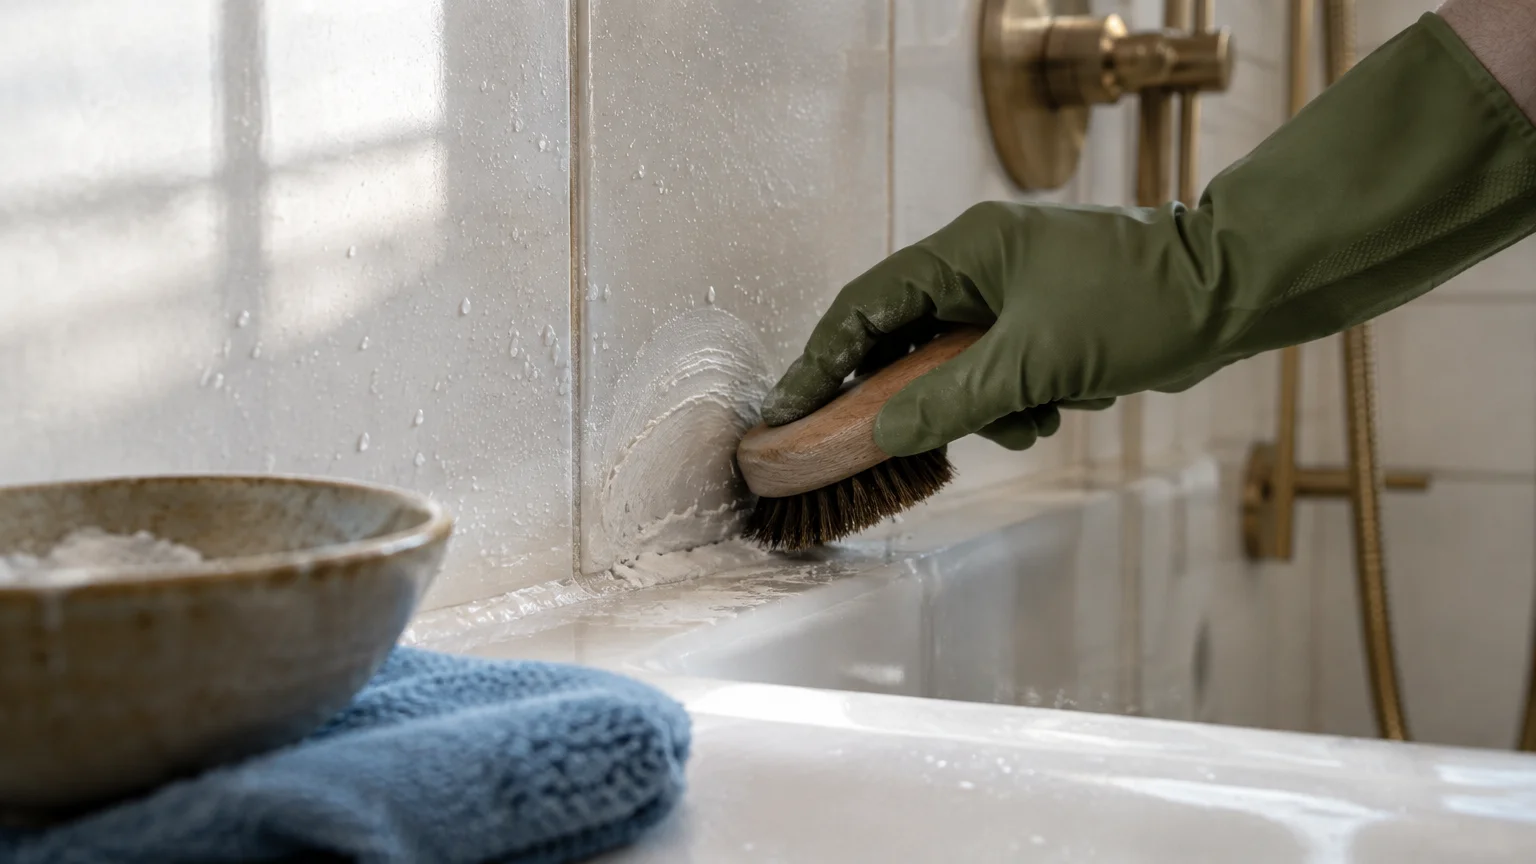
- Preparation: Mix three parts baking soda with one part warm water in a small bowl until it forms a thick paste.
- Application: Spread the paste directly onto the stained tile faces using a soft sponge or a microfiber cloth.
- Dwell time: Allow the mixture to rest on the surface for ten minutes to soften dried grime.
- Removal: Wipe the area in circular motions using a damp cloth, rinse thoroughly with warm water, and dry with a towel.
If you have sensitive skin, this gentle paste eliminates irritation risks. It provides an effortless way to clean bathroom tiles during your weekly routine.
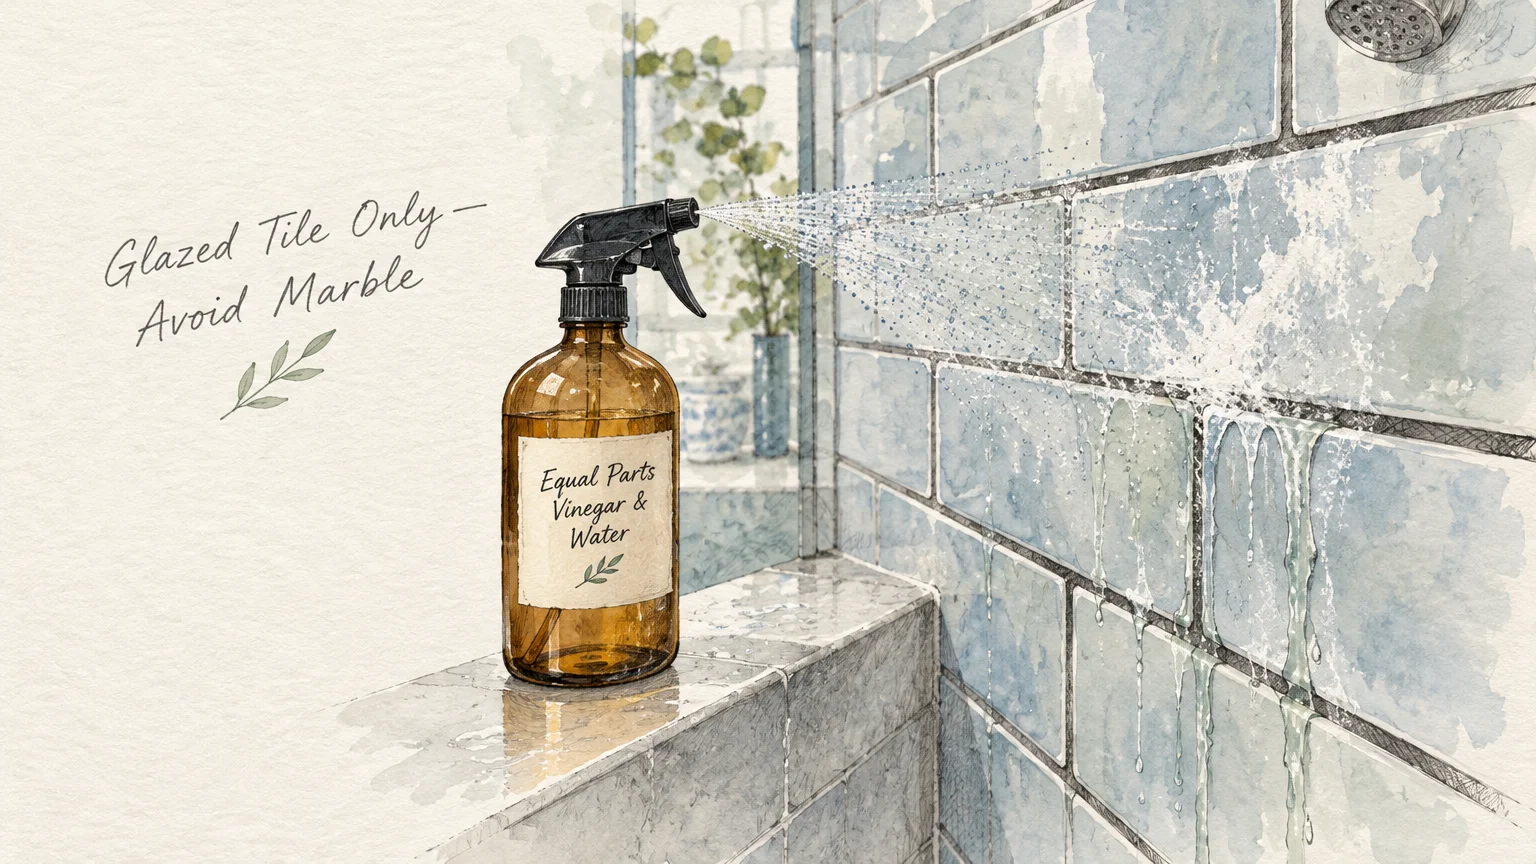
02 Distilled White Vinegar Spray for Hard Water Deposits
Hard tap water leaves behind cloudy white crusts known as limescale, which consist primarily of calcium carbonate. Distilled white vinegar contains acetic acid, which dissolves these alkaline mineral deposits through a gentle chemical reaction.
Reserve this method exclusively for glazed ceramic, porcelain, and glass. Acidic solutions dissolve calcium-based stones like marble and limestone, as cautioned by the Natural Stone Institute.
- Best for: Cloudy limescale and calcium marks on glazed tiles.
- Preparation: Combine equal parts distilled white vinegar and warm tap water in a clean spray bottle.
- Application: Mist the vinegar solution generously over cloudy shower walls and tile surrounds.
- Dwell time: Let the acid sit undisturbed for fifteen minutes so it can break down mineral bonds.
- Removal: Scrub gently with a nylon brush, rinse clean with cool water, and squeegee the surface dry.
For vertical surfaces where liquid runs off quickly, saturate paper towels with the solution and press them against the tiles. They will cling easily, keeping the acid in direct contact with mineral buildup.
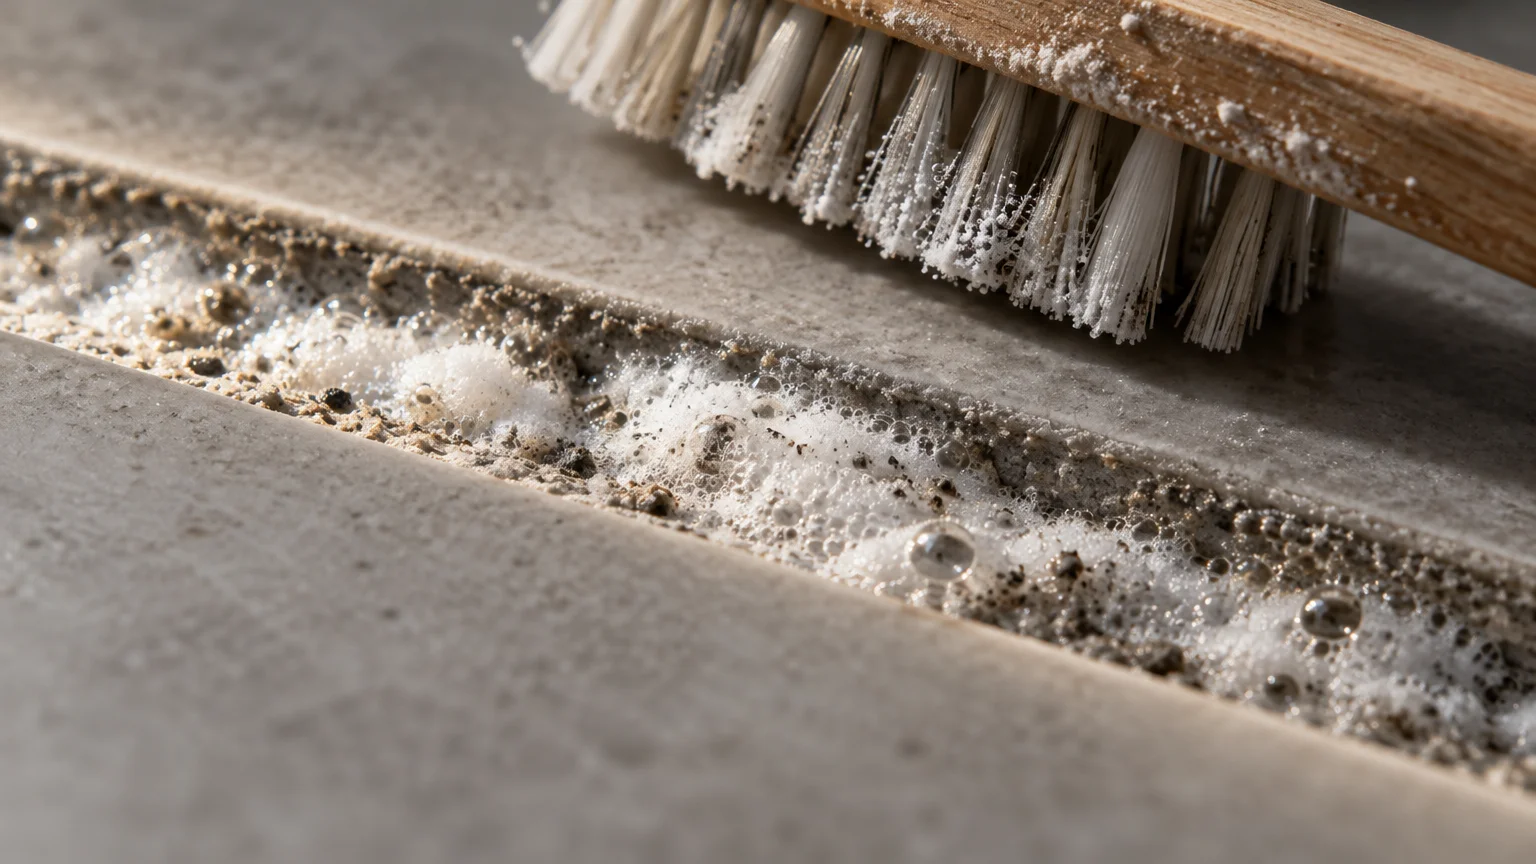
03 Hydrogen Peroxide and Baking Soda for Grout Stains
Grout lines are porous, making them prime targets for dirt accumulation, body oils, and stubborn dark discoloration. Hydrogen peroxide acts as an oxygen-based bleaching agent that lifts stains from deep within mortar without degrading structural integrity.
When combined with baking soda, this pairing generates gentle effervescent bubbles that push trapped debris out of grout channels. It serves as one of the most effective DIY tile cleaning remedies for dingy lines.
- Best for: Deep grout stains, mildew marks, and organic discoloration.
- Preparation: Combine one-half cup of baking soda with one-quarter cup of three-percent hydrogen peroxide into a smooth slurry.
- Application: Spread the slurry along the grout channels using a narrow grout brush or an old toothbrush.
- Dwell time: Allow the mixture to dwell for twenty minutes until active bubbling subsides.
- Removal: Scrub along the joints with firm back-and-forth strokes, wipe with a damp sponge, and rinse thoroughly.
This approach brightens white and light gray grout without filling your home with noxious fumes. It also lifts discoloration caused by organic mold spores on contact.
04 Lemon Juice and Table Salt for Rust Spots
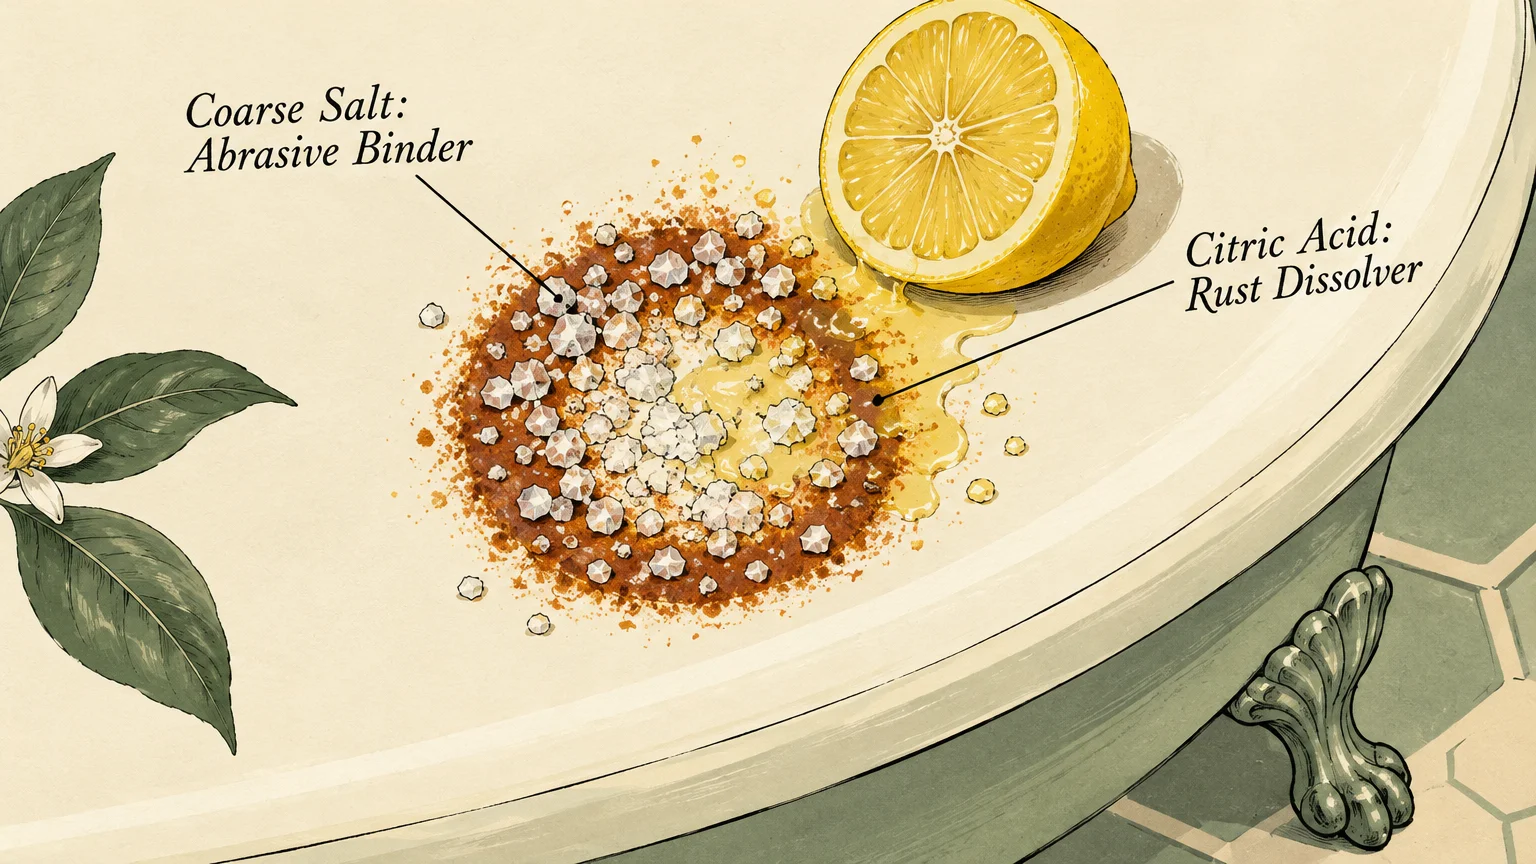
Metal shaving cream canisters and iron shower caddies frequently leave orange rust rings on tiled ledges. Citric acid from fresh lemons reacts with iron oxide to make it water-soluble, while fine salt creates a gentle scouring agent.
Because lemon juice carries high acidity, apply it only to porcelain and ceramic tiles. Avoid using citrus juice on unsealed natural stone floors.
- Best for: Localized rust stains and metal oxidation rings.
- Preparation: Keep table salt and one fresh lemon ready for spot application.
- Application: Pour a small mound of salt over the rust ring, then squeeze fresh lemon juice over it to create a saturated paste.
- Dwell time: Let the acidic mixture soak into the rust mark for two hours.
- Removal: Rub the paste gently with a damp microfiber cloth, then rinse the tile clean with warm water.
If faint discoloration persists, reapply fresh lemon juice and let it sit for another hour. The natural bleaching power of citric acid will lift remaining iron traces.
05 Gentle Dish Soap and Warm Water for Sensitive Natural Stone
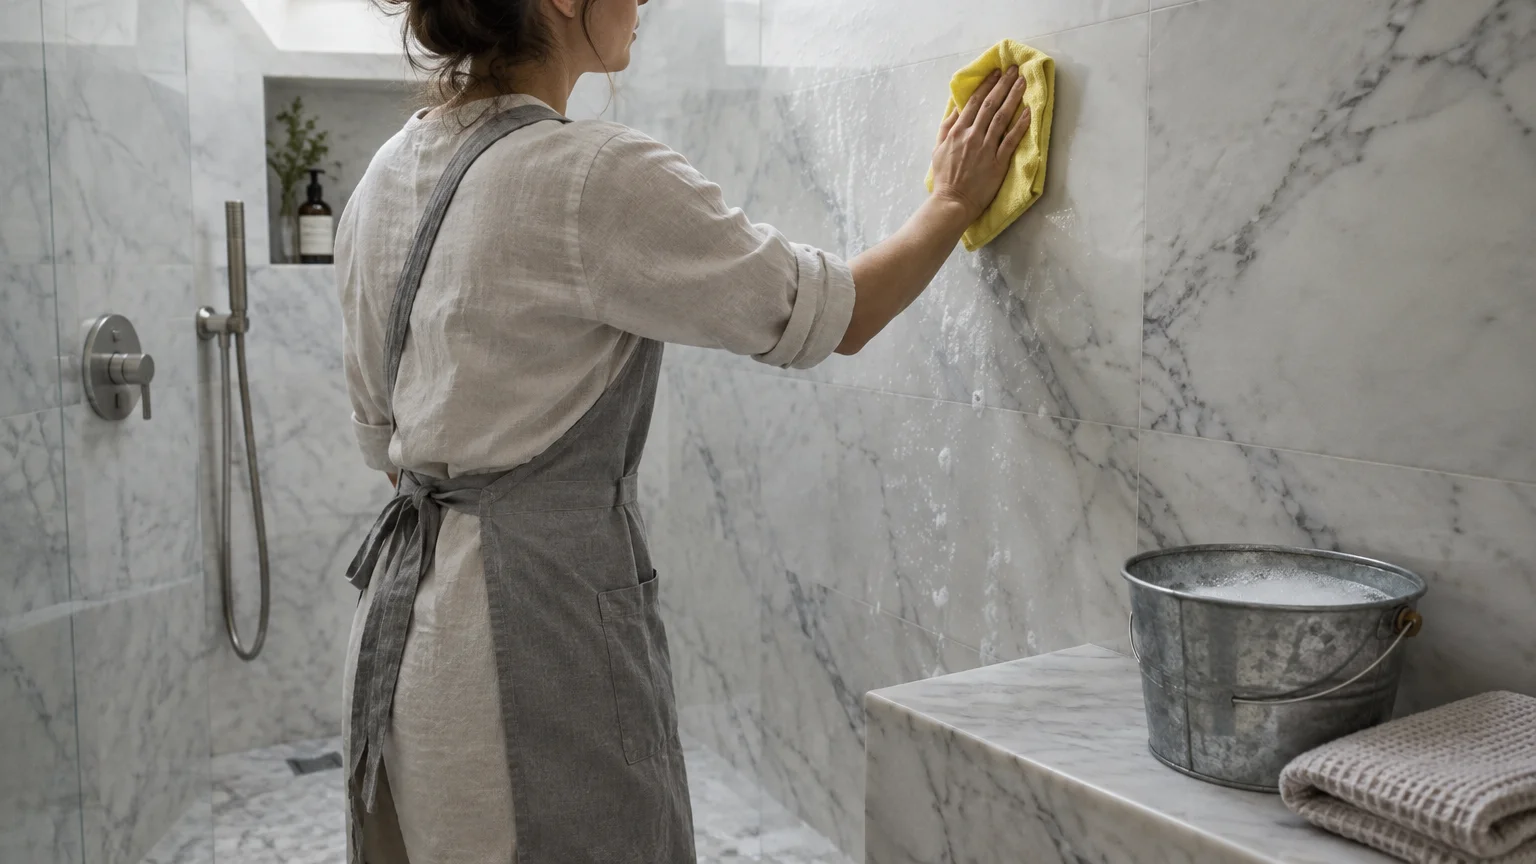
Natural stone tiles like travertine, slate, and marble require special care because harsh chemicals degrade their calcite matrix. A neutral liquid dish detergent removes everyday body oils and grime without compromising delicate stone surfaces.
This mild formulation prevents surface cloudiness and preserves your protective sealant. It provides an ideal daily maintenance routine for luxury bathrooms.
- Best for: Travertine, marble, slate, and limestone tile surfaces.
- Preparation: Add two squirts of gentle, pH-neutral liquid dish soap to one gallon of warm water in a bucket.
- Application: Dip a microfiber mop or sponge into the soapy water and wring out excess moisture thoroughly.
- Dwell time: Clean immediately without extended soaking to avoid over-saturating the stone pores.
- Removal: Wipe the tiles down with a clean, damp cloth to rinse away suds, then buff dry with a plush towel.
Avoiding standing water is critical for natural stone tiles. Wiping the surface dry immediately ensures minerals in your tap water do not settle into porous stone.
06 Oxygen Bleach Soak for Deep-Set Mildew Discoloration
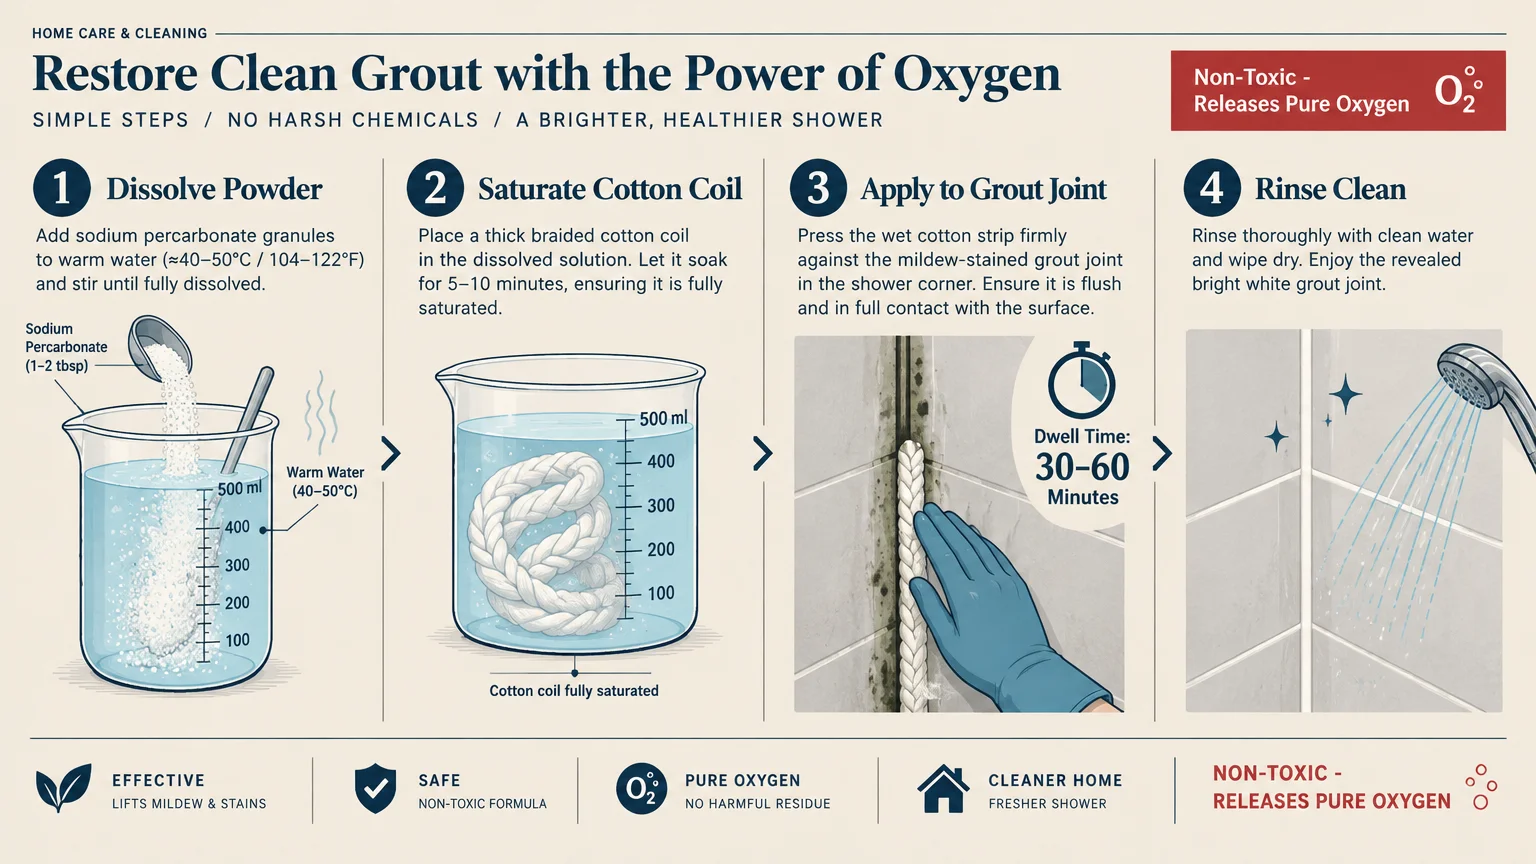
Traditional chlorine bleach creates harsh fumes, irritates mucous membranes, and weakens grout mortar over prolonged use. Powdered oxygen bleach—composed of sodium percarbonate—dissolves into hydrogen peroxide and washing soda when mixed with warm water.
According to the EPA guidelines on indoor air quality, choosing non-volatile cleaning alternatives protects respiratory wellness in poorly ventilated rooms. Oxygen bleach lifts organic dark spots effectively while remaining odorless.
- Best for: Stubborn mildew staining, colored grout, and large floor areas.
- Preparation: Dissolve two tablespoons of powdered oxygen bleach into two cups of warm tap water.
- Application: Pour or sponge the warm liquid across discolored floor tiles and darkened grout intersections.
- Dwell time: Allow the solution to dwell for thirty minutes, rewetting sections if they begin drying.
- Removal: Agitate the lines with a stiff utility brush, mop with fresh water, and towel dry.
Because oxygen bleach does not strip color dyes, it is safe for colored grout lines and patterned decorative tiles. It breaks down cleanly into water, oxygen, and natural soda ash.
07 Rubbing Alcohol and Water for Mirror-Finish Tile Polish
High-gloss wall tiles often show cloudy water spots, hairspray droplets, and dull residue even after thorough washing. Isopropyl alcohol acts as a quick-drying solvent that cuts through sticky polymers without leaving streaks behind.
This DIY tile cleaning spray evaporates almost immediately, preventing new water marks from forming. It also sanitizes high-touch wall areas near vanity counters and towel hooks.
- Best for: Glossy subway tiles, mirrored tiles, and chrome-adjacent wall borders.
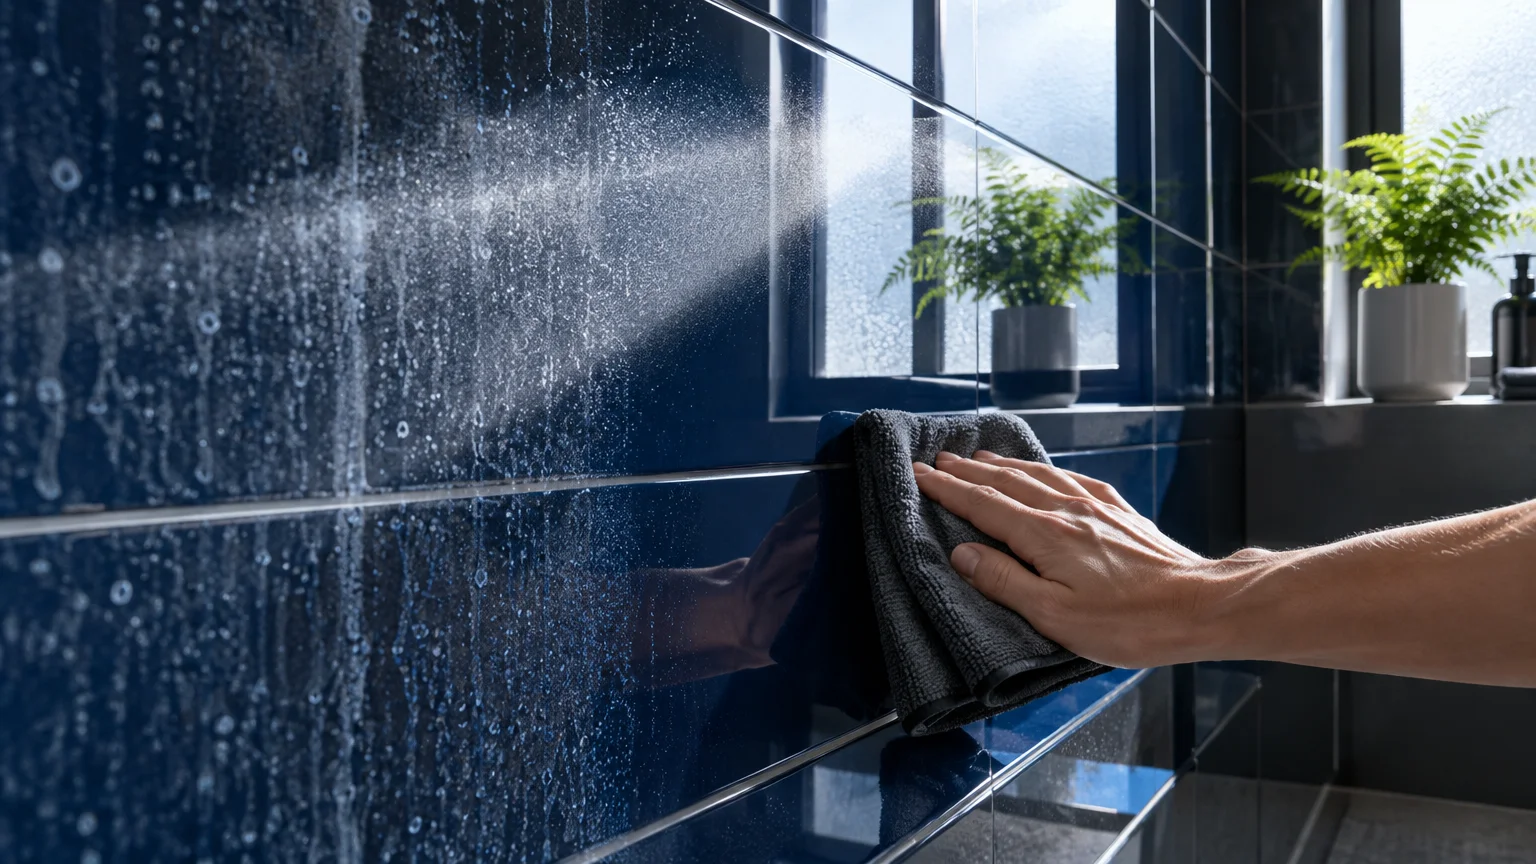
- Preparation: Mix equal parts seventy-percent isopropyl alcohol and distilled water in a spray bottle with three drops of dish soap.
- Application: Mist the alcohol solution lightly across the vertical wall tiles.
- Dwell time: No dwell time required; wipe immediately before the alcohol evaporates.
- Removal: Buff the tiles in circular motions using a clean, flat-weave microfiber glass cloth.
You do not need to rinse after using this alcohol blend. The fast evaporation rate leaves shiny subway tiles and backsplashes sparkling with minimal physical effort.
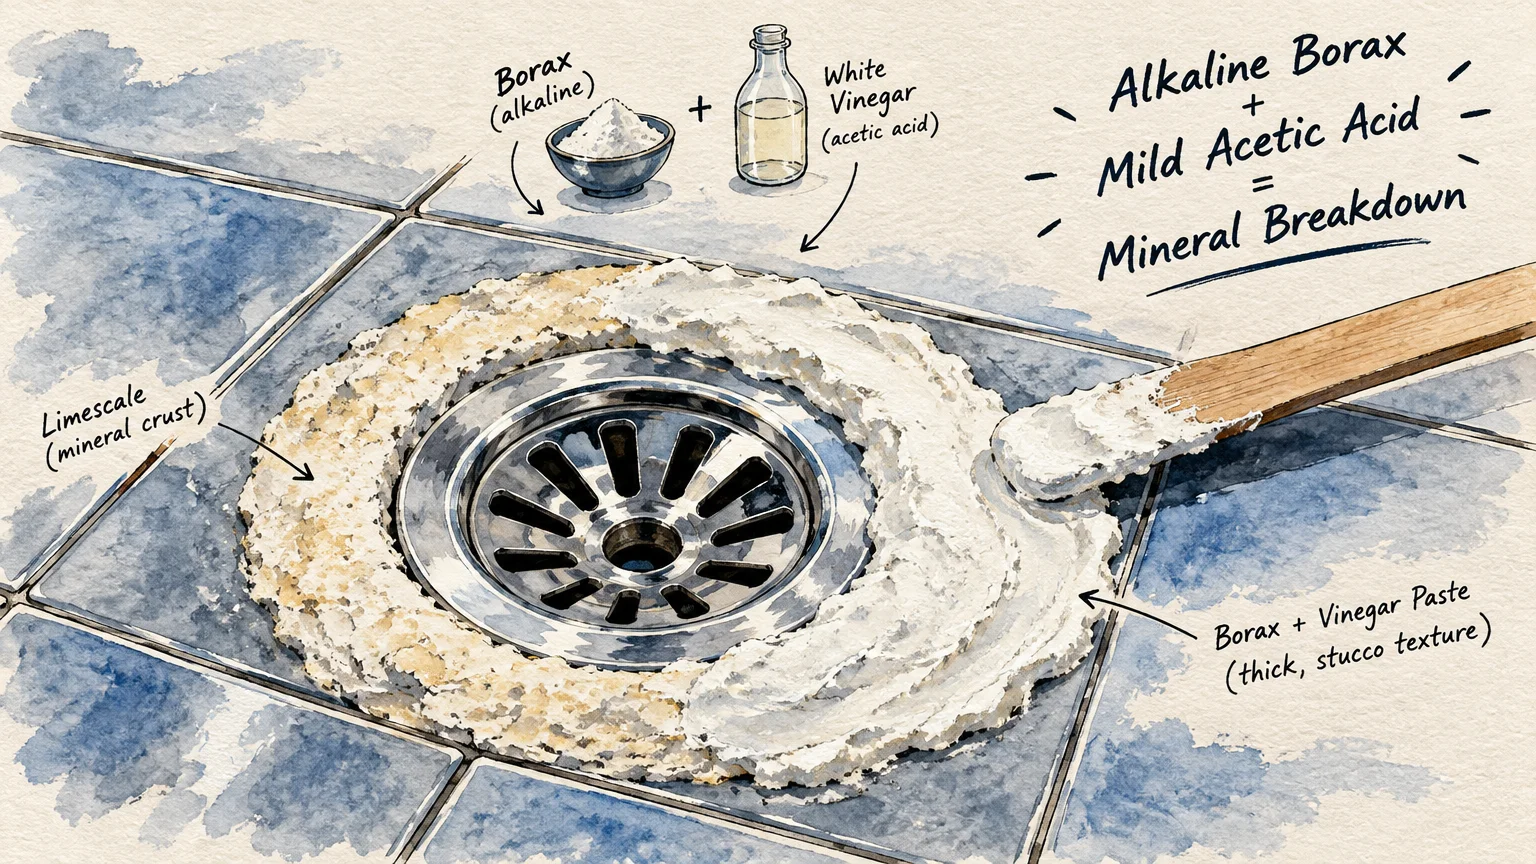
08 Borax and Vinegar Paste for Stubborn Mineral Rings
When hard water minerals combine with dried soap scum on bathroom floor tiles, they form dense crusts. Borax provides an alkaline mineral booster that works in tandem with vinegar to soften thick crusts.
This heavy-duty combination provides extra cleaning muscle for neglected shower corners and tub perimeters. It tackles stains that regular liquid sprays fail to penetrate.
- Best for: Heavy mineral rings, calcified corners, and neglected shower bases.
- Preparation: Mix one-half cup of borax powder with enough white vinegar to form a thick, spreadable paste.
- Application: Spoon the paste onto stubborn mineral rings and spread it one-quarter inch thick.
- Dwell time: Cover the treated spot with plastic wrap to maintain moisture, leaving it for forty-five minutes.
- Removal: Peel off the wrap, scrub the area with a non-scratch sponge, and rinse thoroughly with warm water.
The paste breaks down calcified buildup without requiring excessive arm pressure. It makes deep seasonal cleaning significantly more manageable for older adults.
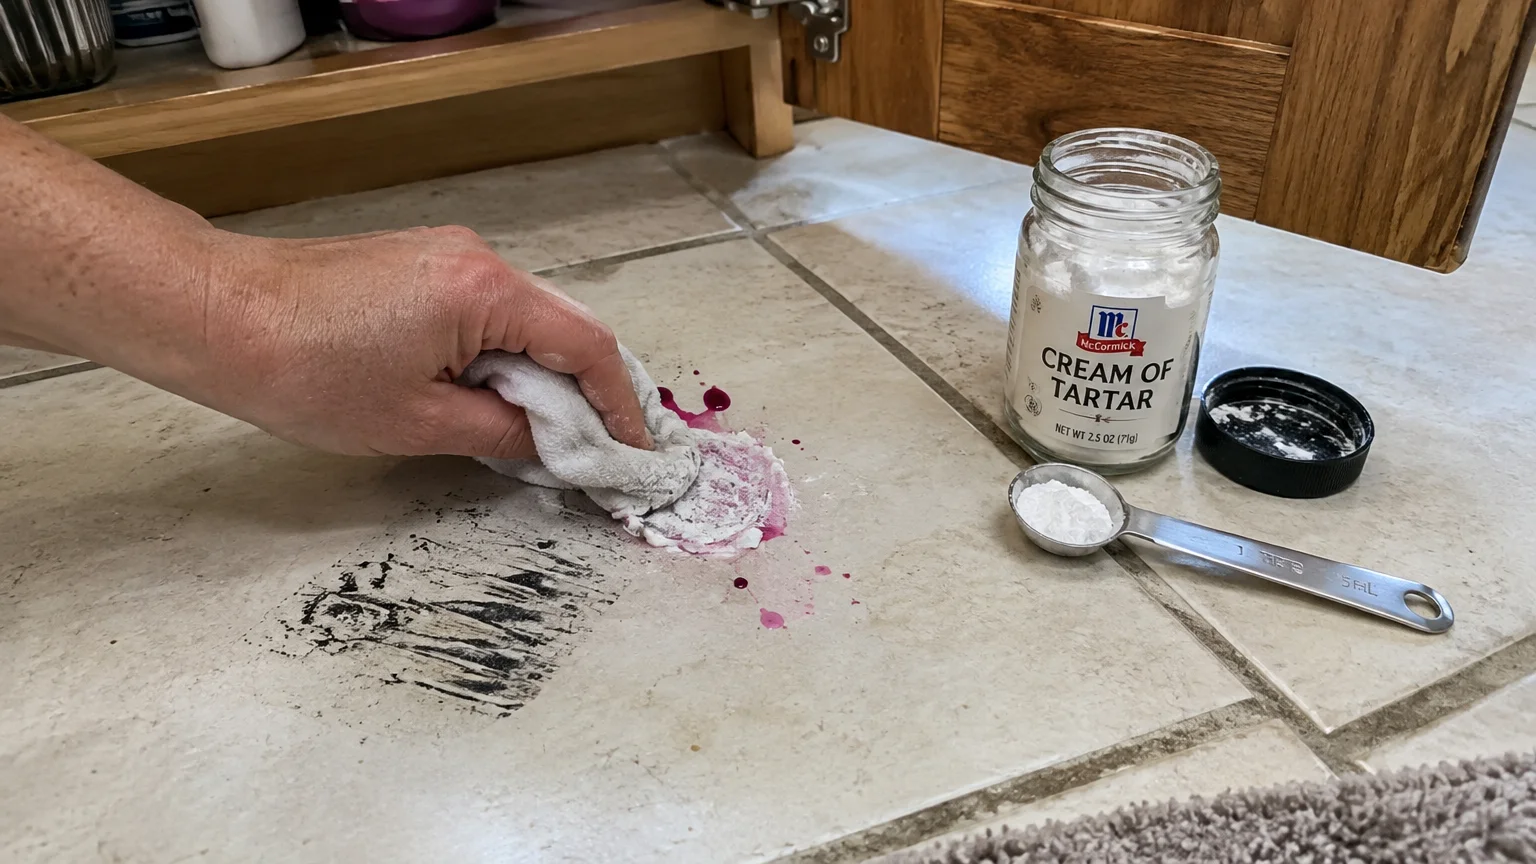
09 Cream of Tartar Spot Treatment for Scuffs and Hair Dyes
Cosmetic hair dyes and metal shower chair legs often leave dark scuff marks across light-colored porcelain tiles. Cream of tartar, known chemically as potassium bitartrate, offers an ultra-fine acidic powder that lifts pigmentation without scratching delicate glazes.
This targeted treatment lifts stains that regular surface cleansers leave behind. It acts swiftly on localized dye spots around vanity sinks and shower benches.
- Best for: Hair dye stains, metal chair scuffs, and cosmetic pigment marks.
- Preparation: Mix one tablespoon of cream of tartar with a few drops of hydrogen peroxide to form a thick paste.
- Application: Dab the paste directly over dye splatters or dark rubber scuffs using a cotton swab or cloth.
- Dwell time: Let the paste dry completely on the stain, which takes roughly twenty minutes.
- Removal: Rub the dried paste away with a damp microfiber cloth using firm pressure, then rinse with water.
Keep a small container of cream of tartar in your bathroom cabinet for instant stain response. Treating hair dye splatters immediately ensures pigments never bond permanently to your grout.
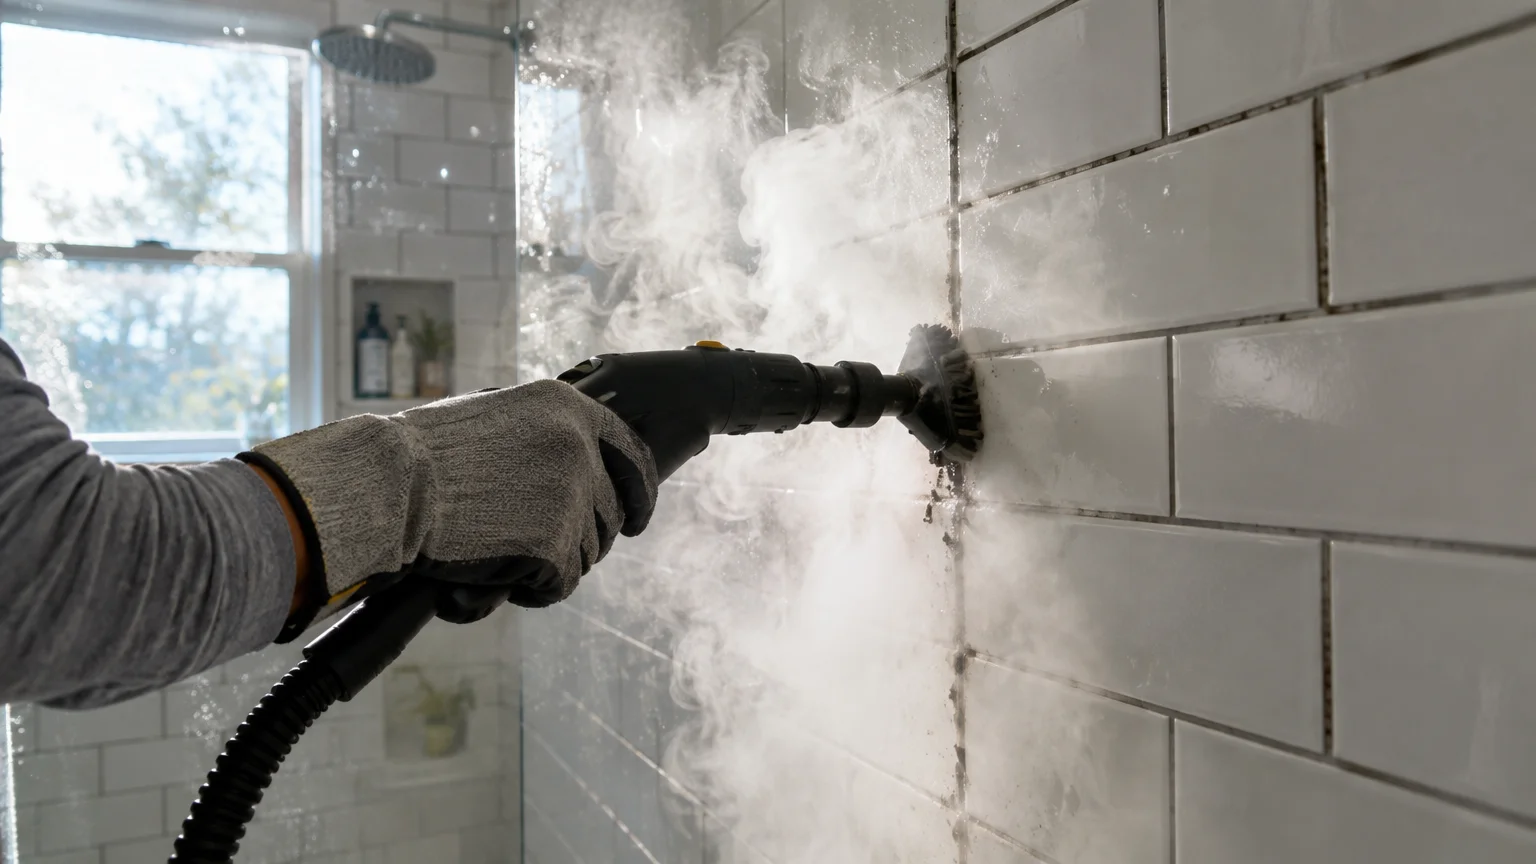
10 Steam Cleaning with Distilled Water for Chemical-Free Lifting
Pressurized steam delivers high heat that penetrates microscopic tile fissures and grout pores without any chemicals. The moisture liquefies hardened soap residue and lifts ground-in dirt, making it simple to wipe away.
Steam cleaning provides an ergonomic advantage because the heat does the heavy work instead of your joints. Handheld steam units with brush attachments minimize stooping and kneeling.
- Best for: Deep chemical-free sanitization, textured tiles, and hard-to-reach corners.
- Preparation: Fill your steam cleaner reservoir with distilled water to prevent internal limescale buildup.
- Application: Attach a nylon detail brush or wide squeegee head and bring the unit to full operating temperature.
- Dwell time: Move the steam nozzle along tile joints at a steady pace of two inches per second.
- Removal: Follow directly behind the steam head with a dry microfiber cloth to lift dissolved grime.
Avoid applying concentrated steam to tiles attached with moisture-sensitive mastic adhesives. Continuous gentle passes provide effective cleaning without loosening older tile installations.
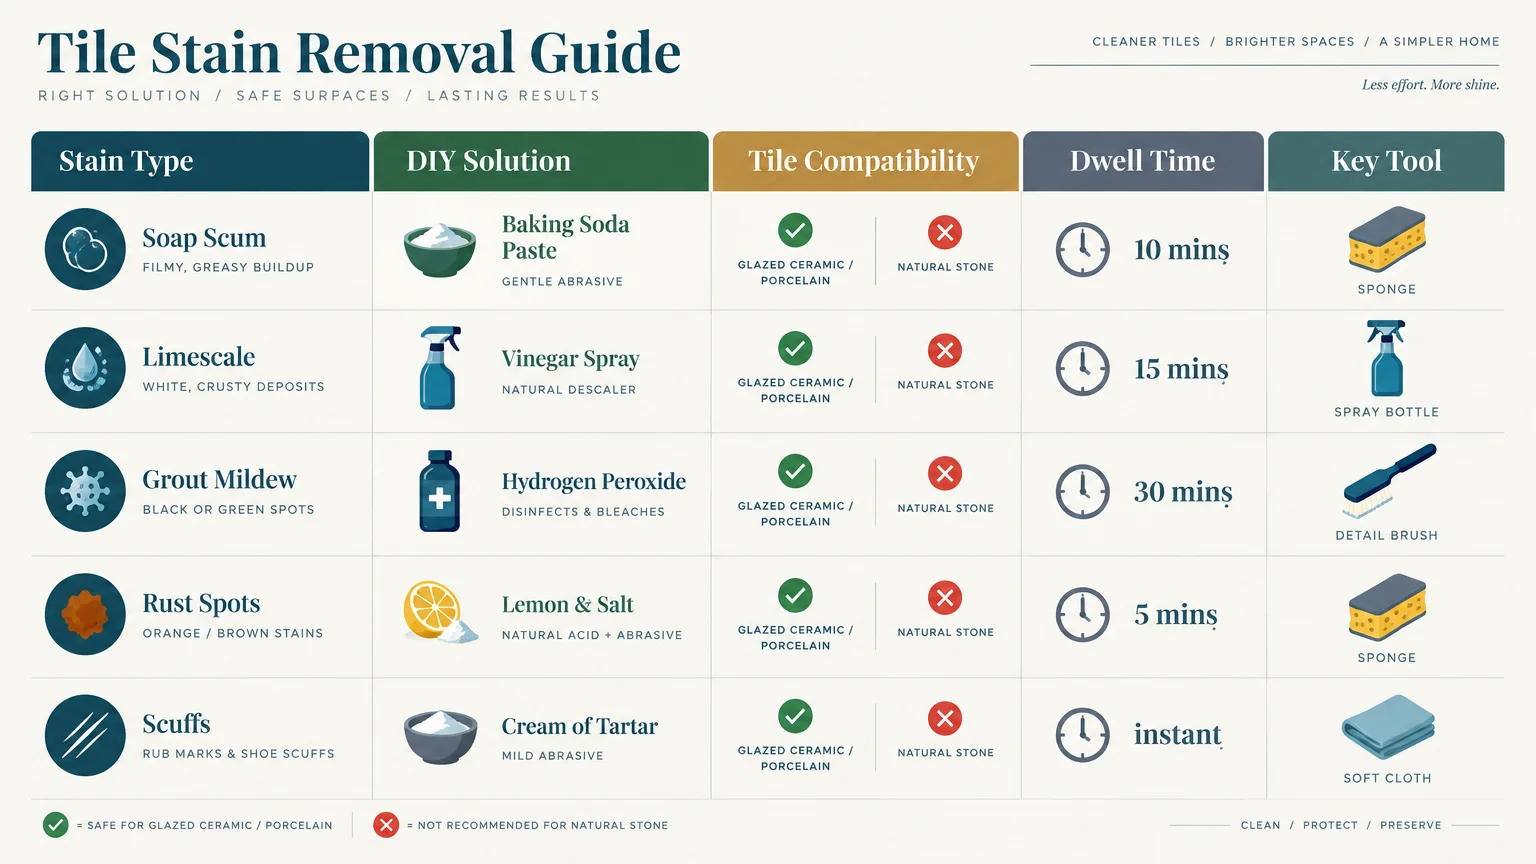
Quick Reference Guide: Matching Stains to the Right DIY Solution
Selecting the proper method depends on your tile material and the nature of the stain. Consult this comparison table before gathering your supplies to ensure fast, damage-free cleaning.
| Stain / Soil Type | Compatible Tile Surfaces | Best DIY Technique | Dwell Time | Recommended Tool |
|---|---|---|---|---|
| Light Soap Scum | Glazed Ceramic, Porcelain | Baking Soda Paste | 10 minutes | Non-scratch sponge |
| Hard Water Limescale | Glazed Ceramic, Porcelain, Glass | Distilled White Vinegar Spray | 15 minutes | Nylon-bristle brush |
| Dark Grout Discoloration | Cementitious Grout Lines | Hydrogen Peroxide & Baking Soda | 20 minutes | Narrow grout brush |
| Orange Rust Rings | Glazed Ceramic, Porcelain | Lemon Juice & Table Salt | 2 hours | Damp microfiber cloth |
| Oily Grime & Body Wash | Marble, Travertine, Slate, Limestone | pH-Neutral Dish Soap & Warm Water | Immediate | Microfiber flat mop |
| Deep-Set Mildew Marks | White & Colored Grout, Ceramic | Powdered Oxygen Bleach Solution | 30 minutes | Stiff utility brush |
| Dull Glaze & Water Spots | Polished Porcelain, High-Gloss Ceramic | Rubbing Alcohol & Distilled Water | Immediate | Flat-weave glass cloth |
| Dense Calcified Crusts | Porcelain Pans, Heavy Glazed Tile | Borax & Vinegar Paste | 45 minutes | Scrub sponge with wrap |
| Hair Dye & Rubber Scuffs | Porcelain, Ceramic, Glazed Mosaic | Cream of Tartar & Peroxide Paste | 20 minutes | Microfiber cloth |
| Textured Tile Soil | Glazed Tile, Porcelain, Stone Joints | Distilled Water Steam Cleaning | Continuous pass | Steam detail nozzle |
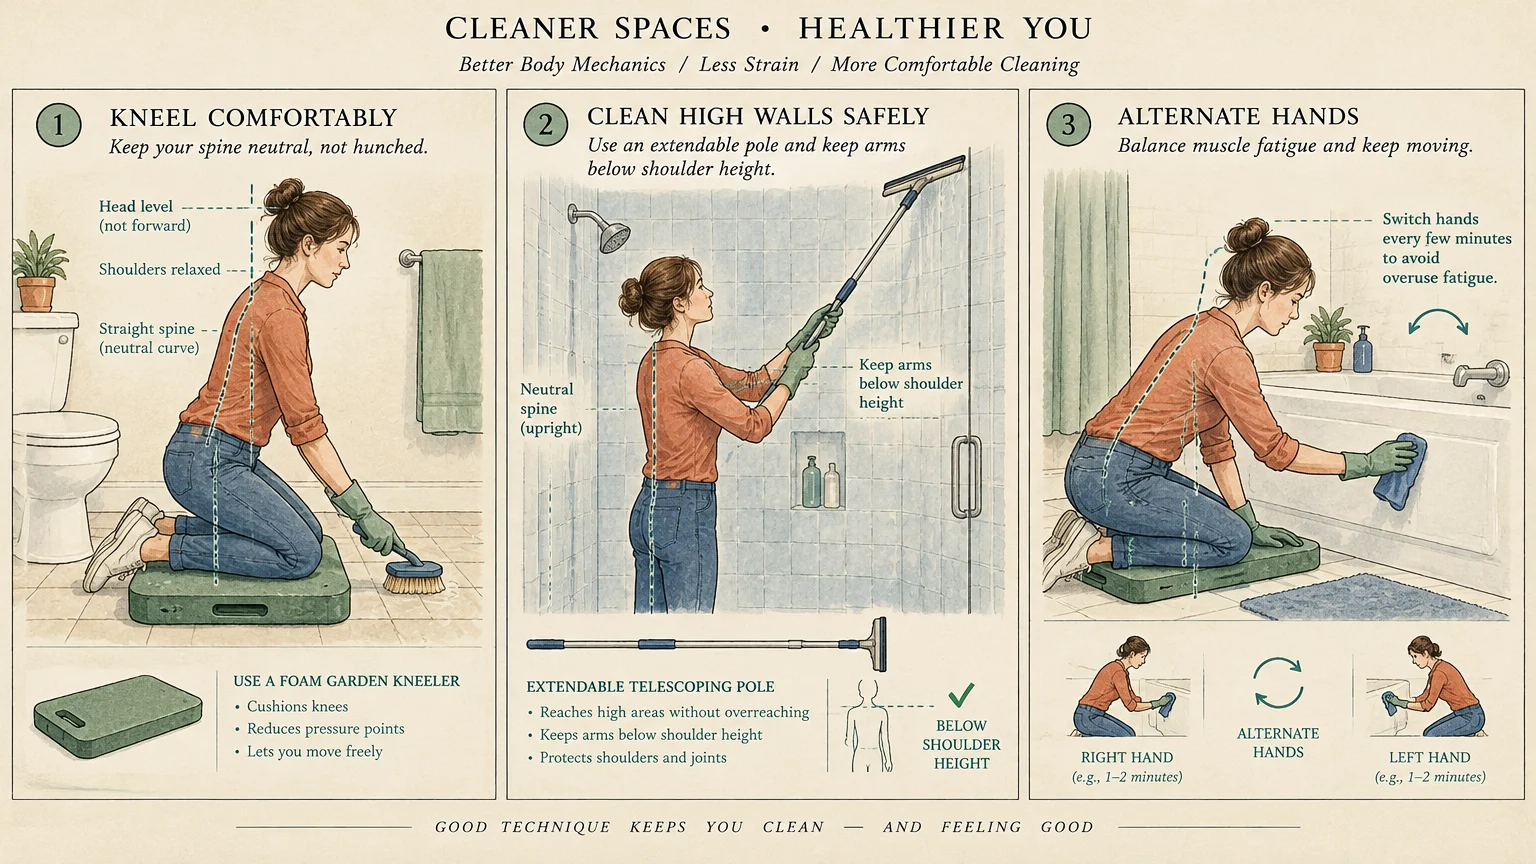
Ergonomic Bathroom Cleaning Tips to Reduce Strain
Cleaning low tile borders and high shower surrounds can strain your back, neck, and knees. Using extended-handle scrubbers and angled brushes allows you to clean bathroom tiles from a comfortable, upright posture.
Break your cleaning sessions into smaller, focused zones instead of attempting to scrub the entire bathroom at once. Treating one wall or the shower floor on alternate days keeps chores manageable.
Wear cushioned knee pads or use a thick garden kneeling mat whenever you work on floor surfaces. Protecting your joints makes routine home maintenance far more sustainable.
Ensure proper ventilation by running your exhaust fan and opening a window before cleaning. Fresh airflow prevents moisture buildup and keeps your working environment comfortable.
Essential Checklist for DIY Tile Cleaning
Gather your equipment beforehand so you can work efficiently without repeated trips to your storage closet. Keeping these basic supplies organized in a portable caddy simplifies your cleaning routine.
- Brushes: One narrow grout brush, an old soft toothbrush, and an angled long-handle scrubber.
- Cloths: Three non-scratch microfiber cloths and one flat-weave glass polishing towel.
- Pantry Cleaners: Arm & Hammer baking soda, distilled white vinegar, and table salt.
- Specialty Liquids: Three-percent hydrogen peroxide, seventy-percent rubbing alcohol, and mild dish soap.
- Heavy-Duty Cleaners: Powdered oxygen bleach, borax powder, and cream of tartar.
- Protective Gear: Flexible rubber gloves, protective eyeglasses, and a thick foam kneeling pad.
- Hardware: Two 16-ounce ergonomic spray bottles and a silicone shower squeegee.
Label your DIY spray bottles clearly with waterproof markers to prevent accidental mix-ups. Safe storage ensures you always grab the appropriate solution for each surface.
Preventative Habits to Stop Tile Stains Before They Form
The easiest way to clean bathroom tiles is preventing grime from adhering to surfaces in the first place. Adopting a few simple daily habits eliminates the need for intensive scrubbing down the road.
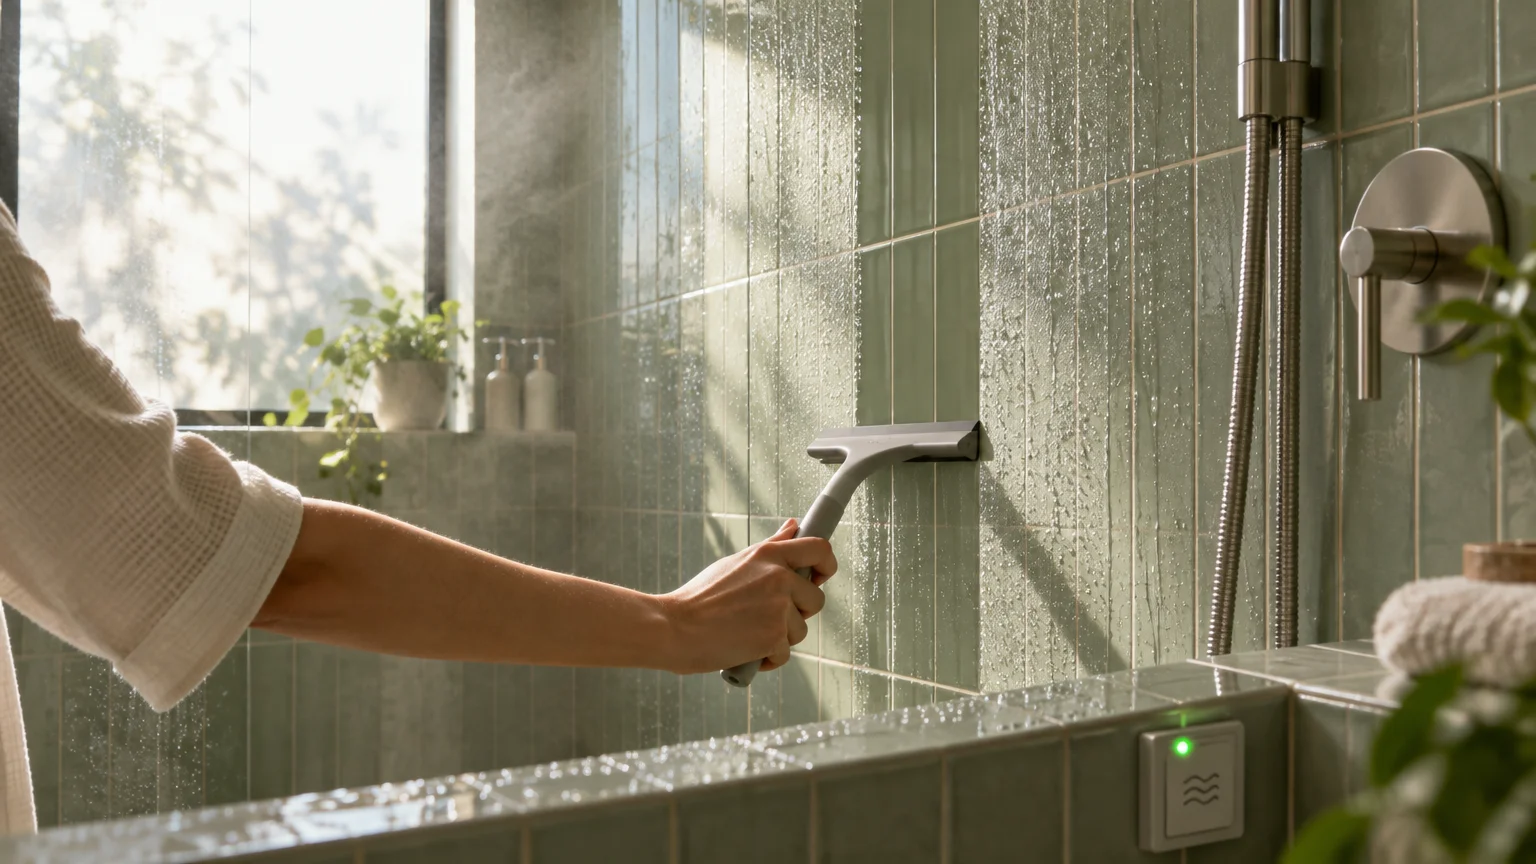
Keep a silicone squeegee hanging inside your shower stall. Taking sixty seconds to sweep water off the walls after every shower removes up to eighty percent of mineral deposits and soap scum.
Switching from bar soap to liquid body wash significantly decreases shower buildup. Traditional bar soaps contain animal fats and fatty acids that bind with tap water minerals, creating thick scum layers.
Seal your grout lines every twelve to eighteen months with a penetrating silicone sealer. A quality sealer blocks liquids, oils, and spores from penetrating porous grout joints, keeping grout stains from establishing.
Consult guidelines from the Tile Council of North America for recommendations on maintaining grout sealers across wet environments.
Your Practical Next Step
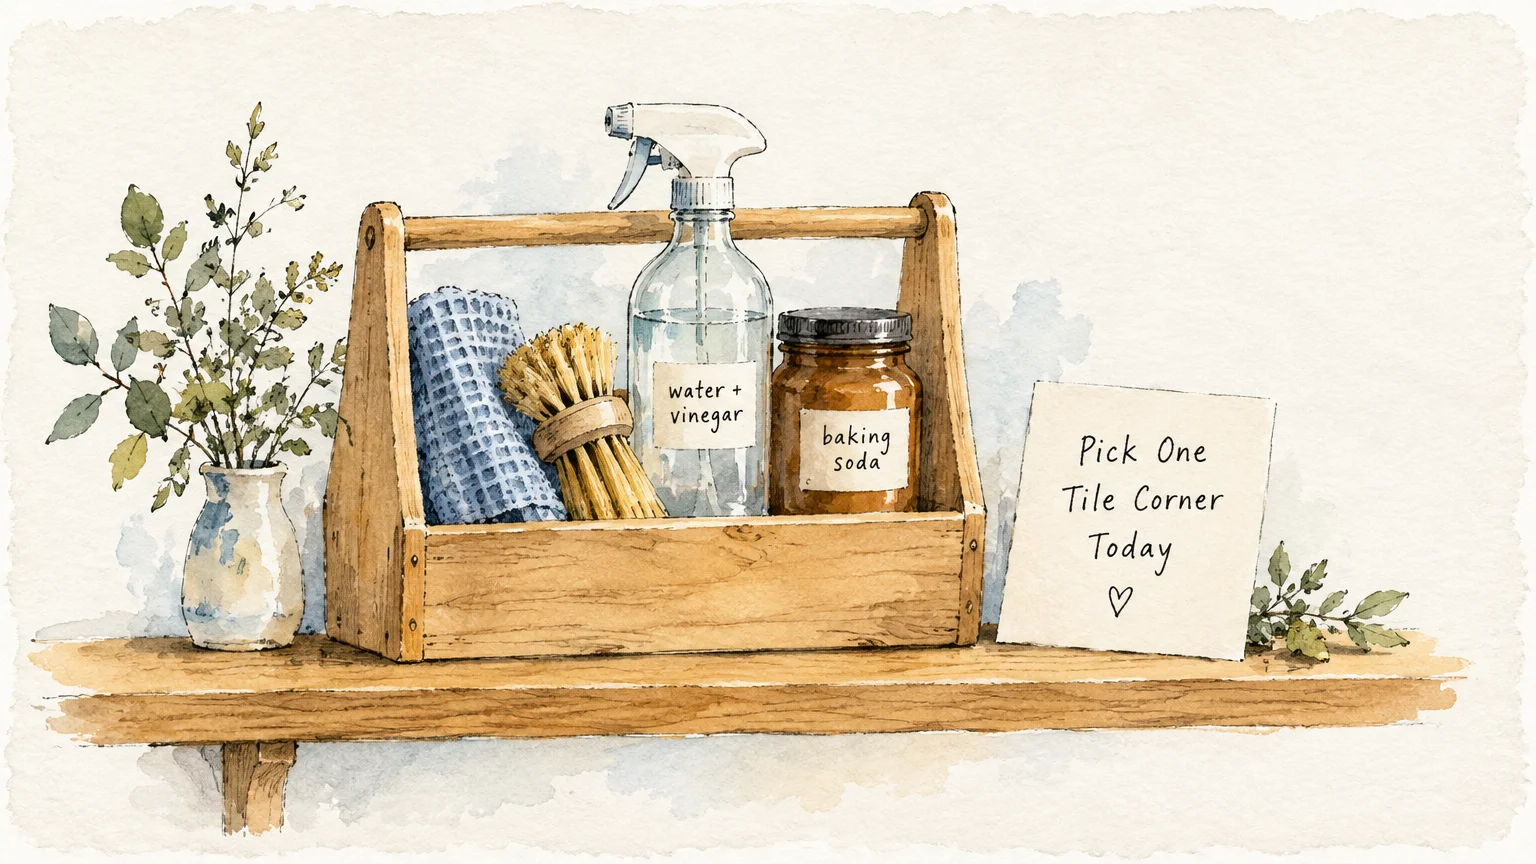
Pick a small area with visible discoloration—such as the grout line below your shower faucet—and test the baking soda and peroxide slurry today. Once you see how easily it lifts grime, you can clean your entire bathroom with confidence.