Proper non-stick pan care protects your cookware investment and keeps your daily cooking effortless. You can easily double the lifespan of your skillet by ditching common washing habits that quietly ruin non-stick coating surfaces.
Most non-stick pan cleaning mistakes happen at the kitchen sink within minutes after cooking ends. Simple adjustments to water temperature, soap choice, and scrubbing tools preserve that slick, factory-smooth finish for years.
Learning how to clean non-stick pans properly prevents flaking, sticking, and premature replacement. Here are ten damaging cleaning habits you should stop right now, along with reliable fixes to restore your cookware maintenance routine.
01 Quenching Hot Pans with Cold Water
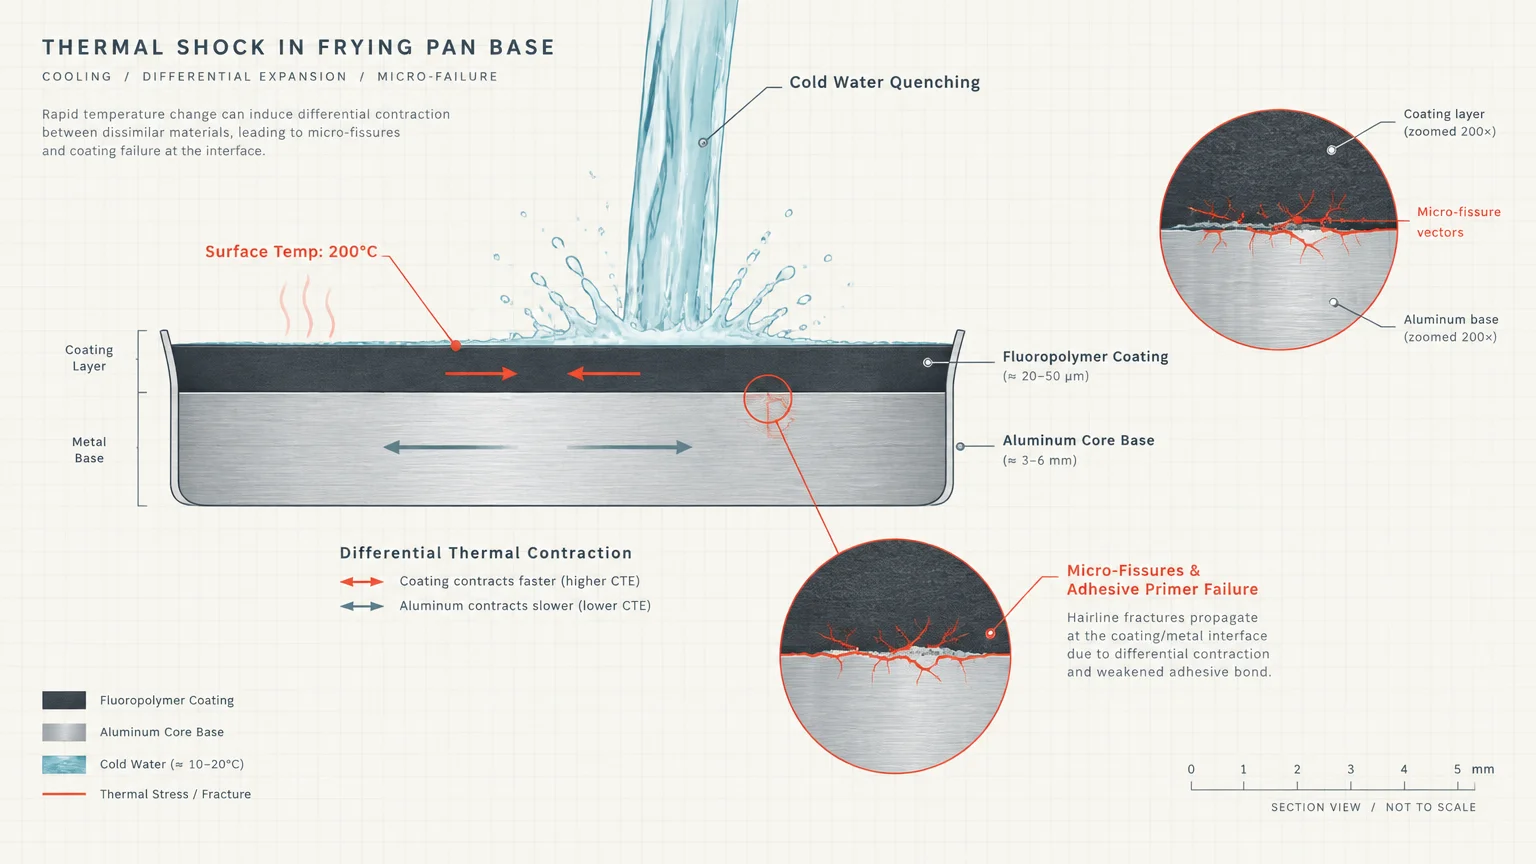
Placing a sizzling skillet straight into a sink filled with cold water causes immediate thermal shock. Metal expands under high heat and contracts abruptly when exposed to rapid temperature drops.
Because the aluminum pan base and the fluoropolymer coating contract at different speeds, the bond between them weakens. Over time, this sudden temperature shift causes micro-fissures and microscopic peeling across the cooking surface.
Thermal shock also warps the flat metal bottom of your skillet. Once warped, cooking oil pools around the outer edges instead of coating the center evenly, causing food to scorch on dry hot spots.
Always allow your skillet to cool to room temperature on an unheated stovetop burner before washing. If you need to soak the pan right away, add warm tap water instead of ice-cold water.
02 Running Non-Stick Cookware Through the Dishwasher
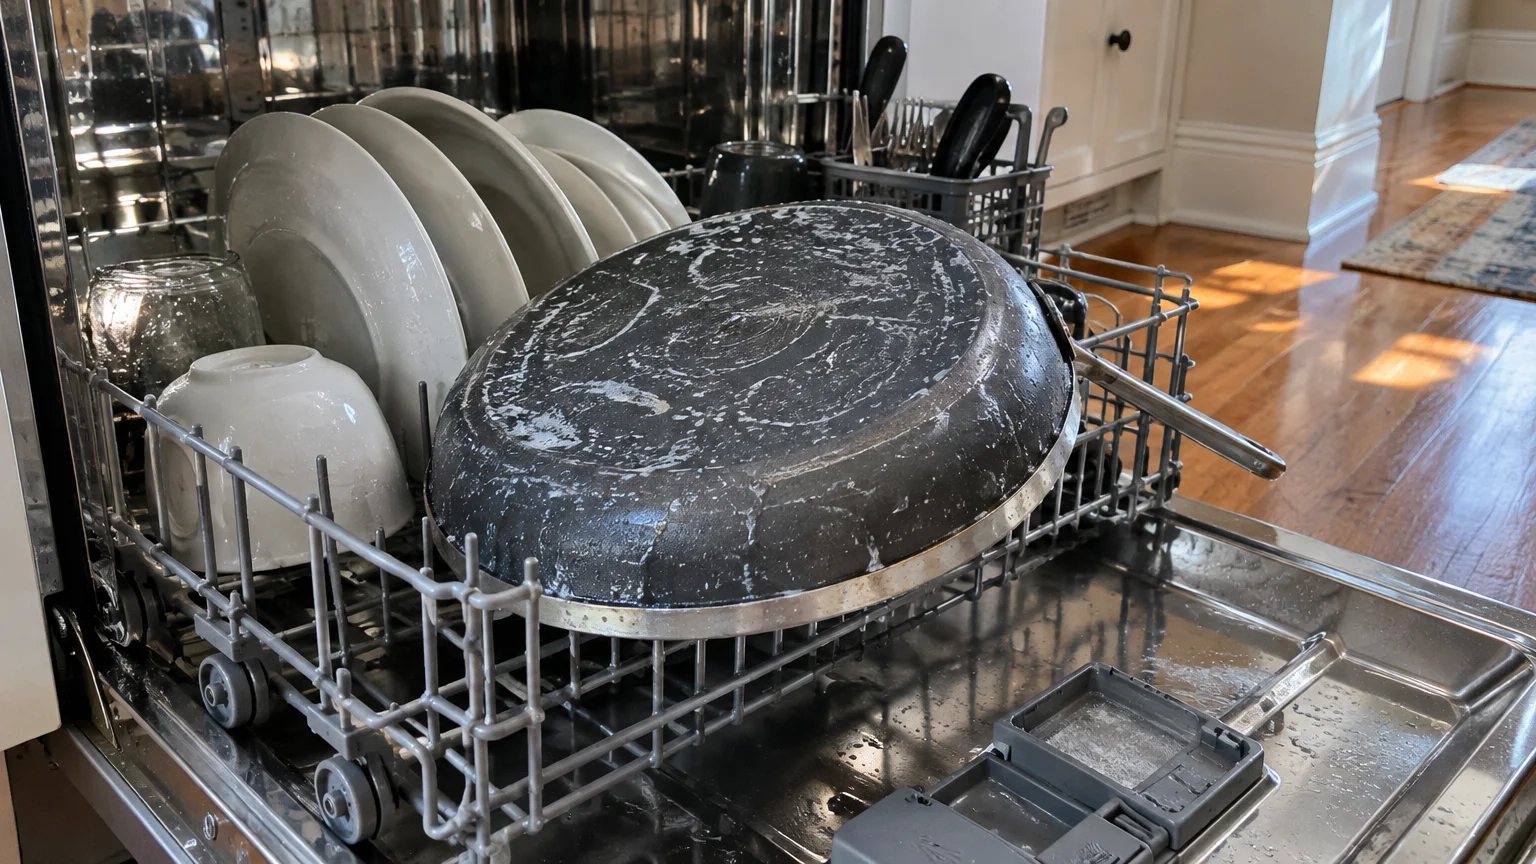
Even when a manufacturer labels a skillet dishwasher-safe, machine cycles accelerate surface degradation. High wash temperatures, prolonged moisture exposure, and concentrated alkaline detergents gradually dissolve the slick non-stick finish.
Commercial dishwasher detergents rely on abrasive enzymes and caustic phosphates to dissolve baked-on food without manual scrub work. These harsh agents corrode exposed aluminum rims and undermine the adhesive primer beneath your cooking surface.
The intense drying cycle presents another hidden danger by baking detergent residue deep into microscopic pores. Once chemical buildup occurs, delicate foods like eggs and fish stick firmly to the surface.
Hand washing requires only a minute and spares your cookware from extreme mechanical and thermal stress. Mild liquid dish soap and warm water provide all the cleaning power you truly need.
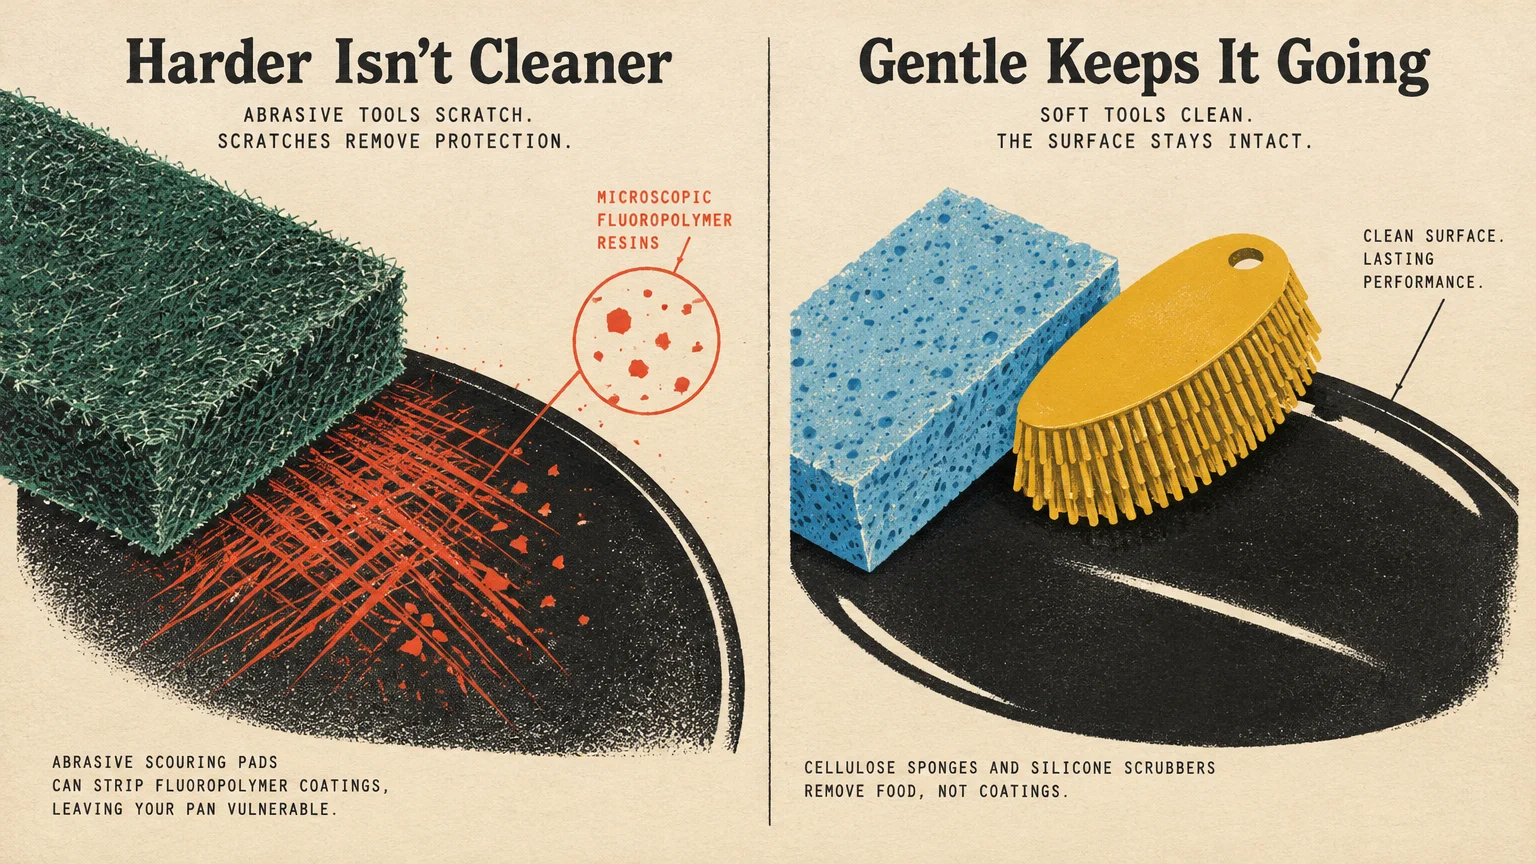
03 Scrubbing with Steel Wool and Abrasive Scouring Pads
Reaching for a green scouring pad or steel wool ball will instantly ruin non-stick coating layers. Even gentle hand pressure with abrasive fibers scratches away delicate fluoropolymer resins and ceramic seals.
Standard green abrasive pads contain pulverized minerals, such as aluminum oxide, designed specifically for heavy-duty cast iron. When applied to delicate non-stick pans, these hard minerals carve invisible grooves that trap food particles.
Scratched surfaces lose their hydrophobic qualities, meaning liquids no longer bead up and slide off easily. Once scratched, your pan requires increasingly aggressive scrubbing, creating a cycle that destroys the finish.
Switch to non-scratch blue sponges, natural cellulose cloths, or soft silicone dish scrubbers. These gentle cleaning tools generate plenty of friction to dislodge food without gouging sensitive cookware surfaces.
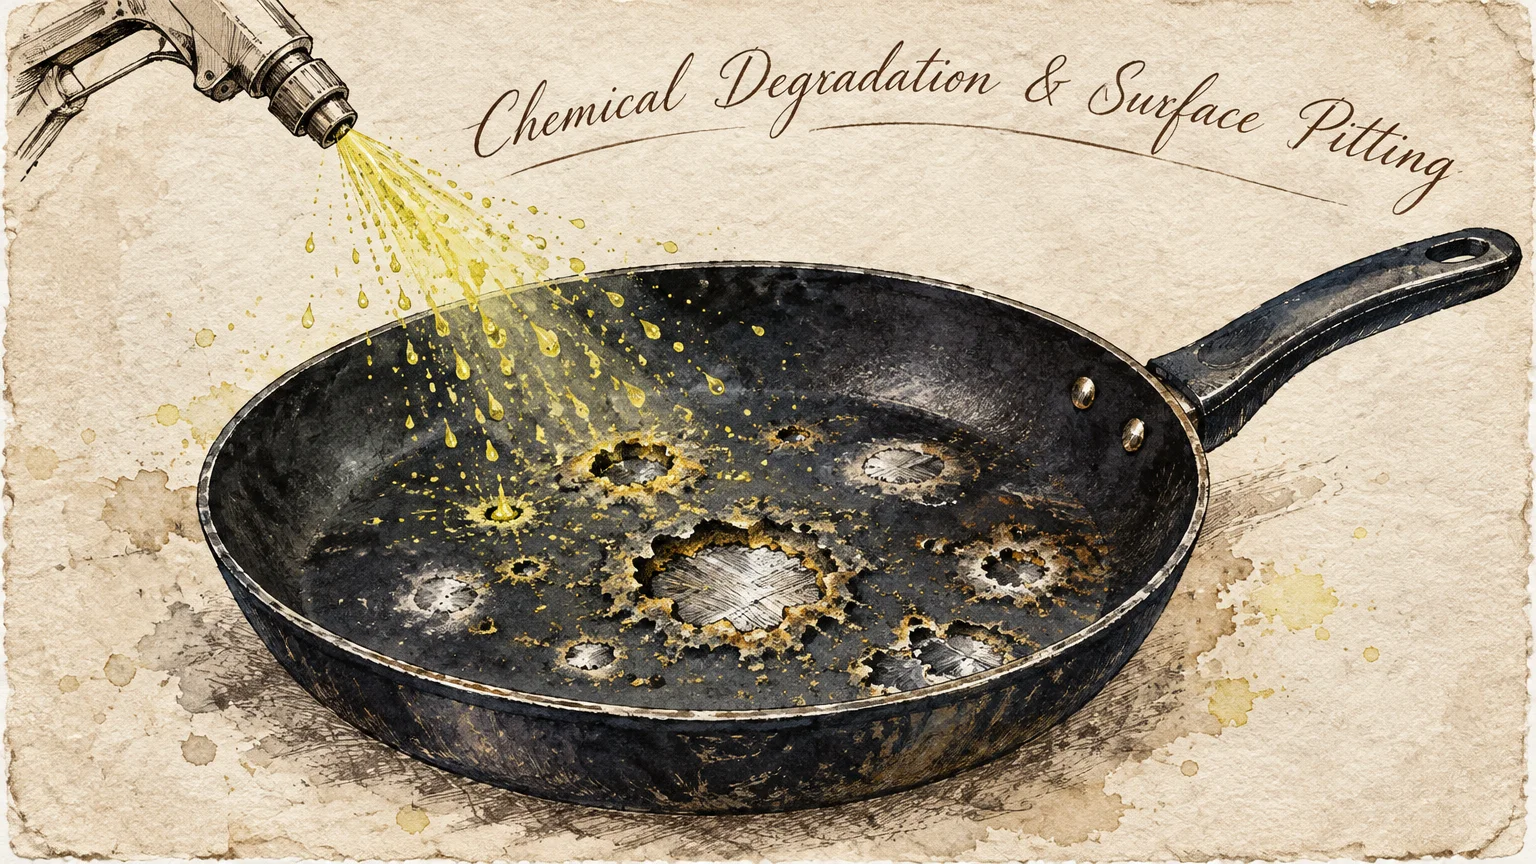
04 Using Harsh Chemical Sprays and Bleach
Commercial oven cleaners, chlorine bleach, and heavy-duty degreasers should never touch your non-stick skillets. These aggressive chemicals break down chemical bonds in fluoropolymer coatings like polytetrafluoroethylene.
Chlorine bleach oxidizes cookware surfaces, causing pitting, dark discoloration, and rapid loss of non-stick release properties. Once pitted, pans cannot safely maintain an even, sanitary cooking barrier.
Oven cleaners formulated with sodium hydroxide attack aluminum substrates instantly upon contact. The FDA provides guidance on food contact surfaces to emphasize maintaining intact, chemically stable cookware materials.
Stick strictly to gentle, pH-neutral liquid dishwashing soaps formulated for everyday sink duty. If a stain persists, a warm soapy soak works far better than harsh industrial chemical cleaners.
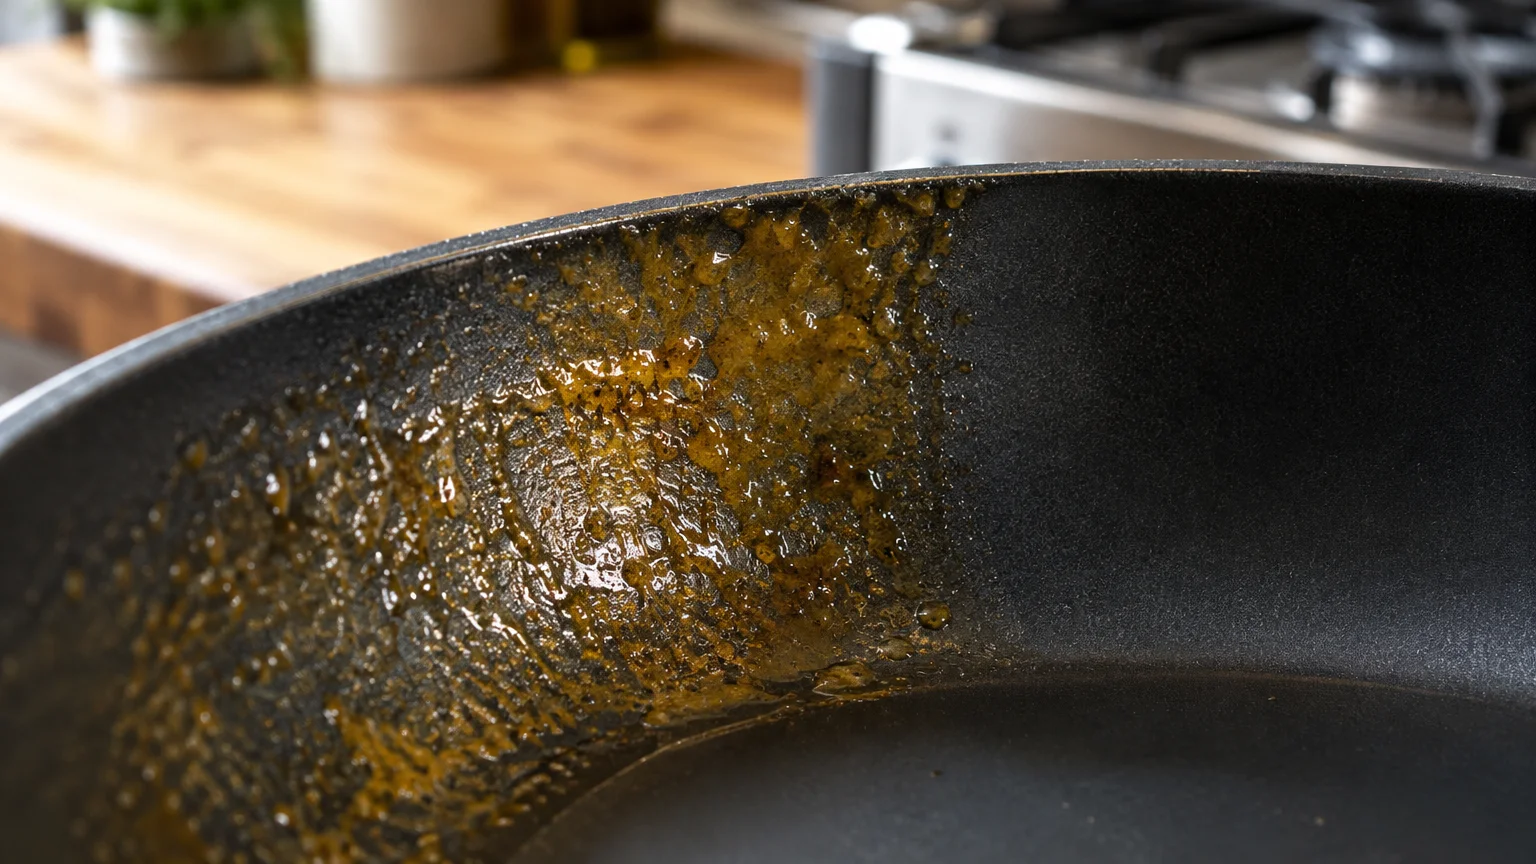
05 Failing to Remove Cooking Spray Residue
Aerosol cooking sprays contain soy lecithin, foaming agents, and chemical propellants that create serious problems during washing. Lecithin carbonizes at low cooking temperatures and bonds tenaciously to non-stick coatings.
Standard sponge washing often glides right over this invisible, gummy film without dislodging it. With each subsequent cooking session, that leftover residue bakes deeper, creating a tacky surface that grabs food.
Many home cooks assume their non-stick coating has failed when a layer of polymerized oil actually blankets the surface. Aggressive scrubbing to remove this sticky layer usually scratches the underlying finish.
Avoid aerosol sprays entirely and apply cooking oils with a pump mister or silicone brush. If sticky residue appears, treat the surface immediately with a warm baking soda paste.
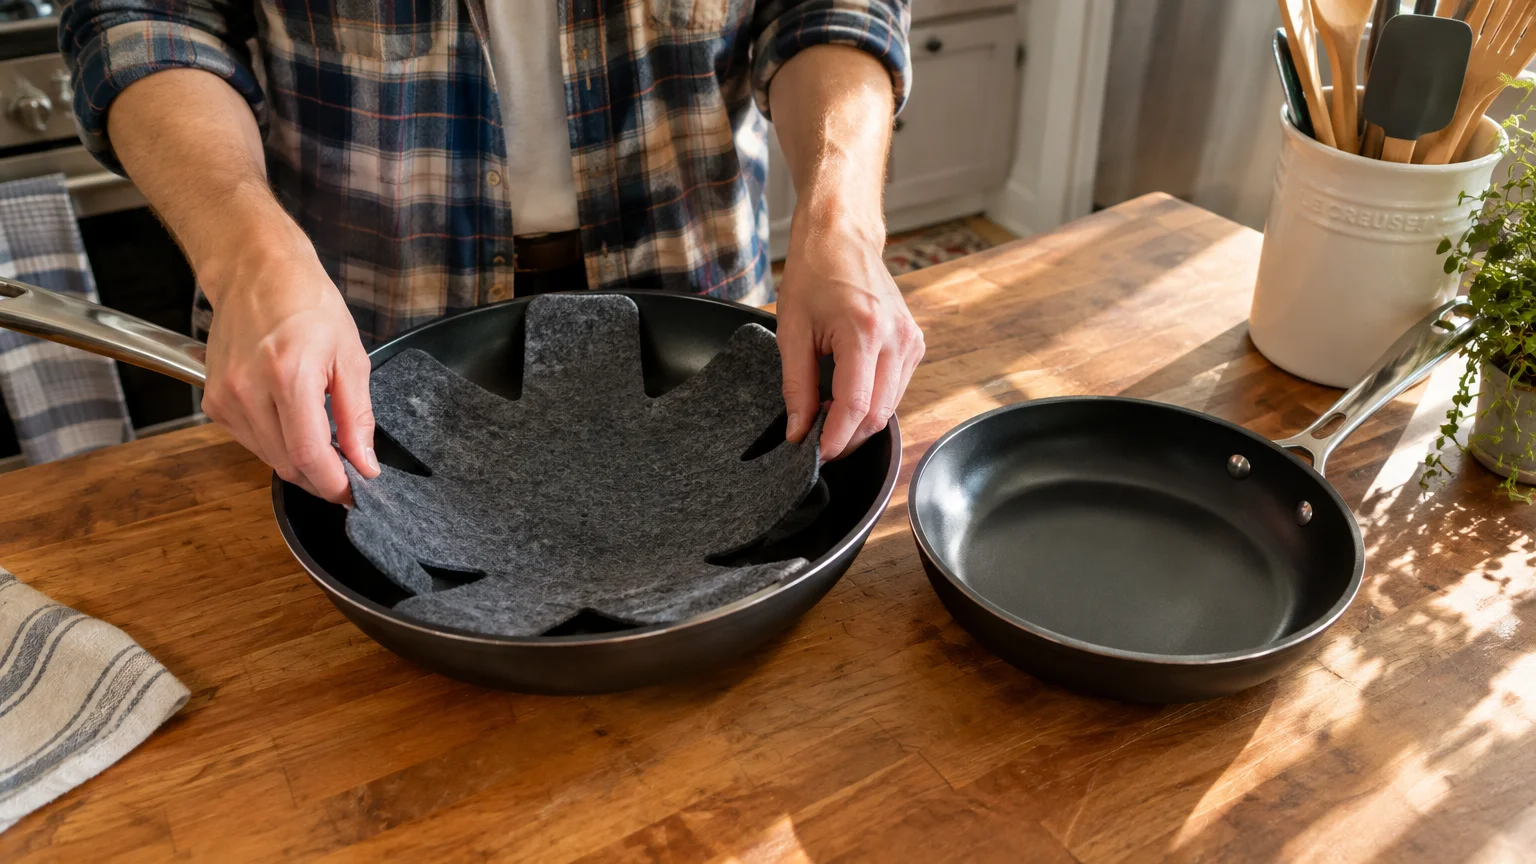
06 Stacking Clean Cookware Without Protective Buffers
The cleaning routine does not end until your cookware sits safely stored in your kitchen cabinets. Stacking metal skillets directly inside one another causes abrasive friction that chips delicate edges and scrapes cooking surfaces.
The rough exterior base of one frying pan acts like sandpaper against the interior coating of the pan beneath it. Every vibration from opening drawers or shifting cookware grinds away critical non-stick layers.
Chipped pan rims allow water and grease to seep underneath the non-stick film during washing. This moisture infiltration eventually causes the coating to bubble up and peel away from the edges.
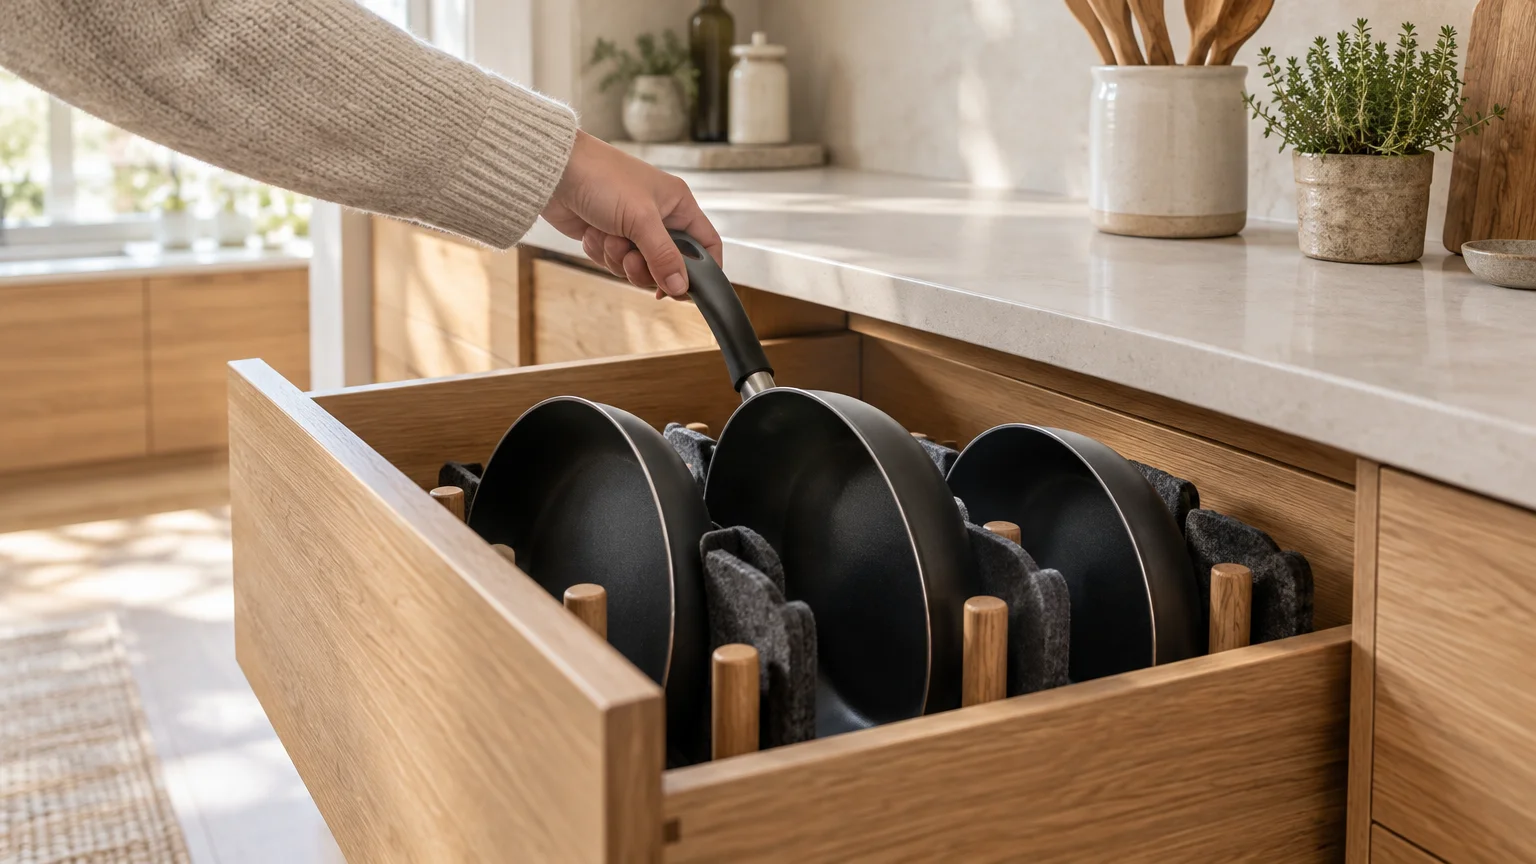
Place thick felt cookware protectors, silicone rounds, or clean microfiber towels between stacked pans. Hanging skillets on a pot rack or storing them upright in wire dividers offers even better protection.
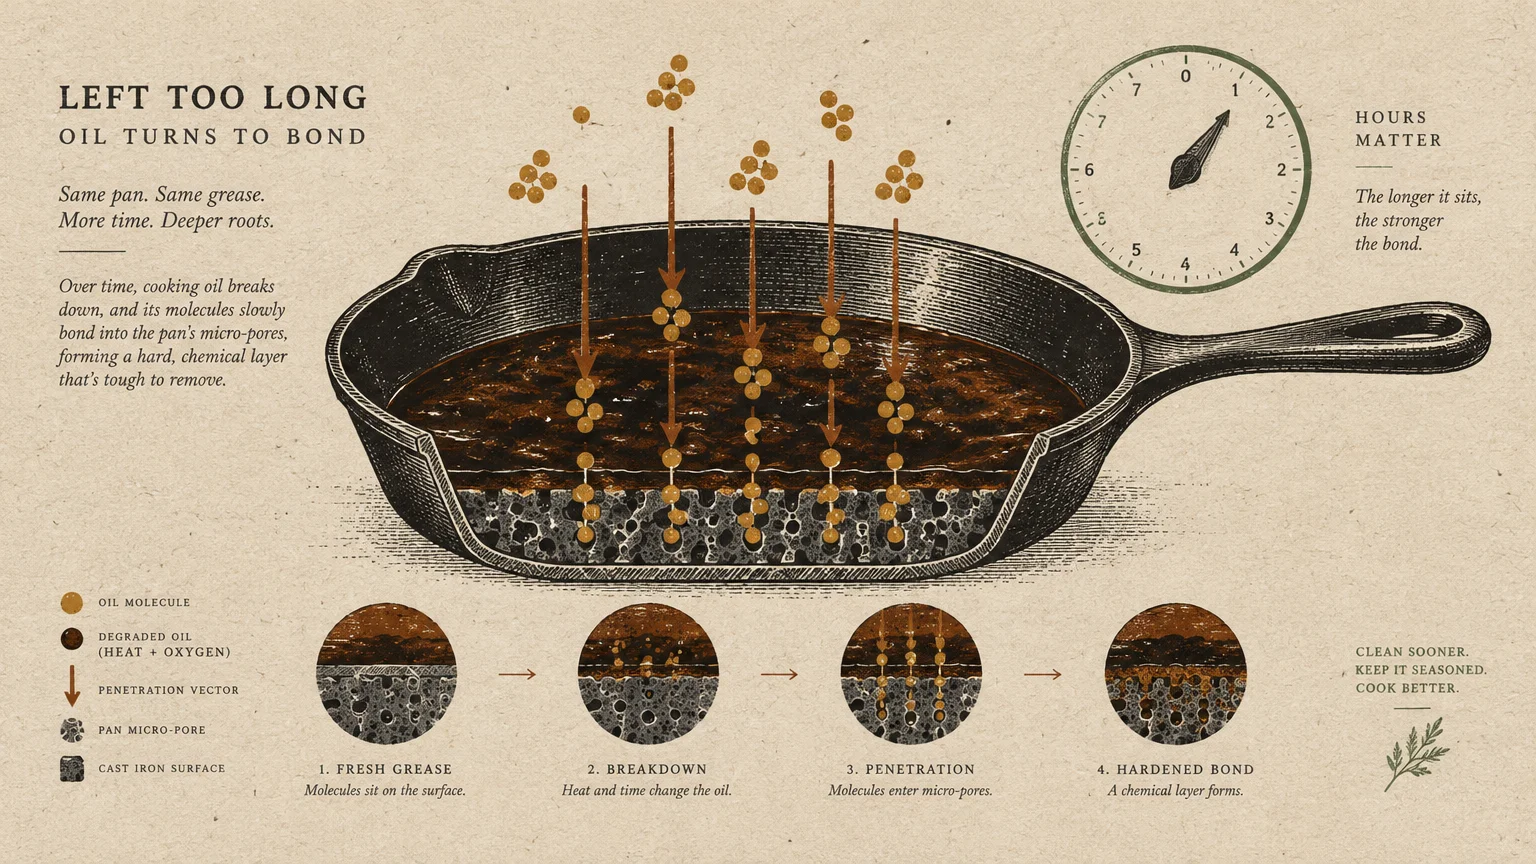
07 Letting Burnt Grease Linger Before Washing
Leaving a greasy skillet sitting on the stove overnight allows food acids and fats to break down the surface. As cooking grease cools and congeals, it hardens into stubborn varnish that resists basic cleaning.
Acidic ingredients like tomato sauce, citrus juice, or vinegar slowly degrade the coating when left in contact for extended hours. Prolonged acid exposure dulls the glossy barrier and encourages microscopic pitting.
When you finally tackle the hardened mess the next morning, removing it requires substantially more friction and hotter water. That unnecessary force wears down non-stick finishes much faster than prompt cleanup.
Wash your pan as soon as it cools to room temperature after your meal. A two-minute cleanup while grease remains soft saves your coating from intense, damaging scrubbing sessions later.
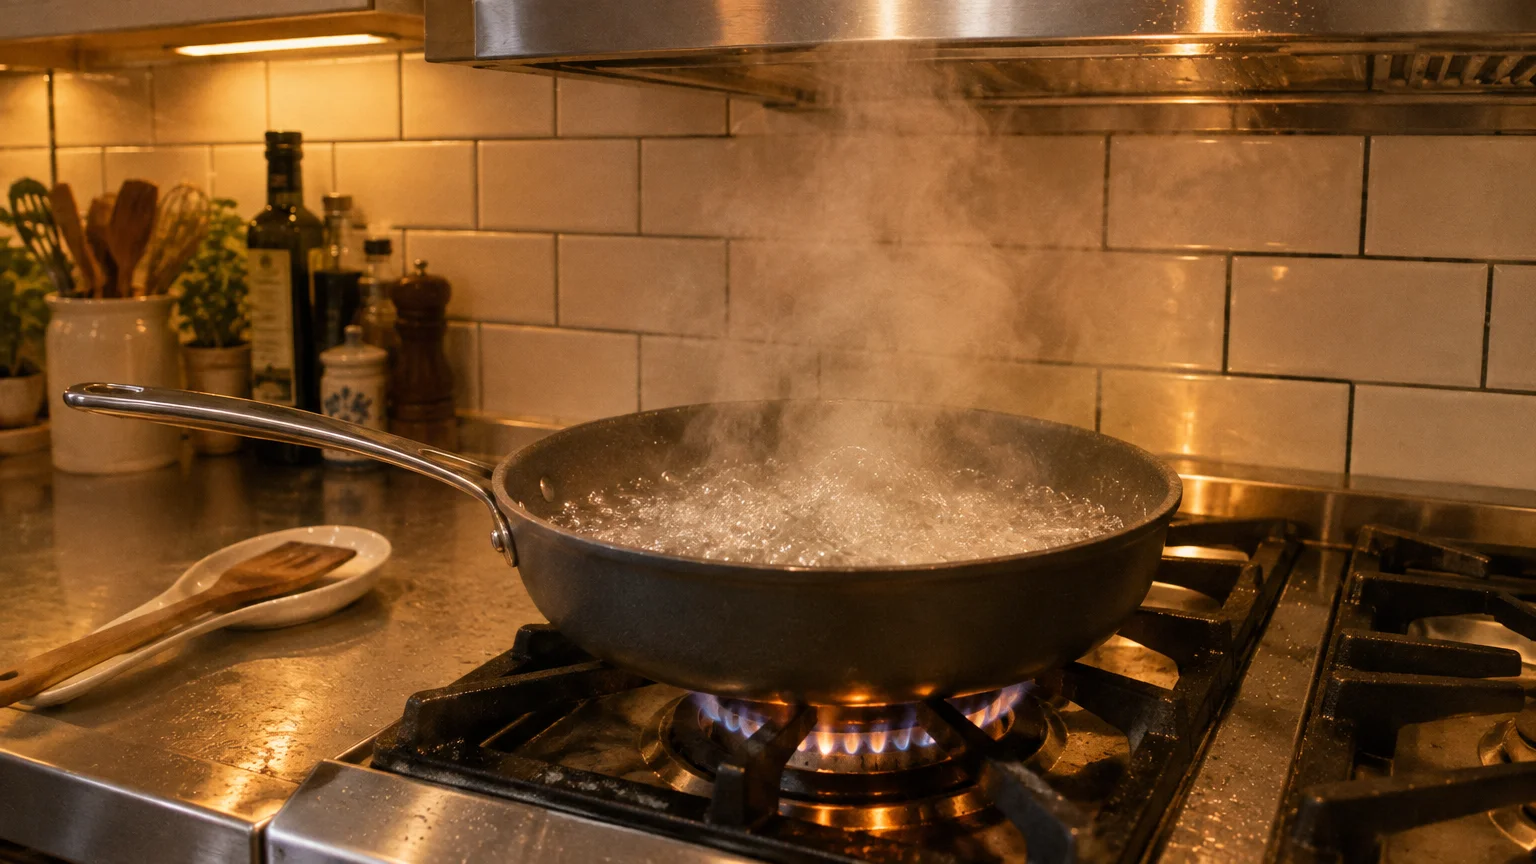
08 Boiling Vinegar Aggressively to Remove Stains
Popular internet cleaning hacks often suggest boiling high concentrations of white vinegar to lift scorched grease. While mild acid helps dissolve mineral scale, boiling strong acid eats directly into non-stick cookware matrices.
Concentrated acetic acid at boiling temperatures attacks microscopic imperfections in the fluoropolymer layer. This aggressive chemical reaction can loosen the primer layer that binds non-stick resin to aluminum bases.
Material references on polytetrafluoroethylene characteristics confirm that extreme chemical and thermal combinations accelerate polymer breakdown. Boiling acid strips away the smooth molecular surface you want to preserve.
Reserve diluted vinegar for brief room-temperature soaks if you must remove hard water deposits. For stubborn grease, choose gentle alkaline baking soda over boiling acidic liquids every time.
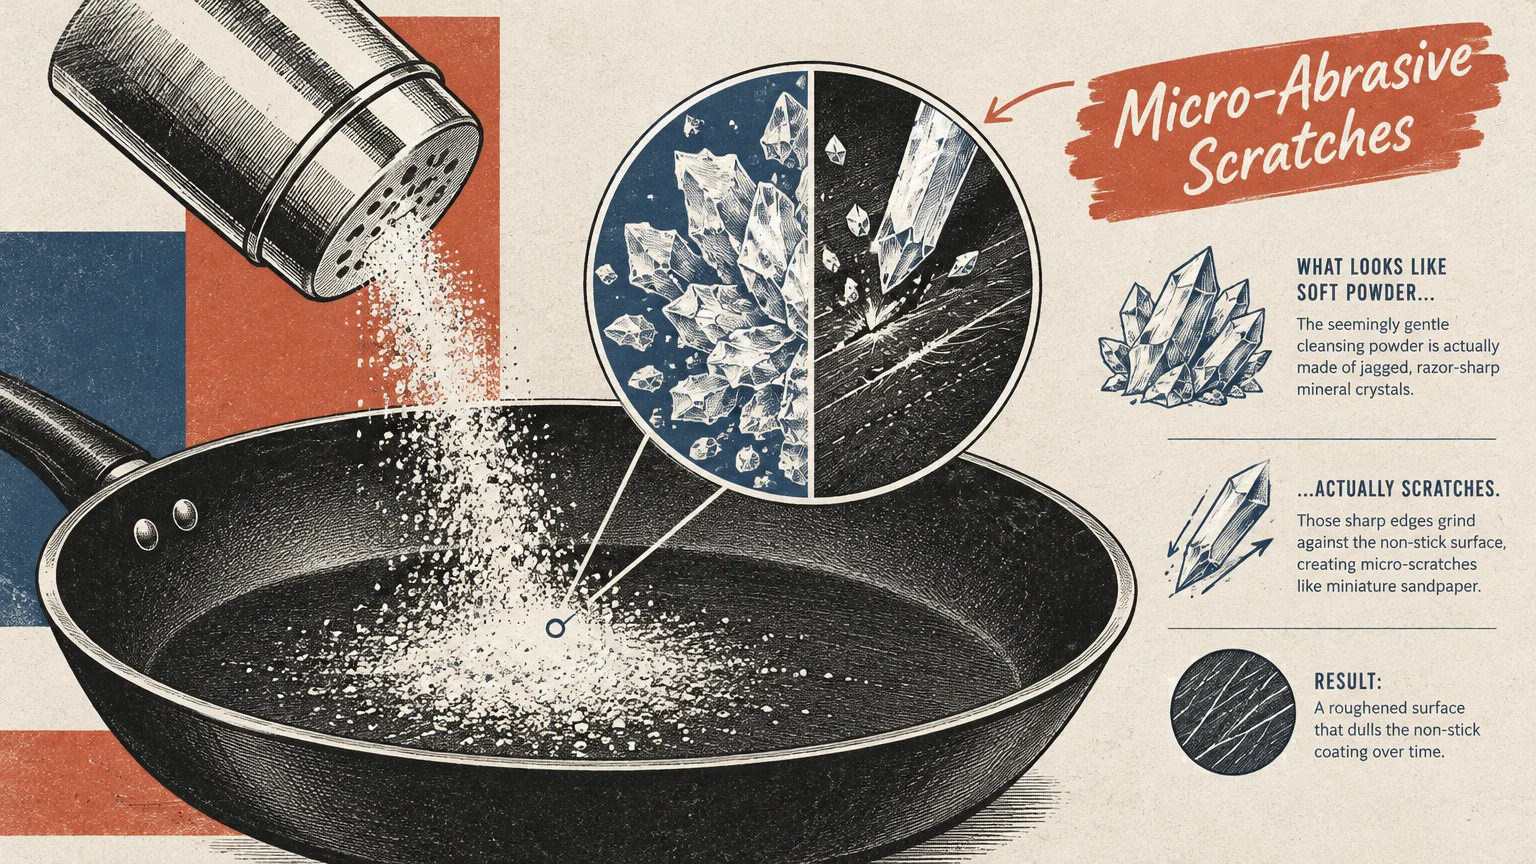
09 Using Powder Cleansers with Rough Micro-Abrasives
Scouring powders containing quartz, feldspar, or calcium carbonate ruin non-stick coating materials within seconds. Even popular mineral-based powders designed for stainless steel act like microscopic cutting chisels on non-stick surfaces.
These gritty powders grind down the microscopic peaks and valleys of the cooking surface, leaving dull gray trails behind. Once this protective topcoat wears thin, the pan loses its slick properties permanently.
Even gentle powdered cleaners require vigorous rubbing that generates excessive friction against delicate non-stick seals. Liquid dish soaps lift grease through emulsification rather than physical abrasion, making them far safer.
If you require extra lifting power, use pure sodium bicarbonate (baking soda) mixed with water. Baking soda ranks very low on the mineral hardness scale and cleans effectively without scratching.
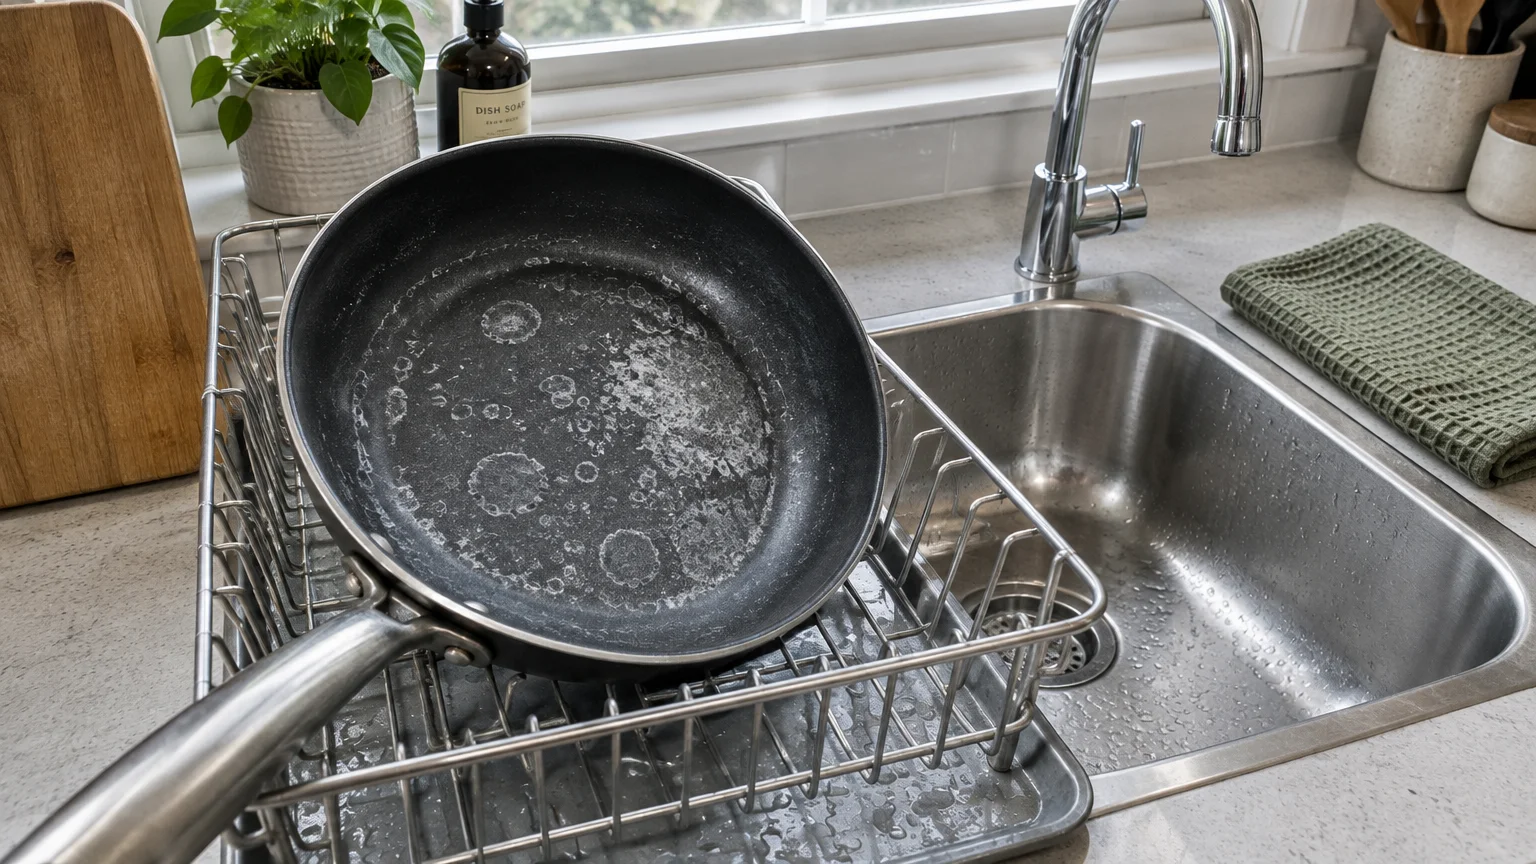
10 Air-Drying Without Wiping Away Mineral Deposits
Letting your non-stick pans air-dry on a countertop dish rack seems harmless, but hard tap water causes subtle damage. Tap water contains dissolved minerals like calcium and magnesium that remain behind as water evaporates.
These mineral deposits form microscopic crystalline crusts across your non-stick cooking basin. When you next place the dry pan over heat, those trapped minerals bake into the surface, creating permanent rough patches.
Water droplets left on bare aluminum edges or exposed rivet heads can also encourage subtle oxidation. This galvanic corrosion slowly weakens the metal surrounding the pan handle fasteners.
Dry your non-stick cookware immediately after rinsing using a clean, plush microfiber towel or soft cotton dishcloth. Hand drying removes lingering mineral residue and leaves the cooking surface completely spotless.
Safe Step-by-Step Method for Removing Burnt Food Residue
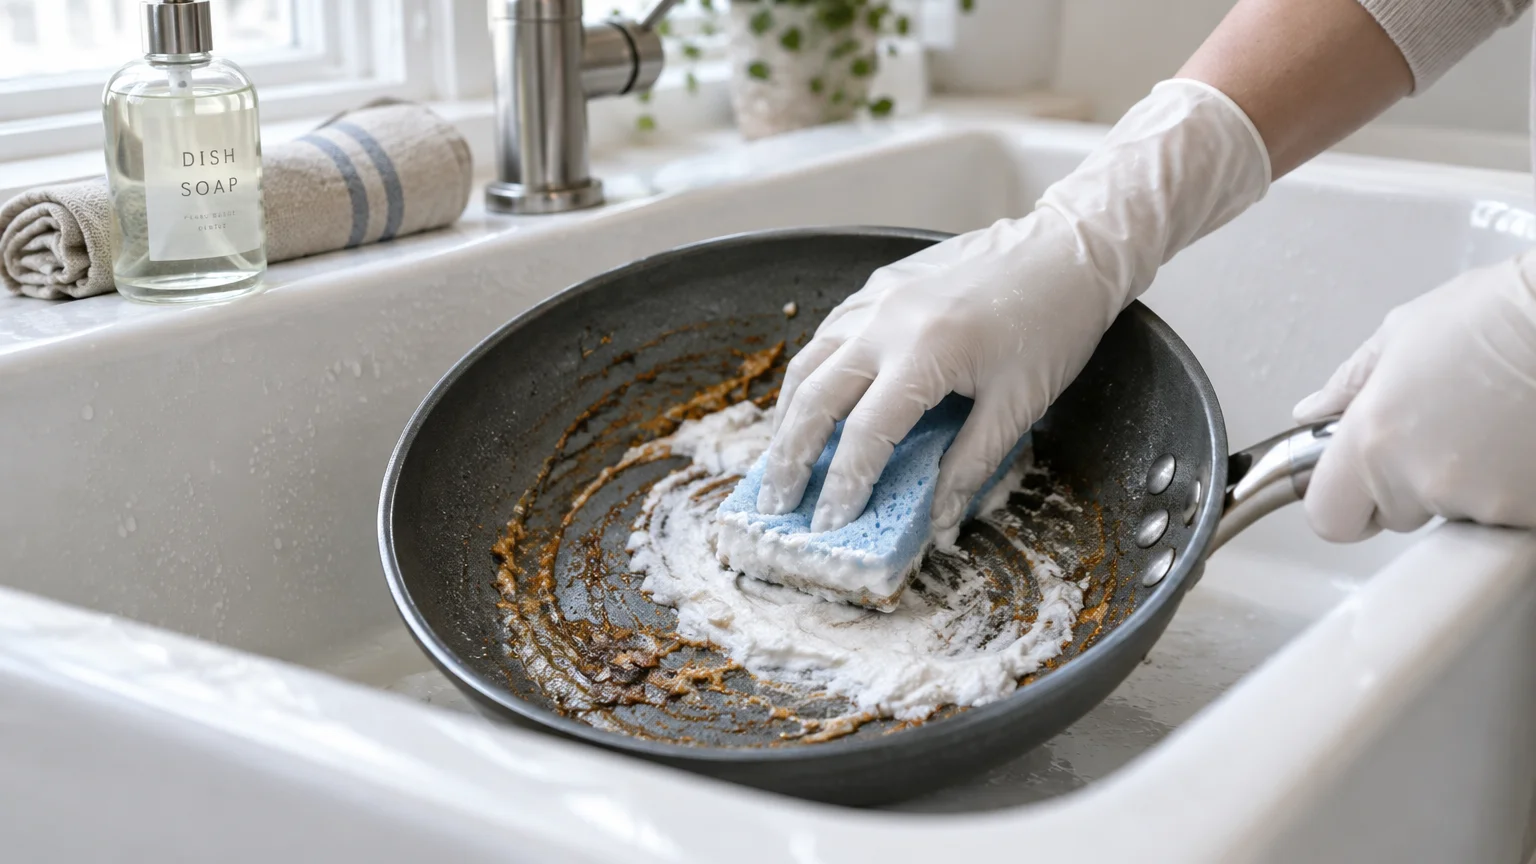
When scrambled eggs or sticky glazes burn onto your skillet, brute force will ruin non-stick coating surfaces. Follow this reliable restoration routine to dissolve burnt residue safely without causing scratches.
Step 1: The Warm Water Soak
Allow the skillet to reach room temperature naturally on your counter. Fill the basin with warm water and two drops of gentle liquid dish soap.
Let the soapy water sit in the pan for fifteen to twenty minutes. This brief resting period softens carbonized fats and loosens crusty debris from the surface.
Step 2: The Baking Soda Paste Application
Pour out the soaking water and inspect the remaining residue. If food particles cling to the pan, sprinkle two tablespoons of pure baking soda directly over the damp spots.
Add a few drops of warm water to create a spreadable, creamy paste. Gently work the paste over the residue using a soft microfiber cloth in small circular motions.
Step 3: Thorough Rinse and Hand Dry
Rinse the pan under warm running water until all baking soda residue disappears completely. Lingering alkaline particles can dry into a white haze if not thoroughly washed away.
Wipe the entire skillet dry using a clean dish towel. Inspect the surface under good kitchen lighting to confirm that all burnt oils are gone.
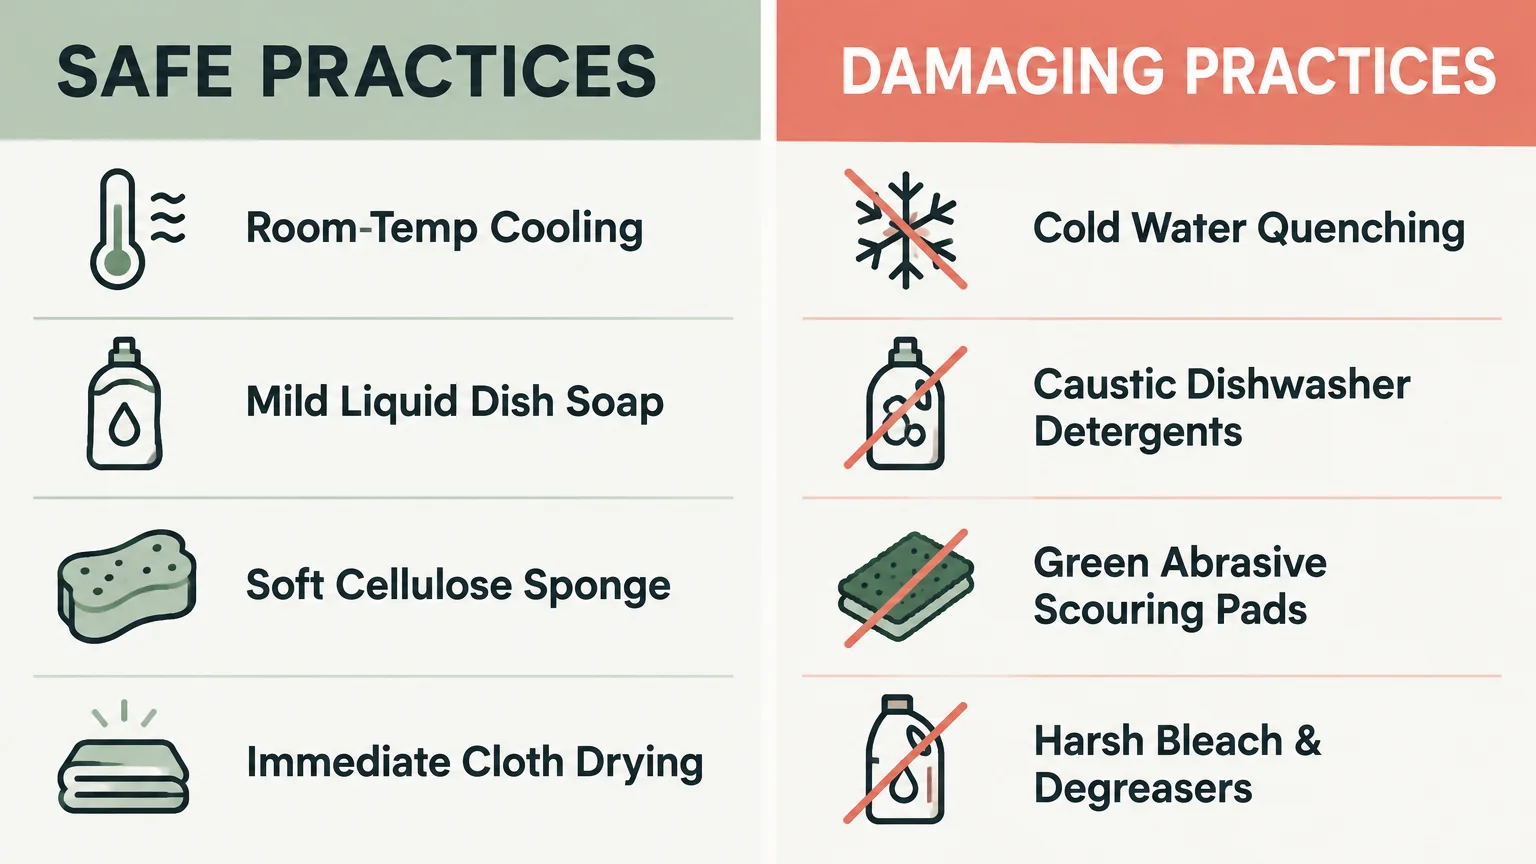
Cleaning Methods Compared: Safe vs. Damaging Choices
Selecting the right sink tools makes the difference between a pan that lasts six months and one that lasts five years. Use this reference guide to audit your cookware maintenance routine before your next cleanup.
| Cleaning Tool or Chemical | Safety Level | Surface Impact | Safe Alternative |
|---|---|---|---|
| Steel wool & scouring pads | Severe Risk | Gouges non-stick film; ruins release capability | Blue non-scratch sponge or cellulose cloth |
| Dishwasher detergent pods | High Risk | Alkaline salts pit aluminum and dull slick resin | Gentle liquid hand dish soap |
| Aerosol cooking sprays | Moderate Risk | Polymerized lecithin builds sticky, burnt film | Fresh cooking oil applied with a pump mister |
| Baking soda & warm water | Completely Safe | Lifts carbonized fat through mild, safe alkalinity | Standard dish soap for routine daily cleaning |
| Oven cleaners & bleach | Severe Risk | Dissolves protective primers and corrodes bare metal | Lukewarm water soak with mild dish soap |
| Microfiber drying towel | Completely Safe | Removes hard water minerals before they bake on | Soft 100% cotton dishcloth |
Keep this chart in mind whenever you encounter stubborn grease after high-heat searing. Choosing gentle friction over aggressive scraping preserves the factory-applied non-stick seal.
Warning Signs That Non-Stick Cookware Needs Immediate Replacement
Non-stick coatings do not last indefinitely, even when you follow disciplined cleaning procedures. Knowing when your skillet has suffered irreversible wear helps you maintain cooking performance and food safety.
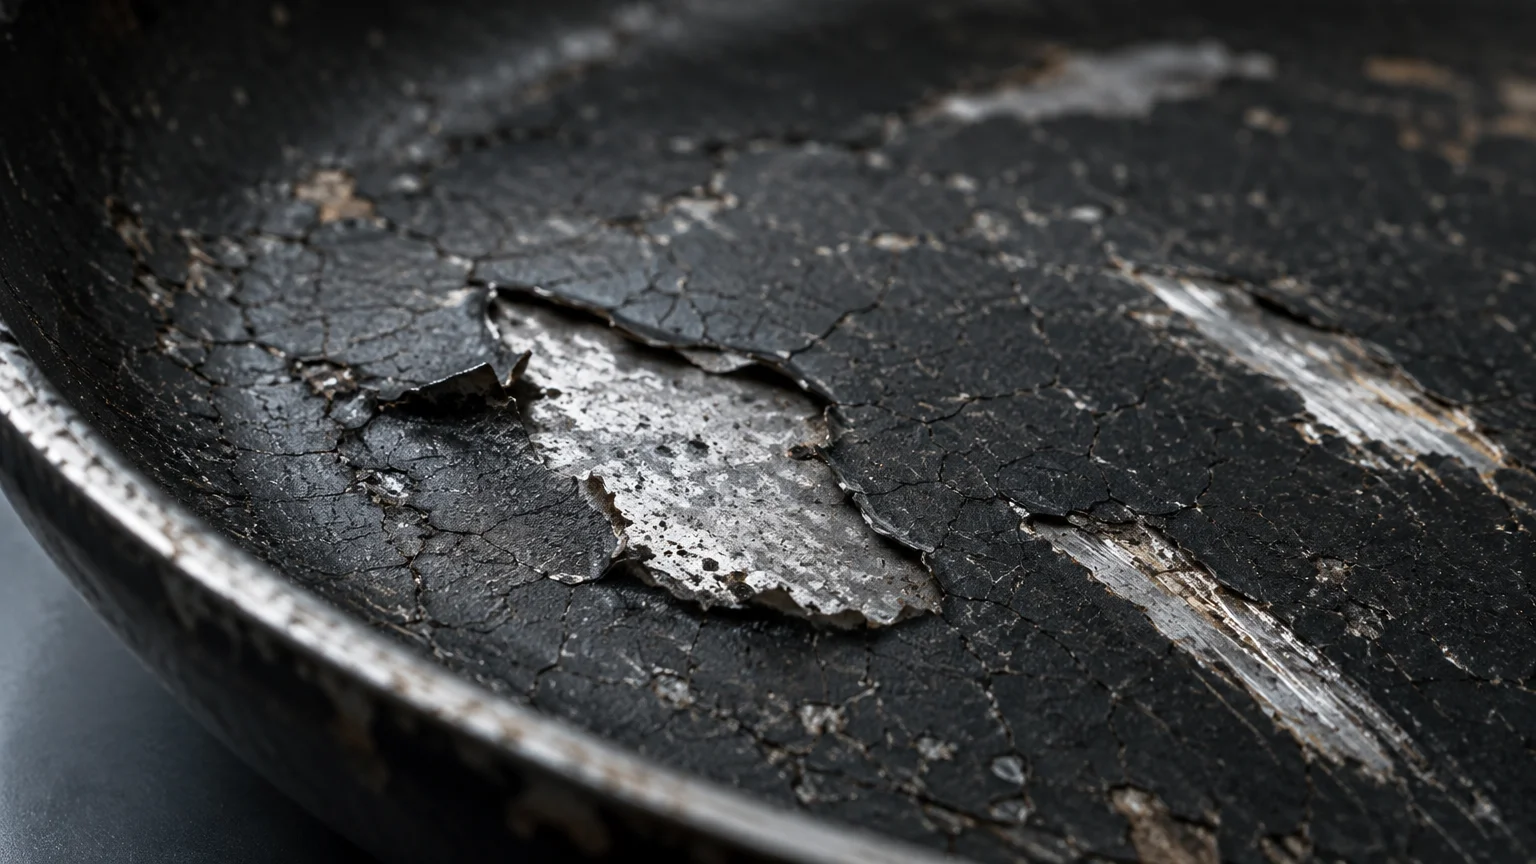
Deep scratches that expose bare aluminum underneath the dark coating indicate that the pan has reached retirement. Once the bonding primer layer fails, food bonds directly to the exposed metal core.
Surface peeling or visible flaking represents another critical stopping point. You can learn more about modern fluoropolymer regulation through the EPA overview of PFAS chemicals and industrial safety standards.
Pans manufactured after 2013 do not contain PFOA, but ingesting loose coating flecks remains undesirable. Public health updates from the CDC on PFAS compounds outline how consumer exposure is monitored across household products.
Widespread discoloration and persistent sticking despite thorough cleaning also suggest permanent resin breakdown. Overheating or harsh detergents eventually wear the non-stick film down to the bare substrate.
Severe warping across the bottom base prevents flat contact with your burner, causing hot spots and uneven cooking. When oil pools only on one side of your pan, consider upgrading to a fresh skillet.
Daily Habits for Cookware Longevity
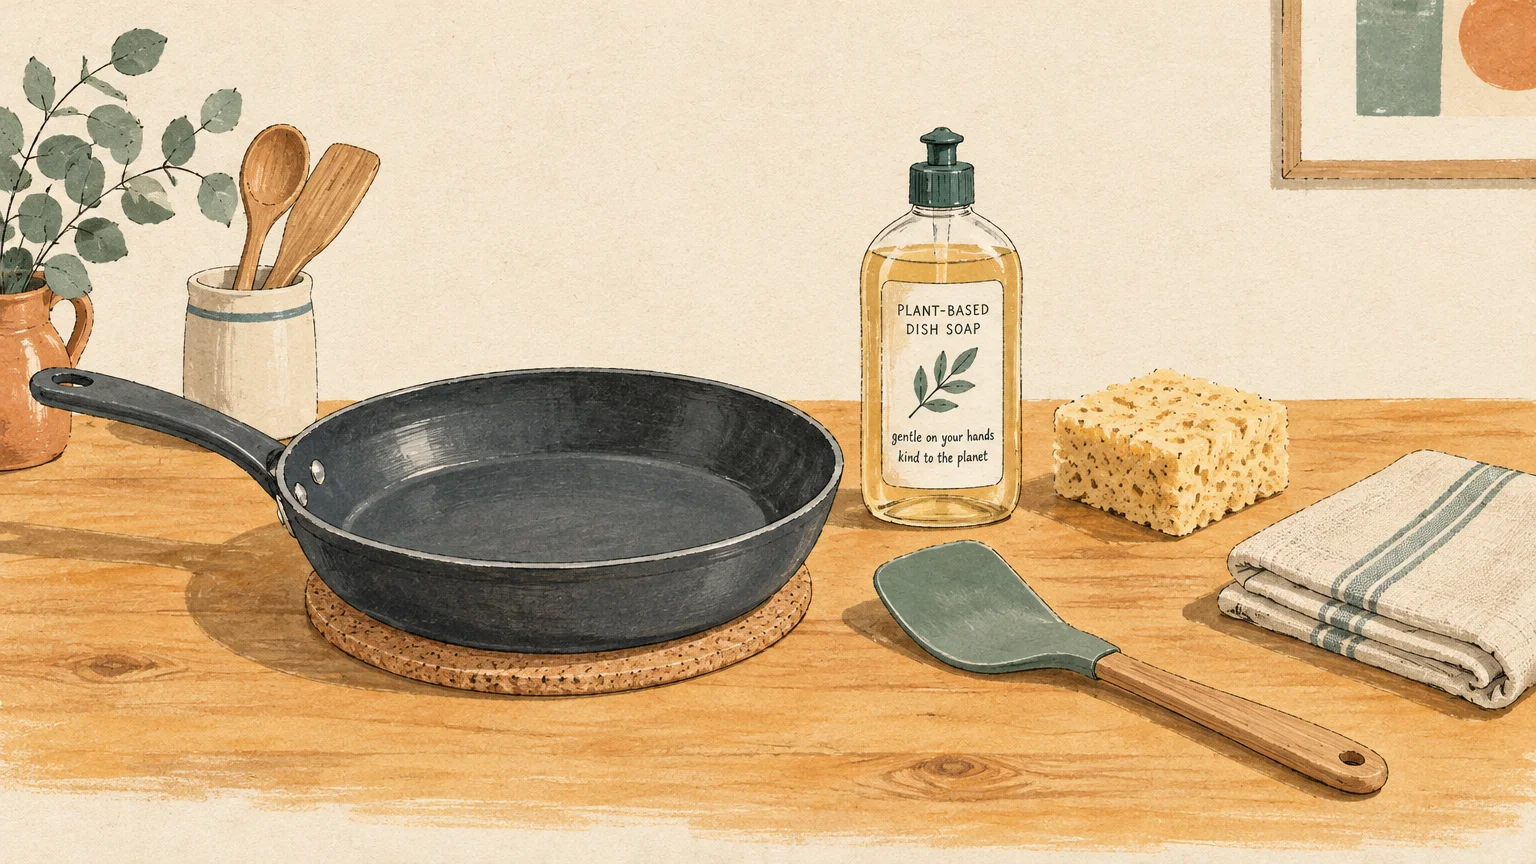
Building a consistent cleaning ritual prevents non-stick pan cleaning mistakes before they start. Integrate these simple daily practices into your routine to keep your favorite frying pans in pristine condition.
- Cool before washing: Always allow the pan to rest on the stovetop until completely cool to the touch.
- Choose mild detergents: Wash with pH-neutral liquid dish soap rather than caustic degreasers or dishwashing pods.
- Use non-scratch sponges: Scrub exclusively with soft cellulose sponges, microfiber cloths, or silicone cleaning pads.
- Rinse thoroughly: Wash away all soap bubbles and food residues under warm running water.
- Dry by hand: Wipe both the interior and exterior with a soft dish towel to stop mineral spot formation.
- Store with padding: Place felt dividers or cloth napkins between nested pans inside your kitchen cabinets.
These protective steps require less than three minutes of total effort after cooking. Committing to gentle daily care prevents premature surface wear and keeps breakfast prep smooth and enjoyable.
Your Immediate Next Step
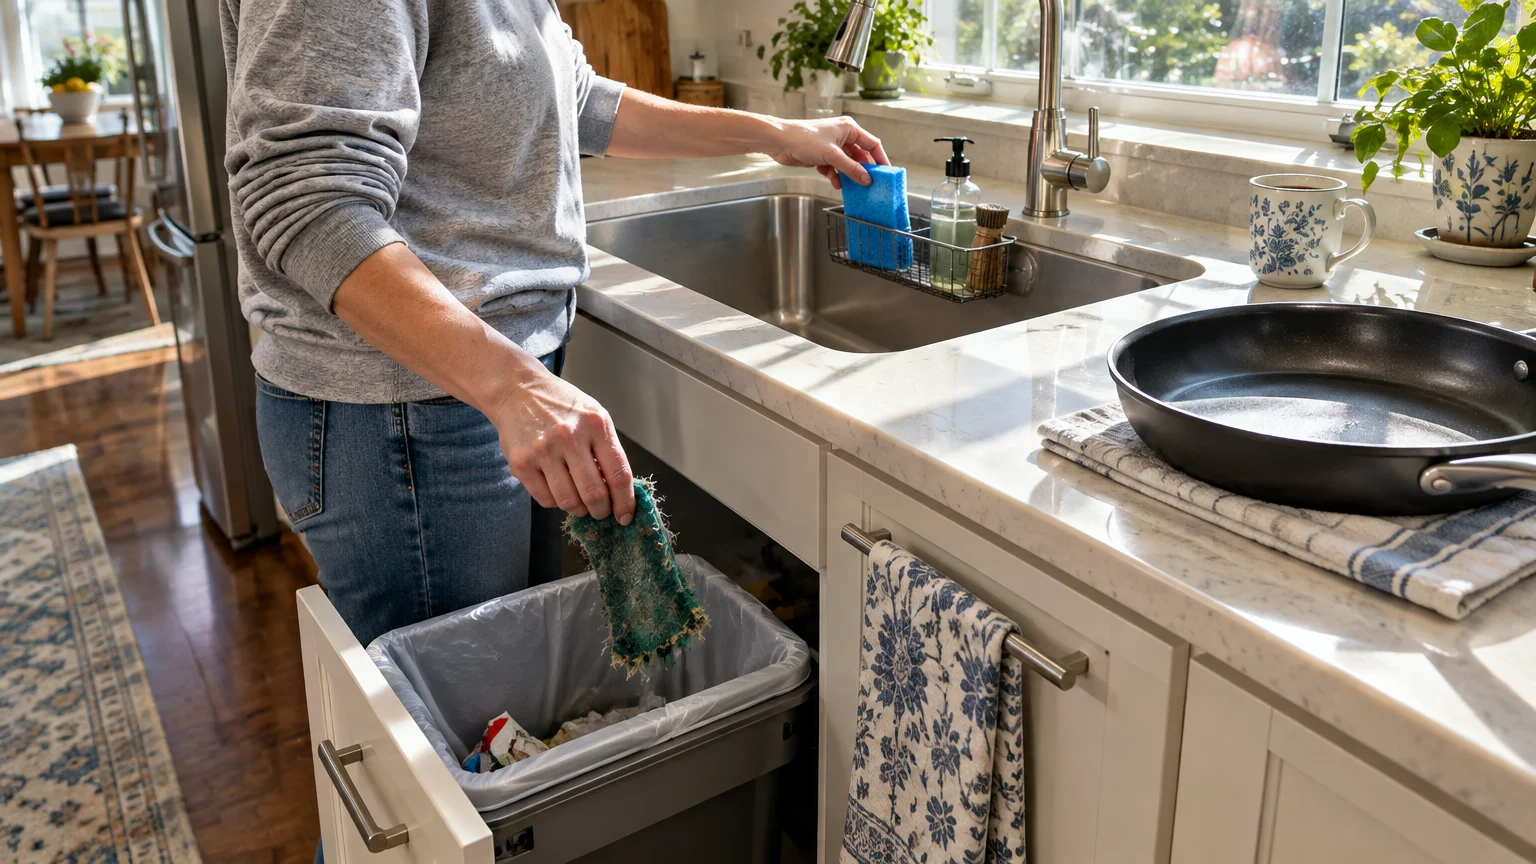
Open your kitchen cabinet right now and inspect how your frying pans are currently resting. Place a clean dish towel or felt protector between each nested skillet to stop metal-on-metal scratches today.