You can preserve the warm luster of your wood cabinets with simple, intentional habits that prevent grease accumulation before it hardens. Consistent wood cabinet care shields the delicate factory clear coat and protects your home investment.
Kitchen cabinet cleaning does not require aggressive scrubbing or expensive specialty equipment. Instead, using gentle techniques and the right tools keeps your cabinetry bright and smooth through years of daily cooking.
Adopting a few targeted routines preserves rich wood grain and keeps your entire kitchen looking calm, clean, and radiant.
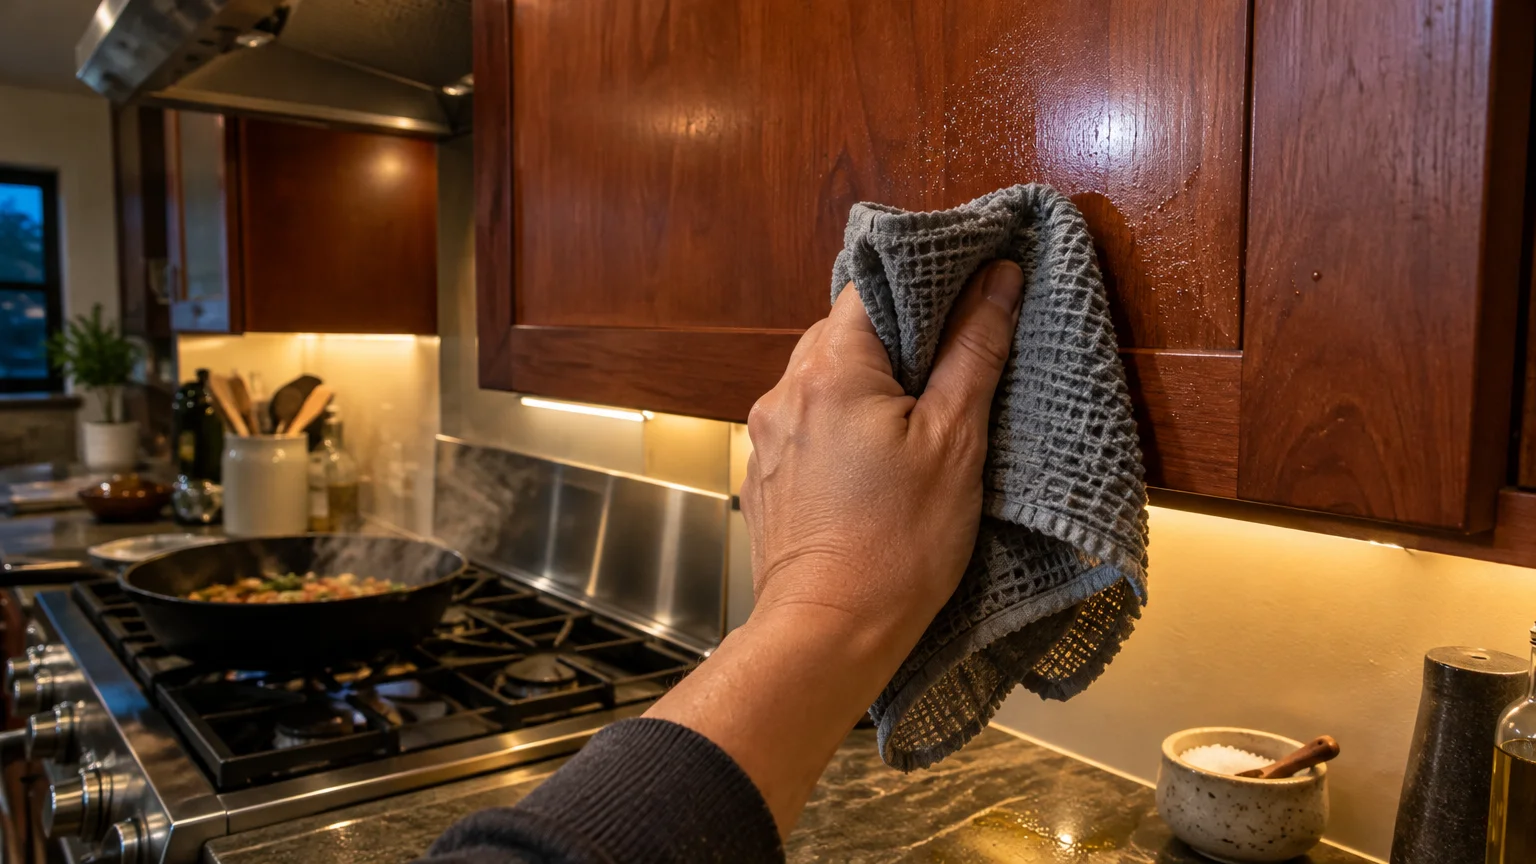
01 Wipe Away Cooking Splatters Before They Harden
Cooking aerosolizes microscopic oil droplets that drift through your kitchen air and settle onto nearby cabinet faces. When oil cools on vertical surfaces, it oxidizes into a gummy film that binds tightly to natural wood.
Letting grease sit turns a ten-second cleanup into an exhausting scrubbing chore later. Wiping fresh splatters takes virtually zero effort and spares your cabinet clear coat from harsh abrasive friction.
Keep a dedicated microfiber cloth near your food preparation zone for fast daily touch-ups. Moisten the cloth with warm tap water to melt grease deposits before they can bond with the finish.
Focus specifically on cabinet faces located directly above and beside your range top. A single quick swipe after dinner prevents greasy buildup from ever taking hold on your woodwork.
You will save yourself hours of deep cleaning simply by treating grease splatters as immediate messes rather than weekend projects.
02 Use Gentle Surfactants Instead of Harsh Degreasers
Many homeowners reach for industrial solvents when kitchen cabinets feel tacky to the touch. However, harsh chemical degreasers strip away the protective topcoat and leave raw wood exposed to environmental moisture.
The Kitchen Cabinet Manufacturers Association establishes rigorous standards for factory-applied finishes. These finishes resist standard household soils, but strong industrial alkalis will rapidly deteriorate their chemical bonds.
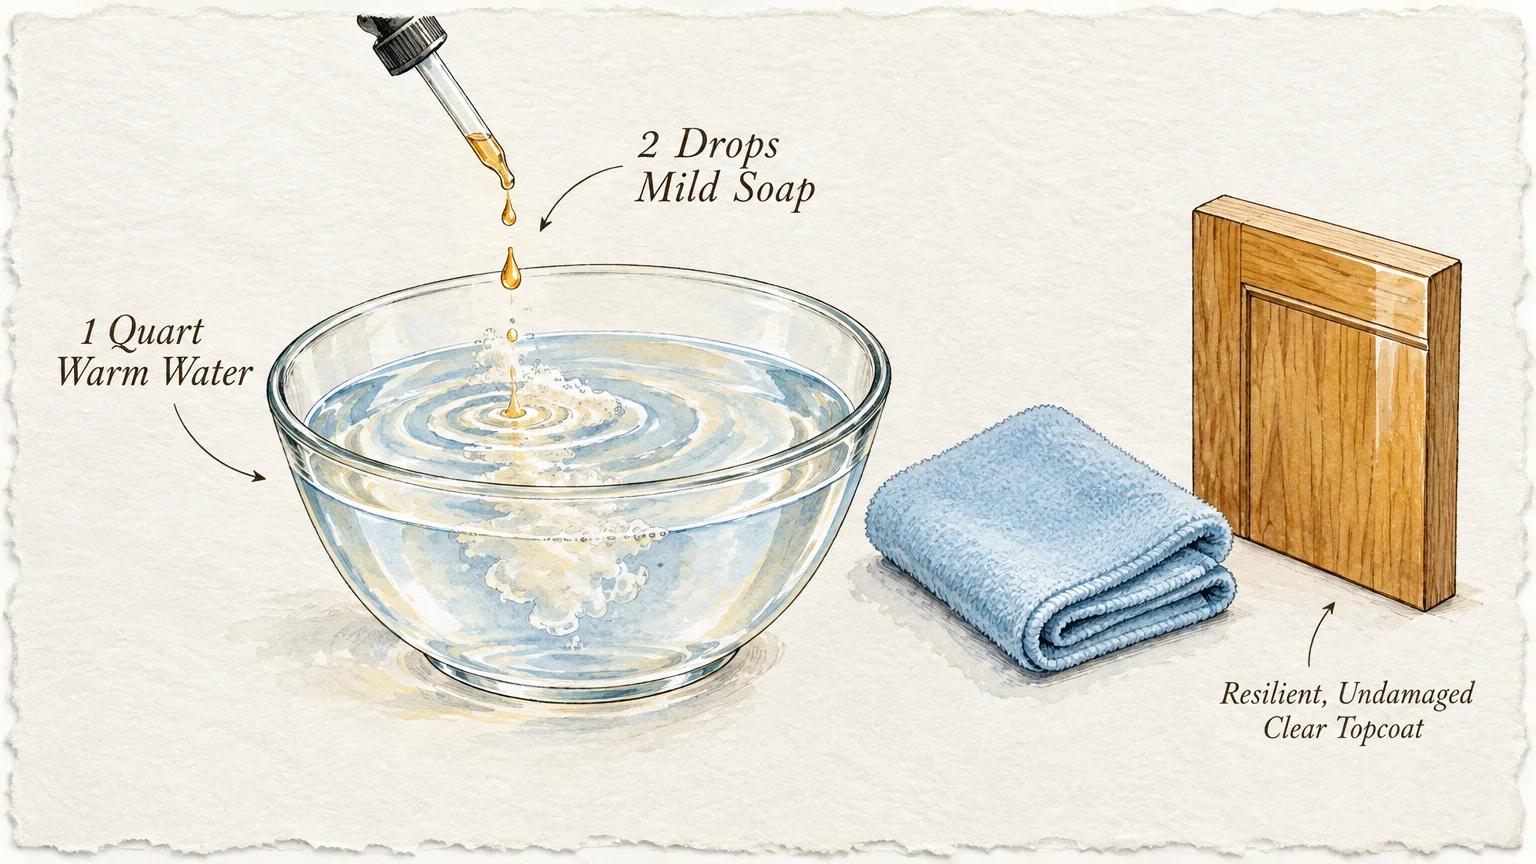
Add two drops of mild liquid dish soap to a quart of warm water for everyday grease removal. Dish soap contains gentle surfactants that lift vegetable oils and animal fats without attacking the underlying wood finish.
Mix your solution until light suds appear across the surface. Dip a clean microfiber cloth into the soapy water, and wring it out completely before touching your cabinets.
If you prefer commercial cleaners, choose formulations evaluated under the EPA Safer Choice program to ensure chemical compatibility with interior coatings. Mild soap remains the safest, most cost-effective method to clean wood cabinets safely.
03 Dry Every Surface Immediately to Block Moisture Damage
Moisture is the single greatest threat to natural wood cabinetry in your home. Water resting on horizontal edges or door frames seeps into microscopic seams and swells delicate wood fibers.
Standing water can also trap moisture beneath clear topcoats, creating cloudy white blemishes known as blushing. Once water blushing occurs, removing the trapped moisture often requires professional heat treatments or complete refinishing.
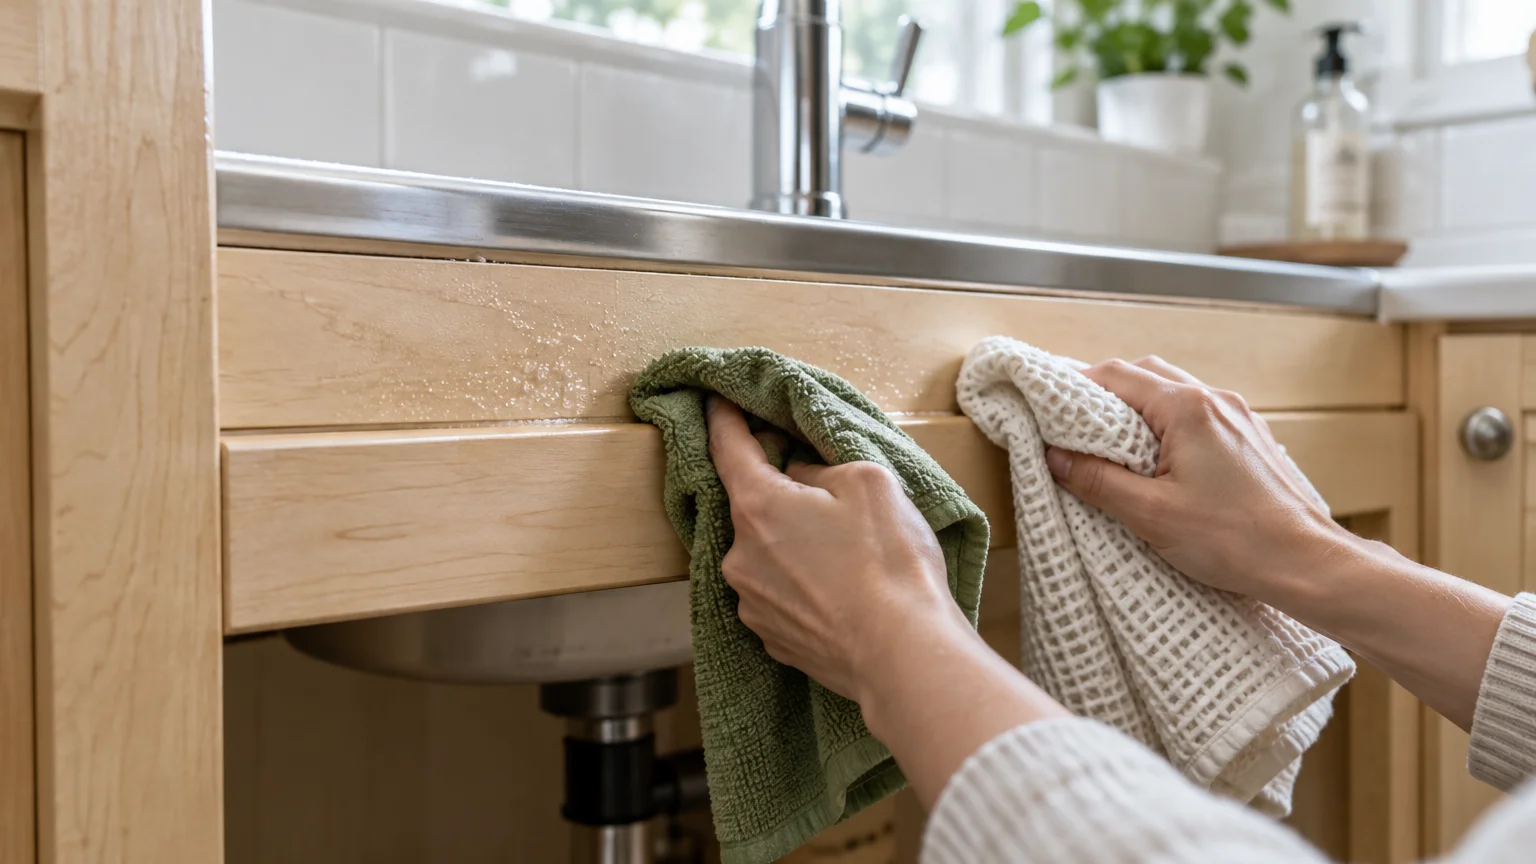
Adopt a strict two-cloth method whenever you clean your kitchen cabinets. Hold a damp, soapy cloth in your dominant hand to loosen dirt, and carry a plush, dry cloth in the other.
Wipe the surface with your damp cloth, and then immediately buff the area dry with your second towel. Never allow wet cleaning solutions to air-dry on cabinet faces or inside frame joints.
Pay close attention to bottom rails beneath your kitchen sink where water drips frequently collect. Drying these high-risk areas promptly prevents costly bottom-edge peeling and wood rot.
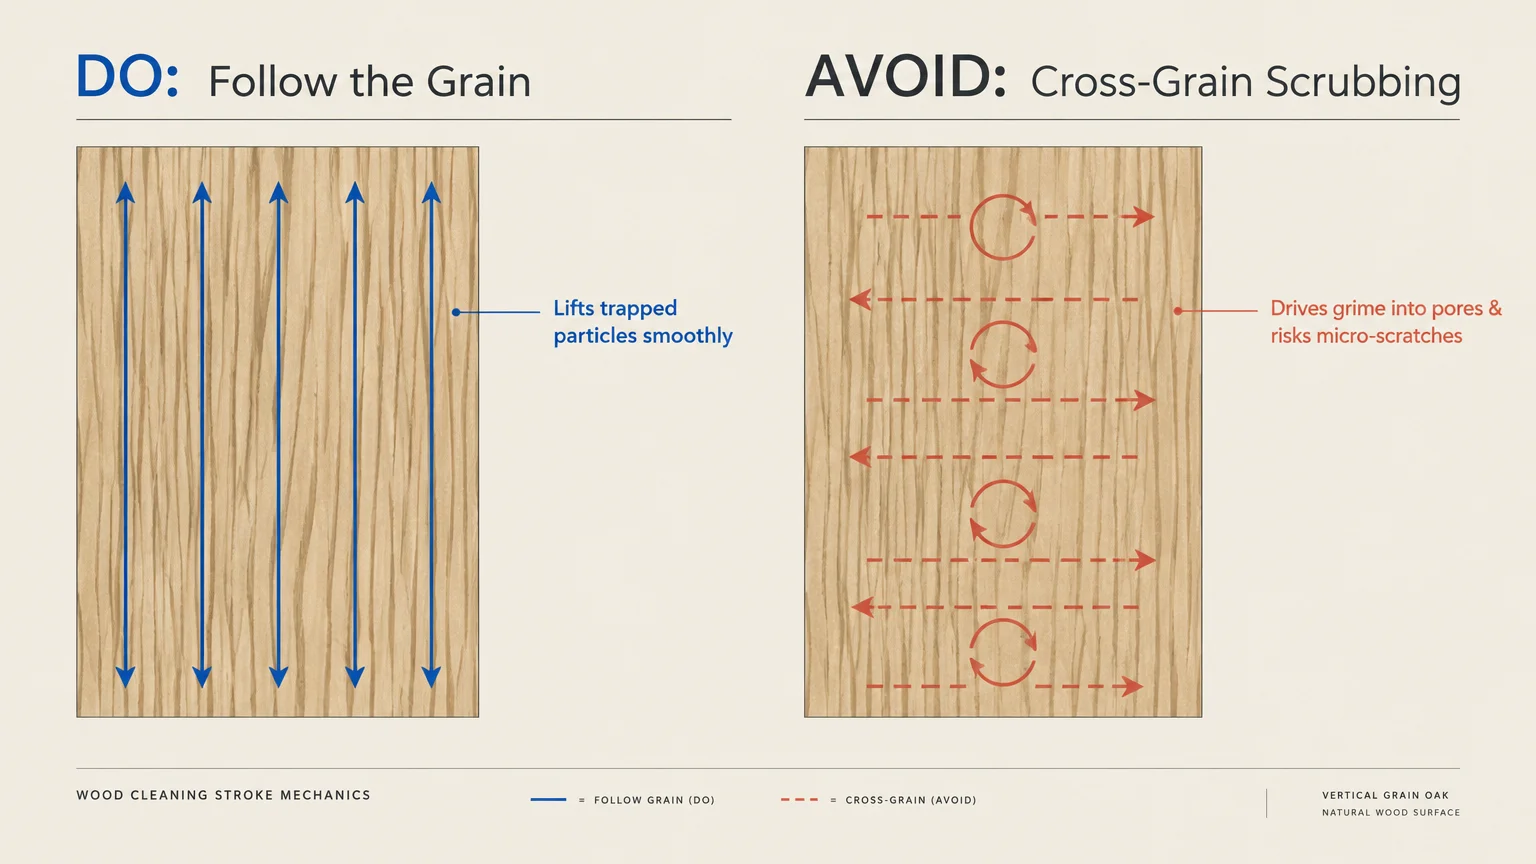
04 Always Wipe with the Direction of the Wood Grain
Natural timber features subtle directional ridges and pores created by annual tree growth rings. Scrubbing wood cabinets in circular motions drives grit across these grain lines, etching faint micro-scratches into the clear coat.
Cleaning parallel to the grain lifts dust out of surface valleys without scratching your finish. This simple technique keeps light reflecting evenly across your cabinet doors for a uniform satin sheen.
Take a moment to inspect your door construction before wiping. Raised panel doors combine vertical stiles on the sides with horizontal rails along the top and bottom edges.
Wipe vertical side frames from top to bottom, and wipe horizontal top and bottom frames from side to side. When cleaning center panels, follow the prominent grain pattern running through the wood slab.
Aligning your hand movements with the natural grain maintains factory smoothness and preserves the authentic beauty of your lumber.
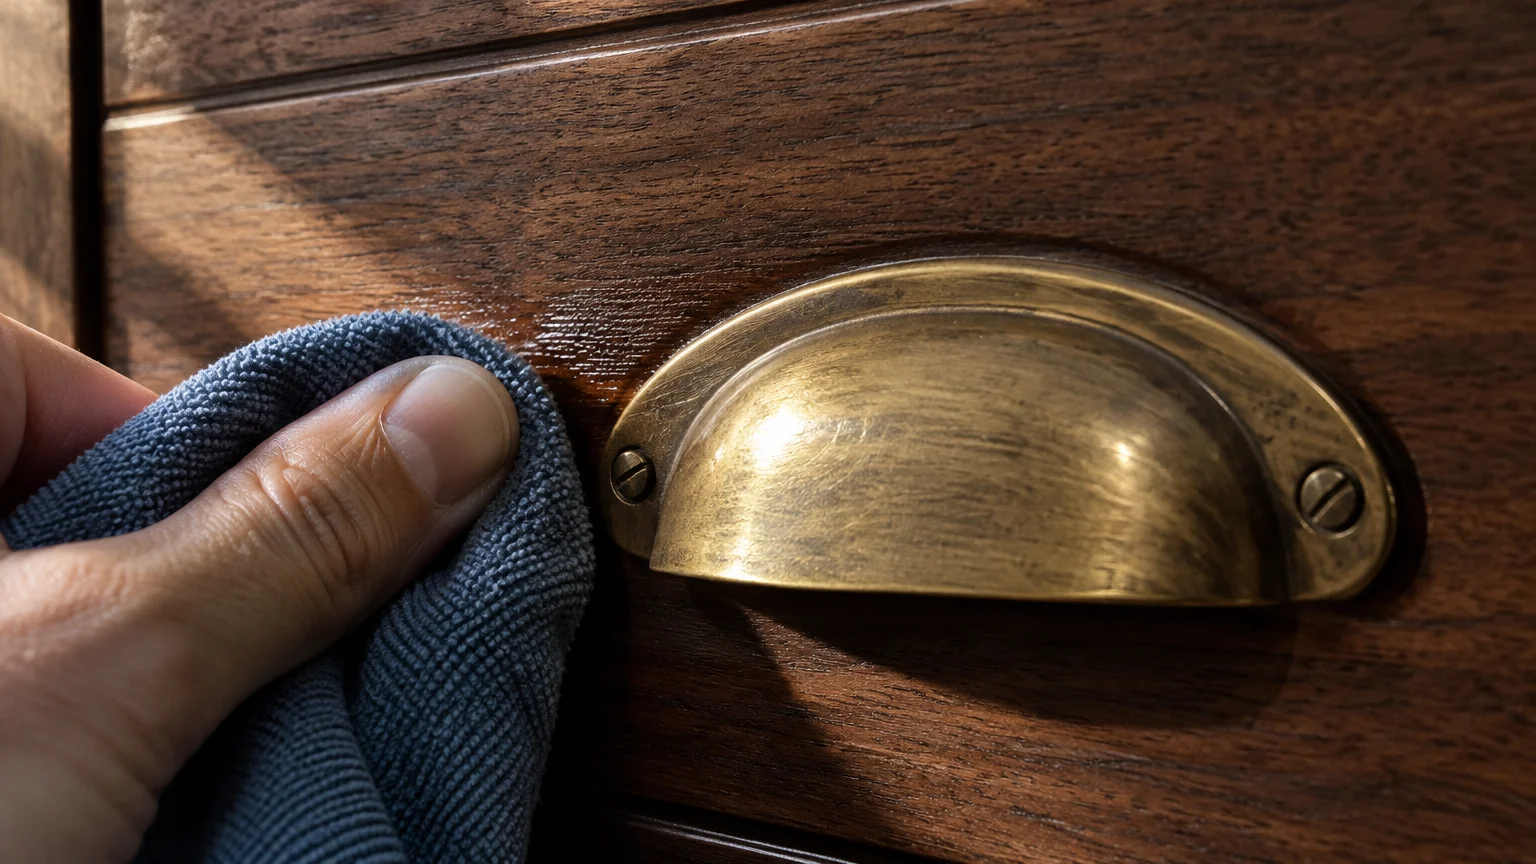
05 Target Hardware Zones to Remove Skin Oils
Cabinet handles, drawer pulls, and their surrounding contact areas endure dozens of finger touches every single day. Human skin produces natural sebum oils and sweat that transfer onto cabinet surfaces during everyday meal preparation.
Over several months, acidic skin oils soften conversion varnishes and modern polyurethane topcoats. This reaction leaves dark, sticky stains or peeled finishes directly behind knobs and decorative pulls.
Clean your hardware contact zones once each week to neutralize accumulating body oils. Wrap a damp microfiber cloth over your index finger to detail the tight wood perimeter around each handle.
If grease has settled beneath decorative backplates, use a soft-bristled baby toothbrush dipped in soapy water. Gently work the bristles around the metal edges without applying heavy downward pressure against the wood.
Dry the hardware and surrounding wood immediately with a clean cotton rag. Routine hardware care keeps high-touch contact areas just as bright as untouched upper panels.
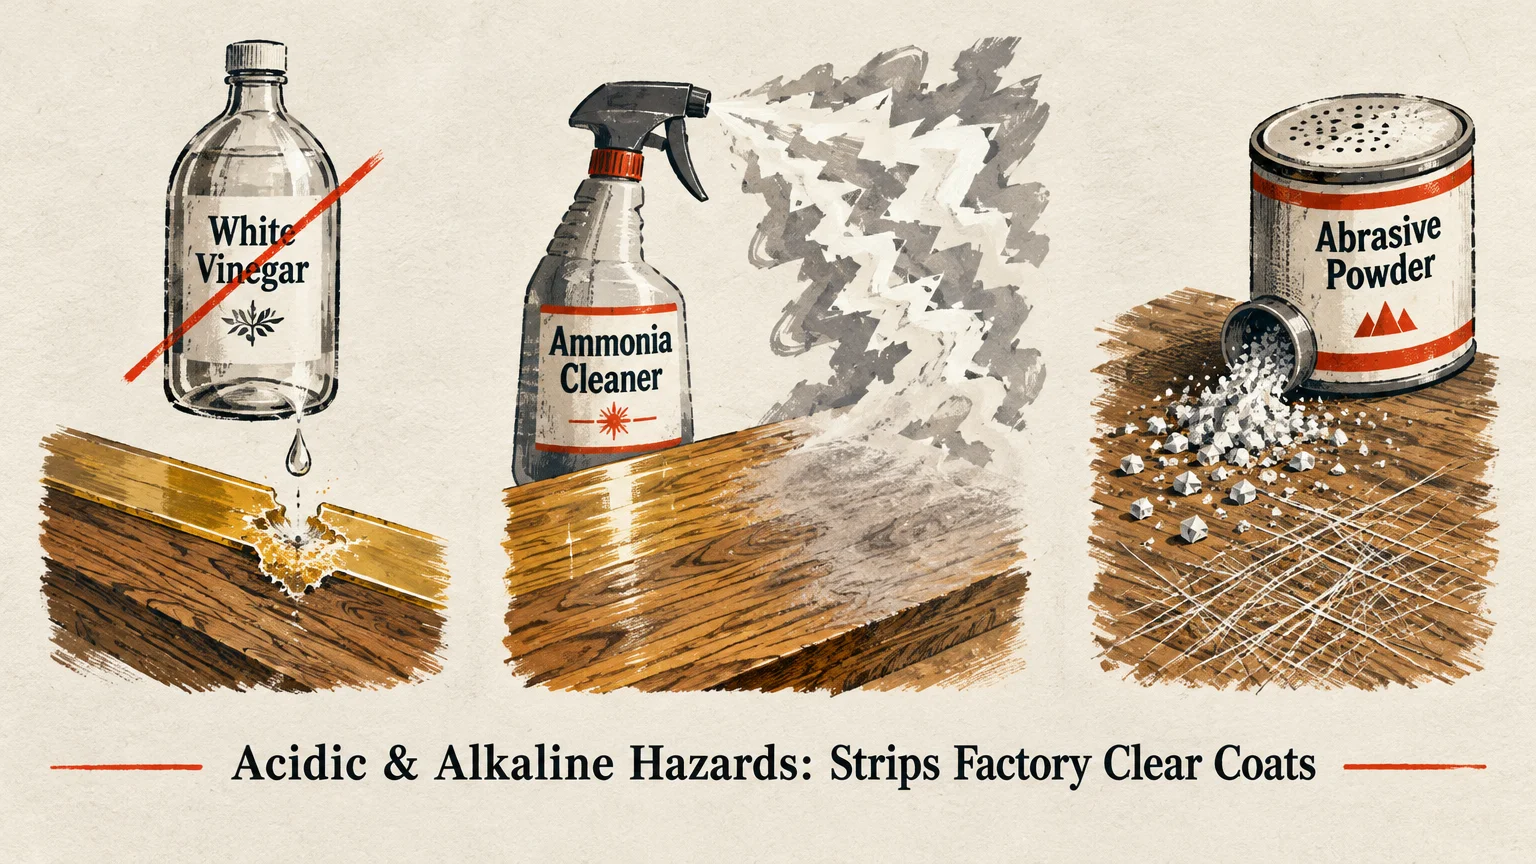
06 Avoid Vinegar, Ammonia, and Abrasive Powders
Online cleaning advice often promotes distilled white vinegar or baking soda as universal kitchen remedies. Unfortunately, using these kitchen pantry staples on finished wood cabinets causes irreversible surface degradation.
Distilled white vinegar contains acetic acid with a low pH that dissolves protective polyurethane and lacquer topcoats. Continued vinegar usage leaves wood looking dull, cloudy, and vulnerable to deep grease penetration.
Ammonia is equally harmful because it dissolves organic resins and darkens wood species like oak. Abrasive mineral powders and baking soda act like liquid sandpaper, buffing away protective clear coats with every stroke.
Authoritative guidance from the Clemson University Cooperative Extension Service cautions against acidic or abrasive cleaners on sealed wood finishes. Gentle, pH-neutral soaps provide superior grease cutting without chemical etching.
Similarly, avoid melamine foam eraser sponges because their micro-abrasive structure sands off clear finishes. Protect your cabinetry investment by keeping caustic cleaners and scouring pads far away from your woodwork.
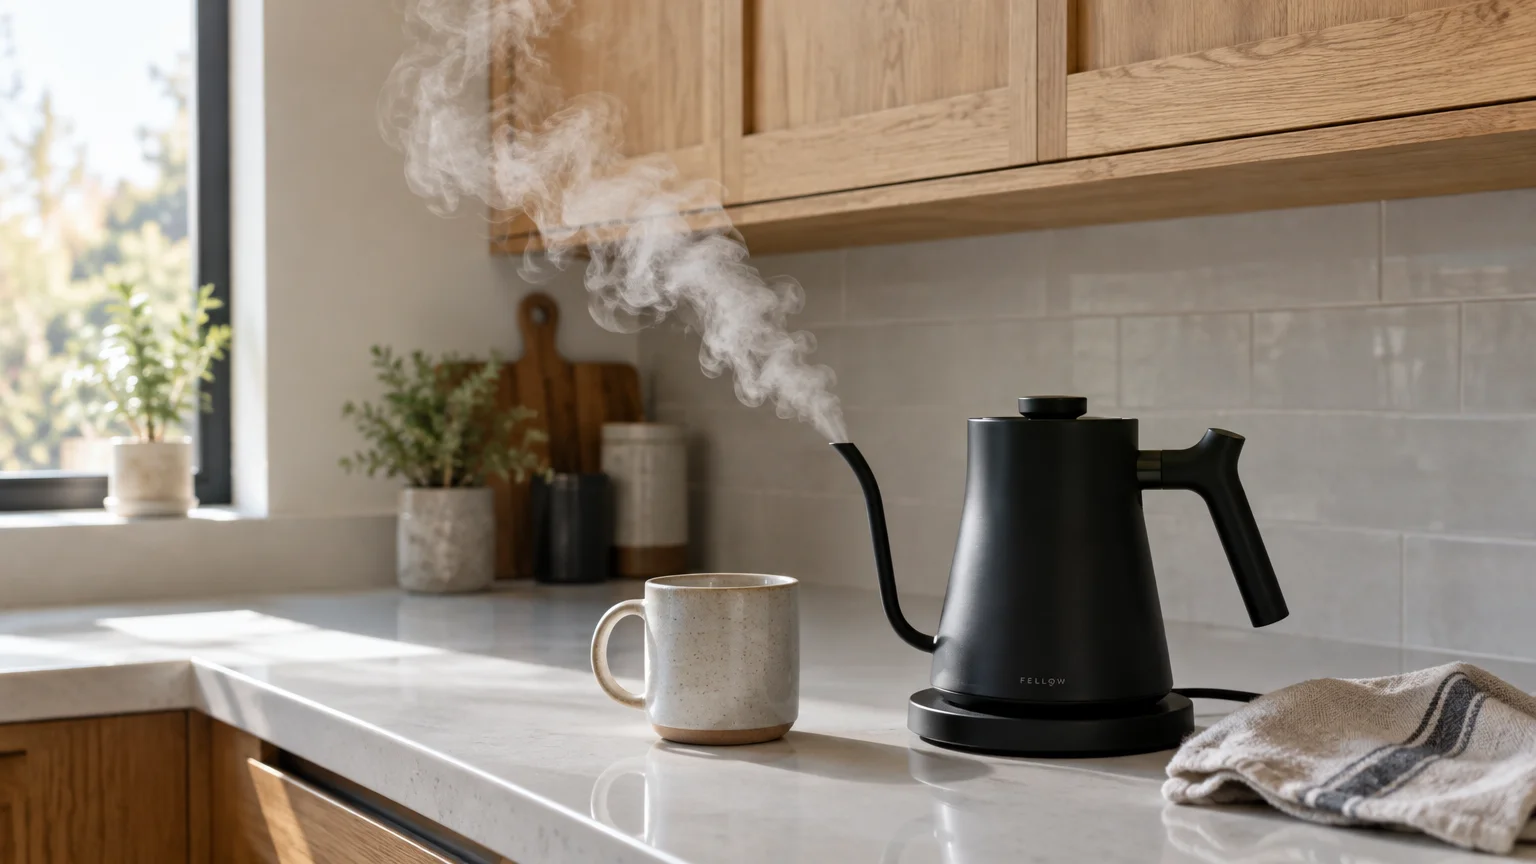
07 Divert Appliance Steam Away from Cabinet Faces
Countertop appliances generate intense plumes of heat and moisture that can destroy upper cabinet boxes. Electric kettles, pressure cookers, and drip coffee makers blast concentrated water vapor against bottom cabinet rails.
Direct exposure to rising steam softens factory wood glues and causes edge-banding veneers to peel away from substrates. Solid hardwood door frames also absorb steam rapidly, leading to warping and distorted alignments.
Slide countertop appliances forward toward the front lip of your counter before starting a cooking cycle. Positioning appliances away from overhead cabinetry allows rising steam to dissipate into your open kitchen air.
Run your range hood exhaust fan on medium speed when boiling water or operating high-pressure cookers nearby. The exhaust fan draws moisture vapor out of your kitchen before it condenses on cabinet trim.
If your kitchen layout requires appliances under cabinets, install stick-on steam diverter shields beneath upper boxes. These inexpensive heat shields deflect rising vapor away from vulnerable wood edges.
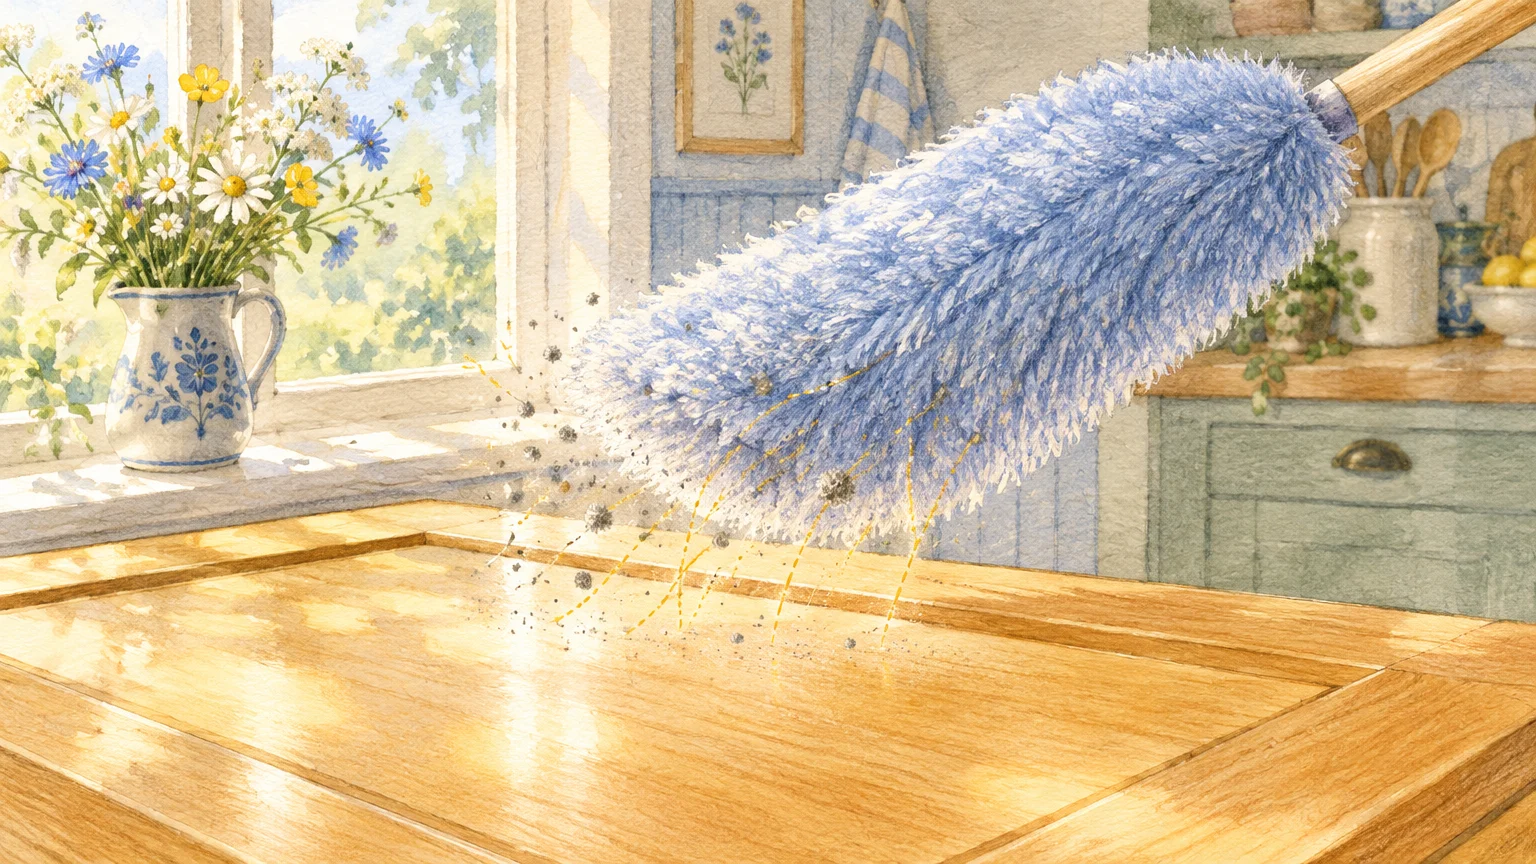
08 Dust Weekly Using Electrostatic Microfiber Cloths
Household dust contains microscopic silica particles, soil fragments, and textile fibers that act like fine abrasives. When dust settles on vertical cabinets, ambient cooking grease binds it into a gritty, hardened film.
Wiping dry dust with coarse paper towels scratches the clear finish and creates widespread micro-abrasions. Meanwhile, traditional feather dusters simply fling particles into the room without capturing them.
Use high-pile electrostatic microfiber cloths to lift loose dust safely off wood surfaces. Microfiber filaments carry a natural positive static charge that attracts and locks in negatively charged dust particles.
Glide the dry cloth lightly along crown molding, door frame ledges, and lower horizontal rails. Never apply heavy downward pressure while dusting, as dry friction can drag trapped grit across the clear coat.
Wash your microfiber cloths in warm water without fabric softeners to maintain their natural static charge. Regular, gentle dusting prevents gritty buildup and keeps cabinet faces smooth to the touch.
09 Polish Wood Cabinets Sparingly with Quality Products
Most aerosol furniture polishes promise instant gloss, but their formulations often rely on cheap silicone fluids. Silicone penetrates hairline cracks in cabinet finishes, creating an artificial smear that attracts dust and resists future refinishing.
You do not need to polish wood cabinets weekly or even monthly to preserve their visual warmth. Modern factory cabinets are sealed with durable conversion varnishes that require clean surfaces rather than heavy oils.
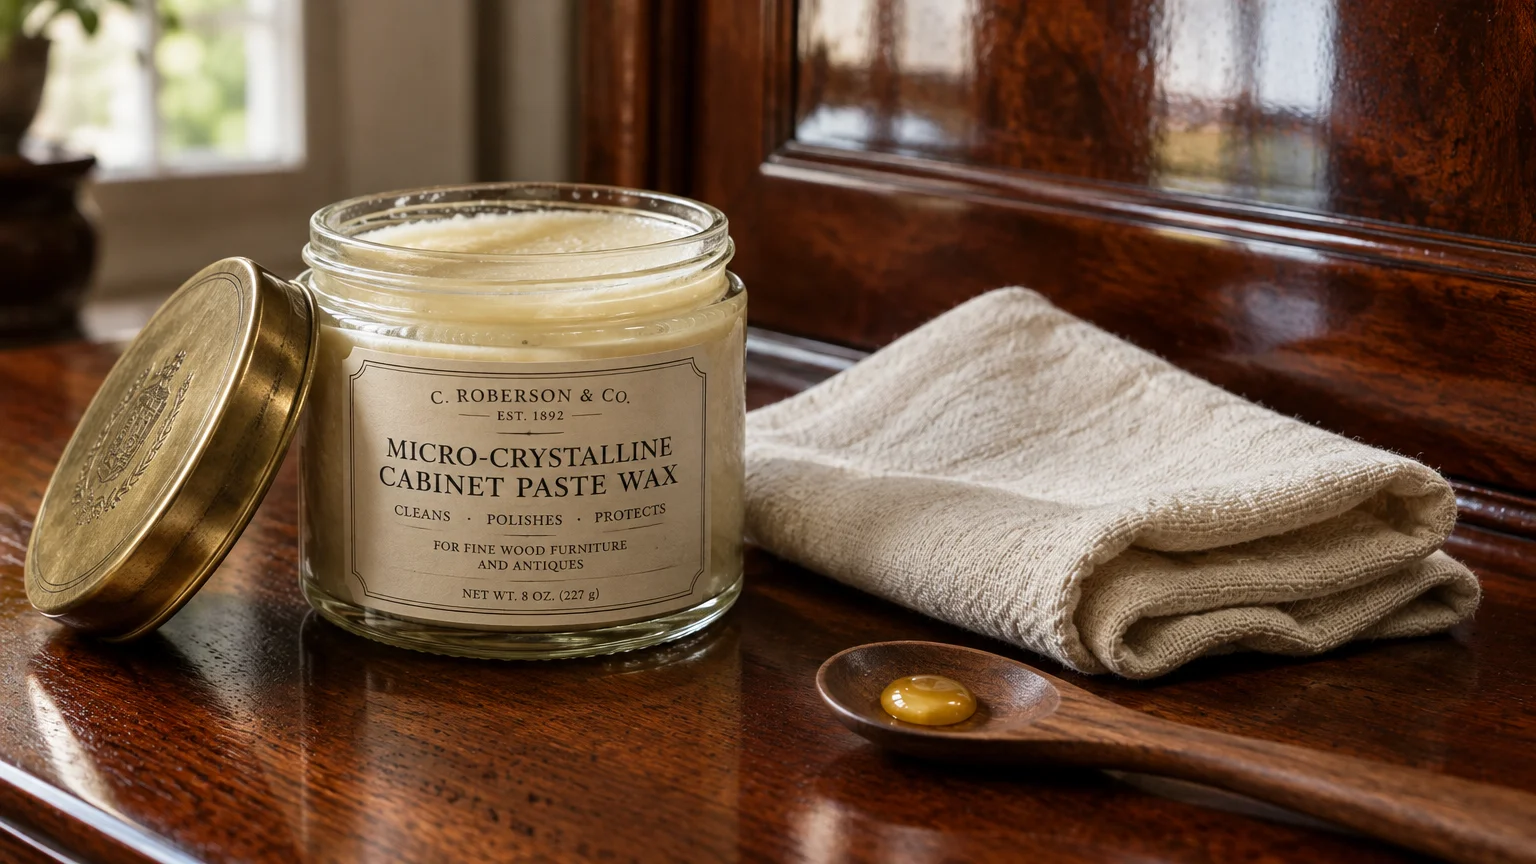
Apply a specialty wood polish or wax only once or twice each year for periodic rejuvenation. Select products formulated with natural beeswax or hard carnauba wax rather than silicone derivatives or petroleum distillates.
Dab a quarter-sized amount of wax onto a lint-free cloth, and spread a paper-thin layer along the grain. Allow the wax to set according to the package directions before buffing the surface with a dry flannel towel.
A thin barrier of natural wax enhances the authentic wood grain while helping cabinet surfaces repel grease and moisture drops.
10 Manage Indoor Humidity to Prevent Wood Movement
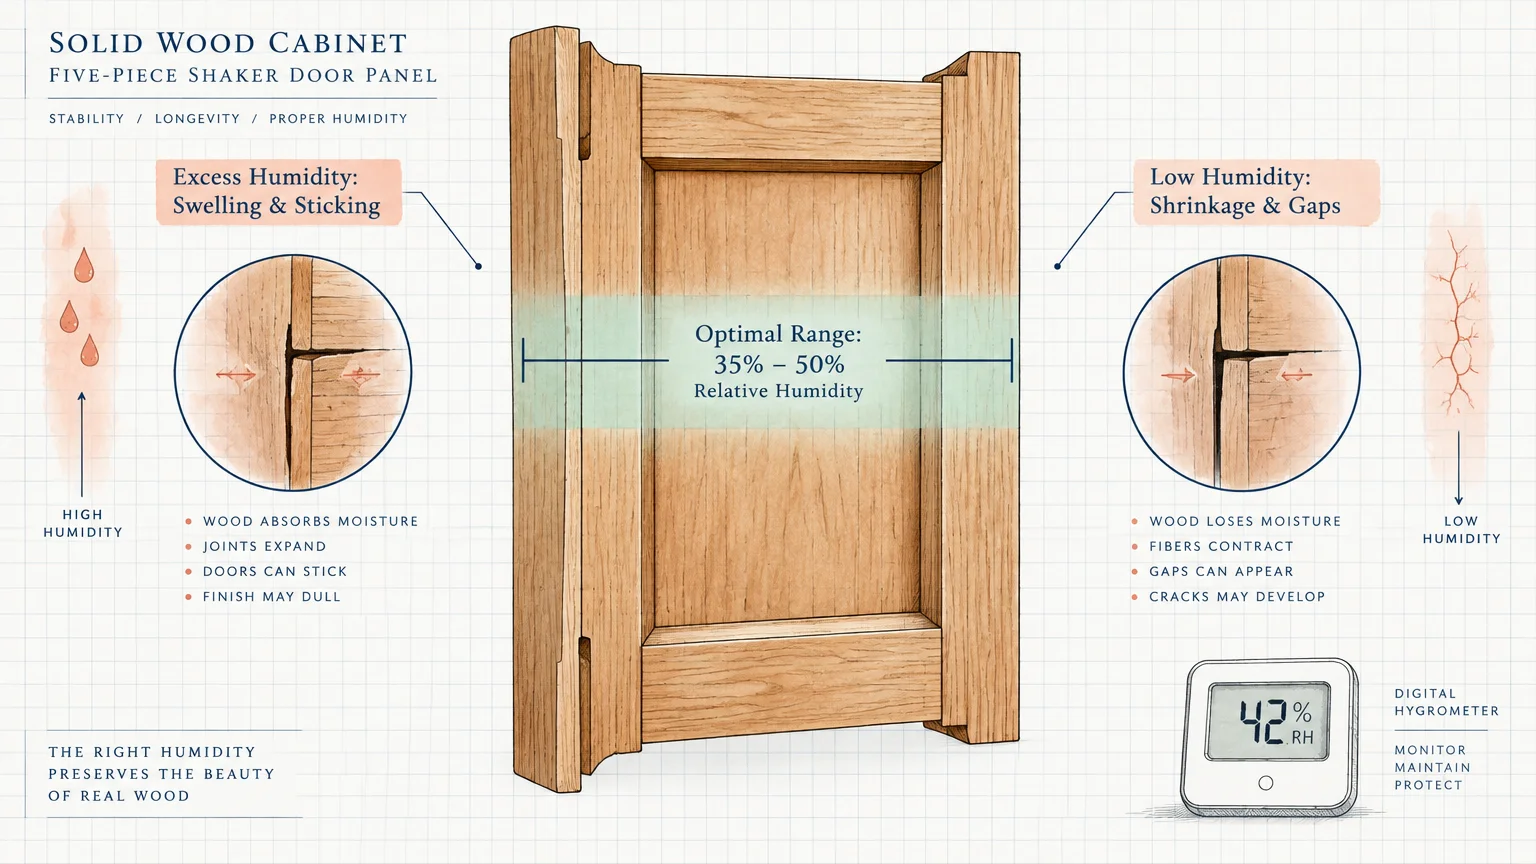
Solid wood is a dynamic, hygroscopic material that naturally absorbs and expels atmospheric moisture. In fluctuating indoor climates, wood components expand during muggy summers and contract during dry winter heating cycles.
The USDA Forest Products Laboratory emphasizes that regulating indoor moisture prevents wood movement and finish failures. Maintaining indoor relative humidity between 35% and 50% protects glued joints and prevents center panels from splitting.
Run your central air conditioning or a dedicated dehumidifier during humid summer months to suppress interior moisture. High humidity swells drawer boxes and causes doors to stick against face frames.
Operate an evaporative humidifier during cold winter months when indoor heating dries the air. Preventing dry air stops wood stiles from shrinking, which prevents unfinished raw wood lines from exposing along panel edges.
A simple digital hygrometer placed on your kitchen counter helps you monitor indoor moisture levels. Consistent humidity safeguards your cabinetry against structural warping and preserves factory joint alignments.
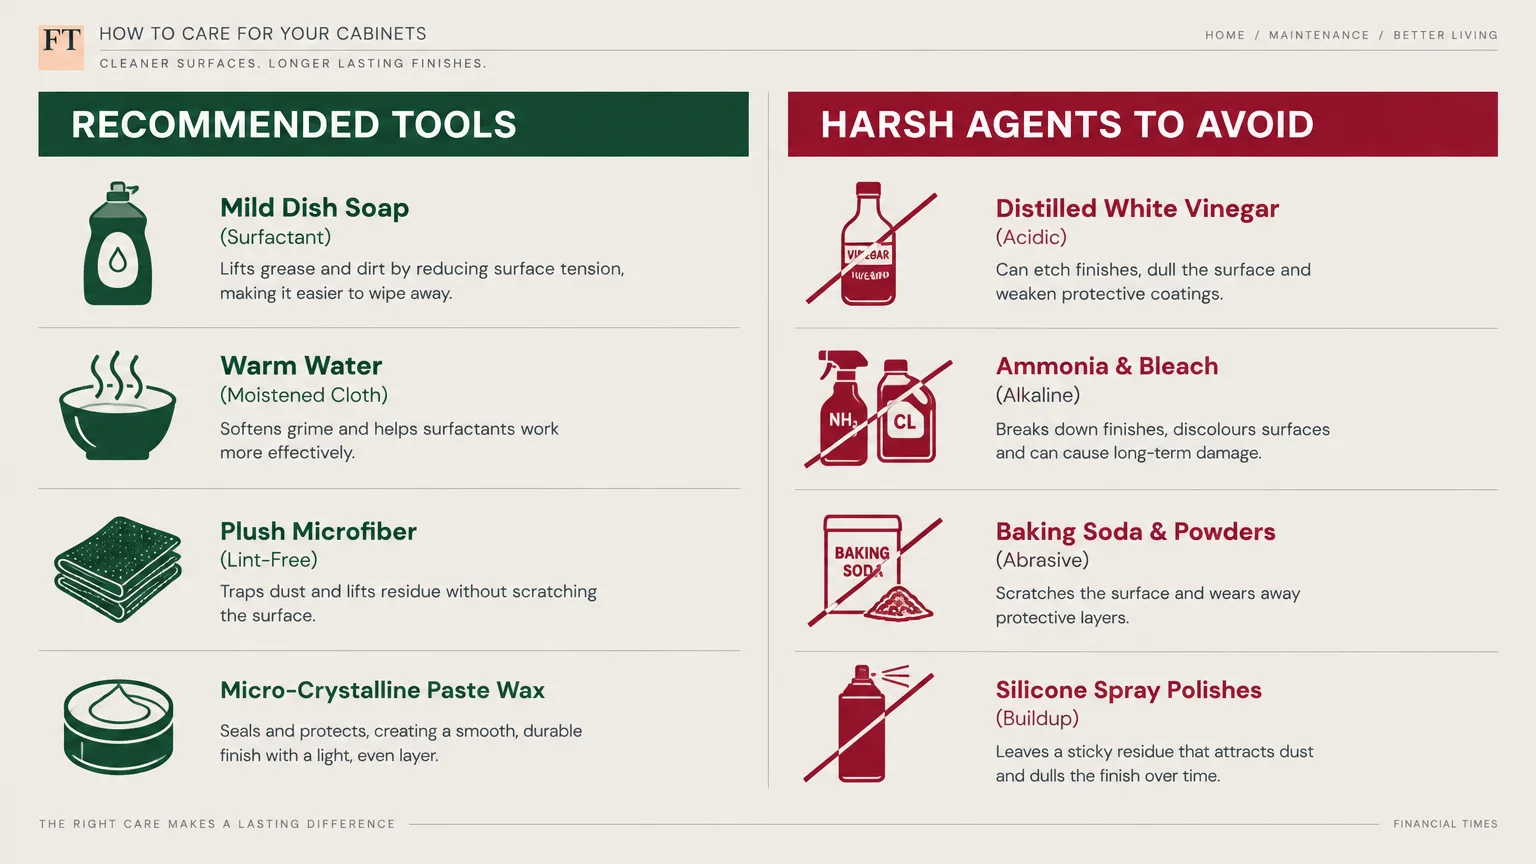
Cabinet Care Comparison: What to Use vs. What to Avoid
Choosing the correct cleaning tool makes the difference between glowing woodwork and stripped clear coats. Review this practical reference table before selecting your cabinet cleaning supplies.
| Cleaning Tool or Agent | Safety Rating | Best Application | Primary Risk or Benefit |
|---|---|---|---|
| Mild dish soap and warm water | Safe | Weekly cleaning and grease removal | Lifts surface oils without softening protective clear coats. |
| High-pile microfiber cloths | Safe | Routine dusting and quick spill drying | Traps abrasive particles without scratching reflective finishes. |
| Beeswax and carnauba paste | Safe (use sparingly) | Annual conditioning and protection | Creates a moisture barrier without leaving sticky silicone buildup. |
| Distilled white vinegar | Unsafe | Never use on finished wood | Acidic pH erodes conversion varnish, leaving finishes dull and hazy. |
| Aerosol silicone furniture spray | Unsafe | Never use on cabinetry | Creates a dirt-trapping film that prevents finish adhesion during repairs. |
| Melamine foam eraser sponge | Unsafe | Never use on cabinetry | Micro-abrasive structure sands off clear coats like high-grit paper. |
Refer to this guide whenever you consider introducing a new cleaning product to your kitchen routine. Safe supplies protect your cabinetry investment and keep maintenance fast and predictable.
A Low-Stress Cabinet Cleaning Schedule
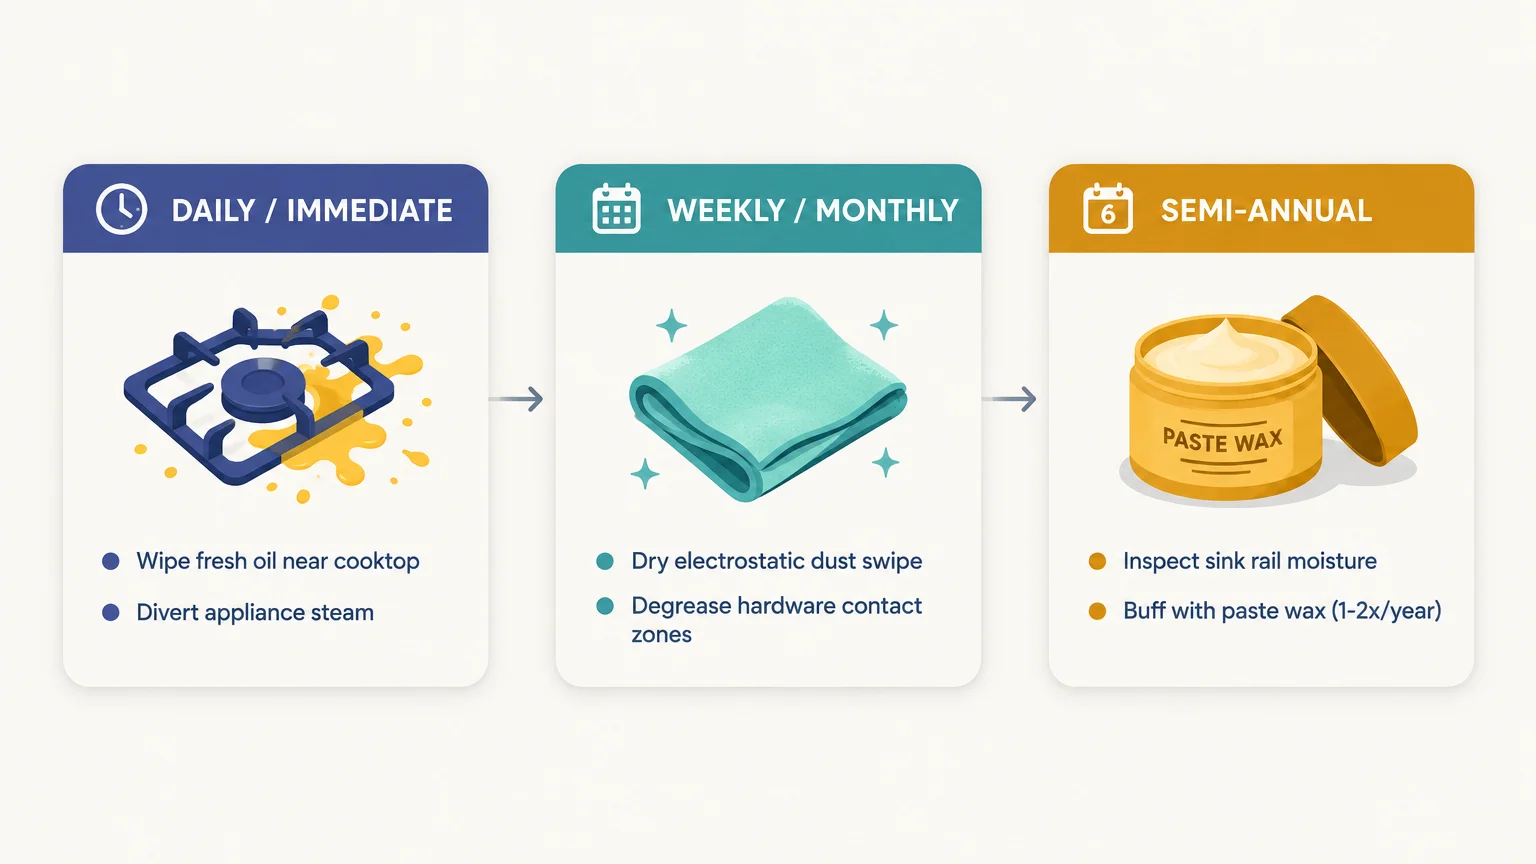
Breaking cabinet maintenance into brief, manageable routines keeps your kitchen immaculate without demanding long weekend cleaning sessions. Follow this realistic timeline to keep your woodwork in showroom condition year-round.
Daily Maintenance (Under 2 Minutes)
- Inspect the cabinet panels directly surrounding your stovetop for cooking oil splatters.
- Wipe fresh drips immediately using a warm, damp microfiber cloth.
- Buff damp spots dry with a cotton tea towel to prevent water absorption.
Weekly Upkeep (5 to 10 Minutes)
- Dust upper moldings, range hood surrounds, and horizontal door rails with a dry microfiber cloth.
- Wipe drawer handles, door knobs, and surrounding wood with mild soapy water to remove skin sebum.
- Dry all cleaned hardware zones thoroughly with a fresh cloth.
Monthly Deep Clean (15 to 20 Minutes)
- Inspect lower cabinets beneath your kitchen sink for plumbing leaks or moisture drips.
- Wipe down all cabinet face frames and drawer fronts using warm water and two drops of dish soap.
- Work strictly with the direction of the wood grain on every panel and frame.
- Dry all edges and panel recesses completely using a soft, lint-free cloth.
Seasonal Conditioning (Twice a Year)
- Check indoor relative humidity levels to ensure they remain within the safe 35% to 50% range.
- Apply a paper-thin layer of natural beeswax polish to high-traffic cabinet faces.
- Buff the wax along the wood grain to restore a deep, protective satin luster.
Your Next Small Step
You do not need to clean your entire kitchen today to start enjoying glowing wood cabinets. Choose one practical, low-effort task that takes less than five minutes to complete right now.
Grab two clean microfiber cloths from your linen closet, and moisten one cloth with warm tap water. Walk over to your stove, and gently wipe the cabinet doors directly beside and above your cooktop.
Follow behind immediately with your dry towel to reveal a clean, radiant finish. This quick habit takes just moments, builds cleaning confidence, and keeps your wood cabinets glowing for years to come.