
Bright tile grout transforms dull floors and dingy showers into crisp, inviting spaces. Adopting a few simple daily and weekly habits keeps your grout immaculate without exhausting weekend scrubbing sessions.
Because cementitious grout is porous, it readily drinks in dirty mop water, mineral deposits, and soap film. Protecting those tiny microscopic pores prevents stubborn discoloration before stains ever take hold.
These ten practical habits shield your tile installations from grit and moisture. With the right tools and gentle chemistry, you will keep your grout bright and fresh with minimal effort.
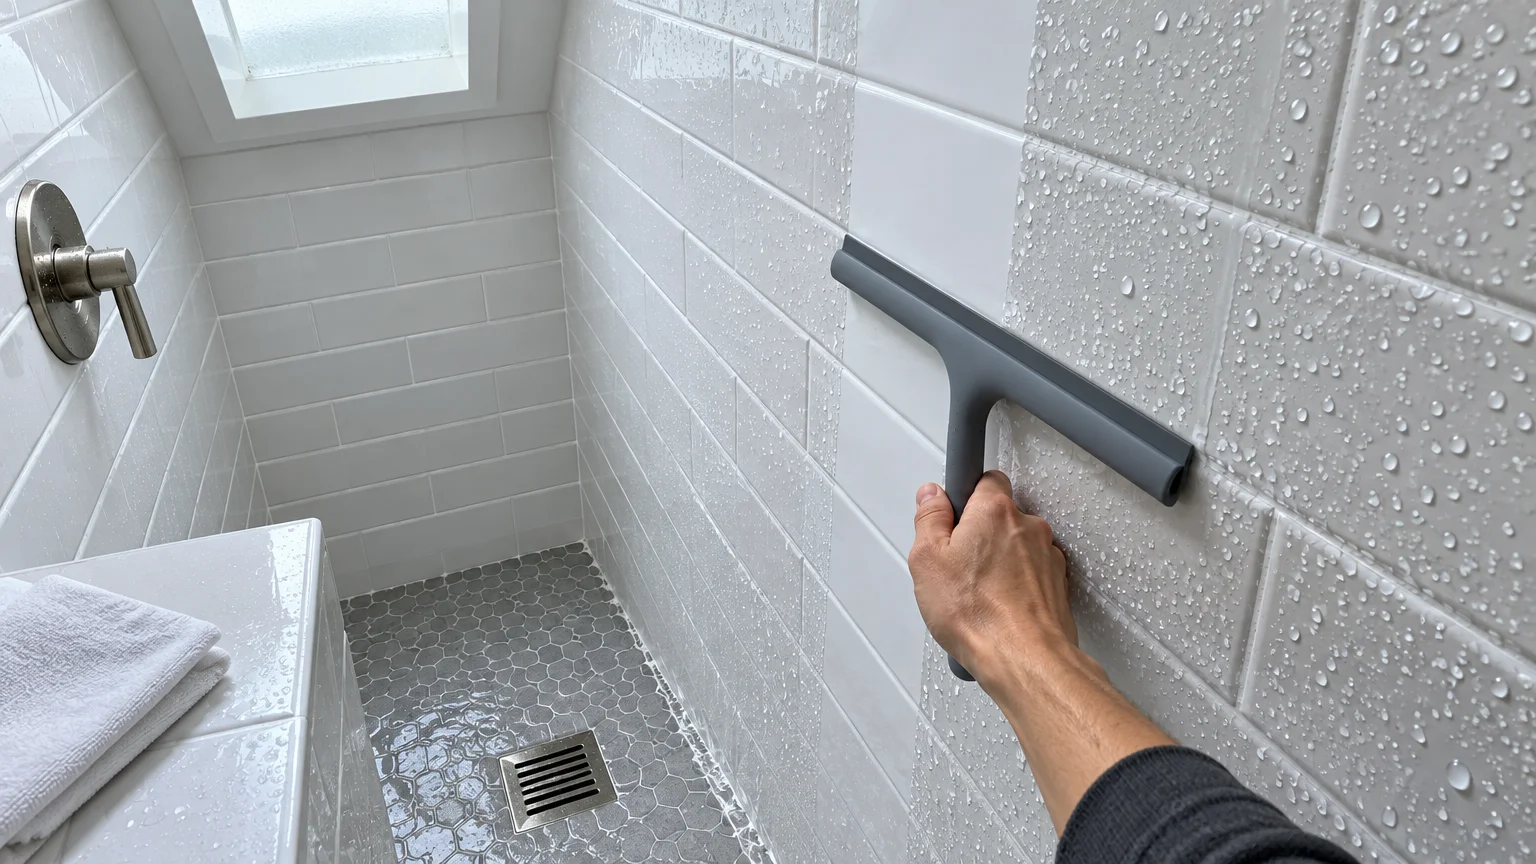
01 Squeegee Shower Walls Daily
Moisture is the primary catalyst for mildew growth and mineral buildup on shower tile. Wiping excess water off your walls takes less than a minute and prevents moisture from sinking into grout lines.
Keep an ergonomic silicone squeegee hanging right inside your shower enclosure. After your final rinse, pull the blade downward across your wall tiles in overlapping, smooth strokes.
Direct the pooled water straight toward your shower drain; this simple step removes the mineral-laden droplets that leave chalky efflorescence behind. It also drastically reduces the standing moisture that mold spores require to germinate.
For textured tiles or recessed grout joints where squeegees struggle, keep a dedicated microfiber towel handy. A quick wipe down along the lower grout lines collects remaining puddles before they evaporate and deposit grime.
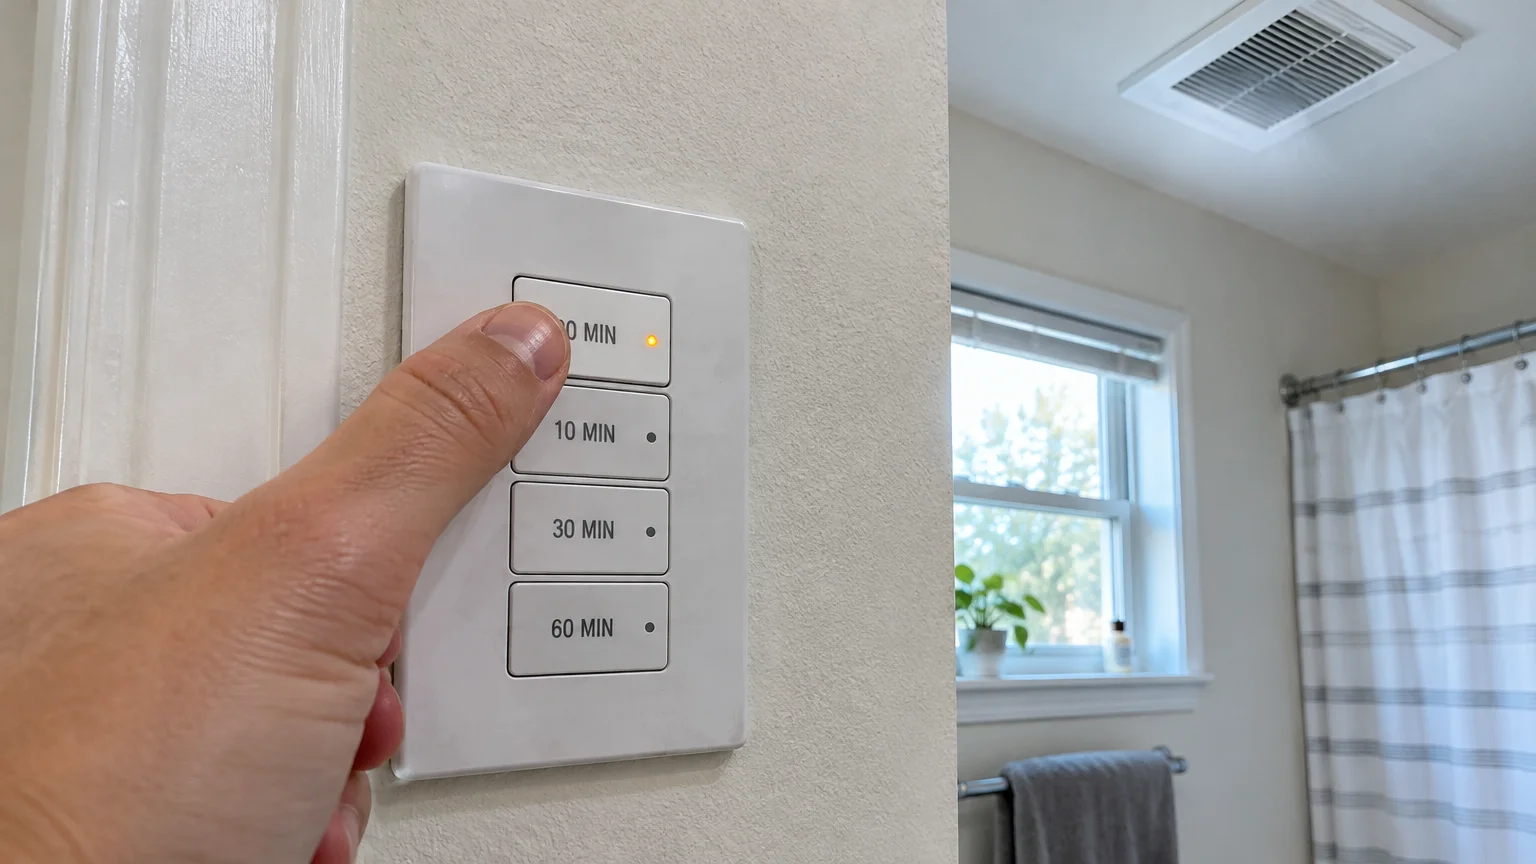
02 Run Your Bathroom Exhaust Fan for Twenty Minutes
High ambient humidity encourages fungal spores to embed themselves deep into damp grout pores. The Environmental Protection Agency (EPA) recommends maintaining indoor relative humidity below sixty percent to discourage mold growth.
Turn on your exhaust fan as soon as you step into the shower, not after the mirror fogs. Leave the fan running for twenty minutes after you finish bathing to completely evacuate moisture from the room.
If you tend to forget about the running fan, install an inexpensive digital countdown wall switch. One push ensures optimal airflow without wasting electricity or running the fan motor all day long.
Proper ventilation also aligns with Occupational Safety and Health Administration (OSHA) guidance on controlling indoor airborne moisture to maintain healthy indoor spaces.
In bathrooms lacking mechanical ventilation, crack a window open and set a small oscillating fan on your vanity. Moving air evaporates trapped water along floor joints and tile corners before mildew can establish roots.
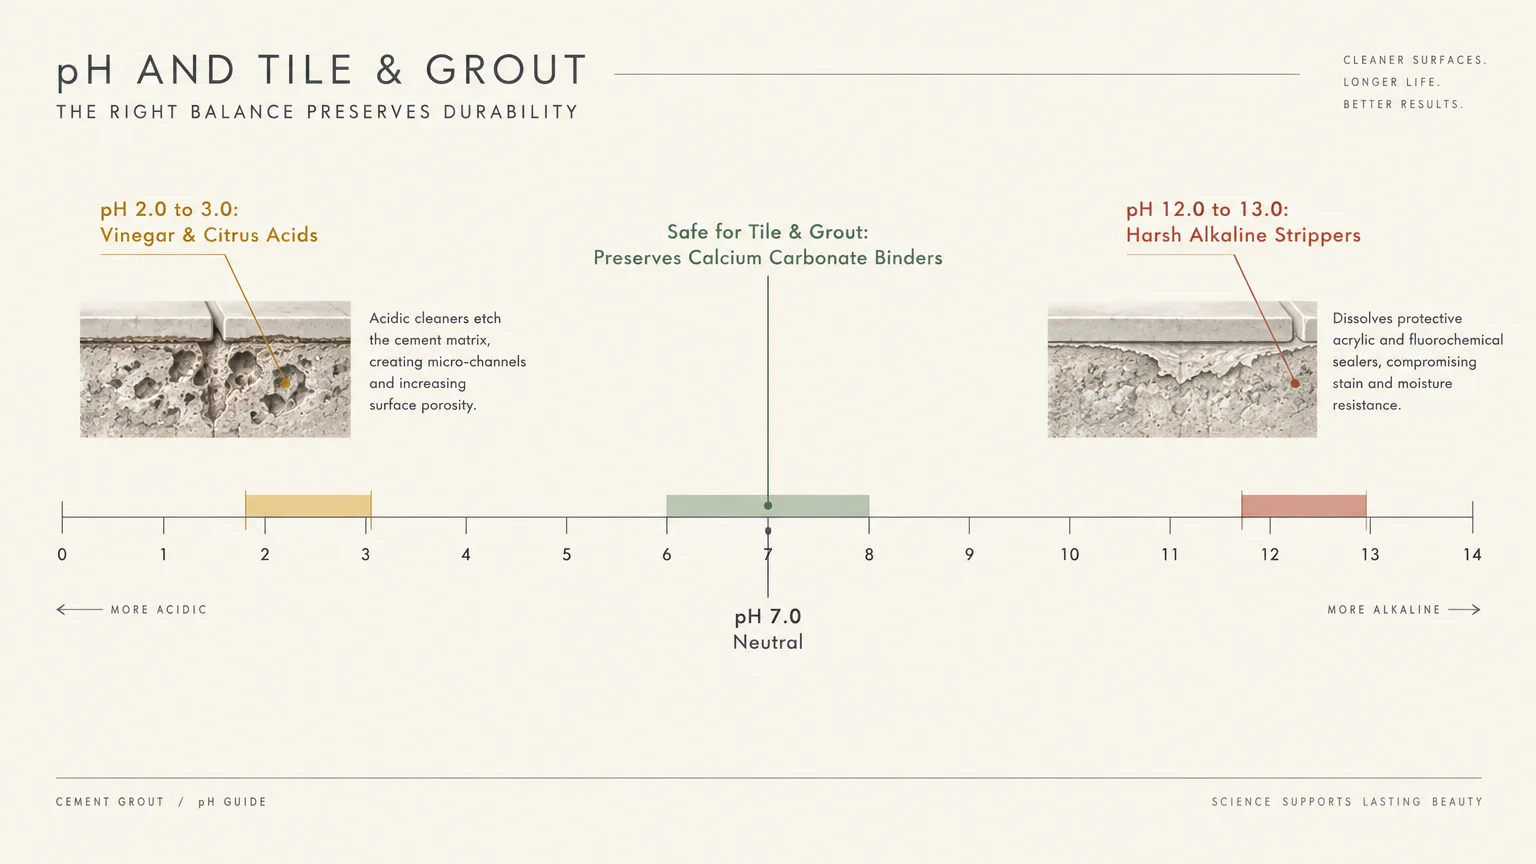
03 Clean Floors Exclusively with pH-Neutral Formulas
Many popular household cleaners cause long-term damage to cement-based grout. Acidic solutions like vinegar and citrus cleaners dissolve the calcium carbonate binders that give grout its structural integrity.
Repeated acid exposure creates pitted, rough channels that trap dirt faster than before. Highly alkaline strippers are equally problematic because they dissolve the protective sealers you apply to safeguard your floor.
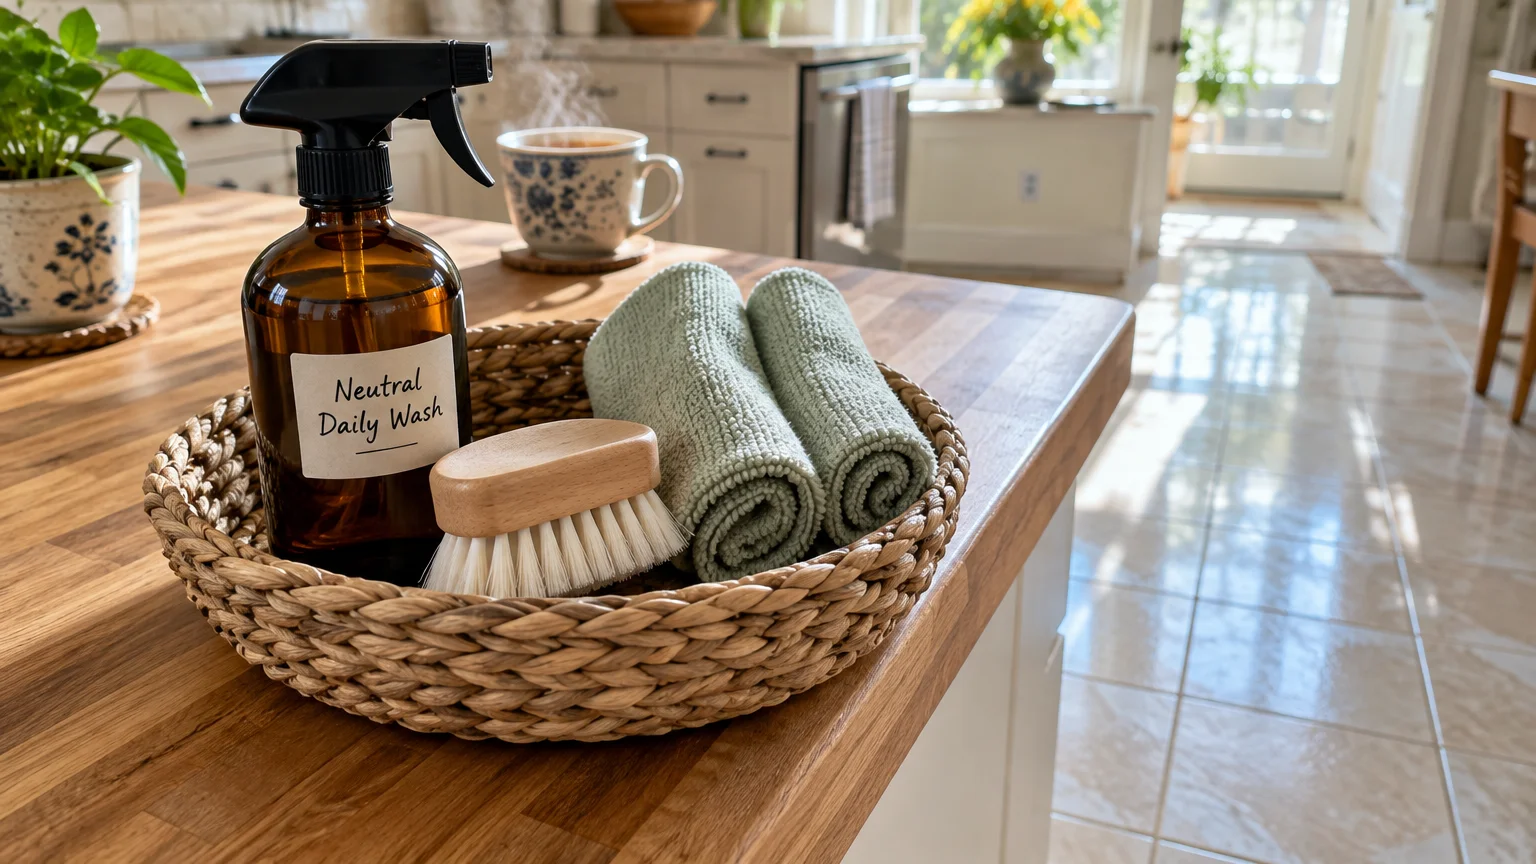
Instead, choose a pH-neutral cleaner formulated specifically for tile, stone, and grout. The Tile Council of North America (TCNA) recommends neutral cleaners because they lift surface grime without reacting chemically with the cement matrix.
Mix your neutral cleaner according to the manufacturer’s dilution instructions using warm tap water. Over-concentrating your cleaning wash leaves a sticky residue that attracts airborne dust and foot traffic soil.
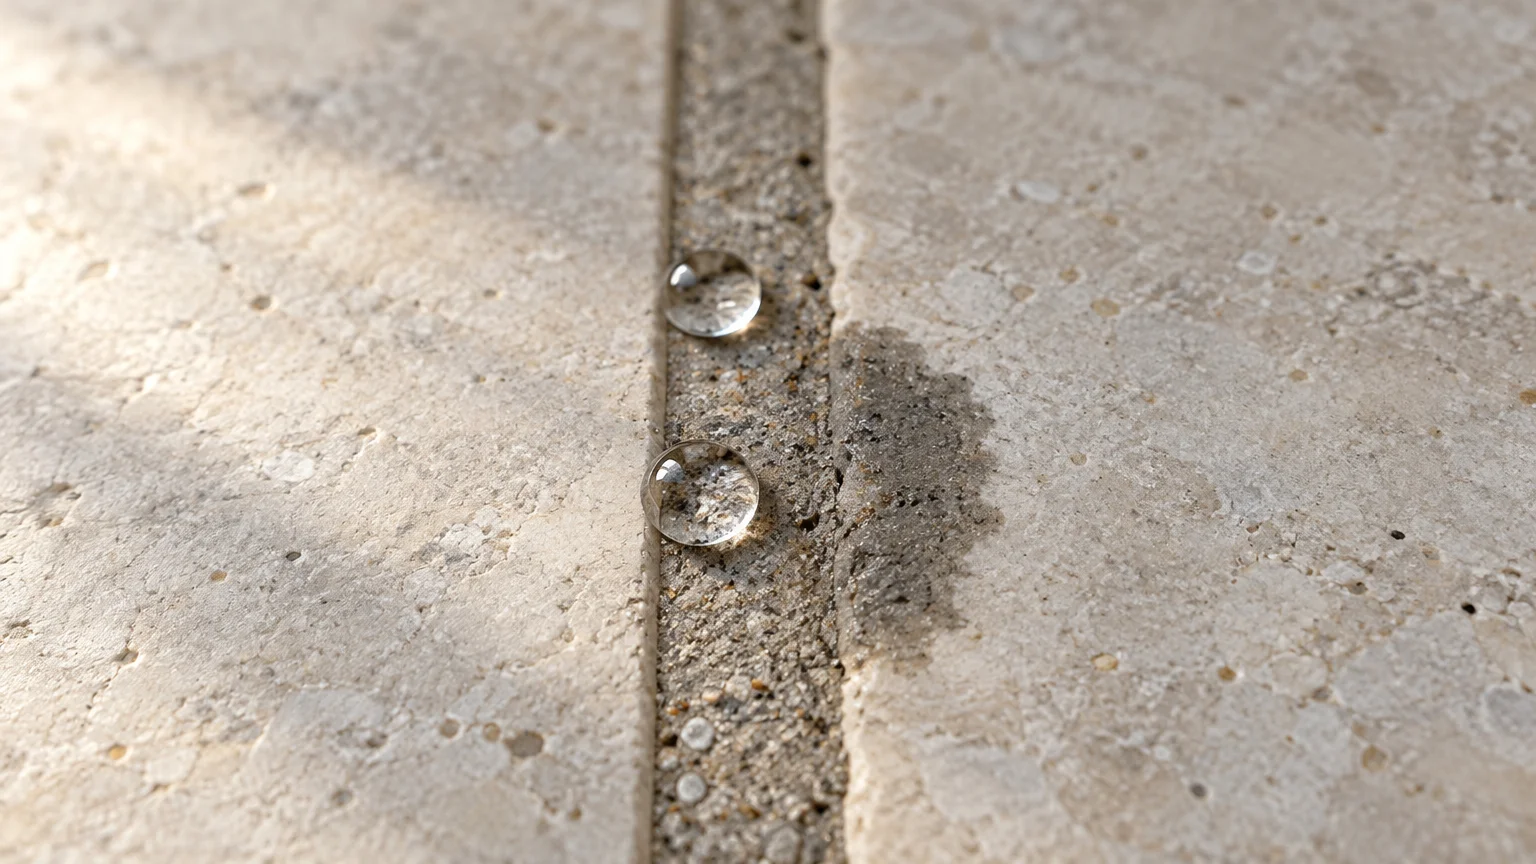
04 Reapply Penetrating Grout Sealer on Schedule
Grout sealer is your tile floor’s primary defensive barrier against spills, oils, and muddy moisture. Unsealed grout acts like a dense sponge, soaking liquid stains deep beneath the surface within minutes.
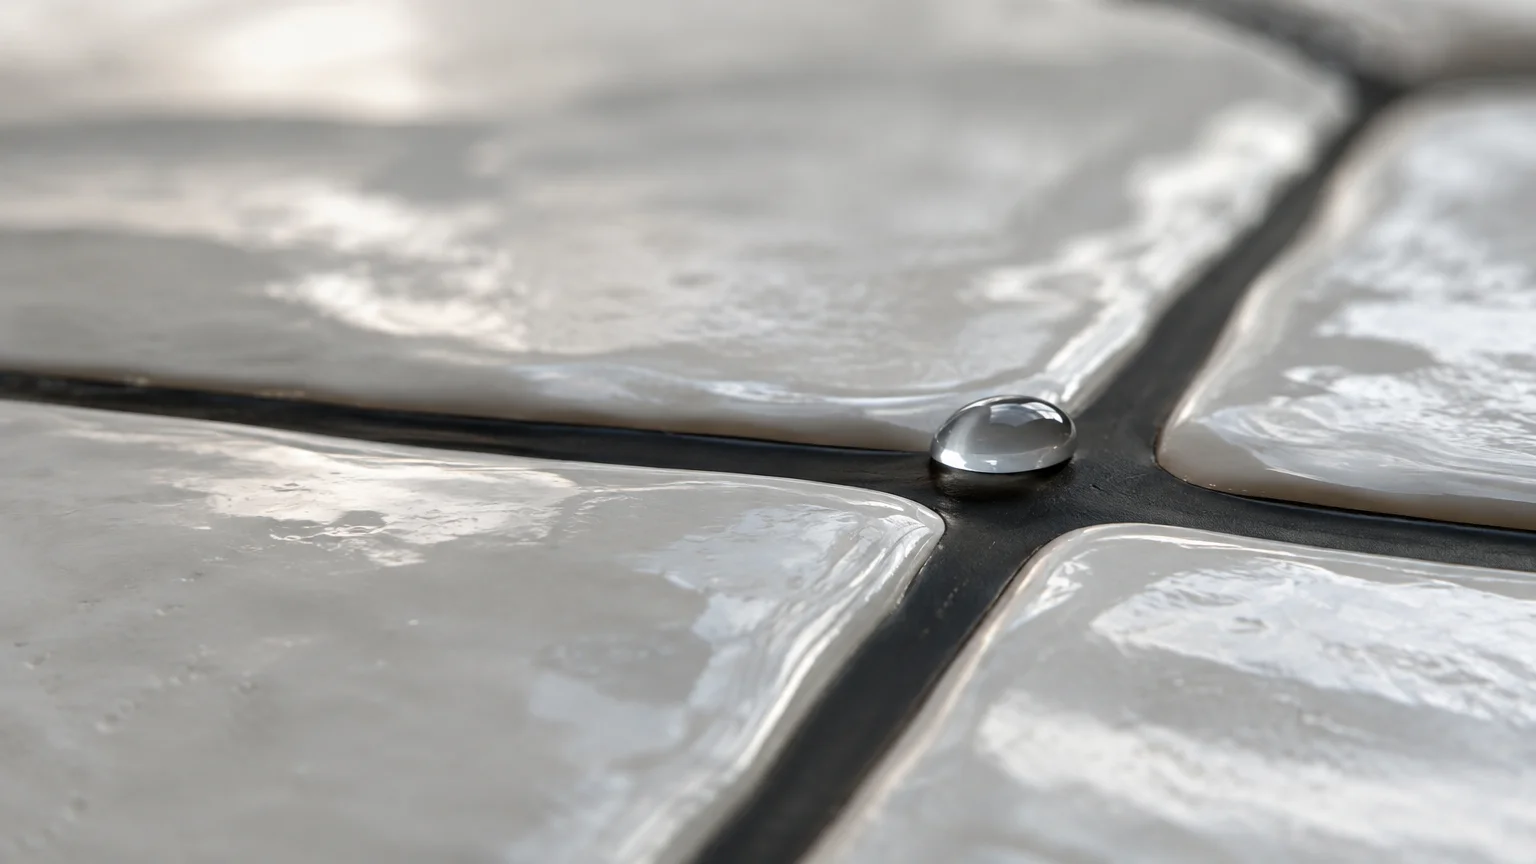
Perform a splash test twice a year to verify that your protective barrier remains fully intact. Drizzle several drops of clean water directly onto high-traffic grout lines and observe how they react.
If the water beads into tight droplets, your seal remains solid and impervious. If the grout darkens and absorbs the water within five minutes, it is time to reseal.
Apply a fluoropolymer-based penetrating sealer rather than a topical coating. Penetrating sealers soak into the pores to repel water and oils from within while allowing vapor to escape naturally.
Use an applicator bottle with a small roller wheel to apply the sealer neatly along joint lines. Wipe any excess liquid off your glazed tile surfaces within ten minutes to prevent hazy streaks.
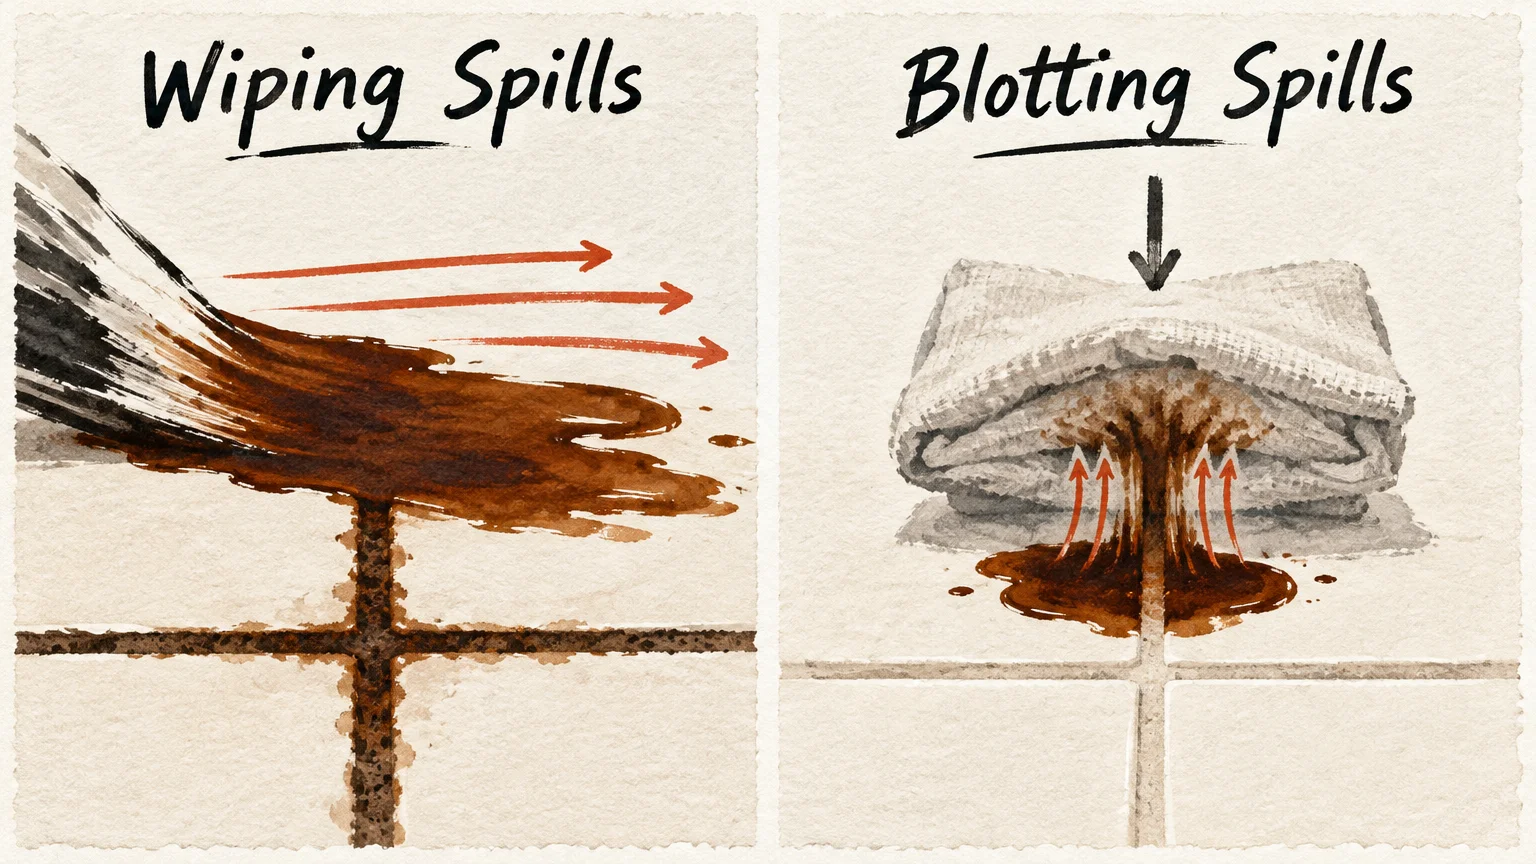
05 Blot Spills Instantly Instead of Wiping
Accidental kitchen spills like red wine, coffee, and tomato sauce contain strong organic tannins that dye unsealed grout instantly. How you react during the first thirty seconds determines whether you get a permanent stain.
Never drag a wet rag back and forth across a fresh liquid spill. Sweeping strokes spread the pigmented liquid over clean tiles and force dirty fluid deeper into the textured grout lines.
Instead, place a folded absorbent paper towel or dry microfiber cloth straight down over the liquid. Press firmly to draw the spill upward into the fabric through natural capillary suction.
Once you lift the bulk liquid, mist the spot with a splash of clean water or neutral cleaner. Blot again with a fresh dry cloth until the surface is completely dry to the touch.
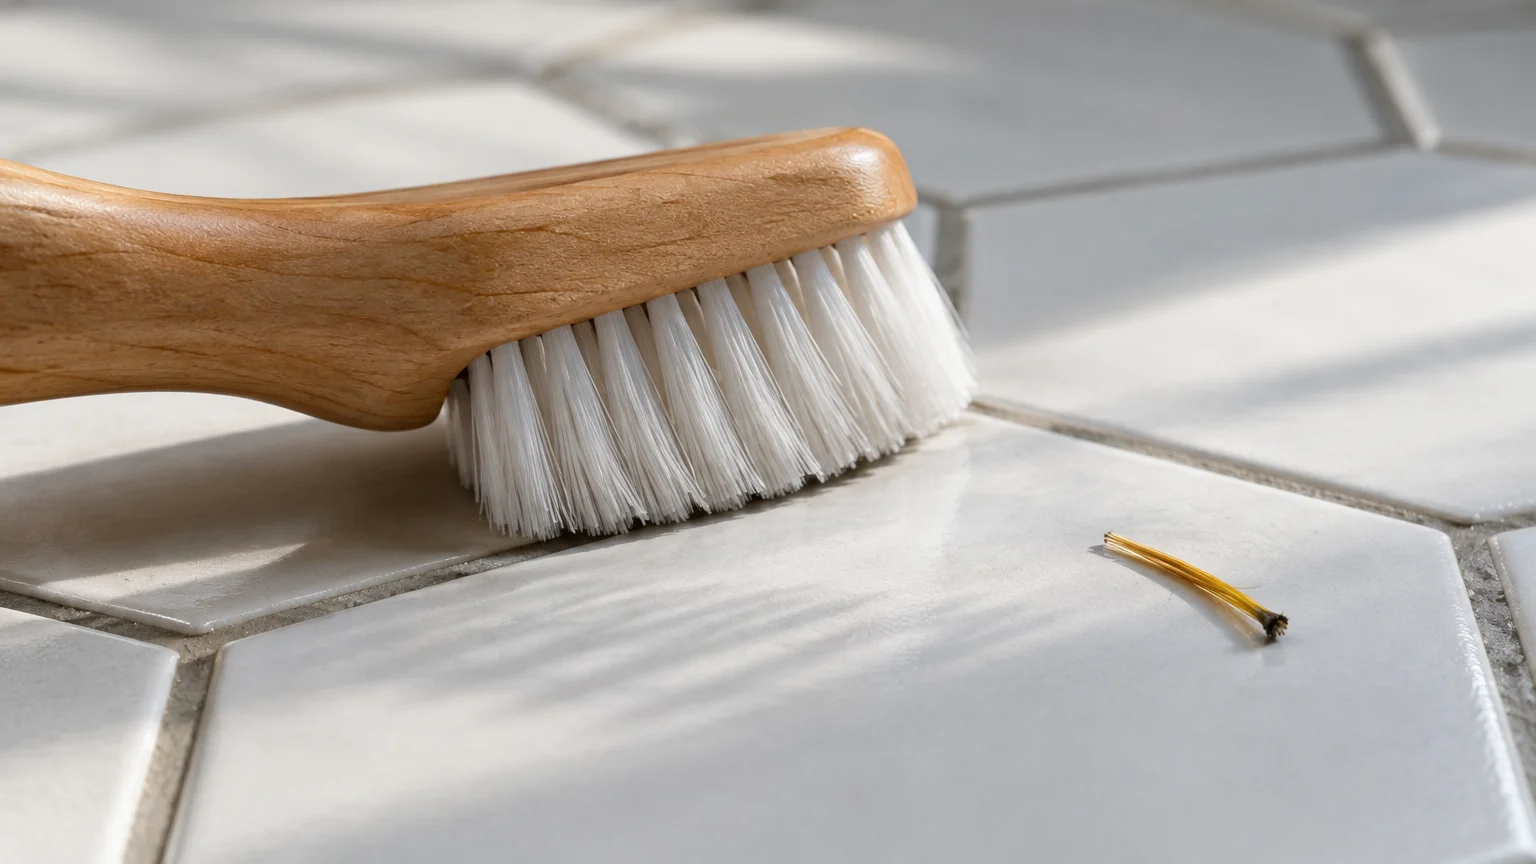
06 Clean with Soft Nylon Bristles, Never Wire Brushes
Scrubbing tile grout with the wrong tool produces irreversible mechanical damage. Stiff wire brushes and abrasive scouring pads scrape away the top layer of grout, exposing loose sand beneath.
Once that smooth surface layer wears away, the rough interior texture collects grease and soil much faster. Abrasive metal bristles can also permanently scratch porcelain glazes and chip soft ceramic edges.
Choose a dedicated grout brush fitted with angled nylon or polypropylene bristles. These flexible synthetic fibers slip cleanly into narrow joints, dislodging embedded grime without grinding down the mortar.
For older adults or anyone seeking to protect their knees and back, select a long-handled, stand-up grout brush. The extended pole gives you excellent leverage and scrubbing pressure without requiring you to kneel on hard floors.
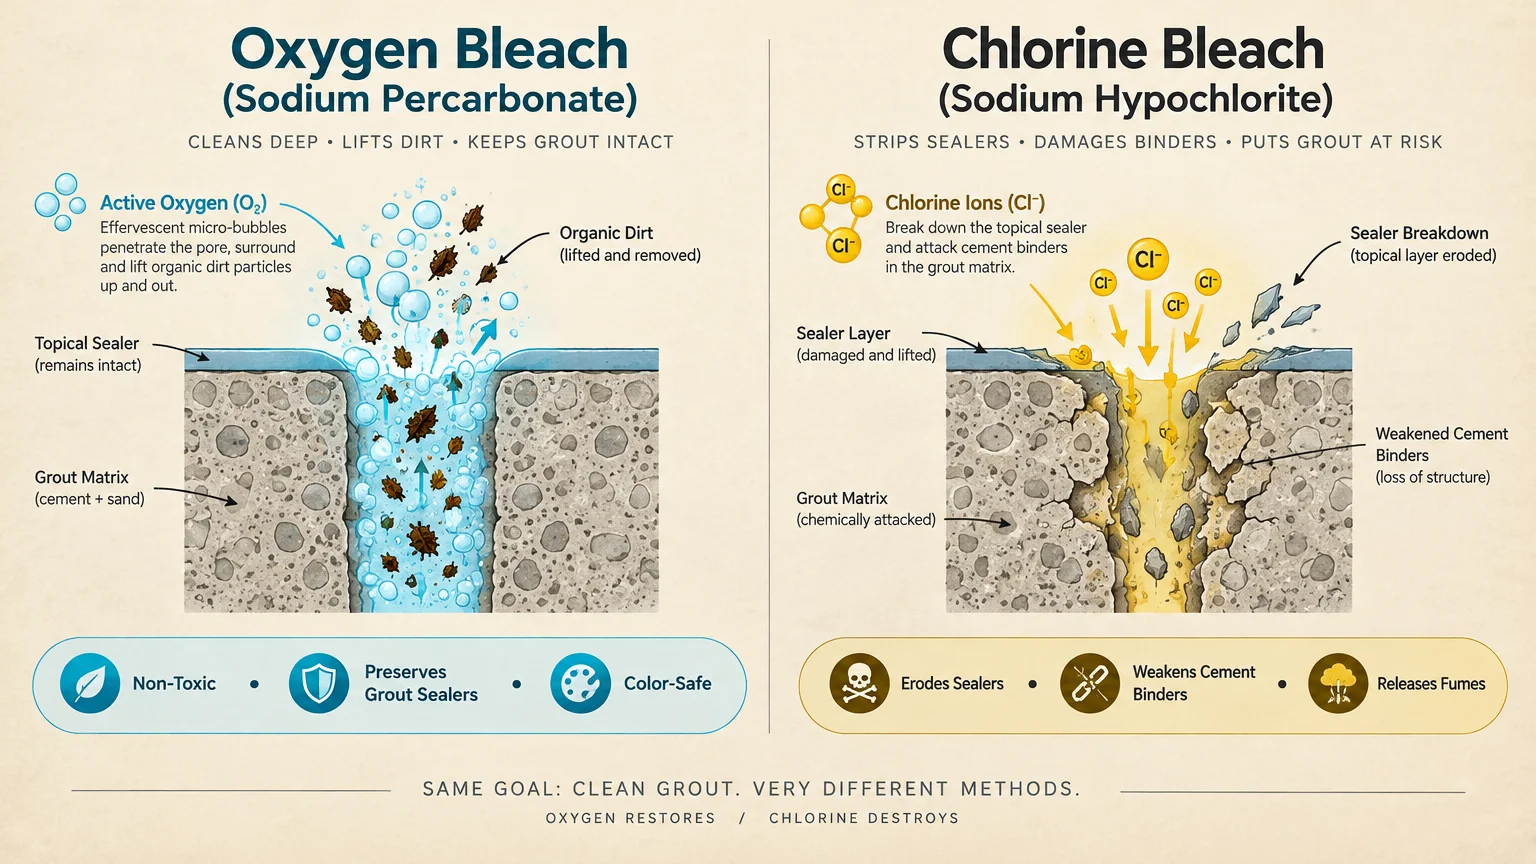
07 Deep-Clean with Oxygen Bleach Instead of Chlorine Bleach
Traditional chlorine bleach whitens surfaces superficially, but it can degrade grout integrity over time. Repeated chlorine applications weaken cement bonds, cause colored grout to fade unevenly, and emit harsh fumes.
The Centers for Disease Control and Prevention (CDC) warns about the respiratory dangers of chlorine bleach, particularly when accidentally mixed with acidic cleaners.
Oxygen bleach, also known as sodium percarbonate, offers a safer, more effective alternative for organic grout stains. When mixed with warm water, it breaks down into hydrogen peroxide and washing soda.
These effervescing oxygen bubbles physically lift trapped organic soils out of tiny pores without eroding cement binders. Oxygen bleach is odorless, non-toxic, and safe for both white and colored installations.
Mix the oxygen bleach powder with warm water until dissolved, then spread the solution liberally over dirty grout lines. Let it dwell for fifteen minutes before giving the lines a light brush and clean-water rinse.
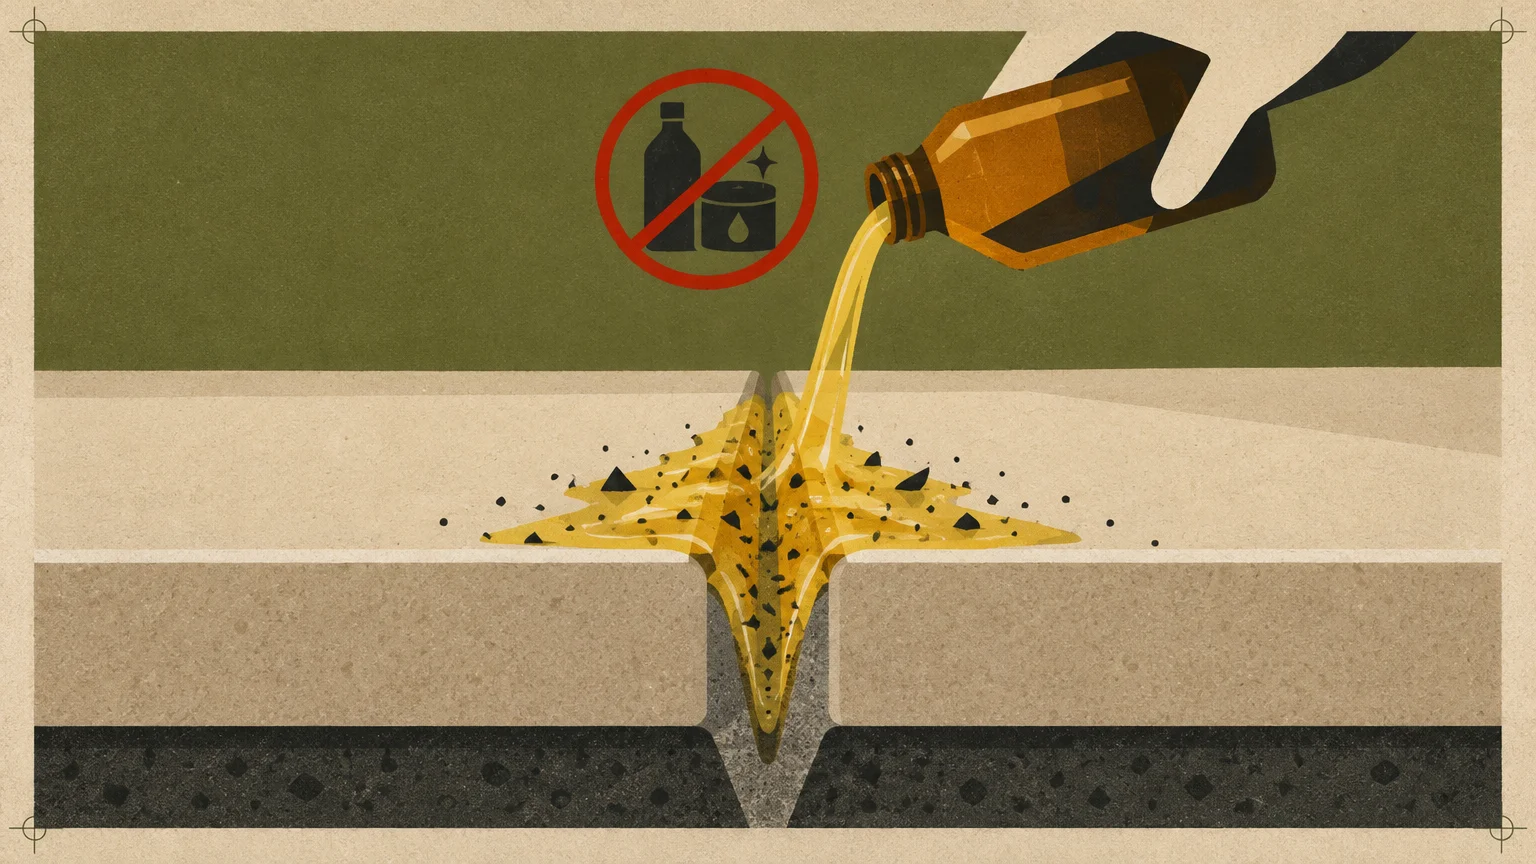
08 Avoid Oil-Rich Soaps and Wax Cleaners
Many commercial floor cleaners promise an instant shine by leaving thin films of oils, waxes, or polymers behind. While your tile may look glossy initially, those oily residues turn your grout into a magnet for grime.
Castile soaps, oil soaps, and fragrant pine formulas deposit fatty residues inside the unsealed pores of your mortar. Foot traffic presses everyday dust into this sticky layer, creating stubborn, dark walking paths across your floor.
Similarly, avoid using bar soaps high in animal fats or moisturizing oils inside your shower. Switching to liquid body washes dramatically curtails the waxy soap scum that coats shower grout and feeds mold.
If your floors currently suffer from a sticky cleaning residue, strip the build-up using warm water and a neutral degreaser. Once clean, stick strictly to non-filming, residue-free tile cleaners.
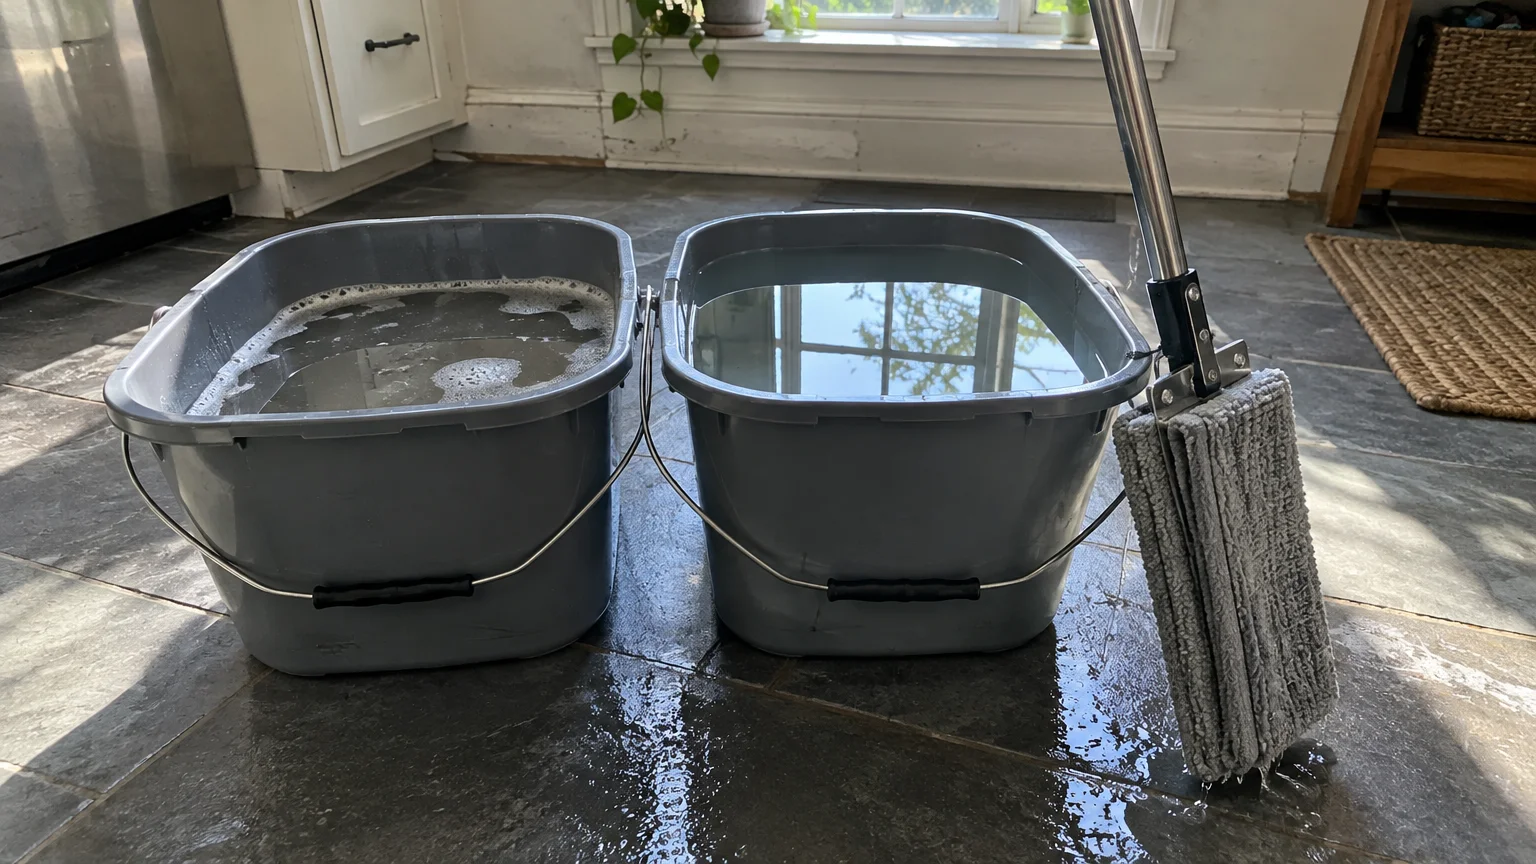
09 Always Rinse with Clean Water After Mopping
Mopping with a single bucket of soapy water is a leading cause of dingy, gray grout lines. As you mop, your cleaning solution collects dissolved soil, hair, and dust particles from the tile surface.
When you drag a saturated mop across the room, dirty liquid naturally settles into the lower grout channels. As the water evaporates, it leaves that suspended dirt behind, packing your grout with concentrated grime.
Prevent this problem by adopting a two-bucket mopping system. Fill one bucket with your diluted pH-neutral cleaner and the second bucket with pure, clean rinse water.
Dip your mop into the cleaning solution, wash a small section of tile, and wring it out into the rinse bucket. Finish by going over the area with a damp microfiber mop to lift away all lingering moisture.
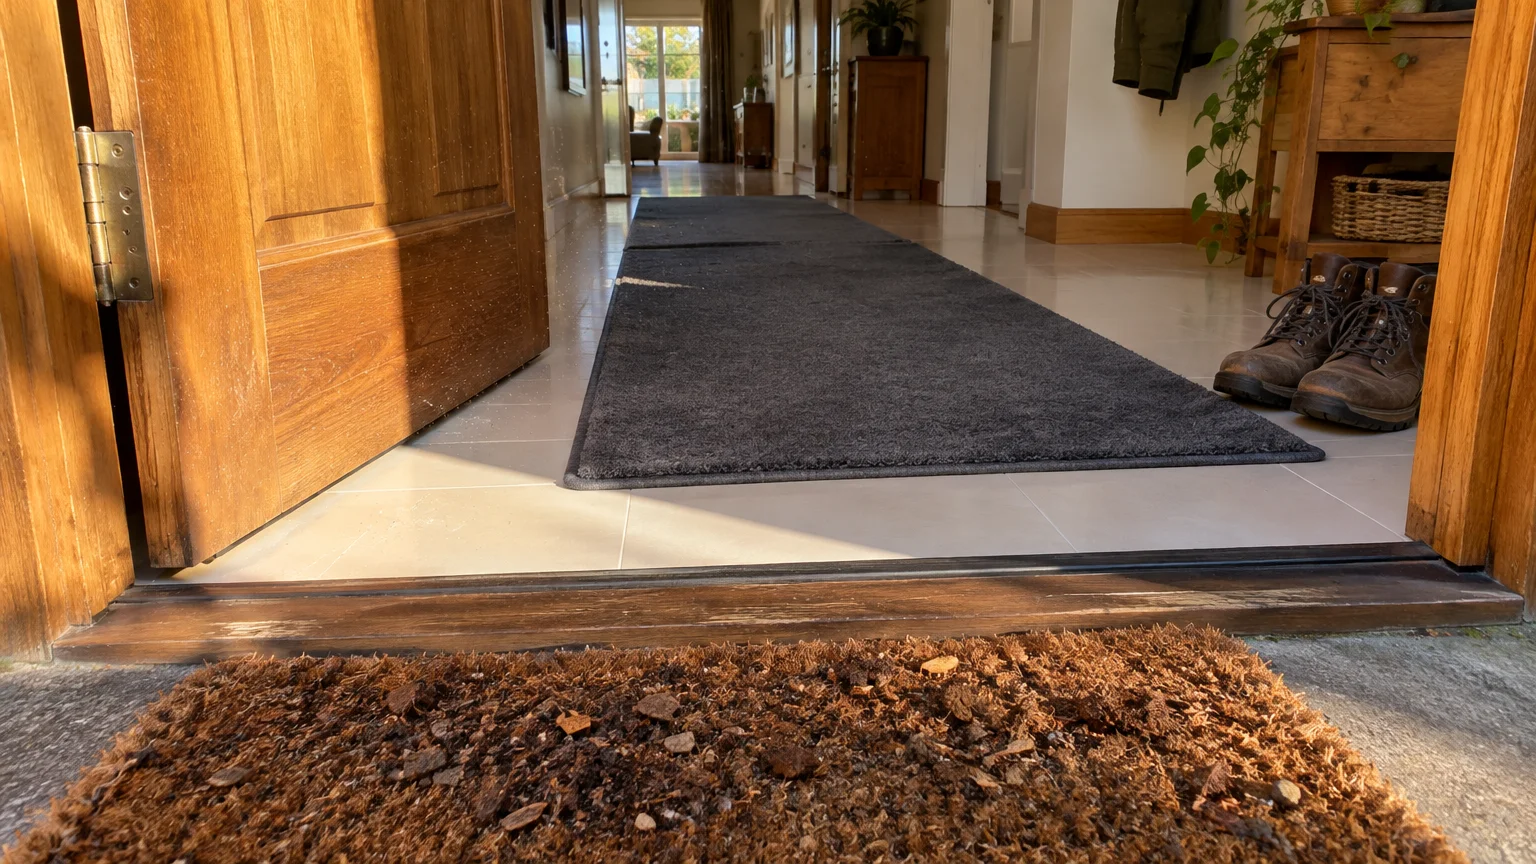
10 Stop Abrasive Soil at Every Entryway
Most floor dirt does not originate inside your home; foot traffic carries it in from outside. Sand, quartz, and soil particles act like microscopic abrasives that grind down grout sealers and scratch glossy tiles.
Deploy a dual-mat defense strategy at every exterior entrance to capture dirt before it crosses your threshold. Place a coarse, weather-resistant scraper mat outside your door to strip heavy soil and gravel from shoe soles.
Just inside the door, lay down a washable, high-pile microfiber walk-off mat to absorb fine dust and shoe moisture. This simple combination captures up to eighty percent of incoming grit before it reaches your tile floors.
Encouraging family members and guests to remove outdoor shoes at the door provides immense protection for light-colored grout. Soft indoor house slippers or socks keep floors clean without driving abrasive outdoor grime into porous joints.
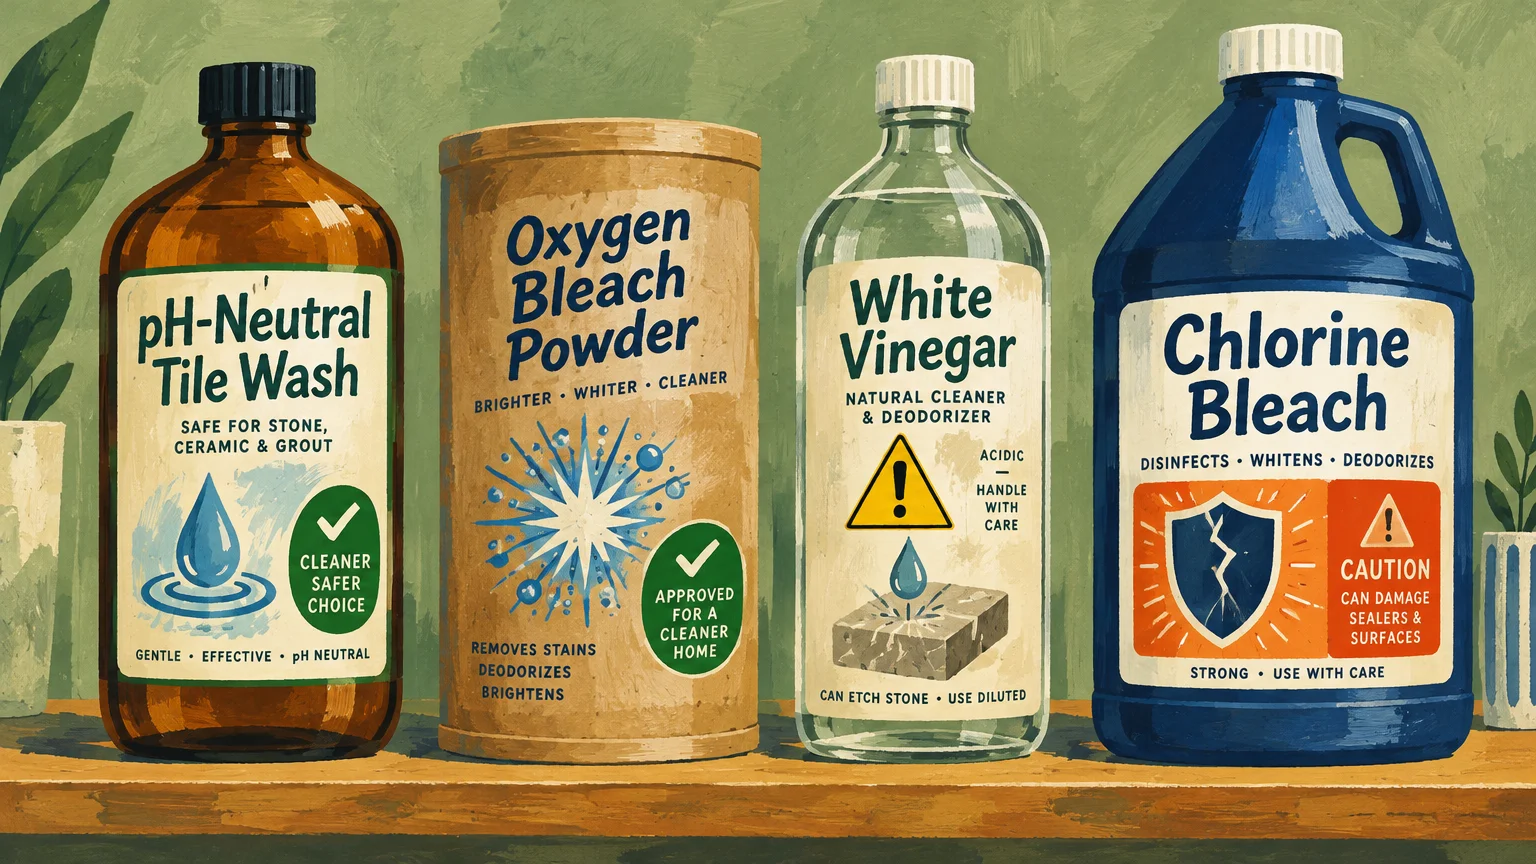
Evaluating Common Tile Grout Cleaning Solutions
Choosing the right chemical formulation protects your grout lines while lifting stubborn stains effectively. Different cleaning agents carry varying risks depending on your grout type, sealant condition, and tile material.
The reference table below outlines standard cleaning solutions, their pH profiles, and their suitability for routine bathroom tile care and floor maintenance.
| Cleaning Solution | pH Level | Grout Safety | Primary Advantage | Recommended Application |
|---|---|---|---|---|
| pH-Neutral Tile Cleaner | 7.0 (Neutral) | Excellent | Preserves sealers and cement binders | Routine weekly mopping and daily wipe-downs |
| Oxygen Bleach Solution | 10.0–11.0 (Mild Base) | Very Good | Lifts organic stains through bubbling action | Monthly deep cleaning and targeted stain removal |
| Baking Soda Paste | 8.0–9.0 (Mild Base) | Good | Provides mild, safe mechanical agitation | Spot-treating isolated grease or oil spots |
| Distilled White Vinegar | 2.4–3.0 (Acidic) | Poor | Dissolves stubborn hard water mineral crusts | Not recommended; permanently degrades cement grout |
| Chlorine Bleach | 11.0–13.0 (Strong Base) | Caution | Kills surface mildew and lightens dark mildew | Emergency mildew sanitization only; degrades mortar |
Notice how acidic options like vinegar carry high risks despite their popularity in homemade cleaning recipes. Acid chemically breaks down Portland cement, causing permanent crumbling and pitted voids along your grout lines.
Relying on neutral cleaners for maintenance and oxygen bleach for occasional stain removal gives you the safest, longest-lasting results. This combination preserves your initial installation while keeping color crisp and uniform.

A Step-by-Step Routine to Remove Stubborn Grout Stains
When routine mopping fails to lift accumulated soil, a targeted deep-cleaning protocol restores brightness safely. Follow this gentle, structured method to remove deep-set discoloration without damaging your grout or tiles.
- Sweep and vacuum thoroughly: Remove all loose grit, pet hair, and surface debris using a soft-bristled floor attachment. Eliminating dry abrasive particles prevents them from turning into liquid sludge during the washing process.
- Mix oxygen bleach with warm water: Dissolve two tablespoons of powdered oxygen bleach into two cups of warm water. Stir until the granules dissolve completely to activate the effervescing cleaning action.
- Apply solution directly to joints: Pour or spray the warm oxygen bleach mixture directly onto stained grout lines until saturated. Let the cleaning solution sit undisturbed for fifteen minutes to penetrate deep into pores.
- Agitate with a nylon brush: Scrub the wet grout lines using firm, back-and-forth strokes with an ergonomic nylon brush. The effervescing oxygen bubbles will have loosened the embedded dirt, requiring minimal arm pressure.
- Mop up dirty slurry immediately: Wipe away the released soil using a clean microfiber cloth or a dedicated wet mop. Leaving dirty wash water on the floor allows loosened grime to resettle into adjacent grout pores.
- Rinse with fresh water: Go over the entire area with a clean sponge or mop dampened with pure tap water. Rinsing thoroughly removes any residual cleaning agents and ensures a streak-free finish.
- Dry the area completely: Run a dry microfiber towel across the floor or turn on an oscillating fan to speed drying. Inspect the grout lines once fully dry to admire the bright, uniform color.
Allow the clean grout to dry completely for twenty-four hours before testing whether you need a new coat of sealer. When moisture evaporates entirely, the true color and seal integrity become easy to evaluate accurately.
If water drops soak into the cleaned joints during your splash test, apply a fresh coat of penetrating sealer immediately. Sealing your newly cleaned grout locks out future stains and keeps maintenance delightfully quick.
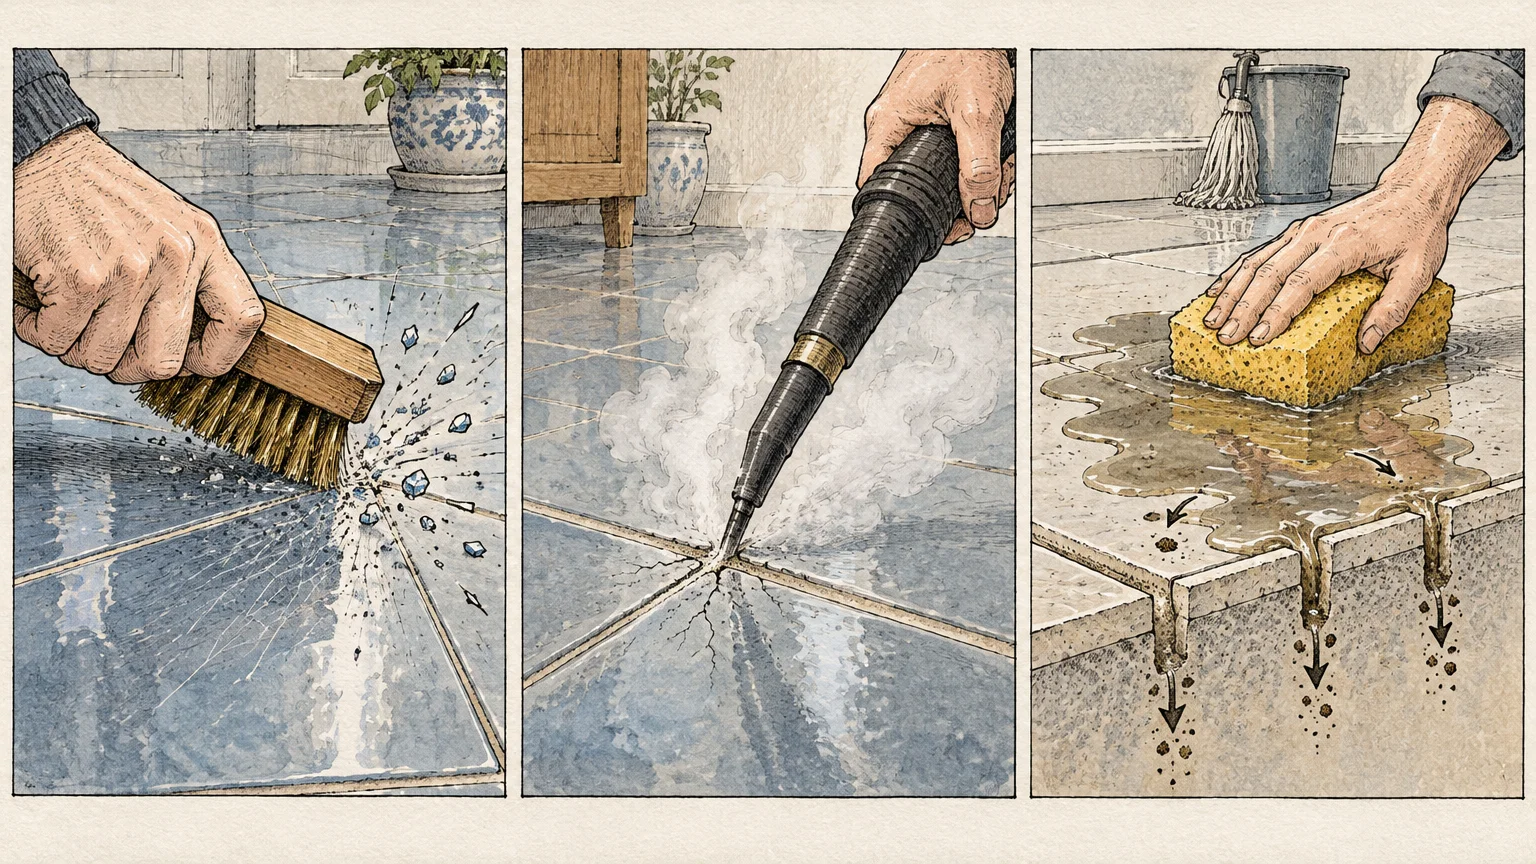
Common Grout Care Mistakes That Accelerate Staining
Even well-intentioned cleaning habits can accidentally shorten the life of your tile grout. Recognizing and avoiding these frequent pitfalls will save you hours of strenuous scrubbing later on.
Using Steam Cleaners at Extreme Temperatures
While steam mops sanitize hard surfaces rapidly, excessive heat and pressurized moisture can damage sealed grout joints. High heat weakens penetrating sealers, forcing moisture and dissolved grime deeper beneath the tile edges.
If you choose to use a steam mop, set it to the lowest heat setting and keep the head moving continuously. Never hold a concentrated blast of steam stationary over a single grout line.
Applying Colored or Dye-Heavy Dish Soaps
Using bright blue or green dish soaps for quick floor cleanup introduces artificial colorants straight into porous mortar. Over time, light-colored grout absorbs these liquid dyes, resulting in uneven, faint green or bluish discoloration.
Always choose dye-free, clear liquid detergents when mixing a quick spot-cleaning solution. Clear formulas clean just as effectively without depositing stray pigments into vulnerable cement crevices.
Letting Dirty Mop Heads Dry in Closed Closets
A sour, dirty mop head harbors millions of bacterial colonies and mold spores between uses. Washing your floors with a contaminated mop spreads those microorganisms across every grout line in your house.
Rinse mop heads thoroughly in hot water after every use, and allow them to air-dry completely in a well-ventilated area. If you use reusable microfiber pads, wash them in your laundry machine with mild detergent after every cleaning session.
Special Care Rules for Colored and Epoxy Grout
Not all tile installations rely on standard white or gray cementitious mortar. Modern homes frequently feature colored cement grout or non-porous epoxy formulations, which require slightly different maintenance habits.
Epoxy grout contains synthetic resins rather than Portland cement, making it naturally waterproof and impervious to organic staining. You do not need to apply penetrating sealers to epoxy grout lines.
However, epoxy grout remains vulnerable to harsh chemical solvents and abrasive scouring tools. Clean epoxy installations using warm water and a neutral cleaner, avoiding abrasive pads that dull its smooth, non-porous sheen.
Colored cementitious grout requires extra vigilance with oxidizing cleaners and sunlight exposure. While oxygen bleach is color-safe, test any cleaner on a hidden corner first to ensure pigments remain completely uniform.
Your Immediate Next Step for Brighter Grout
You do not need to overhaul your entire cleaning routine this afternoon to see a dramatic difference. Start with the single habit that offers the highest immediate return with the least physical effort.
Hang an inexpensive silicone squeegee in your shower or perform a five-second water splash test on your kitchen floor today. That small initial action will protect your grout lines and keep your home feeling clean and calm.