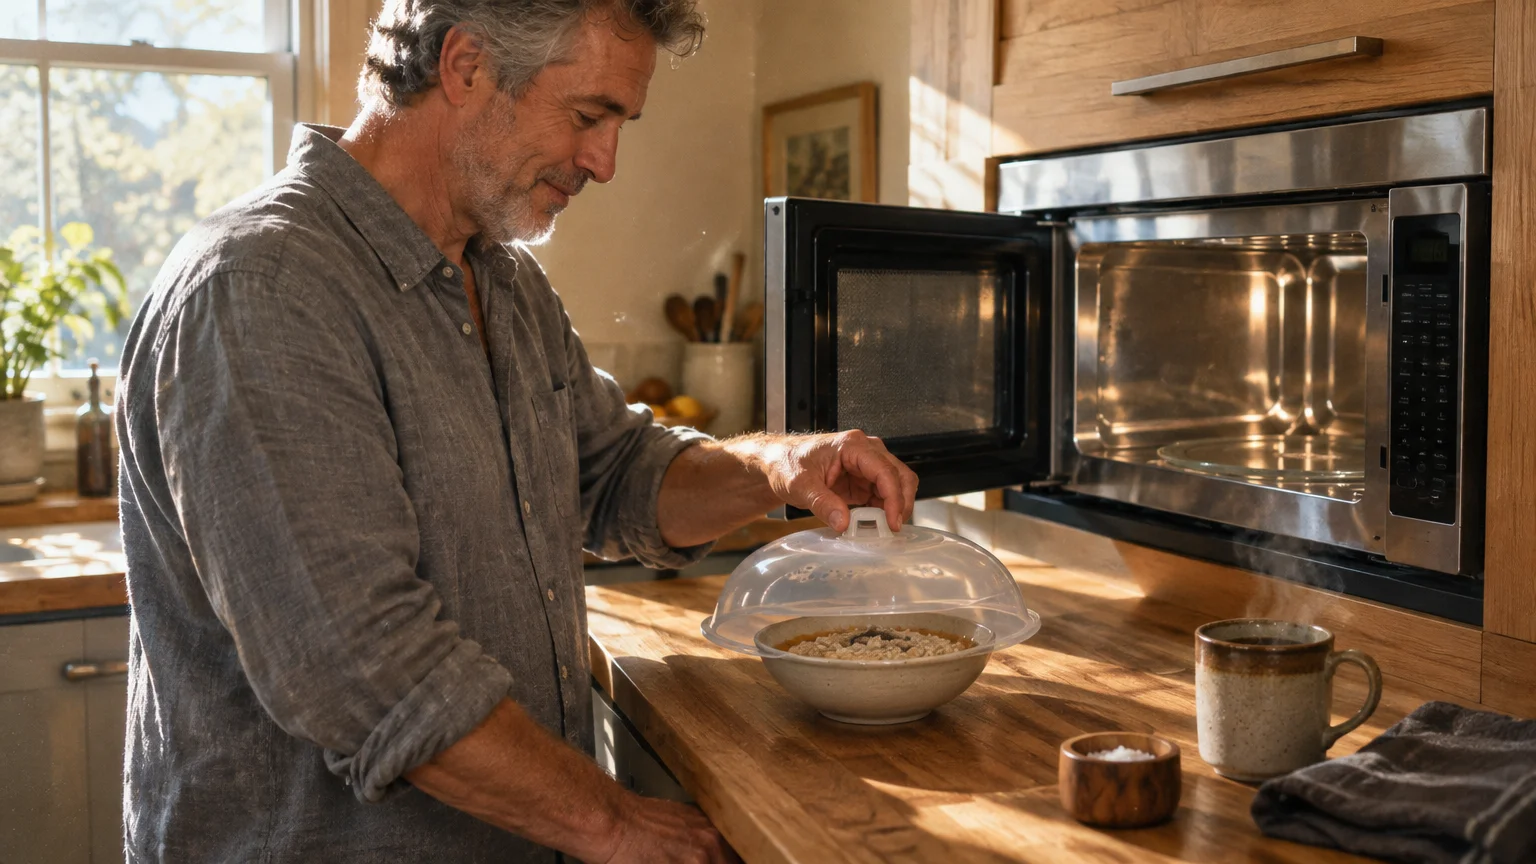
You can keep your microwave sparkling clean without scrubbing baked-on sauces for hours. Building simple, low-effort microwave cleaning habits prevents grime from ever hardening onto your appliance’s interior walls.
A clean microwave protects your food from unwanted odors, heats meals more efficiently, and extends the lifespan of your appliance. Small adjustments to your daily kitchen routine eliminate the dread of heavy scrubbing.
Here are ten practical, proven kitchen cleaning tips to keep your microwave spotless every single day with almost zero extra effort.
01 Trap Splatters with Dedicated Microwave Covers
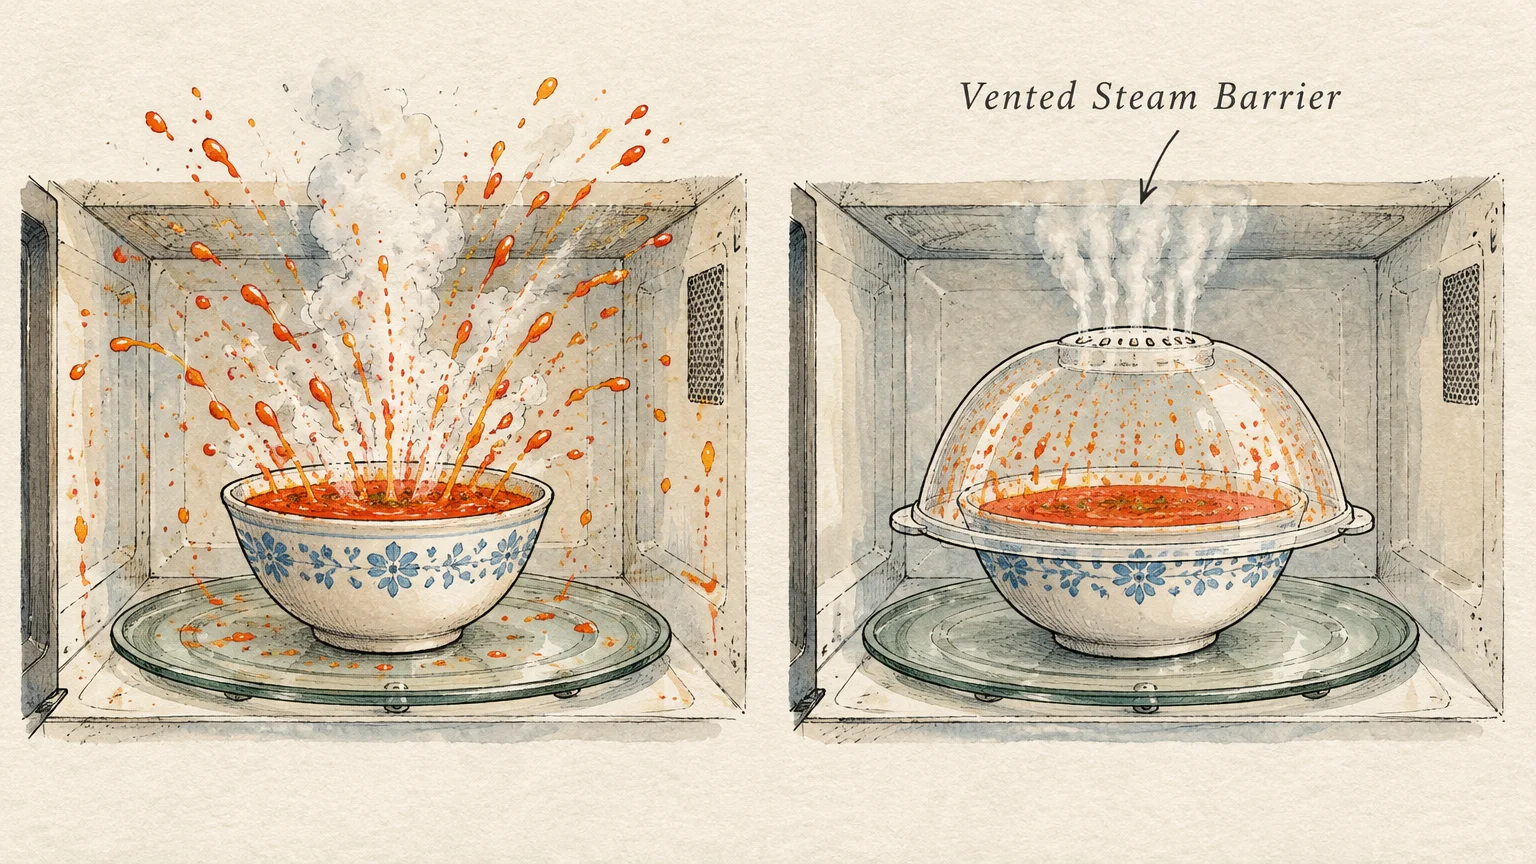
Food splatters occur when moisture inside your meal heats rapidly and converts to steam. As steam pressure builds within sauces, soups, and fats, it bursts outward across your microwave walls.
Using a cover creates a barrier that contains these bursts completely. It isolates the mess onto a small, easily washable surface instead of your appliance interior.
Choose covers designed specifically for microwave cooking rather than improvising with ill-fitting materials. Vented plastic domes, silicone suction lids, and inverted ceramic plates all perform exceptionally well.
The USDA Food Safety and Inspection Service recommends using microwave-safe covers to hold in moisture and promote safe, even heating.
Make this habit effortless by storing your splatter cover directly inside the microwave between uses. When family members open the door to reheat a plate, the cover is already in their hands.
02 Master the Sixty-Second Post-Heat Wipe
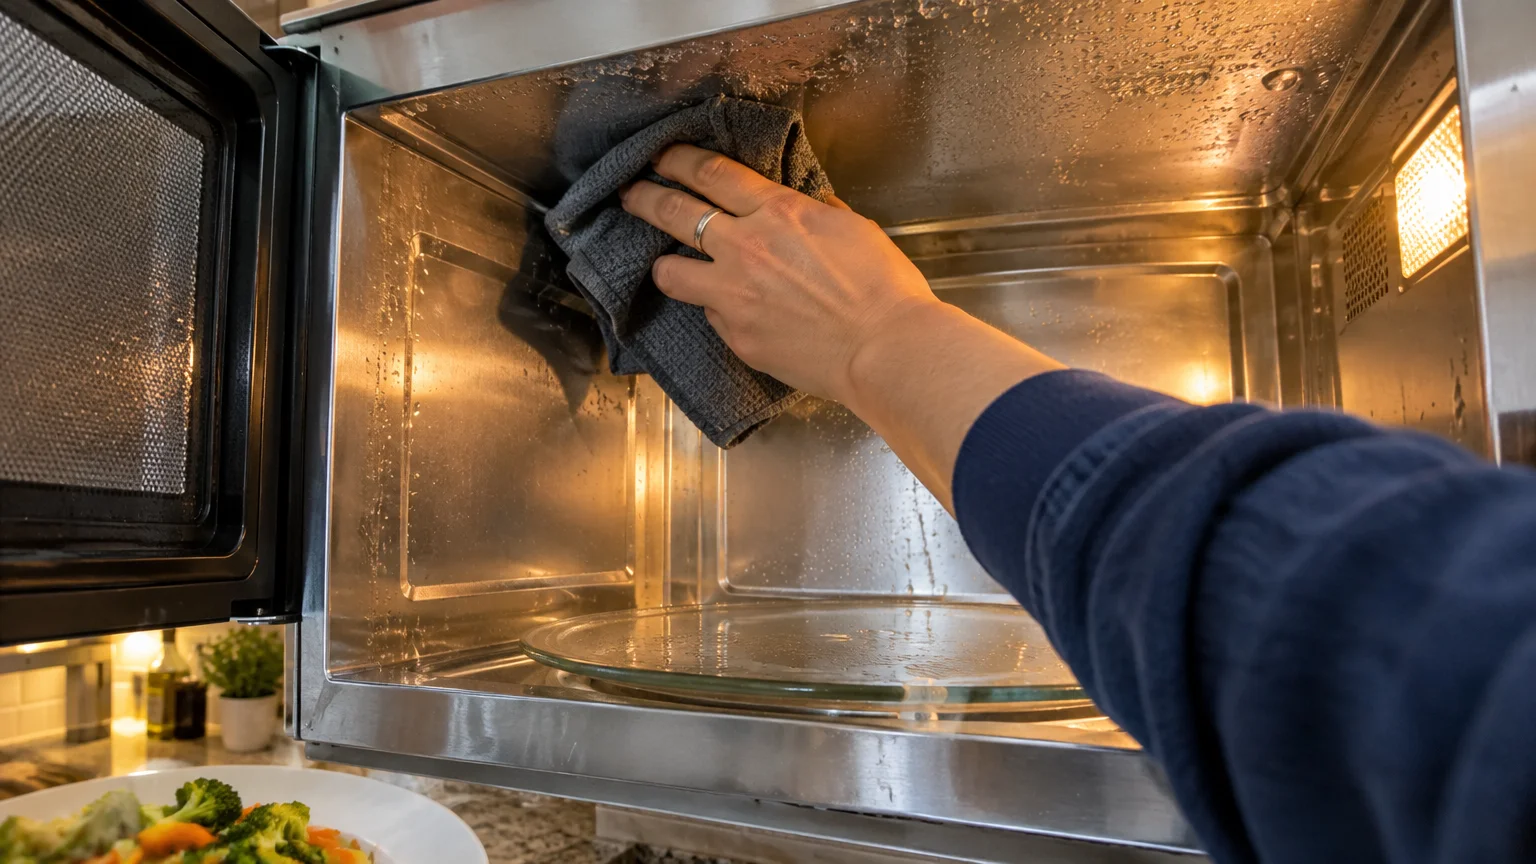
Fresh food residue wipes away in seconds; hardened, reheated food residue requires intense scrubbing. Whenever you heat a meal that generates visible steam, take advantage of that residual moisture immediately.
Leave a damp microfiber cloth near your prep station so you can grab it instantly. Once you pull your hot dish out, wipe the microwave ceiling, walls, and turntable right away.
The condensation created during heating acts as a natural solvent. It keeps grease droplets and sauce specks soft and pliable before the cooling air sets them like cement.
This quick motion takes less than fifteen seconds of active effort. By incorporating it after hot meals, you eliminate the need for grueling deep cleans down the road.
03 Steam Clean Weekly Using Citrus and Water
Even cautious cooks encounter occasional hidden splatters. A weekly steam clean loosens dried food particles and dissolves grease films without requiring commercial chemical sprays.
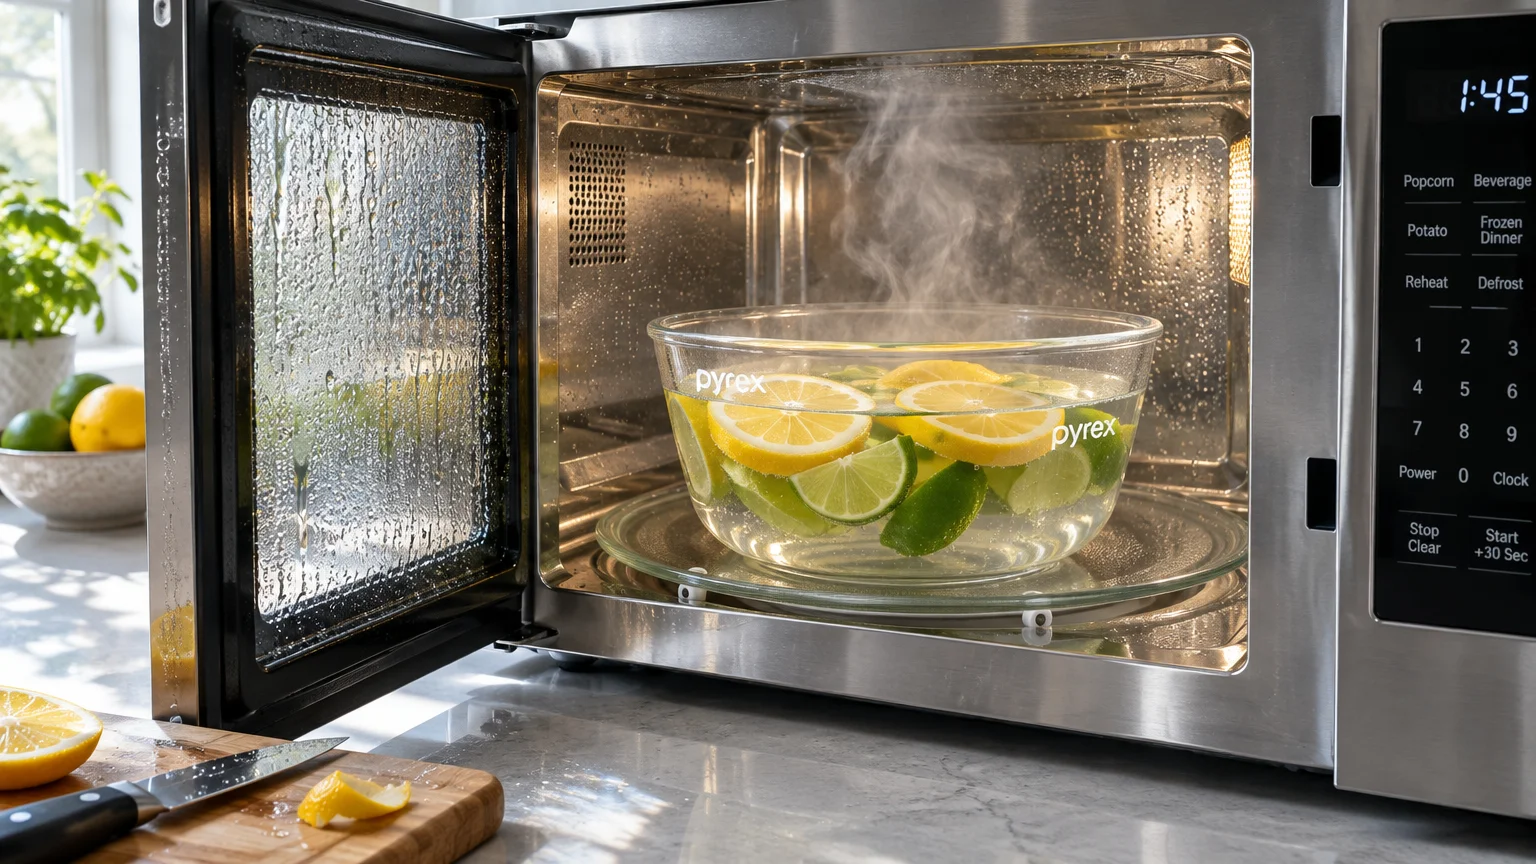
Fill a microwave-safe glass bowl with one cup of water. Slice a fresh lemon or lime in half, squeeze the juice into the bowl, and drop the rinds directly into the water.
Citrus fruits contain d-limonene, a natural solvent that cuts through stubborn grease and neutralizes harsh food odors. If you lack citrus fruit, two tablespoons of white vinegar or apple cider vinegar work equally well.
- Place the citrus bowl in the center of the turntable.
- Run the microwave on high power for three to five minutes until the liquid boils vigorously.
- Leave the door closed for another three to five minutes to trap the concentrated steam inside.
- Carefully remove the hot bowl using oven mitts.
- Wipe down all interior surfaces with a soft cloth, watching softened food glide off effortlessly.
Using natural steam keeps your cooking chamber safe for subsequent meals. You avoid leaving chemical residues that could vaporize into your family’s food during future cooking cycles.
04 Lower Your Reheating Power Level
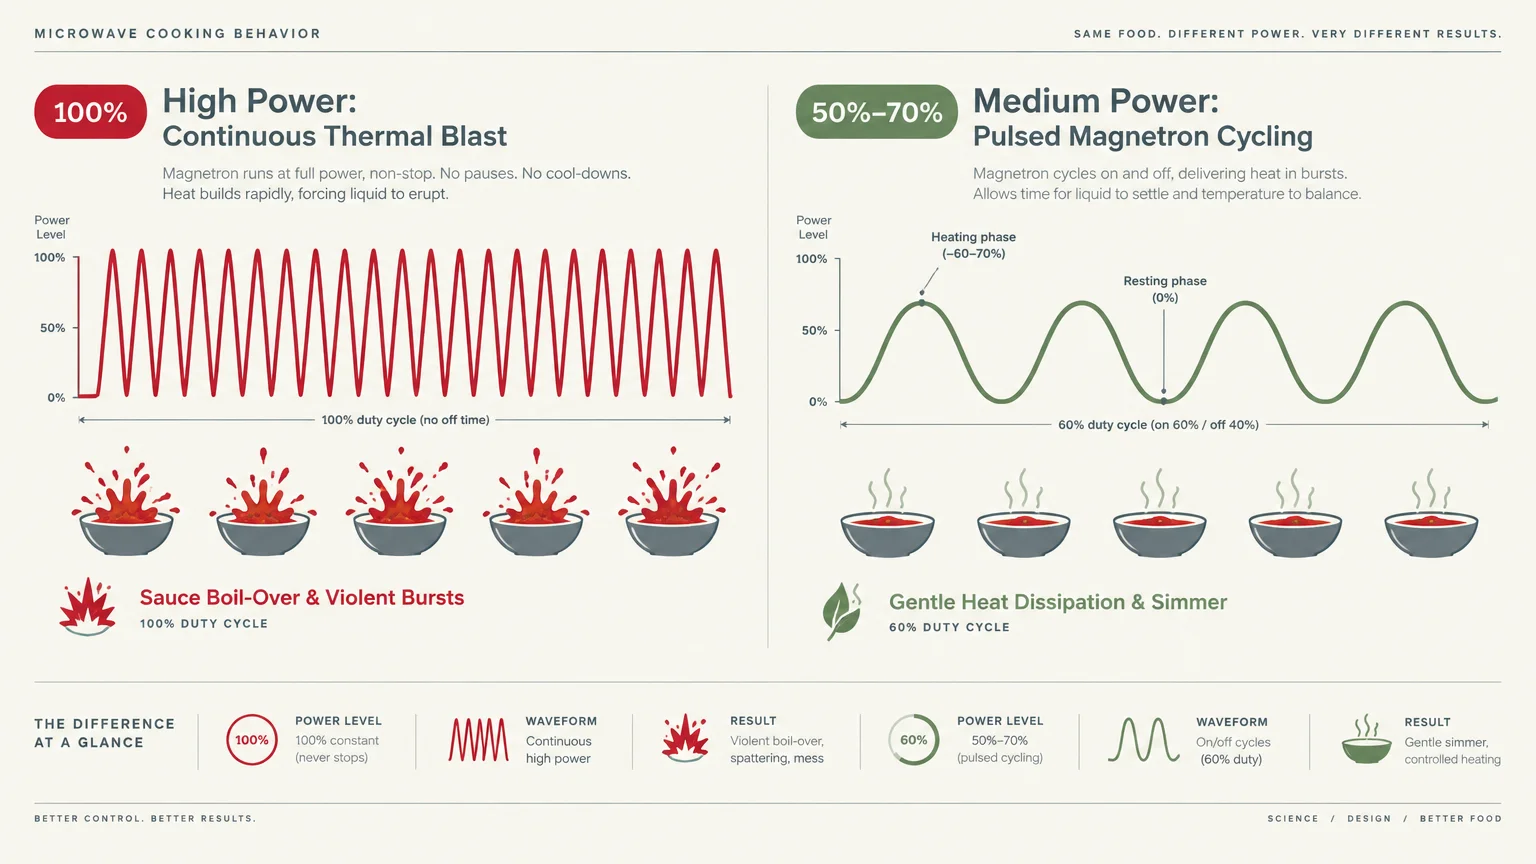
Most people run their microwaves at full power for every task. High power blasts foods with continuous energy, causing the outer edges of liquids to boil violently before the center warms.
Learning how to clean a microwave begins with preventing the violent eruptions that cause messes in the first place. Dialing your power setting down to fifty or seventy percent changes how the magnetron cycles energy.
Lower power allows heat to distribute through conduction naturally. Your food warms evenly from edge to center without creating explosive volcanic bubbles in your sauces.
Pay special attention to splatter-prone foods that feature high fat or sugar content:
- Tomato-based pasta sauces and chili
- Refried beans and thick bean soups
- Butter, margarine, and cooking oils
- Oatmeal, grits, and cream of wheat
- Egg yolks and cream sauces
Cooking these items at medium power adds only one or two minutes to your cook time. In return, you protect your microwave walls from thick, crusty splatters that stain paint and plastics.
05 Wash the Turntable Like Regular Dinnerware
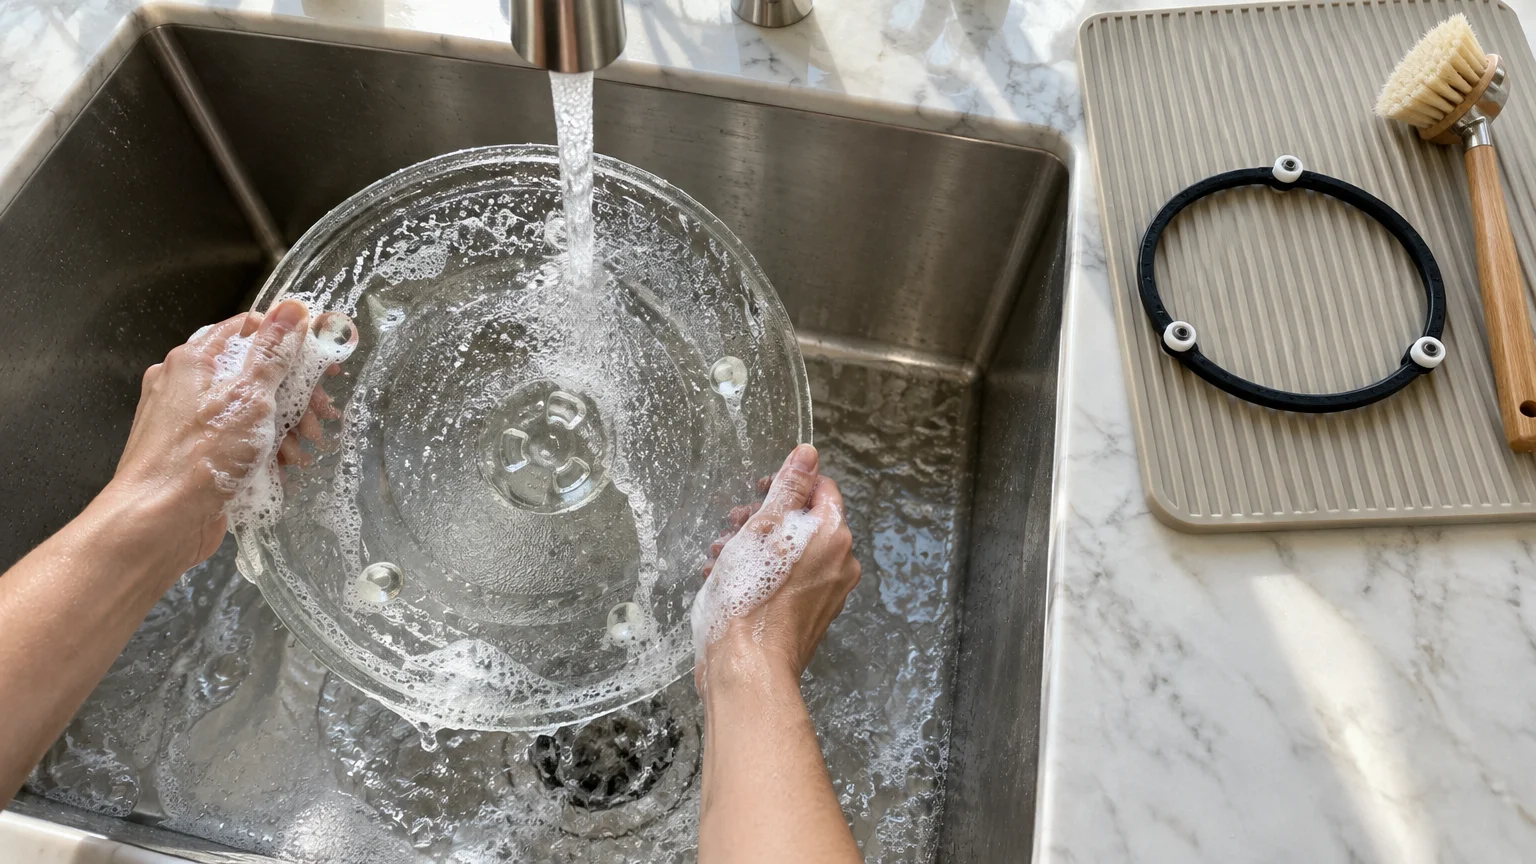
The glass turntable catches sticky drips, crumbs, and oily condensation that run off the sides of your bowls. If left in place, these residues cook repeatedly, burning deeper into the glass plate with every cycle.
Treat your glass tray as a standard piece of dinnerware rather than a permanent appliance fixture. Pull the turntable out whenever you run your evening dishwasher cycle or wash a sink full of dishes.
Always inspect the roller guide ring beneath the glass plate as well. Tiny wheels collect spilled broth, grease deposits, and stray rice grains that create grinding noises and foul smells.
Wipe the roller ring with warm, soapy water and dry it completely before placing it back inside. A smooth-rolling track prevents bowls from tipping over while the plate rotates.
Allow the glass turntable to cool to room temperature before washing it in cold water. Rapid temperature shifts can cause tempered glass to crack or shatter from thermal shock.
06 Protect the Waveguide Cover and Interior Ceiling
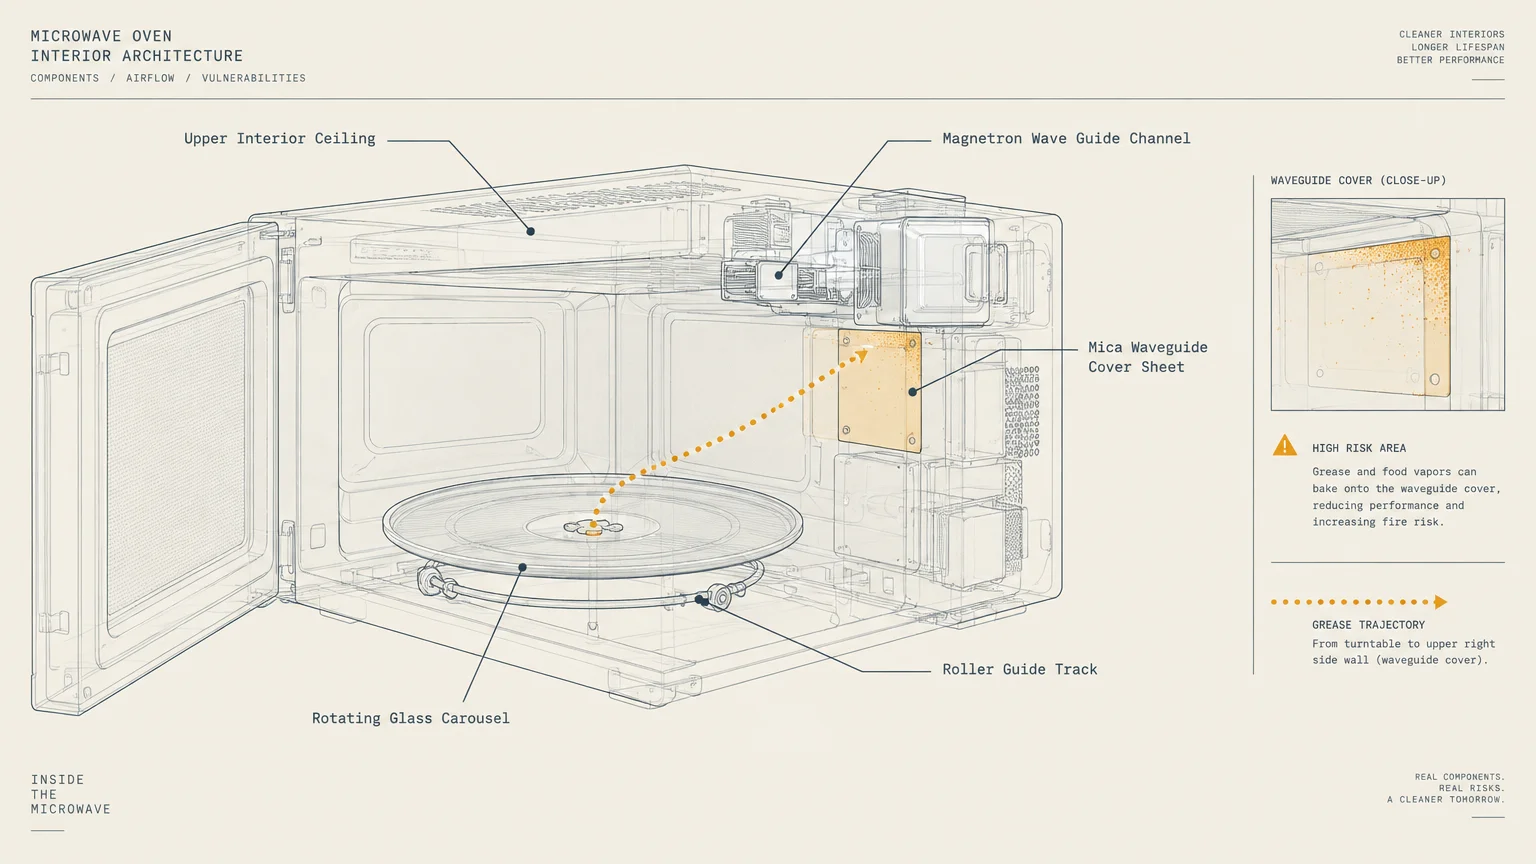
Look inside your microwave along the right-hand wall or ceiling to locate a small rectangular panel. This component is the waveguide cover, typically made of pressed mica or thin plastic.
The waveguide cover allows microwave energy to enter the cooking cavity while shielding internal electronics from moisture and food debris. If food splatters accumulate on this panel, serious hazards develop quickly.
Burnt food on a waveguide cover carbonizes over time, turning into conductive material. During operation, this carbon attracts microwave energy, causing sparks, arcing, and permanent damage to your appliance.
Clean the waveguide cover with extraordinary care using a lightly dampened microfiber cloth. Never scrub it with abrasive scouring pads, and avoid saturating the panel with excess liquid.
If your waveguide cover becomes warped, burnt, or saturated with baked grease, replace it immediately. Inexpensive replacement sheets are easy to trim and install, restoring your appliance to safe working condition.
07 Deodorize Naturally Between Uses
Strong odors from fish, popcorn, garlic, and curries cling to the porous plastic interior of microwaves. If you close the door immediately after cooking, moisture and smells remain trapped inside the unit.
Start by leaving the microwave door cracked open for five minutes after heating steamy or pungent dishes. This simple ventilation habit lets humid air escape, which prevents condensed oils from coating the walls.
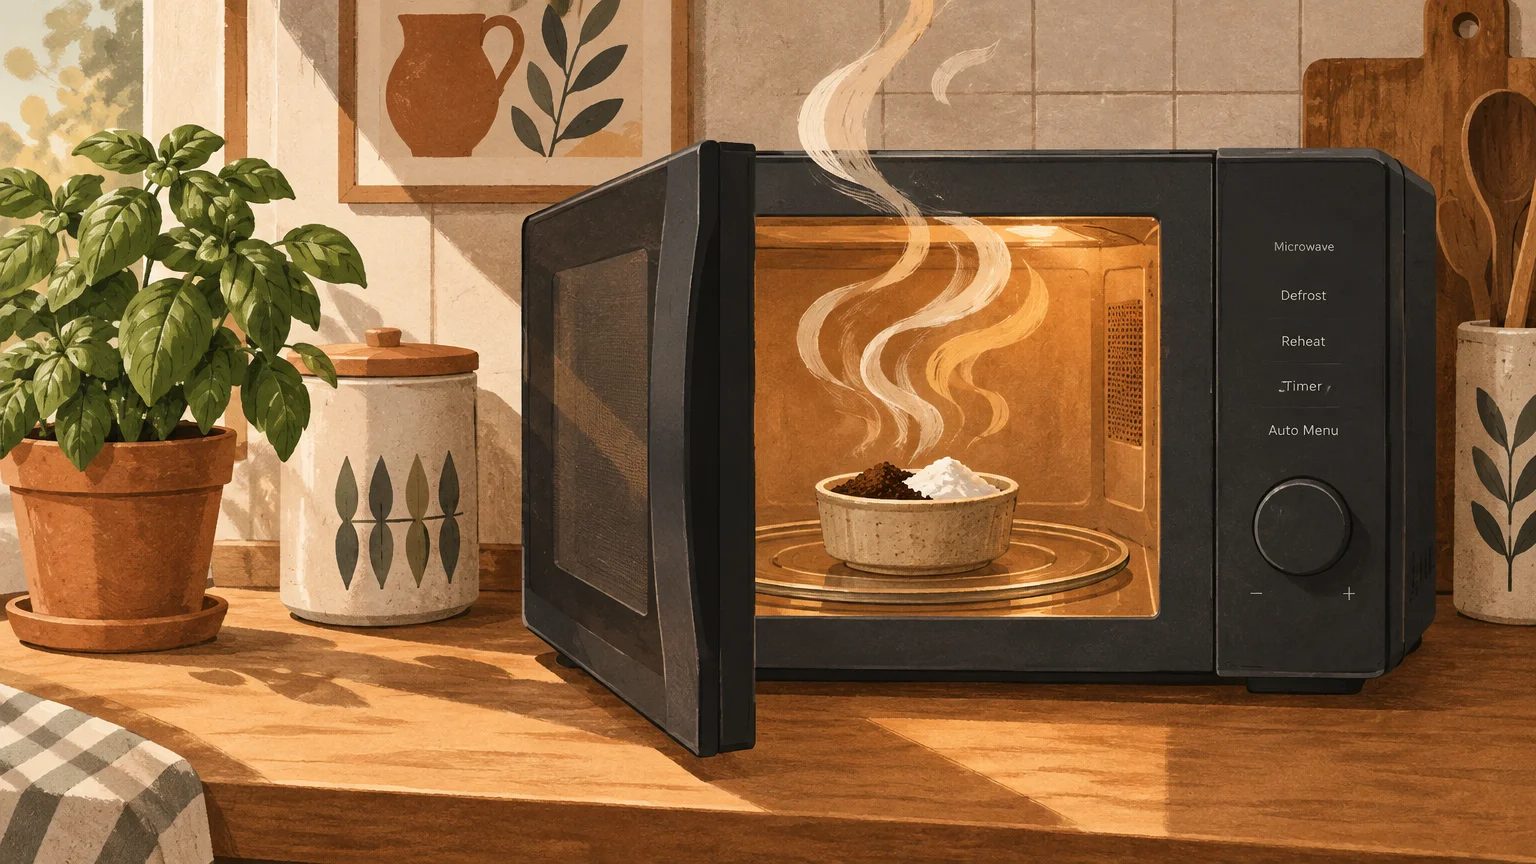
For ongoing odor control, utilize safe household absorbents that neutralize smells passively overnight. Place a small ramekin containing two tablespoons of baking soda inside the microwave before going to bed.
Baking soda actively absorbs airborne volatile organic compounds without imparting any artificial fragrance. Alternatively, a small dish of dry coffee grounds or activated charcoal pellets delivers excellent deodorizing results.
Remember to remove your odor-absorbing dish before operating the microwave the next morning. Keeping the interior fresh ensures your morning oatmeal never tastes like last night’s garlic stir-fry.
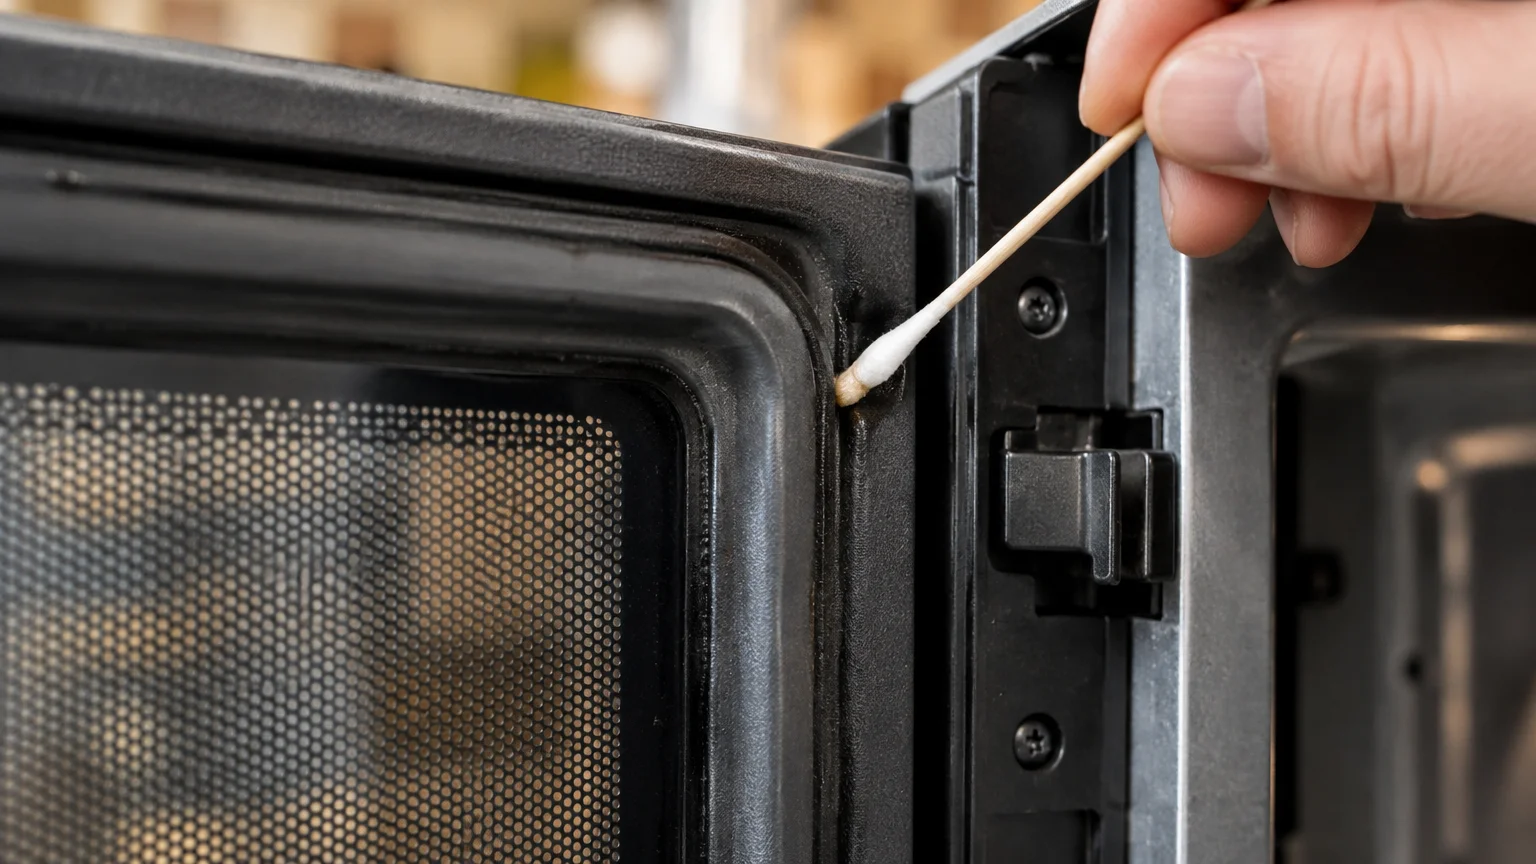
08 Inspect and Maintain the Door Gasket
The rubber or silicone seal around your microwave door serves a vital safety function. It prevents electromagnetic radiation from escaping the cooking chamber while keeping steam and cooking fumes contained.
The U.S. Food and Drug Administration cautions that grease, food soil, and residue buildup around door seals can prevent doors from closing properly, increasing radiation leak risks.
Inspect the door perimeter and matching frame weekly for sticky fingerprints, syrup dribbles, and dried sauce flecks. Crusted food prevents the mechanical door interlocks from seating smoothly.
Clean the gasket using a soft washcloth dipped in warm water mixed with a drop of gentle dish liquid. Avoid abrasive scrubbers, bleach, or ammonia, which degrade flexible rubber and cause premature cracking.
Dry the seal thoroughly with a clean towel to preserve the suppleness of the material. A well-maintained seal ensures your door closes firmly and maintains factory safety tolerances for years.
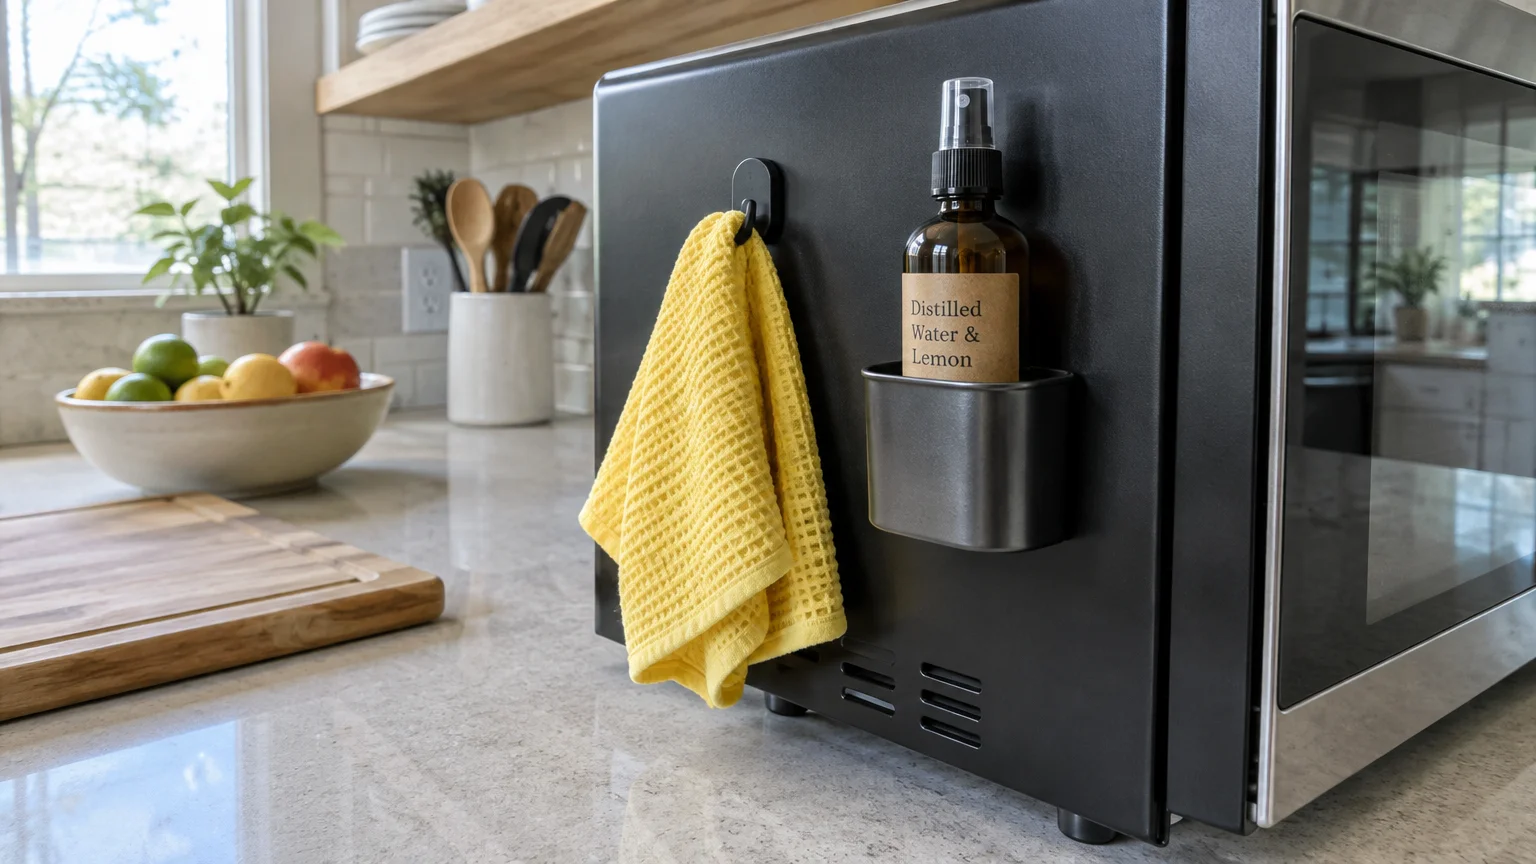
09 Reduce Habit Friction with Point-of-Use Supplies
The biggest obstacle to consistent microwave maintenance is inconvenience. When cleaning supplies live across the kitchen beneath a crowded sink, you are far less likely to wipe up fresh spills.
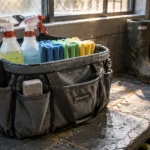
Apply the organizing principle of point-of-use storage to your microwave cleaning habits. Keep a clean, folded microfiber cloth on a hook or inside a decorative basket right next to the microwave station.
Pair the cloth with a small spray bottle filled with filtered water and a splash of white vinegar. Having tools within arm’s reach cuts cleaning response time down to just a few seconds.
Choosing certified products backed by the EPA Safer Choice program guarantees you use non-toxic ingredients around food preparation surfaces. Avoid harsh solvents that leave synthetic chemical fumes inside enclosed cooking cavities.
Microfiber cloths outperform disposable paper towels by grabbing grease particles instead of smearing them around. They leave no lint behind on the glass turntable and can be laundered hundreds of times.
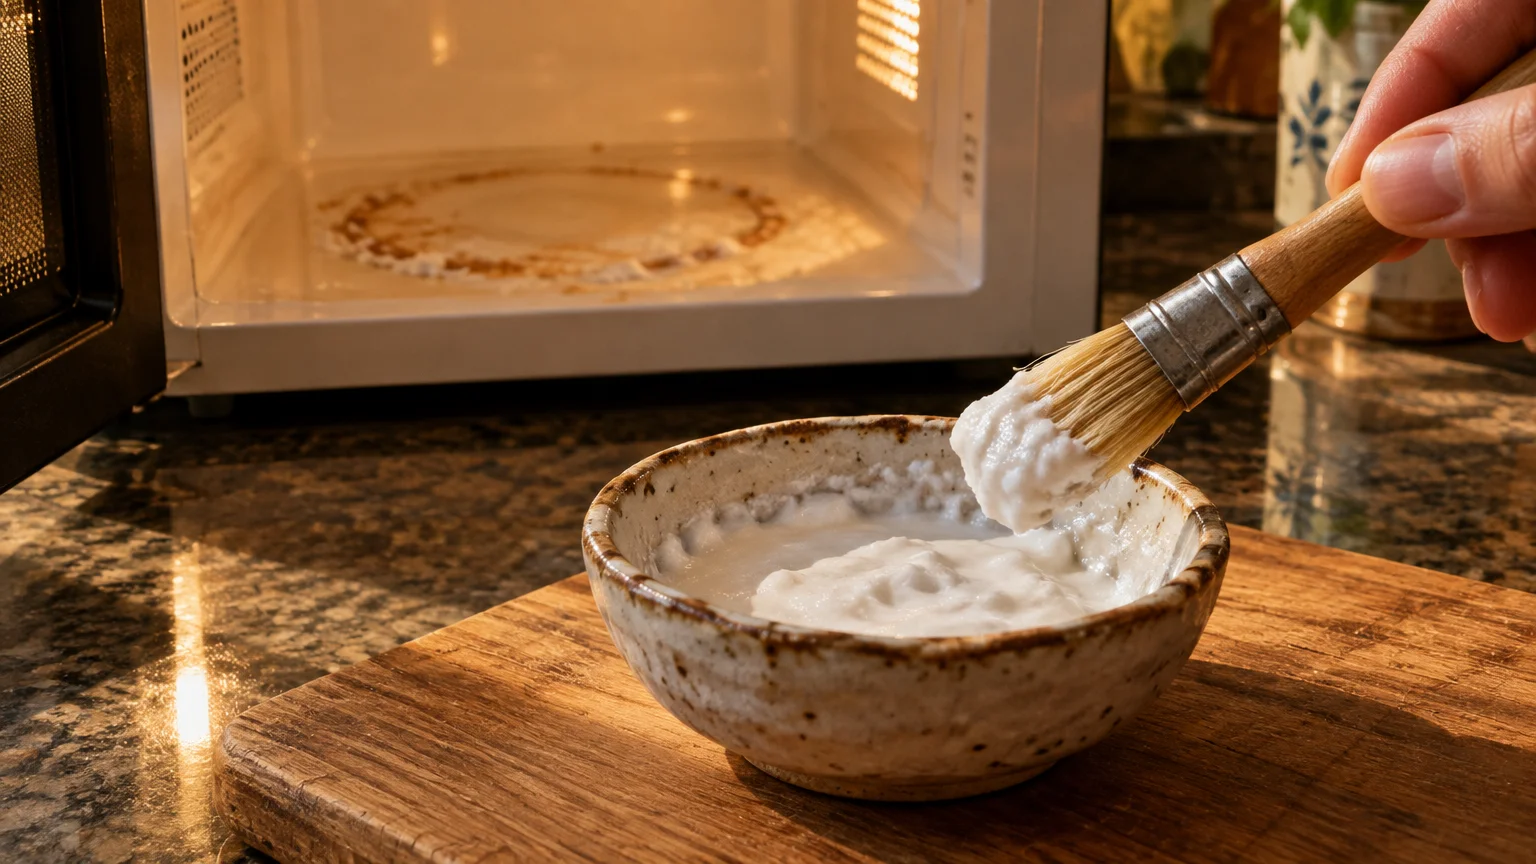
10 Lift Stubborn Stains with Baking Soda Paste
When dark microwave stains or caramelized sugar adhere to interior surfaces, avoid scratching the finish with metal scouring pads. Abrasive tools scratch the protective enamel or plastic coating, creating crevices where future grime anchors.
Instead, use mild mineral abrasives that dissolve grease through safe alkaline chemistry. Sodium bicarbonate—standard kitchen baking soda—offers the perfect balance of lifting power and surface safety.
Mix two parts baking soda with one part warm water until it forms a spreadable paste similar to frosting. Dab the paste generously over hardened stains, sauce rings, or yellowed grease patches.
Let the mixture sit undisturbed for ten to fifteen minutes while the alkaline solution breaks down acidic food oils. Wipe the spot away using a warm, damp sponge applied with light circular pressure.
Rinse the surface with a clean, water-dampened cloth to eliminate any powdery white residue. This technique removes difficult tomato rings and burnt cheese while preserving the glossy interior finish.

Microwave Care and Maintenance Schedule
Organizing your cleaning routine into clear daily, weekly, and monthly intervals keeps tasks manageable. Use the quick-reference table below to stay on track without feeling overwhelmed.
| Frequency | Action Item | Supplies Needed | Key Benefit |
|---|---|---|---|
| Every Use | Cover all dishes; vent tightly sealed containers. | Silicone lid, vented dome, or paper wrap | Blocks ninety percent of potential splatters before they launch. |
| Daily | Wipe door glass, handle, and condensation after meals. | Dry or lightly damp microfiber cloth | Stops fresh grease drops from baking onto surfaces. |
| Weekly | Run a five-minute citrus steam clean and wash turntable. | Lemon, water, bowl, dish soap | Dissolves film buildup and sanitizes rotating mechanical components. |
| Monthly | Inspect waveguide panel, clean seals, and vacuum rear vents. | Damp washcloth, vacuum brush attachment | Prevents electrical arcing, stops radiation leaks, and ensures ventilation. |
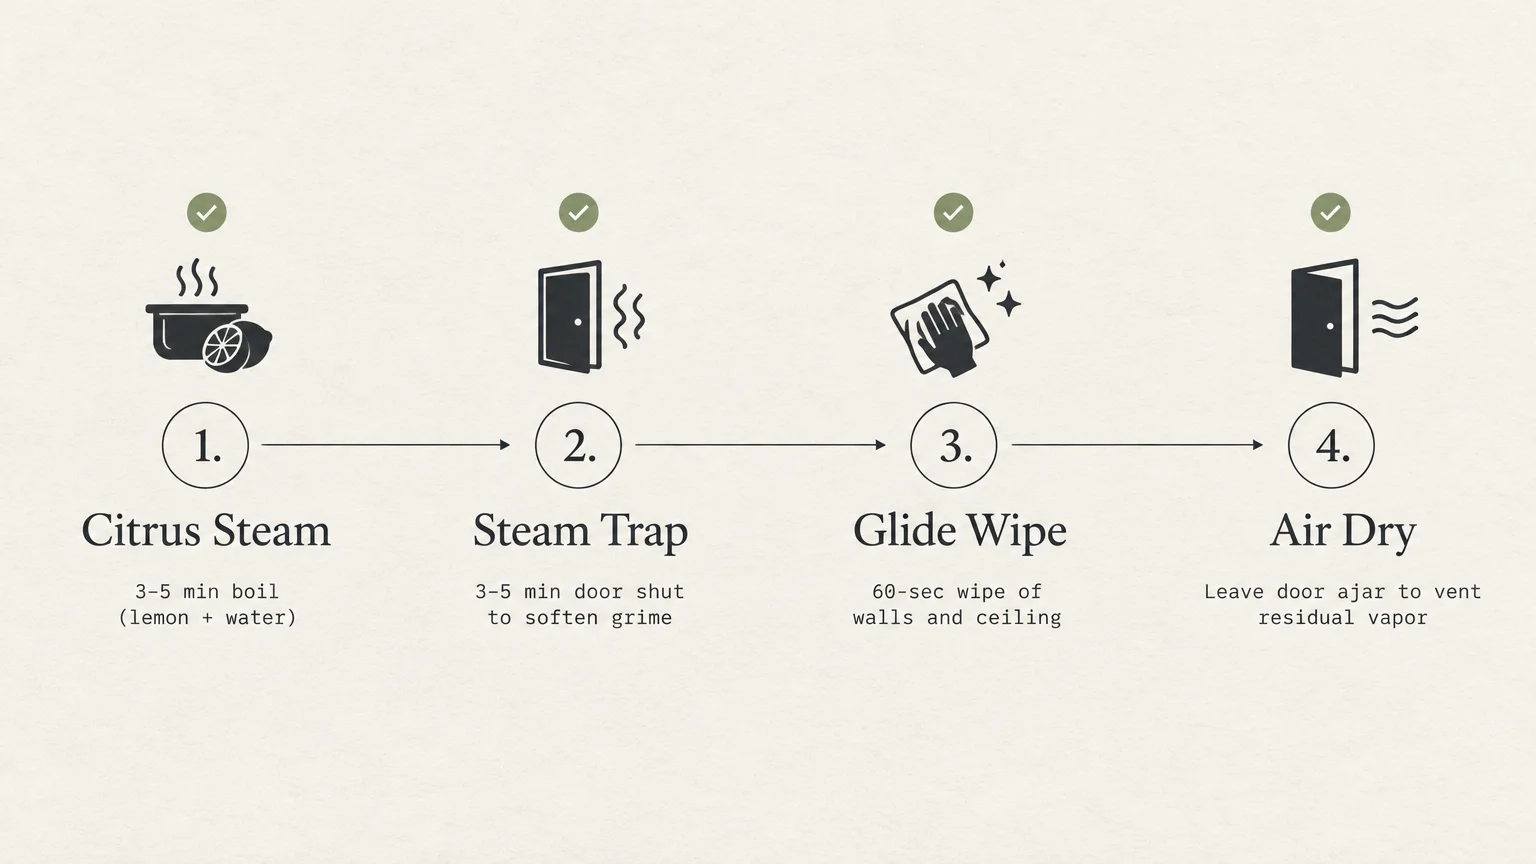
5-Minute Microwave Reset Checklist
If your microwave currently has built-up grime, use this rapid step-by-step checklist to reset the appliance today. Completing these focused steps creates a clean baseline for your new daily habits.
- Clear the interior: Remove the turntable glass and roller ring; soak both in warm, soapy sink water.
- Steam the cavity: Boil a cup of water with two lemon wedges on high for four minutes.
- Let it dwell: Leave the door shut for three minutes to allow steam to penetrate dry corners.
- Wipe top-down: Wipe the ceiling first, followed by the side walls, floor, and interior door frame.
- Clean the seals: Wipe the rubber gasket and latches gently with a mild, damp cloth.
- Dry the parts: Dry the glass turntable, snap the roller track back into alignment, and replace the plate.
- Buff the exterior: Polish the exterior glass panel and keypad to remove fingerprint oils.
Once you finish this reset, maintaining the appliance requires only seconds of effort each day. A spotless microwave simplifies kitchen tasks and makes every meal preparation faster and more pleasant.
Put These Habits into Practice Today
Keeping a microwave spotless does not require industrial cleaners or endless scrubbing. Success relies on small, thoughtful actions performed right when splatters occur.
Start right now by placing a vented cover inside your microwave and stocking a microfiber cloth nearby. Taking that single step today protects your microwave tomorrow and makes kitchen cleanup completely stress-free.