Crisp, gleaming woodwork frames your rooms and elevates your home, but aggressive scrubbing can destroy that smooth finish. You can easily protect your millwork from dulling, peeling, and chipping by ditching common painted trim cleaning mistakes.
Most homeowners clean baseboards and door casings with standard household formulas without realizing these products dissolve protective resins. Small changes in your routine will preserve your paint’s factory-smooth luster for decades.
Here are ten cleaning habits that quietly cause damaged trim paint, along with practical trim maintenance tips to keep your woodwork spotless.
1. Scrubbing Scuffs with Melamine Foam Sponges
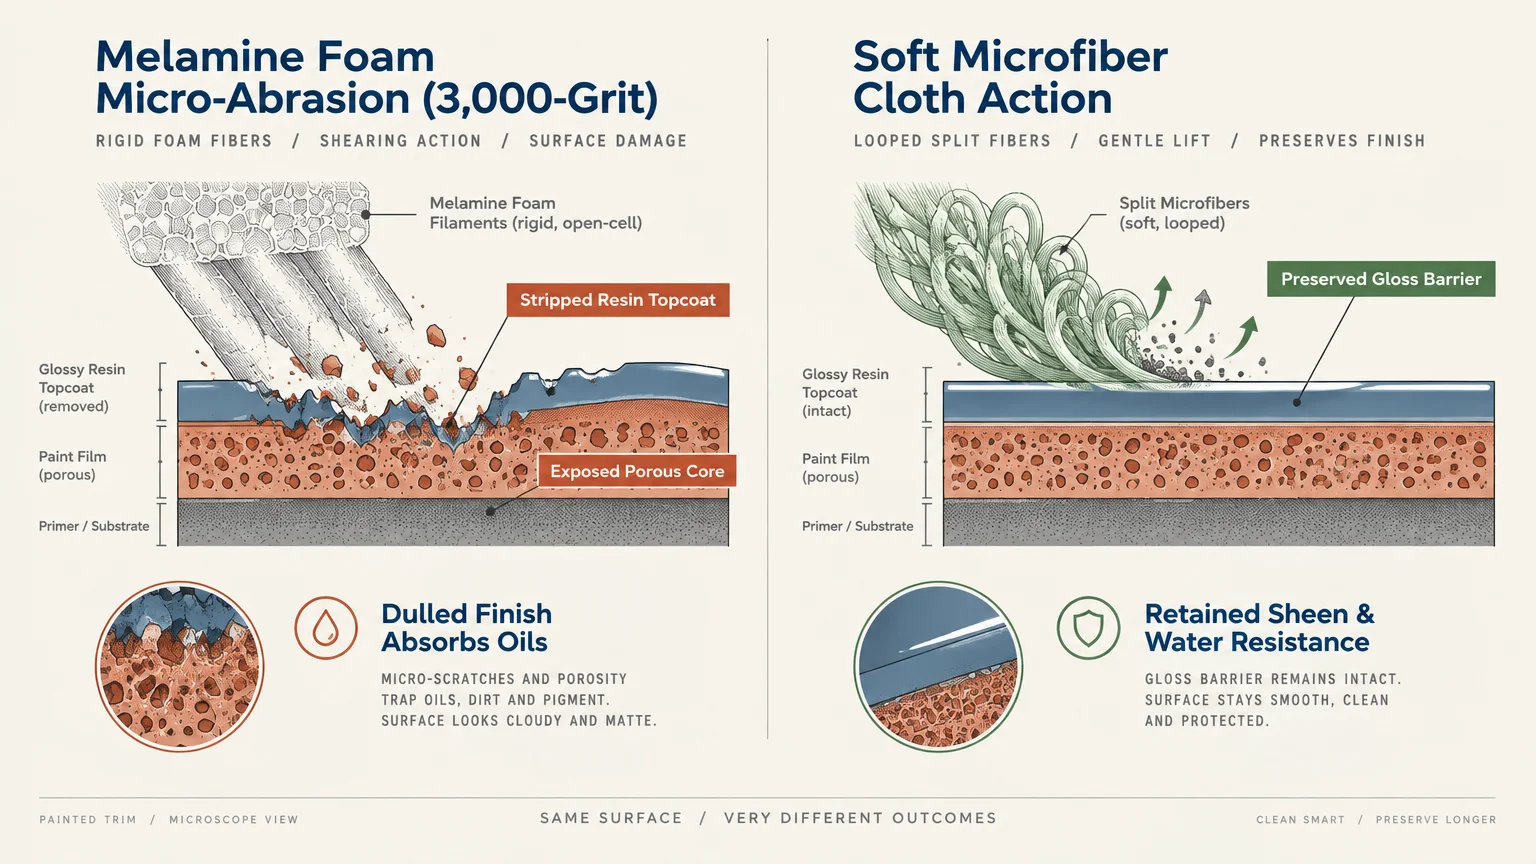
Melamine foam sponges seem like miraculous erasers for scuffs on high-traffic hallway trim. However, their dense, glass-hard microstructure acts like 3,000-grit sandpaper against gloss finishes.
Each stroke shears away the resin topcoat that gives trim paint its sheen and water resistance. Once you dull that finish, the exposed porous paint layer absorbs dirt and oils much faster.
Ditch the abrasive foam in favor of a soft microfiber cloth and a mild soap solution.
2. Running Soaking Wet Mops Against Baseboards
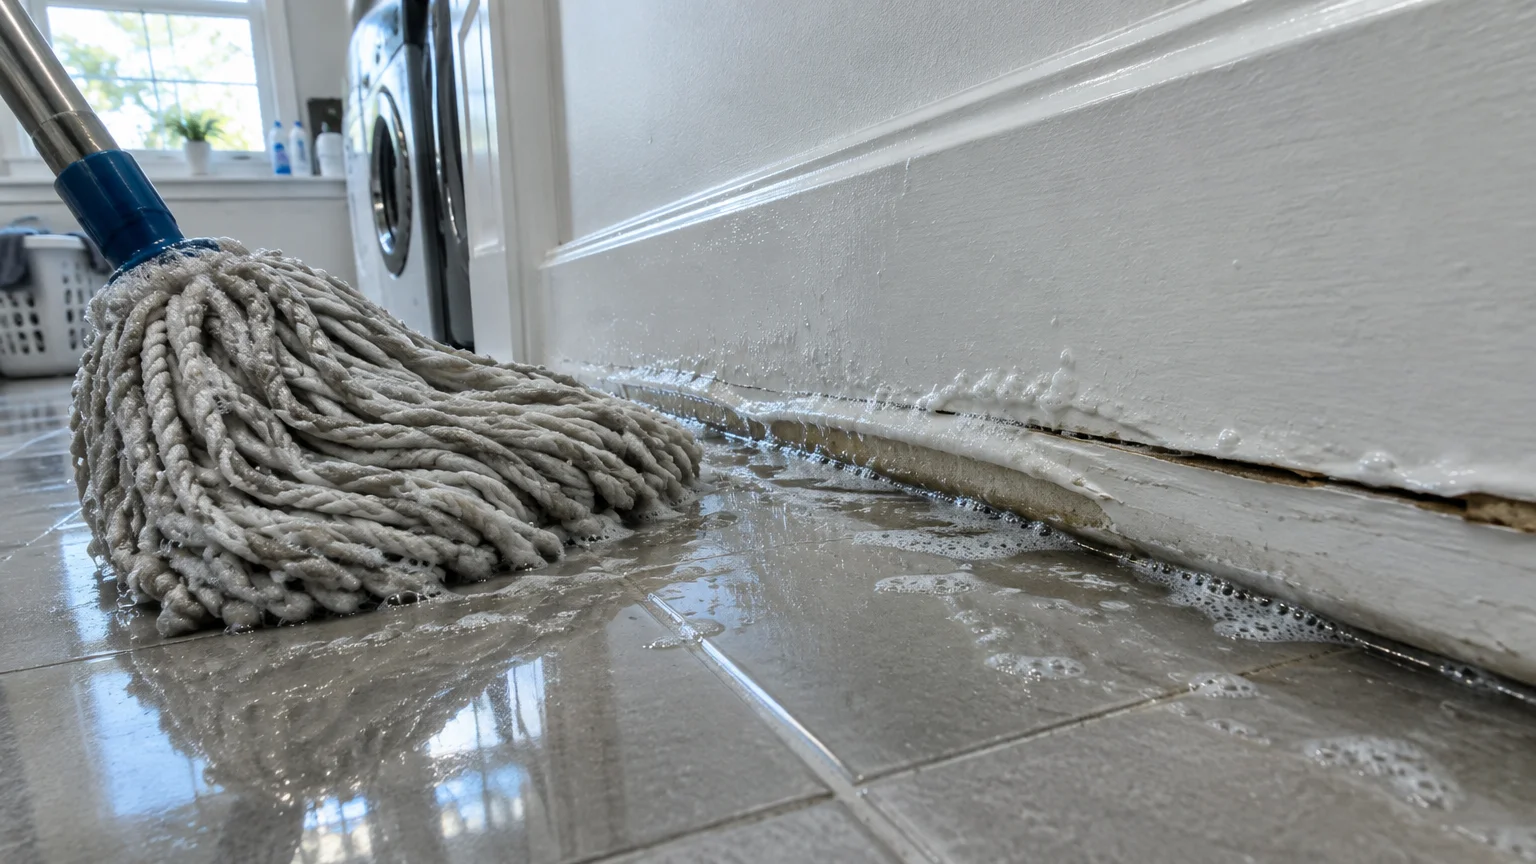
Sloshing wet string or sponge mops along the base of your walls saturates floor moldings with dirty water. This moisture wicks directly into raw lower edges, floor seams, and interior wall corners.
Modern medium-density fiberboard (MDF) trim swells rapidly when wet, causing irreversible warping, joint separation, and bubbled paint. Even solid pine moldings rot and split when subjected to regular mop splashes.
Always clean your baseboards separately by hand, keeping a three-inch safety boundary when running wet mops across hard flooring.
3. Relying on Undiluted Vinegar and Acidic Solutions
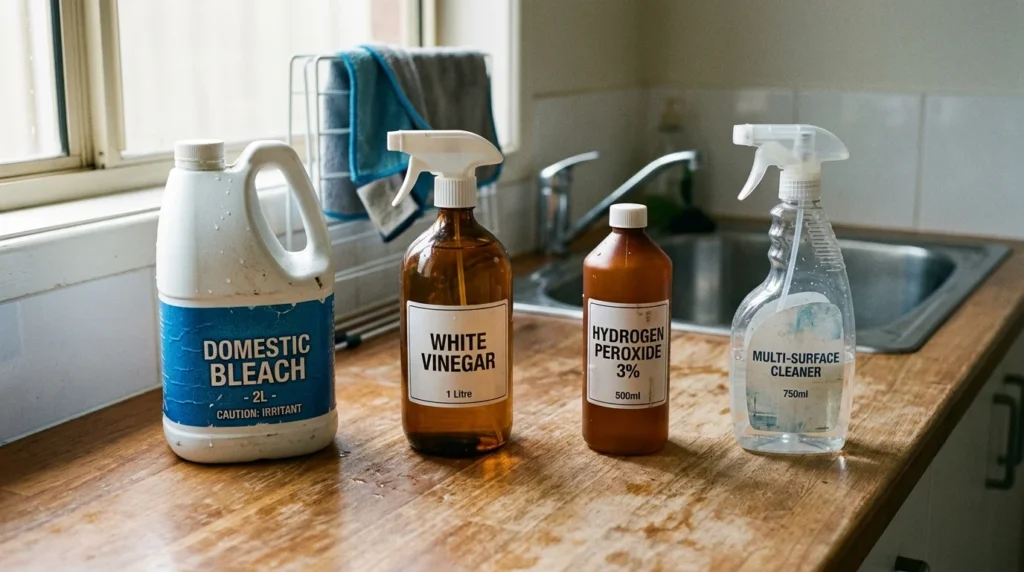
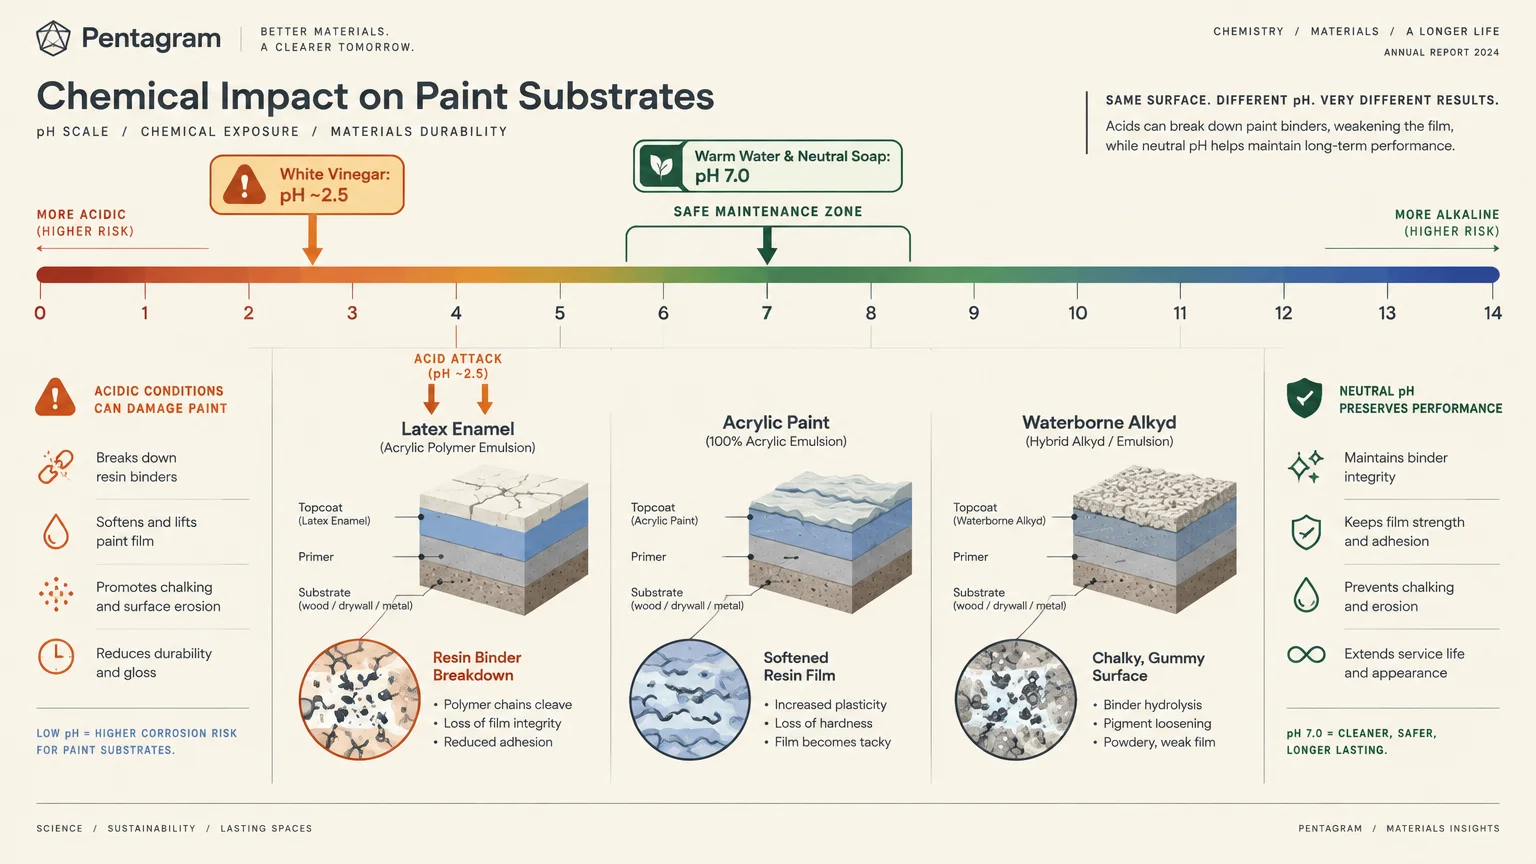
Many homeowners use household white vinegar as a universal green cleaner for every surface in the house. However, vinegar contains dilute acetic acid with a low pH around 2.5.
Acid chemically attacks the binders in latex, acrylic, and waterborne alkyd enamels over repeated exposures. As the paint resins soften, the surface loses gloss and turns gummy, tacky, or chalky.
Protect your painted trim by using warm water mixed with a neutral, non-acidic liquid soap instead.
4. Using Heavy Household Degreasers and Ammonia
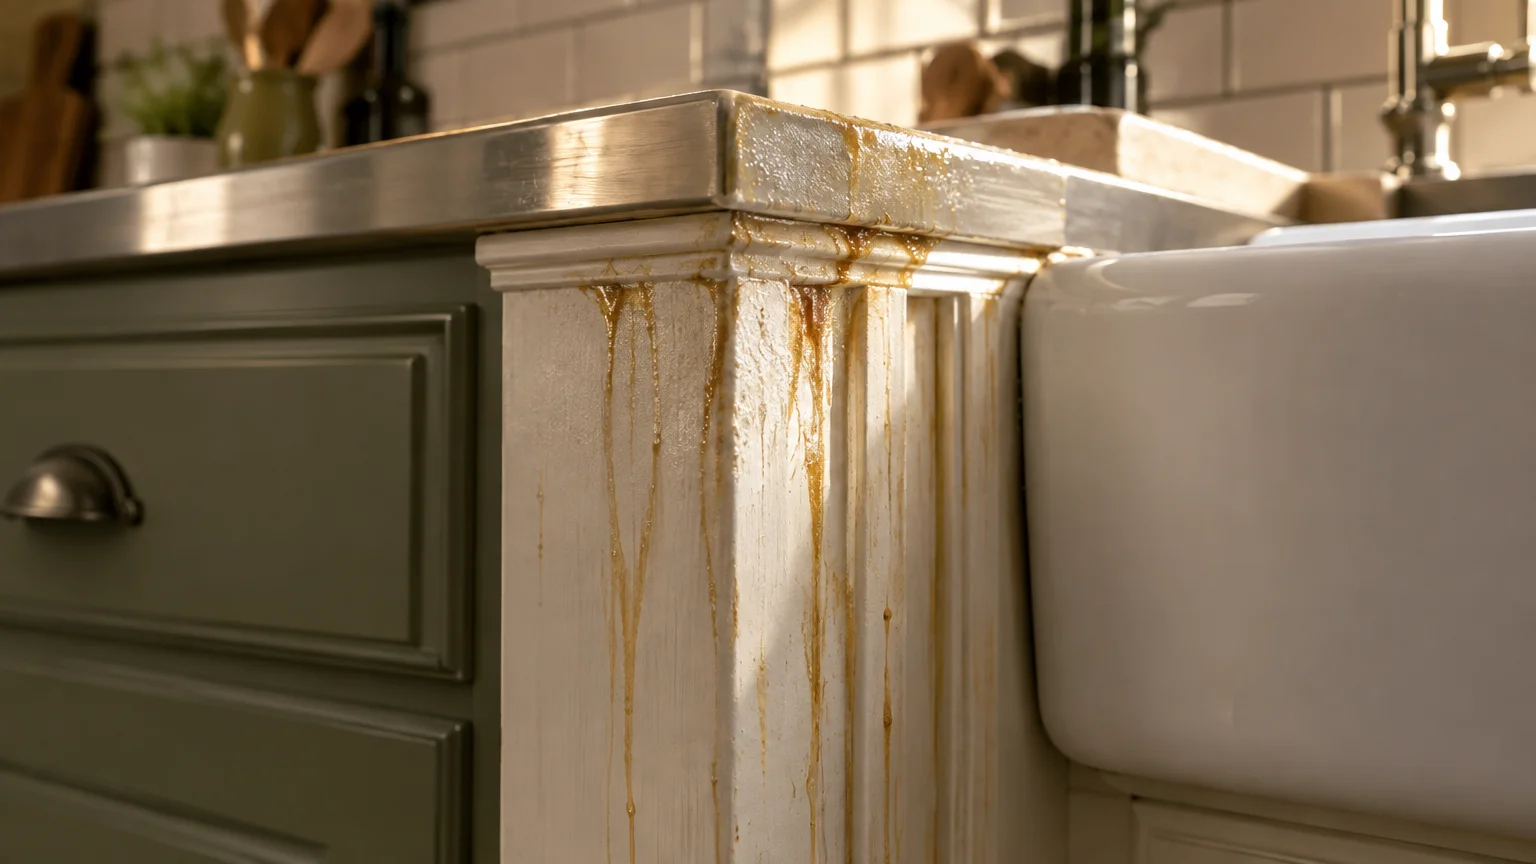
Heavy kitchen degreasers cut grease rapidly, but high-alkaline chemicals dissolve paint binders just as efficiently. Formulas containing ammonia, sodium hydroxide, or excessive citrus solvents strip protective enamel gloss.
Technical research from coating manufacturers like Sherwin-Williams demonstrates that aggressive alkaline cleansers trigger surfactant leaching in latex paint films. This breakdown leaves permanent, sticky brown streaks that permanently mar your millwork.
Wipe greasy trim around ranges and pantries with warm water and a few drops of gentle liquid dish soap.
5. Scraping Stuck Grime with Hard Blades or Fingernails
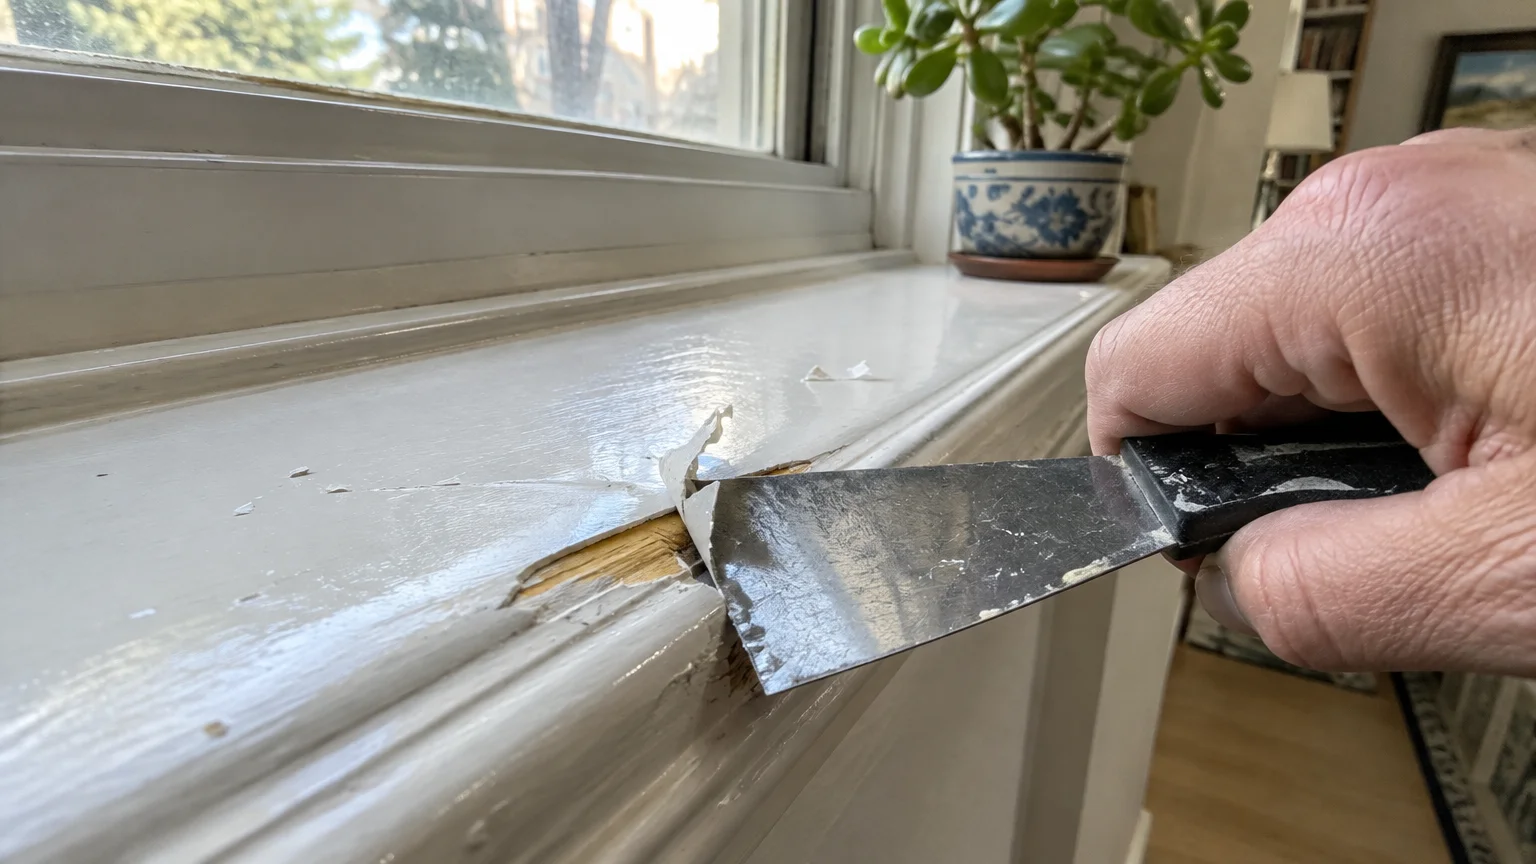
Dried spills, adhesive stickers, and pet messes tempt homeowners to scrape moldings with metal putty knives or fingernails. This mechanical gouging punctures the protective paint film down to bare substrate.
Even microscopic breaks allow atmospheric moisture to enter, loosening the paint bond from beneath the surface. This damage quickly expands into peeling sheets and cracked edges.
Lay a warm, damp microfiber towel over hardened grime for several minutes to rehydrate and dissolve it safely.
6. Wet Wiping Without Removing Dry Dust First
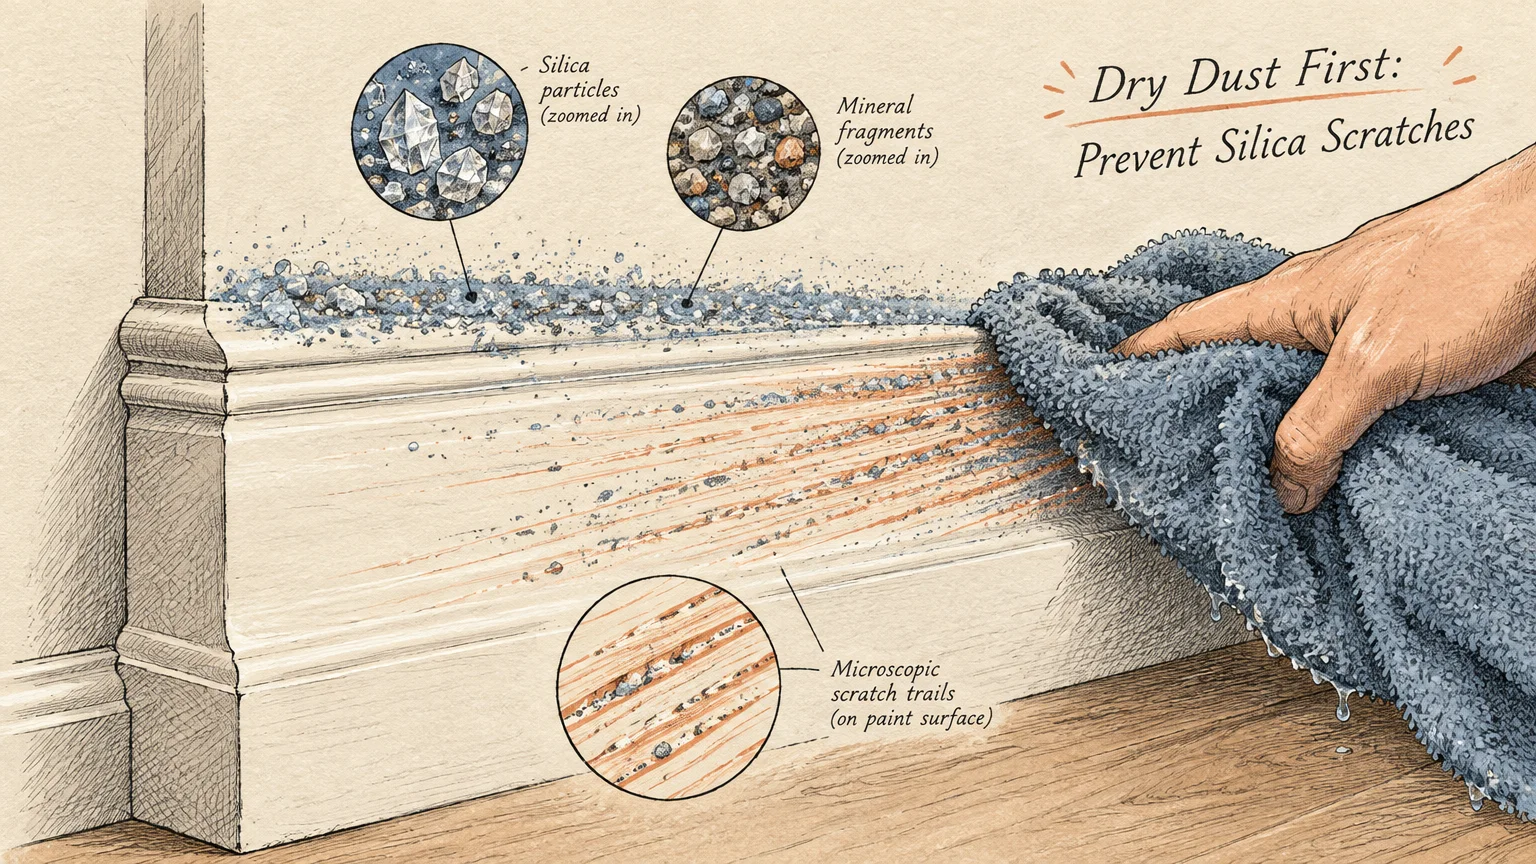
Skipping the dry dusting step and heading straight for a wet cleaning rag creates unintended friction. Household dust consists largely of gritty silica sand, mineral fragments, and airborne pollen.
Wiping this grit with a damp towel turns dust into an abrasive paste that leaves fine swirl scratches across paintwork. Over time, these micro-scratches dull your trim and create tiny channels that trap new grime.
Always run a dry electrostatic microfiber duster or a soft vacuum brush attachment over trim before applying any liquid.
7. Blasting Seams and Moldings with Steam Cleaners
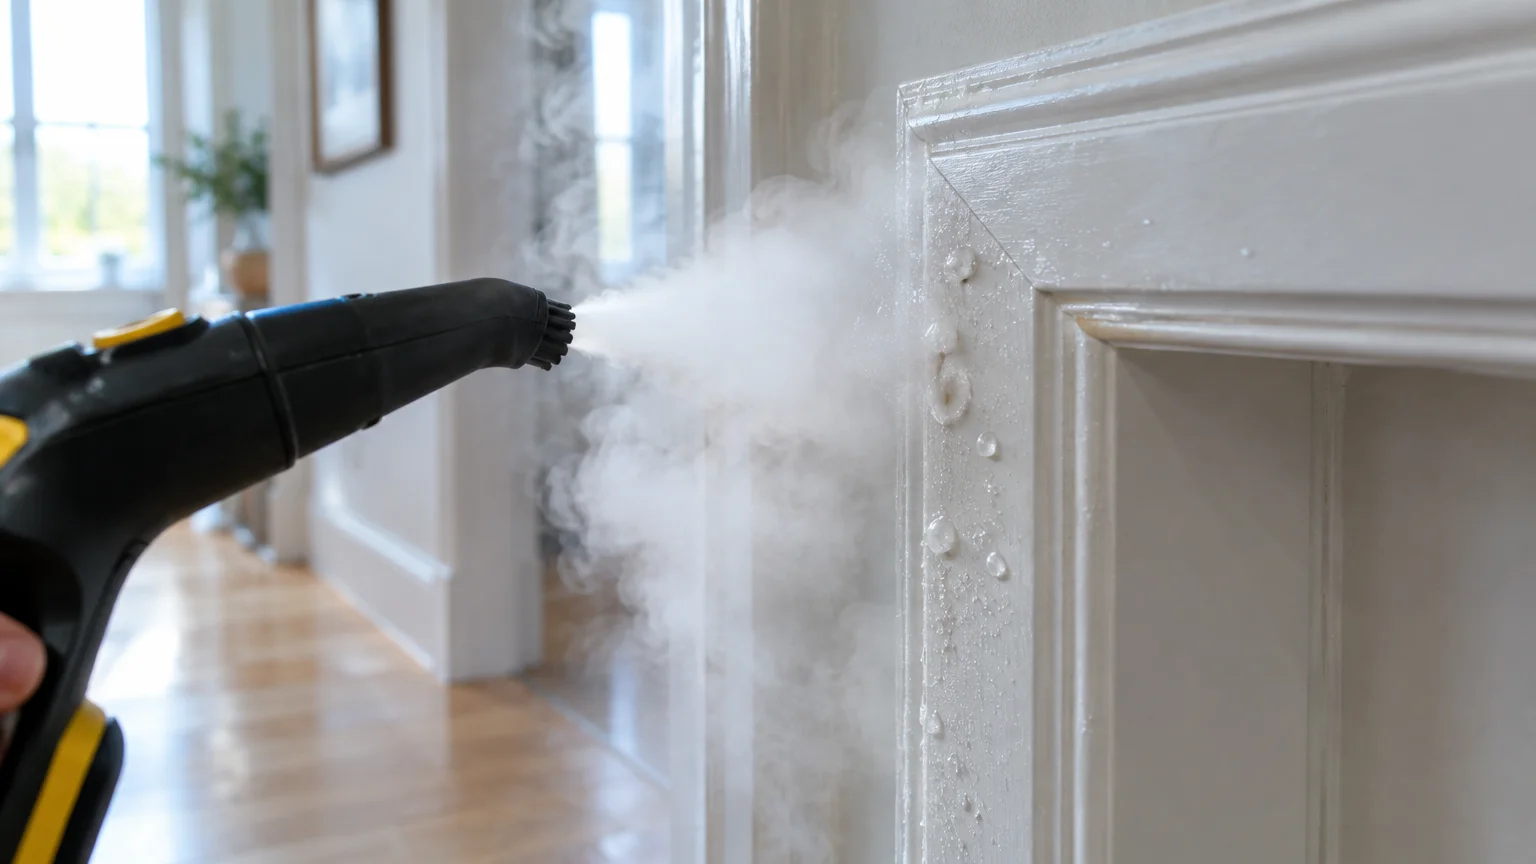
Steam cleaners sanitize tiled floors and bathroom grout effectively, but pressurized thermal steam destroys architectural paint. Intense heat softens acrylic polymers instantly, while high-velocity moisture blasts past protective caulk lines.
This pressurized steam causes paint blistering and melts acrylic latex caulk along wall joints. The CDC warns that uncontrolled indoor moisture fosters hidden mold behind building materials within twenty-four to forty-eight hours.
Clean trim exclusively with room-temperature or lukewarm cleaning solutions to preserve the paint barrier.
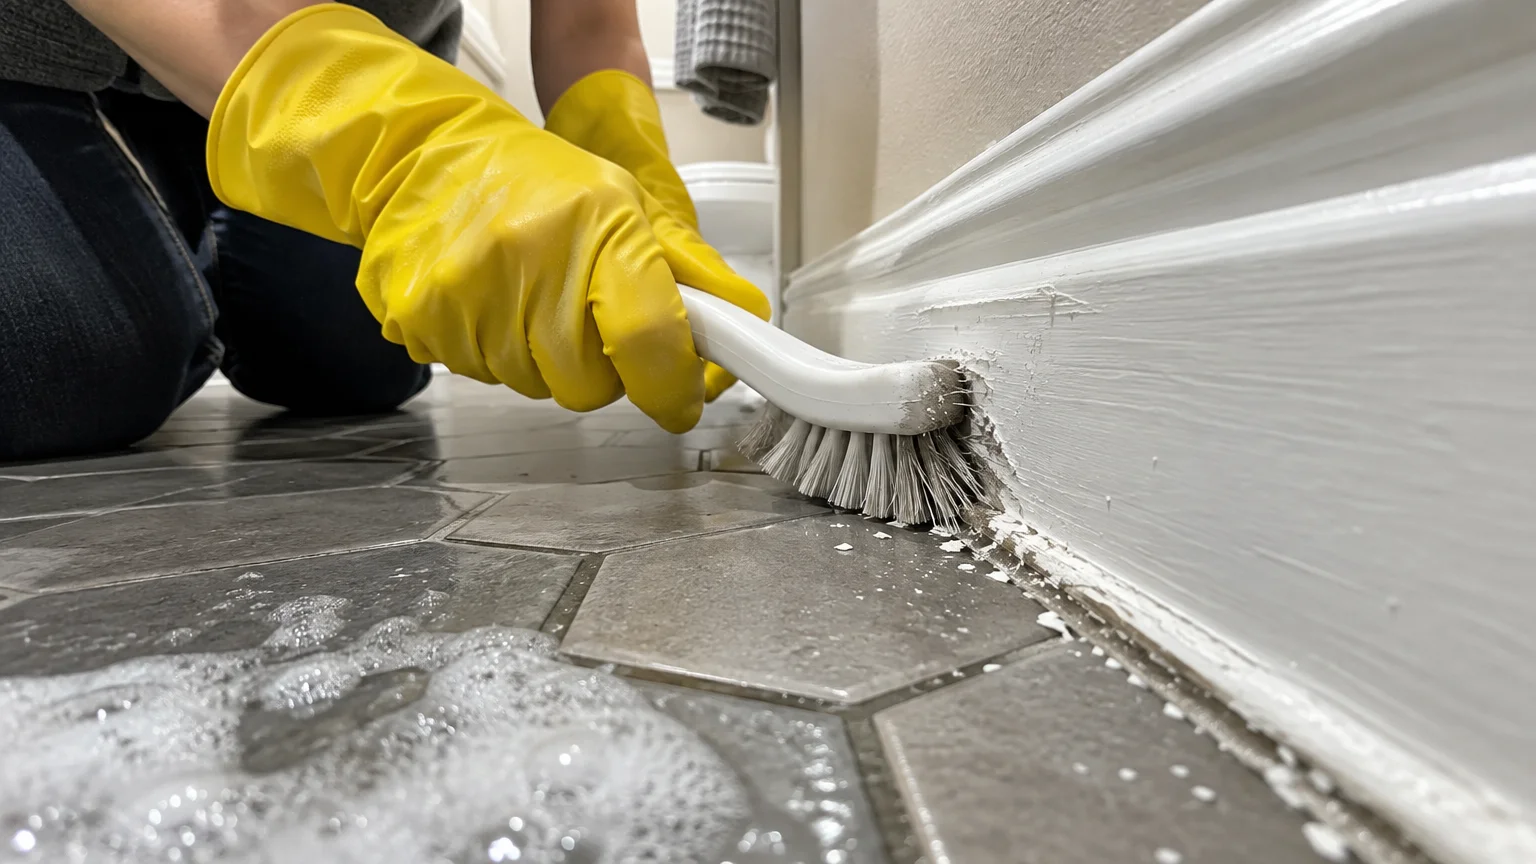
8. Scrubbing Corners with Stiff Tile and Grout Brushes
Grout brushes and heavy-duty utility scrubbers feature stiff nylon bristles that easily mar semi-gloss paint. When you scrub ornate baseboard profiles with stiff bristles, you scratch the clear resin shield.
Stiff bristles also shred flexible caulk beads where baseboards meet drywall or wood flooring. Torn caulking creates uneven gaps that invite drafts, insect activity, and trapped dirt.
Reach into tight decorative molding profiles using a soft cosmetic wedge sponge or an artist paintbrush.
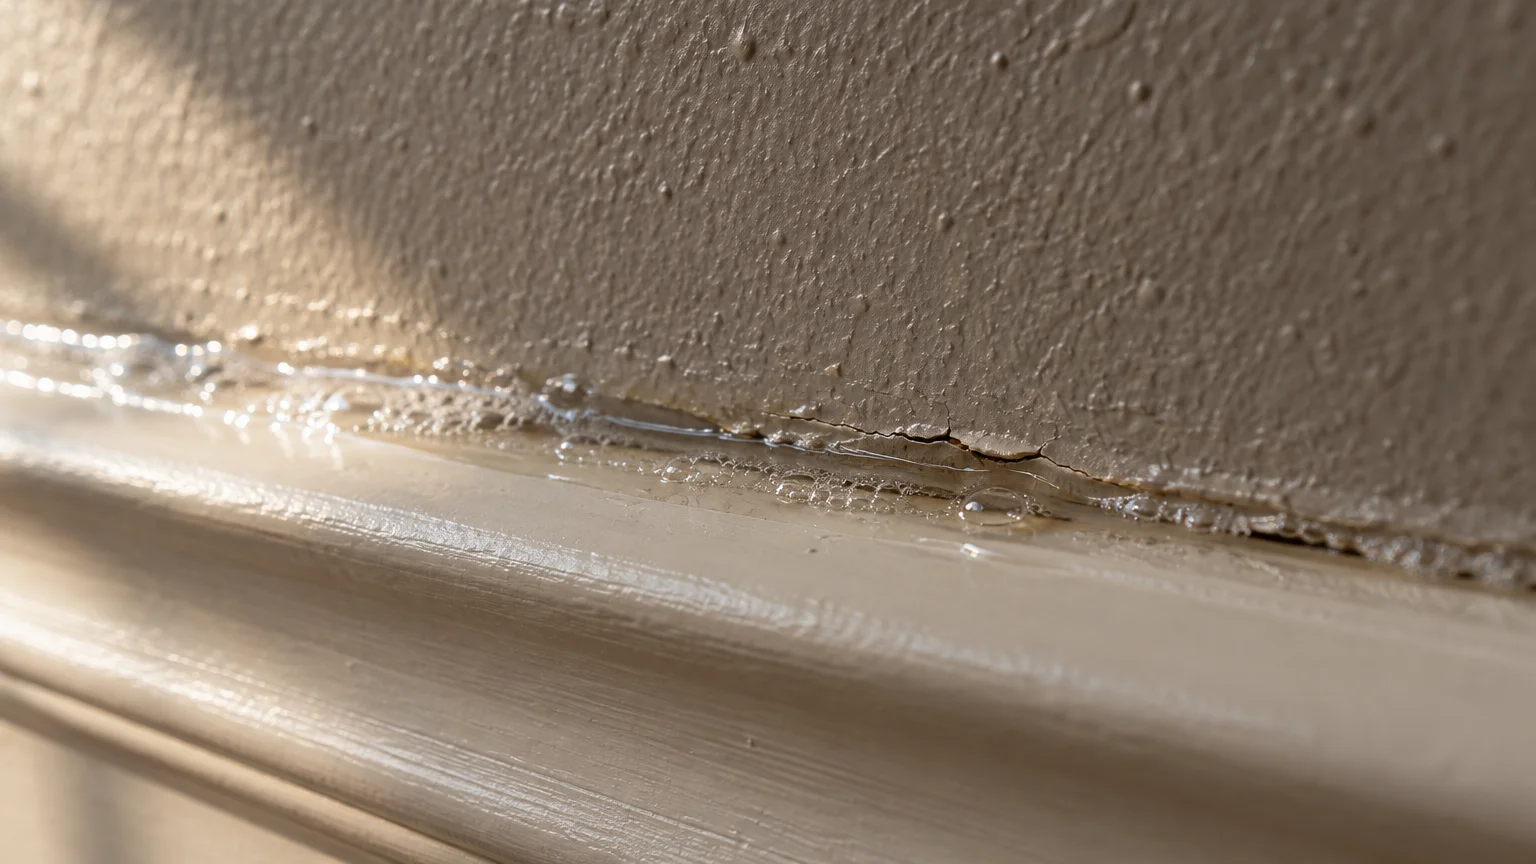
9. Allowing Liquid to Pool Along Trim Tops and Base Caps
Spraying cleaning liquids directly onto wall surfaces causes liquid to run down and pool behind base caps and shoe moldings. Raw wood edges absorb this standing pool, causing hidden decay and fungal growth.
As moisture saturates the wood core, the swelling fibers force the overlying paint to blister and pop. The resulting peeling paint cannot be fixed without scraping, re-priming, and repainting the entire run.
Spray your cleaner onto your microfiber cloth instead of the wall, and immediately dry the trim with a clean towel.
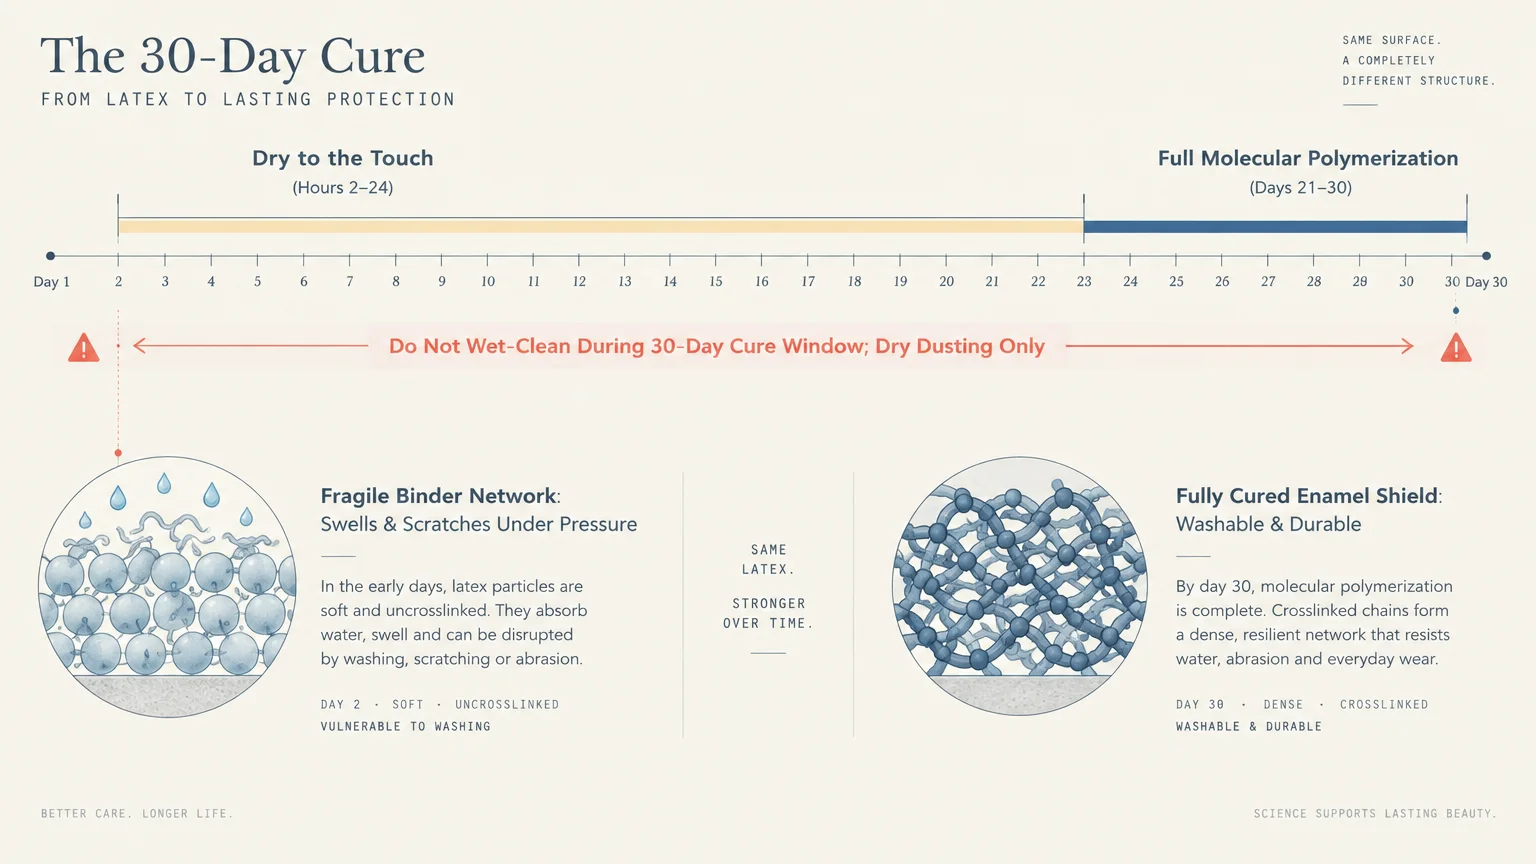
10. Washing Paint Before the Full Cure Window Ends
Modern latex trim paints feel dry to the touch within hours, but chemical cure takes significantly longer. Paint films require three to four weeks to complete polymerization and achieve their rated washability and hardness.
Guidance from paint specialists at Benjamin Moore emphasizes that washing uncured paint strips binders and causes permanent blotches. Aggressive early cleaning can tear the fragile paint skin clean off the baseboard.
Dust fresh paint only with dry microfiber cloths during the first thirty days following application.
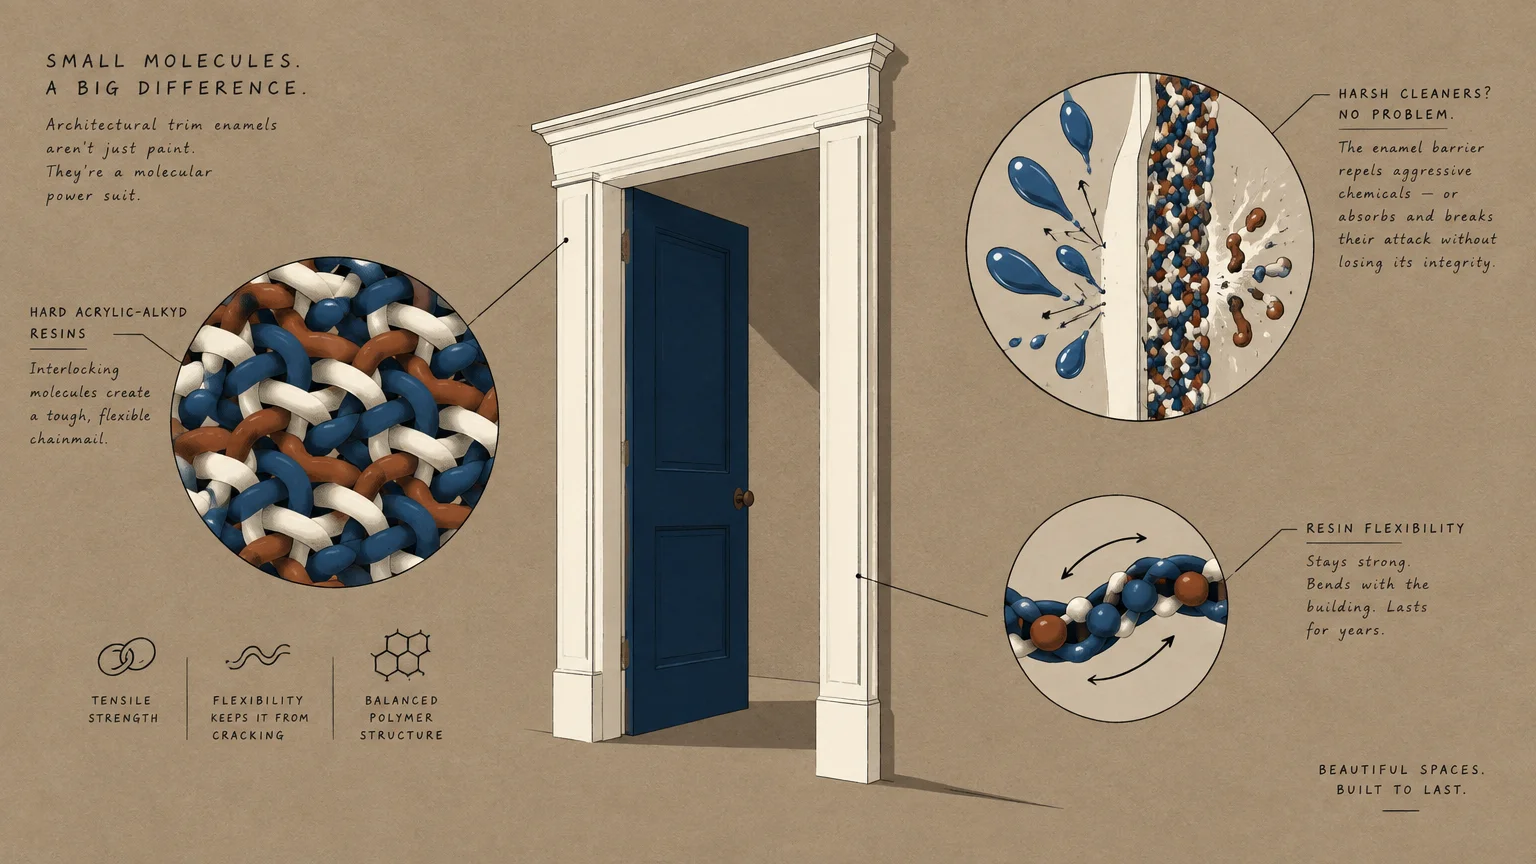
Why Trim Paint Chemistry Demands Special Care
Homeowners frequently treat trim paint identically to standard wall paint, yet their chemical formulations differ drastically. Wall paint relies on softer, flat binders designed to diffuse light, while trim enamel contains resilient cross-linking resins.
These specialized enamels dry to an ultra-hard, non-porous finish intended to endure scuffs, kicks, and vacuum bumps. However, harsh solvents and abrasive materials fracture this rigid crystalline structure, creating chalky, porous zones.
Once the surface resin degrades, the exposed pigments absorb airborne kitchen oils, floor wax, and pet dander. You can prevent this premature wear by avoiding common painted trim cleaning mistakes and using gentle, pH-balanced techniques.
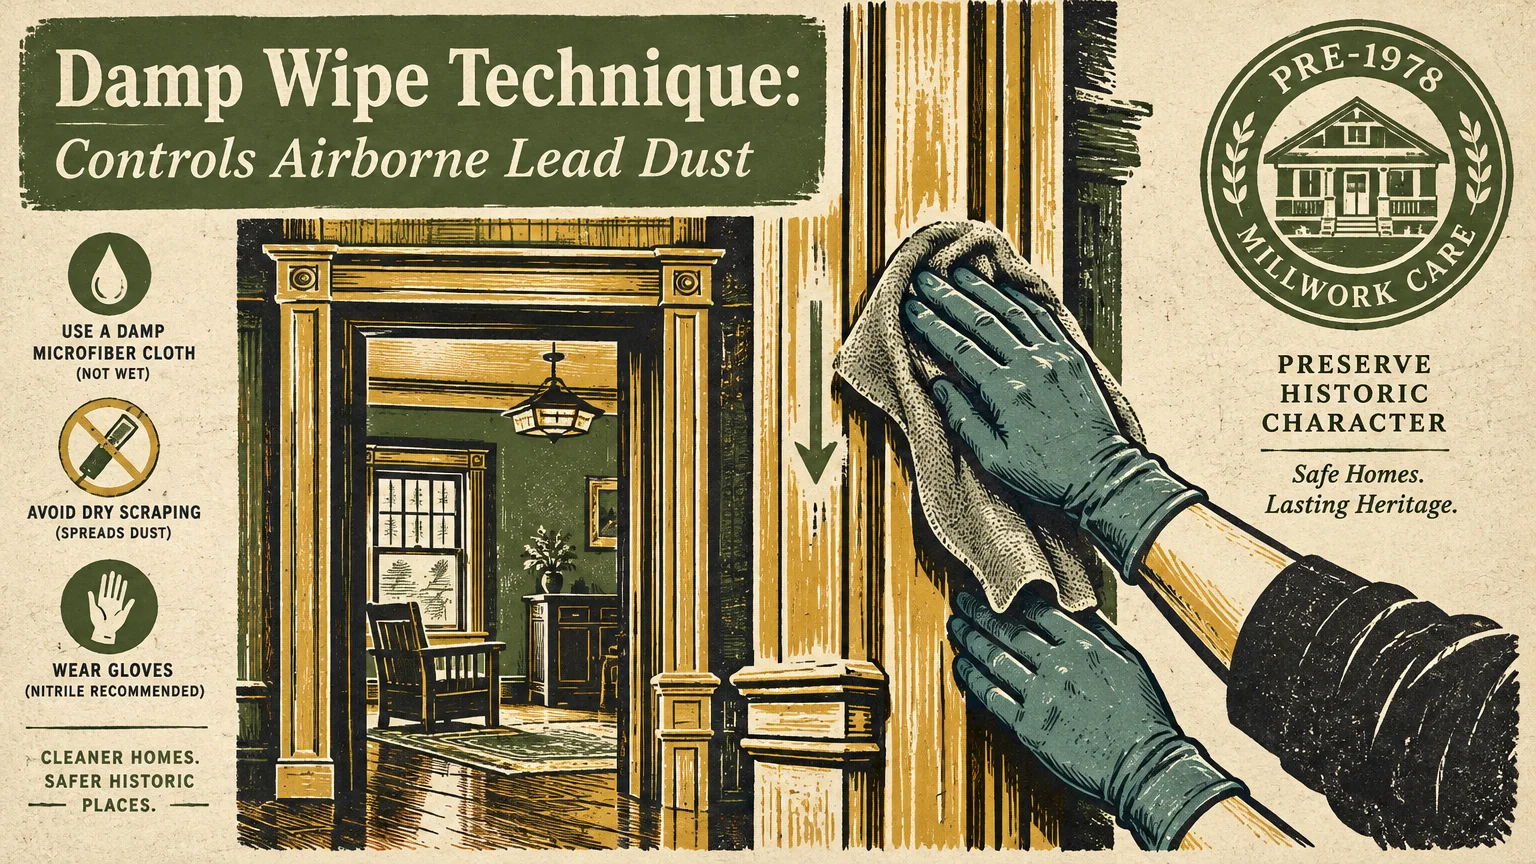
Historic Homes and Lead Safety Precautions
Older houses require extra vigilance when maintaining painted woodwork, especially those built prior to 1978. Historic baseboards and window casings often carry several base coats of lead-based paint under modern latex layers.
Aggressive scrubbing, wire brushing, or dry scraping damaged trim paint can pulverize brittle lead layers into invisible toxic dust. This fine dust settles onto rugs and floors, creating severe ingestion hazards for young children and pets.
The EPA lead renovation and repair program recommends using damp-wiping methods with specialized cleaners to trap dust. If your trim paint begins flaking or chipping, stabilize the surface rather than scrubbing it aggressively.
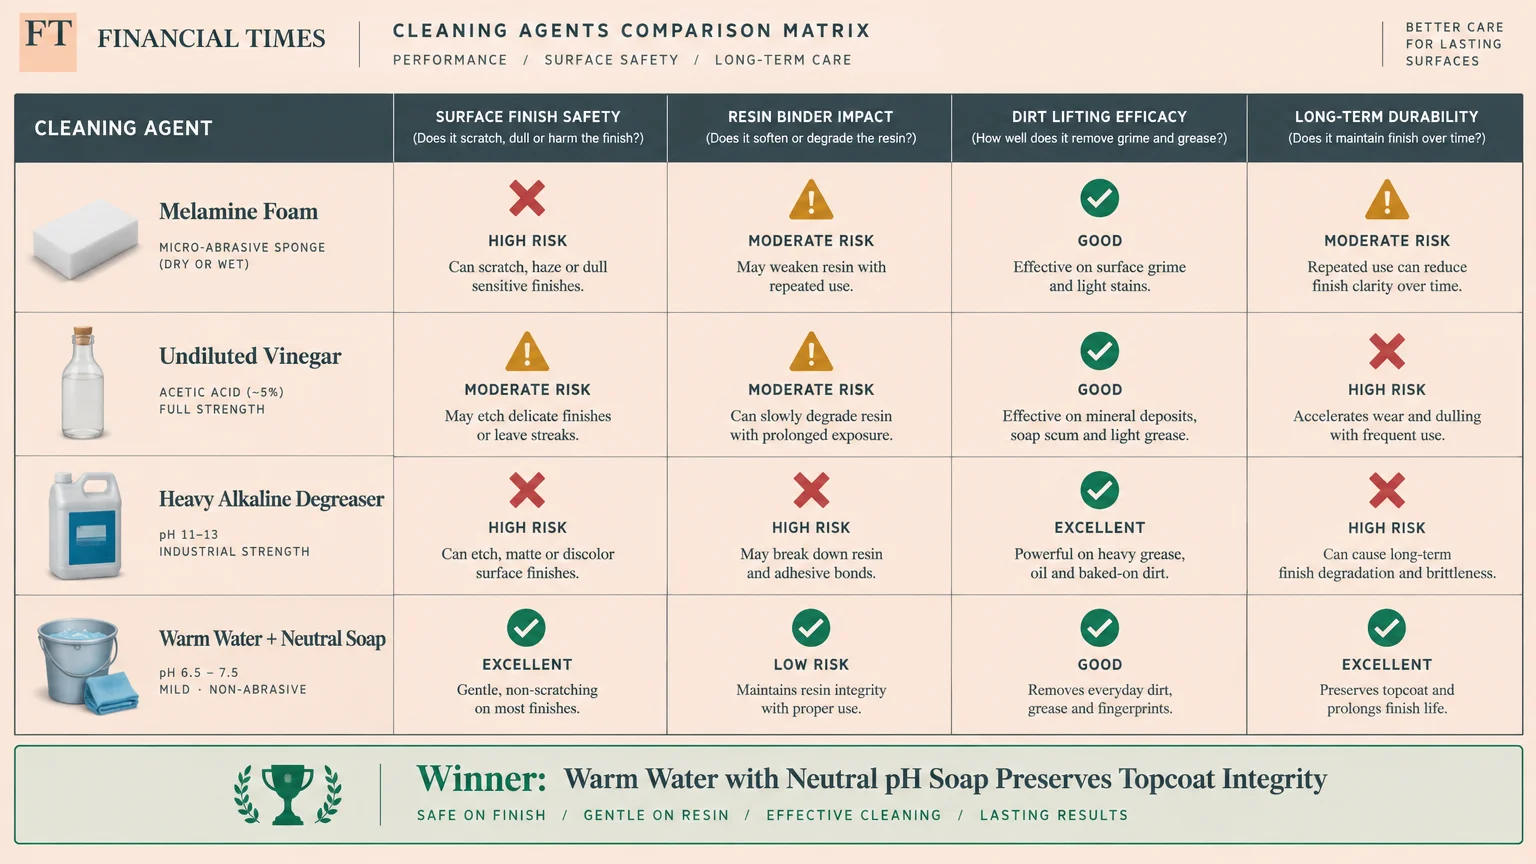
Evaluating Common Trim Cleaning Methods
| Cleaning Method | Intended Use | Risk to Trim Paint | Safe Alternative |
|---|---|---|---|
| Melamine Foam Sponge | Erasing wall scuffs | Strips paint sheen and thins enamel layer | Damp microfiber cloth with drop of dish soap |
| Undiluted White Vinegar | Eco-friendly sanitizing | Softens latex binders and causes yellowing | Warm water with pH-neutral liquid cleanser |
| Ammonia / Degreasers | Dissolving kitchen grease | Causes surfactant leaching and sticky resin breakdown | Diluted dish detergent wash followed by clean water |
| High-Heat Steam Mops | Hard floor sanitization | Melts caulking, warps wood, and blisters paint | Hand-wiping with a damp, wrung-out towel |
| Stiff Grout Brushes | Scrubbing tile lines | Gouges caulk seals and leaves fine scratches | Soft horsehair brush or artist detail brush |
| Wet String Mops | Rapid floor washing | Saturates unsealed edges, triggering MDF swelling | Hand-washing baseboards with a controlled damp cloth |
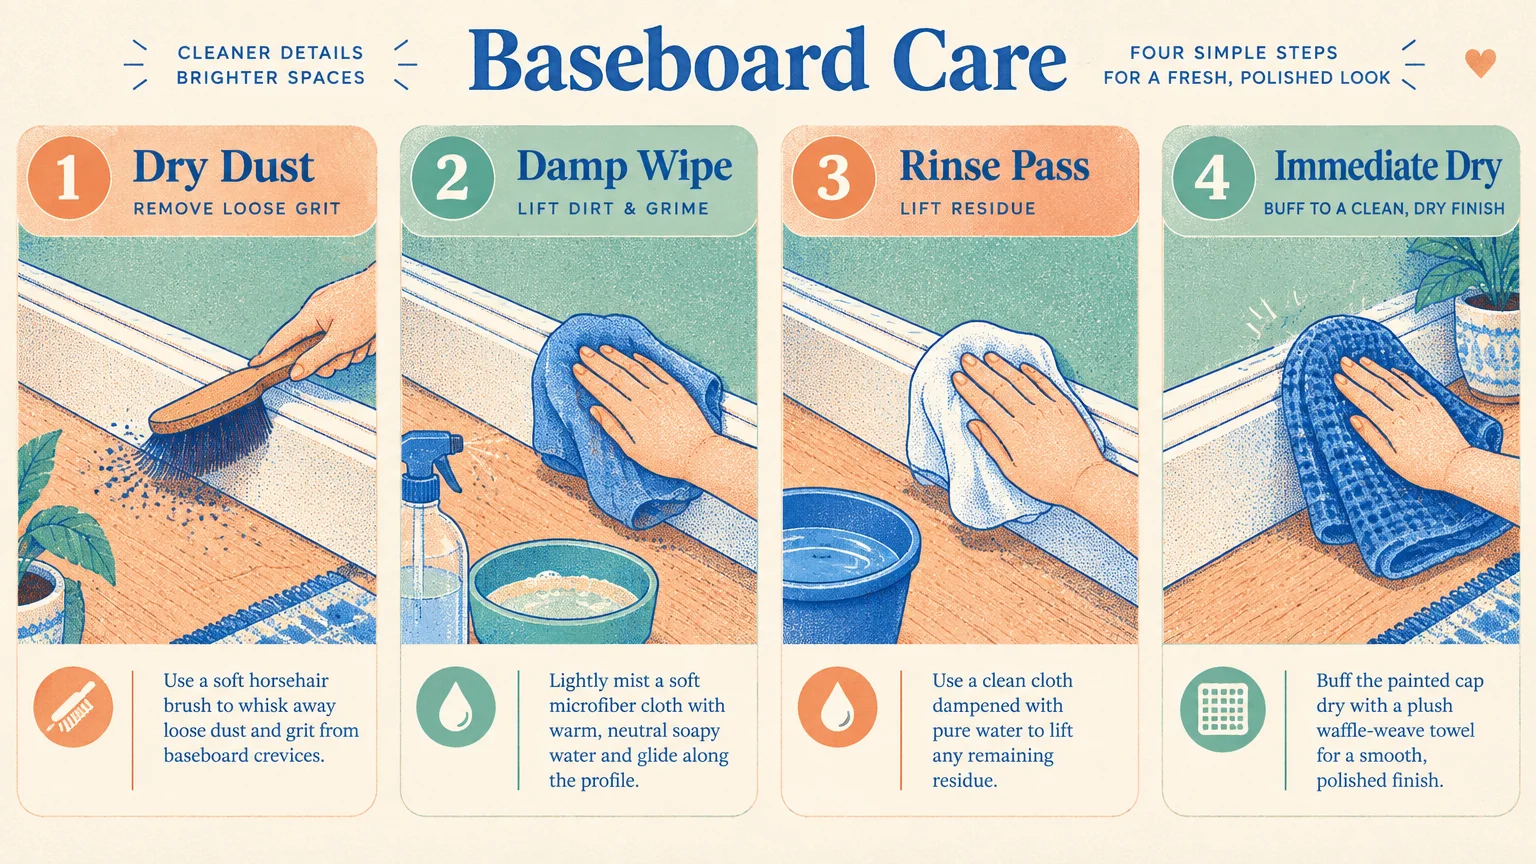
A Step-by-Step Guide: How to Clean Baseboards Without Damage
Maintaining pristine woodwork does not require aggressive scrubbing or specialized chemical solutions. Follow this simple five-step method to clean your baseboards thoroughly while keeping your paint finish intact.
-
Vacuum Loose Debris Dry:
Begin your cleaning routine by lifting dust, pet fur, and loose sand off the trim surfaces. Use a vacuum cleaner equipped with a soft horsehair dusting brush to reach inside molding contours.
Alternatively, run a dry, electrostatic microfiber towel along the top cap and base shoe molding. Removing loose grit dry prevents you from scratching the paint surface when applying wet cleaning cloths.
-
Mix a Gentle Surfactant Solution:
Fill a clean plastic bucket with one gallon of lukewarm water and add two drops of liquid dish soap. Avoid harsh detergents, bleach, ammonia, or commercial pine oils that can degrade delicate paint resins.
A very dilute soap solution provides enough surfactant to break surface tension without leaving a sticky soap film. This ensures grime lifts away effortlessly without requiring aggressive physical scrubbing.
-
Use the Two-Cloth Technique:
Submerge a plush microfiber cloth into your soapy water and wring it out until it feels barely damp. Wipe along the woodwork in smooth, horizontal strokes, following the direction of the wood grain.
Immediately follow your damp cloth with a second, completely dry microfiber towel in your opposite hand. This two-cloth method lifts dissolved grime and absorbs residual moisture before it can penetrate caulk seams.
-
Rehydrate Stubborn Spots:
For sticky spills or mud deposits, never use abrasive scrubbers or sharp scraping tools. Instead, dampen a cotton washcloth with warm water and hold it against the spot for two minutes.
The trapped moisture and heat soften the dried contaminant, allowing you to wipe it away with zero friction. For stubborn black shoe scuffs, rub the mark gently with a dry microfiber cloth and a dab of mineral oil.
-
Inspect and Dry Seams:
Check the caulking joints where the top of your baseboard meets the painted drywall. If you spot cracked or separated caulk, make a note to seal it before your next wash.
Wipe any excess moisture from the junction between the base shoe and the hardwood or tile floor. Keeping seams bone dry prevents wood expansion and maintains an airtight, professional paint seal.

Essential Trim Maintenance Tips and Schedule
Establishing a predictable maintenance routine prevents heavy dust buildup from hardening into stubborn grime. Implement this schedule to minimize the physical effort required for cleaning painted woodwork.
- Weekly Routine: Run a soft electrostatic wand or a vacuum brush across high-visibility baseboards to capture airborne dust before it binds with ambient humidity.
- Monthly Spot-Check: Examine high-impact zones—such as mudrooms, staircases, and dog runs—for shoe scuffs; wipe them promptly with a damp microfiber cloth.
- Seasonal Deep Clean: Wash all interior door casings, window sills, and baseboards using the two-cloth method and mild soapy water once or twice a year.
- Annual Caulk Inspection: Check exterior door thresholds, bathroom baseboards, and window aprons for shrinking caulk beads; touch up gaps with high-grade paintable acrylic caulk.
- Post-Painting Protocol: Allow newly painted trim thirty days to cure completely before exposing the finish to any water, detergents, or mechanical friction.

Preventing Future Trim Wear in High-Traffic Zones
Baseboards in mudrooms, hallways, and kitchens endure constant assault from vacuum heads, shoes, and pets. You can reduce how often you need to clean by implementing simple preventative safeguards throughout your home.
Apply soft adhesive felt bumpers to the front and sides of your vacuum cleaner head. These felt cushions prevent hard plastic housings from leaving scuff marks along freshly cleaned baseboards during routine vacuuming.
In moisture-prone entryways, place wide walk-off mats that capture wet snow, grit, and mud before boots reach the trim. Keeping floor grit to a minimum dramatically lowers the frequency of deep woodwork scrubbing.
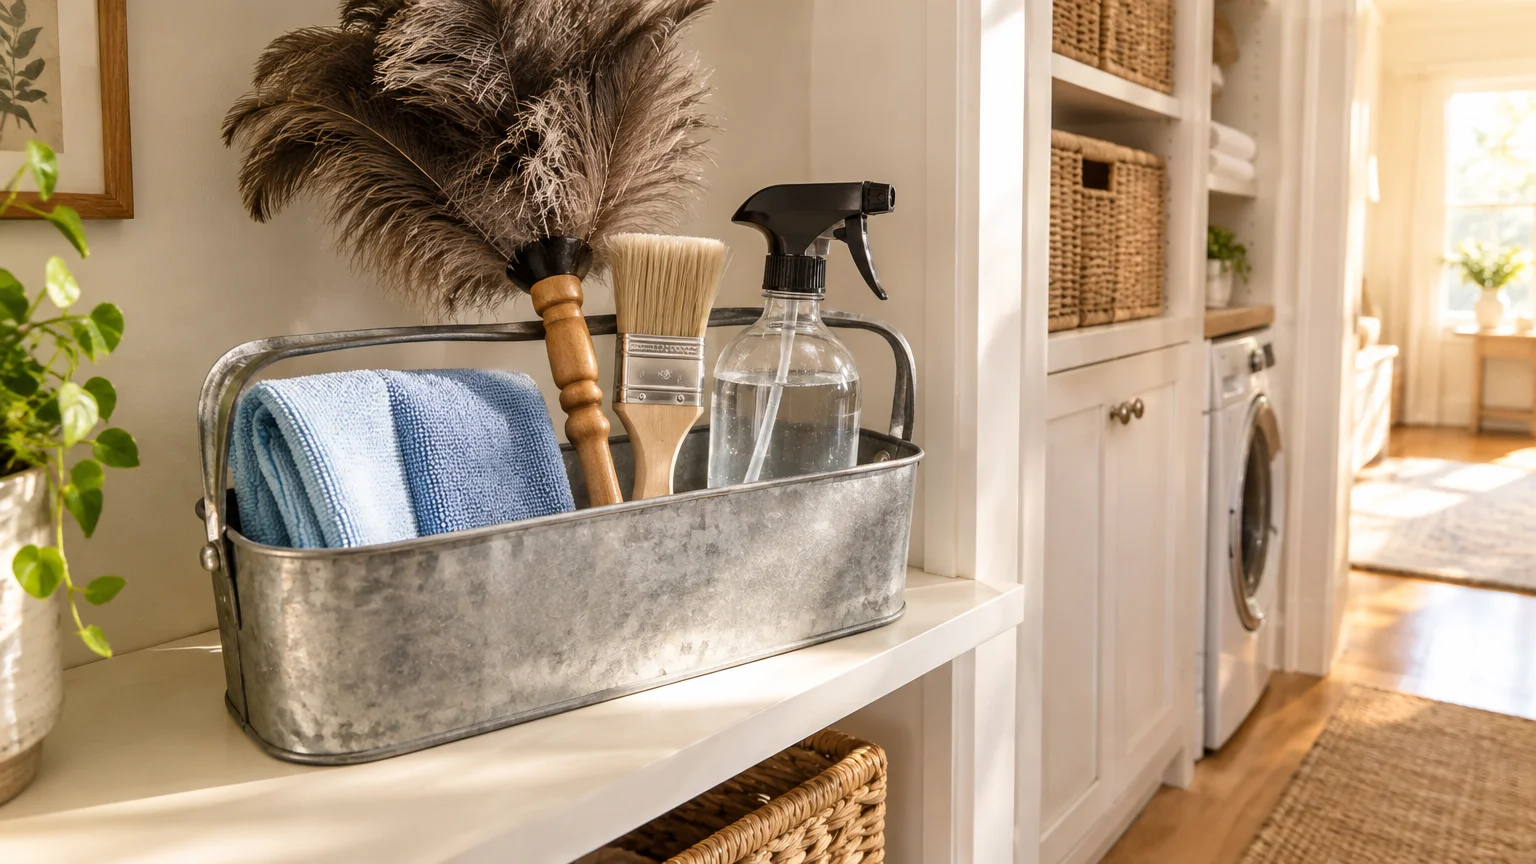
Take This Simple Next Step Today
Start by inspecting your cleaning caddy and removing abrasive sponges, harsh acid sprays, and stiff scrub brushes. Replace them with three soft microfiber cloths and a bottle of mild, pH-neutral liquid soap.
Dedicate fifteen minutes this weekend to dry-dusting your entryway baseboards with a soft vacuum brush attachment. Adopting these gentle cleaning habits will protect your painted woodwork and keep your home looking pristine for years to come.