A standard refrigerator costs over a thousand dollars to replace, yet simple cleaning blunders quietly destroy expensive compressors and seals every day. Avoiding these common refrigerator cleaning mistakes will protect your investment and keep your appliance running smoothly for years.
When you understand how dirt, harsh chemicals, and thermal shock stress internal components, you can adjust your routine with minimal effort. Proper fridge maintenance tips ensure lower electric bills and prevent sudden mechanical breakdowns.
Small adjustments to your seasonal habits make a measurable difference in long-term reliability. Here is how to extend refrigerator lifespan while maintaining a pristine, hygienic kitchen.
1. Neglecting the Condenser Coils
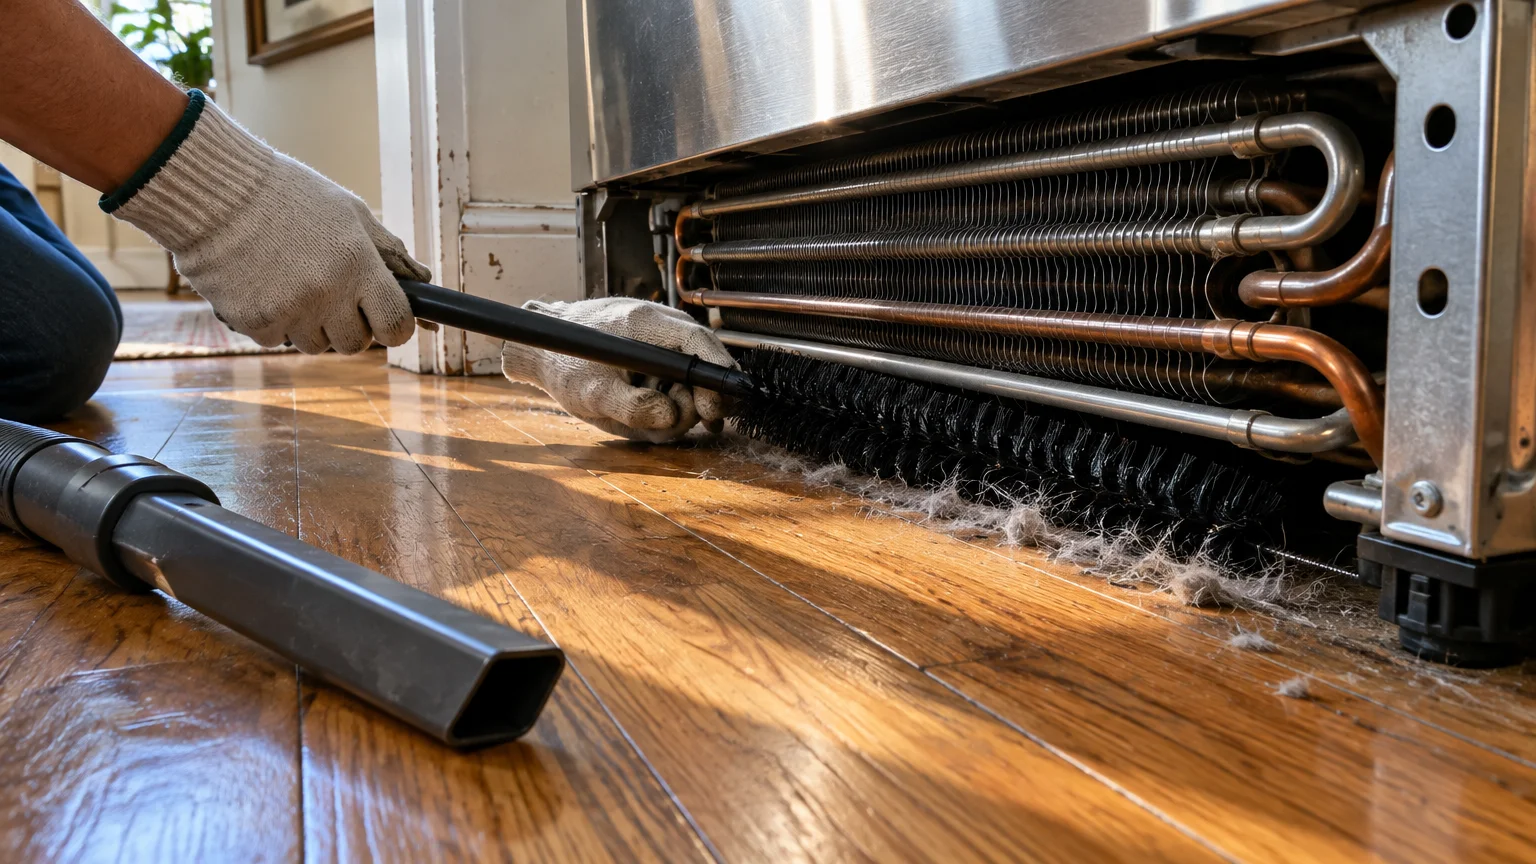
Condenser coils release the heat extracted from inside your refrigerator into the surrounding room. When dust, pet hair, and lint coat these metal tubing loops, heat cannot escape efficiently.
This insulating blanket forces your compressor to run hotter and longer to maintain chilly temperatures; consequently, internal mechanical parts wear out prematurely.
According to Energy Star refrigerator guidelines, clean coils improve energy efficiency and prevent unnecessary electrical strain. Coils caked in grime can double your appliance’s energy consumption while halving its overall operational life.
Schedule cleaning refrigerator coils at least twice every year, or quarterly if you have shedding pets. A narrow coil brush and your vacuum crevice attachment make this chore quick and painless.
- Unplug the refrigerator from the wall outlet to ensure total electrical safety.
- Locate the coils behind the bottom front kick plate or across the lower rear exterior.
- Gently sweep the coil surfaces with a long-handled condenser brush to dislodge compacted debris.
- Vacuum all loosened dust using a narrow crevice attachment.
- Snap the protective grille back into place and restore electrical power.
2. Scrubbing Door Gaskets with Harsh Chemicals
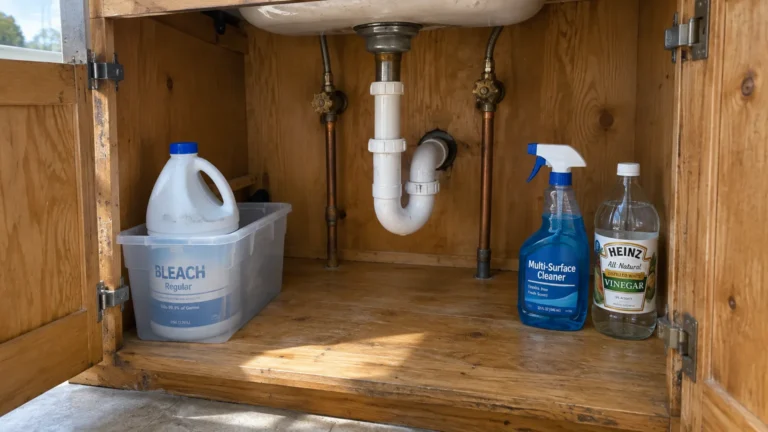
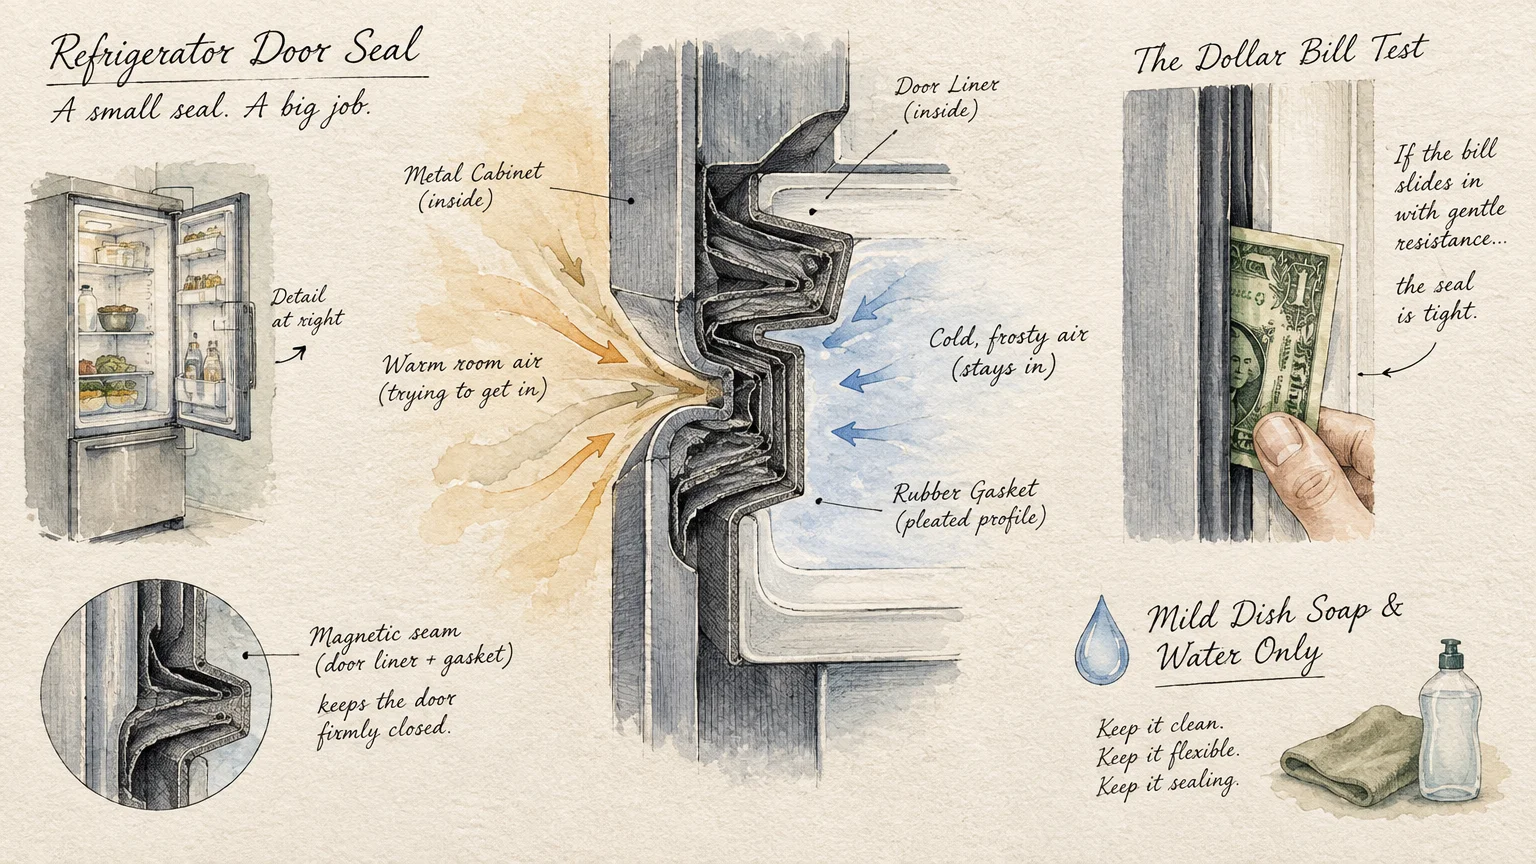
The flexible rubber gasket around your refrigerator doors creates an airtight barrier that keeps ambient moisture and heat outside. Using harsh disinfectants like pure bleach, ammonia, or concentrated citrus solvents rapidly destroys this flexible vinyl.
These caustic chemicals strip the plasticizers from the rubber; as a result, the gasket becomes brittle, cracks, and pulls away from the frame.
Once the seal fails, warm kitchen air leaks inside continuously. Your compressor must cycle constantly to compensate, which accelerates motor wear and inflates your monthly electric bill.
Wash gaskets gently using warm water mixed with a few drops of mild liquid dish soap. After wiping the seal dry, apply a paper-thin swipe of food-grade mineral oil to keep the rubber supple and flexible.
You can test seal tightness with a dollar bill; close the door on the currency and pull gently. If the bill slides out without resistance, your gasket needs immediate cleaning or replacement.
3. Chipping Frost with Sharp Metal Implements
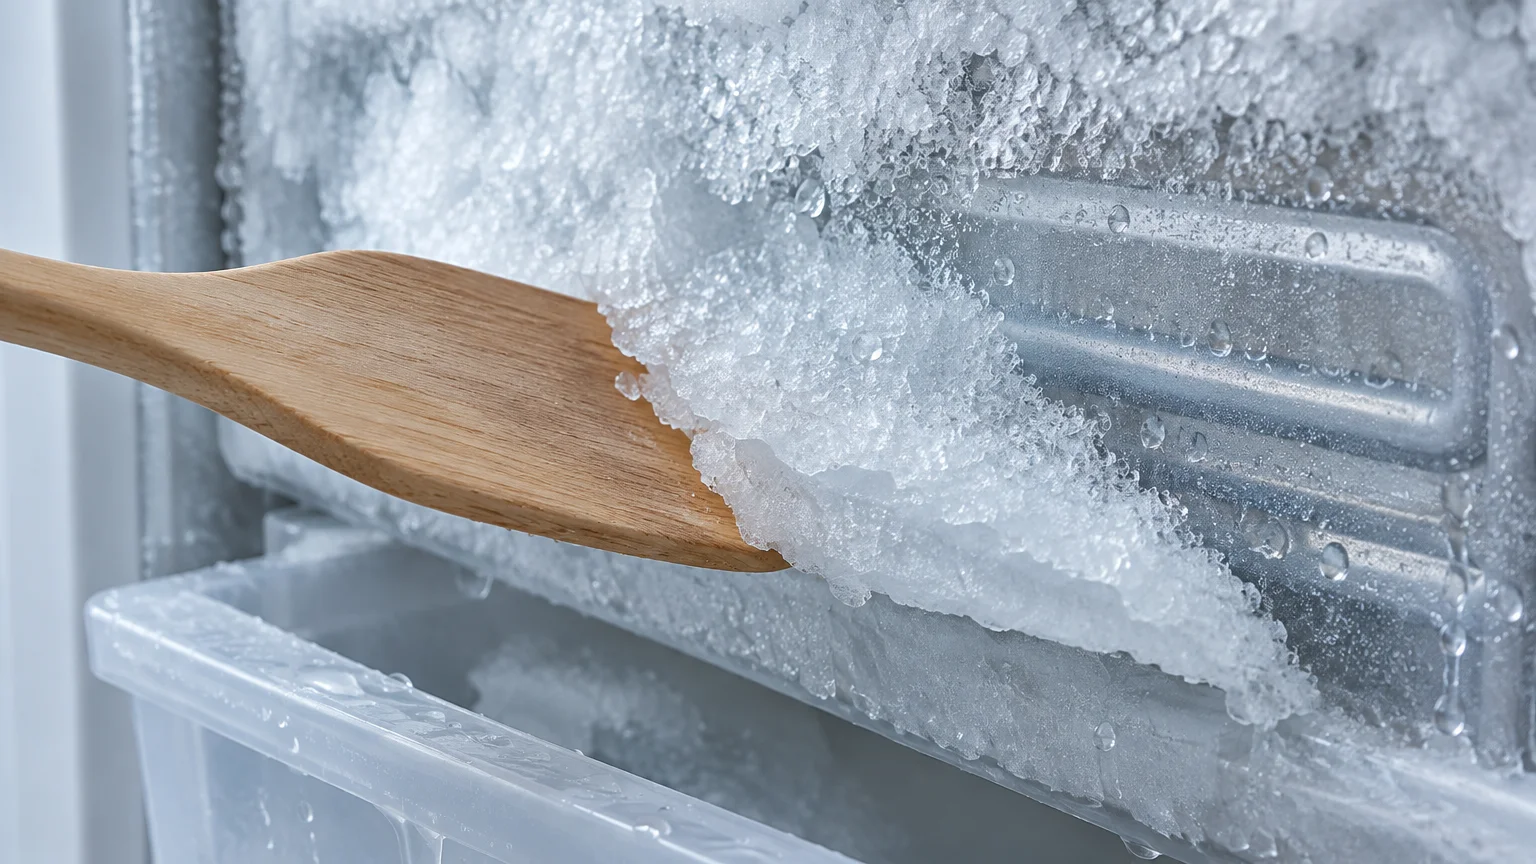
Thick frost accumulation inside older or manual-defrost freezers restricts airflow and forces cooling components to labor harder. However, attacking thick ice sheets with butter knives, metal ice picks, or screwdrivers invites catastrophe.
Evaporator coils run directly behind the thin interior walls of your freezer compartment. A single slip of a metal blade can puncture aluminum tubing, venting pressurized refrigerant into your room within seconds.
Puncturing a refrigerant line creates an irreparable failure in most modern appliances—the repair cost often exceeds the price of a brand-new unit.
Patience remains your best maintenance tool when melting stubborn ice buildup. Defrost your unit naturally using warm moisture and soft scraping tools.
- Unplug the appliance and relocate frozen perishables to an insulated thermal cooler.
- Place folded beach towels along the bottom freezer ledge to absorb melting water.
- Set wide bowls filled with steaming hot water onto the wire shelves.
- Shut the freezer door for twenty minutes to let radiant steam loosen the frost blocks.
- Slide a flat wooden or silicone spatula under loosened slabs to discard them.
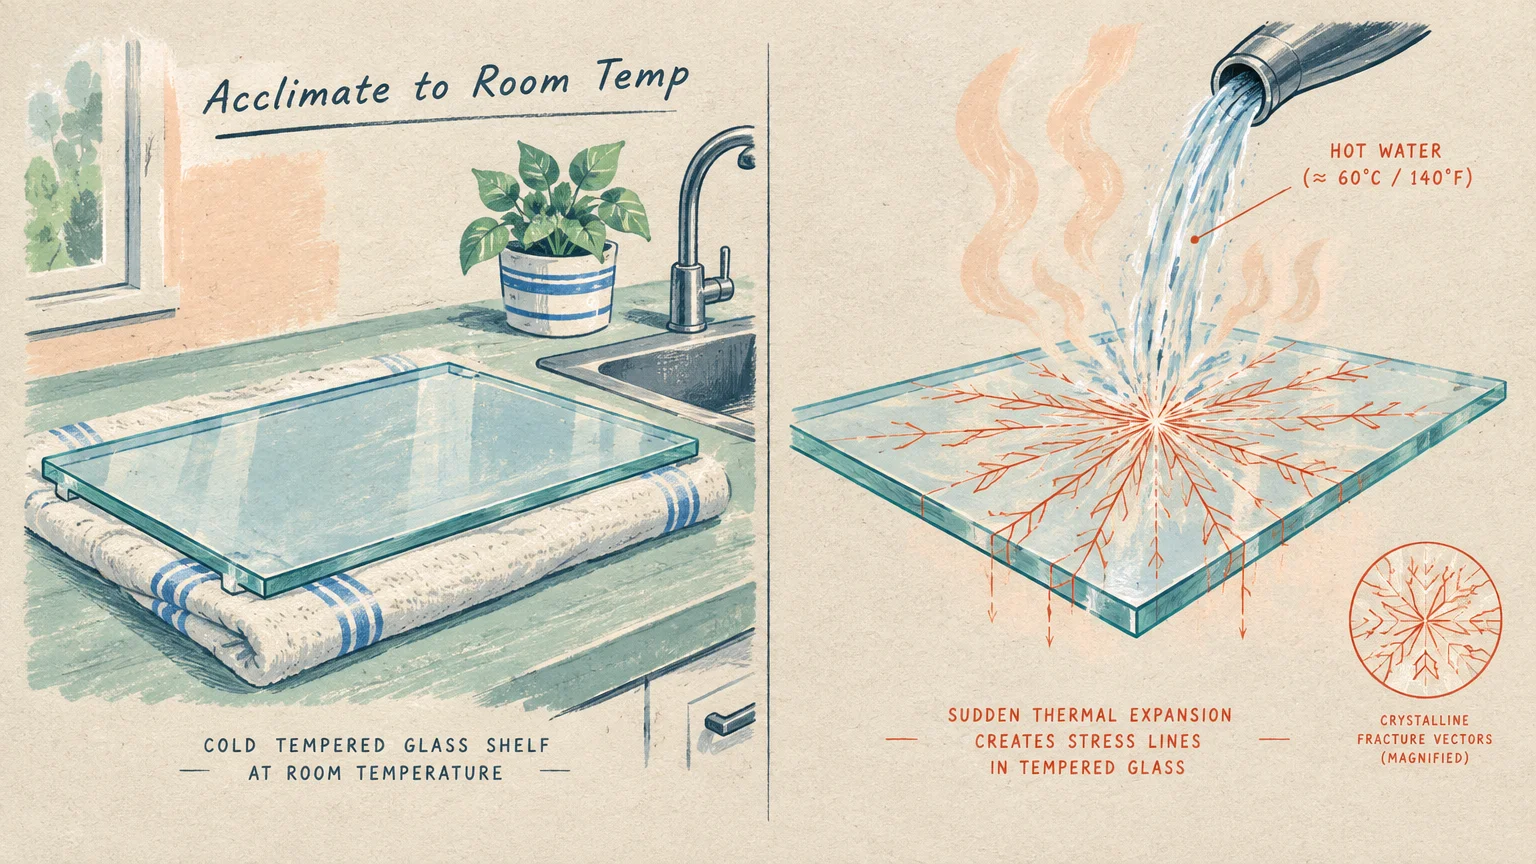
4. Washing Cold Glass Shelves in Hot Water
Tempered glass shelves handle heavy gallons of milk easily, but they remain sensitive to sudden temperature fluctuations. Pulling a cold glass shelf from the fridge and washing it under hot sink water induces severe thermal shock.
The rapid expansion of warm surface glass against a cold core creates internal tension that can shatter the entire pane into thousands of fragments.
Custom replacement shelves from appliance manufacturers frequently cost between $75 and $150 each. Beyond the financial expense, cleaning up shattered glass inside your kitchen poses a serious safety hazard.
Always allow removable glass trays and crisper bin lids to rest on the counter until they reach room temperature. Wash them with lukewarm water, or clean them in place using cool soapy water.
Treat plastic crisper drawers with the same patience. Washing frozen plastic bins in scalding water causes warping that prevents the drawers from sliding smoothly on their tracks.
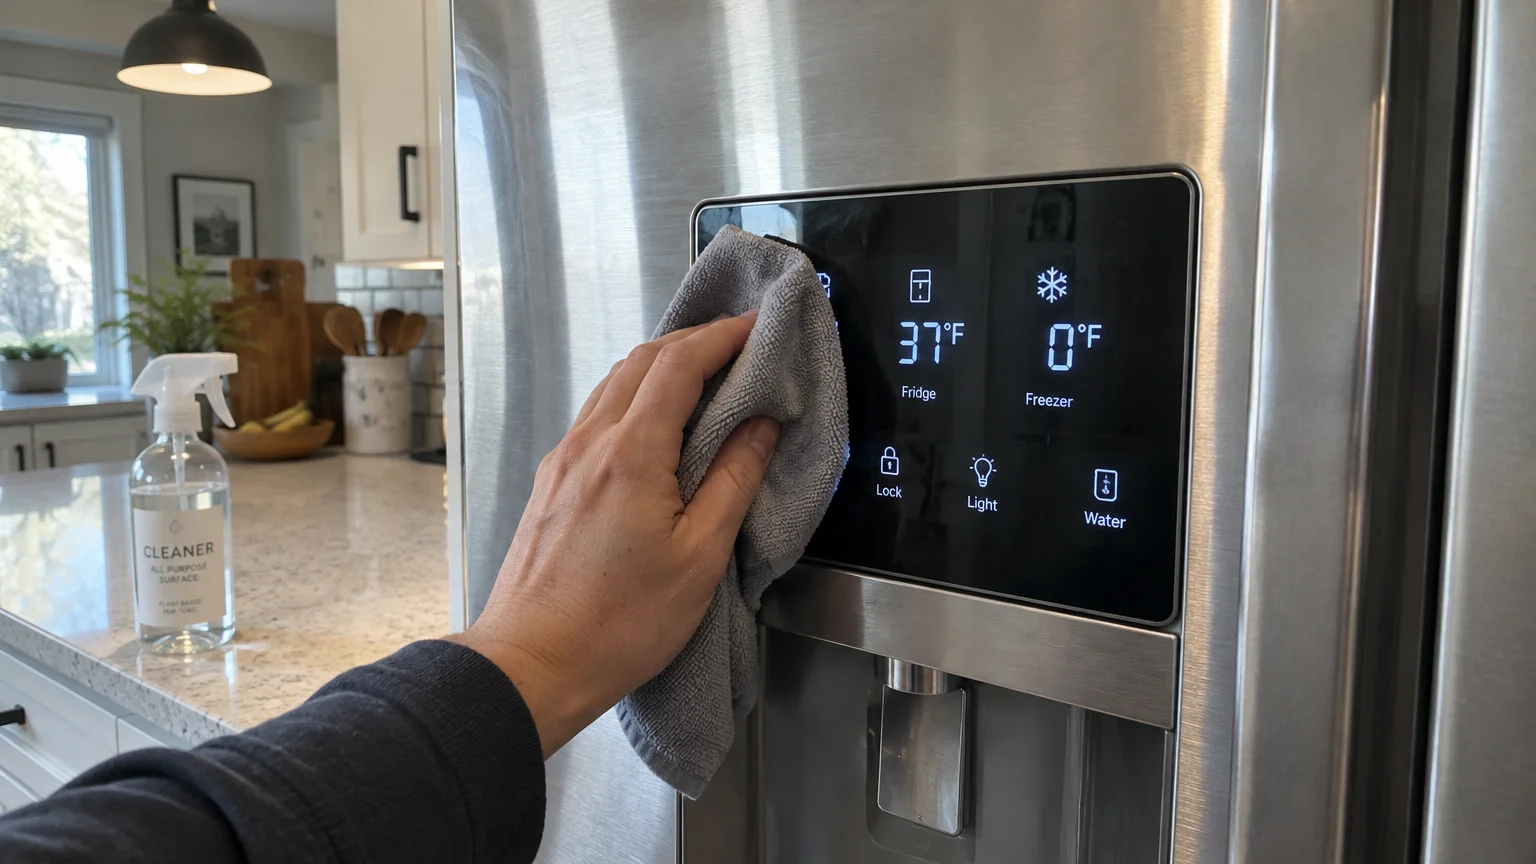
5. Spraying Cleaners Directly onto Electronic Touchpads
Today’s refrigerators feature sophisticated touchscreens, temperature selectors, and digital ice-maker controls. Spraying liquid cleaning solutions directly against these interfaces is a dangerous shortcut.
Excess liquid seeps around the edges of buttons and display bezels, dripping directly onto sensitive printed circuit boards.
Liquid intrusion causes micro-shorts that corrupt digital sensors, trigger erratic error codes, or disable the cooling system entirely. Appliance technicians report that moisture damage accounts for a substantial portion of unnecessary control-board replacements.
Mist your cleaner onto a microfiber cloth rather than onto the appliance itself. Wipe the digital panel with the lightly damp cloth, then buff it dry immediately with a clean towel.
Engage your refrigerator control lock feature before cleaning the panel. This prevents accidental temperature recalibration or water dispenser activation while you wipe the touch sensors.
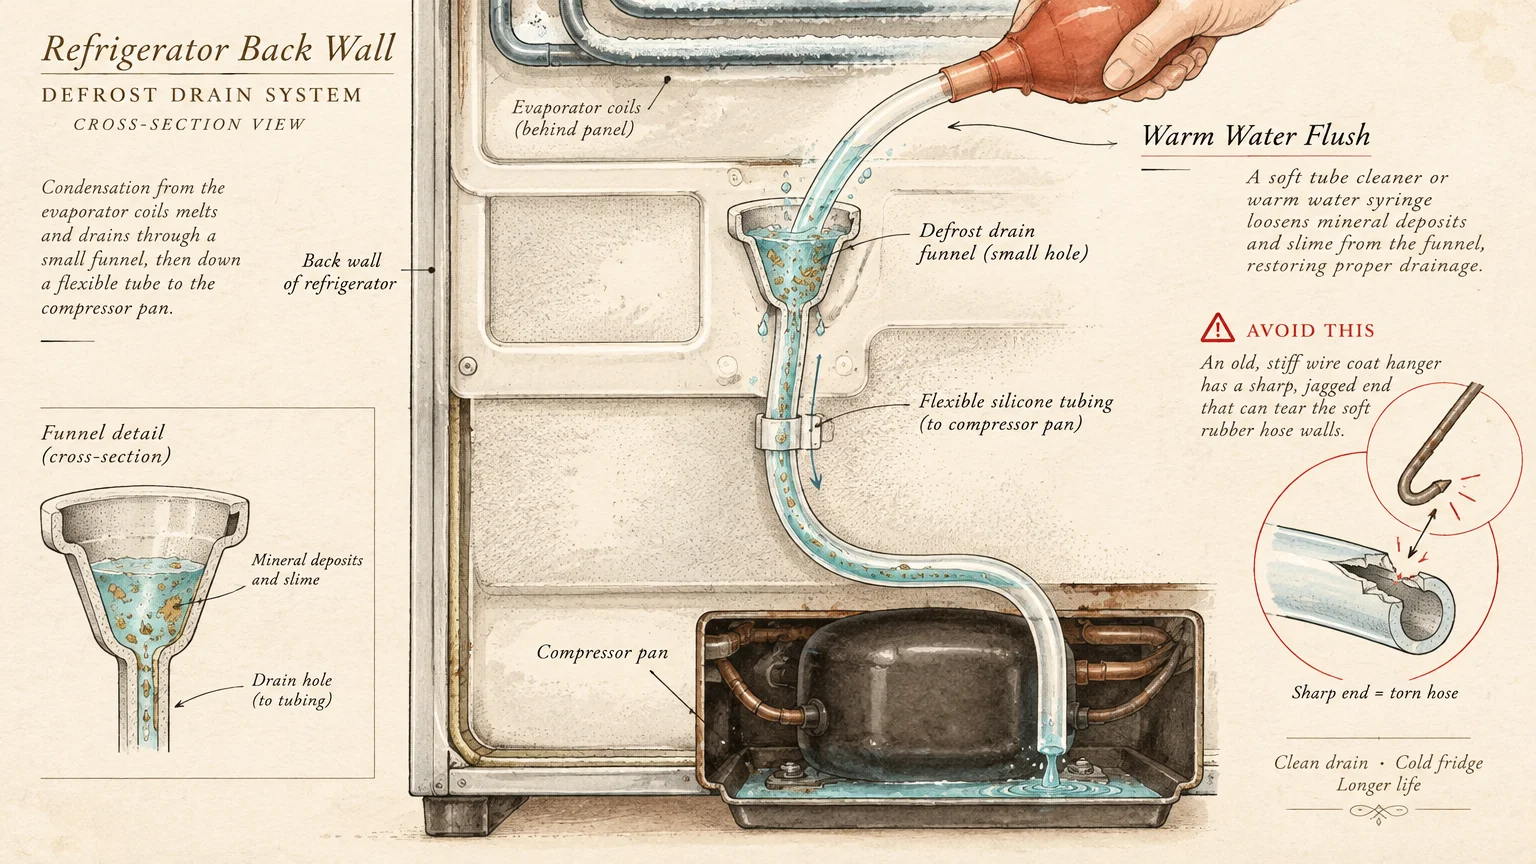
6. Poking Wire Hangers Down the Defrost Drain
The small drain hole at the rear base of your refrigerator or freezer funnels condensation away during automatic defrost cycles. When food crumbs, mold, or dust clog this drain, water pools under the crisper drawers.
Many homeowners attempt to unclog the drain by jabbing rigid wire hangers or metal skewers into the opening. Doing so often punctures the flexible rubber drain tube or disconnects it from the chassis.
A detached drain tube dumps wastewater directly onto internal electrical components and the refrigerator floor frame. Over time, standing water rots the cabinet metal and damages subflooring beneath the appliance.
Clear stubborn drain clogs safely using targeted hydraulic pressure. Gentle flushing clears biological sludge without puncturing soft plastic lines.
- Locate the drain outlet along the lower rear wall of the cooling compartment.
- Soak up any standing pool water inside the drain trough using a clean sponge.
- Draw warm tap water mixed with baking soda into a standard bulb baster.
- Insert the baster tip firmly into the drain opening and depress the bulb.
- Listen for water trickling into the drip pan below to confirm clearance.
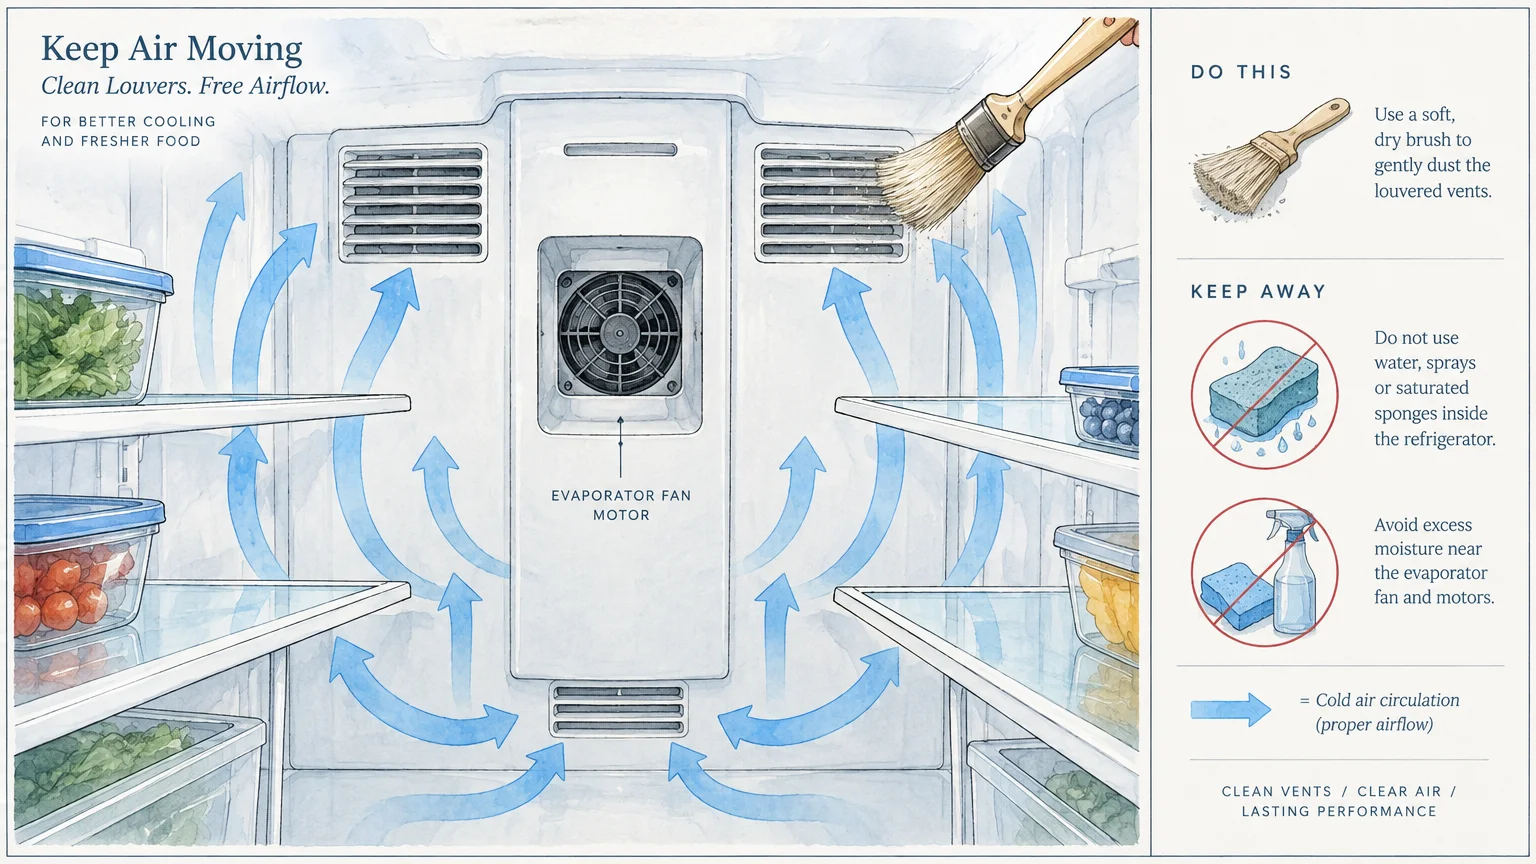
7. Drenching Air Vents and Fan Housings
Interior air louvers circulate chilled air between the freezer and fresh food compartments to balance internal temperatures. Saturating these vents with spray foam cleaners or heavy soapy water creates hidden mechanical hazards.
Runoff water can drip into the evaporator fan housing located directly behind the vent louvers. When the compressor kicks on, moisture freezes around the fan blades, locking the motor and causing it to burn out.
Blocked airflow also creates warm pockets that compromise food safety throughout the fresh food compartment. Maintaining proper airflow ensures your unit stays within safe thresholds.
Consult the USDA Food Safety and Inspection Service refrigeration guide to monitor proper temperatures below 40°F. Clean vent grilles using a dry, soft-bristle brush or a damp, tightly wrung cloth.
8. Scouring Stainless Steel and Liners with Abrasives
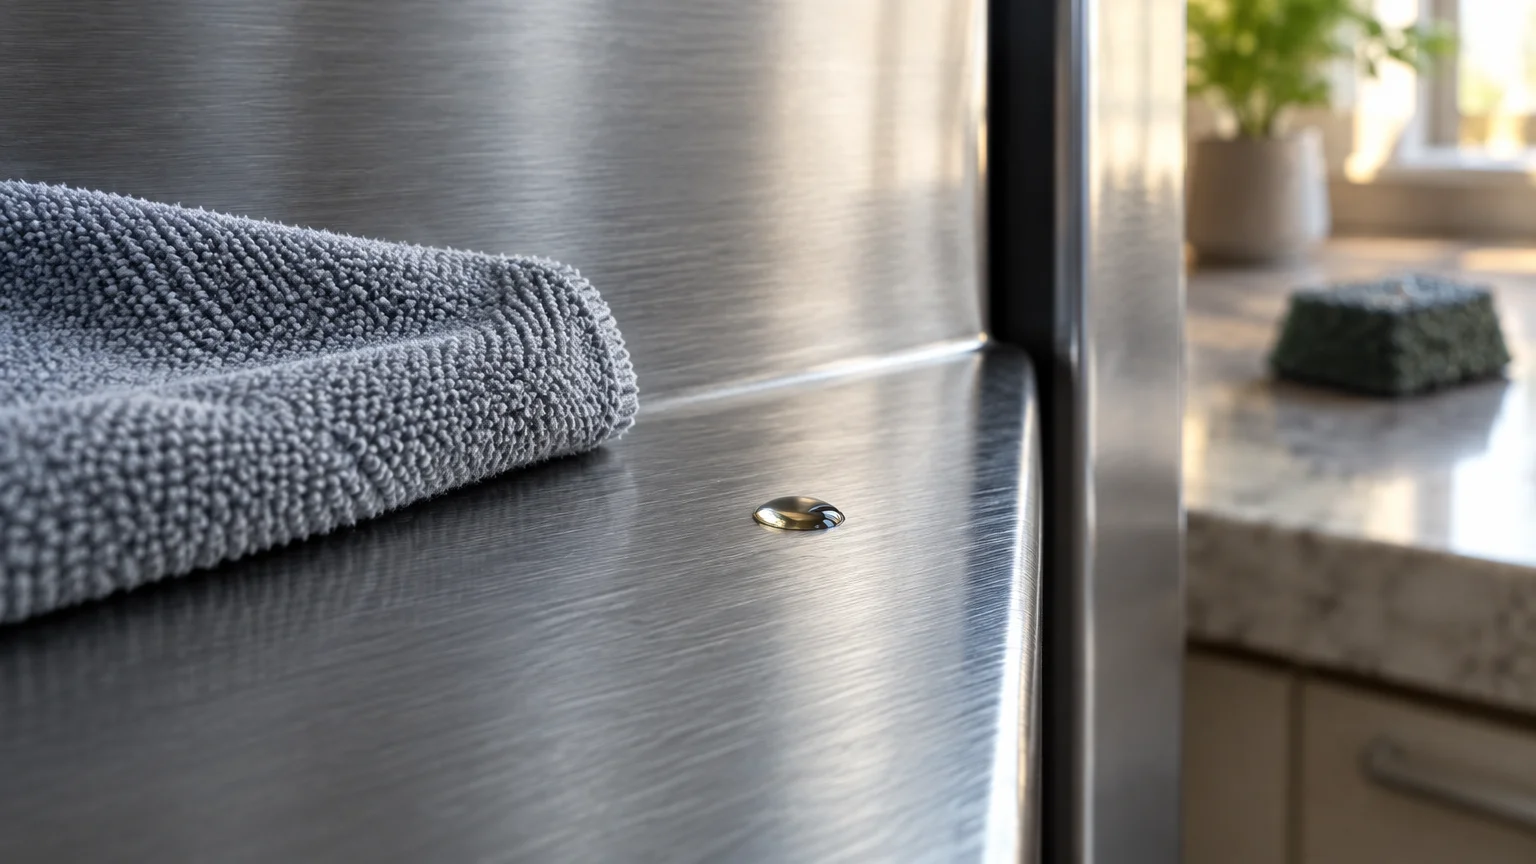
Stainless steel exterior doors and smooth plastic interior liners protect your appliance from corrosion and bacterial contamination. Scrubbing these surfaces with abrasive scour pads, wire wool, or gritty scouring powders strips away vital protective layers.
Abrasive scouring cuts microscopic grooves into the plastic liners; these tiny scratches trap food juices, harbor stubborn odors, and attract mold colonies.
On exterior stainless steel, abrasive pads destroy the factory clear-coat protection and create permanent scratches across the brushed grain. Without that barrier, kitchen moisture and cooking grease cause premature rust spots to develop across the doors.
Use non-abrasive microfiber cloths and pH-neutral cleaners for both interior and exterior surfaces. Plain baking soda dissolved in warm water provides gentle cleaning power without scratching sensitive finishes.
Always wipe stainless steel doors in the direction of the horizontal brushed grain. Wiping across the grain forces dirt particles into the microscopic grooves, dulling the finish over time.
9. Ignoring the Condensation Drain Pan
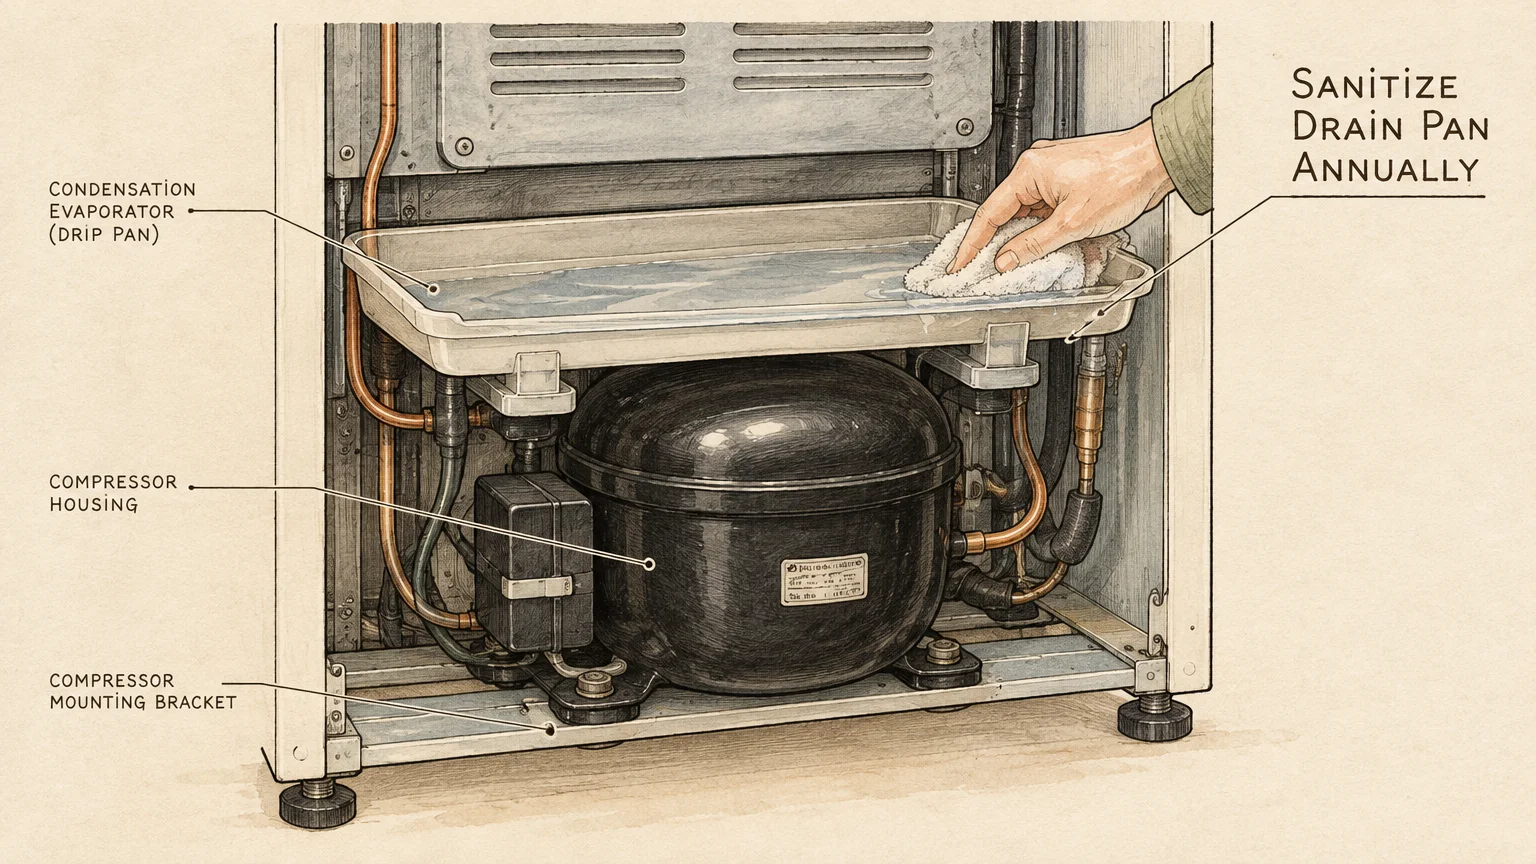
Beneath your refrigerator sits an evaporator drip pan designed to catch defrost runoff, where condenser heat evaporates the standing water. Over time, this dark, warm pan accumulates mineral scale, pet dander, and thick sludge.
Neglecting this pan leads to stagnant odors, microbial growth, and eventual overflow onto your flooring. Furthermore, thick sludge can corrode the exterior edges of the condenser fan housing located nearby.
When mineral scale coats the surrounding metal, rust spreads quickly to structural brackets and electrical grounding screws. Inspecting this area twice a year prevents catastrophic floor damage and cabinet rot.
Slide out the drip pan once or twice a year, or access it from the lower rear panel. Wash the pan thoroughly with warm water, mild soap, and a splash of white vinegar to prevent future fungal growth.
10. Overlooking Water Filter Housings and Dispenser Lines
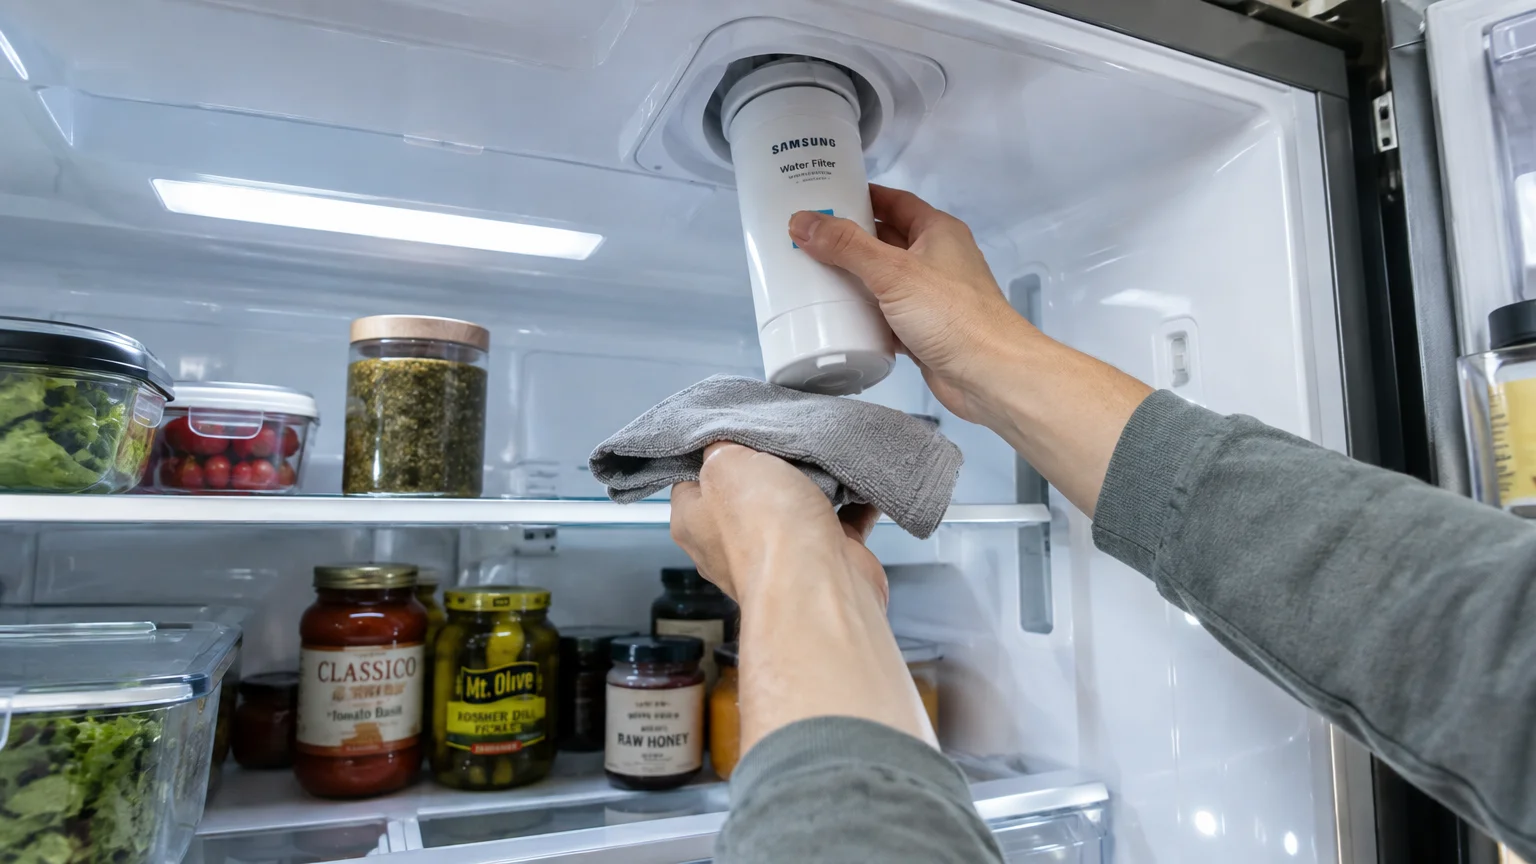
The internal water filter and dispenser mechanism require delicate handling during seasonal cleanings. Many people wipe the exterior nozzle but neglect the internal filter housing and sediment screen.
According to manufacturer specifications from GE Appliances maintenance resources, mineral scale inside unmaintained housings stresses inlet solenoid valves. When these valves stick open due to debris, pressurized water leaks continuously behind the unit.
Furthermore, failing to purge air through newly installed filters causes pressure surges that can crack plastic filter manifolds. Water leaks from cracked housings often go unnoticed for months, rotting cabinetry and subfloors.
Always flush fresh water through the lines whenever you replace internal filtration parts. This simple procedure prevents mechanical stress throughout your entire water delivery system.
- Shut off the water supply valve behind the refrigerator before changing the filter.
- Twist out the expired filter cartridge and inspect the housing for mineral grit.
- Wipe the internal threads clean using a dry microfiber cloth.
- Lock the new cartridge into place and reopen the water supply valve.
- Dispense three continuous gallons of water to purge air pockets and loose carbon fines.
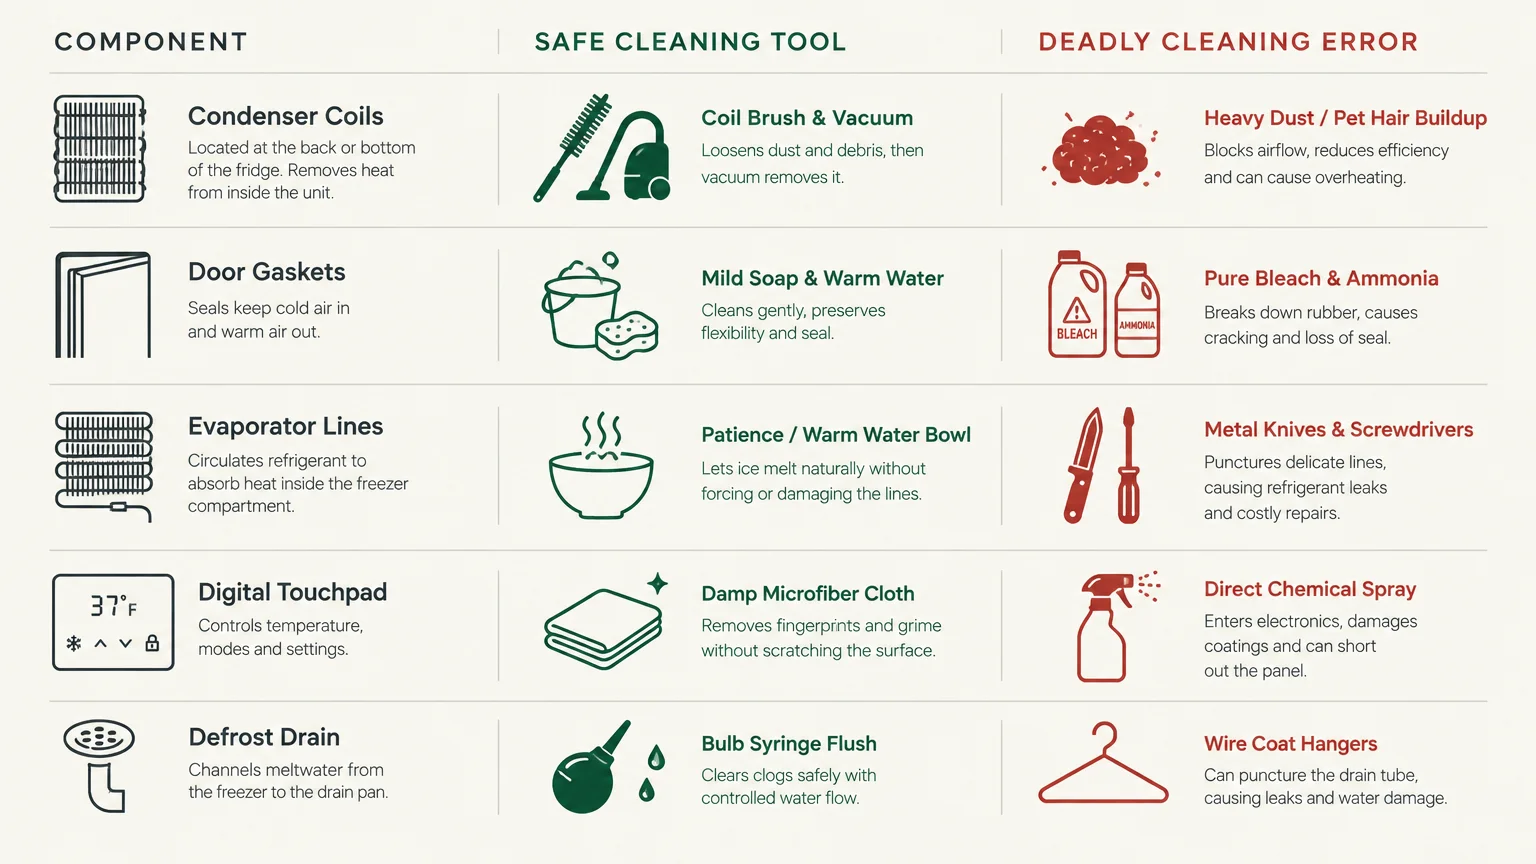
Essential Refrigerator Component Care Matrix
To simplify your routine, match each refrigerator component with its approved cleaning agent, tool, and service frequency.
| Component | Approved Cleaner | Ideal Tool | Frequency | Mistake to Avoid |
|---|---|---|---|---|
| Condenser Coils | None (dry only) | Coil brush & vacuum | Every 6 months | Wetting coils with liquid spray |
| Door Gaskets | Mild dish soap & water | Microfiber cloth | Monthly | Using bleach or ammonia sprays |
| Glass Shelving | Warm water & baking soda | Soft sponge | As needed | Washing cold glass with hot water |
| Digital Touchpads | Distilled water mist | Microfiber cloth | Weekly | Spraying cleaners directly on controls |
| Defrost Drain | Warm water & baking soda | Plastic bulb baster | Twice yearly | Poking opening with wire hangers |
| Evaporator Drip Pan | Dish soap & white vinegar | Nylon scrub brush | Twice yearly | Allowing mold sludge to overflow |
Following these targeted cleaning parameters prevents chemical erosion and ensures your appliance operates at peak efficiency.
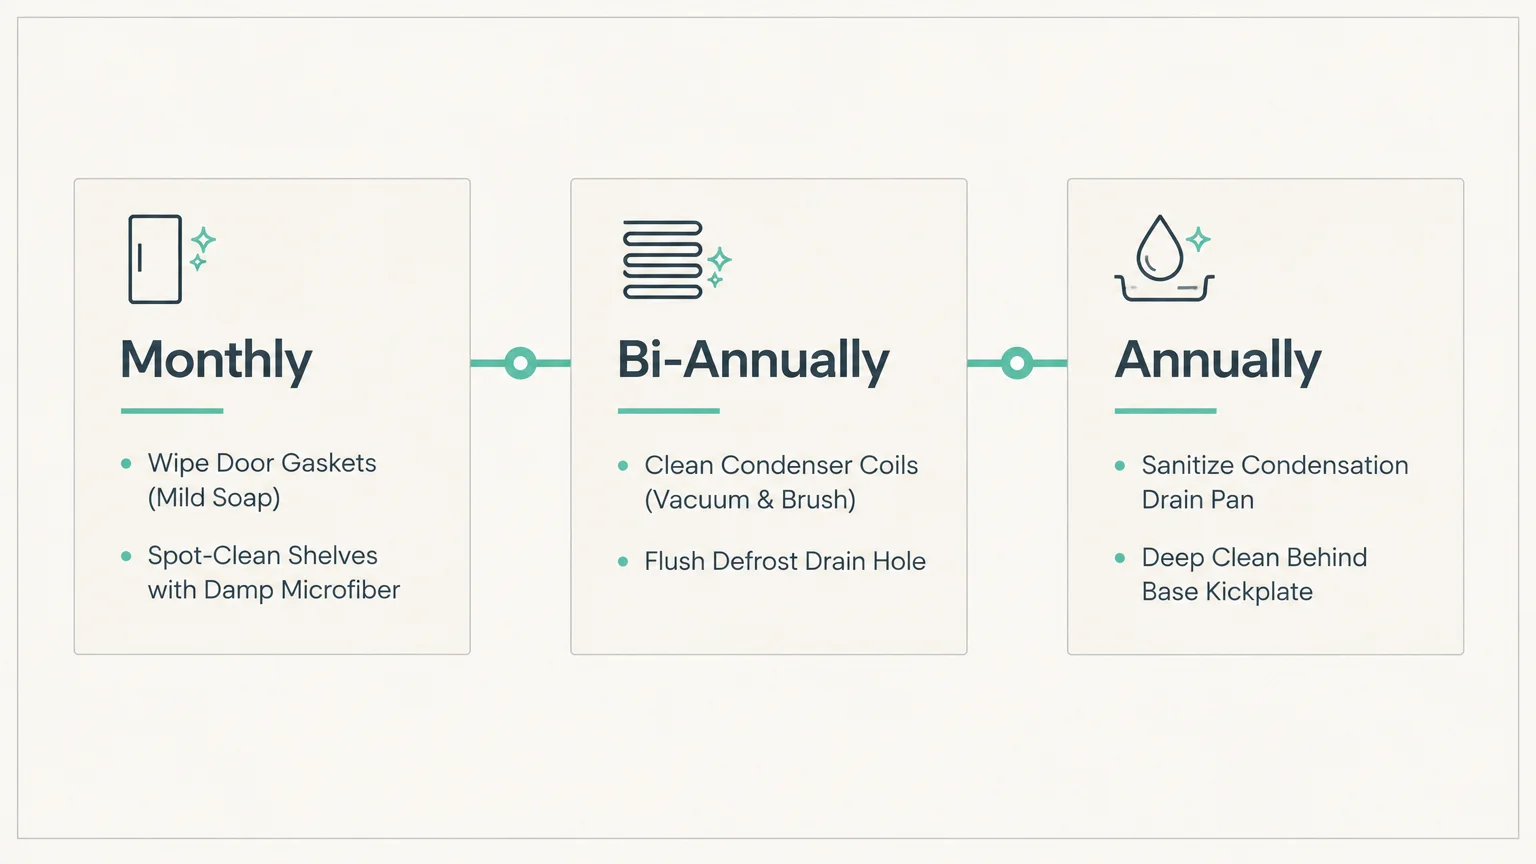
A Simple Schedule for Long-Term Fridge Health
Establishing a realistic cadence prevents cleaning refrigerator coils and sanitizing gaskets from feeling overwhelming. Splitting maintenance into small seasonal tasks protects your appliance without monopolizing your weekend.
Monthly Routine
Inspect door seals for stray crumbs or sticky spills that cause physical tearing during daily opening and closing. Wipe spills immediately with warm, soapy water to keep seals pliant and clean.
Quarterly Routine
Check the defrost drain hole and wipe down interior air circulation vents with a damp cloth. Replace your water filter every six months, or whenever your indicator light signals reduced flow.
Biannual Routine
Pull the refrigerator away from the wall, vacuum the condenser coils thoroughly, and rinse the evaporator drip pan. Inspect the water supply line behind the unit for stiffness, kinks, or hairline cracks.

Practical Next Steps for Today
Pick one manageable task today to start extending your refrigerator’s operational life. Grabbing a flashlight to inspect your lower condenser coils or door seals takes less than two minutes.
If you see dust buildup or sticky residue, clean that single area before tackling larger tasks next weekend. Consistent, gentle care keeps your kitchen running smoothly and spares your wallet from premature appliance replacement.