Transforming an overcrowded pantry into an efficient, organized storage hub saves you thousands of dollars each year and eliminates daily cooking friction. When pantry shelves turn into dark, chaotic catchalls, grocery shopping becomes guesswork and staple ingredients quietly spoil in back corners. Instead of enduring falling boxes, forgotten cans, and duplicate purchases, recognizing the key warning signs lets you reclaim control over your kitchen. A full pantry organization overhaul restores visual order, safeguards food safety, and simplifies meal preparation for everyone in your household. Here are the seven unmistakable signs your pantry needs reorganizing, along with proven, actionable methods for starting fresh with pantry organization.
1. You Keep Buying Duplicate Ingredients You Already Own
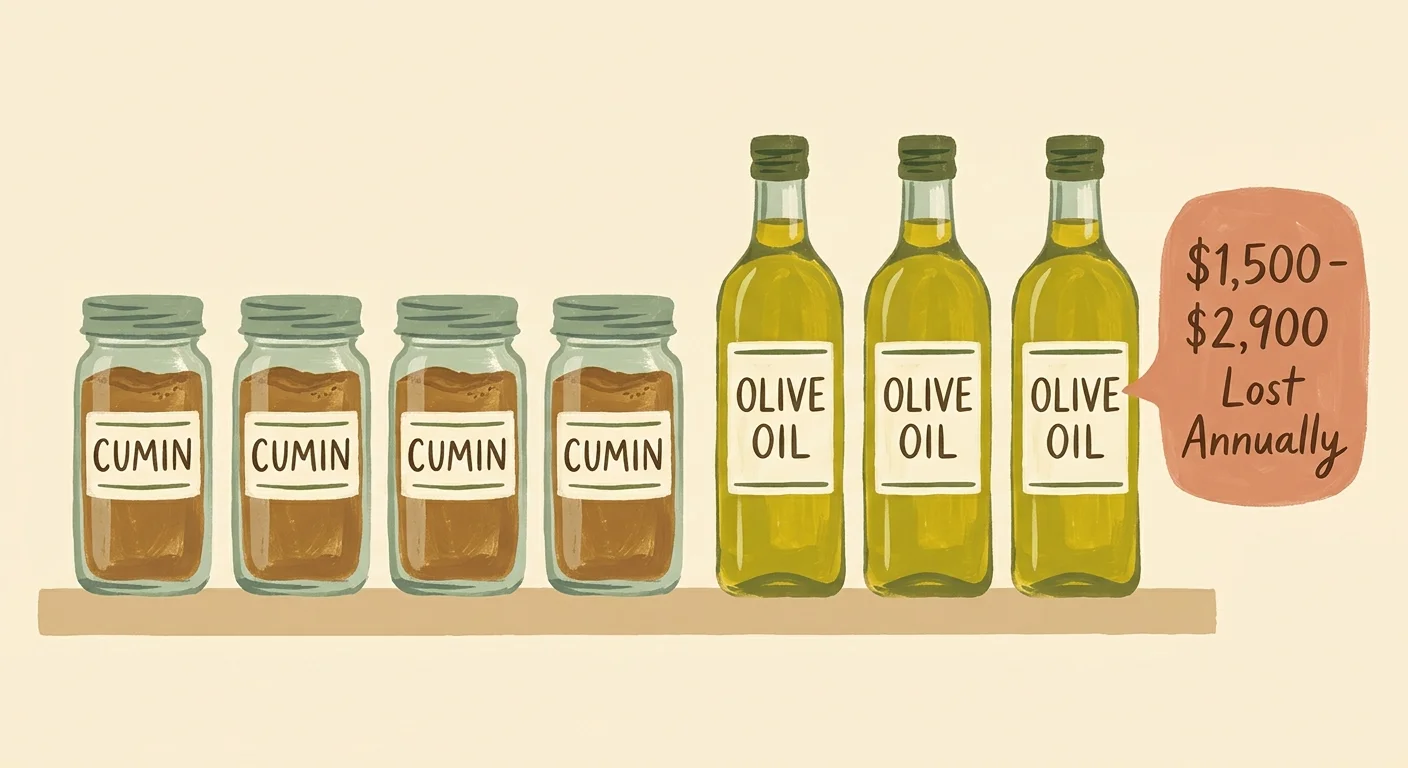
Opening your cabinet to discover four identical jars of ground cumin or three open bottles of olive oil indicates an immediate breakdown in your storage system. When items lack designated, visible homes, your brain cannot register your existing inventory before you head to the grocery store. You default to purchasing duplicates “just in case,” wasting money and cramming more clutter onto already strained shelves.
According to research from the U.S. Environmental Protection Agency (EPA), an average American family of four loses between $1,500 and $2,900 annually on uneaten, discarded food. Poor pantry visibility drives a substantial portion of this financial loss. The U.S. Department of Agriculture (USDA) similarly estimates that 30% to 40% of the entire national food supply goes uneaten, making household food waste the single largest component filling municipal landfills.
When you cannot take a five-second visual scan of your staples, you consistently overspend. Establishing dedicated zones for grains, oils, baking supplies, and seasonings stops this cycle immediately; you buy only what you genuinely need.
2. Mystery Jars and Expired Cans Dominate the Back Corners
If reaching into the depths of your lower shelves yields dusty cans with illegible dates or separated sauces from three moves ago, your pantry requires a complete reset. Deep, unlit shelves act as black holes where dry goods migrate to be forgotten.
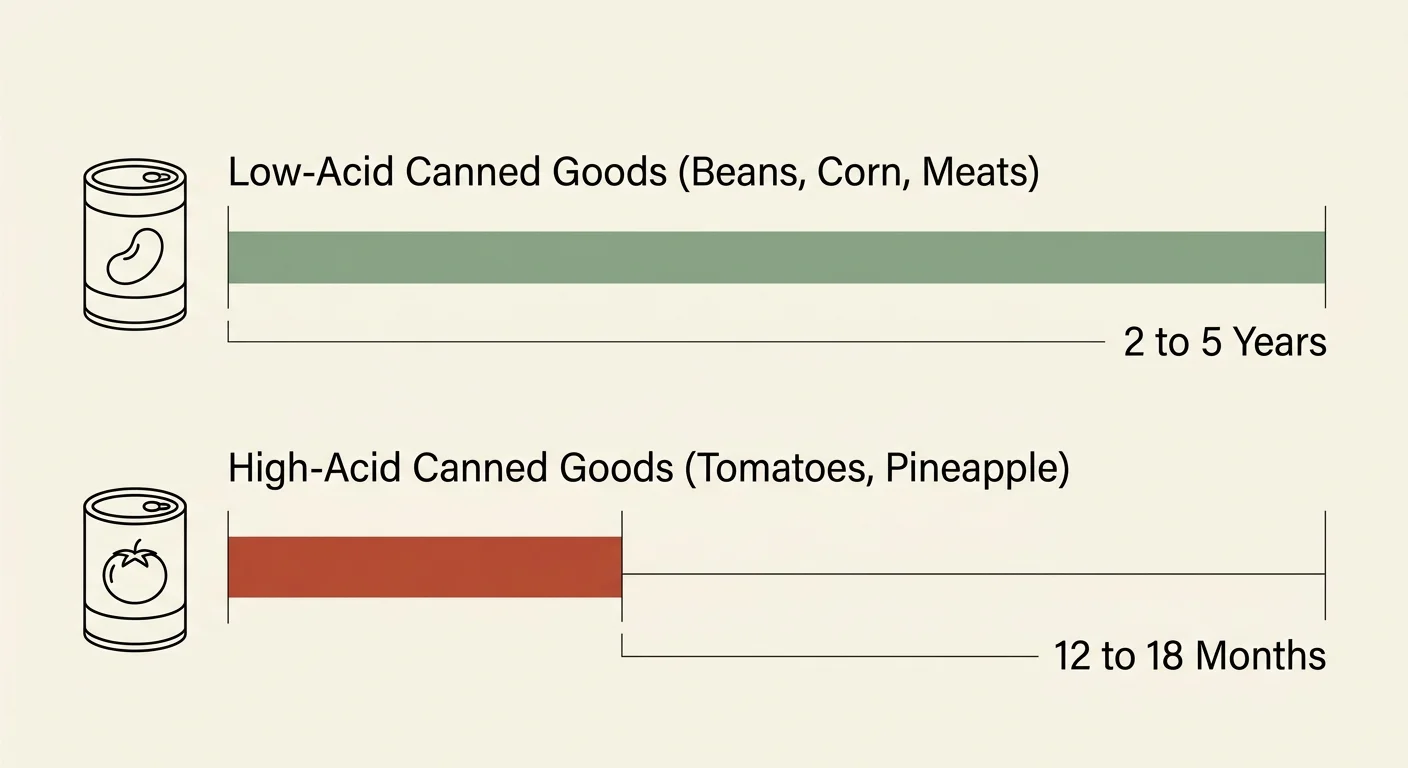
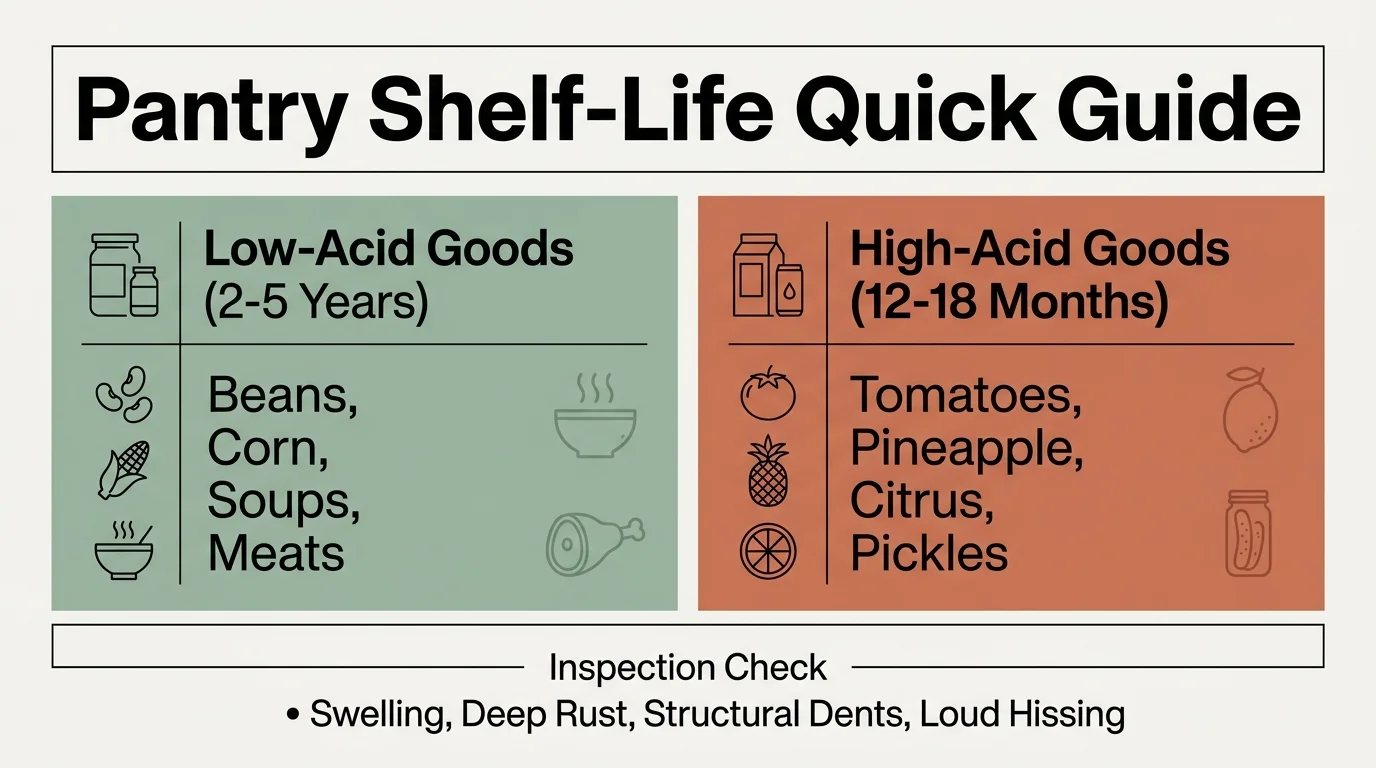
Many homeowners misunderstand standard package date labels. Guidance from the USDA Food Safety and Inspection Service (FSIS) clarifies that, with the exception of infant formula—which is the only food product legally mandated by federal law to carry a hard expiration date—dates like “Best if Used By” refer to peak quality and flavor, not immediate microbial danger. However, canned items do not last indefinitely. The USDA FSIS establishes clear benchmarks for canned shelf-life:
- Low-acid canned goods: Items such as canned beans, corn, soups, potatoes, and meats retain optimal quality for 2 to 5 years when stored in cool, dry conditions.
- High-acid canned goods: Acidic foods such as canned tomatoes, pineapple, citrus fruits, and pickled products maintain peak quality for only 12 to 18 months because the natural acids gradually degrade the can lining.
Discard any cans showing swelling, deep rust, structural dents along the top or side seams, or contents that hiss loudly and release odors upon opening. Clearing out these degraded items creates immediate breathing room for fresh groceries.
3. Preparing Dinner Triggers an Avalanche of Falling Boxes
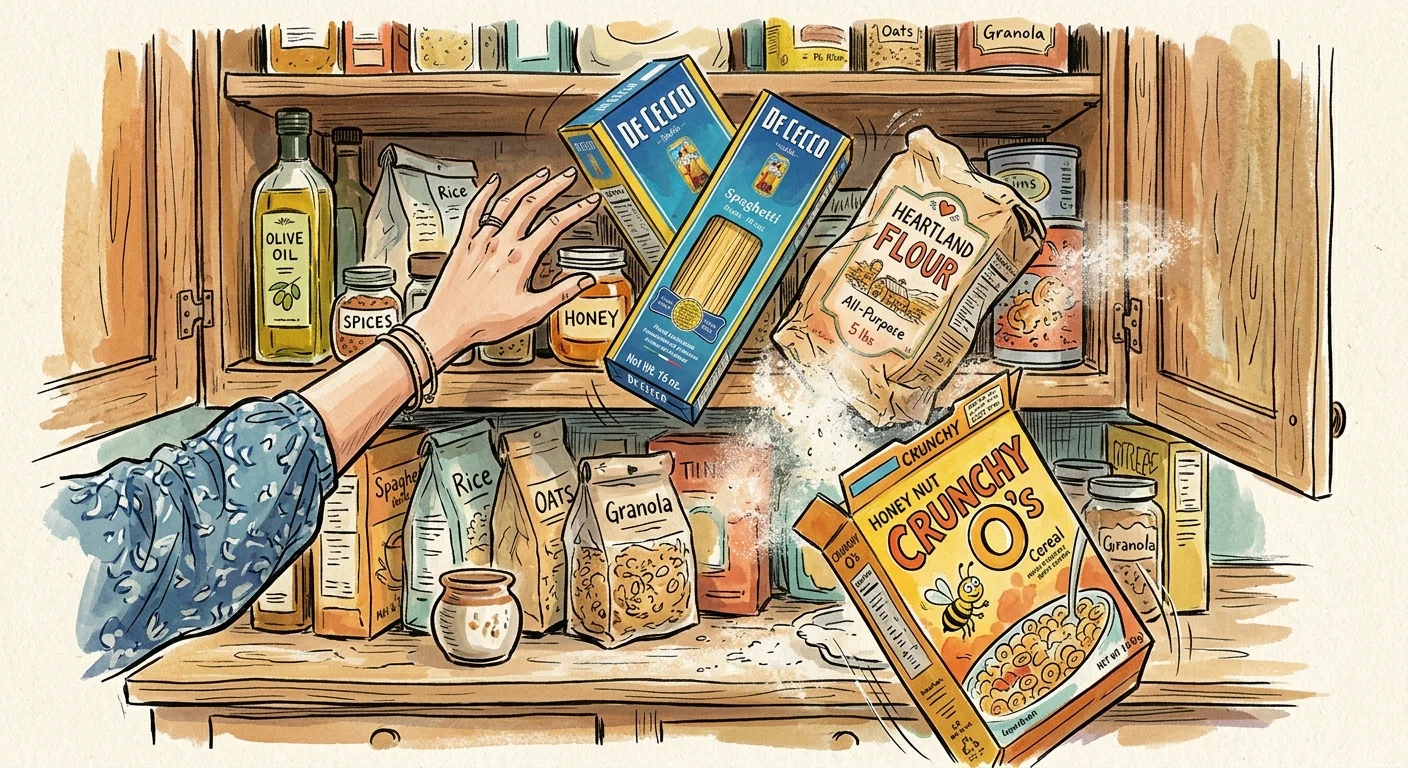
A functional pantry supports effortless daily cooking. If pulling out a box of pasta causes an avalanche of snack bags, spice jars, and loose seasoning packets, your storage structure has failed. Stacking items on top of one another creates constant physical frustration and introduces genuine safety risks, especially for older adults or anyone managing chronic joint pain.
Piles accumulate when shelves lack vertical dividers, bins, or tiered risers. Boxes get wedged into gaps sideways, bags tear open, and loose ingredients scatter across shelf liners. A well-executed pantry decluttering and reset eliminates hazardous balancing acts by establishing broad, single-layer categories where every item rests securely on a flat surface or within a stable, slide-out bin.
4. You Notice Webbing, Fine Powder, or Unwelcome Pantry Pests
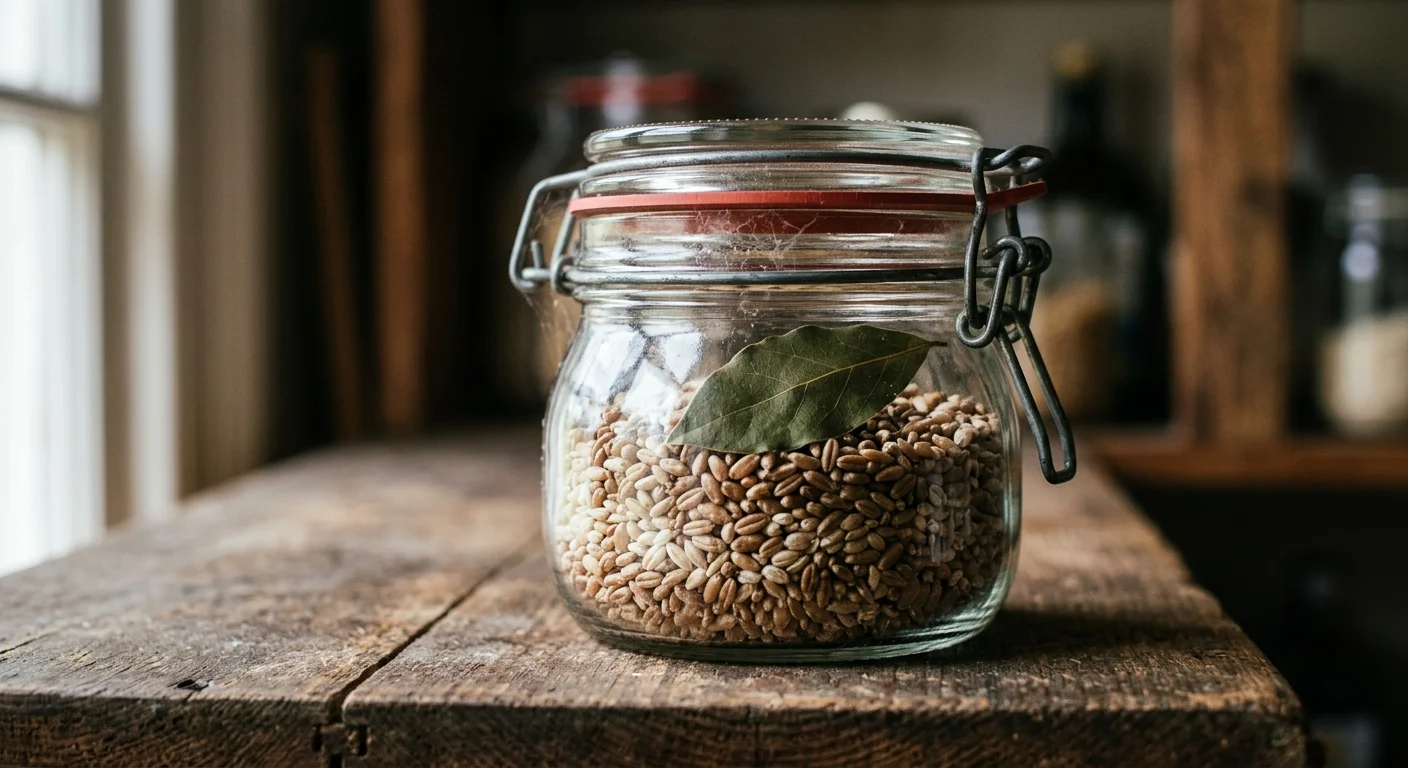
Finding fine webbing in the corners of cereal boxes, tiny pinholes in flour sacks, or small beetles crawling inside grain containers signals an active pest problem that requires immediate intervention. Common invaders like Indianmeal moths and grain weevils exploit unsealed paper and cardboard packaging, rapidly spreading across entire shelves.
Pantry pests thrive in dark, warm, and humid environments. The USDA recommends storing dry staples between 50°F and 70°F (10°C to 21°C) in dry, well-ventilated areas. Temperatures exceeding 70°F and elevated humidity accelerate insect egg incubation and spoilage. When you spot signs of pests, you cannot simply throw away one box; you must perform a comprehensive purge, wash the walls and shelves thoroughly with warm soapy water, and transition all vulnerable dry grains into airtight, heavy-duty glass or BPA-free plastic containers.
5. You Cannot Locate Essential Items in Five Seconds or Less
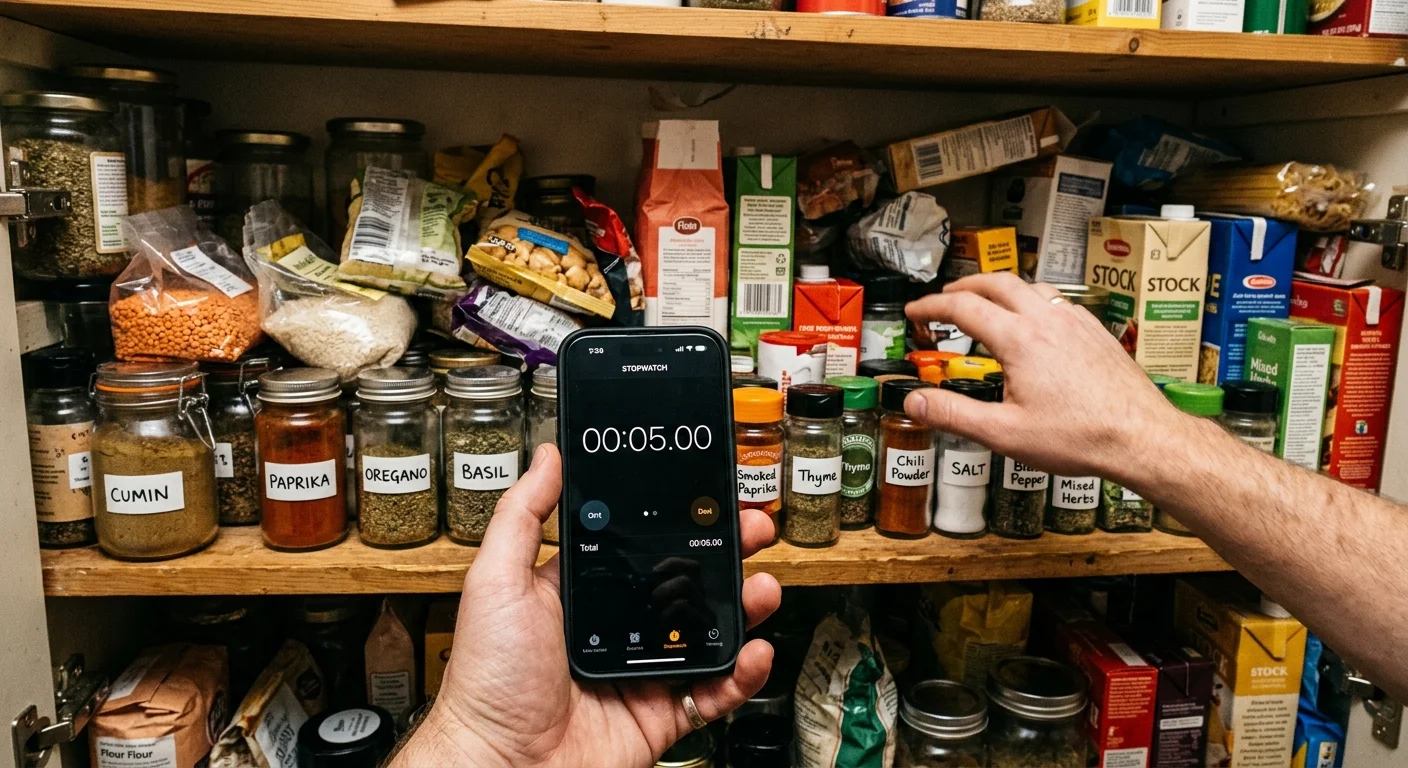
Apply the “Five-Second Rule” of kitchen organization: you should be able to locate and access any frequently used staple within five seconds of opening the door. If you must move three rows of items, use a flashlight, or dig blindly through deep shelves to find chicken stock or olive oil, your workflow is broken.
Deep shelves (often 18 to 24 inches) are notorious culprits. Without organizational aids, they encourage “front-loading,” where newly purchased items sit directly in front of older items. Implementing shallow bins, clear pull-out baskets, or rotating lazy Susans brings buried items directly into your line of sight, preventing unnecessary searches and kitchen bottlenecks.
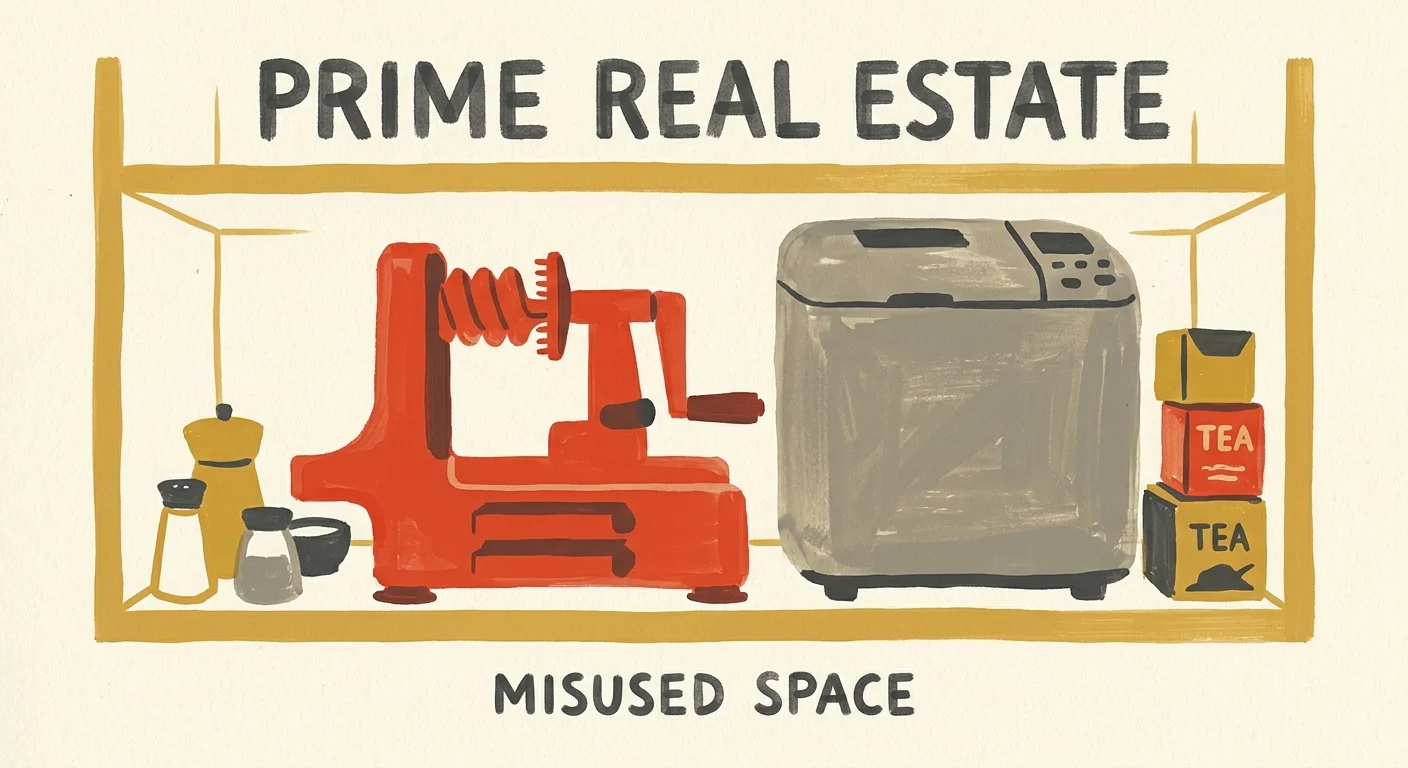
6. Specialty Gadgets and Discarded Packaging Steal Prime Real Estate
Take an honest inventory of what sits at eye level in your pantry. If your most accessible, convenient middle shelves hold an oversized bread maker you use once a year, empty takeout containers, or stacks of spare plastic bags, your zoning requires realignment.
Pantry real estate falls into distinct ergonomic tiers:
- Prime Zone (Eye to Waist Level): Reserve this space exclusively for daily cooking staples, weekly snacks, breakfast essentials, and frequently used cooking oils.
- Secondary Zone (Knee Level down to the Floor): Place heavy, bulky items here, including gallon jugs of vinegar, large pet food bins, root vegetables in ventilated crates, and extra canned goods.
- Tertiary Zone (Above Eye Level to the Ceiling): Store lightweight, rarely used items such as seasonal baking pans, specialty holiday platters, and paper goods.
Relocating bulky kitchen appliances to secondary storage areas instantly frees up the working heart of your pantry for food items you consume every day.

7. Meal Planning and Cooking Feel Draining Instead of Simple
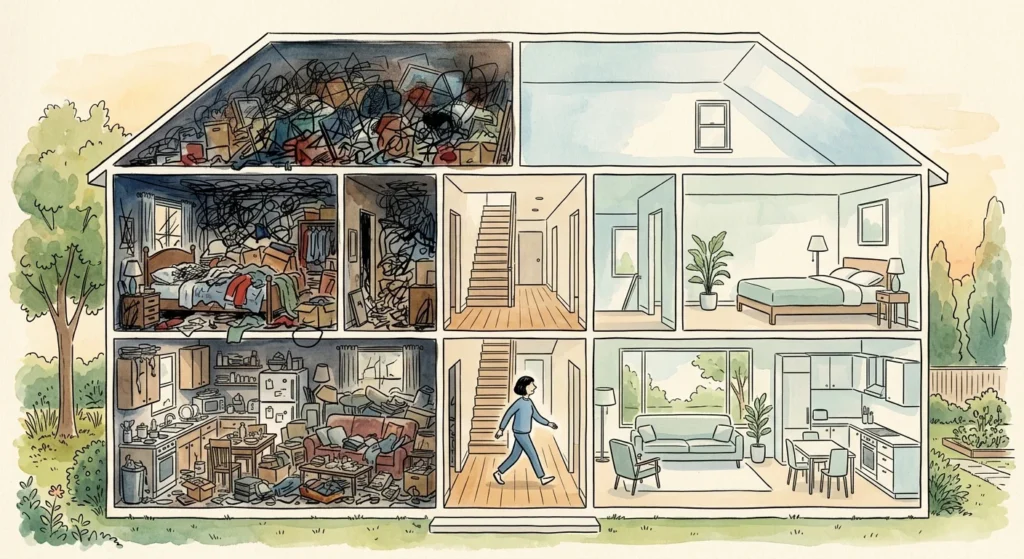
Physical clutter generates cognitive overload. When your pantry looks disordered, planning dinner feels like an exhausting chore before you even turn on the stove. You open the door, feel overwhelmed by the visual noise, and default to ordering expensive takeout because you cannot tell what meals you can actually assemble from your shelves.
A tidy, structured pantry inspires cooking. Seeing neatly grouped ingredients—whole grains in clear jars, pasta varieties grouped together, broths aligned in rows—makes menu planning effortless. A complete pantry reset transforms cooking from a stressful scavenger hunt into a smooth, satisfying routine.
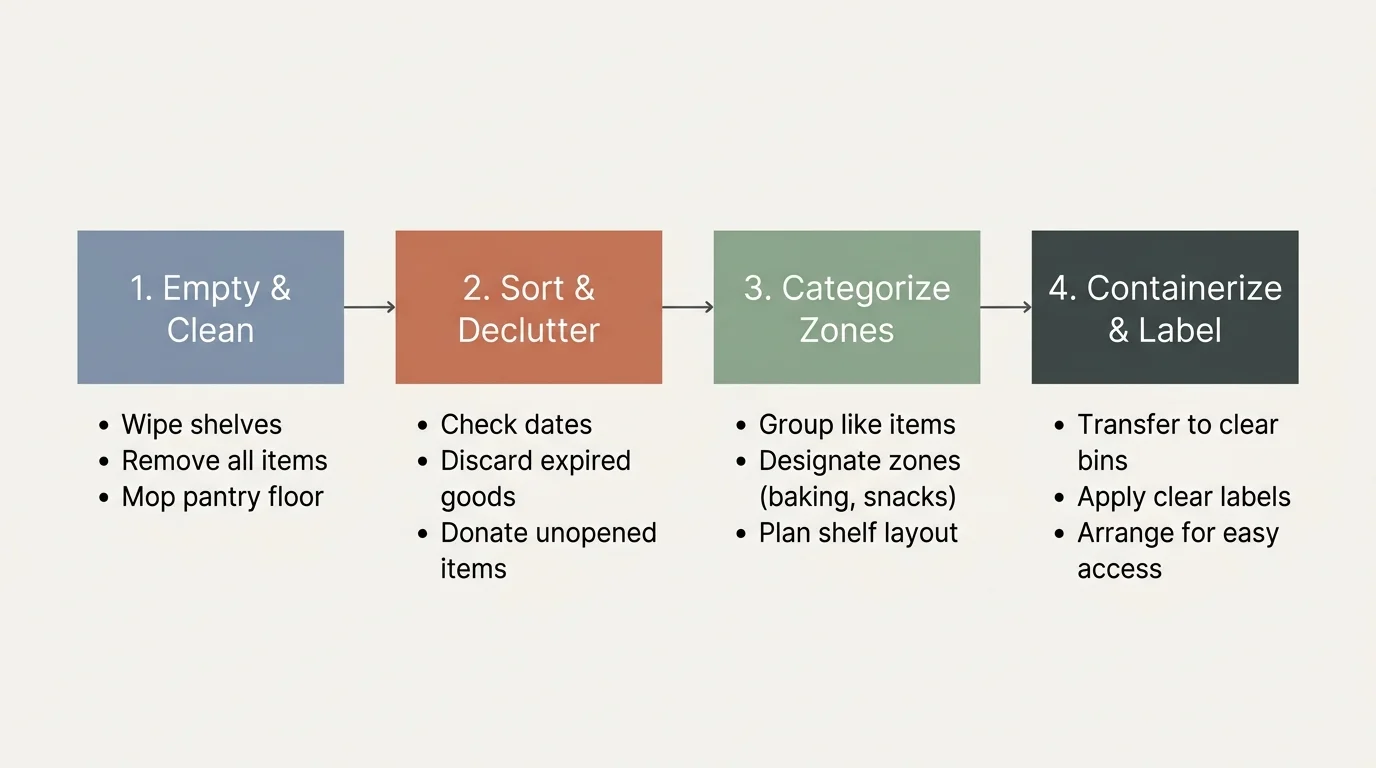
Step-by-Step System for a Full Pantry Overhaul
Executing a pantry reset does not require professional organizers or expensive custom cabinetry. Follow this systematic, five-step method to clear out the chaos and build a sustainable system.
- Empty Every Single Item: Clear off your kitchen counters and dining table, then remove 100% of your pantry contents. Do not skip this step; organizing shelf-by-shelf while items remain in place hides clutter and prevents thorough cleaning.
- Clean and Disinfect Surfaces: Vacuum all crumbs, loose grains, and dust from shelf corners. Wipe down every shelf using warm water and mild dish soap or a 50/50 water-and-white-vinegar solution. Let shelves dry completely before reloading.
- Sort, Inspect, and Purge: Group items on your counters into categories (baking, grains, canned vegetables, sauces, snacks). Inspect every package. Compost or discard items past their safe usability window, swollen cans, and pest-compromised boxes. Place unopened, unexpired items you will not eat into a donation box for a local food pantry.
- Decant Vulnerable Staples: Transfer flour, sugar, rolled oats, white rice, and cereal into airtight, pest-proof containers. Affix clear labels to the front and note the date of purchase or expiration on the bottom using a piece of painter’s tape or a dry-erase marker.
- Reload by Strategic Zones: Place grouped categories back into your pantry according to ergonomic zones. Keep high-use items front and center, utilizing clear bins and tiered risers to maintain neat rows.
Pantry Shelf-Life and Storage Reference Table
Use this reference table to evaluate your staples during your reset, based on guidelines from the USDA and the Food and Drug Administration (FDA).
| Food Category | Optimal Storage Lifespan | Key Storage Guidelines | Signs of Spoilage / Degradation |
|---|---|---|---|
| Low-Acid Canned Foods (Beans, soups, corn, meats) | 2 to 5 Years (Unopened) | Store between 50°F and 70°F in a dry space away from direct heat sources. | Swollen ends, heavy rust, dents along seams, sour odors, or spurting liquid when opened. |
| High-Acid Canned Foods (Tomatoes, pineapple, pickles) | 12 to 18 Months (Unopened) | Keep in cool conditions; acid slowly degrades the inner protective lining over time. | Can bulging, dark discoloration of the fruit/vegetable, metallic taste, or pinhole leaks. |
| Whole Grains & White Rice | 1 to 2 Years (Airtight) | Transfer out of thin bags into airtight glass or rigid plastic containers. | Musty or sour odors, visible weevils, webbing, or clumping from moisture. |
| Whole Wheat Flour & Specialty Flours | 3 to 6 Months (Pantry) / 1 Year (Freezer) | Natural grain oils oxidize quickly; freeze backup bags to extend freshness. | Sharp, bitter, or Play-Doh-like rancid smell; fine powder clumps on packaging. |
| Cooking Oils (Olive, Vegetable, Canola) | 6 to 12 Months (Unopened) / 3 to 5 Months (Opened) | Store away from the stove, oven, and direct sunlight in dark glass or tin bottles. | Cloudiness with unpleasant, stale, or paint-like odor; sticky residue around the cap. |
| Ground Spices & Dried Herbs | 1 to 2 Years (Ground) / 2 to 3 Years (Whole) | Keep away from steam and heat; avoid shaking jars directly over steaming pots. | Faded color, total lack of aroma when rubbed between your fingers, caking into solid rock. |
| Dried Beans & Legumes | 1 to 2 Years (Optimal Cooking) | Safe indefinitely if kept dry, but older beans take significantly longer to soften. | Insect damage, mold, or extreme skin wrinkling that resists softening during cooking. |
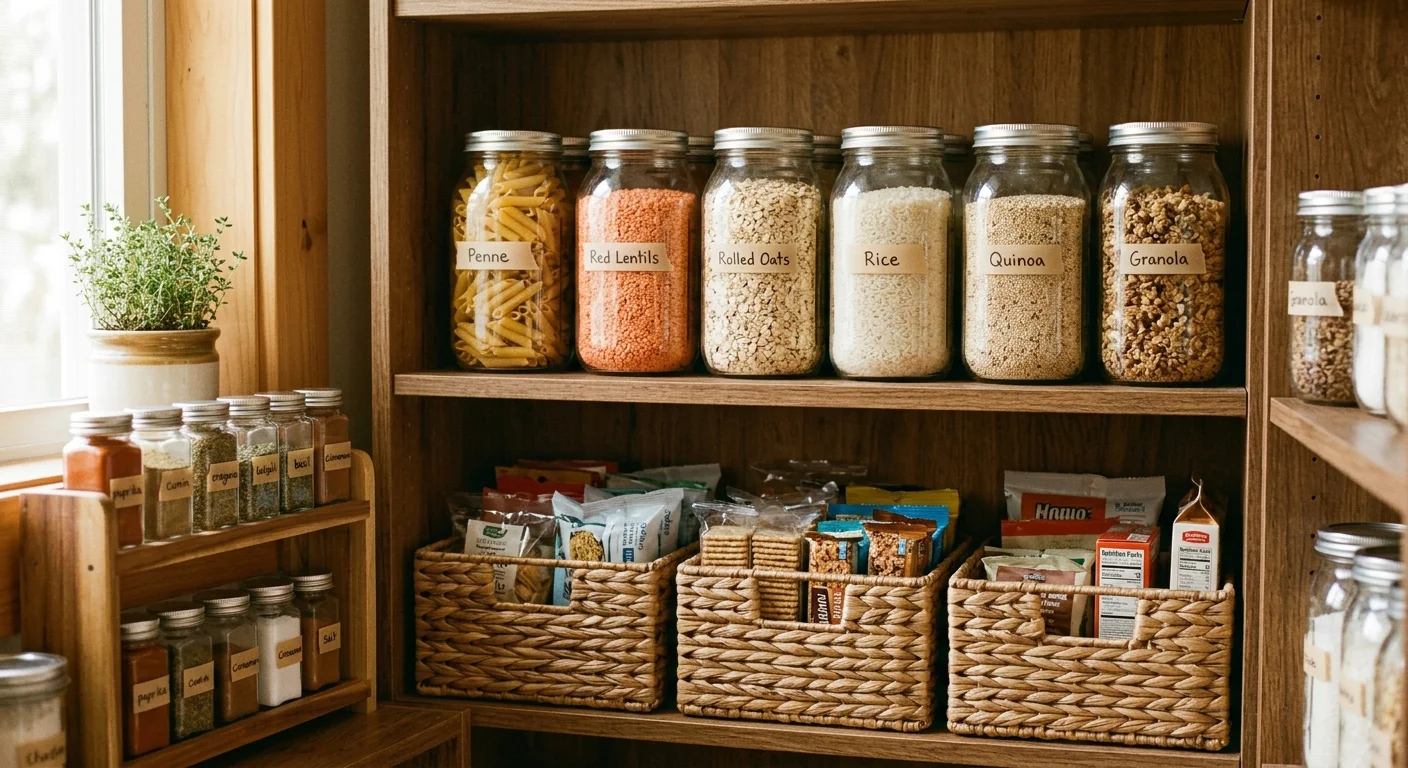
Smart Pantry Organization Reset Ideas
Once you clear out expired goods, use these targeted storage solutions to keep your pantry organized long after your initial cleanup.
Incorporate 3-Tier Shelf Risers
Never lose a can behind a box again. Tiered stadium risers elevate the back rows of canned goods, broths, and spice jars, providing instant visibility across your entire inventory without requiring you to move a single container.
Utilize Turntables for Bottles and Condiments
Corner shelves often become wasted dead space. A 10-inch or 12-inch lazy Susan turntable placed in a shelf corner allows you to access cooking oils, vinegars, soy sauces, and honey with a simple spin, preventing sticky spills and eliminating forgotten bottles.
Standardize Clear Modular Bins
Ditch flimsy commercial packaging for grouped categories like snack bars, tea bags, seasoning packets, and baking goods. Clear plastic bins act like pull-out drawers, allowing you to pull down an entire category, select what you need, and return it effortlessly.
Label Every Container
Labels are not just aesthetic; they establish clear rules for everyone in your household. Clearly labeled containers prevent family members from putting crackers where the rice belongs or confusing bread flour with all-purpose flour.
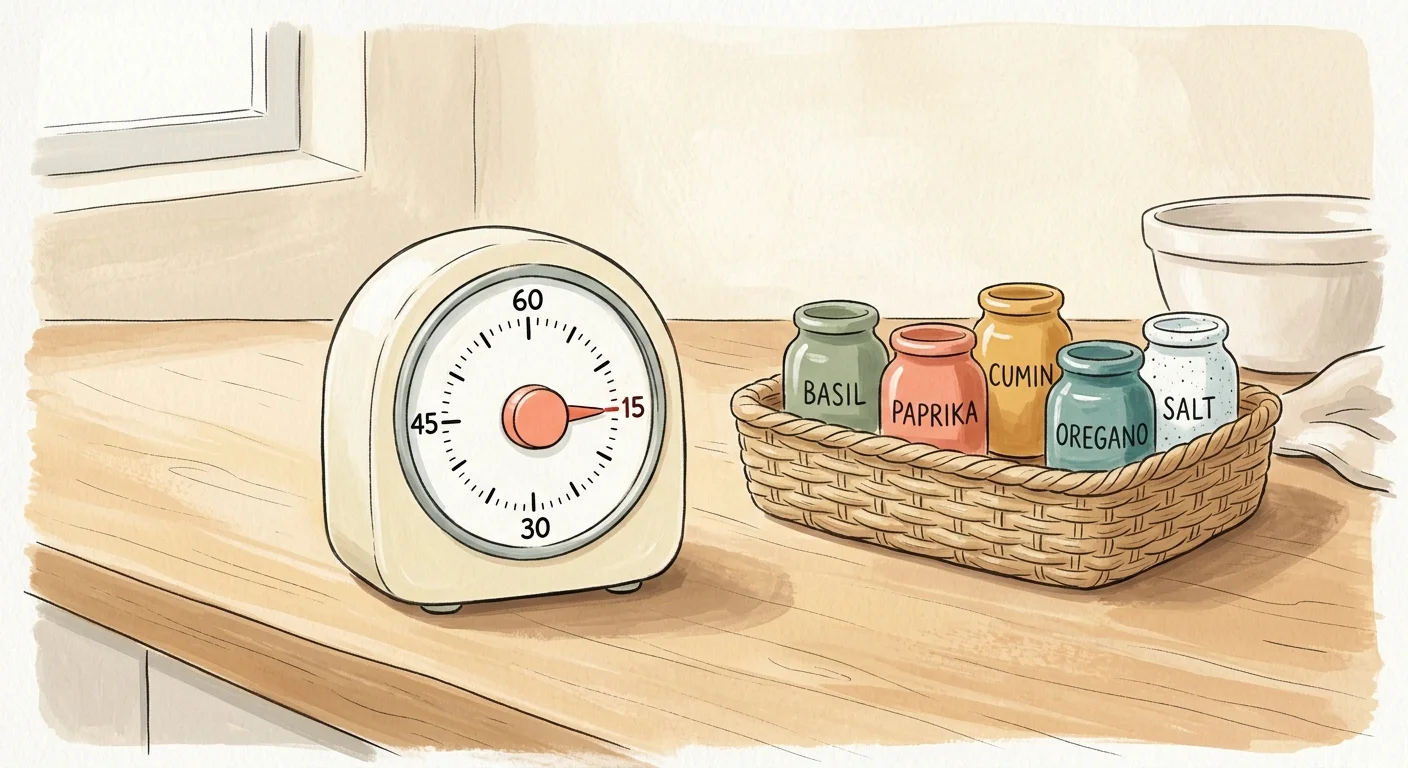
Take Your First 15-Minute Action Step Today
You do not need to spend an entire weekend overhauling your entire kitchen to make meaningful progress. Start today with a focused, 15-minute reset of a single shelf. Choose your most chaotic tier—whether that is your baking supplies, spice shelf, or canned goods rack—empty it completely onto the counter, wipe down the surface, and discard expired staples. Group the remaining items neatly and return them in a clean, single row. Completing this one small victory builds immediate momentum for a complete pantry transformation.