
Decades of living in the same house mean you accumulate an incredible amount of wonderful memories; inevitably, you also accumulate an incredible amount of physical belongings. When you look at an overflowing garage, a packed attic, or a kitchen full of rarely used cooking gadgets, the idea of sorting through it all feels entirely impossible. The boxes of old photographs, the closets stuffed with out-of-style winter coats, and the spare bedrooms acting as storage units can quickly overwhelm your desire to tidy up.
You do not need to tackle your entire house in a single weekend. In fact, attempting a whole-house purge usually leads to physical exhaustion and decision fatigue. The most effective approach for a clean home 60+ is pacing yourself through dedicated, focused sessions. Taking on one space at a time changes the process from an exhausting marathon into a manageable, highly rewarding habit. By choosing to declutter one room week by week, you protect your physical energy, honor your emotional attachments, and make massive, sustainable improvements to your daily living environment.
The Hidden Health and Safety Benefits of Clearing Your Space
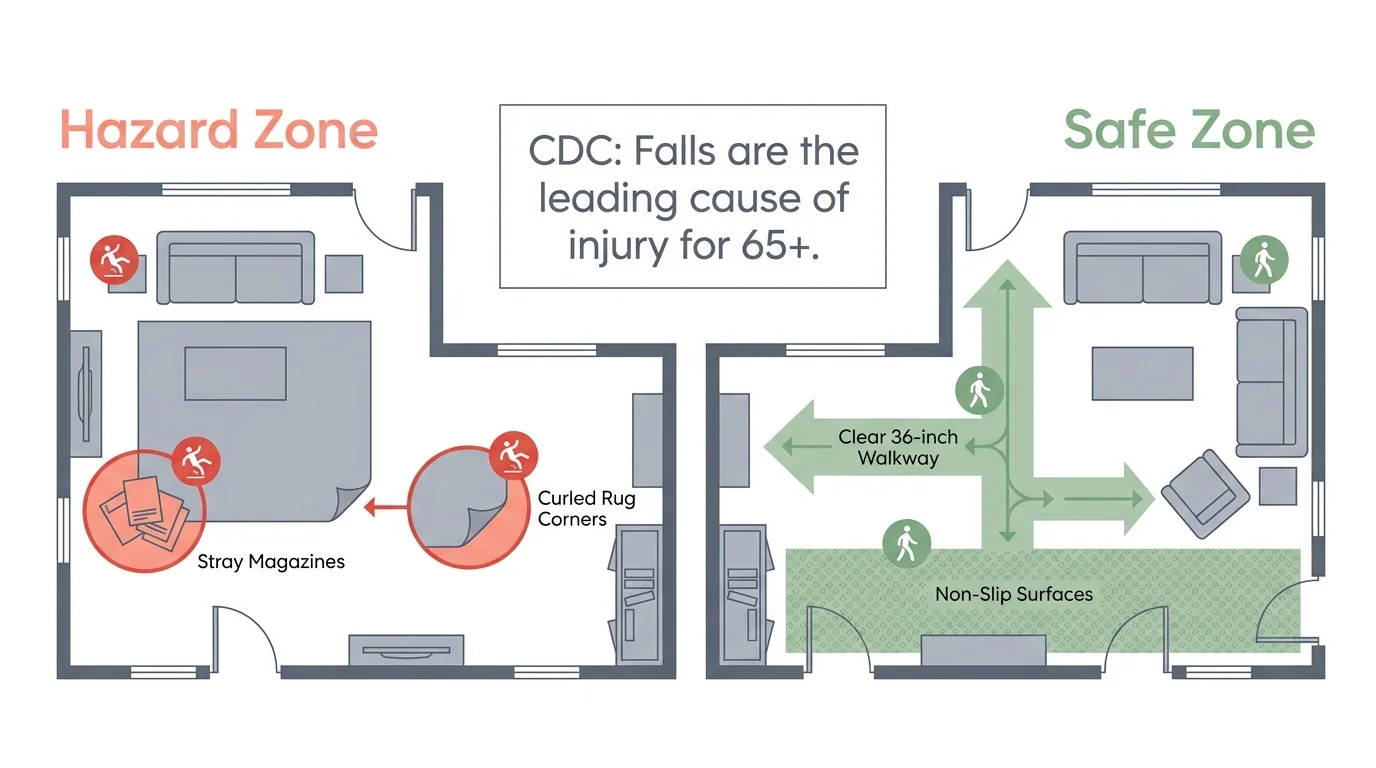
Letting go of excess belongings provides massive, tangible benefits for your physical safety and your overall mental well-being. According to the Centers for Disease Control and Prevention (CDC), falls remain the leading cause of fatal and non-fatal injuries for adults aged 65 and older. A cluttered home drastically increases your fall risk. Piles of stray magazines, scattered shoes, and crowded, narrow walkways force you to navigate dangerous obstacle courses in your own living room. Clearing your floors creates safe, wide pathways for walking—and ensures plenty of clearance if you ever need to use mobility aids like canes or walkers.
Physical clutter also traps dust, pet dander, and mold. As we age, our respiratory systems become more vulnerable to these hidden irritants. Simplifying your flat surfaces makes dusting, sweeping, and vacuuming significantly easier; removing these environmental triggers promotes better breathing and deeply improved sleep. Furthermore, persistent visual clutter constantly demands your brain’s attention. Research links messy, chaotic environments to increased levels of cortisol, a primary stress hormone. When you reduce the sheer volume of items demanding your visual attention, you immediately lower your baseline anxiety and restore a sense of peaceful control over your home.
Establishing the Rules of the Slow Declutter Plan
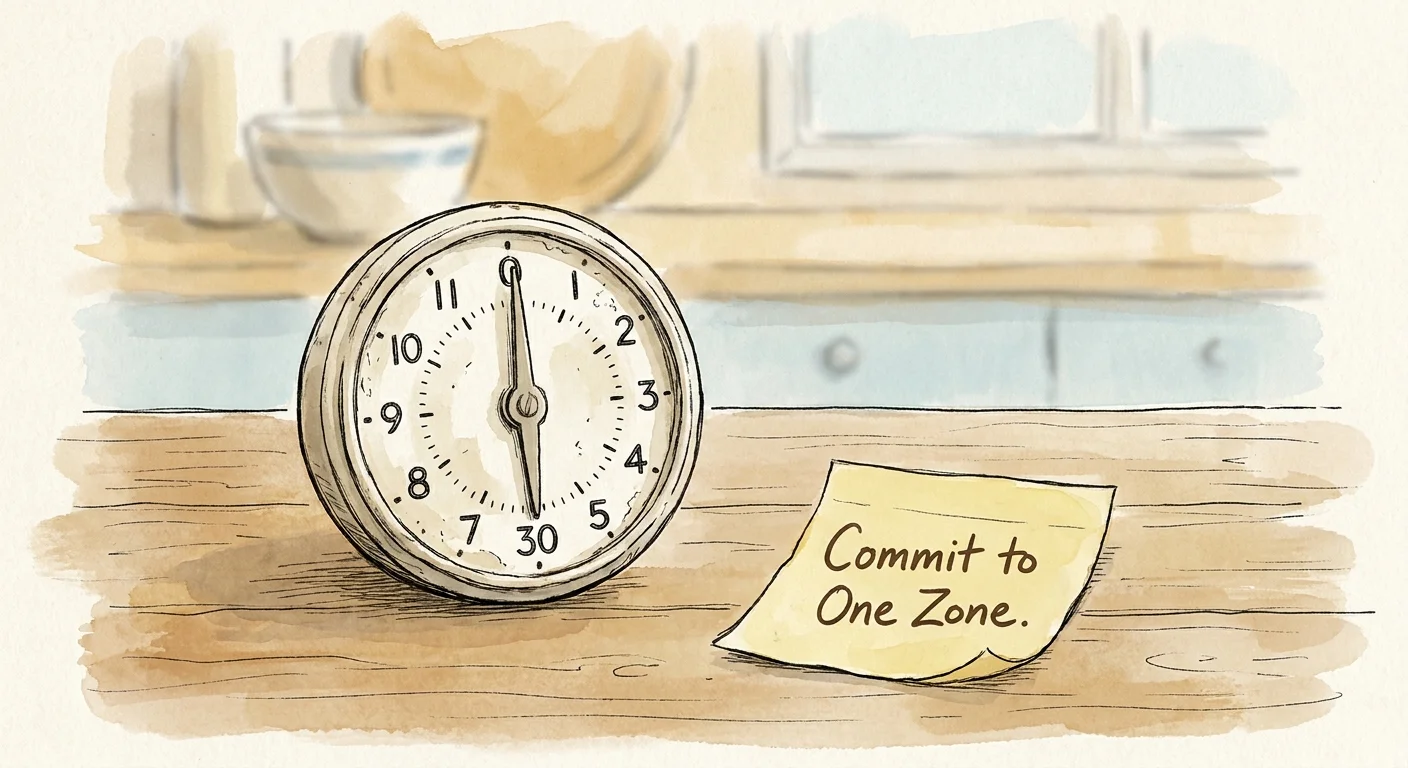
A slow declutter plan thrives on strict boundaries. Without rules, you risk tearing apart three different rooms, running out of energy, and living in a chaotic construction zone for a month. You must commit to a single room—or even just one specific zone within a larger room—for seven days. You do not move to the next area until the current one is entirely finished. If you finish your target zone early, you simply rest and enjoy the reclaimed space.
First, always set a physical timer. Work for just 30 to 45 minutes at a time. When the timer rings, you stop, no matter where you are in the sorting process. This prevents the muscle soreness and joint stiffness that follows hours of bending and lifting. Second, do not buy organizing bins until the very end of the process. You cannot organize clutter; you can only eliminate it. Once you know exactly what items you are keeping, you can purchase the appropriate containers to house them. Finally, keep your daily routine intact. The ultimate goal is to weave this clearing process into your normal life seamlessly without turning your house upside down.
Overcoming Common Emotional Roadblocks
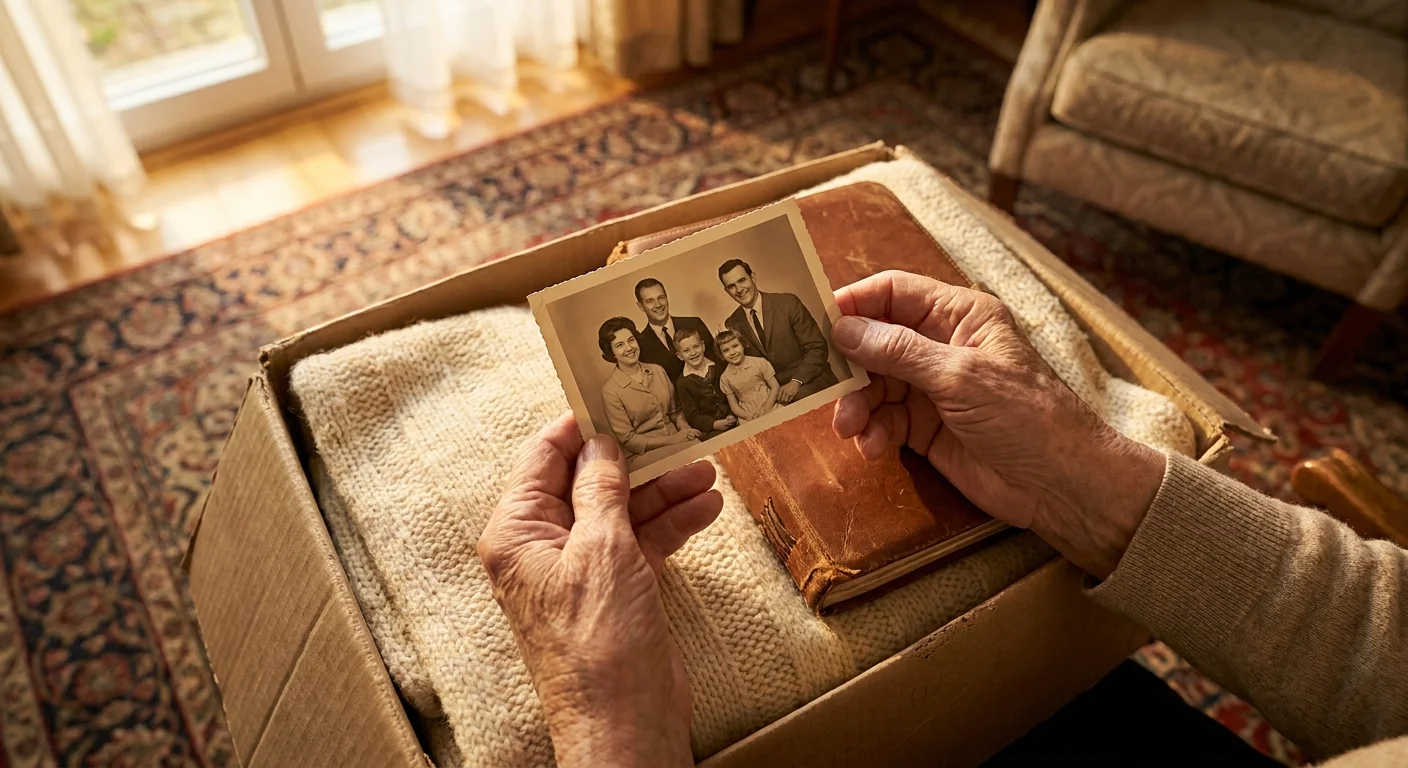
Sorting through decades of family history frequently brings up heavy emotions. You will inevitably uncover your children’s old elementary school projects, inherited china cabinets, and thoughtful gifts from friends long gone. Give yourself permission to feel nostalgic, but recognize that keeping an object hidden away in a dark, dusty box in the basement does not actually honor the memory.
Many older adults struggle with the “Someday Syndrome”—holding onto an old bread maker or specialized gardening tools because you imagine a future where you suddenly take up these hobbies. If you have not touched an item in the past twelve months, you do not need it. The physical space it occupies in your home is vastly more valuable than the remote possibility you might use it again.
You may also battle the obligation of gifts. A relative gave you an ornate crystal vase ten years ago, and you actively dislike it, yet you keep it displayed solely out of guilt. A gift serves its true purpose the moment it is given and received with gratitude. Once the exchange concludes, the item belongs to you, and you have complete authority to pass it along to someone who will genuinely love it. True friends want you to live in a comfortable, safe environment, not a museum of unwanted obligations.
Your Step by Step Declutter Strategy for Every Room
No matter which room you tackle, you need a consistent, reliable methodology. Follow this step by step declutter process to eliminate confusion and maintain your momentum:
- Start with Trash and Recycling: Bring a large, heavy-duty black trash bag into the room. Throw away obvious garbage first—expired coupons, broken electronics, dried-out pens, empty bottles, and torn packaging. This instantly creates visible progress and frees up space to work.
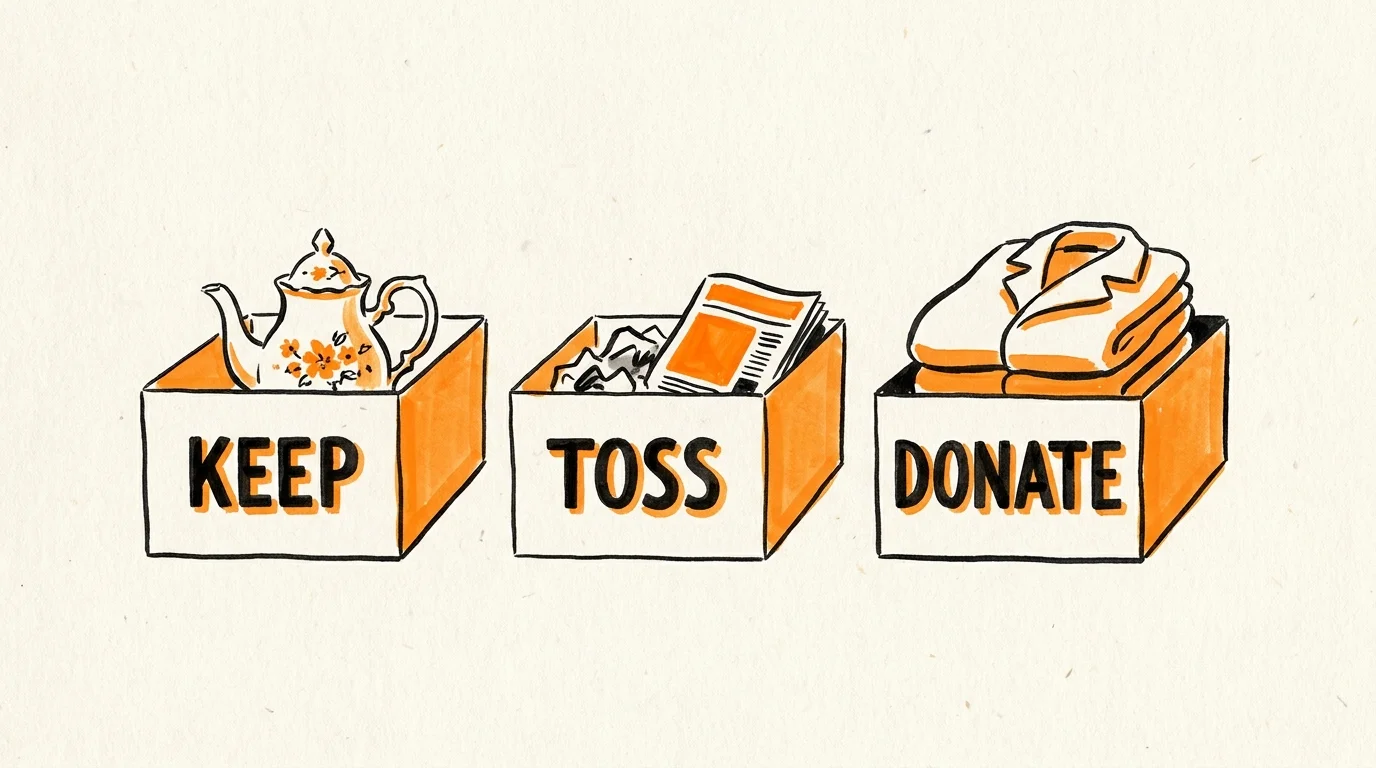
- Implement the Three-Box Method: Set up three sturdy cardboard boxes or plastic laundry baskets. Label them clearly as “Donate,” “Relocate,” and “Keep.”
- Evaluate Object by Object: Pick up a single item. Ask yourself if you have used it in the last year. If the answer is no, place it in the Donate box. If it belongs in a different room of your house, place it in the Relocate box. Do not walk to the other room to put it away right now; you will inevitably get distracted. Only place items you actively use and genuinely need into the Keep box.
- Empty the Boxes Immediately: At the end of your 45-minute session, take the trash bag to your outdoor bin. Carry the Relocate box through the house, putting those wandering items in their proper homes. Put the Donate box directly into the trunk of your car so it leaves your property the next time you run errands.
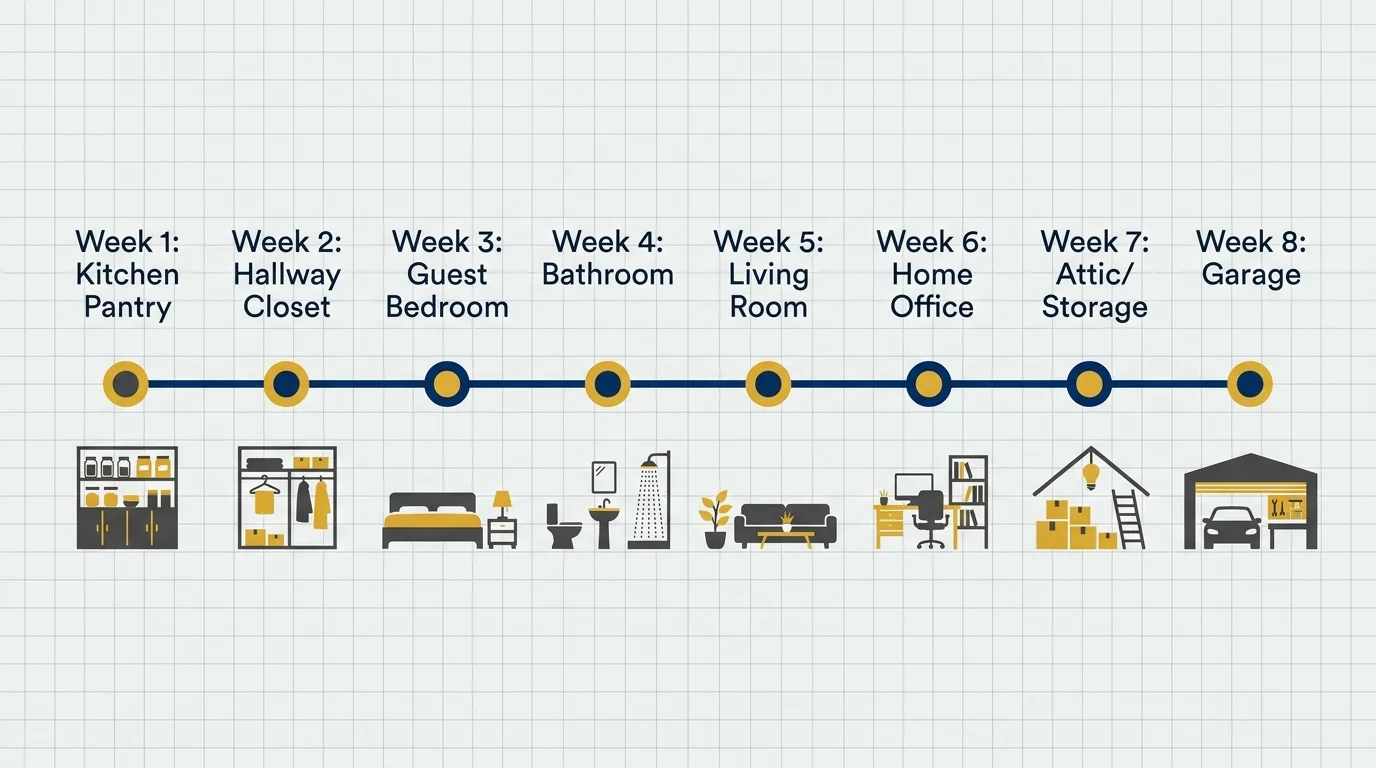
The 8-Week Room-by-Room Schedule
Following a structured roadmap removes the guesswork. This schedule starts with the least emotionally taxing spaces and gradually builds your decision-making muscles before you tackle difficult areas like the garage or the spare bedroom.
| Week | Target Room | Primary Action Plan | Practical Advice |
|---|---|---|---|
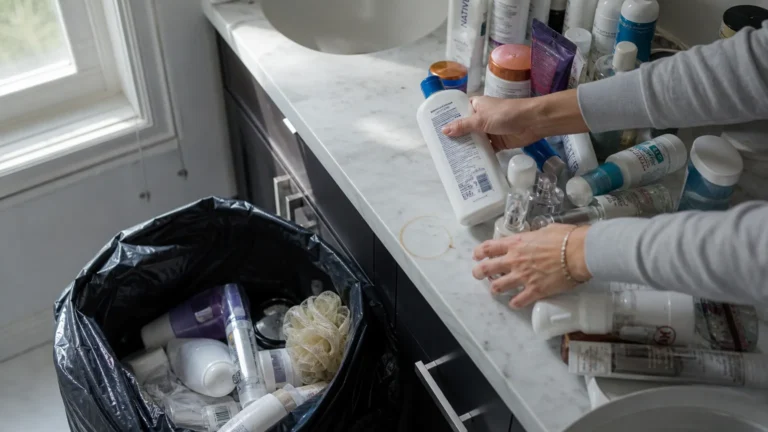
| Week 1 | Bathrooms | Discard expired medications, dried cosmetics, and frayed towels. Consolidate half-empty bottles of everyday lotion or shampoo. | Take old prescription medications to a local pharmacy drop-box or police station for safe disposal rather than flushing them down the toilet. |
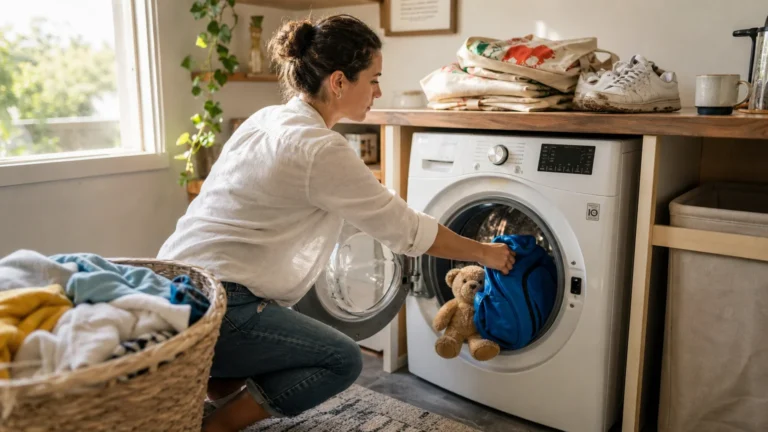
| Week 2 | Bedrooms | Clear the floor space completely. Sort through the closet, removing clothing you have not worn in over a year or items that no longer fit comfortably. | Turn all your clothes hangers backward. When you wear an item, hang it back up normally. After six months, donate whatever is still facing backward. |
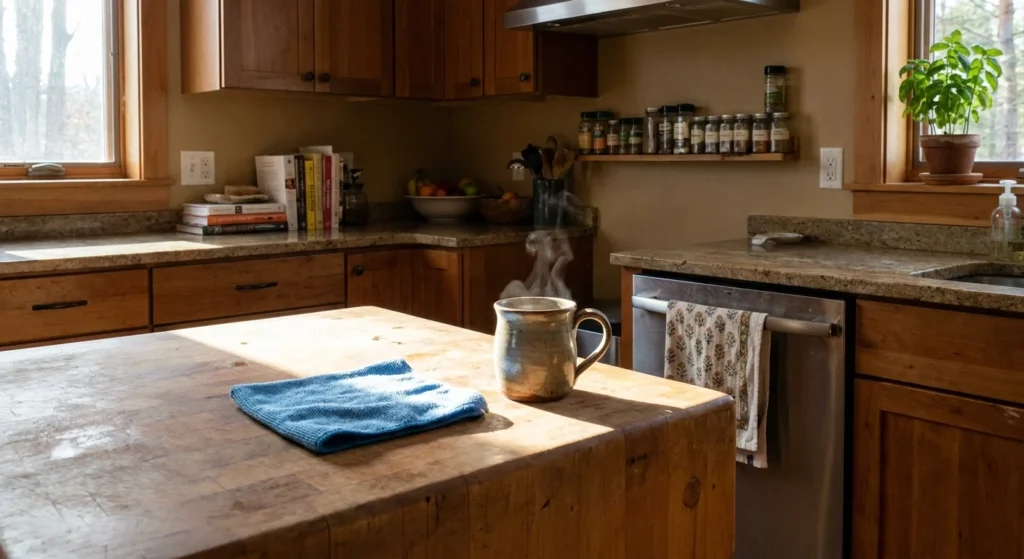
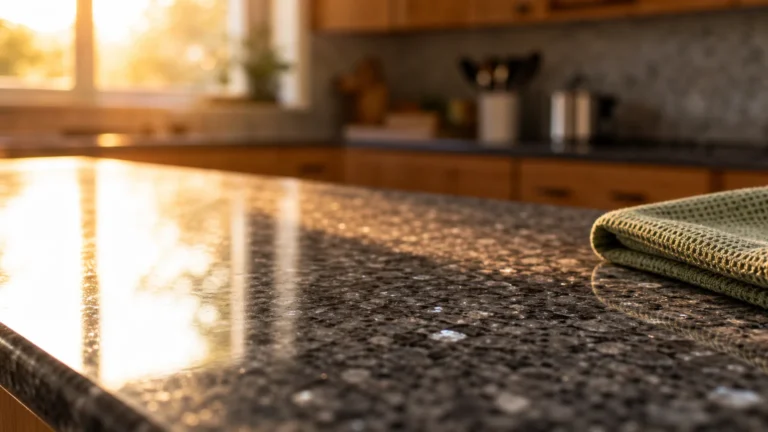
| Week 3 | Kitchen | Empty one cabinet at a time. Remove heavy pots from high shelves and relocate your daily dishes to waist-height storage for easy access. | Donate duplicate spatulas, broken small appliances, and novelty mugs. Keep only what you actively use for your daily meal prep. |
| Week 4 | Living Room | Remove physical hazards from walking paths. Sort through old magazines, dusty books, and excessive decorative knick-knacks. | Secure all lamp cords tightly to the baseboards. Remove unnecessary accent tables or footstools that cramp your walking space. |
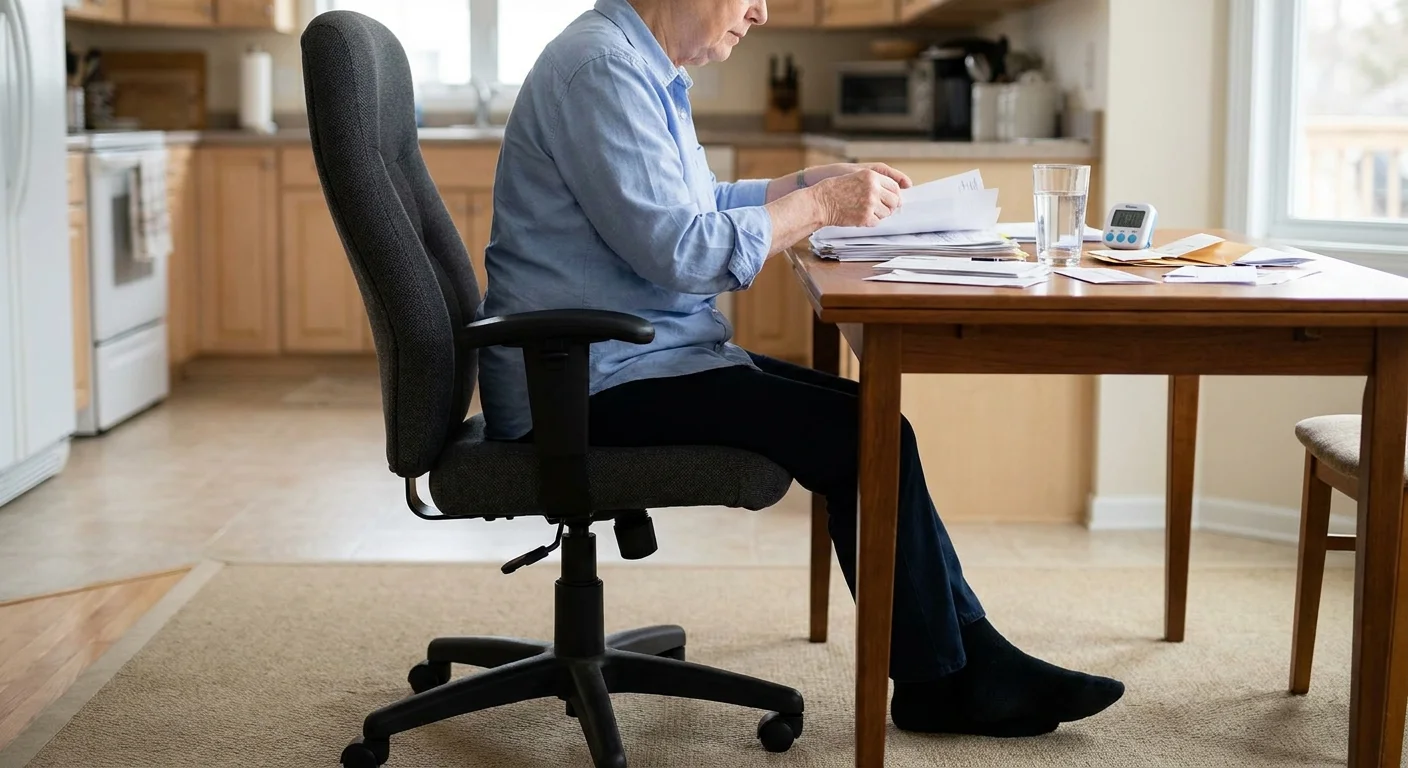
| Week 5 | Home Office | Tackle the paper piles. Shred outdated financial documents and organize your active, unpaid bills into a single, highly visible folder. | Keep tax returns for seven years; shred old utility bills, credit card offers, and daily junk mail immediately upon arrival. |
| Week 6 | Guest Room | Clear off the bed, which often becomes a flat surface for dumping clean laundry, incoming mail, or items without a home. | Treat this room as a calm retreat, not a storage locker. Keep only fresh linens and basic guest necessities in the closet. |
| Week 7 | Hallways & Entryways | Remove clutter near exterior doors. Ensure shoes, heavy coats, and umbrellas have a dedicated, out-of-the-way hook, bench, or tray. | Clear a wide, perfectly straight path from your front door to your main living area to accommodate visitors or future mobility aids. |
| Week 8 | Garage or Basement | Focus on one shelf or quadrant per day. Let go of dried paint cans, rusted tools, and broken holiday decorations. | Do not lift heavy storage boxes alone. Ask a younger family member or neighbor to move heavy bins onto a waist-high table for you to sort through safely. |
Working Smarter Without Physical Strain
Your joints and muscles require a smart, protective approach to physical labor. When researching solutions for easy organizing seniors frequently discover that bringing the work directly to them is the most effective strategy. Set up a sturdy folding table in the center of the room you are currently tackling. When you need to sort through a low dresser drawer or a floor-level cardboard box, move the items onto the table first. Sit in a comfortable, supportive chair while you make your keep-or-donate decisions.
Invest in an inexpensive, lightweight grabber tool to retrieve items dropped on the floor or stored on high shelves. Never stand on rolling office chairs, unstable step stools, or the top rung of an old ladder. If a heavy item is out of reach, leave it for a family member or a hired helper. You must always prioritize your physical safety over a perfectly clear top shelf.
Getting Rid of Heavy Items Without the Heavy Lifting
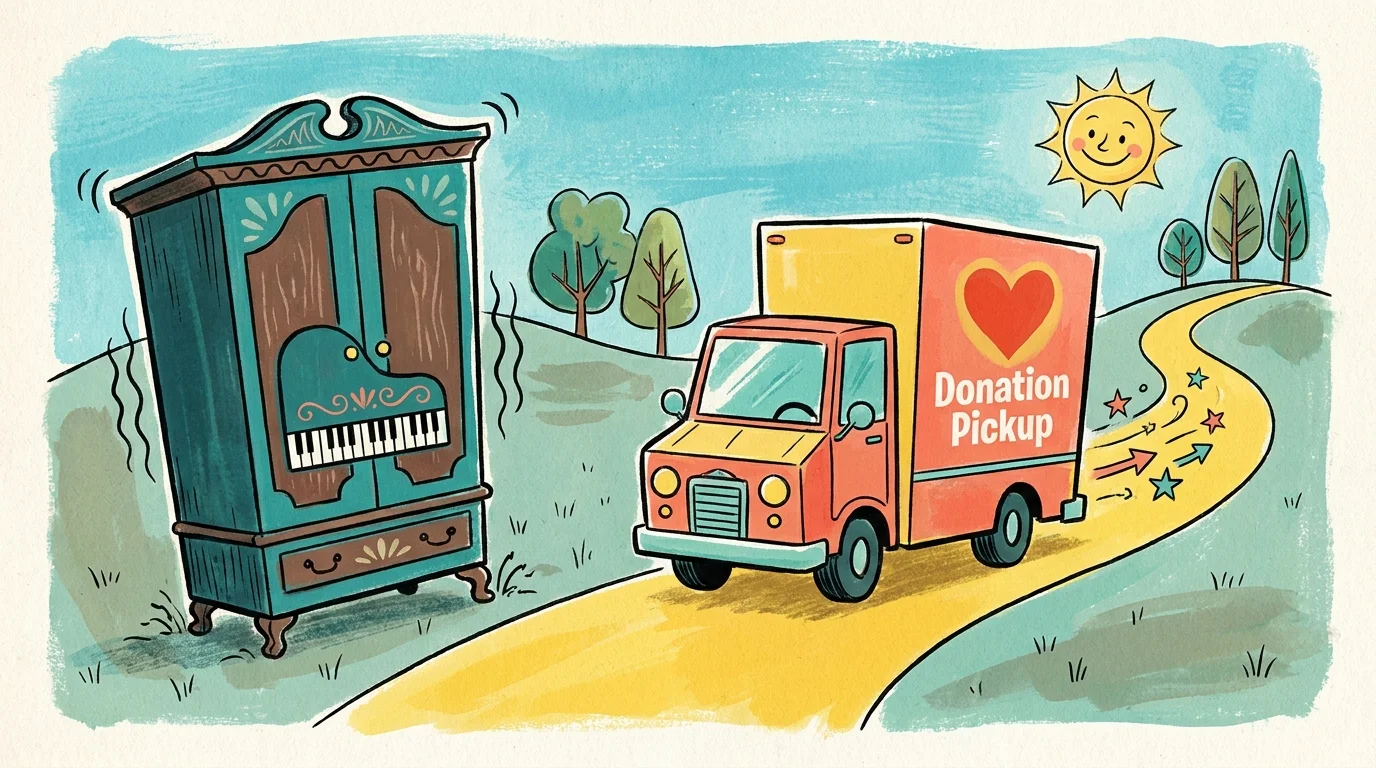
You should never risk throwing out your back carrying a heavy armchair to the curb or dragging a massive box of hardcover books down the stairs. Many excellent charitable organizations gladly come directly to your house to haul away large, heavy donations at absolutely no cost to you.
Organizations like The Salvation Army, GreenDrop, and Habitat for Humanity ReStore offer free at-home pickup services for furniture, large appliances, and boxed household goods. You simply call them or book a time slot online. Because these services are incredibly popular, you should schedule your pickup about three to four weeks before you need the items removed, as their local truck schedules fill up rapidly. Always verify exactly what items they accept before scheduling your appointment; most charities will rightfully refuse outdated tube televisions, hazardous household chemicals, or severely damaged, stained furniture.
When to Hire Professional Help (And What It Costs)
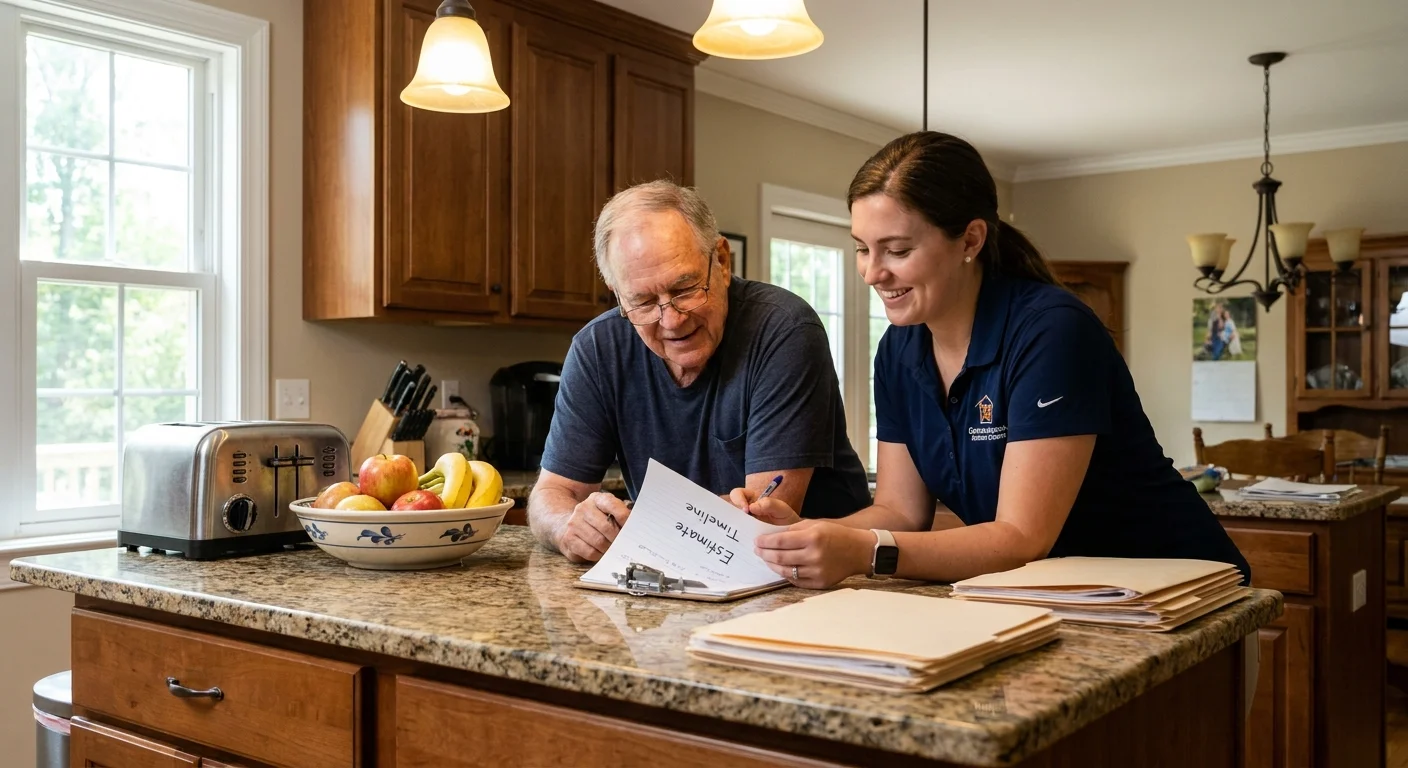
Sometimes the sheer volume of possessions or the immense emotional weight of downsizing requires an objective, compassionate third party. If you feel physically unable to move items or find yourself completely paralyzed by the decision-making process, a certified Senior Move Manager can step in. These trained professionals specialize in helping older adults systematically sort, safely pack, coordinate charitable donations, and even map out accessible floor plans for a future, smaller home.
Hiring an organizing expert comes with a price tag, but it frequently saves families vast amounts of time, reduces interpersonal family conflict, and prevents serious physical injuries. On average, a senior move manager charges between $40 and $125 per hour, depending on your geographic location and the overall complexity of your project. For comprehensive decluttering, organizing, and downsizing projects, total costs frequently range from $1,500 to $5,000. You can learn more about finding vetted, certified professionals in your area through trusted resource platforms like A Place for Mom.
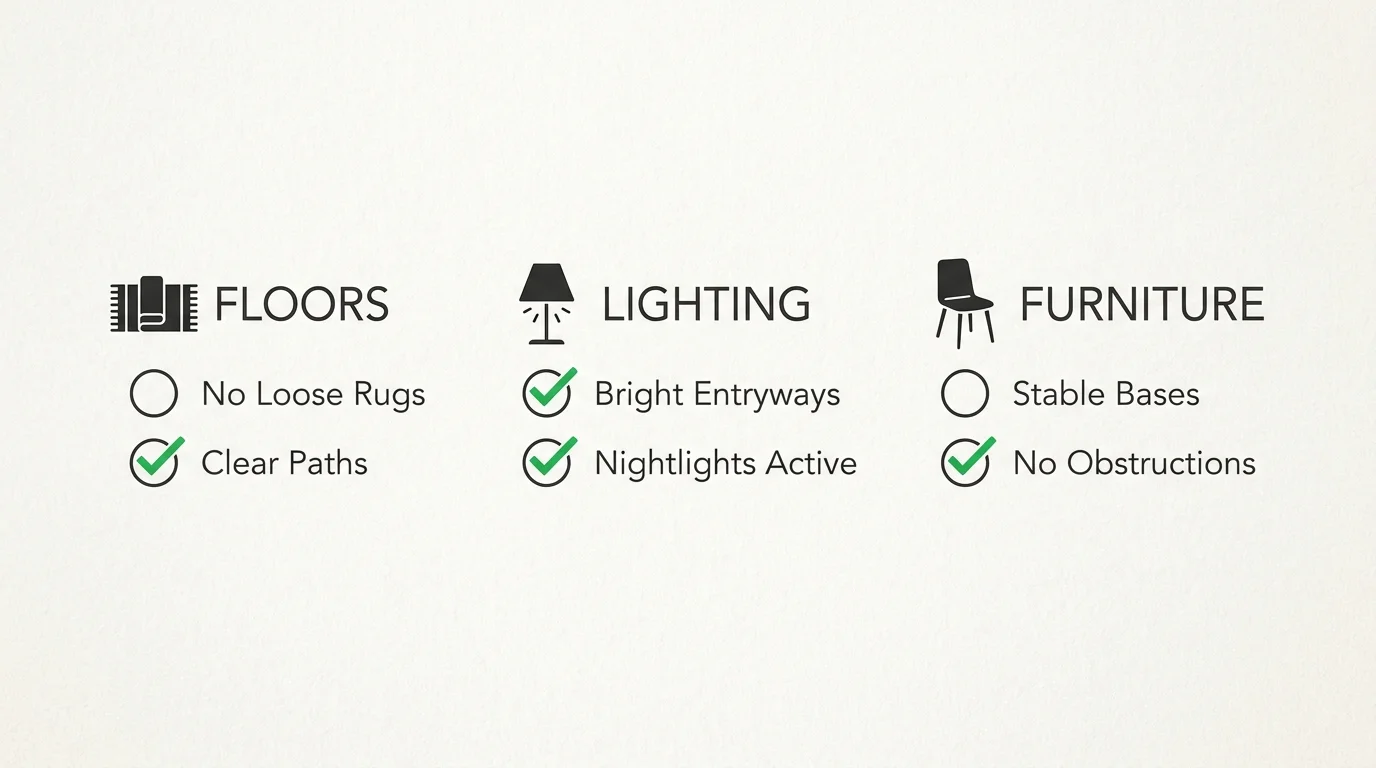
A Fall-Prevention Safety Checklist for Your Newly Cleared Spaces
Once you clear the excessive clutter from a room, you must actively protect the freshly opened space from new environmental hazards. Implement this essential safety checklist to ensure your home continuously supports your independent lifestyle:
- Remove all decorative throw rugs from the floors. If you absolutely must keep a specific rug, secure the edges firmly with heavy-duty, double-sided carpet tape to prevent the corners from curling up and catching your shoes.
- Route all lamp, television, and telephone cords tightly against the baseboards; never string an electrical cord across a walking path.
- Ensure light switches are easily accessible at both the entrance and the exit of every room. Proper lighting prevents you from tripping over unnoticed objects in the dark.
- Place your most frequently used everyday items—like favorite coffee mugs, daily medications, and television remotes—on shelves that sit comfortably between waist and shoulder height.
- Install automatic, plug-in nightlights in the hallways connecting your bedroom to the bathroom and kitchen to illuminate late-night trips.
- Inspect your staircases for loose handrails; the National Institute on Aging and the CDC both strongly recommend installing secure handrails on both sides of every single stairway.
Your next step is remarkably simple: grab a small trash bag, walk into your bathroom right now, and throw away five expired items. The momentum you build from that one tiny, five-minute task will carry you through the rest of the week.


One Response
How do I get printable versions of these articles – minus all the ads? There are mamy great suggestions, ut too many to remember.