Caring for delicate family heirlooms requires gentle, non-reactive supplies rather than aggressive commercial sprays. Selecting the right antique cleaning products protects irreplaceable patinas, prevents surface checking, and secures valuable market worth.
Everyday aerosol cleaners often deposit stubborn silicone and synthetic oils that permanently cloud antique shellac and varnish. In contrast, professional conservators rely on specialized, pH-balanced formulas to lift centuries of grime without stripping original finishes.
This curated toolkit highlights ten museum-grade supplies that safeguard your delicate treasures while simplifying daily household routines.
Why Everyday Cleaners Harm Historic Finishes
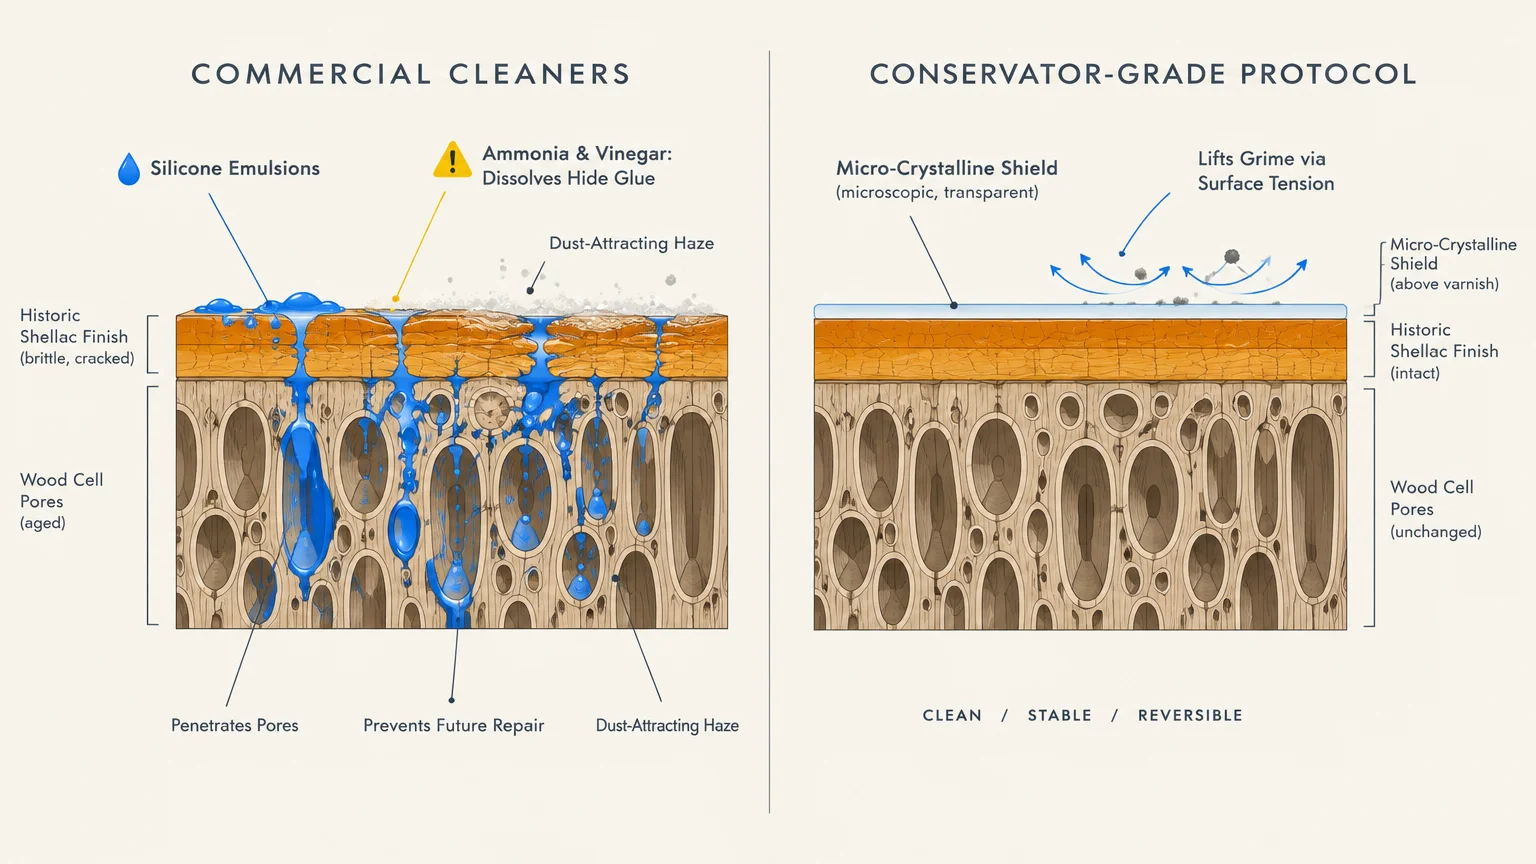
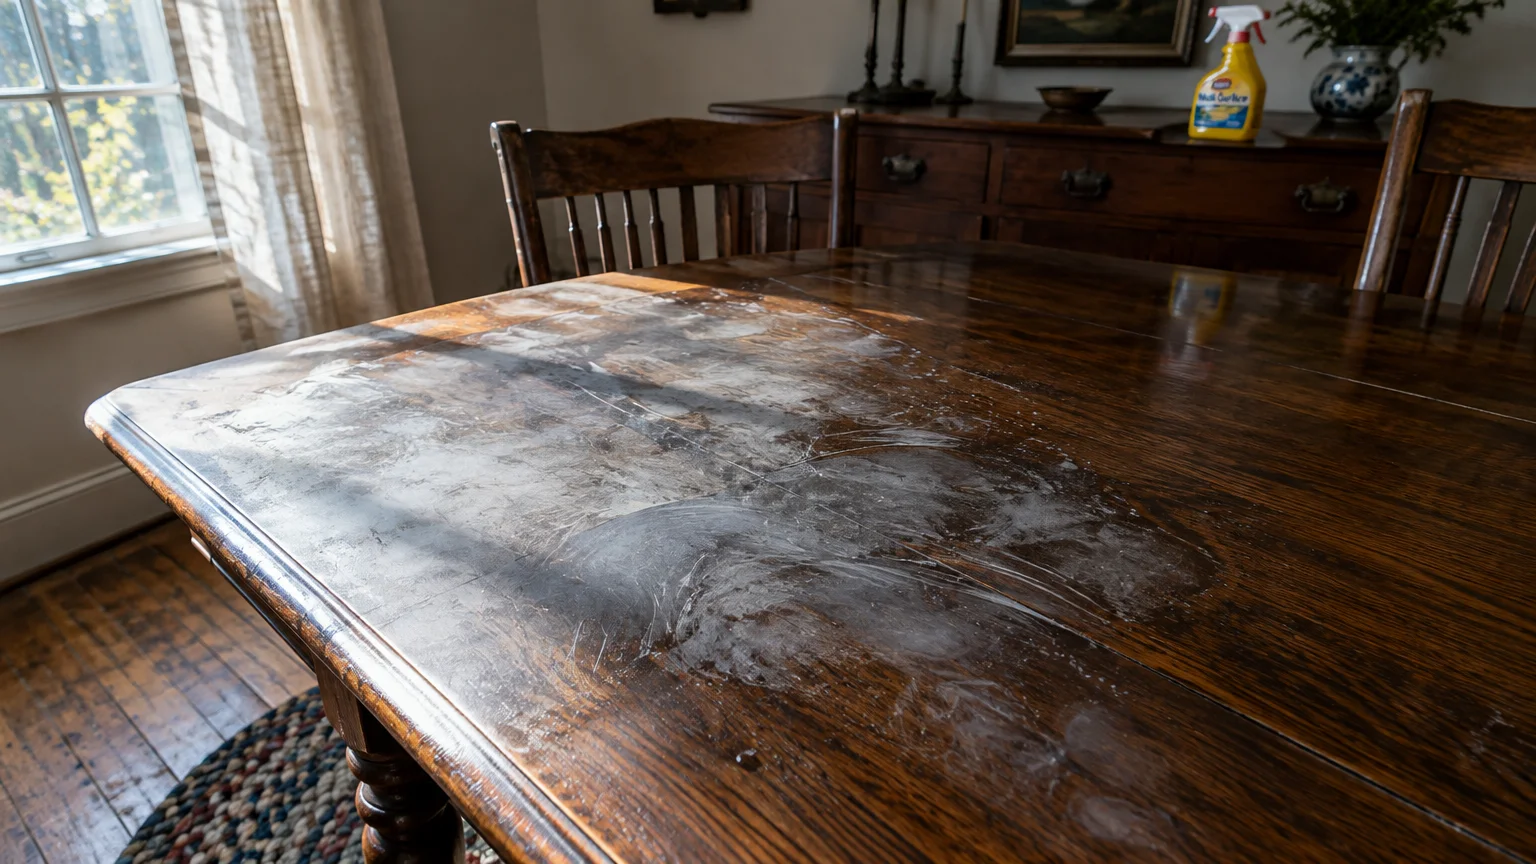
Modern cleaning products prioritize rapid results over long-term preservation. Commercial dusting sprays often contain silicone emulsions that penetrate fine micro-cracks in historic wood finishes.
Once silicone enters wood pores, it prevents future finish repairs and creates an artificial, dust-attracting haze. Professional conservators struggle to strip this chemical contamination without damaging the underlying wood.
Harsh household cleaners also rely on vinegar or ammonia to cut grime. These chemicals strip historic patinas, pit antique brass, and dissolve the natural hide glues holding furniture joints together.
Preserving antiques demands non-reactive, stable solutions that lift dirt through gentle mechanical action or mild surface tension. Investing in specialized supplies prevents irreversible damage to your family heirlooms.
The Top 10 Cleaning Products for Delicate Antiques
1. Renaissance Micro-Crystalline Wax Polish
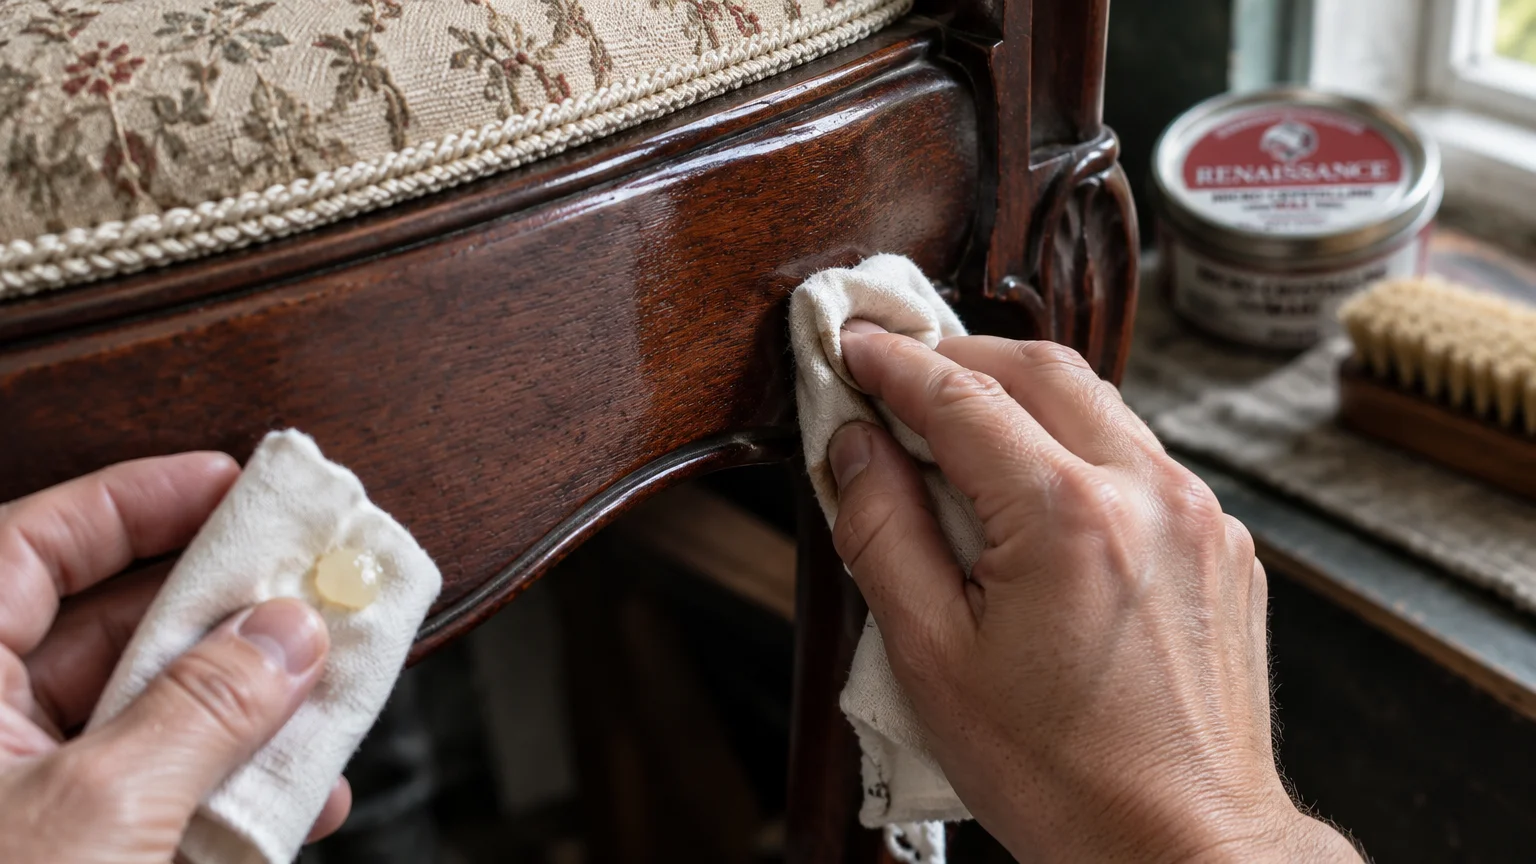
Developed by the British Museum in the 1950s, this micro-crystalline wax remains the premier wood polish for antiques. It contains highly refined synthetic hydrocarbons that will not oxidize, yellow, or degrade over time.
You can apply this formula safely across mahogany veneers, wrought iron hardware, carved ivory, and polished marble. It creates an airtight, moisture-resistant barrier that shields surfaces from fingerprints and ambient humidity.
A pea-sized dab covers roughly two square feet of surface area. Buff it immediately with a soft cloth to achieve a hard, glass-clear protective shield.
2. Vulcanized Natural Rubber Dry Cleaning Sponges
Also known as soot sponges, these vulcanized natural rubber blocks clean porous surfaces without a drop of water. They absorb particulate dirt rather than smearing grime into delicate wood grain or fabric fibers.
Use them across antique book cloth, parchment lampshades, needlepoint, and unfinished wooden trunks. Press the dry sponge firmly against the dirty surface and wipe in single, sweeping strokes.
When the sponge surface fills with dirt, slice off the outer layer with a sharp utility knife. This quick cut exposes fresh, porous rubber ready for immediate use.
3. Orvus WA Paste
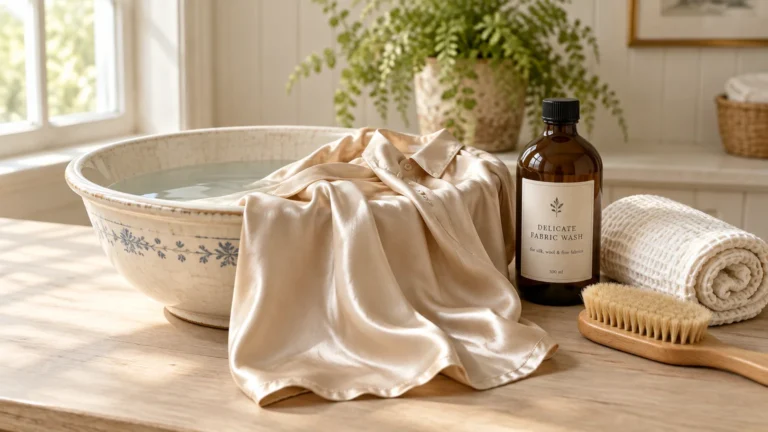
Orvus WA Paste is a near-neutral surfactant widely celebrated across museum textile conservation labs. It lacks the harsh phosphates, optical brighteners, and synthetic perfumes that weaken historical fibers.
This gentle detergent cleans antique quilts, vintage linen samplers, and wool tapestries at room temperature. Cold-water efficiency prevents fragile, natural-dyed fibers from bleeding into one another.
Dissolve a single teaspoon in a gallon of lukewarm water for safe hand washing. The National Park Service Museum Handbook endorses neutral detergents like Orvus for historic textile and hide conservation.
4. Laboratory-Grade Distilled Water
Municipal tap water carries dissolved minerals, calcium salts, and heavy metals that deposit white rings on historical items. Distilled water undergoes rigorous demineralization, making it an exceptionally safe solvent for cleaning delicate antiques.
Conservators use distilled water to dampen cleaning swabs, rinse soap residues, and soften crusty surface deposits. Because it lacks free ions, it will not initiate galvanic corrosion on antique metal hardware.
Keep a dedicated jug in your supply cabinet for heirloom care. Always apply it sparingly with a wrung-out cloth to avoid moisture swelling in thin veneers.
5. Pure Horsehair Bench and Dusting Brushes
Feather dusters feature stiff, sharp quills that snag woven threads and scratch delicate French polishes. A pure horsehair brush provides soft, natural split-ends that gather fine dust without abrading fragile finishes.
Natural animal hair generates virtually no static charge, preventing loosened dust from clinging right back to the furniture. These brushes glide effortlessly across ornate carvings, picture frames, and pleated lampshades.
Pair your horsehair brush with a canister vacuum running on low suction. Hold the vacuum nozzle an inch away to swallow dislodged particles instantly.
6. Odorless Mineral Spirits
When sticky cooking oils, old polishes, and grime resist dry dusting, odorless mineral spirits provide gentle chemical lifting. This petroleum distillate dissolves oily films without softening cured shellac, traditional varnish, or nitrocellulose lacquer.
Dampen a soft lint-free cloth with mineral spirits and wipe gently along the wood grain. The solvent loosens stubborn soil while preserving the historic finish beneath.
The liquid evaporates completely without leaving oily films behind. Work in a well-ventilated space and perform a spot test before cleaning large surfaces.
7. Edgeless High-GSM Microfiber Cloths
Standard cleaning cloths feature rough polyester edge stitching that cuts fine scratches into delicate lacquers. High-GSM edgeless microfiber towels eliminate bound seams entirely, providing a pillowy surface that traps loose grit.
The split synthetic fibers grab micro-particles via electrostatic pull, eliminating the need for commercial liquid dusting sprays. Fold each cloth into quarters to provide eight clean surfaces for dusting.
Wash these microfiber cloths separately using mild, fragrance-free detergent. Never add fabric softener, which coats the tiny fibers and destroys their natural cleaning capability.
8. Precipitated Calcium Carbonate Powder
Commercial liquid metal dips contain corrosive acids that strip historical patinas and cause pitting in silver. Precipitated calcium carbonate, or laboratory-grade chalk, offers an ultra-mild, non-reactive micro-abrasive for historical metals.
Mix this fine white powder with distilled water or ethanol to create a creamy polishing paste. The Canadian Conservation Institute recommends calcium carbonate slurries for controlled, non-destructive tarnish removal on historical silver and brass.
Apply the mixture using light circular motions with a flannel cloth. Rinse the metal thoroughly with distilled water to prevent white chalk from settling inside recessed details.
9. Precision Bamboo-Stem Cotton Swabs
Ornate furniture turnings, drawer corners, and metal filigree accumulate dense pockets of hardened grime. Bamboo-stem cotton swabs provide the structural rigidity you need for precise, delicate spot cleaning.
Unlike flexible plastic cotton swabs, bamboo shafts do not bend under light pressure. Furthermore, natural wood will not melt or react when exposed to mineral spirits or mild conservation solvents.
Dampen the swab tip slightly and roll it across the soiled surface rather than scrubbing back and forth. Rolling gathers grime into the cotton without grinding debris into the original finish.
10. Acid-Free Tissue Paper and Glassine
Preservation extends beyond cleaning; proper isolation protects delicate heirlooms from daily abrasion and acidic degradation. Acid-free tissue and glassine provide non-abrasive, chemically inert barriers for lining storage drawers and shelves.
Ordinary wood-pulp papers release acidic lignin vapors that discolor historical textiles and tarnish silver. Lining storage boxes with acid-free tissue shields fragile heirlooms from environmental acids.
Use semi-glossy glassine paper between stored historical documents, engravings, and family photographs. Glassine resists grease and moisture while preventing ink transfer during long-term storage.
Antique Cleaning Product Comparison Guide
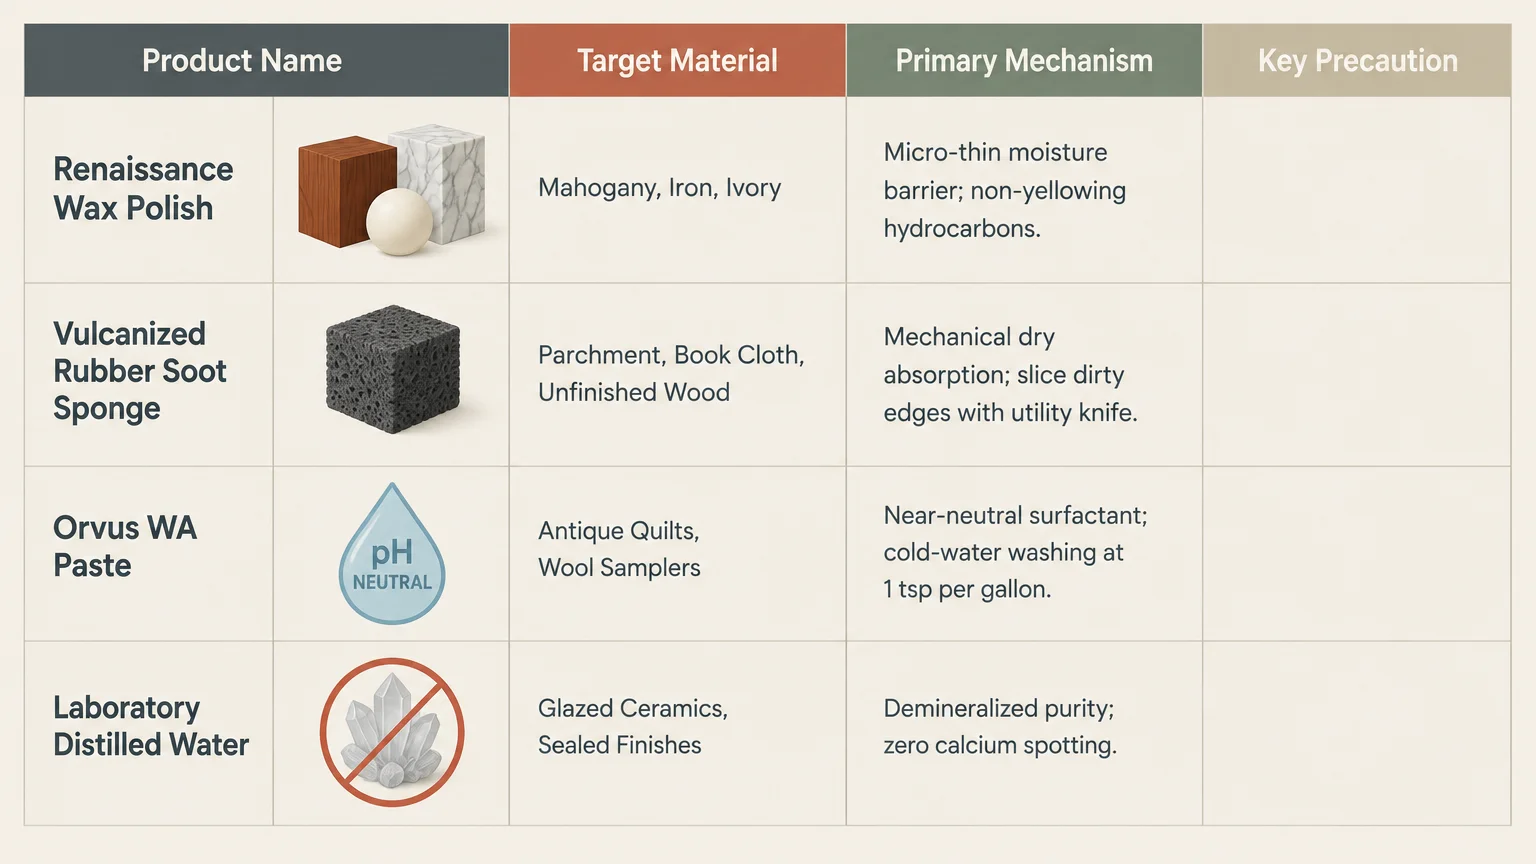
Selecting the right tool depends entirely on your antique’s material composition and structural fragility. Use this quick reference guide to match each product with your specific preservation task.
| Product | Primary Materials | Core Benefit | Recommended Frequency |
|---|---|---|---|
| Renaissance Wax | Finished wood, metals, marble | Creates a hard, moisture-proof barrier | Once every 1 to 2 years |
| Dry Cleaning Sponge | Textiles, paper, raw wood | Lifts soot and dry dirt without moisture | As needed for surface dirt |
| Orvus WA Paste | Historical fabrics, rugs, quilts | Neutral surfactant that protects fragile fibers | Rarely; only when washing is essential |
| Distilled Water | Ceramics, glass, stable stone | Dissolves soil without mineral spotting | During routine spot cleaning |
| Horsehair Brush | Carved wood, picture frames | Gentle dusting without static buildup | Weekly or bi-weekly |
| Odorless Mineral Spirits | Cured varnishes, historic shellac | Cuts greasy grime without dissolving finish | Infrequently for deep grime removal |
| High-GSM Microfiber | Polished surfaces, lacquer, glass | Traps particles without scratching surfaces | Weekly dry dusting |
| Calcium Carbonate | Silver, unlacquered brass, copper | Gently lifts tarnish without acid dipping | Yearly or as heavy tarnish appears |
| Bamboo Cotton Swabs | Filigree, turnings, tight joints | Pinpoint solvent and grime extraction | During targeted restoration cleaning |
| Acid-Free Tissue | Linens, metals, antique papers | Prevents off-gassing and contact abrasion | Permanent storage placement |
Essential Safety Checklist Before Cleaning Antiques
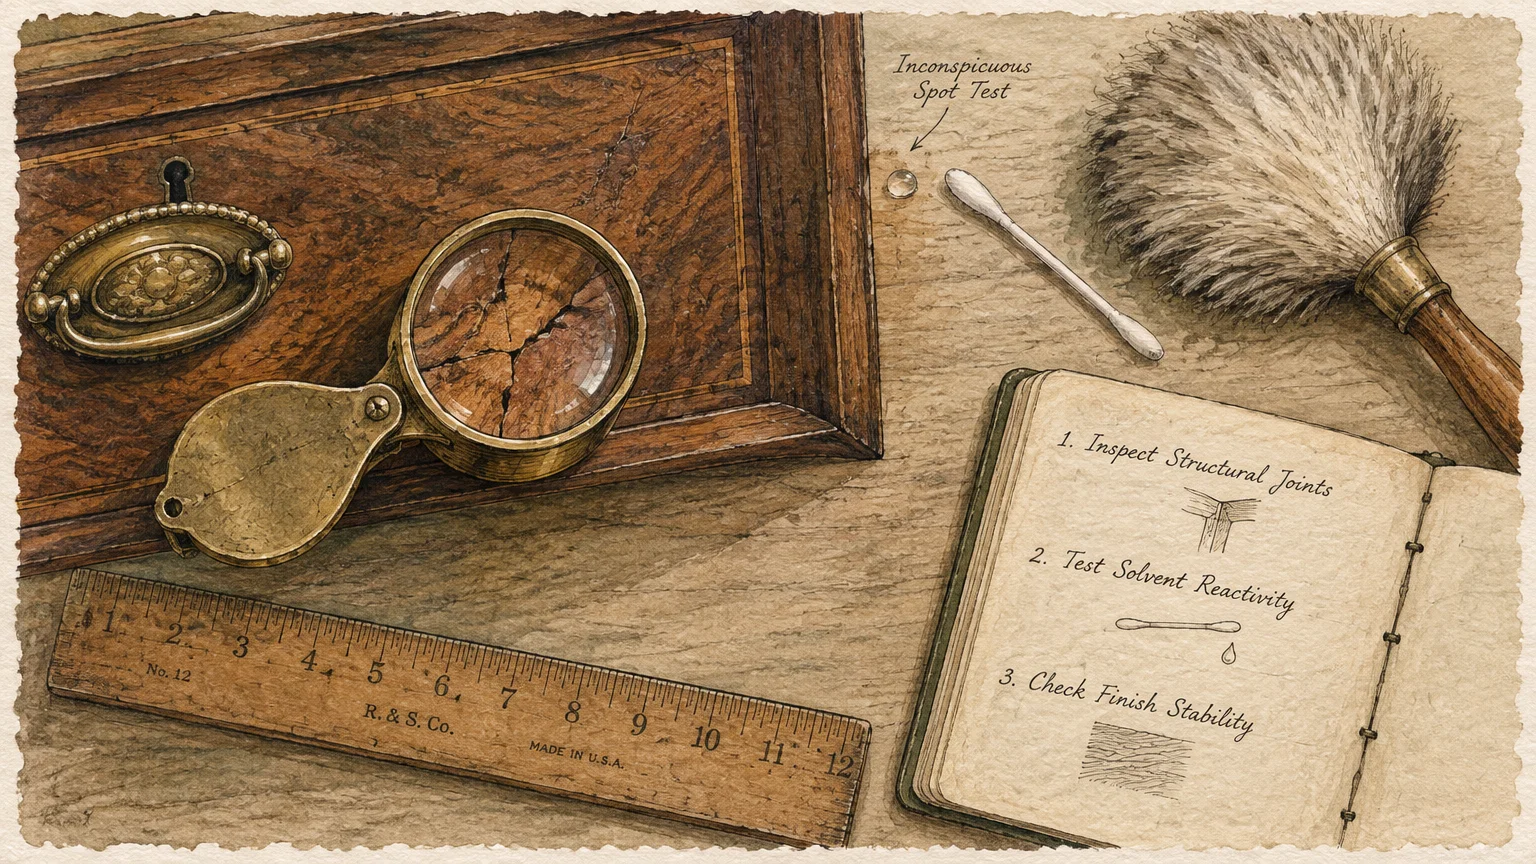
Before applying any cleaning supply to a historic heirloom, follow this systematic evaluation process. Rushing into cleaning without adequate inspection often causes irreversible damage.
-
Conduct a Thorough Visual Inspection
Examine the piece under strong lighting to identify loose joints, peeling veneer, or chipped gilding. Clean around loose components rather than applying direct pressure to fragile areas.
-
Check Finish Stability and Adhesion
Look for finish crazing, alligatoring, or active flaking on wooden furniture. Never apply liquid solvents or wet detergents to cracked finishes, as liquids penetrate deep beneath the veneer.
-
Perform an Inconspicuous Spot Test
Test your chosen cleaner on an hidden spot, such as the back corner or inside a lower rail. Wait ten minutes to confirm the solution does not soften the finish or lift pigment.
-
Start with the Mildest Cleaning Action
Always begin with dry mechanical cleaning, like soft horsehair brushing, before introducing liquids. Introducing water or solvents too early turns loose dust into abrasive mud.
-
Work Under Indirect, Bright Light
Set up your cleaning station in a well-lit space away from direct sunlight and heat registers. Heat accelerates solvent evaporation, making even application far more difficult.
Common Mistakes to Avoid in Antique Furniture Care
Well-meaning homeowners frequently destroy the historical value of their heirlooms by trusting viral internet cleaning hacks. Avoiding these three common pitfalls protects your antique furniture care investments.
Avoid Salad Oils and Vinegar Mixtures
Concoctions combining olive oil and vinegar appear frequently online, but conservators strongly discourage their use. The Smithsonian Museum Conservation Institute notes that vinegar dissolves vulnerable historic finishes, while non-drying vegetable oils turn rancid inside wood pores.
Rancid oils attract airborne pollutants, creating a sticky black film that suffocates the wood. Removing oxidized cooking oils requires aggressive chemical treatments that damage original patinas.
Steer Clear of Aerosol Sprays
Commercial aerosol polishes deliver temporary shine by coating surfaces in synthetic silicone fluids. These slick compounds migrate into hairline finish cracks, making professional touch-ups and finish repairs impossible.
Silicone residues also trap atmospheric soot, producing a dull, smeared appearance known as finish haze. Choose breathable, hard micro-crystalline waxes instead of aerosol sprays.
Never Over-Polish Historic Metals
Polishing antique brass, bronze, or copper until it gleams like mirror chrome strips away authentic historical value. Collectors prize the mellow color developed across decades of gentle aging.
Clean away greasy fingerprints and corrosion crusts, but leave the deep toning in recessed fluting. Preserving this natural contrast highlights the artisan’s original craftsmanship.
A Safe Step-by-Step Routine for Historic Wood
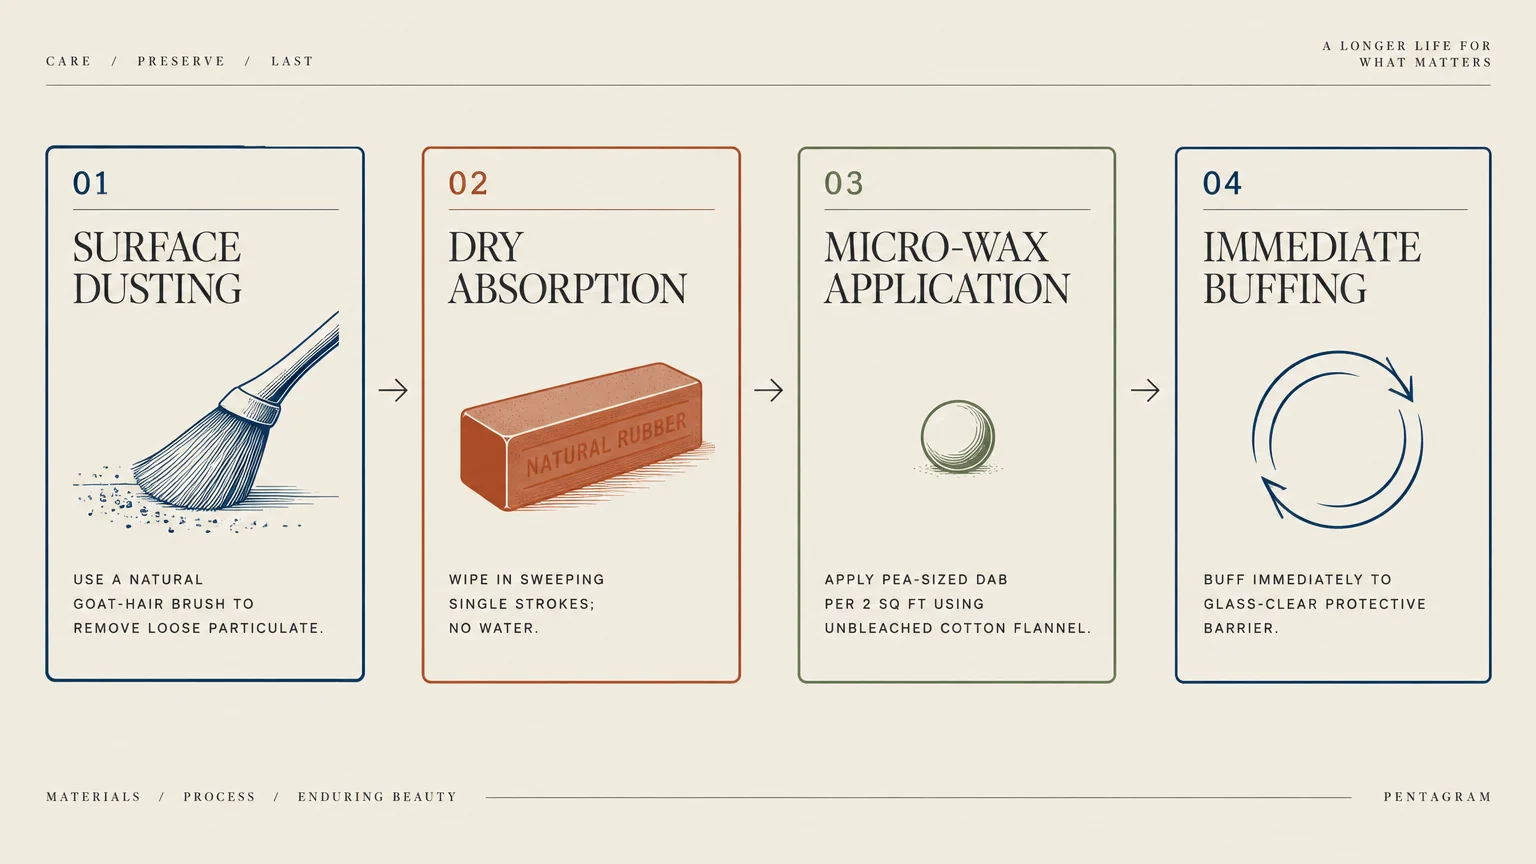
Follow this gentle, four-step routine to refresh delicate wooden antiques without risking surface abrasion. This systematic process removes grime while building a durable protective layer.
-
Dry Dust with Horsehair
Begin by sweeping loose dust away with your horsehair bench brush, guiding debris toward a vacuum hose. Working gently prevents hard grit particles from grinding into the finish during subsequent steps.
-
Lift Oily Soil with Mineral Spirits
If grease or old wax coats the wood, dampen a microfiber cloth with odorless mineral spirits. Wipe down the surface along the wood grain, swapping to clean cloth sections frequently.
-
Apply Micro-Crystalline Wax
Apply a pea-sized amount of micro-crystalline wax using a clean, dry microfiber cloth. Work in small sections, spreading the wax into an ultra-thin, even layer across the wood.
-
Buff to a Soft Luster
Buff the surface immediately using a clean microfiber cloth before the wax hardens completely. The result is a glass-smooth, fingerprint-resistant barrier with a gentle, authentic sheen.
Long-Term Environmental Control for Preserving Antiques
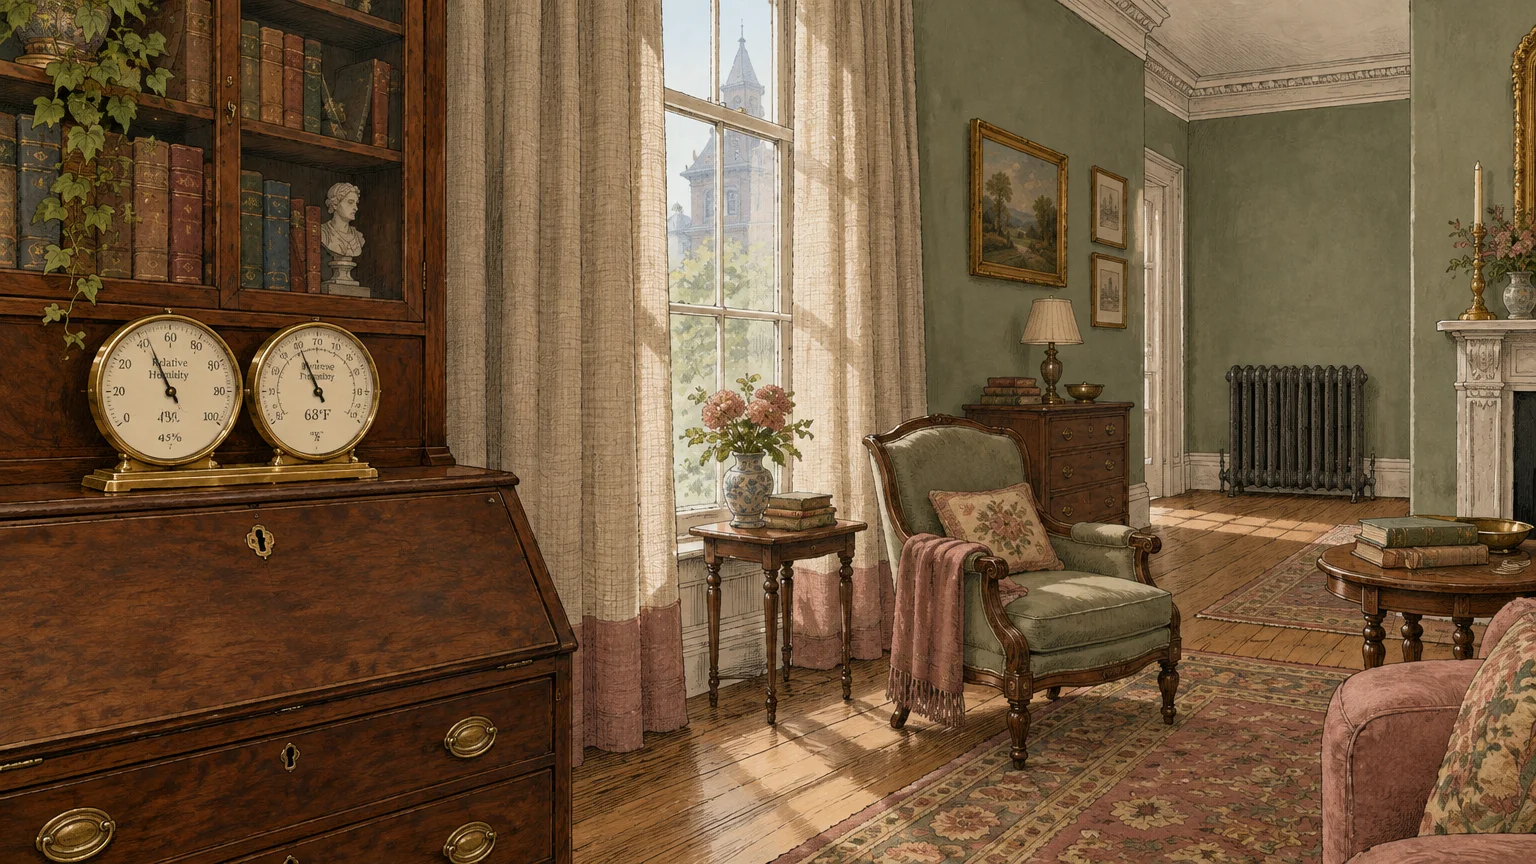
Even the finest cleaning products cannot protect antiques kept in adverse household environments. Historical woods, textiles, and papers react continuously to fluctuating moisture levels.
Maintain indoor relative humidity between 40% and 55% to prevent wood veneer from warping or cracking. The Library of Congress Preservation Directorate emphasizes consistent climate control to halt accelerated organic degradation.
Keep delicate heirlooms away from heating vents, radiators, and south-facing windows. Direct thermal stress dries out organic hide glues and causes premature finish embrittlement.
Your Next Practical Step
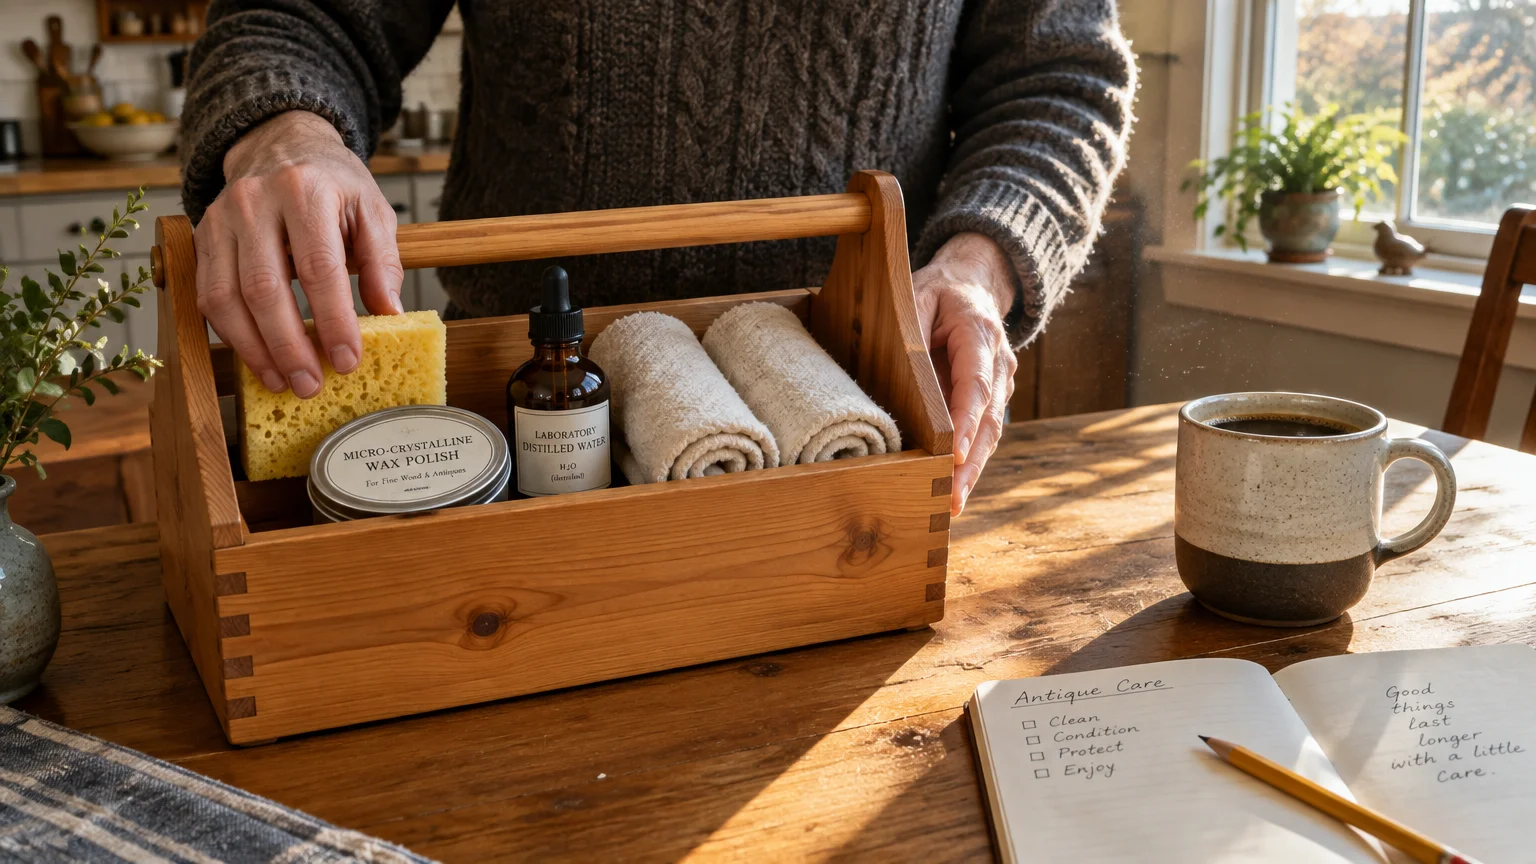
Inspect your most cherished family heirloom under bright, indirect daylight today. Examine the surface closely for flaking finish, loose hardware, or sticky grime build-up.
Order a soft horsehair dusting brush and a jar of micro-crystalline wax to start your gentle care routine. Investing in professional-grade tools ensures your family treasures remain intact for future generations.