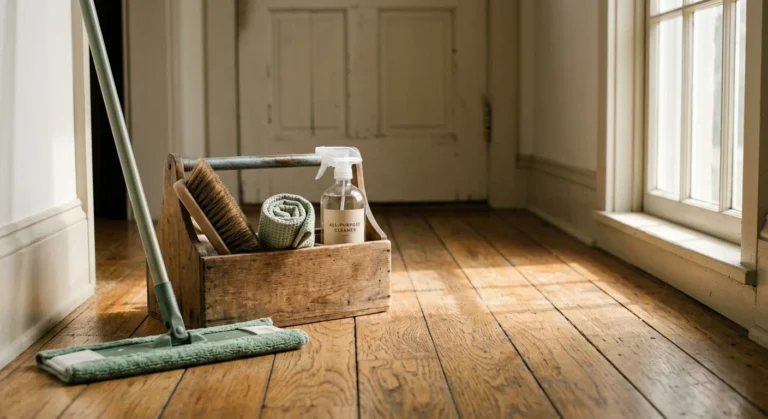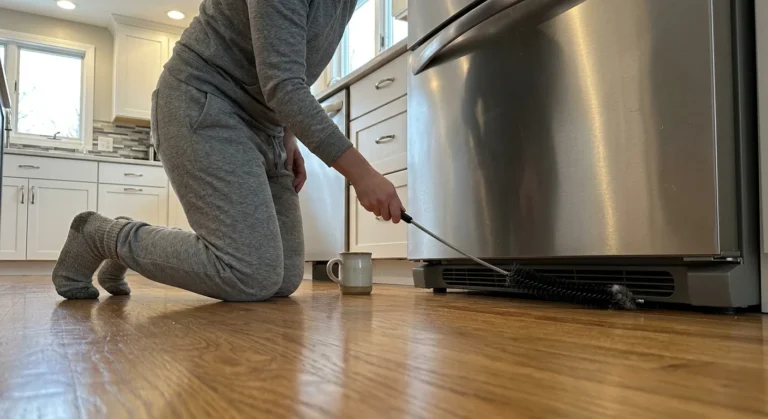
Professional cleaners work faster and achieve pristine results not by scrubbing harder, but by avoiding habits that waste time and damage surfaces. Adopting their proven strategies will cut your chore time in half while preserving your home.
When you eliminate counterproductive routines, your living spaces stay cleaner for days longer. You also avoid costly mistakes like etched countertops, scratched fixtures, and hazardous chemical reactions.
Here are eight common cleaning mistakes to avoid, along with expert cleaning advice you can put to work immediately.
1. Spraying Cleaning Sprays Directly onto Delicate Surfaces
Amateur cleaners often mist glass cleaner, wood polish, or multi-surface disinfectant directly onto mirrors, tables, and electronics. This habit leaves behind heavy streaks and puddles.
When you spray liquid directly onto framed glass or television screens, the moisture seeps beneath edges and causes permanent black spots or short circuits. Liquid pooling in wood joints causes swelling and ruined finishes.
Direct spraying also deposits excess surfactant across surfaces. Over time, that soapy residue turns sticky and attracts airborne dust like a magnet.
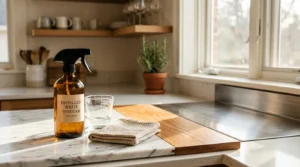
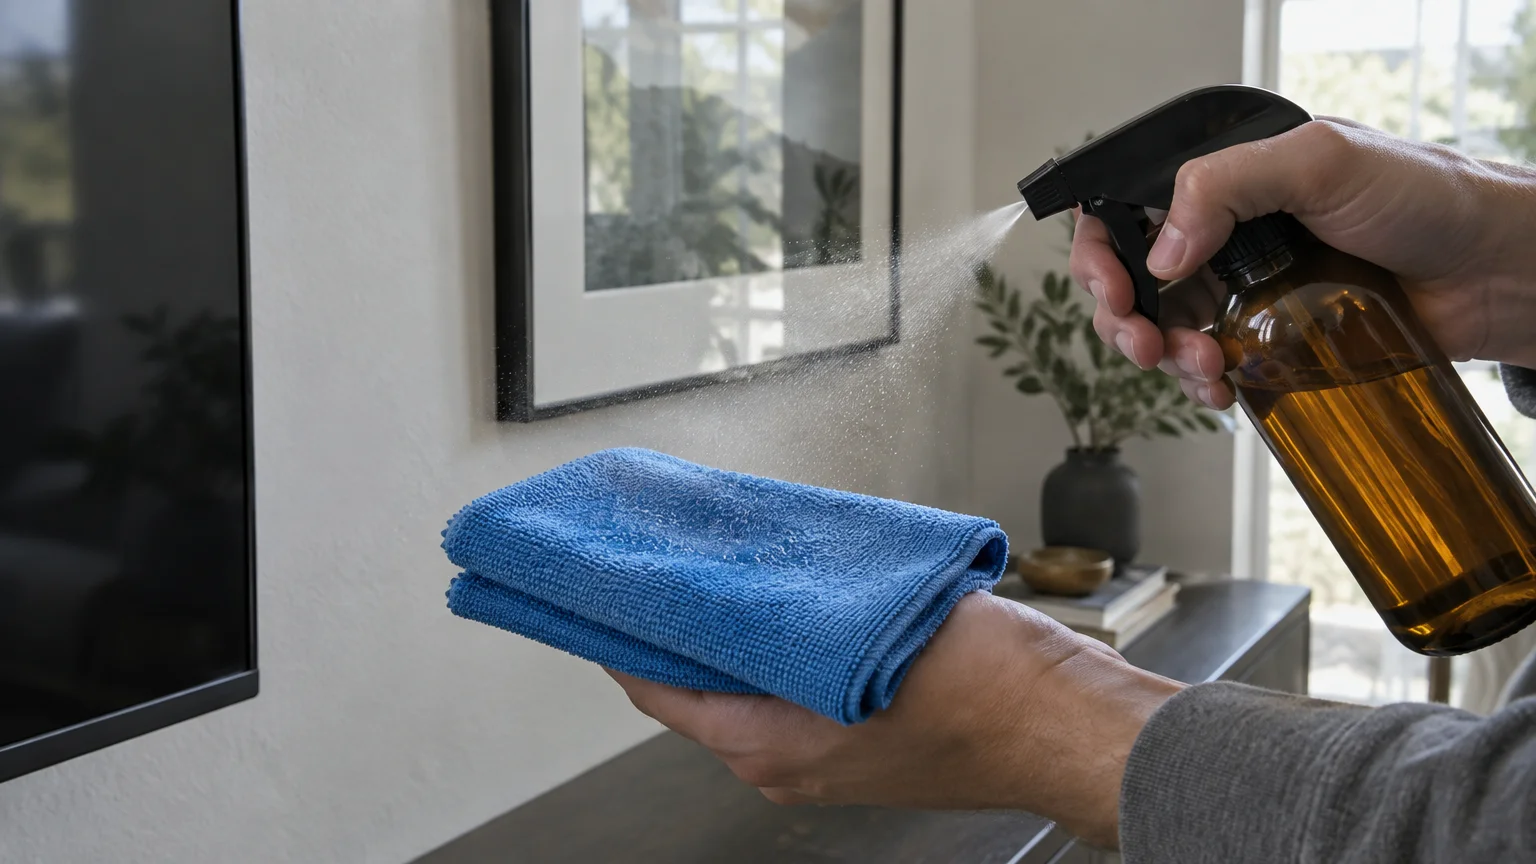
Professional cleaning crews always spray their cleaning solution onto a folded microfiber cloth first. This damp-cloth method controls liquid distribution and protects delicate materials.
Fold your cloth into quarters to give yourself eight clean faces to work with as you move through each room. When one side soils, simply flip to a clean section without grabbing a fresh rag.
This single adjustment conserves expensive cleaning products and prevents accidental overspray on nearby fabrics, rugs, or porous wallpaper.
2. Mixing Chemical Cleaners in Search of Extra Strength
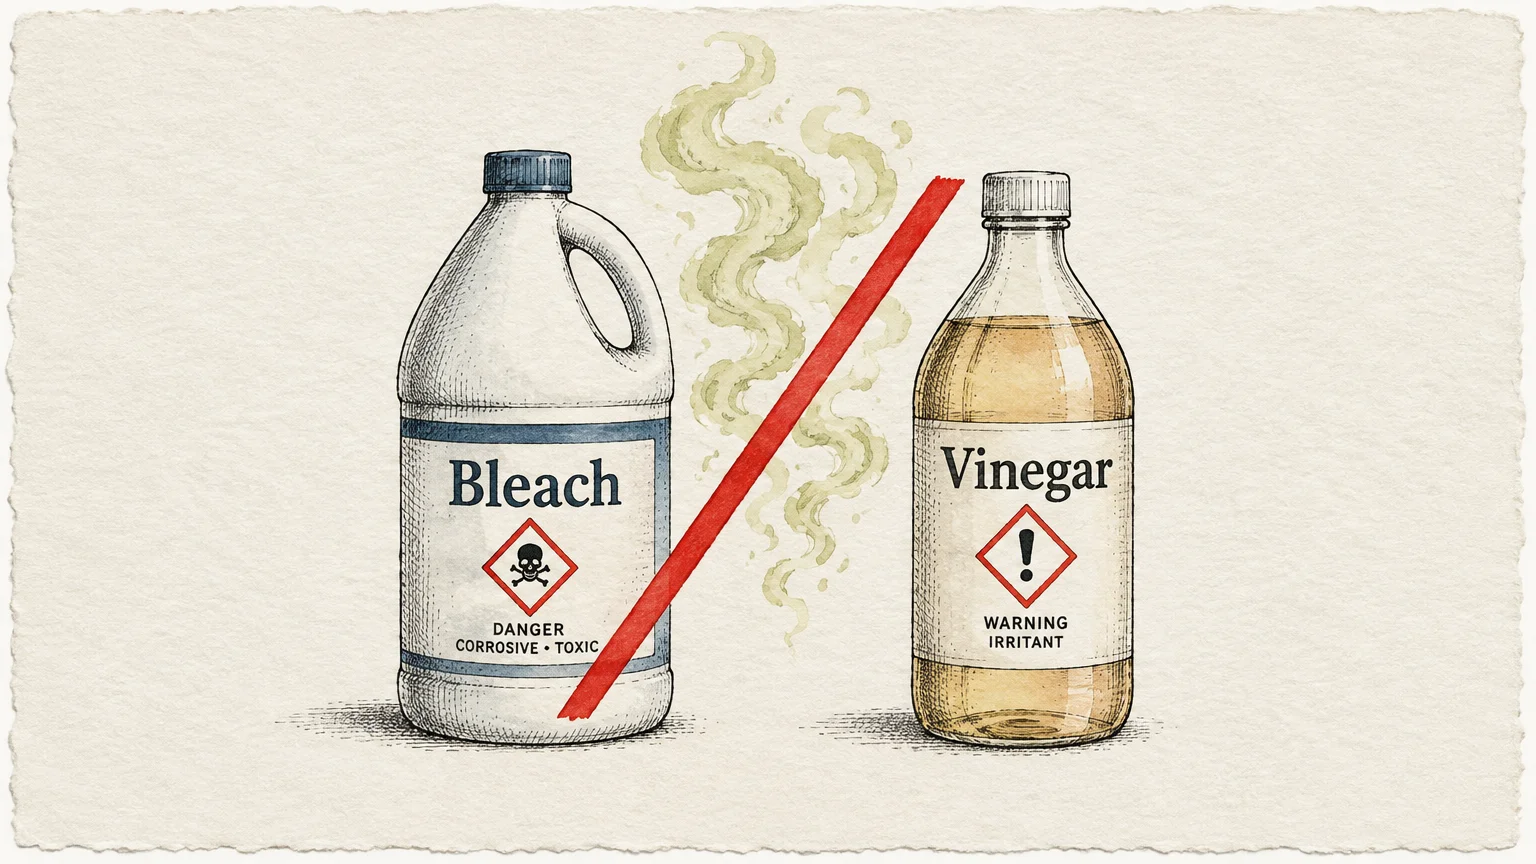
Combining different household chemicals might seem like a shortcut to dissolve stubborn grease, but it poses severe health risks. Professional cleaners never mix products under any circumstances.
Bleach combined with ammonia creates toxic chloramine vapors that cause coughing, shortness of breath, and fluid accumulation in your lungs. The CDC warns against mixing bleach with any other household cleaner.
Similarly, combining bleach with acidic liquids—like white vinegar or toilet bowl cleaners—releases poisonous chlorine gas. According to the American Lung Association, inhaling these fumes damages airways and worsens chronic respiratory conditions.
Even combining white vinegar and hydrogen peroxide produces peracetic acid, an aggressive chemical that burns skin and irritates nasal passages. Stick to one product per task.
If one solution does not remove a stubborn stain, rinse the area thoroughly with plain water before applying a different product. Always keep windows open to ensure continuous fresh airflow.
Professional cleaners rely on proper dwell time and mechanical agitation with soft brushes, rather than dangerous chemical cocktails, to lift set-in grime.
3. Wiping Disinfectants Immediately After Application
Spraying a disinfectant and immediately wiping it away leaves behind millions of live bacteria and viruses. Disinfecting differs fundamentally from simple surface cleaning.
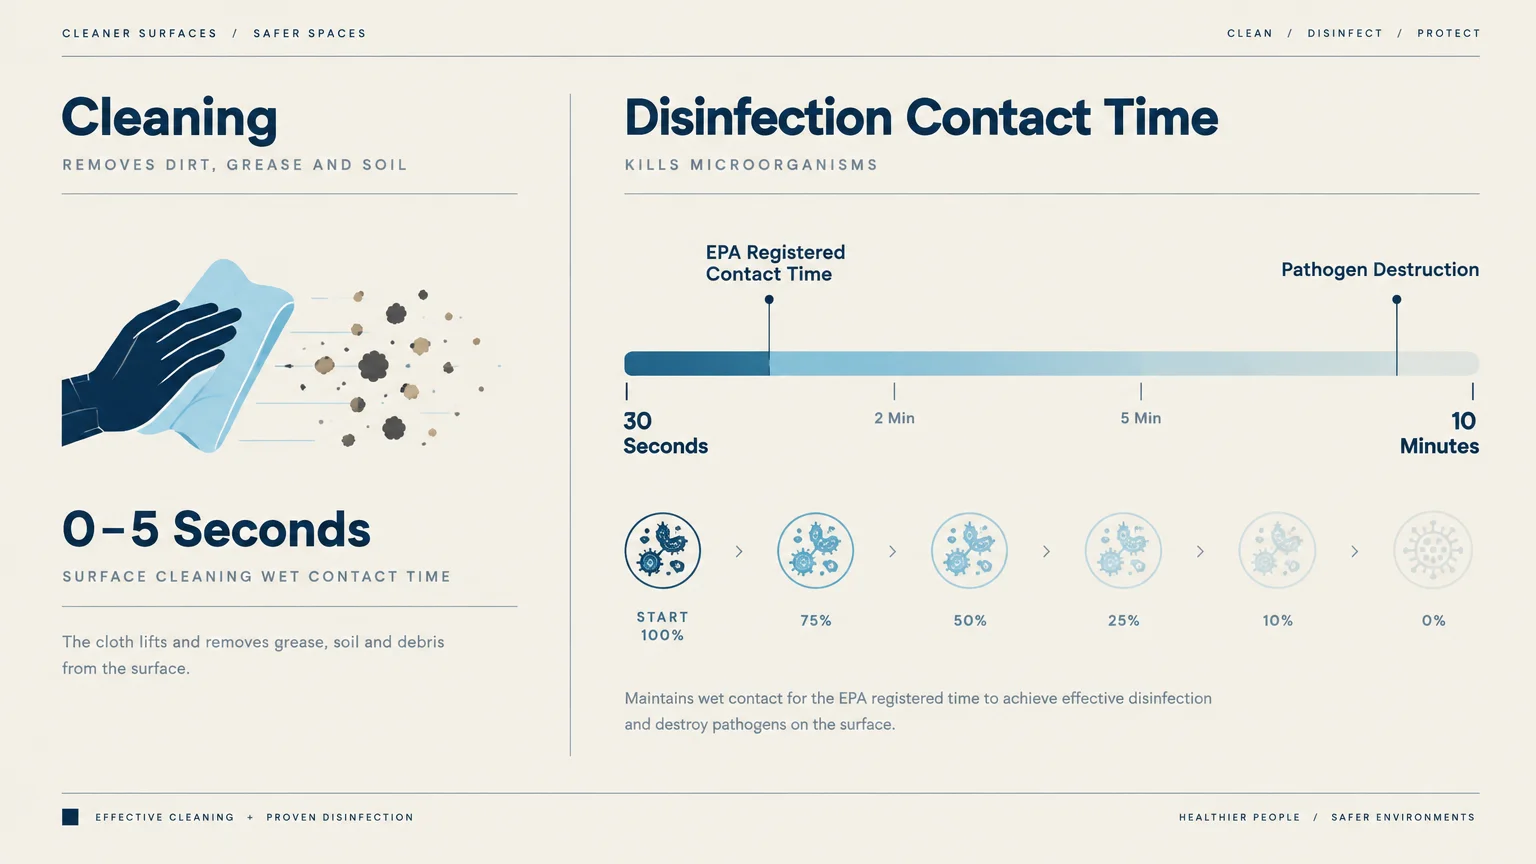
Surface cleaning removes visible dirt, grease, and crumbs from countertops; disinfecting actually destroys pathogens. To kill microorganisms, chemical disinfectants require a specific period of wet contact time.
The Environmental Protection Agency registers disinfectants and establishes their mandatory contact times, which typically range from thirty seconds to ten full minutes. Wiping too fast invalidates the sanitizing process.
Check the back label of your disinfectant bottle for the phrase “contact time” or “dwell time.” If the label specifies five minutes, the surface must remain visibly wet for five entire minutes.
To work efficiently, apply your disinfectant to bathroom fixtures or kitchen counters first. Clean a mirror or empty the wastebasket while the liquid works, then return to wipe the surface dry.
Allowing dwell time does the hard scrubbing for you by breaking down dried spills, which reduces joint strain and wrist fatigue.
4. Cleaning Rooms Randomly from the Bottom Up
Cleaning without a systematic pattern leads to wasted physical effort and duplicate work. One of the most common cleaning mistakes involves vacuuming or mopping before dusting overhead fixtures.
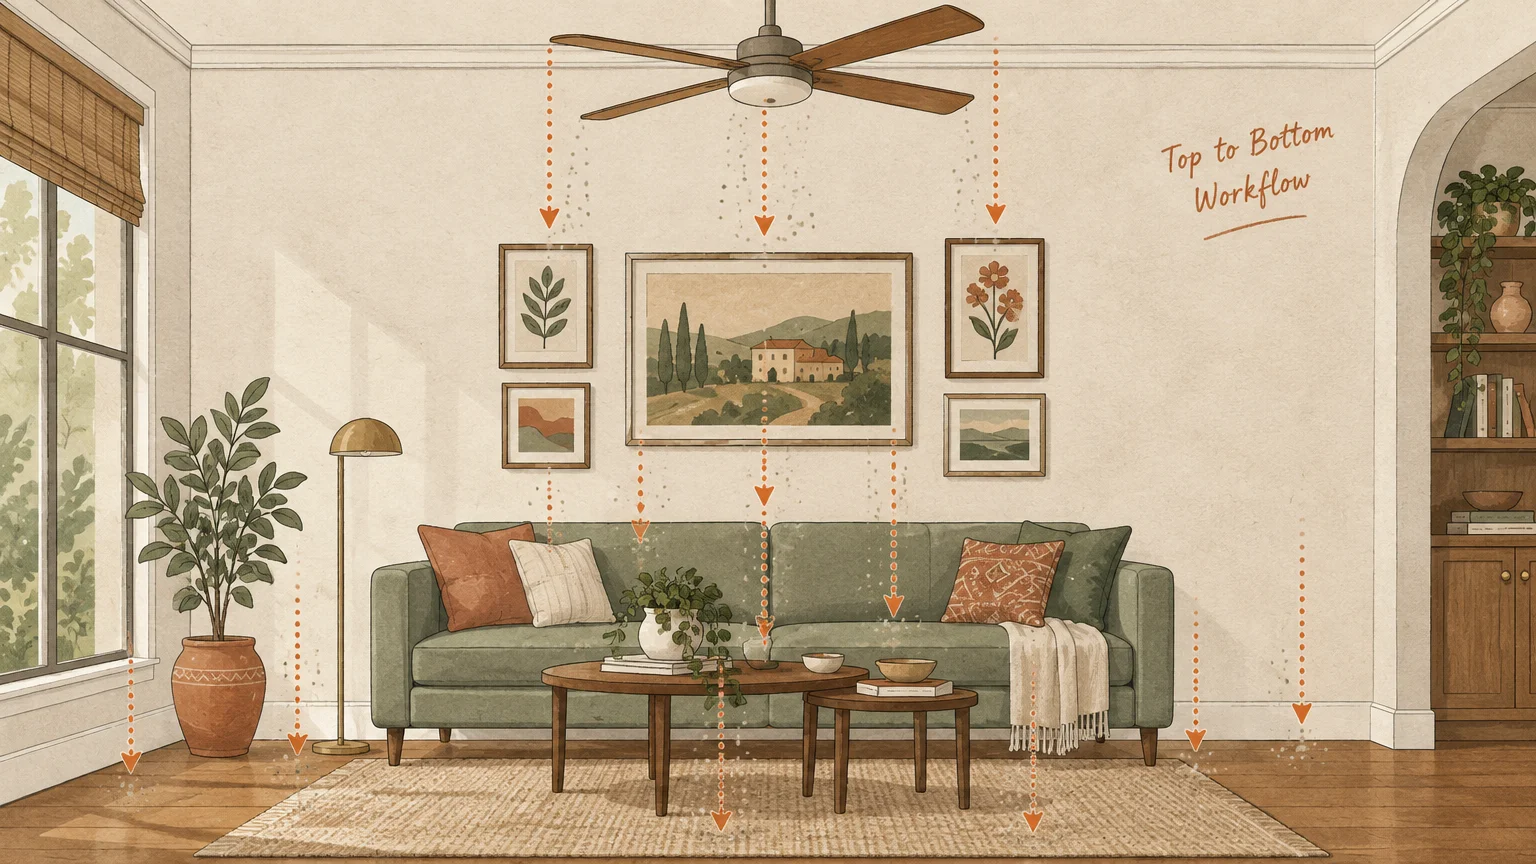
Gravity dictates where debris lands; loosened dust from ceiling fans, vents, and crown molding falls downward onto lower surfaces. Vacuuming floors first means you must vacuum them a second time.
Professional cleaners follow a strict top-to-bottom and left-to-right rule. They address high ceiling corners, light fixtures, and wall art before touching tabletops, baseboards, and floors.
This circular room flow also prevents forgotten corners and reduces unnecessary walking back and forth. For older adults managing joint discomfort, following a structured path minimizes physical strain.
Begin at the doorway of a room and work clockwise along the perimeter at high elevation. Once you finish the upper tier, drop your focus to eye-level surfaces, and finish with the floor.
By moving methodically toward the room exit, you avoid stepping on freshly cleaned floors or redistributing settled particles.
5. Relying on Feather Dusters and Dry Paper Towels
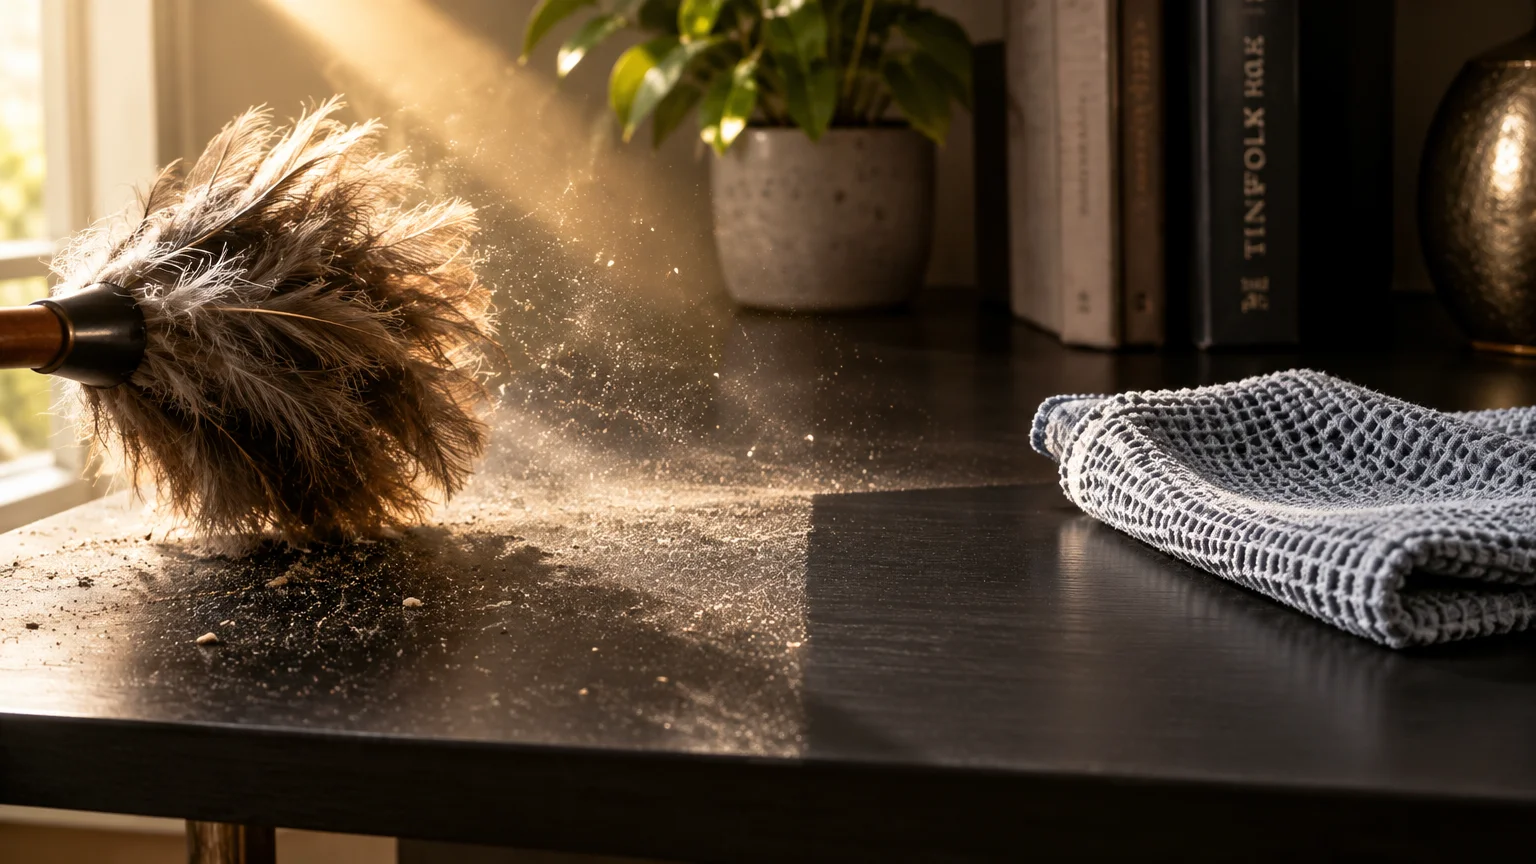
Feather dusters look charming, but professional house cleaners rarely keep them on their supply carts. Traditional feather dusters do not capture dust; they merely dislodge it into the air.
Once suspended, microscopic dust particles float for twenty to thirty minutes before settling back down onto the furniture you just finished cleaning. This cycle creates perpetual household dusting.
Dry paper towels are equally ineffective; they break apart, leave behind visible paper lint, and can cause fine scratches on high-gloss wood or lacquer finishes. They also add unnecessary paper waste.
Commercial cleaners rely exclusively on high-density, electrostatic split microfiber cloths. The microscopic polyester and nylon fibers create a positive electrical charge that traps dust, pollen, and pet dander inside the weave.
For elevated ceiling fan blades and blinds, use an extendable wand fitted with a washable microfiber sleeve. You capture the grime in a single pass without scattering allergens into your breathing space.
Lightly dampen the cloth with plain water for stubborn dust buildup. A damp microfiber cloth grabs microscopic grime without requiring oily furniture polishes that attract future dirt.
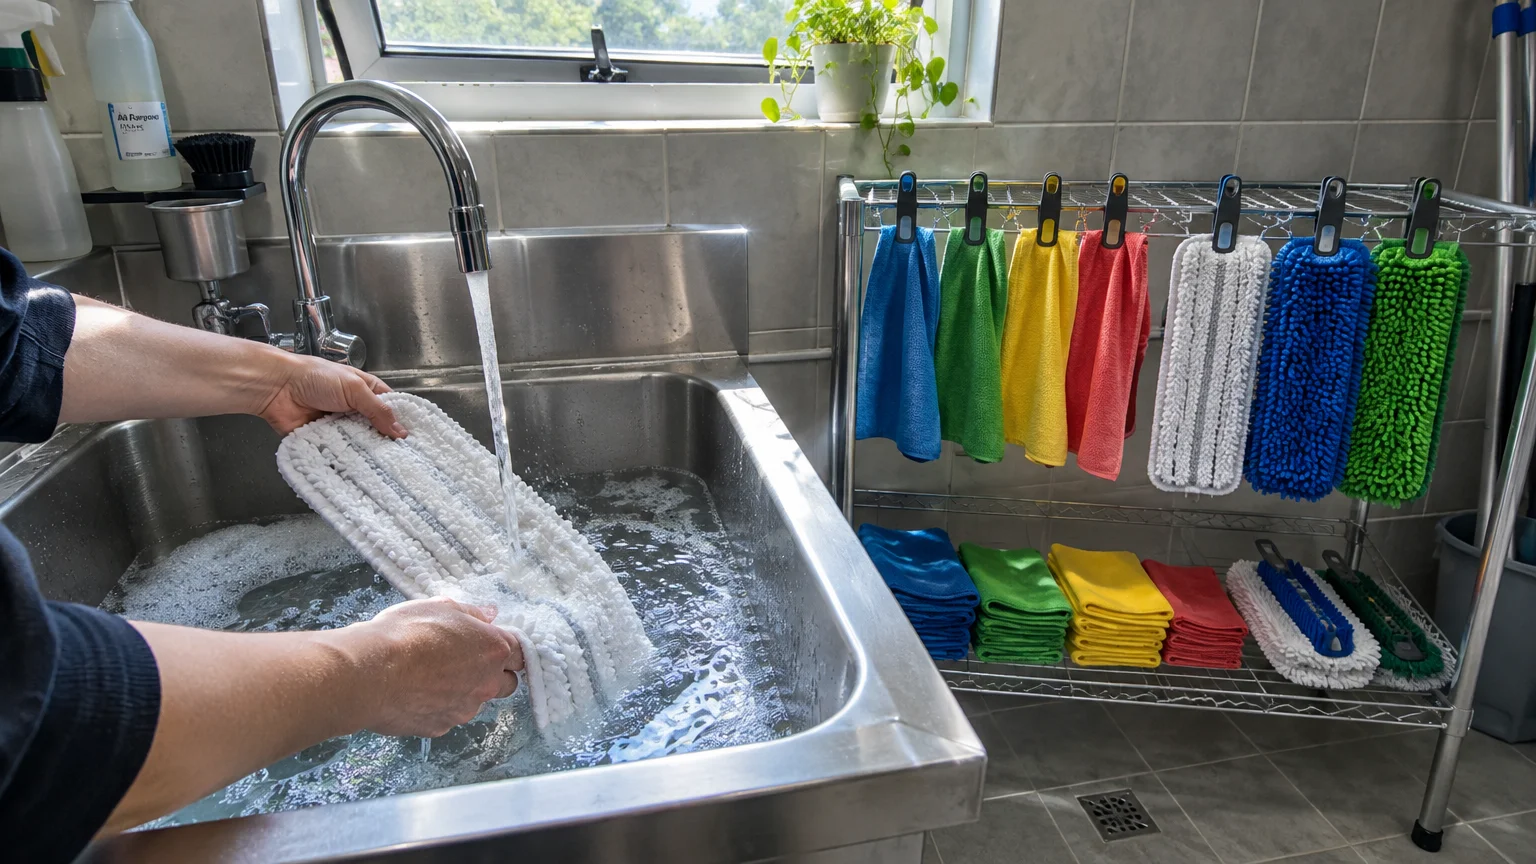
6. Using Dirty, Unwashed Tools and Saturated Mop Heads
Using dirty tools transforms house cleaning into an exercise in cross-contamination. Saturated mop heads and clogged vacuum filters spread grime rather than removing it.
When you drag a gray, saturated mop head across tile or vinyl, you spread greasy wastewater into porous grout lines. This dirty water dries into a dingy film that dulls your flooring.
A vacuum cleaner with a clogged filter or overfilled dust canister loses up to half its suction capacity. Worse, it exhausts fine particulate matter and stale odors straight back into your living area.
Treat your cleaning tools like kitchen cookware by sanitizing them regularly. Wash microfiber cleaning cloths in warm water after every single cleaning session, avoiding fabric softeners that coat fibers with waxy silicone.
Empty vacuum dust cups when they reach the two-thirds fill line, and wash or replace HEPA filters according to manufacturer instructions. Clean tools make every subsequent task faster and far less demanding.
If you mop large hard floors, switch to a flat microfiber mop system with multiple interchangeable pads. Swap out the soiled pad for a clean one as soon as you transition to a new room.
7. Using Vinegar and Harsh Acids on Natural Stone and Grout
The internet frequently praises distilled white vinegar as an all-purpose, non-toxic miracle cleaner. While vinegar excels at dissolving hard water spots, professional cleaners know its limitations.
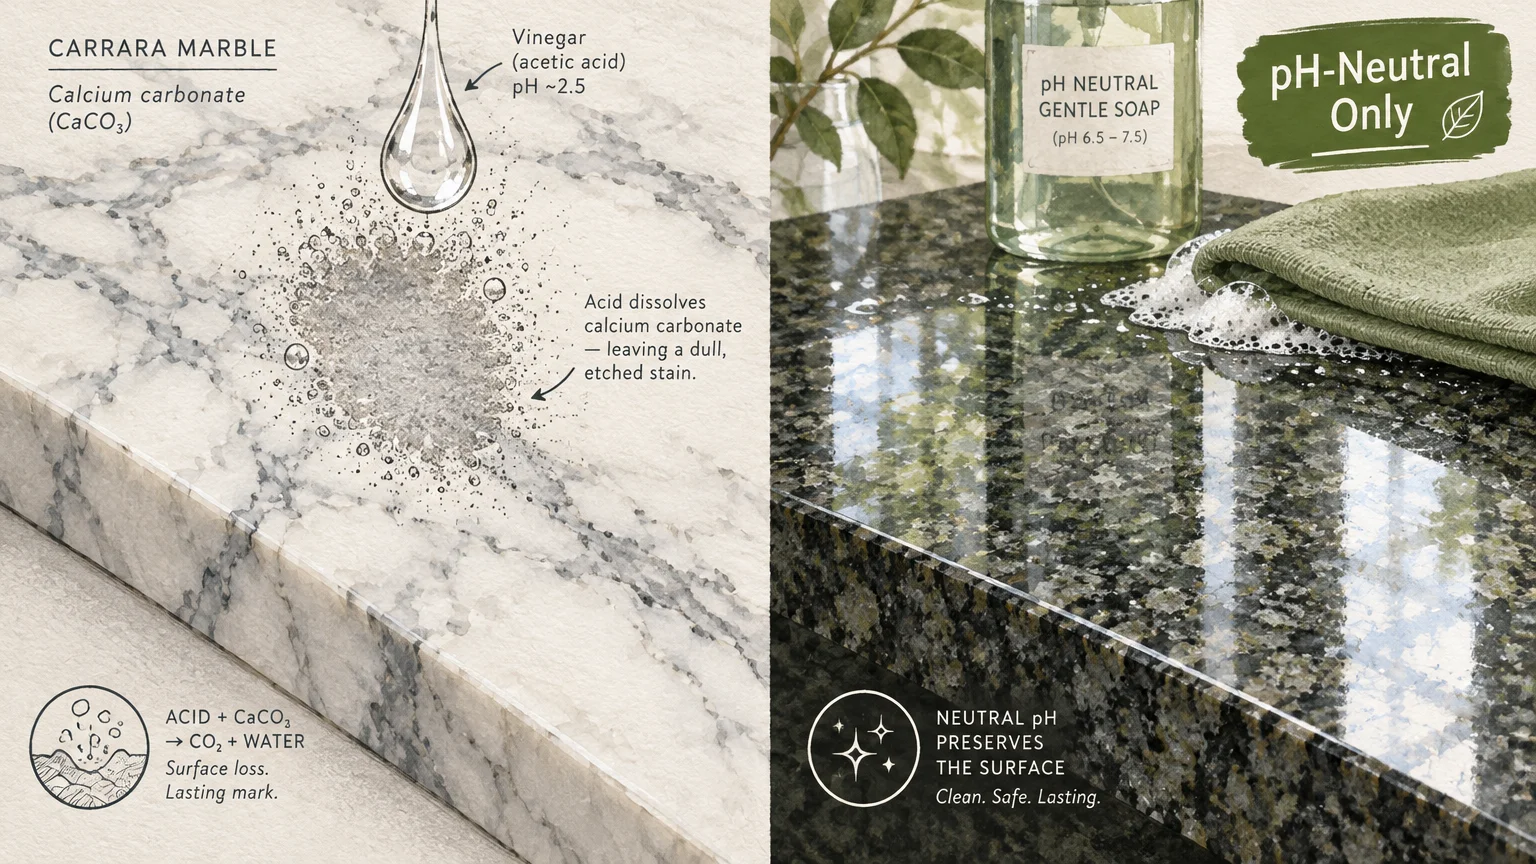
Vinegar contains acetic acid with a low pH around 2.5. This high acidity chemically dissolves the calcium carbonate inside marble, travertine, limestone, and engineered quartz, creating dull, etched spots.
According to the Natural Stone Institute, acidic solutions strip protective sealers and cause irreversible surface damage to natural stone. Acid also breaks down the binders in cementitious tile grout.
Avoid using lemon juice, vinegar, or harsh ammonia-based glass cleaners on natural stone vanities, fireplace mantels, or tiled shower enclosures. Once etching occurs, only professional diamond honing can restore the stone’s polished luster.
Use pH-neutral stone cleansers or warm water mixed with a drop of gentle dish liquid for daily care. This gentle combination safely lifts grease without degrading protective stone sealants.
For stubborn soap scum on natural tile, choose an oxygenated cleaner or specialized alkaline cleaner. These options safely break down organic film without attacking delicate stone minerals.
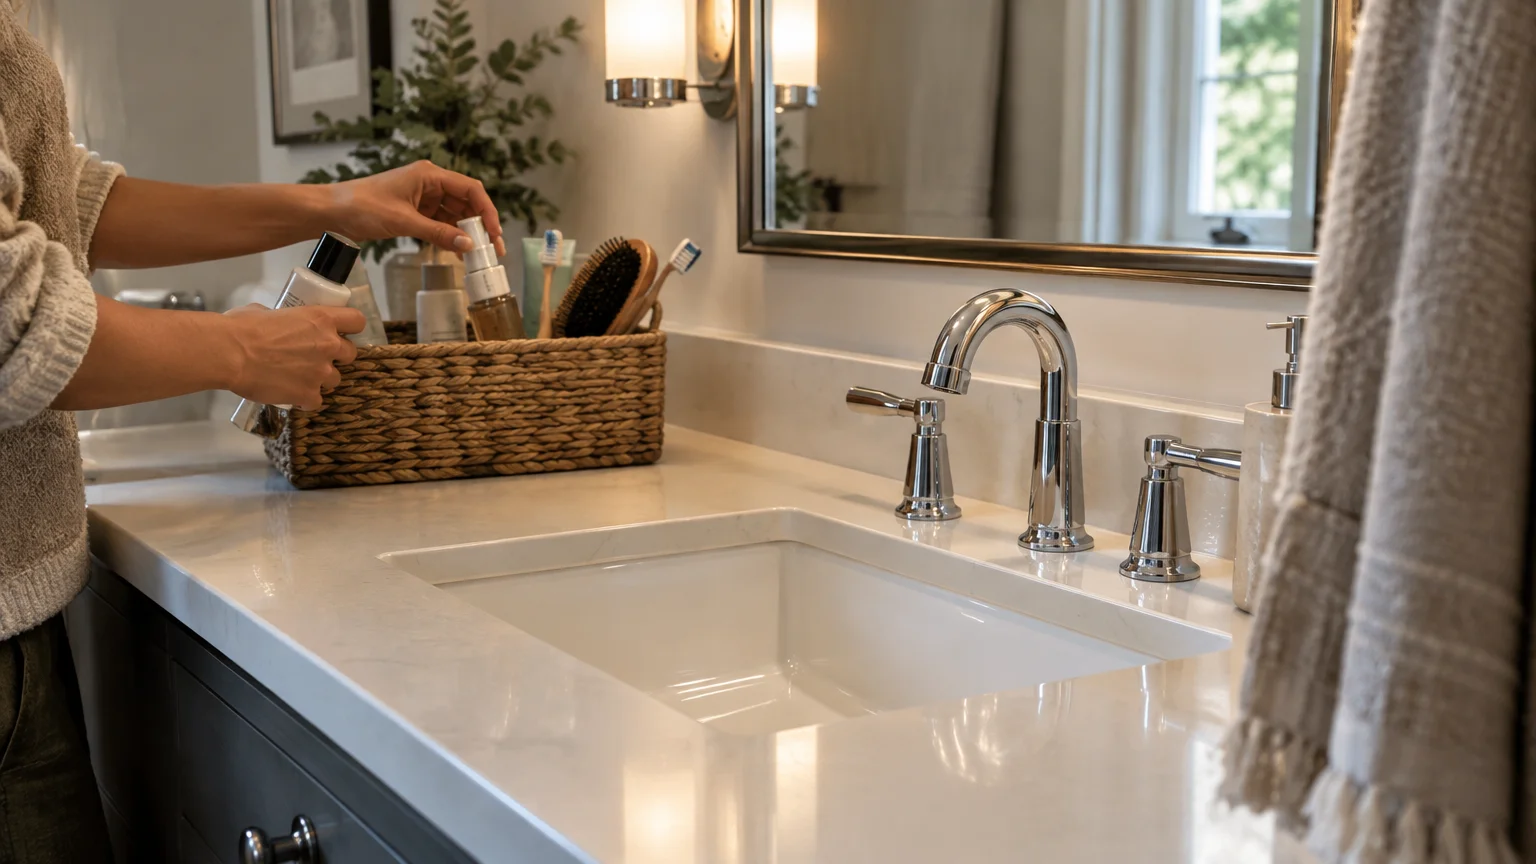
8. Cleaning Around Clutter Instead of Clearing Surfaces First
Attempting to clean a room before removing scattered clutter is an exhausting mistake. Picking up mail, shoes, chargers, and magazines while holding a cleaning rag breaks your rhythm and doubles your chore time.
Cleaning around cluttered items leads to “halo cleaning”—wiping only the exposed perimeter while grime accumulates beneath neglected objects. It also increases the likelihood of knocking over breakable decor.
Professional cleaning crews always separate decluttering from sanitation. Clearing horizontal surfaces before touching a single sponge allows you to clean flat surfaces in long, fluid, uninterrupted strokes.
Keep a portable laundry basket or plastic tote with you as you enter any messy room. Place every misplaced item into the bin so your countertops, tables, and desks sit completely bare.
Once the entire room gleams, redistribute the items in your basket to their proper storage homes. Clearing the deck first preserves your mental energy and produces faster, more satisfying visual results.
Bare surfaces enable quick, sweeping motions that save your back and shoulders. You avoid repetitive bending and lifting while keeping your focus solely on removing grime.
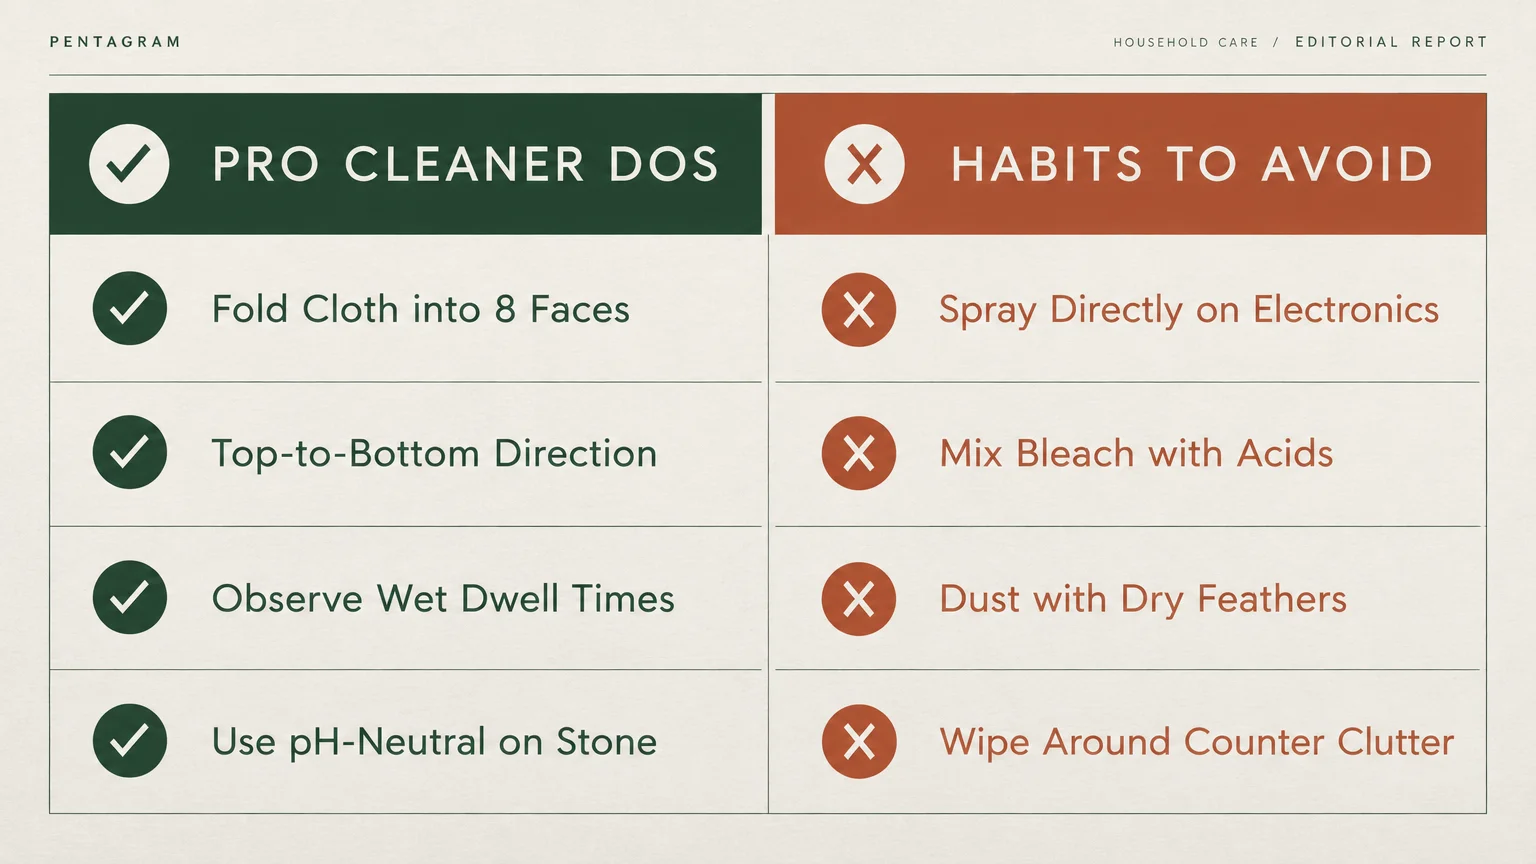
House Cleaning Dos and Don’ts: At-a-Glance Guide
Review this quick reference guide to replace counterproductive cleaning habits with efficient, professional methods throughout your home.
Small technical changes in how you handle products and tools yield dramatically cleaner results with far less physical fatigue.
| Mistake to Avoid | Professional Best Practice | Why It Matters |
|---|---|---|
| Spraying liquid directly onto surfaces | Spray onto a folded microfiber cloth | Prevents moisture damage to electronics and stops sticky product buildup. |
| Mixing household cleaners | Use one dedicated product at a time | Eliminates the creation of lethal chloramine or chlorine gas. |
| Wiping disinfectants immediately | Allow required wet dwell time (3–10 min) | Ensures chemical destruction of harmful bacteria and viruses. |
| Cleaning from the bottom up | Work top-to-bottom and left-to-right | Prevents falling dust from ruining freshly vacuumed floors. |
| Using feather dusters or dry paper towels | Wipe with electrostatic split microfiber | Traps dust particles instead of dispersing them into the air. |
| Using dirty mops and filled vacuums | Wash mop pads and empty vacuum filters | Prevents redistributing grime, pet hair, and stale odors. |
| Using vinegar on stone and grout | Clean with pH-neutral stone formulations | Stops chemical etching and preserves protective sealant layers. |
| Wiping around surface clutter | Stage items into a temporary tote first | Allows fast, fluid wiping strokes and prevents accidental breakage. |
A Professional 5-Step Routine to Clean Any Room
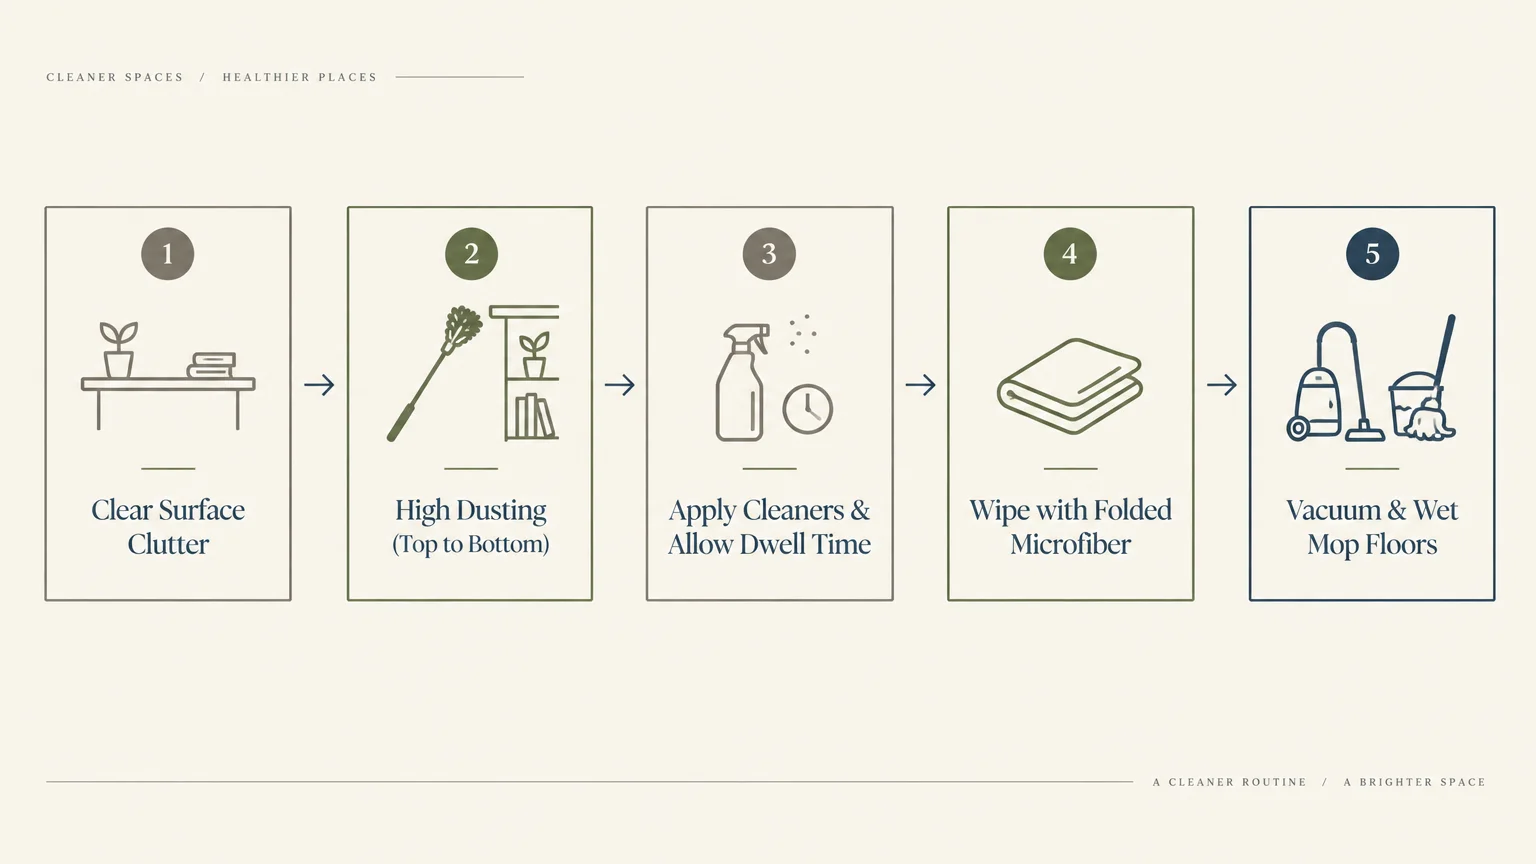
Transforming these professional cleaning tips into an effortless habit requires a structured sequence. Use this simple five-step system to finish any room with minimal physical effort.
Organizing your tasks in a specific order eliminates backtrack walking and ensures surfaces remain clean. Follow these steps sequentially from entrance to exit.
Step 1: Clear and Stage the Room
Pick up all loose clutter and place misplaced items into a sorting bin. Strip linens in bedrooms or clear dirty dishes from counters into the sink.
Step 2: Apply Dwell-Time Cleaners
Spray disinfectants or degreasers onto bathroom fixtures, stovetops, and tile walls. Let the active ingredients work undisturbed while you move on to dry dusting.
Step 3: High-to-Low Dry Dusting
Use an electrostatic microfiber duster on ceiling fans, light fixtures, crown molding, and window blinds. Work clockwise around the perimeter of the room at high elevation.
Step 4: Wipe Down Mid-Level Surfaces
Wipe flat surfaces, switchplates, and countertops using folded damp microfiber cloths. Return to your pre-treated bathroom or kitchen fixtures and wipe away loosened grime effortlessly.
Step 5: Vacuum and Mop Toward the Exit
Vacuum rugs and hard floors starting at the farthest corner and moving toward the doorway. Finish with a damp microfiber mop, backing out of the room so you never step on damp floors.
Your Immediate Next Step
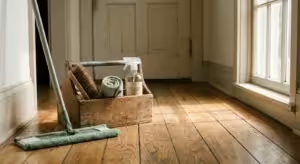
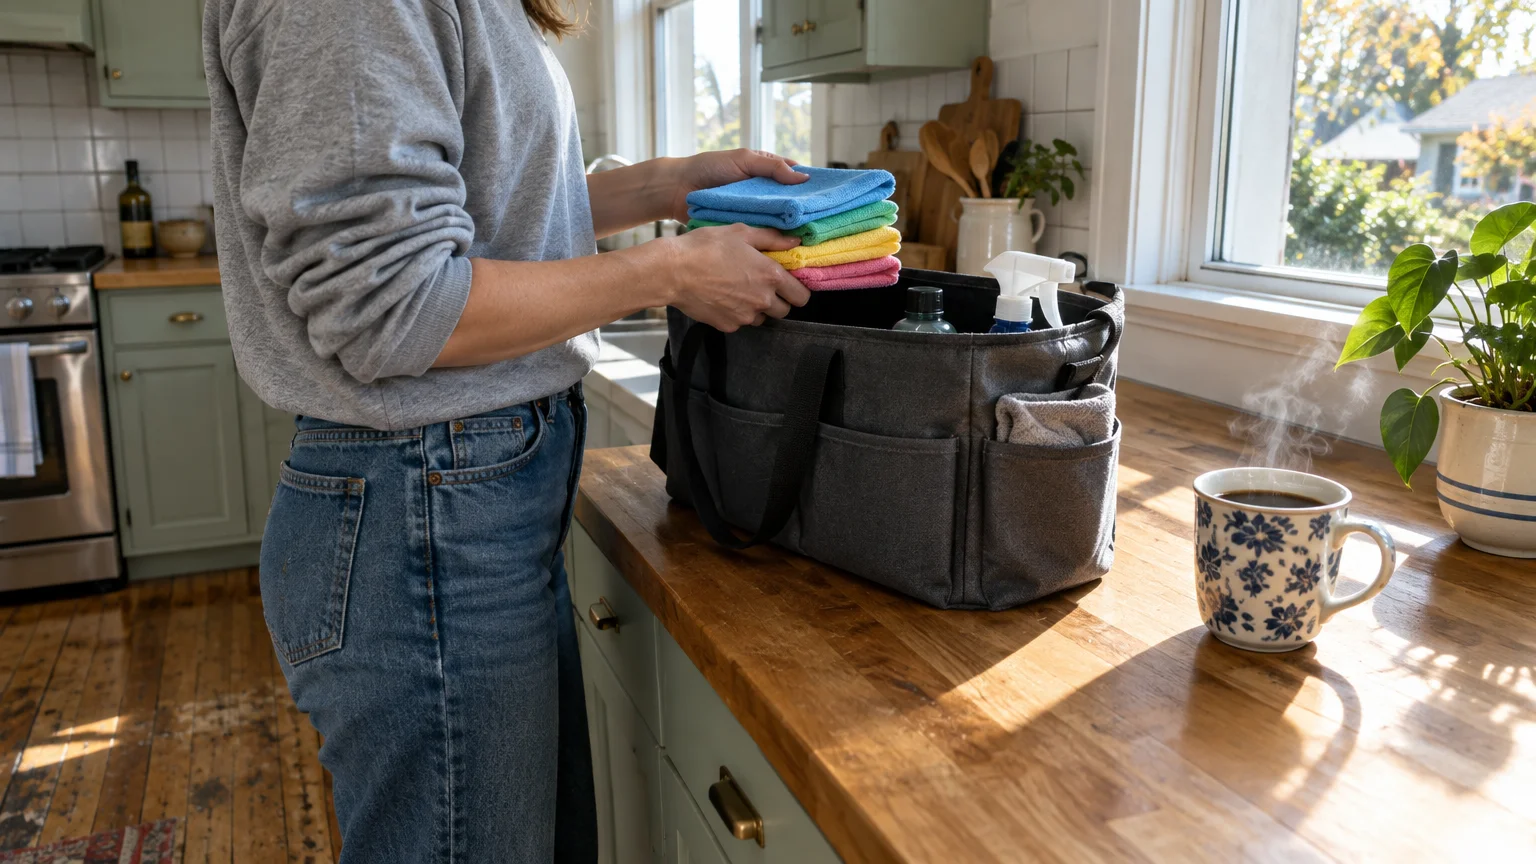
Take a quick inventory of your current cleaning supply caddy today. Discard ratty feather dusters, retire abrasive scratch pads, and swap out acidic cleaners if you have natural stone counters.
Invest in a multi-pack of quality microfiber cloths and fold them into quarters before your next cleaning session. You will immediately notice faster cleaning times, fewer streaks, and far less physical strain.